Discover how to choose the right wood stain for your project. Learn about color preferences, wood species consideration, opacity, finish, and practical tips to ensure your woodwork gets the ideal finishing touch.
Working on any wood project is a labor of love. When the project is almost done, it can be a huge relief.
But, finishing work can completely change the look of any wood in your home.
Today we are specifically talking about wood stain. Wood stain changes the color of a wood project and can make a piece look totally different.
The right stain can enhance the appearance of your wood project and extend the longevity of the piece.
It can also be a major bummer if you pick a stain that you don't love in the end.
So today we want to talk about the exact process that we use to choose the right wood stain for our projects.
Let's take a look at all of the factors to consider when choosing the right word staying for your project!

Understanding Wood Stains
Wood stain is designed to add color to a wooden project - be it flooring or furniture.
You can use stain to make a species of wood look more like another species. This is commonly done when you use a cheaper wood like pine, and then stain it to look more like a darker hardwood.
Or, you can use a color of wood stain to make a piece of beautiful wood simply flow better with your existing decor.
Either way, stain is a powerful thing. It can totally transform the way a piece feels.
But, while stain is not permanent, it is not easy to remove and re-do. So, you want to take your time when selecting the perfect wood stain for your project.
How to choose the right wood stain for your project
Before you choose a wood stain, you are going to want to take a look at the piece of wood that you want to stain. Examine the wood type, the appearance of the grain, and the overall size of the project.
Also, take a look at the surrounding furnishings or decor that this piece will be paired with.
It's important to understand the wood, and your overall goals for the space, before starting to narrow down to a specific wood stain color.
Factors Influencing Wood Stain Selection
Here are the factors you should consider when choosing between different colors of stain.
Color Preference
First of all, of course, you want to decide on a color preference. And I don't mean a specific color, but a color family.
Do you want dark, chocolate brown? Black? Light gray? Golden?
Narrowing it down to a color family is a great place to start.
If you don't have an idea, hop onto pinterest and look for similar spaces that inspire you. Look at the wood tones and use those as a starting point.
Also take into consideration your existing decor. Do you want the wood tone to blend or pop? If you have other wood tones in the room, do you want to match them or contrast with them?
Consider these things before narrowing it down to a color family!

Wood Species Consideration
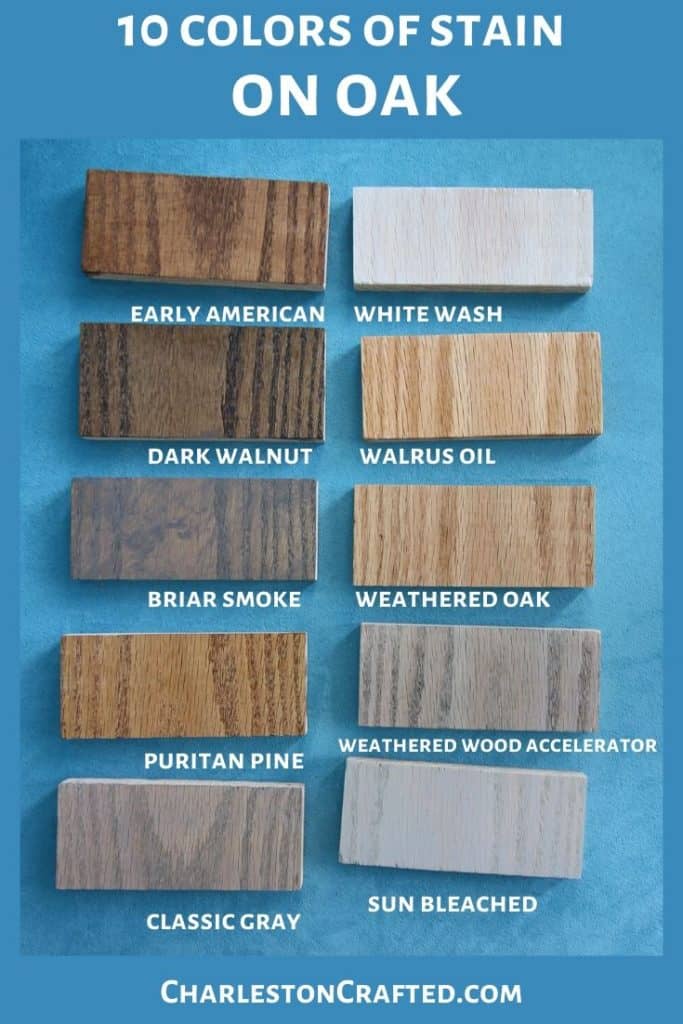
It is super important to remember that different woods absorb stains differently. Don't believe us? We tested 10 wood stains on 5 species of wood so you could see just how differently they turn out!
Certain stains - like cedar - are going to have a natural red undertone. Others, like poplar, might have a green undertone. These tones in the wood will majorly effect how to stain looks layered on top.
| Wood Species | Natural Undertones |
|---|---|
| Oak | Red, yellow |
| Maple | Creamy-white |
| Cherry | Red, pink |
| Walnut | Dark brown |
| Pine | Pale yellow |
| Mahogany | Red, orange |
| Cedar | Red, pink |
| Ash | Pale yellow |
| Birch | Creamy-white |
| Teak | Golden-brown |
| Ebony | Black |
| Rosewood | Reddish-brown |
| Hickory | Pale to reddish-brown |
| Alder | Light tan to reddish-brown |
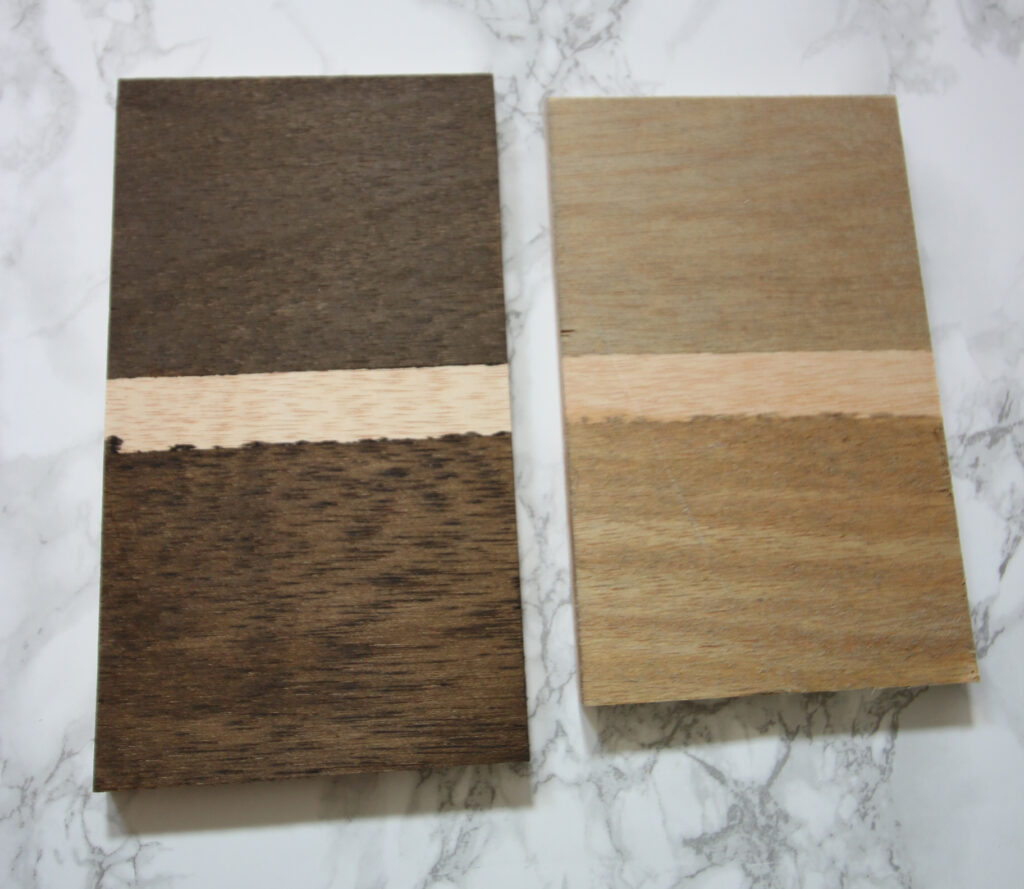
For this reason, it is super important to test your wood finish on the type of wood you will be staining. Ideally, you would test it on the actual boards you are staining - because gran and coloration can vary from board to board.
Opacity and Transparency
You will also need to decide between transparent, semi-transparent, and solid stains. Transparent wood stains are going to show more of the natural wood grain through them, while solid stains will give more full coverage, like paint.
This is totally a preference thing. We generally prefer to use a transparent stain. But, if your wood is damaged or has markings in the grain that you'd like to cover. go for a more solid coverage!
Finish and Protection
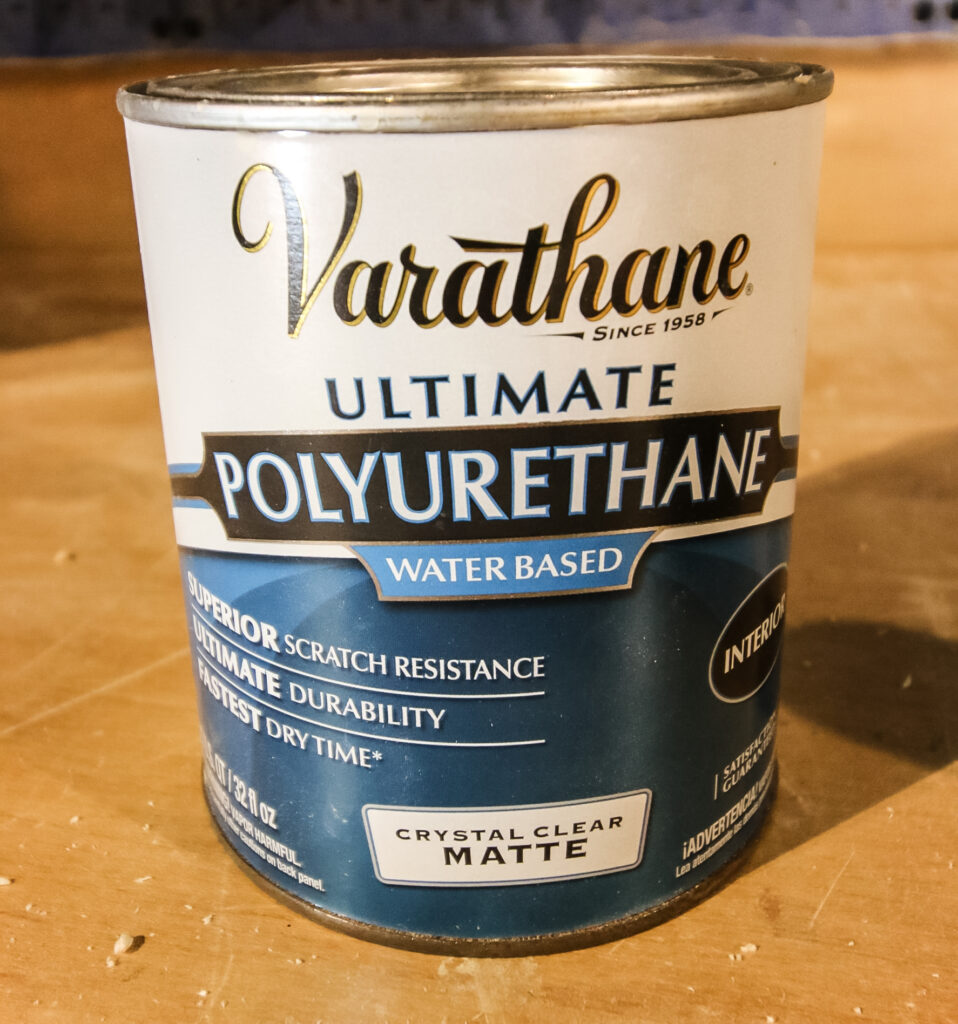
Finally, remember that your stain finish will effect how the stain looks. You want to use a top coat to protect your wood project from UV rays, moisture, and wear.
But, many top coats can darken the final look of the stain color.
Because of this, you always want to test your stain sample with the top coat on it to be sure you like the final color.
Also remember that top coats come in several finishes including matte, satin, and glossy. This measures the amount of glare or shine to the finish.
It might seem minor, but they actually look quite different when complete. If you are unsure, definitely sample a few top coat finishes to feel confident in your selection.
How to test wood stains
Here is the exact process that we use to test different stains for wood:
- Decide on a general color family based on external inspiration or a general vibe for the space.
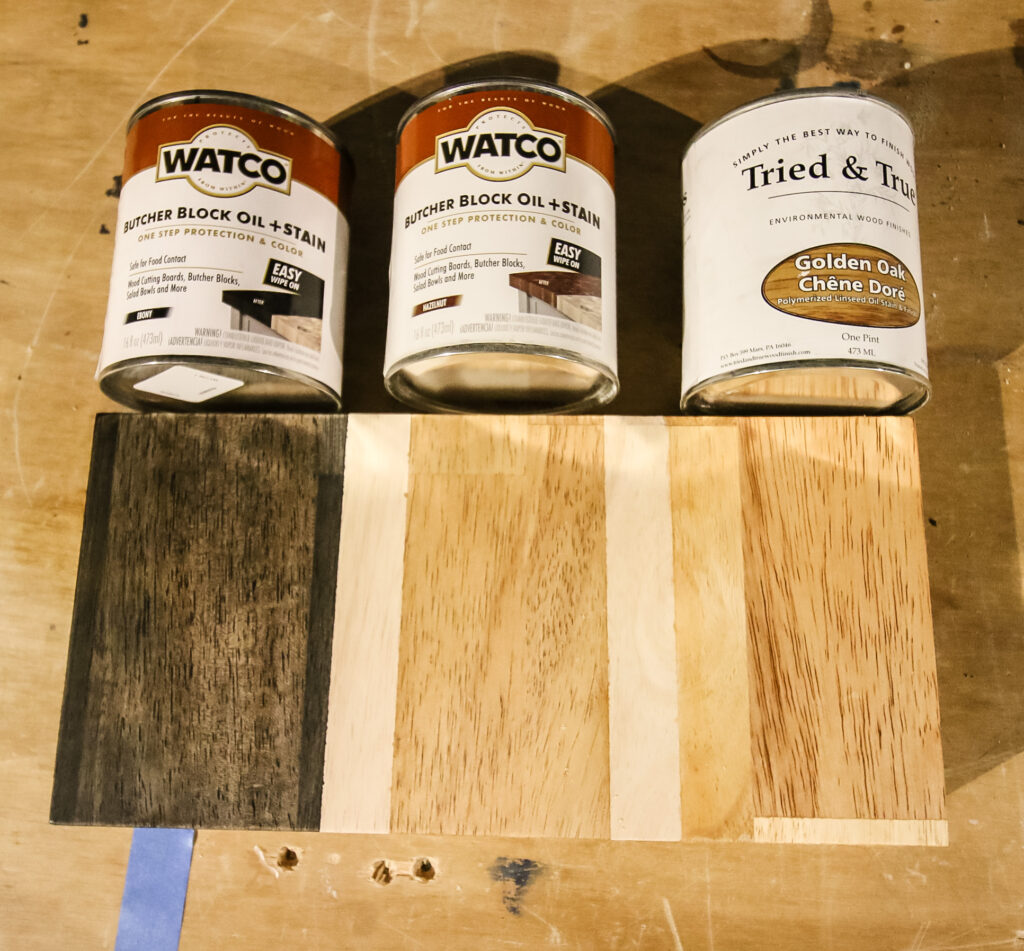
- Choose a selection of 2-4 wood stains in that color family from the store.
- Select a scrap piece of wood from the project or a discreet place to test the wood stains.
- Be sure that the wood is properly prepped: sanded, cleaned, and treated with a pre-stain wood conditioner if you will be using one.
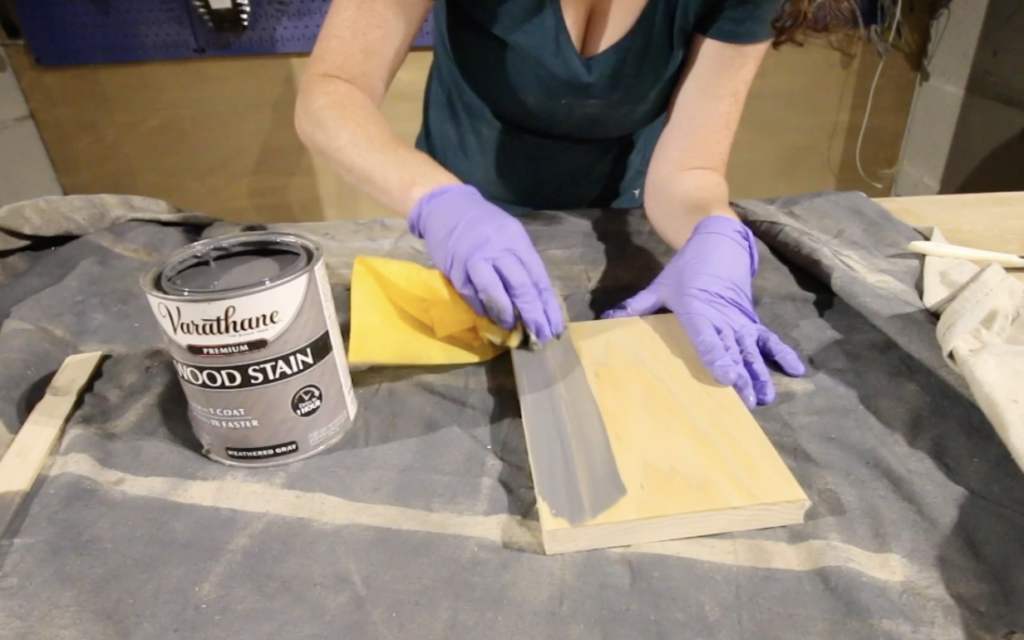
- Apply stain with a rag or brush in the direction of the wood stain.
- Wipe off any excess within 15 minutes of applying.
- Apply a second coat if you want the color to be darker.
- Let dry according to drying time on the can.
- Apply a top coat with a clean paint brush.
- Let dry.
- Bring the samples into the actual space where the project will go. Look at them day and night, in natural and artificial lighting.
- Choose the color that you prefer and finish the whole project with it!
Tips for Selecting the right Wood Stain
Here are some of our final tips for choosing a stain for your wood project!
- Consider Wood Type: Different wood types absorb stains differently. Understand how your chosen wood species reacts to various stains to achieve the desired finish.
- Test on Sample Pieces: Always test the stain on a small, inconspicuous area or a scrap piece of wood to see how it appears when applied. This helps visualize the final outcome.
- Account for Wood Preparation: Properly prepare the wood surface by sanding and conditioning it before applying the stain. This ensures an even and smooth finish.
- Understand Stain Opacity: Choose between transparent, semi-transparent, or solid stains based on the level of coverage and visibility of wood grain you desire.
- Consider Project Size and Purpose: For large projects or those exposed to high wear and tear, consider durable stains that offer better protection against moisture, UV rays, and scratches.
- Match Stain Color to Wood and Style: Take into account the natural undertones of the wood species and the desired aesthetic. Some stains may alter the wood color significantly, so choose accordingly.
- Assess Environmental Impact: Consider eco-friendly or low-VOC (volatile organic compounds) stains if environmental impact is a concern.
- Layering and Blending: Experiment with layering or blending stains to achieve custom colors or unique effects. This can create personalized finishes for your project.
- Follow Application Instructions: Always follow the manufacturer's instructions for applying the stain. Proper application ensures the best results and longevity of the finish.
Wood staining essentials!

Looking for something?
We've been doing this since 2012 so we have a LOT of blog posts!
Search stuff like: Ceiling Projects | DIY Plant Stands | Thrift Flips

Hello, I'm Morgan, half of the creative force behind CharlestonCrafted.com! With a passion for DIY that dates back to 2012, I've transformed three homes and now I'm dedicated to helping others craft their dream spaces. Let's turn your house into a home together!