Want to make a simple DIY child growth chart for your home? Here is an easy step by step tutorial to make a homemade growth chart!
Luke is 2 years old and growing so quickly. I didn't even really realize it until Rory was born - but he is huge and growing by the inch.
One thing I have been procrastinating is tracking his height!
My mom always tracked our heights with a sharpie on the back of our closet door.
However, we have lived in 3 houses in 6 years, and while we plan to stay in this home, I wanted to have something that we could move if we needed to.
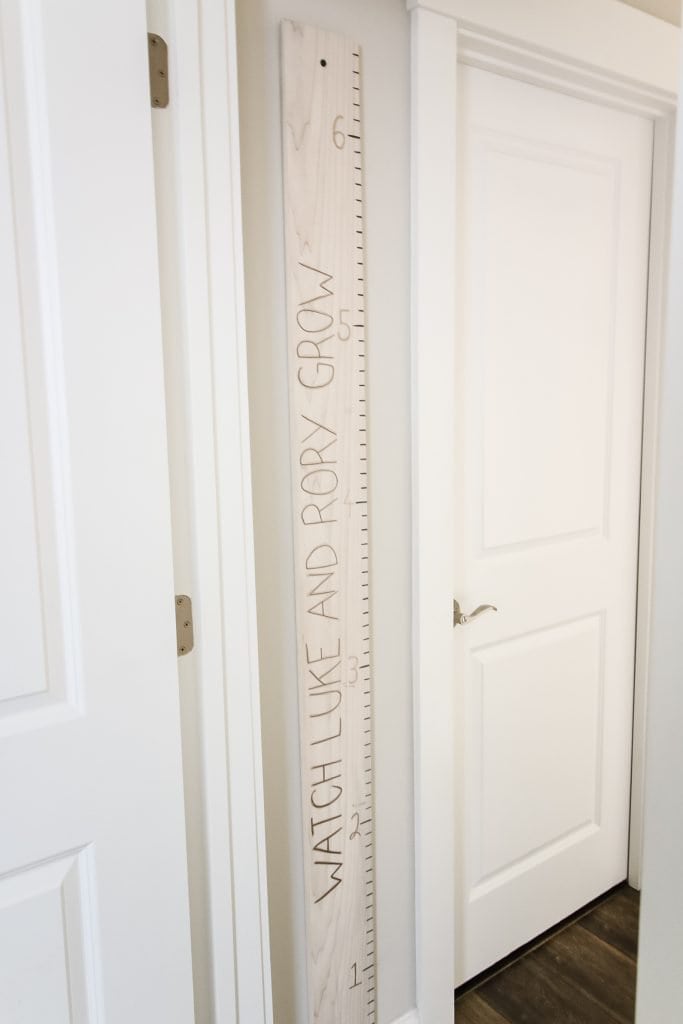
So, I designed and made this really simple DIY ruler growth chart. It's a very simple project but will be full of special memories for us.
Now that we are done having kids, I am excited to start and set some family traditions like this.
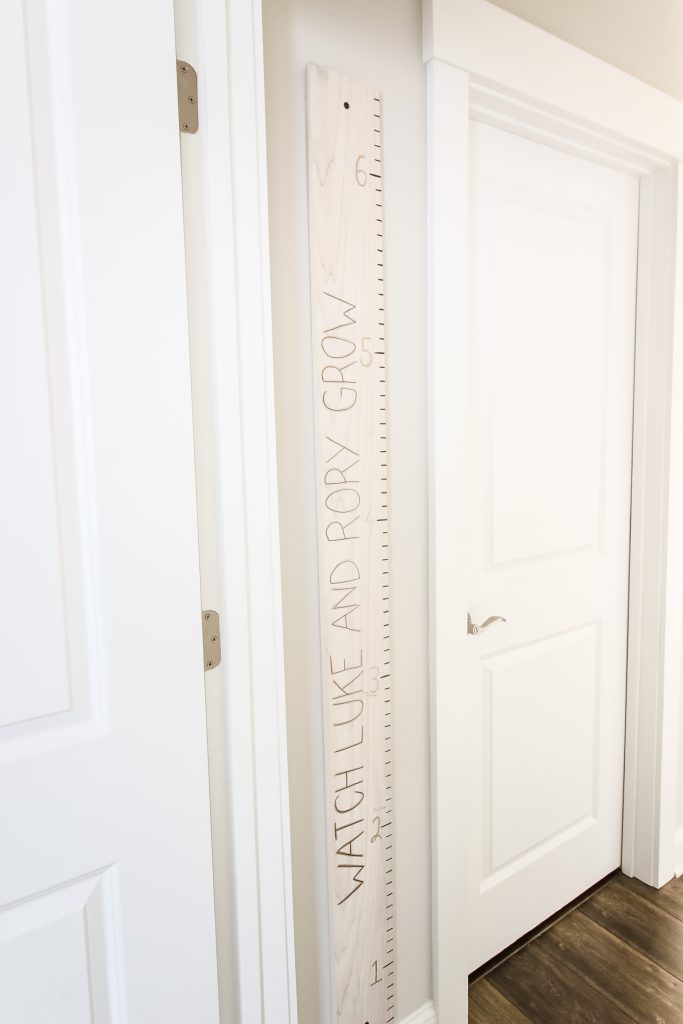
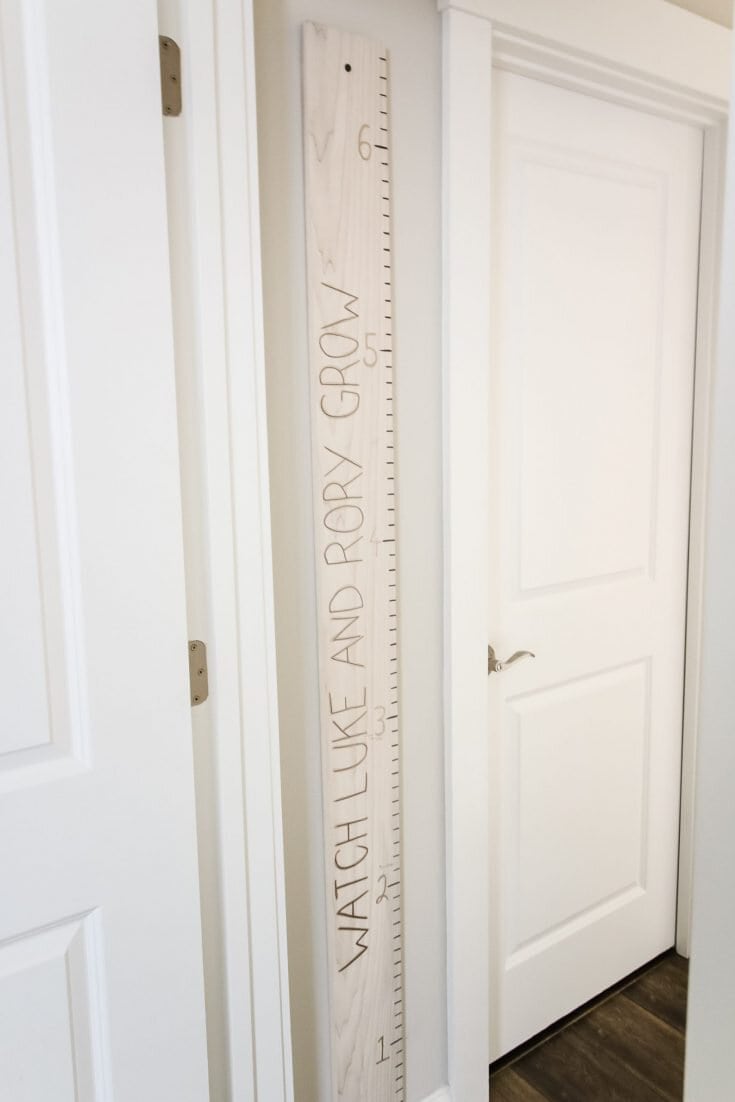
You could definitely hang one of these giant rulers in your kid's bedrooms. Since Luke and Rory's bedrooms are right next to each other, I decided to hang it on the tiny wall in between their doors.
It looks blend-y now with the white wash on the builder beige wall, but I know that this wall will get a colorful paint job before too long, so this will look fabulous with that!
Here's how I made this wooden growth chart DIY-style!
How to make a DIY Height Chart
It's really easy to make one of these giant growth chart rulers. Here's how we did it!
Supplies:
- 6 inch wide board, at least 6 feet long
- Paint or stain + brush or rag to apply
- Tape measurer
- Ruler or speed square
- Pencil + eraser
- Paint pens of choice
- 2 screws and a drill
Step 1: Cut the board
If your board is longer than 6 feet, use a saw to cut it to length.
Use sandpaper to sand the cut ends for a smooth finish.
Then, use a high grit sandpaper (fine finish) to sand the entire board gently. This will allow it to take the stain better!
Step 2: Stain the board
Apply stain of your choice. We used a White Wash by Varathane.
Allow to fully dry.
Step 3: Measuring & marking your lines
Now you can add your tick marks to the side of the board.
BUT WAIT! This is a SUPER important step!
It helps to have two people for this. Hold your board up in the spot you plan to hang it. Measure from the ground to the bottom of your chart. This is where you start with your measuring!
We wanted to leave room for the base molding plus a little wall, so we started our chart at six inches.
Don't start at zero or you will be off!
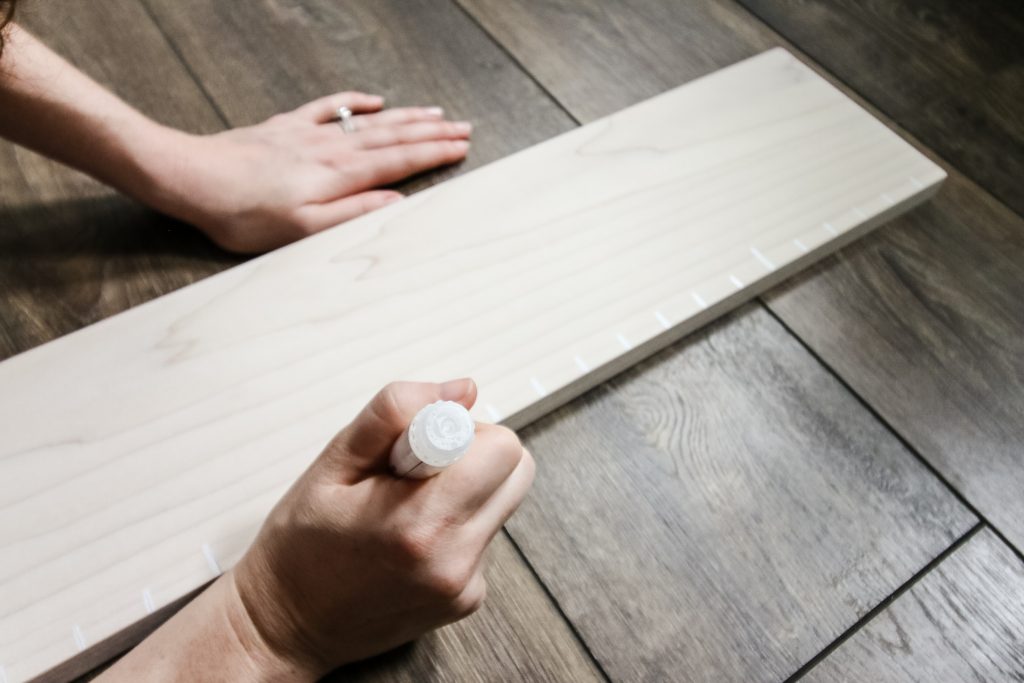
Now, run a tape measure across the length of your board, starting at the height you established.
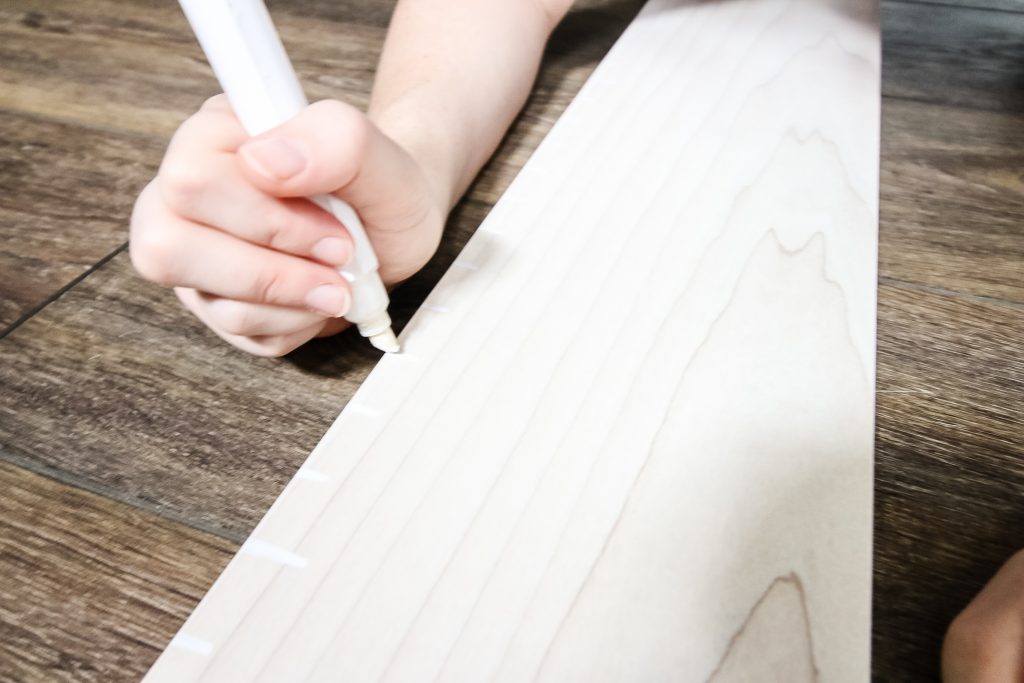
Use a pencil to put a tick mark at each inch, and a longer one at each 1-foot mark.
When done, trace over those marks with a paint pen. Use a ruler or speed square to get straight lines at a consistent length.
I made my inch marks ¾" long and my foot marks 1.5" long.
I ended up using black paint pen for my tick marks. I wanted it to be white but it just blended too much with my white washed board.
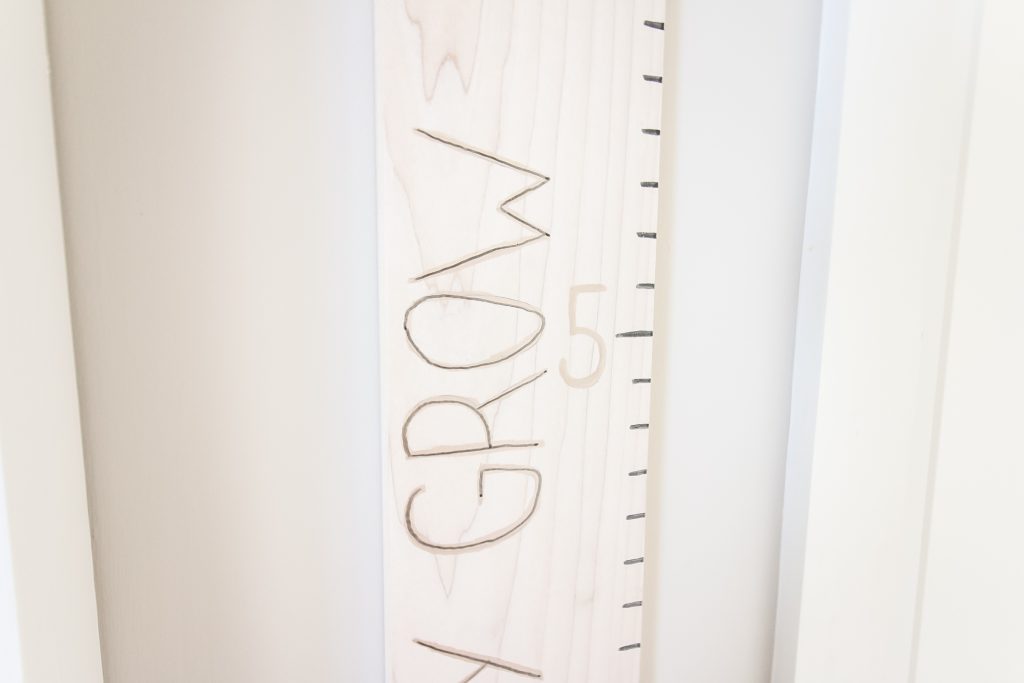
Step 4: Add numbers
Adding the numbers is easy, you just need a steady hand.
Trace your number first with a pencil and then write over it with the paint pen.
I made my numbers 2 inches tall each.
I have numbers 1-6 for 1-6 foot. Our chart actually ended up going to 6'6" since we started at 6 inches. Sean is 6'2.5" so we will see how tall Luke ends up!
Step 5: Add text
This is optional, but part of the fun of a custom made diy project like this.
You can add custom text to the side of the ruler!
Some ideas for text for your growth chart are:
- Your family's name, like "McBride Family"
- Your kid's names
- Love grows here
- Watch NAME grow
- Watch me grow
- NAME grows here
- Look how I grow
I used a combination of black and gold paint pens to write my words on. I traced them first with pencil to get the spacing right!
Other options for your numbers and tick marks:
Don't feel confident in free handing your numbers and tick marks? Here are some more fool-proof, if more time consuming, options.
- Purchase number stickers at the craft store
- Cut numbers or tick marks from vinyl using a Cricut
- Create or purchase a stencil and paint in the stencil
How to write on the growth chart
We used a mechanical pencil to mark our chart! A pen or fine tip sharpie would work great.
If you stain or paint your chart a darker color, you will need a white or silver fine tipped marker or pen.
How to hang a DIY growth chart
There are two options for hanging your growth chart:
- A TON of command strips
- Drill in screws
Since this is a heavy board and my kids will probably tug at it, I felt safest screwing this to the wall.
When positioning your height chart on the wall, remember to measure from the ground and be sure that your height is correct! We started at 6" to leave room for molding and had to line that up.
First, use your drill to pre-drill a hole in the top and bottom of the board.
Use a pencil to mark the hole onto the wall through the hole you just drilled.
Drill and add anchors in those two spots.
Hold up the board and drill screws through the hole you just drilled into the board and into the anchor. Repeat for second screw.
Enjoy measuring your kiddo! They grow up too fast.
How to make a DIY wooden growth chart
Want to track your kids' growth over time? Here's a super simple but sweet wooden growth chart you can make tonight and treasure forever!
Materials
- 6" wide x 6' long board
- Stain or paint of choice + brush to apply it
- Pencil + eraser
- Paint pens
- 2 screws + anchors
Tools
- Saw
- Sander or sand paper
- Drill
- Measuring tape
- Speed square or ruler
Instructions
- Cut your board to 6 feet in length if needed.
- Sand board.
- Stain or paint as desired.
- Hold board up where you plan to hang it. Measure from the floor to determine starting point for marking height.
- Use tape measure to mark 1" ticks with pencil on length of board.
- Trace with paint pen, making 1-foot marks 2x as long as inch marks. Use ruler or speed square for straight lines.
- Add numbers at foot marks with paint pen.
- Add words or text if you prefer.
- Drill 2 holes, 1 in top and 1 in bottom of board.
- Mark through the holes to the wall. Add anchors in that spot.
- Drill thru the holes into the anchors to mount.
- Use pencil or pens to mark your kids' heights!
Recommended Products
As an Amazon Associate and member of other affiliate programs, I earn from qualifying purchases.


Where to buy a wooden growth chart
Don't feel like crafting? Shop pre-made height charts here:

Looking for something?
We've been doing this since 2012 so we have a LOT of blog posts!
Search stuff like: Ceiling Projects | DIY Plant Stands | Thrift Flips

Hello, I'm Morgan, half of the creative force behind CharlestonCrafted.com! With a passion for DIY that dates back to 2012, I've transformed three homes and now I'm dedicated to helping others craft their dream spaces. Let's turn your house into a home together!