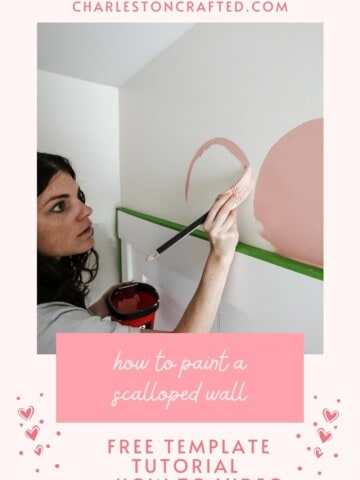
Wood signs are trendy all year long, but can be intimidating to make. Well, fear not, because today I am going to share with you the easiest way to make a wood and vinyl sign using your Cricut cutting machine.
This is a sponsored conversation written by me on behalf of Cricut. The opinions and text are all mine.
There are a few things that can be intimidating about making a wood sign with your Cricut. I hope that I can share some tips to help relieve your fears and empower you to make your own wooden signs with your Cricut.
How to make DIY Cricut wood signs with vinyl lettering
I'll go over how to make a DIY wood sign with vinyl lettering with your Cricut in this post and show you what works and doesn't work!
Common concerns when making a wooden sign
Here's some of the common concerns when making a sign and what you can do to avoid them.
How do you cut the backing for a sign?
If you don't frequently use power tools, the back of a wooden sign might be really scary to make. So, I suggest that you don't make it!
Pre-made wooden signs are relatively inexpensive and perfect for beginners. Something like this works just fine.
Craft stores sell a wide variety of pre-made wooded shapes that can be made into signs. These shapes come in a variety of colors and sizes and are easily customizable.
I also love purchasing a wood round at the hardware store. They come in a variety of sizes and are called "edge glued rounds". You can find them in the wood aisle - not with the large lumber but with the slats and smaller boards.
How do I come up with an idea for my sign?
There are tons of ways to come up with ideas - look in local shops, browse Pinterest, or my favorite - look for pre-made designs on Cricut Design Space. Type in a keyword such as "Christmas" and scroll until you find the design that best speaks to you.
Another popular idea for wooden sign decor are name signs (either a family last name or a first + middle name for a child). These seem to be very popular sellers and also make great gifts!
What should I use for lettering for my sign?
You essentially have 3 choices for creating letting for your custom wood sign using your Cricut:
- Vinyl
- Wood
- Create a vinyl stencil and paint with acrylic paint
The material that you use for your lettering is 100% up to you. It depends on the look and style you want for your wood signs.
Acrylic paint will have more of a handmade, hand painted feeling. This can look more rustic. I have heard on Facebook groups for Cricut businesses that people are often willing to pay more for a "hand painted" sign, so that is something to keep in mind.
What do I need to make a DIY wood and vinyl sign with my Cricut?
To make a custom wood sign you will need:
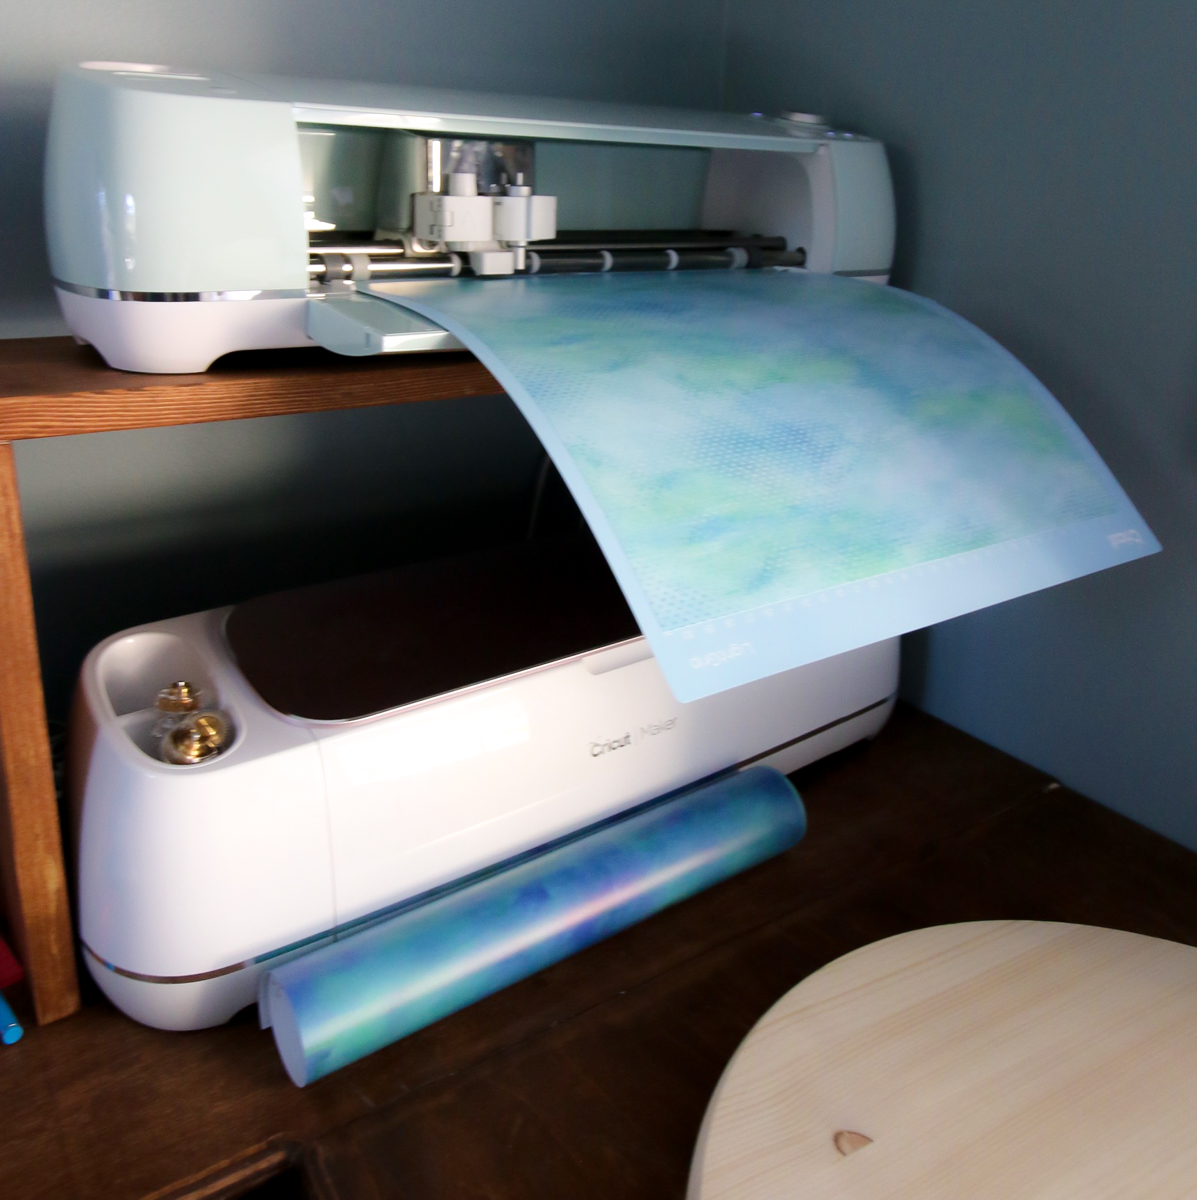
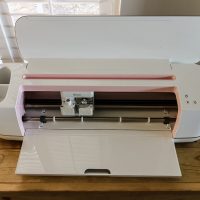
- Cricut Maker or Explore Air 2 cutting machine
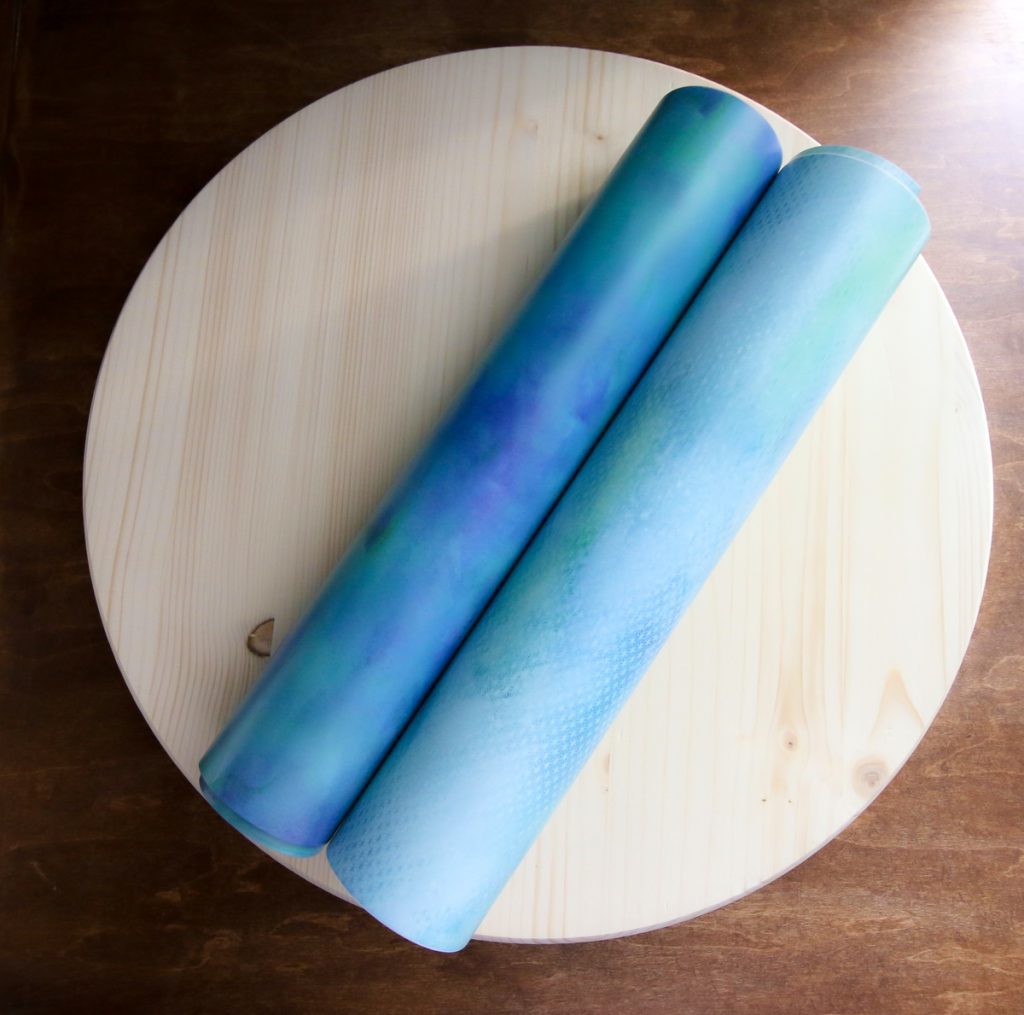
- Vinyl of your choice
- LightGrip Mat
- Transfer tape
- Wooden signs to attach your lettering to - pre-cut from the store
- Paint or stain if you want to paint the sign backing
How to make your wood signs:
- Decide on a design in Cricut Design Space.
- Paint or stain your wooden sign backing if desired.
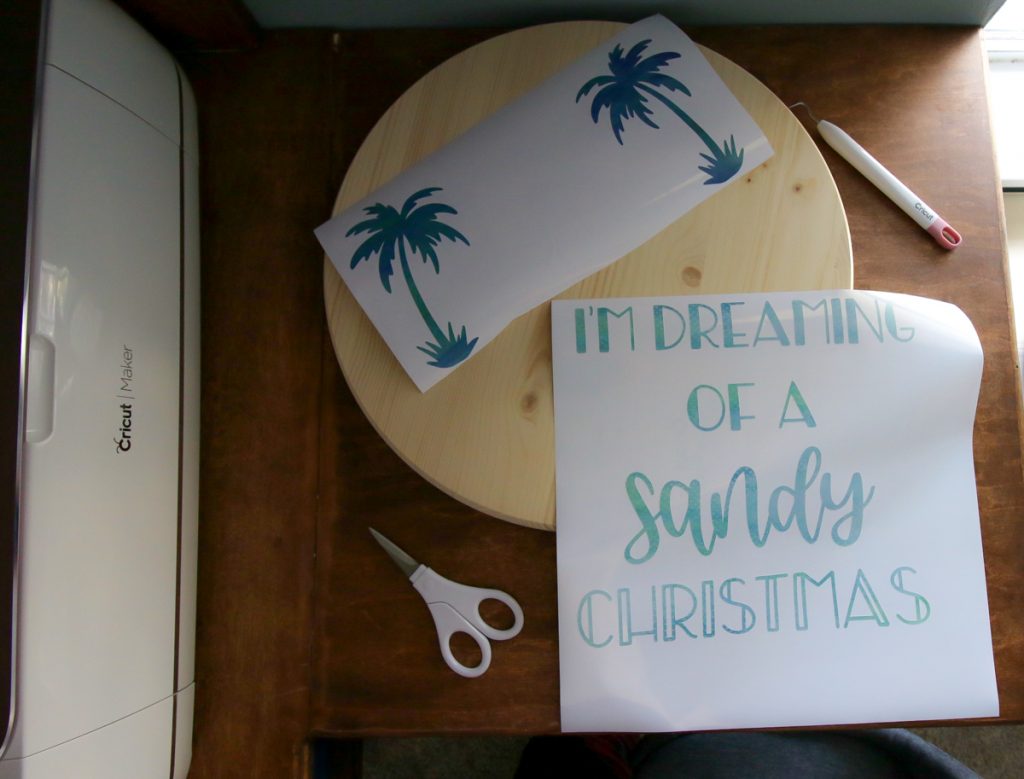
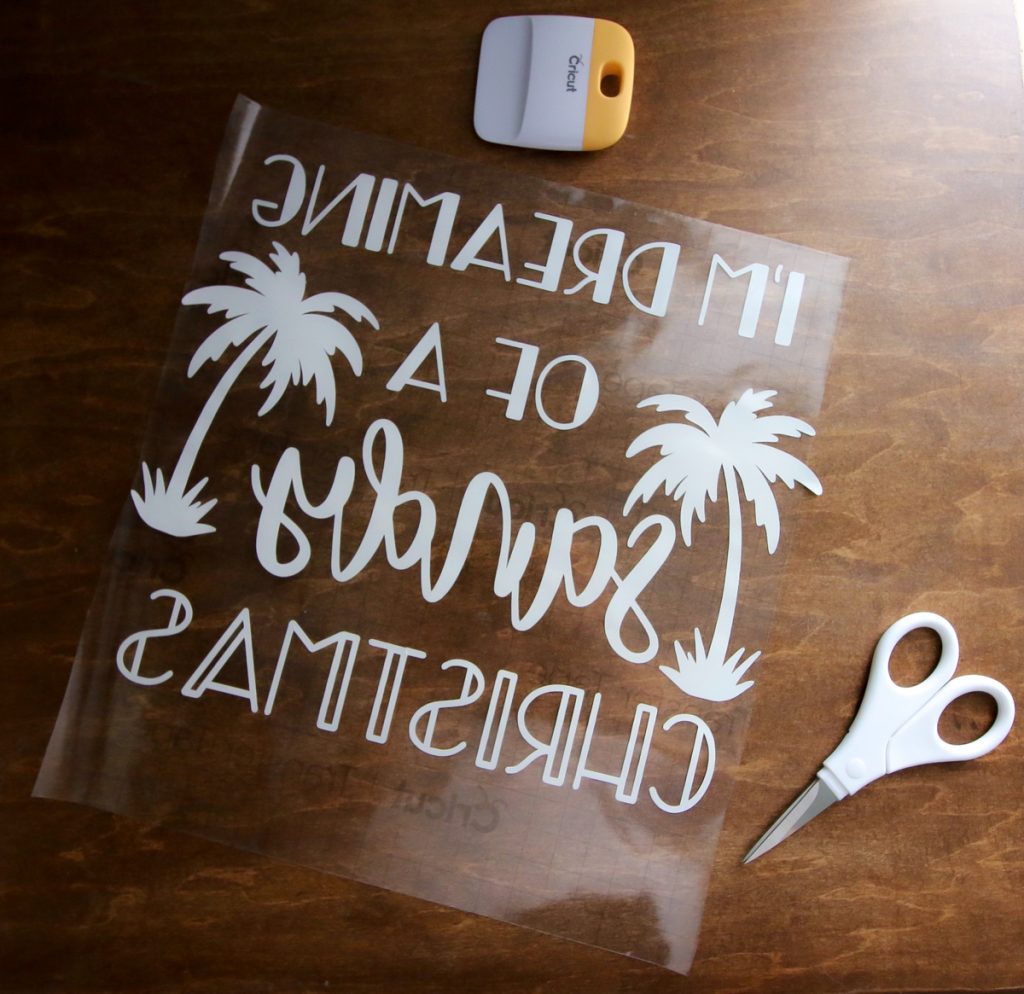
- Make the design by loading your vinyl onto the mat, into the machine, and pressing Go.
- Weed the design by removing any excess vinyl.
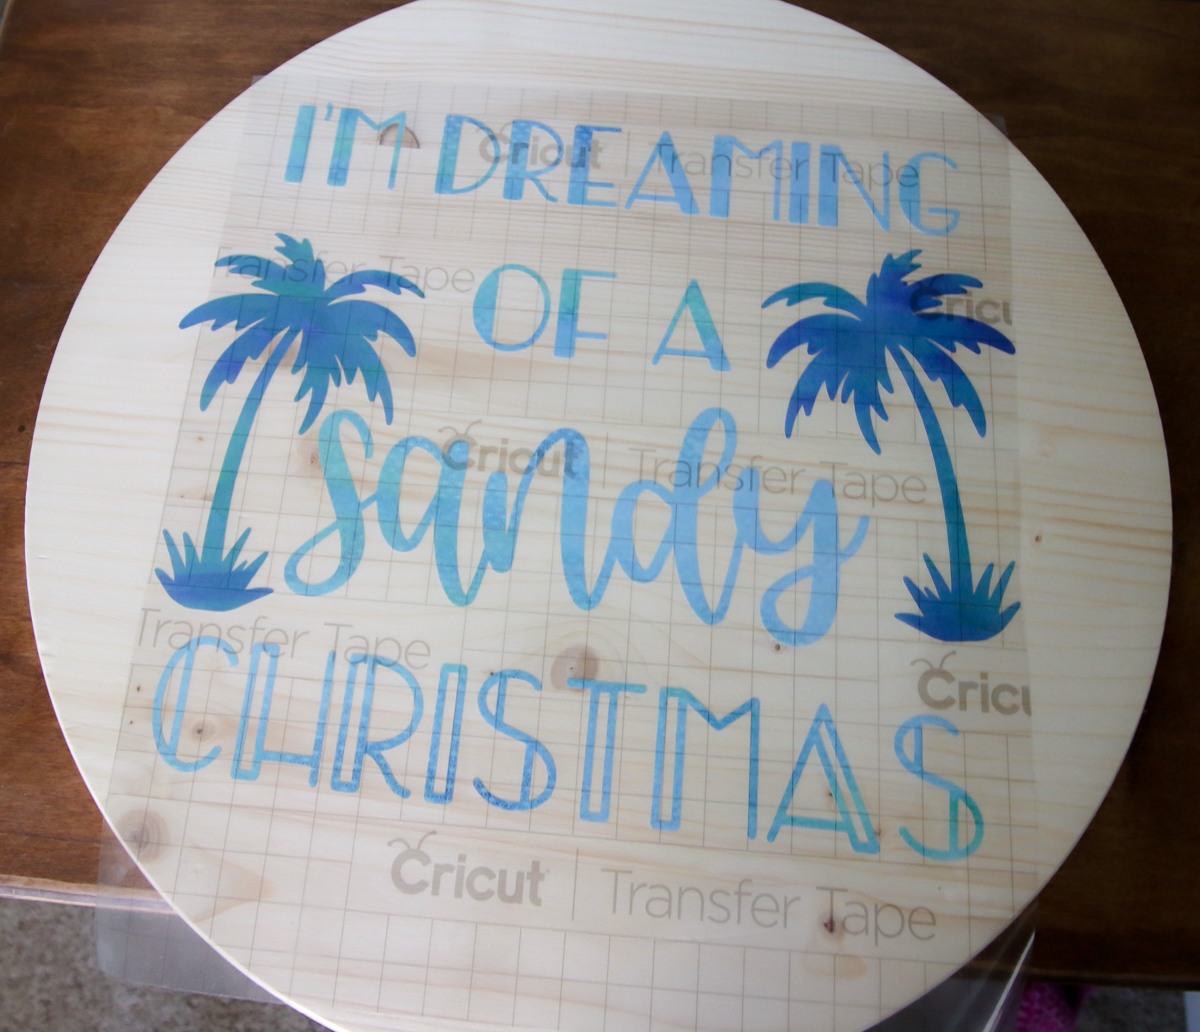
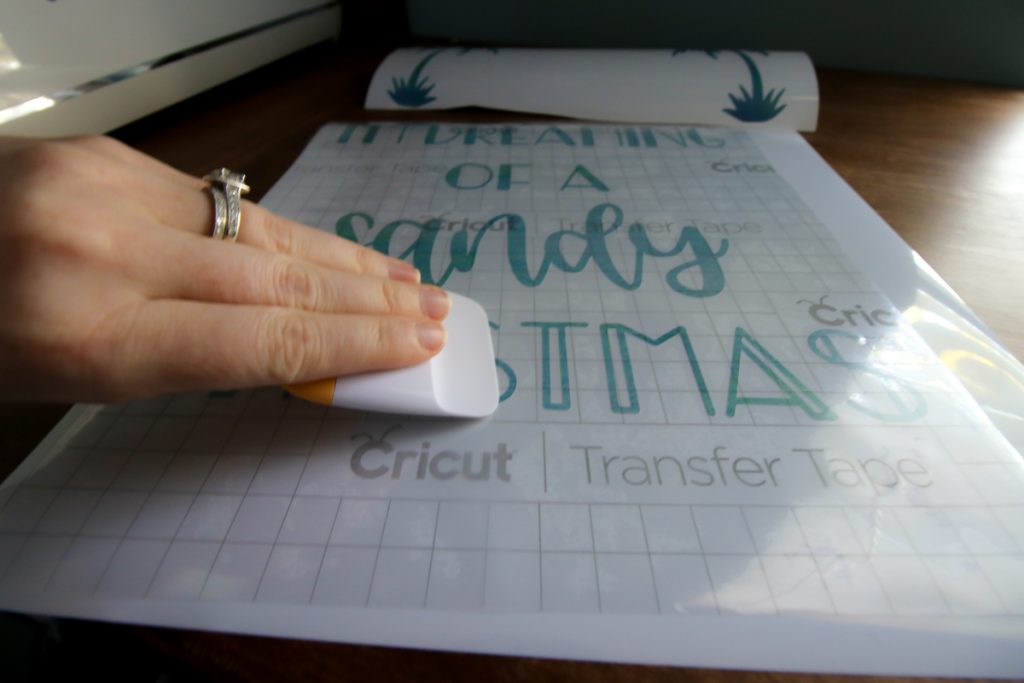
- Apply transfer tape to the front of the design. Press firmly and be sure that the design has attached to the transfer tape.
- Peel the design off of its backing.
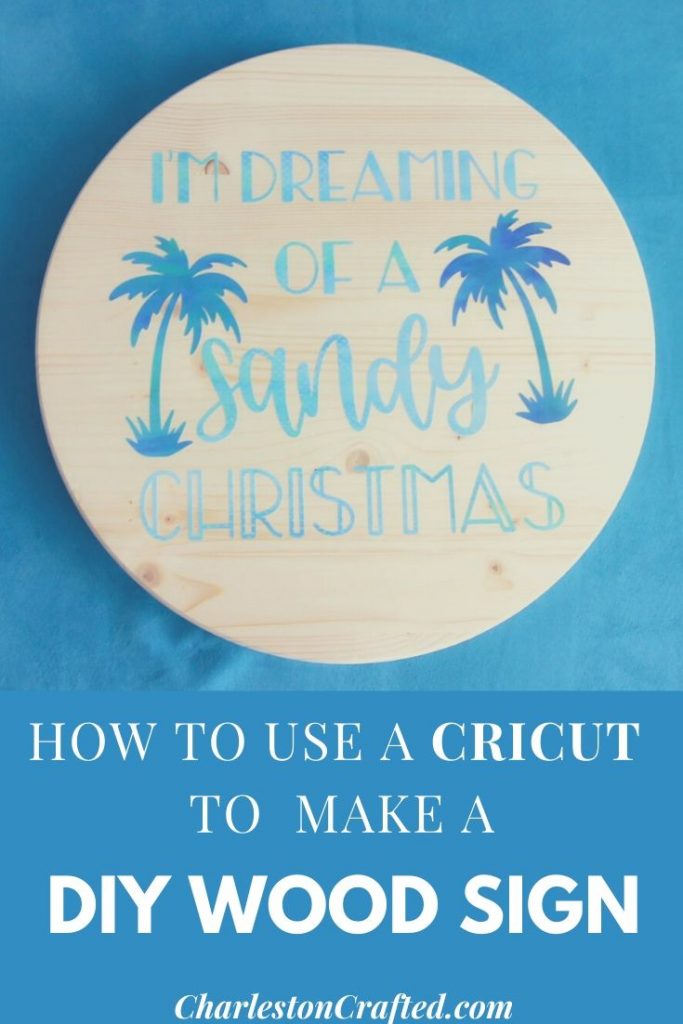
- Apply the design firmly to your sign. Smooth and press into the sign well and then peel to remove the transfer tape.
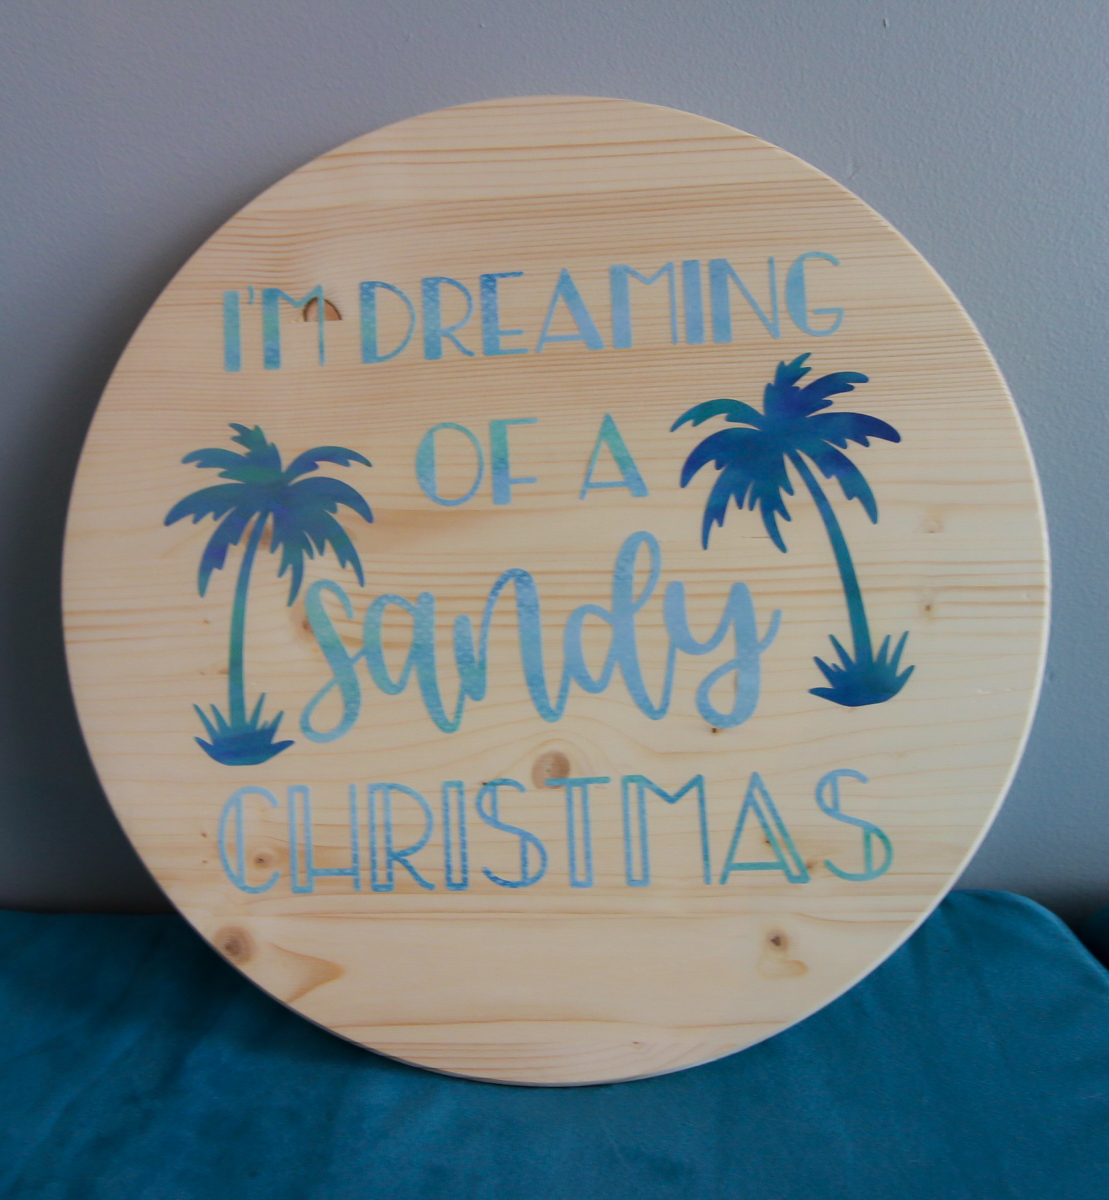
I hope this easy tutorial empowers you to try making your own sign!

How to make a wood sign with your Cricut
Want to make a wooden sign? Your Cricut makes it super easy to do! Here is the easiest way to make a wood & vinyl sign.
Materials
- Vinyl of Choice
- Transfer Tape
- Wooden sign backing
- Stain or paint for backing (if wanted)
Tools
- Cricut Maker or Explore Air 2
- LightGrip Mat
Instructions
- Paint or stain the wooden backing, if desired.
- Select a design in Design Space.
- Size the design to fit your backing.
- Add your vinyl to your mat, load it into the machine, and cut your design.

- Weed the excess vinyl from your design.
- Apply transfer tape to the design. Press firmly to attach the design to the transfer tape. Peel the tape off.

- Center the tape on your backing. Press firmly to attach to the backing. Carefully peel off the transfer tape.

- Enjoy your sign! You can add hanging hardware to the back, if you like!


Recommended Products
As an Amazon Associate and member of other affiliate programs, I earn from qualifying purchases.

Frequently Asked Questions
Do I need to seal my wood signs?
You have the option of adding clear polycrylic over your sign (pay attention to if you have glossy or matte poly). I prefer to use a spray poly compared to a can with a brush as I feel like I get less bubbles around the lettering.
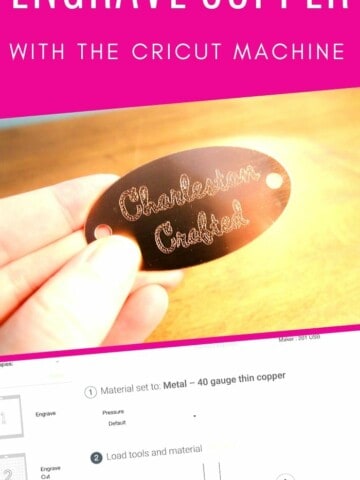
Can Cricut cut wood?
The Cricut Maker can cut wood. However, it is very thin wood - up to 3/32" thick. The wood is really more like a veneer.
You will need to use the knife blade to cut wood, and be prepared for it to take many passes. But, that is a beautiful way to create a wood-on-wood toned sign using your Cricut.
You cannot cut wood or use the knife blade with the Cricut Explore machines.
Does Cricut vinyl stick to wood?
Yes, Cricut vinyl sticks to wood very well. You can use permanent, outdoor, or removable vinyl successfully.
How can I make a Cricut stencil?
If you prefer to stencil your DIY signs on wood, you can use your Cricut stencil maker. Simply cut your design into Cricut Stencil Vinyl and use that to paint your design. I love that look, too!
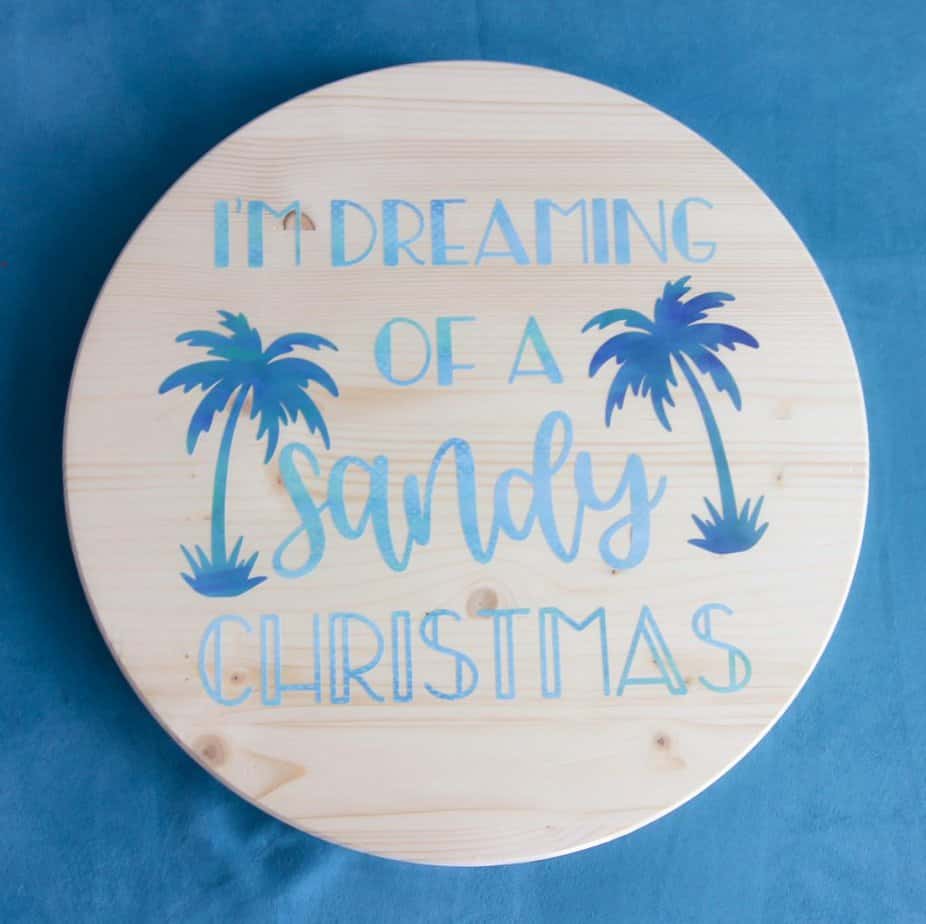
I absolutely love how my sign turned out! I see how addicting it can be and am tempted to make a wood sign Cricut business. 🙂
I hope that this has inspired you to try to make some wood signs DIY with your Cricut. With my tips, you should have a seamless process.

Looking for something?
We've been doing this since 2012 so we have a LOT of blog posts!
Search stuff like: Ceiling Projects | DIY Plant Stands | Thrift Flips

Hello, I'm Morgan, half of the creative force behind CharlestonCrafted.com! With a passion for DIY that dates back to 2012, I've transformed three homes and now I'm dedicated to helping others craft their dream spaces. Let's turn your house into a home together!