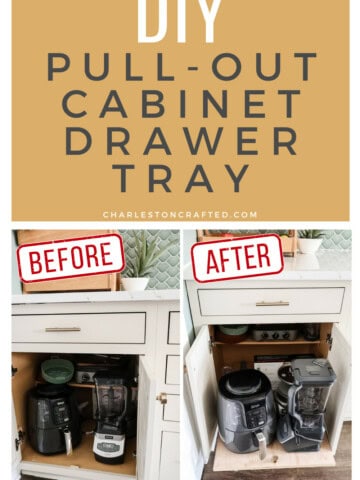
We are deep in a nursery makeover over here and I am really having a lot of fun planning baby clothes organization! When you are used to adult sized clothes, it is kind of scary to think about how to organize baby clothes. I have just been working to conquer the items one at a time, but will be sure to share a big round up when we get it all done. Today, i am going to share how I am organizing my baby hats with a DIY baby hat rack!
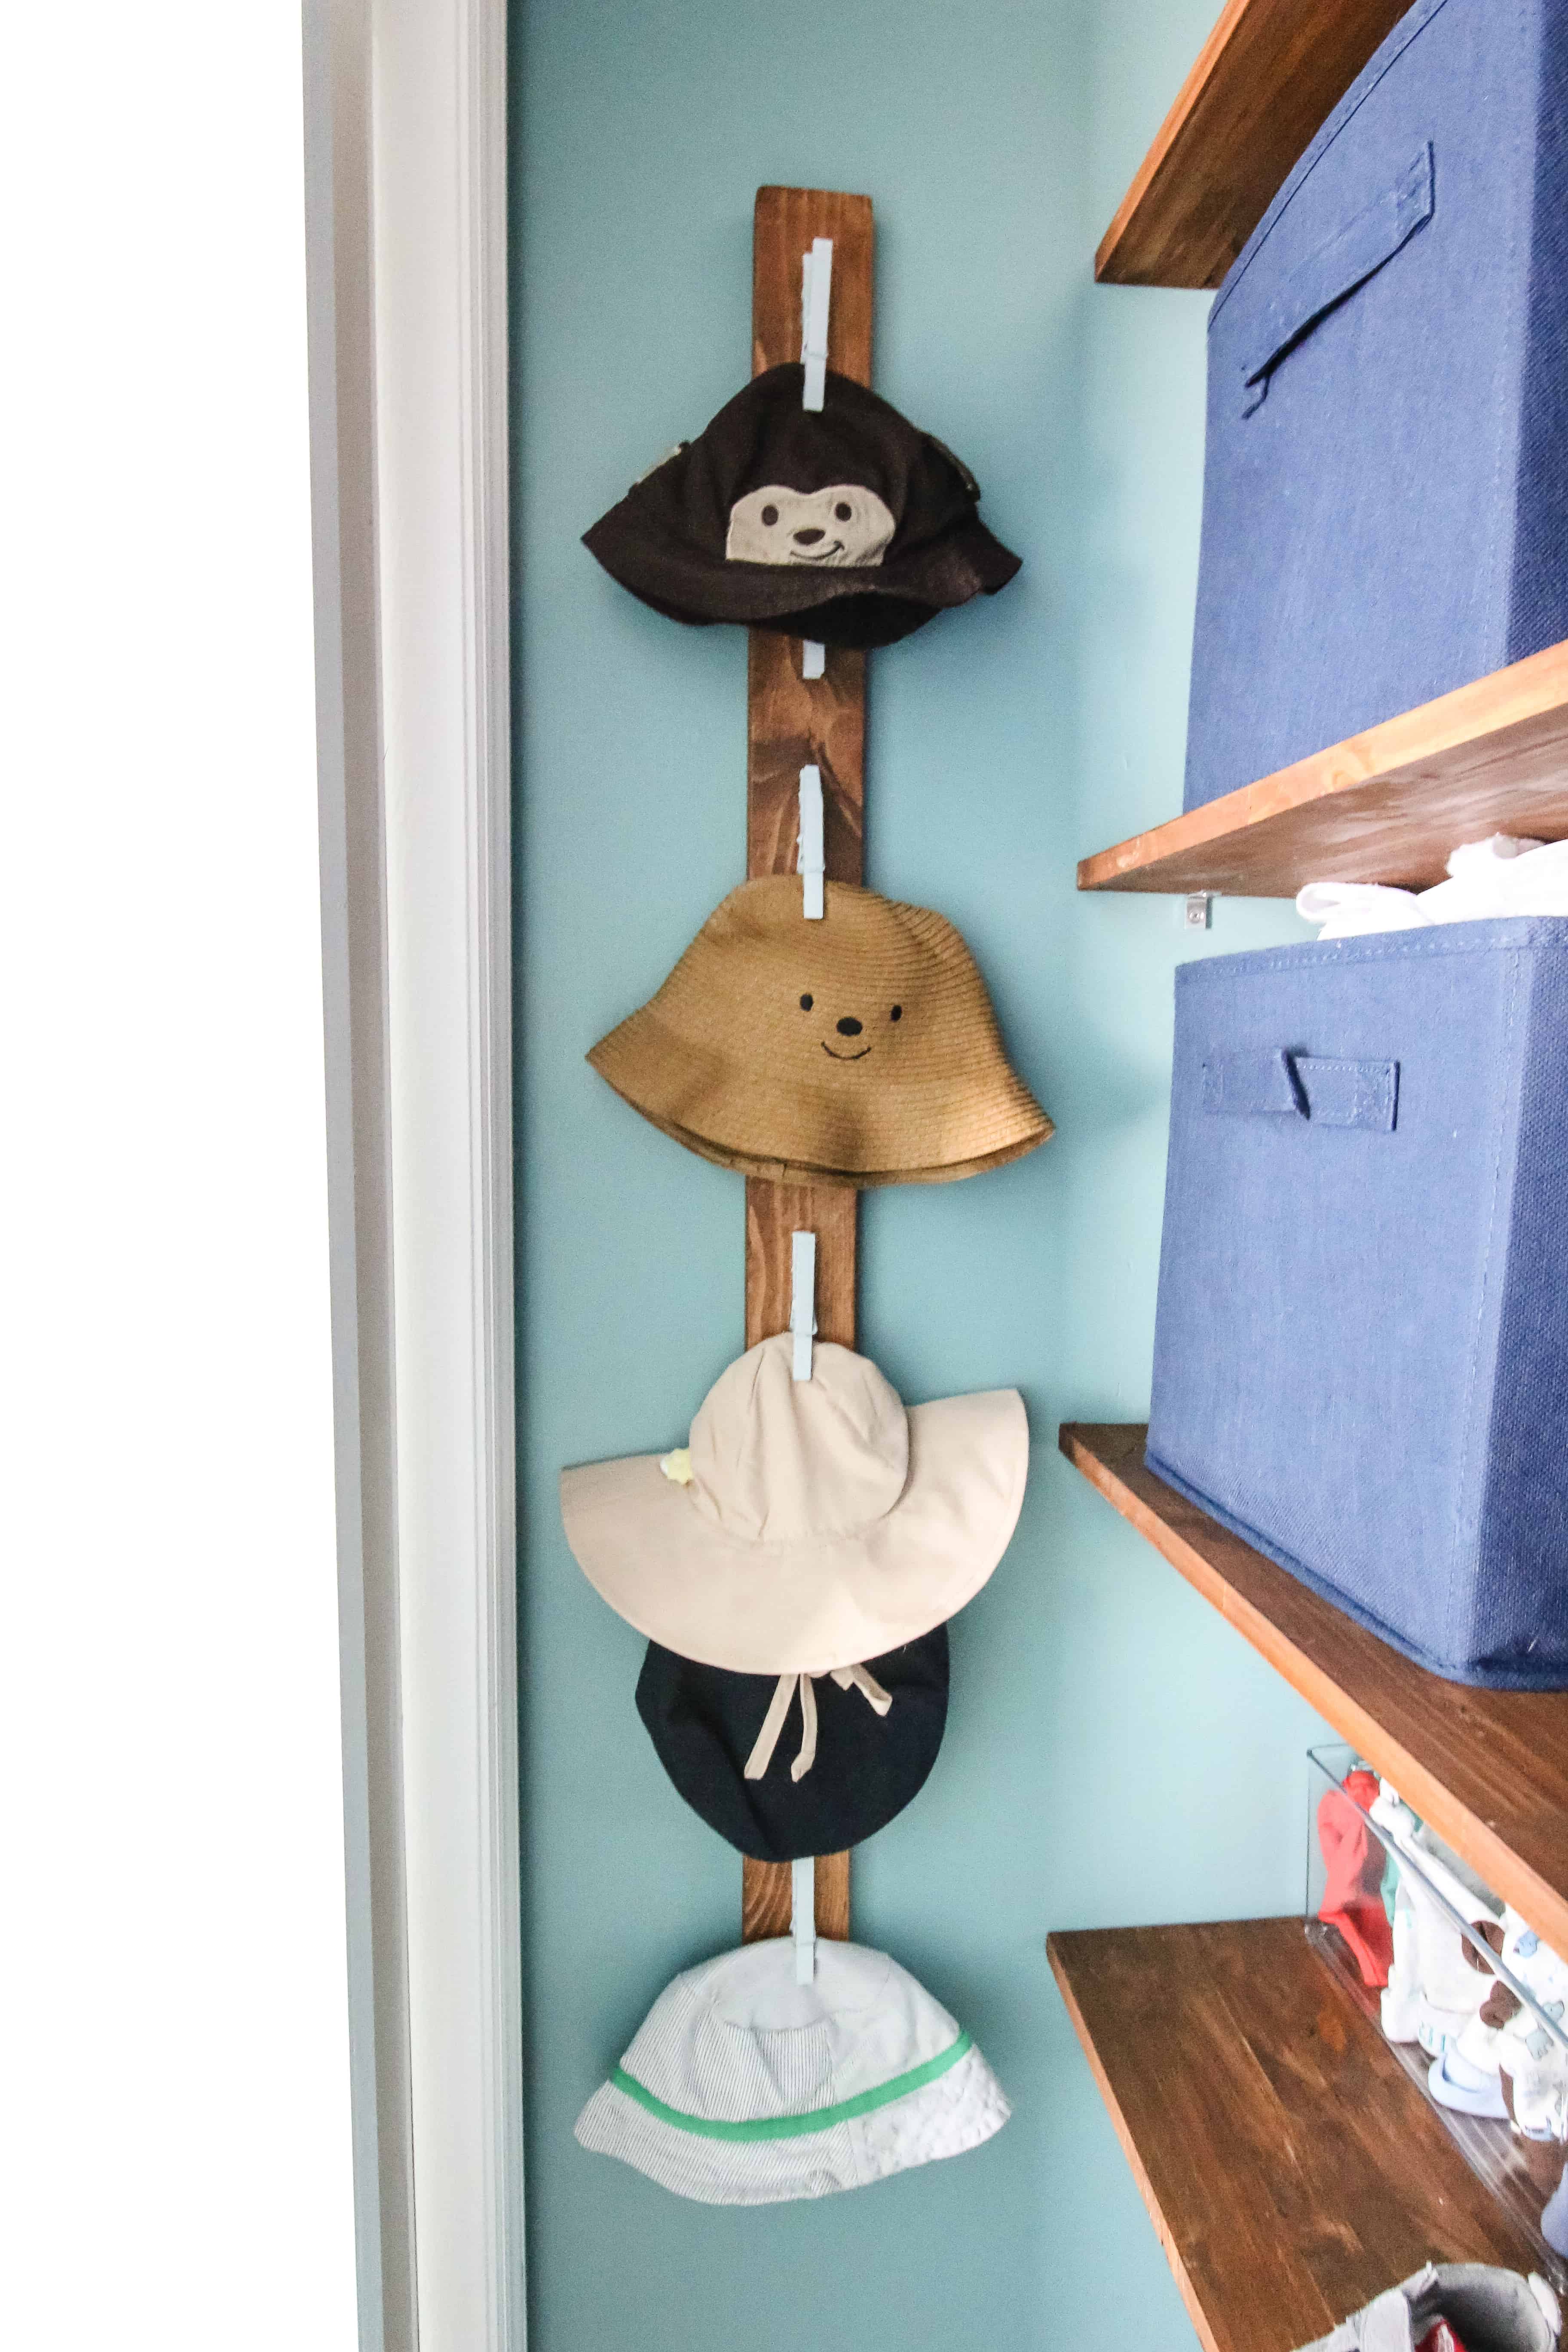
Baby Hat Organization
What you need to build a DIY baby hat organizer:
- Slat of wood - under 1" think, 1-3" wide, length equal to your desired height
- Alternatively, you could purchase a wooden craft plaque
- Stain or paint of choice for wood + pins
- My stain - Rust-Oleum Early American
Read our full review of Early American wood stain by Varathane! - My paint - Behr Urban Raincoat
- My stain - Rust-Oleum Early American
- Wooden clothespins
- Wood glue
- Drill + screws
How to build a baby hat organizer:
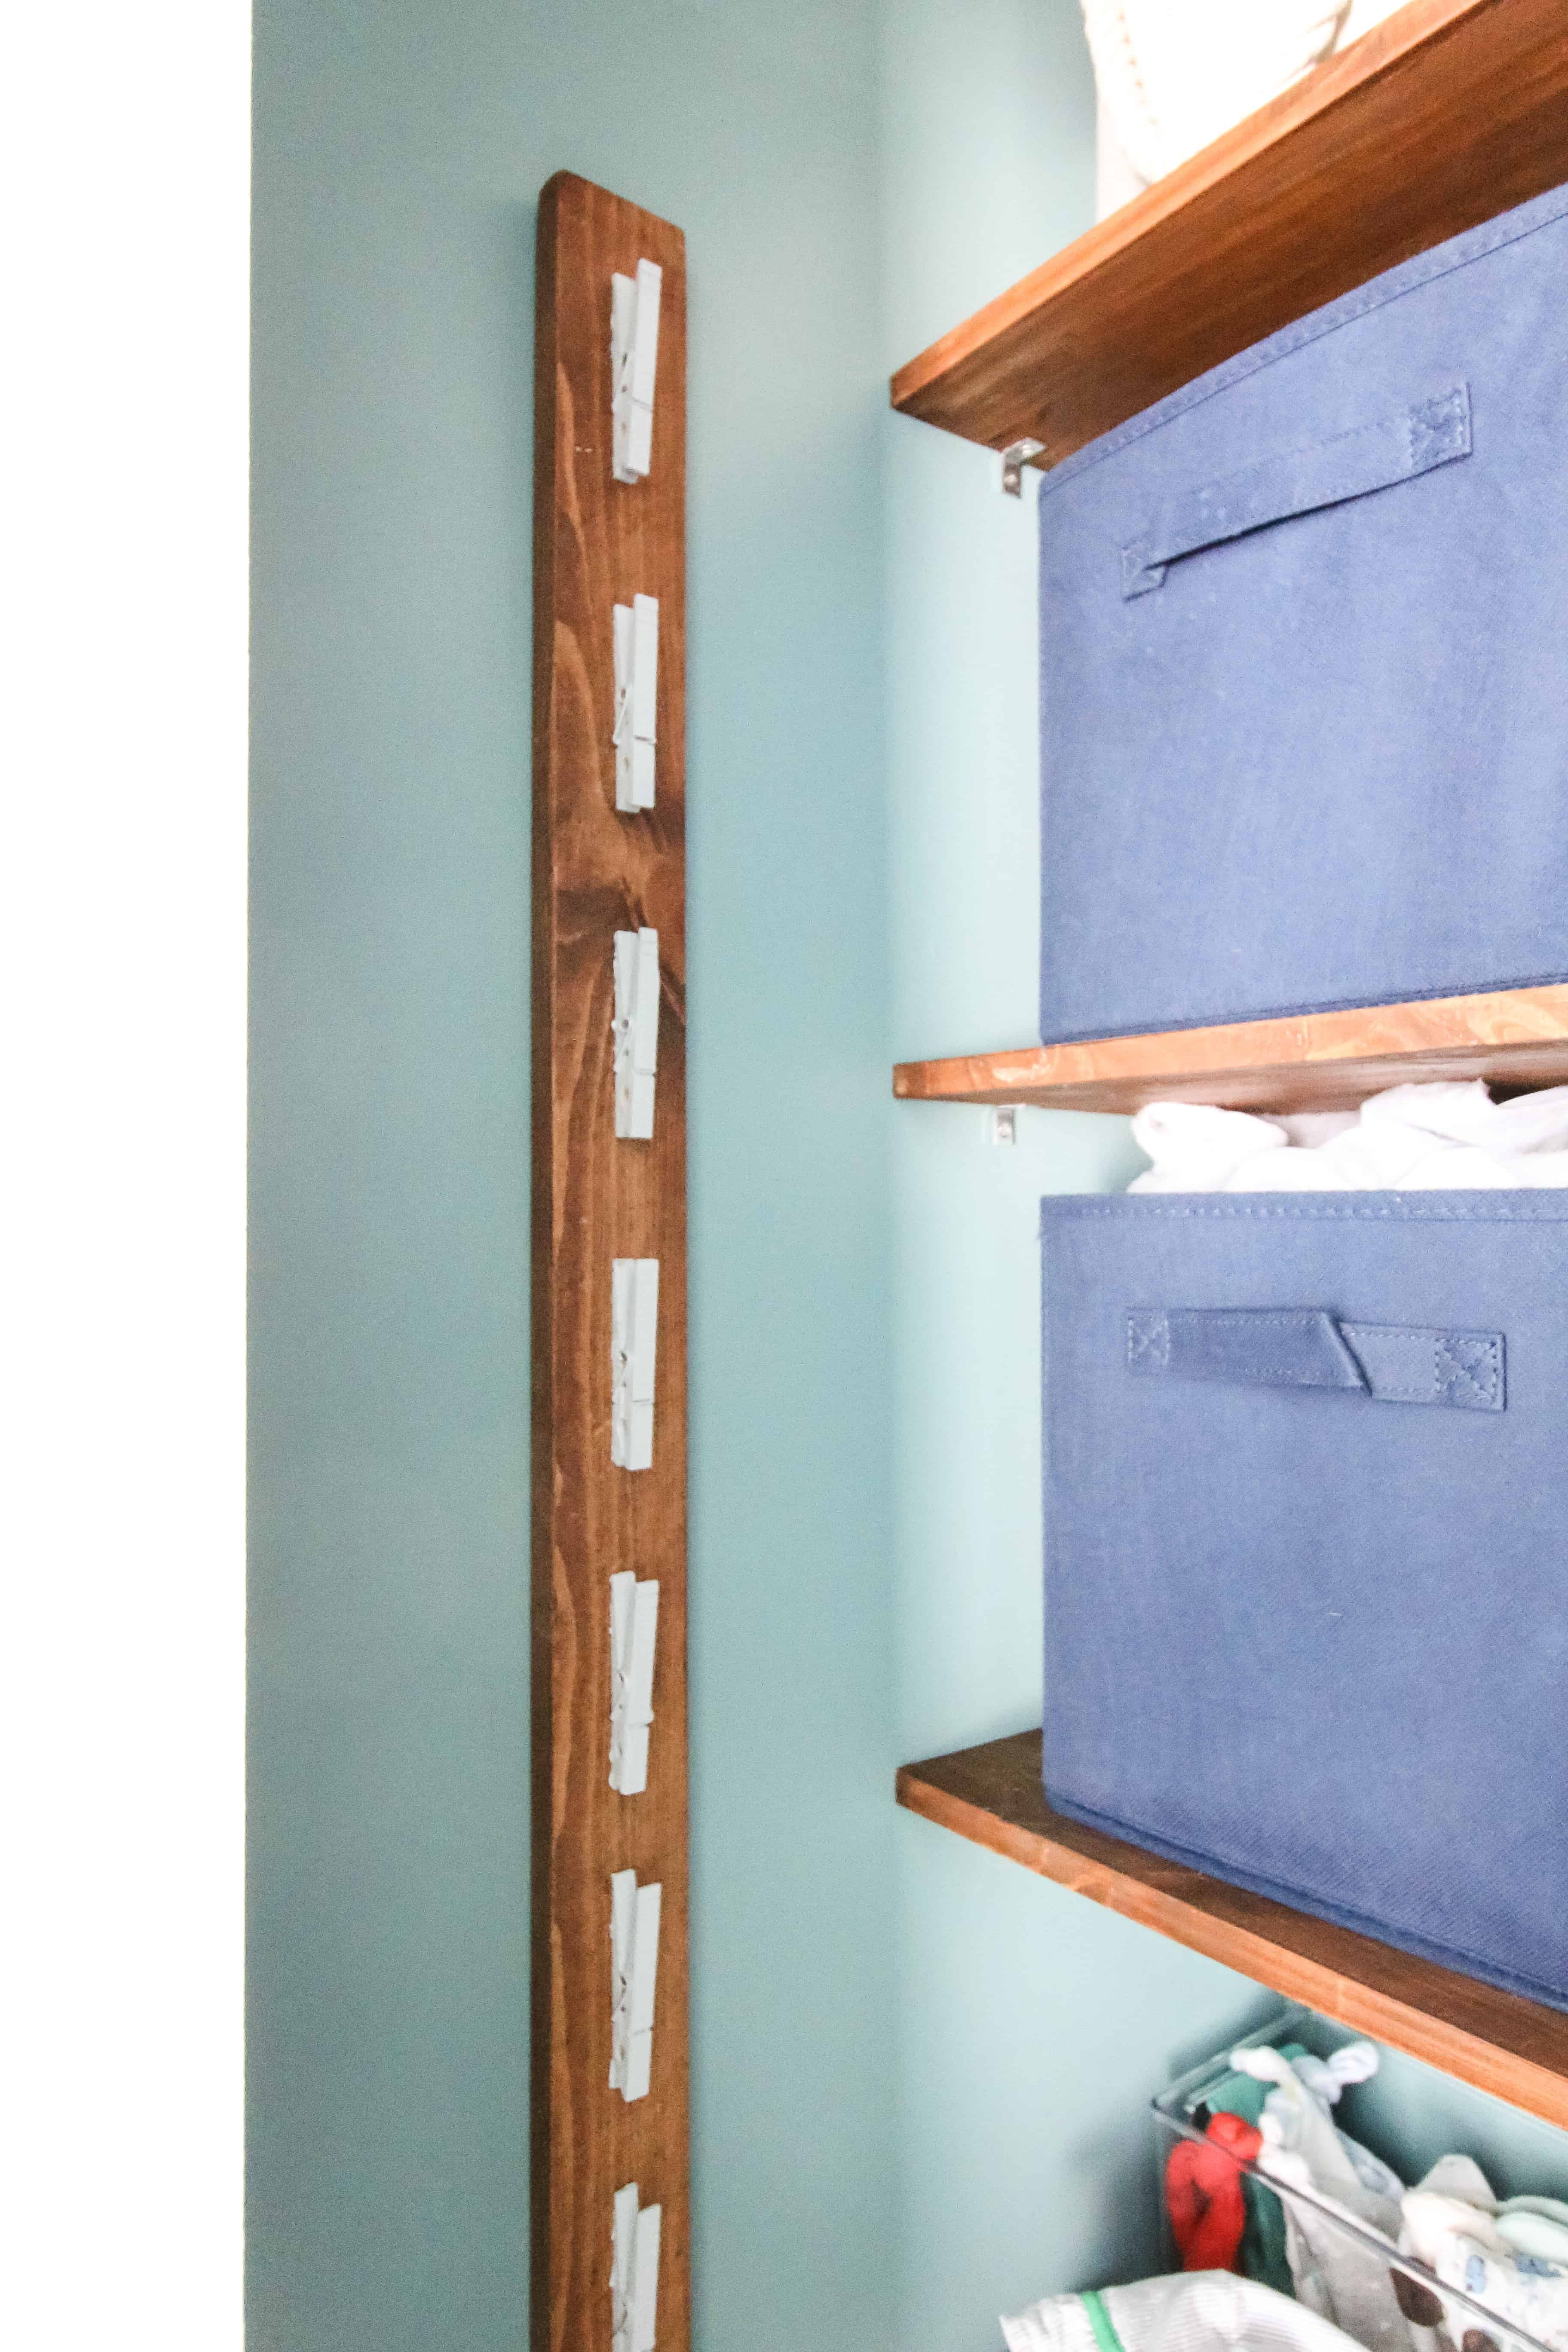
- Select a slat of wood the size that you desire for your baby hat rack. You might need to cut + sand a piece if you don't have one already. Stain or paint the slat to your desired color.
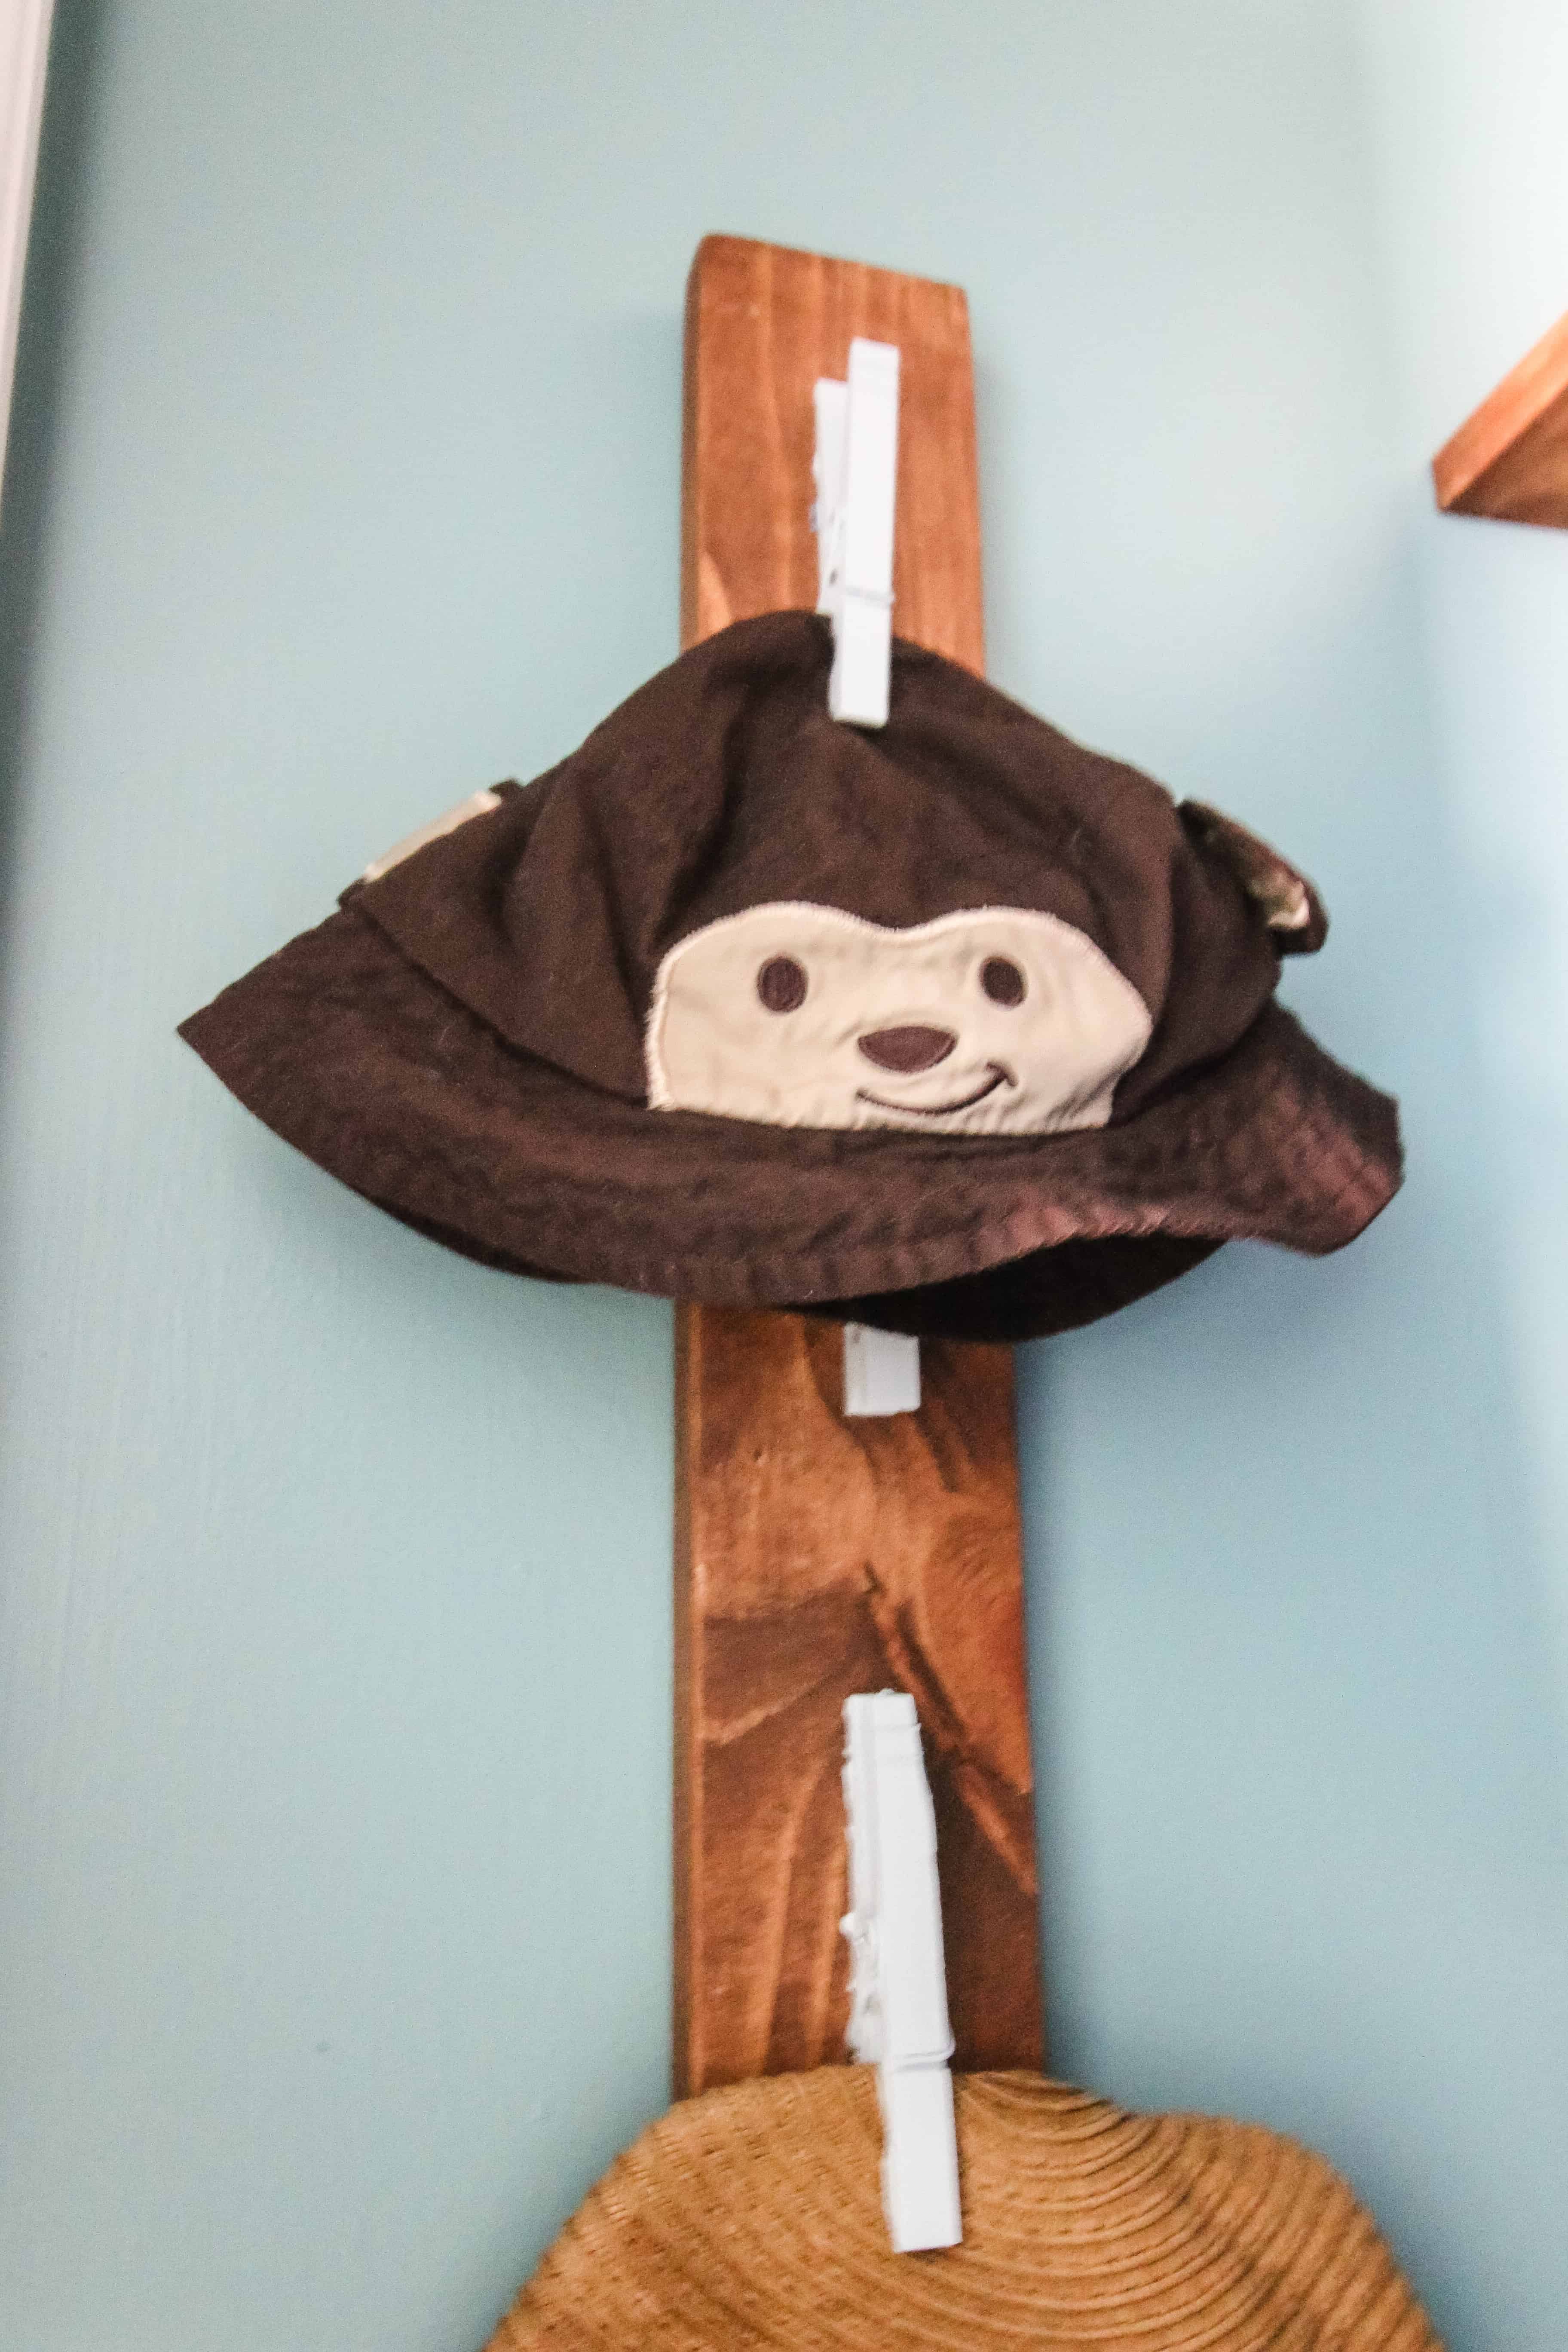
- Lay your clothespins out on the board to determine how many you need. Once you are satisfied with the layout, paint or stain the pins your desired color. Allow to dry.
- Use wood glue to attach pins to the wood slat. Allow to dry.
- Hang on the wall. I used a drill and screw to drill it directly into the wall. If you anticipate hanging anything heavy, you will want to drill into a stud or use anchors.
Do you have any great baby clothing storage or organization hacks and tips?
| |
|||
| |
|
|
|


Hello, I'm Morgan, half of the creative force behind CharlestonCrafted.com! With a passion for DIY that dates back to 2012, I've transformed three homes and now I'm dedicated to helping others craft their dream spaces. Let's turn your house into a home together!