• Skip to primary navigation
  • Skip to main content
  • Skip to primary sidebar
Charleston Crafted
  • DIY
  • Woodworking
  • Popular Posts
  • Blog
  • About
  • Shop
menu icon
go to homepage
  • DIY
  • Woodworking
  • Popular Posts
  • Blog
  • About
  • Shop
search icon
Homepage link
  • DIY
  • Woodworking
  • Popular Posts
  • Blog
  • About
  • Shop
×
Home » Home Projects

How to make Decorative Monkey Fist Knot Balls

Published: Oct 20, 2014 · Modified: Feb 20, 2025 by Morgan · As an Amazon Associate, we earn from qualifying purchases. This site contains affiliate links. ·

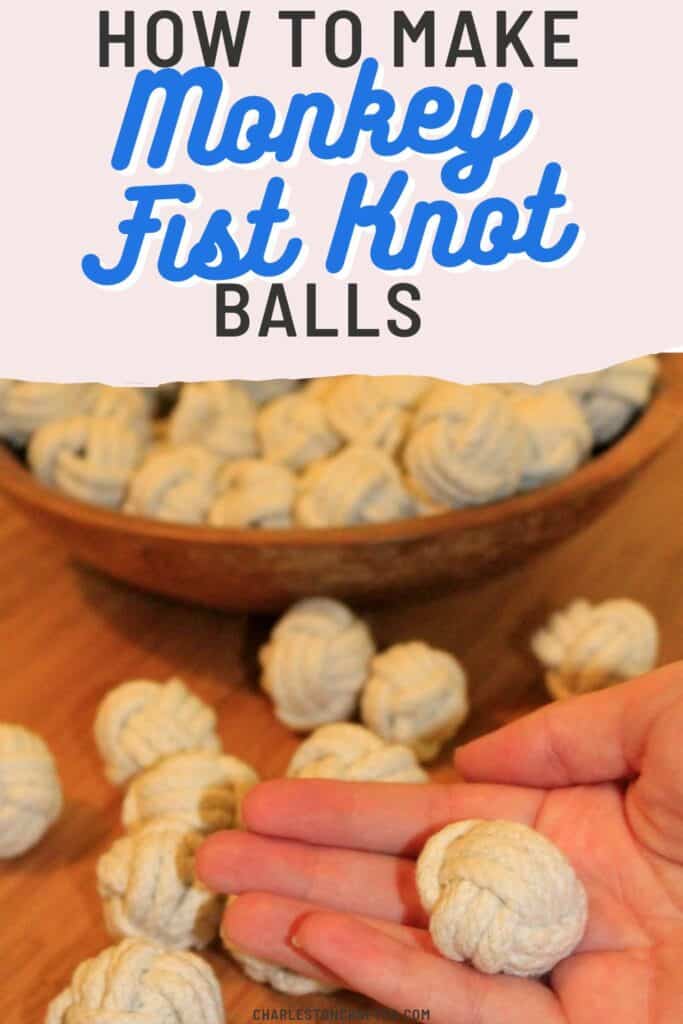
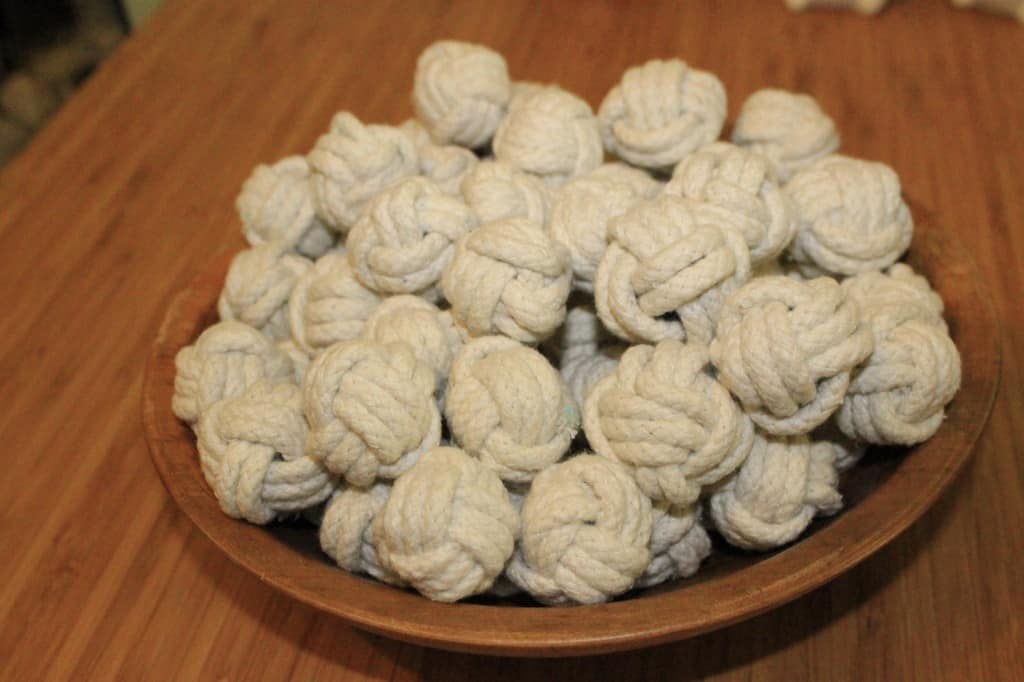
Want to decorate with rope knots for a nautical aesthetic? Here is step by step How to make Decorative Monkey Fist Knot Balls!

Our wedding is going to be held on a dock overlooking the shrimp boats of Shem Creek. Of course we are having a nautical theme!

While I don't want to have jars of sea shells sitting around, I do want to pull in certain classical nautical elements.

One of those, to me, is rope. We plan on using rope in a variety of ways, but I don't want to just have coils of rope sitting around.

We've previously shared our DIY monkey fist knot doorstop, and I knew that I wanted to replicate the look at our wedding.

how to make monkey fist knot balls

If you like this look as well, Monkey Fist knots are a relatively inexpensive and widely available on Etsy.

But of course, I can't resist the opportunity to DIY.

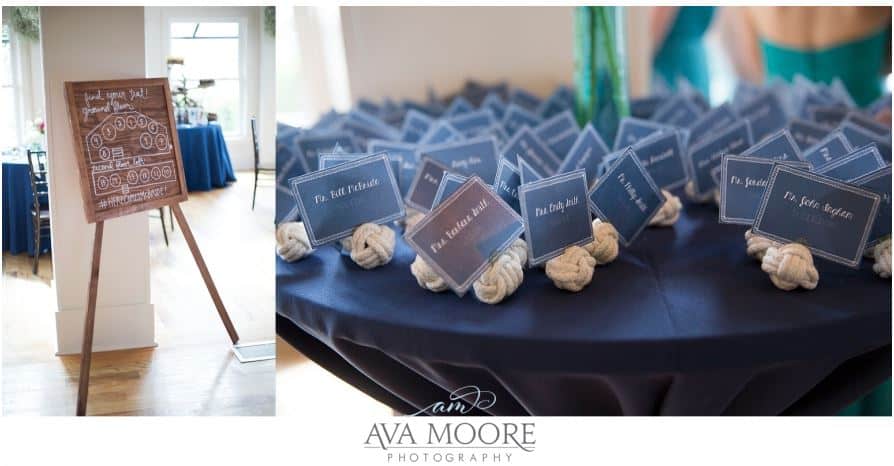
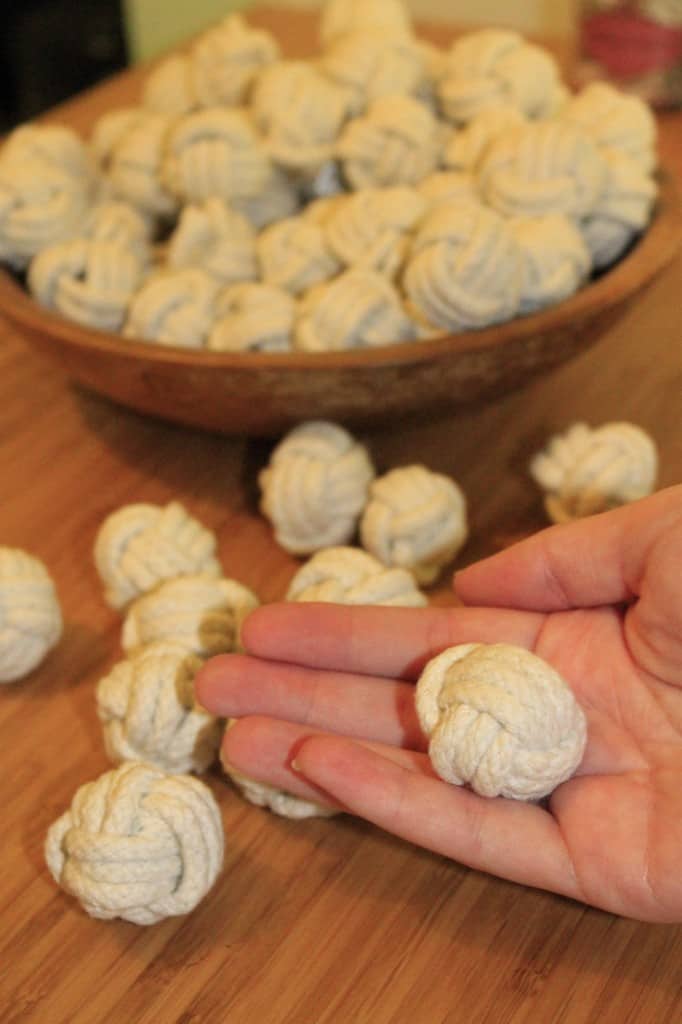
We decided to use the knots to accompany our escort cards, so I will need to make over 100 small knots.

We are going with a navy, mint, and coral color scheme, so I thought that white rope would give the knots the biggest pop. Plus, it's easy and cheap to buy white rope.

monkey knot ball escort cards wedding

How to make mini monkey fist knots

It's easy to make these nautical knots. Once you get going, it's addictive, too!

Supplies needed

  • clothesline
  • scissors
  • marbles or other small balls

I started with a nylon rope from Lowes (that I already had on hand) but decided that I didn't like the glossy look of the nylon and went in search of a more matte cord.

DIY Monkey Fist Knots for Wedding Decor - Charleston Crafted

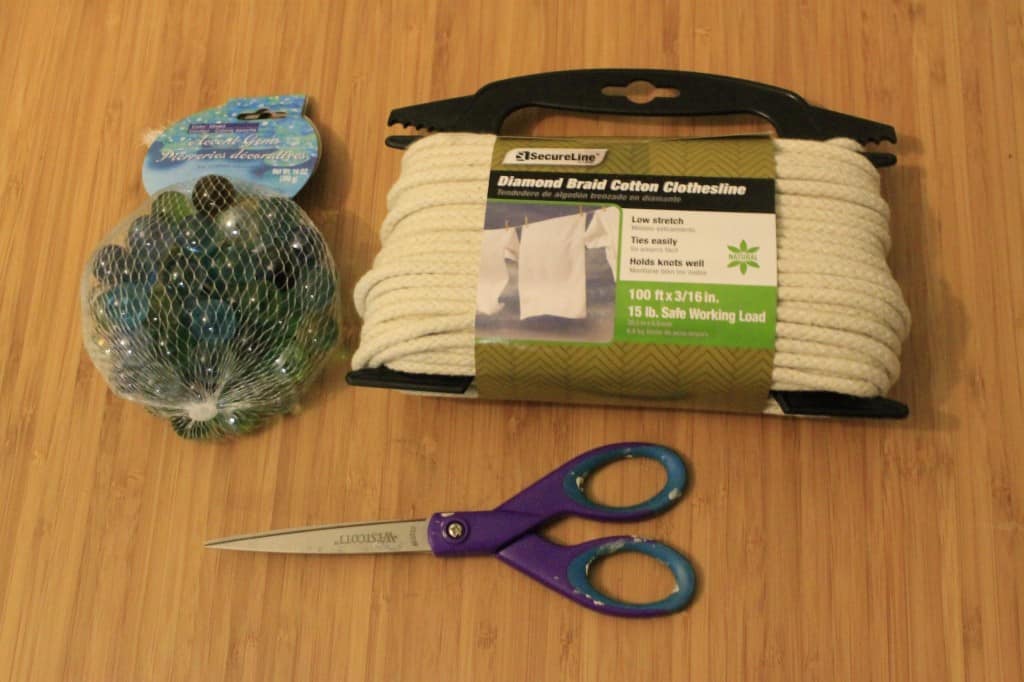
After looking at a lot of stores, I found this 3/16" clothesline at Walmart.

Whatever you select, it's important that it has a soft and not plastic core. Plastic cores are stiff and won't allow you to tie tight, small knots.

DIY Monkey Fist Knots for Wedding Decor - Charleston Crafted

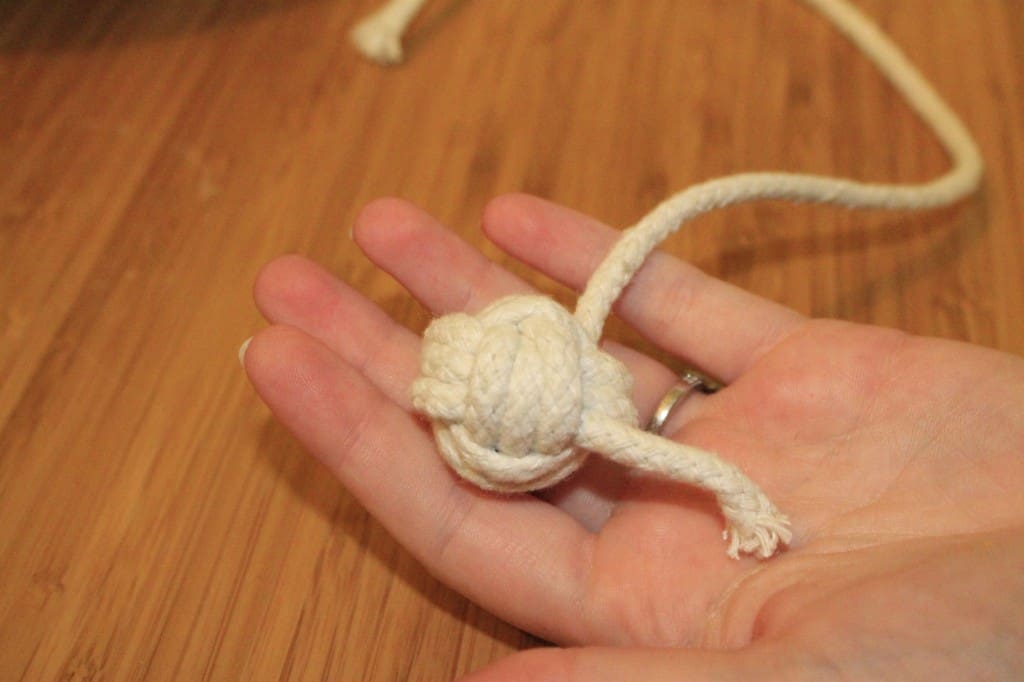
We wanted to make each knot end up around an inch and a half in diameter. We learned with our doorstop that it is much easier to get a well shaped knot when you have something spherical to slip inside it.

I immediately thought of marbles for this project.

Beware - marbles are hard to find in stores! I ended up picking up three 50 count bags from the dollar tree.

I had to dig thru displays of flat sided marbles but I was able to find three mismatching bags.

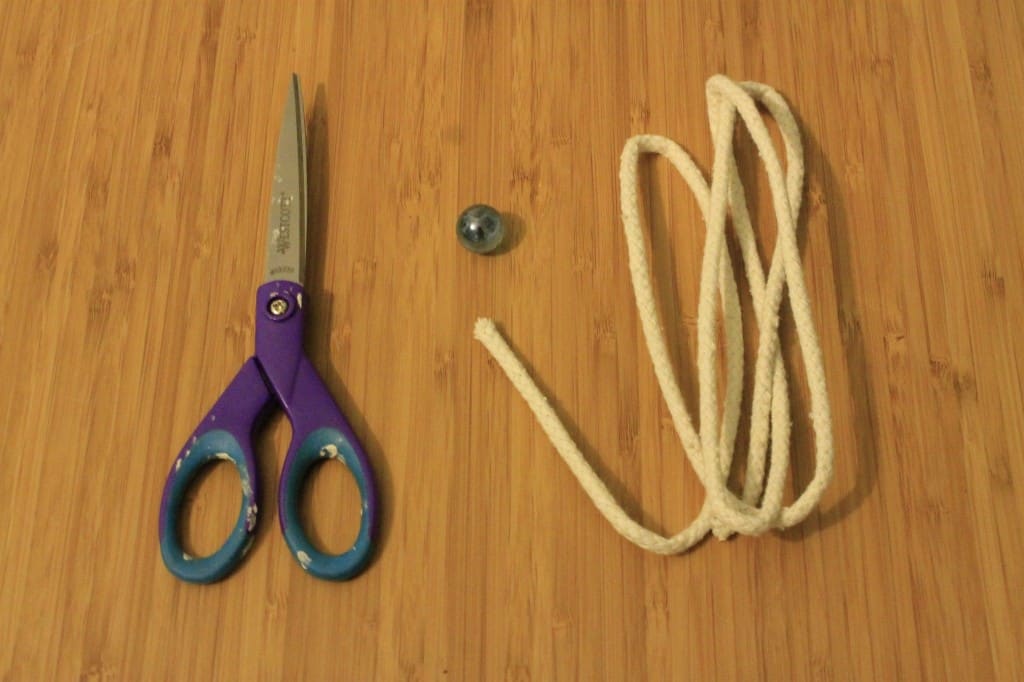
One crazy thing about monkey knots is that they take a LOT of rope. My 1 ½ inch knots took about 3 feet of rope each. I used an arm length (from finger tip to the opposite shoulder) to measure each length.

It's a bit hard for me to put into words how to tie one of these knots, so I will direct you to youtube and give you some of my tips.

DIY Monkey Fist Knots for Wedding Decor - Charleston Crafted

Steps to make monkey fist knots:

  • I did three loops of rope in each direction (3 directions total). This gives you enough coverage to get full coverage of the marble, without making the knot too big.
  • I typically do 3 loops around my 3 fingers (like in the video), then slip them off my fingers and do the three loops running perpendicularly.
  • Then I use my left hand to sort of pinch those loops (they should be making an X ) and run the cord three more times - UNDER the inner most loops, OUTSIDE the outer most loops.
DIY Monkey Fist Knots for Wedding Decor - Charleston Crafted

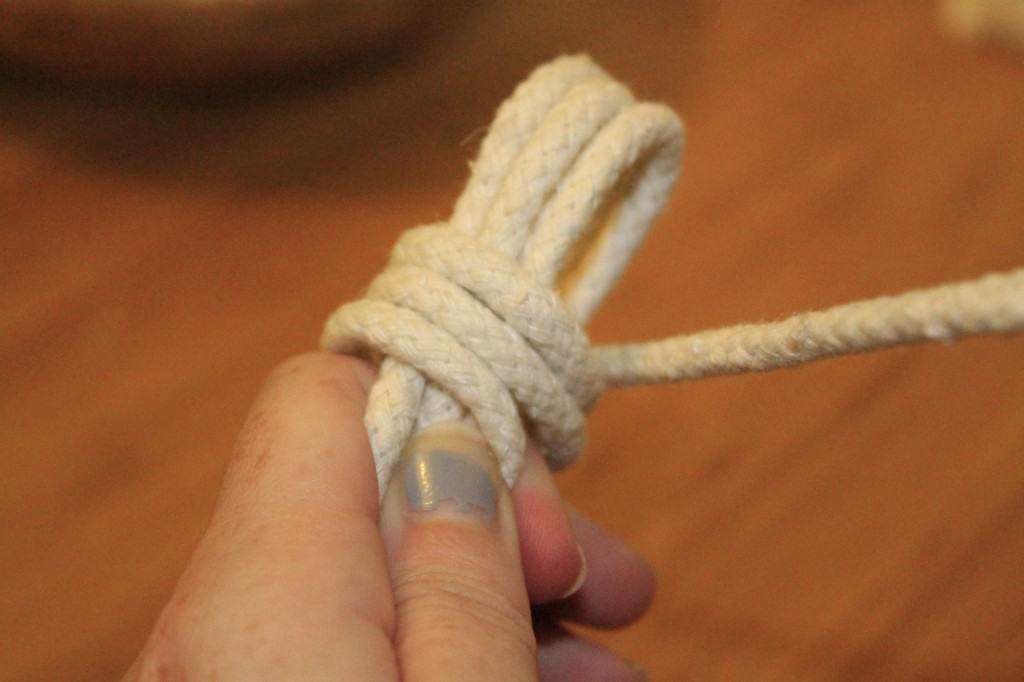
Before tightening (above)

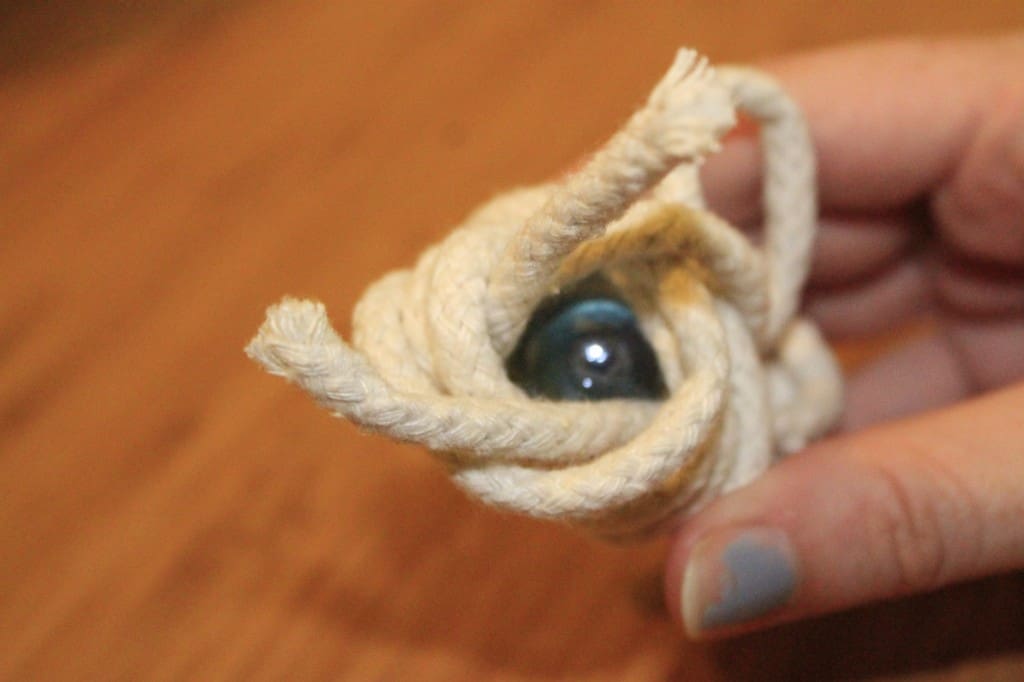
  • Tie the knot loosely, then insert the marble, then tighten the whole knot twice.
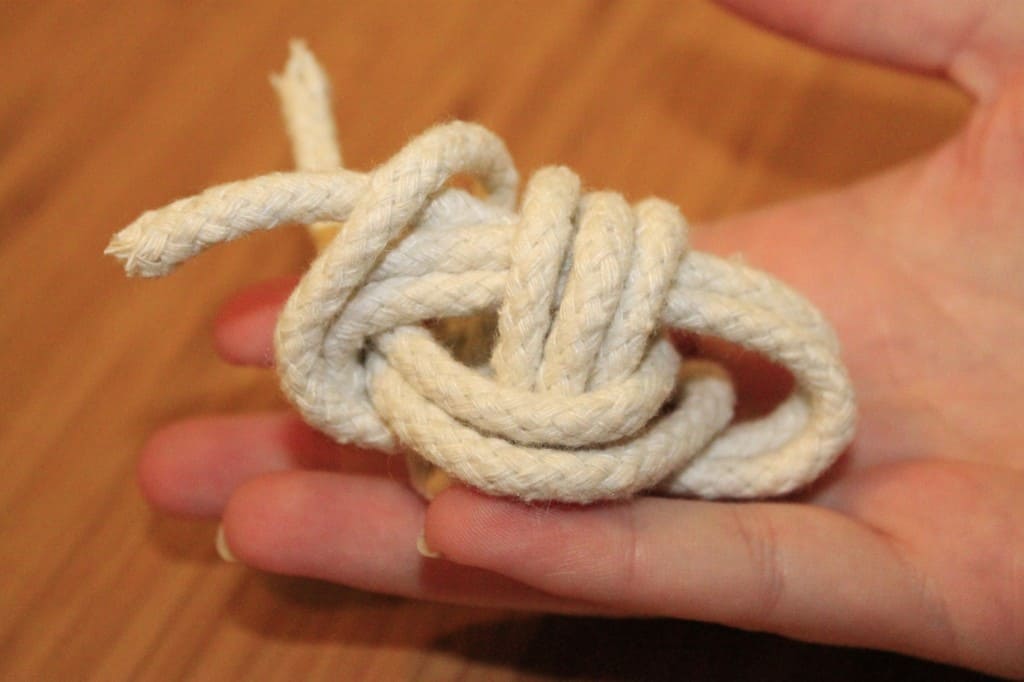
  • I tighten the knot by starting at one end of the rope, and pulling the long end (the end of the rope going into the knot) until it's tight.
  • Follow it thru the whole knot until you get to the other end. It's a little tricky where the knot switches directions, but after a few of them you will get used to the pattern that it follows.
DIY Monkey Fist Knots for Wedding Decor - Charleston Crafted

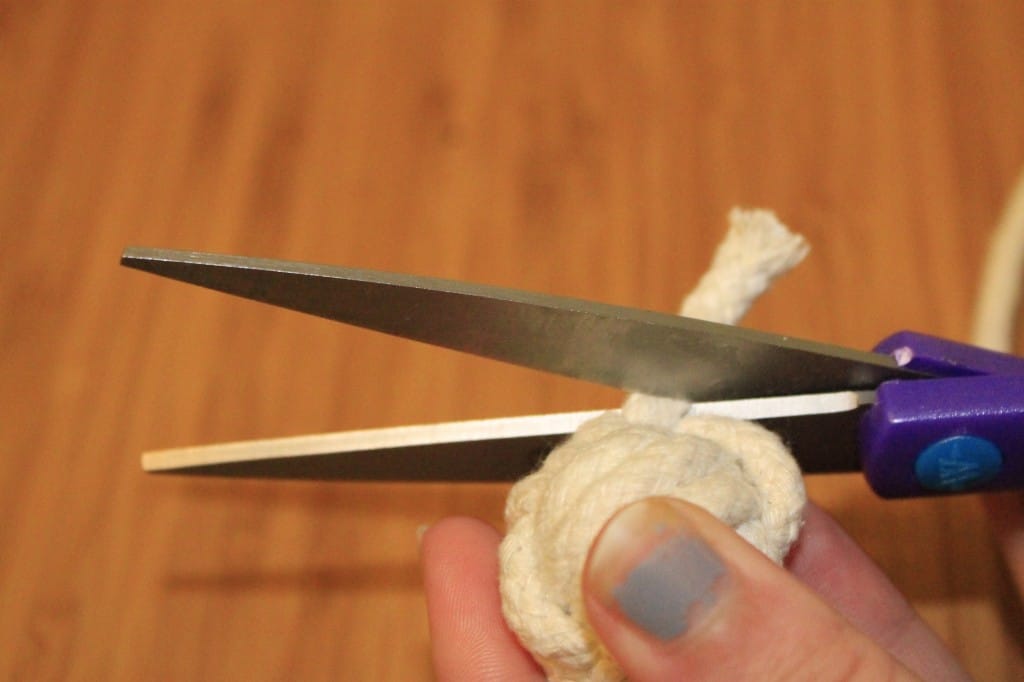
After tightening once (above)

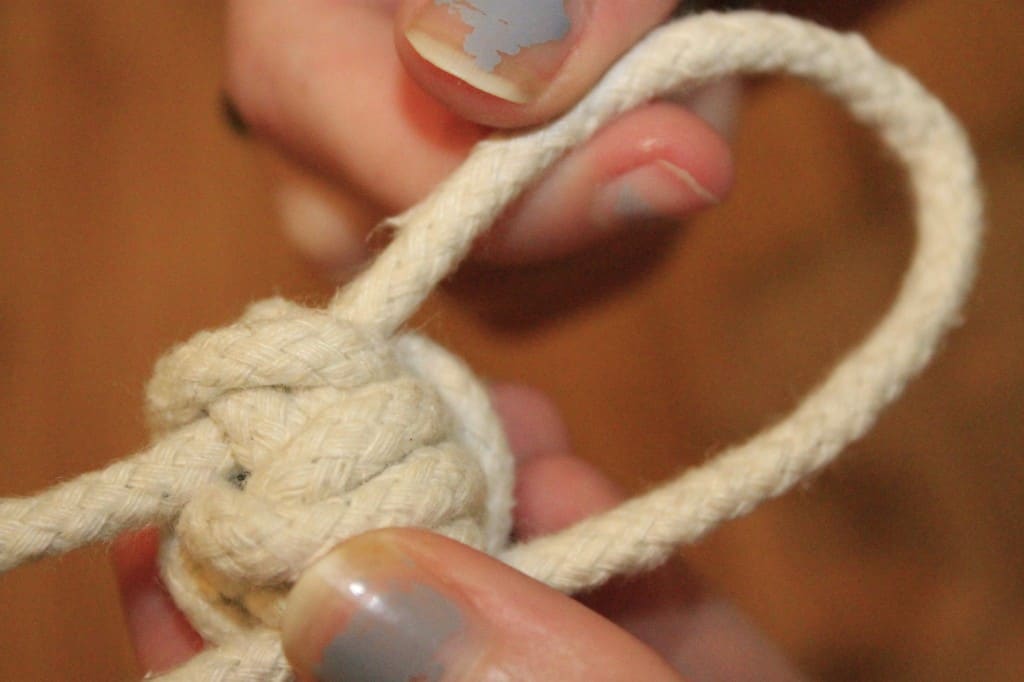
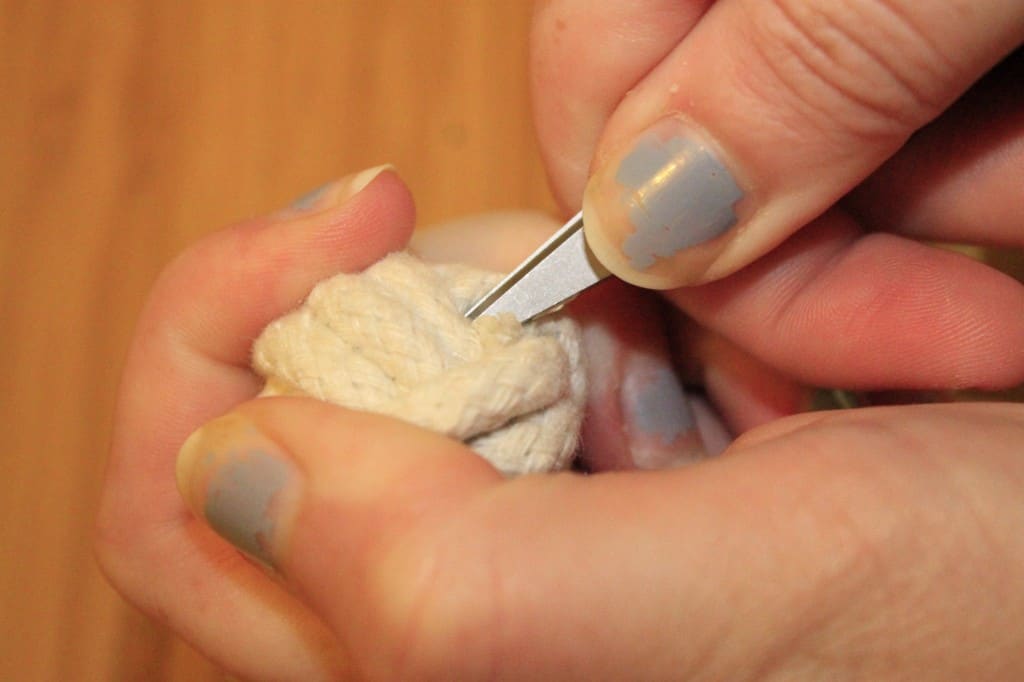
  • When you have the knot tightened, clip the ends and tuck them in. I used a pen or the tip of a pair of scissors to help shove the ends under themselves. They stay secure, as long as they are tight.
DIY Monkey Fist Knots for Wedding Decor - Charleston Crafted

After tightening twice (above)

DIY Monkey Fist Knots for Wedding Decor - Charleston Crafted
  • Don't be afraid to throw out wonky knots. Sometimes it just won't go right. Don't beat yourself up. Abandon that one and maybe come back to it later.
v
  • It's better to have extra rope than not enough. Yeah, it's wasteful. But if you run out of rope, there's nothing you can do - you have to start over with a longer piece. Especially when you are starting out, cut more rope than you think that you need.
DIY Monkey Fist Knots for Wedding Decor - Charleston Crafted

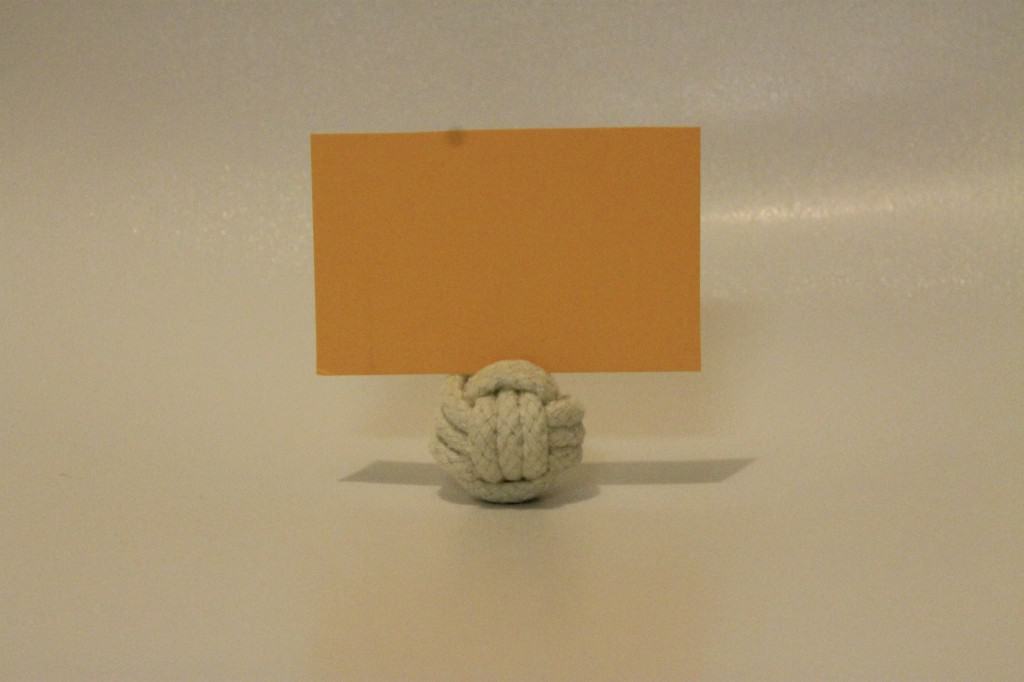
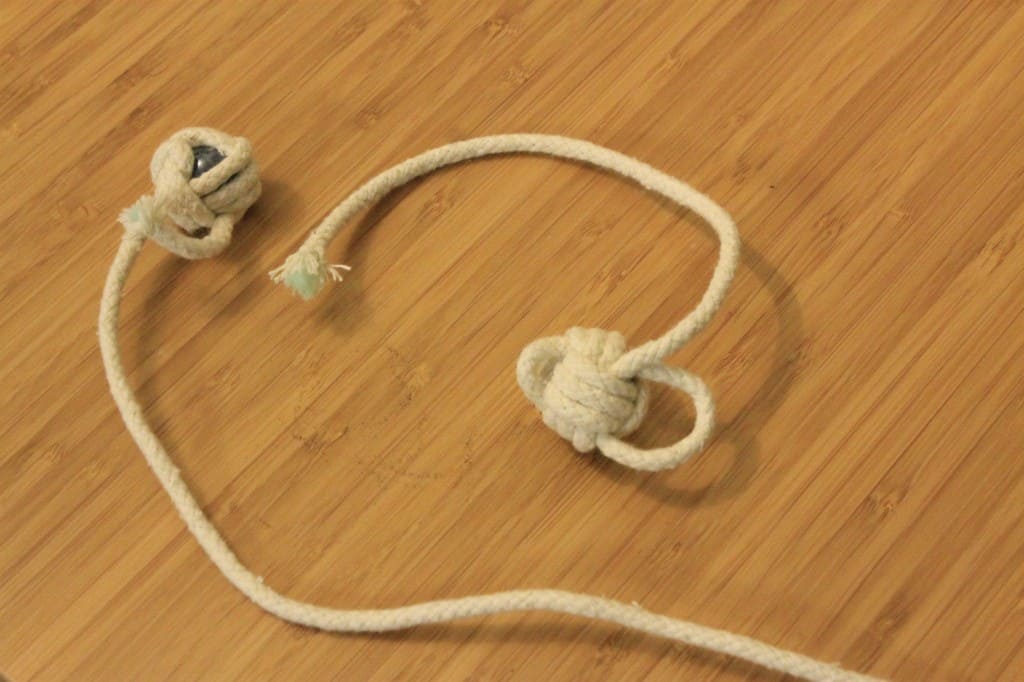
This is clearly not one of our place cards (in size or color) but it gives you a general idea of how we might use them!

DIY Monkey Fist Knots for Wedding Decor - Charleston Crafted

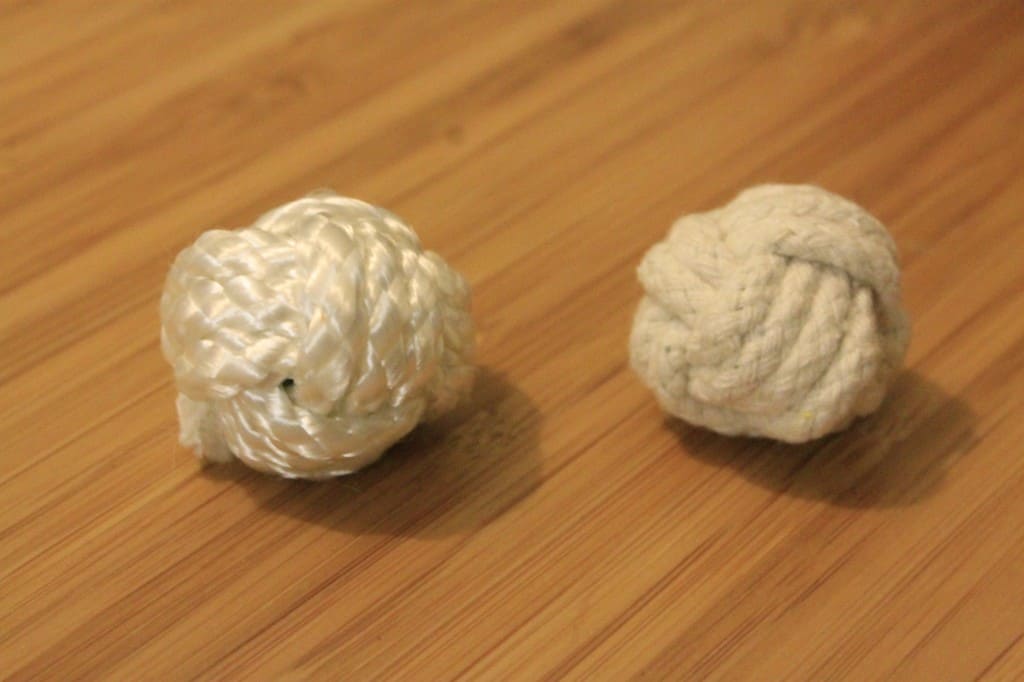
Here's an example of the glossy nylon rope compared to the matte clothesline (above)

DIY Monkey Fist Knots for Wedding Decor - Charleston Crafted

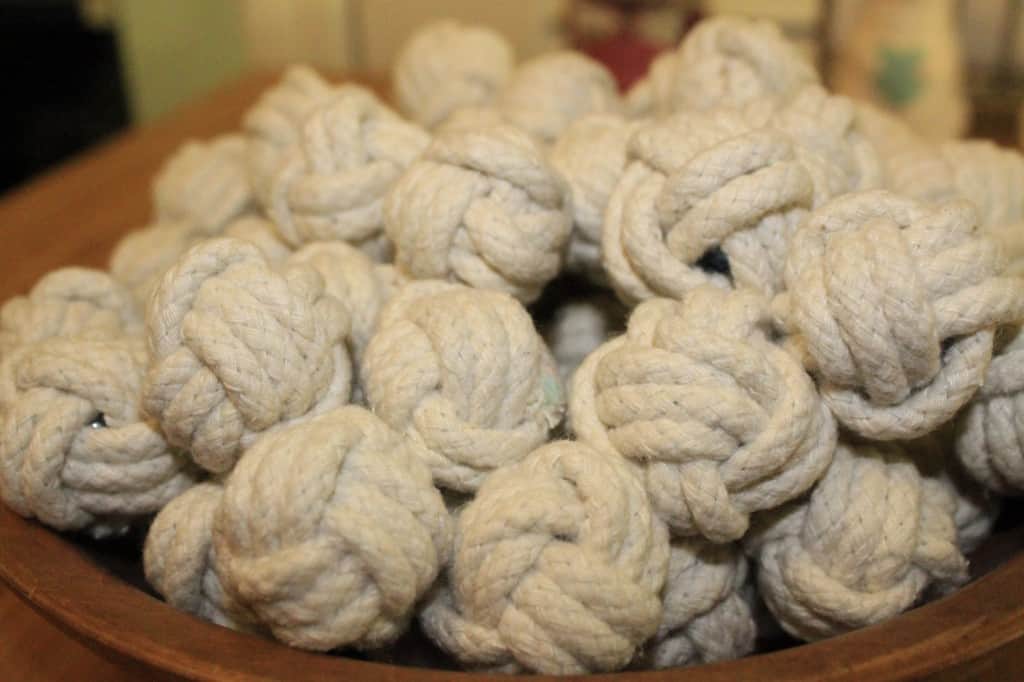
I'm so excited to display these at our wedding - I think that they will be a fun nautical touch!

What have you been crafting up lately?

DIY Monkey Fist Knots for Wedding Decor - Charleston Crafted
Charleston Crafted Signature

Follow us on:
Pinterest | Instagram | TikTok | YouTube | Facebook | Amazon Storefront | LTK Shop

Looking for something?

We've been doing this since 2012 so we have a LOT of blog posts!
Search stuff like: Ceiling Projects | DIY Plant Stands | Thrift Flips

Charleston Crafted logo banner
Morgan headshot cropped
Morgan

Hello, I'm Morgan, half of the creative force behind CharlestonCrafted.com! With a passion for DIY that dates back to 2012, I've transformed three homes and now I'm dedicated to helping others craft their dream spaces. Let's turn your house into a home together!

More Home Projects

  • DIY floating corner shelves - Charleston Crafted
    How to make floating corner shelves
  • how to assess your home renovation needs
    How to assess your home renovation needs
  • Top Mistakes to Avoid When Renovating Your Home
    Top Mistakes to Avoid When Renovating Your Home
  • How to create a DIY home renovation plan
    How to create a DIY home renovation plan

Reader Interactions

Comments

  1. Lauren says

    October 18, 2015 at 5:05 pm

    How much do you think this ended up costing? TIA!

    • Morgan says

      October 18, 2015 at 7:42 pm

      The marbles were $1 a bag at the dollar store, the rope was $9 for 100 feet at Walmart. I think we used 2 rolls of rope and 2 bags of marbles so... $20. 🙂

Primary Sidebar

Charleston Crafted about us image

Hey y'all!

We are Morgan & Sean McBride and we are crafting our home together in Charleston, South Carolina.

More about us

Popular Posts

  • DIY Coffered Ceiling
    DIY Coffered Ceiling
  • How to Make DIY Concrete Pumpkins via Charleston Crafted
    How to Make DIY Concrete Pumpkins
  • How to Make a Cupid's Arrow Valentine's Day Wall Hanging with felt on the Cricut
    How to make a Cupid's Arrow Valentine's Day Wall Hanging
  • Our Tropical Oasis - A backyard Hammock area - Charleston Crafted
    Our Tropical Oasis

Recent Posts

  • fisherman aesthetic home inspiration
    Fisherman Aesthetic Decor for Your Home
  • Senix Tools Review- Charleston Crafted
    Are Senix power tools any good?
  • Your Weekend To-Do List: 15 Things to Do for Summer Home Upkeep
    Your Weekend To-Do List: 15 Things to Do for Summer Home Upkeep
  • How to build a DIY gate pergola- Charleston Crafted
    How to build a DIY gate pergola

Privacy Policy

Footer

↑ back to top

Navigation

  • Home
  • Blog
  • Contact Us
  • Terms of Use
  • Disclaimer

Newsletter

  • Sign up for emails and updates
  • Follow us on Instagram
  • Work with Us

Browse by Category

  • Woodworking
  • Home Projects
  • Paint Colors
  • Room Reveals

© 2025 The Charleston Crafted Blog LLC DBA “Charleston Crafted” and “CharlestonCrafted” (also known as N/A) / All Rights Reserved.
Official Website: (Charleston Crafted)
Registered in USA (Co. Reg. No.: 565586)
Address: Charleston, USA 29414, South Carolina
Contact Phone: Not applicable — contact is via email: sean@charlestoncrafted.com

DISCLAIMER: The content on this website is provided for general informational purposes only and is not intended as professional advice. The Charleston Crafted Blog LLC and The Charleston Crafted Blog LLC make no representations or warranties—express or implied—regarding the accuracy, completeness, or suitability of the information contained herein. Any reliance you place on this information is strictly at your own risk. In no event shall The Charleston Crafted Blog LLC or The Charleston Crafted Blog LLC be liable for any loss or damage, including without limitation, indirect or consequential loss or damage, arising from the use or inability to use this website. This website is the official website of The Charleston Crafted Blog LLC.

AFFILIATE DISCLOSURE: This website contains affiliate links. If you click through and make a purchase, we may earn a commission at no extra cost to you.

As an Amazon Associate, I earn from qualifying purchases.

Site Editor: Morgan Smith McBride

Copyright © 2025 Charleston Crafted