• Skip to primary navigation
  • Skip to main content
  • Skip to primary sidebar
Charleston Crafted
  • DIY
  • Woodworking
  • Popular Posts
  • Blog
  • About
  • Shop
menu icon
go to homepage
  • DIY
  • Woodworking
  • Popular Posts
  • Blog
  • About
  • Shop
search icon
Homepage link
  • DIY
  • Woodworking
  • Popular Posts
  • Blog
  • About
  • Shop
×
Home » Home Projects

Sewing 101: the Slip-on Pillow Cover

Published: Aug 13, 2014 · Modified: Feb 14, 2016 by Morgan · As an Amazon Associate, we earn from qualifying purchases. This site contains affiliate links. ·

This post is so, incredibly, totally out of character for me. Even though it’s been something I’ve been wanting to do for a while, I can’t believe I finally did it.

I sewed, y’all.

I, the queen of the no-sew hem tape, stitch witch forever, have sewed. And my first project is laughably ironic.

But let me back up for a beat. I have had a sewing machine for a long time – over ten years. I have moved it from apartment to apartment and never really used it. I always forget how to thread the bobbin (the manual is long gone) and I swear that pieces are missing.

So, in a bold, life altering move, I asked for a new sewing machine for my birthday. I picked out this one from Amazon – the Brother CS6000i. It has 60 different stitches, does button holes, and was $150 (on Amazon). It had solid reviews and I thought it was a good beginners machine.

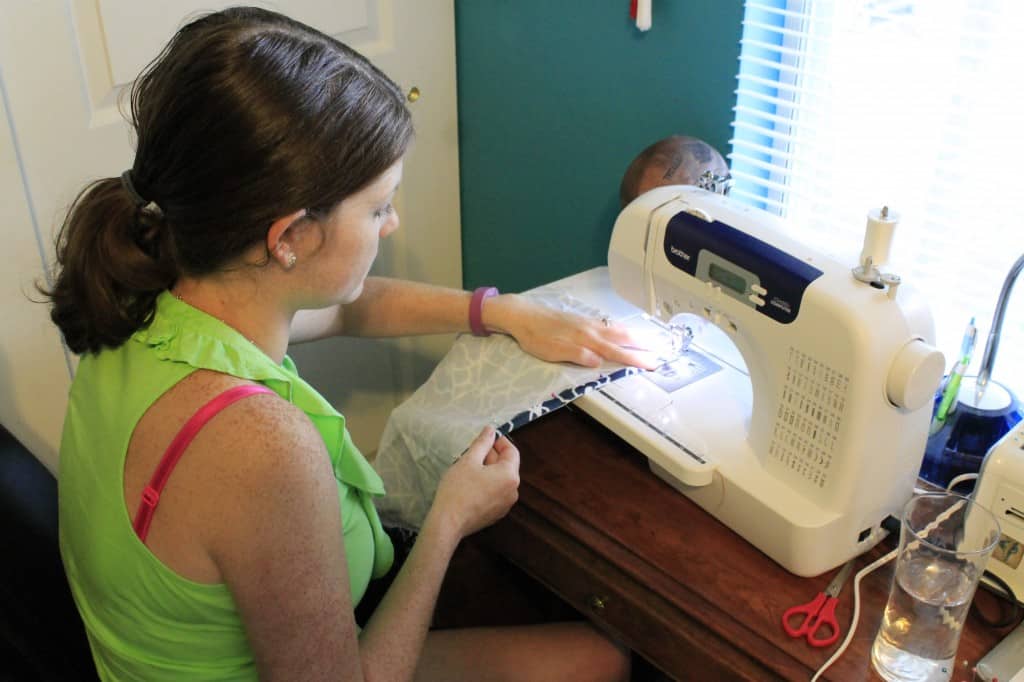
We’ve been travelling and hosting guests a lot lately, so it was June before I got to sit down with it. I unpacked it from the box and set it up and the never-used desk in the guest bedroom. It came with excellent directions and a “quick start guide” and I threaded the bobbin on my first try, y’all! I still don’t understand why threading the needle has to be a twelve step process, but as far as those go, this was very easy. I sat down and was able to start actually sewing in less than 20 minutes!

My first project was to sew some pillow covers. I was looking thru my fabric stash, however, and realized I didn’t have many pieces large enough to cover a whole 12” pillow. So, I decided to re-cover my pillows… in the same fabric they’re already covered in.Sewing an Envelope Pillow Cover - Charleston Crafted

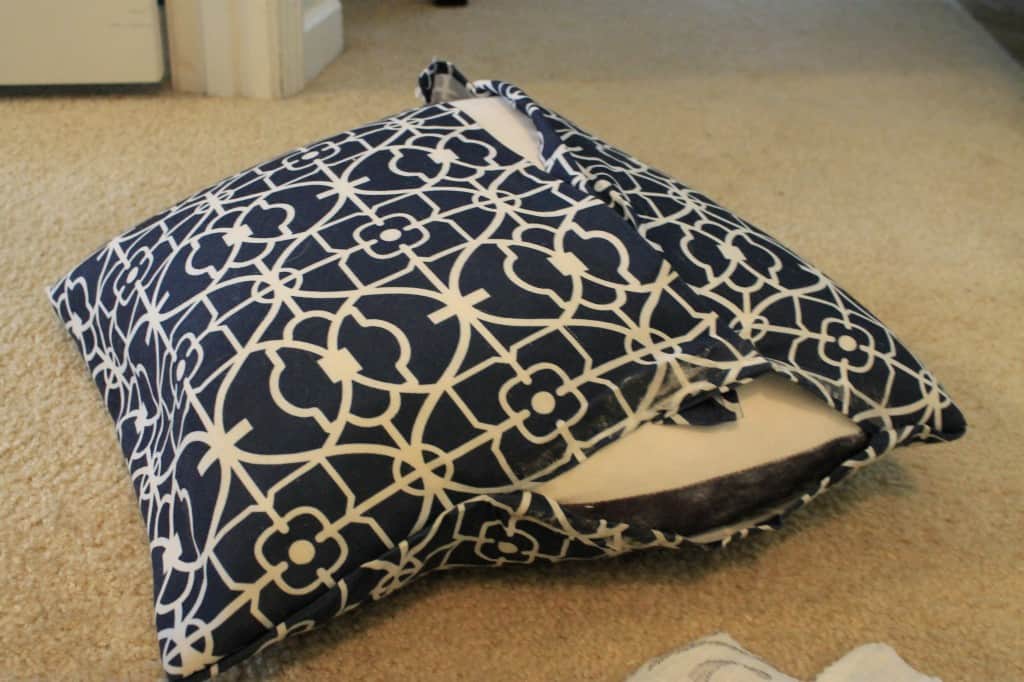
Here comes the irony of this project – these no-sew hem tape envelope style pillow covers are by far the most popular blog post that I’ve written to date, largely due to pinterest hits. And I have loved them for over a year, but the thing with hem tape is, it doesn’t last forever. My curtains have fared pretty well, but these pillows take a regular beating, and they were hurting from it.

Sewing an Envelope Pillow Cover - Charleston Crafted

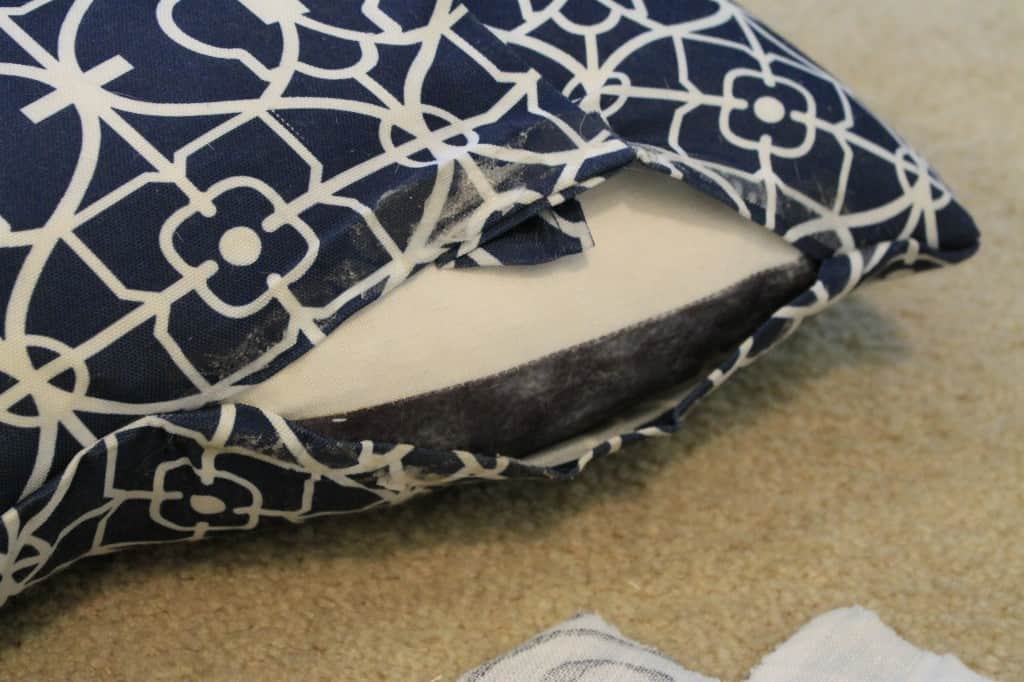
So, I decided to re do them.

Start by cutting a piece of fabric about as wide as your pillow and 2 ½ times as long. You’ll have one long rectangle.

Sewing an Envelope Pillow Cover - Charleston Crafted

Sewing an Envelope Pillow Cover - Charleston Crafted

Sewing an Envelope Pillow Cover - Charleston CraftedSewing an Envelope Pillow Cover - Charleston Crafted

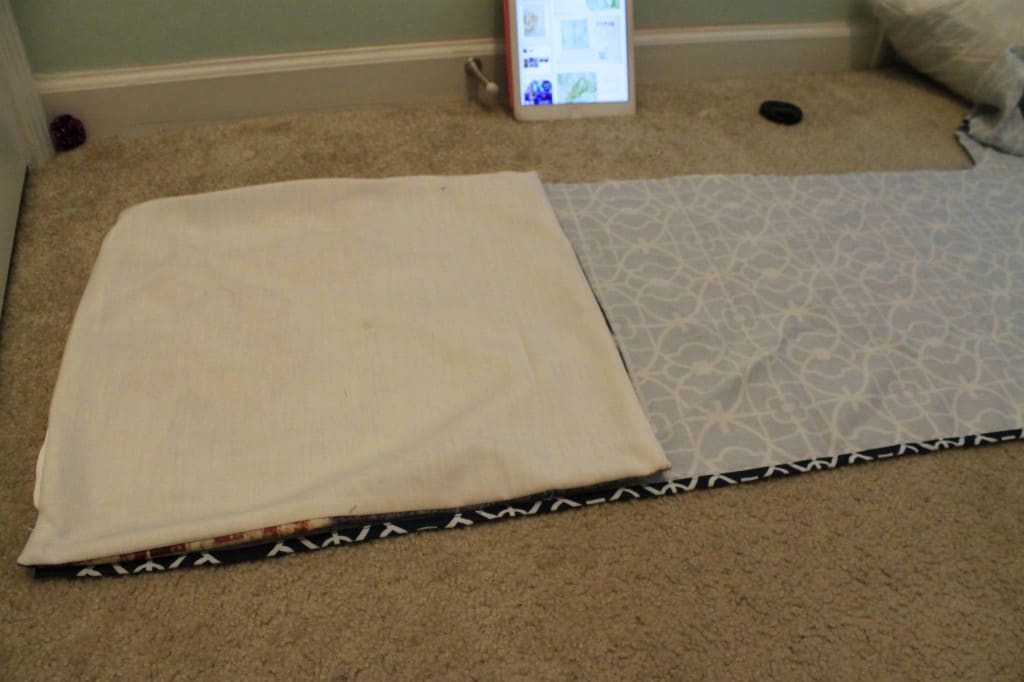
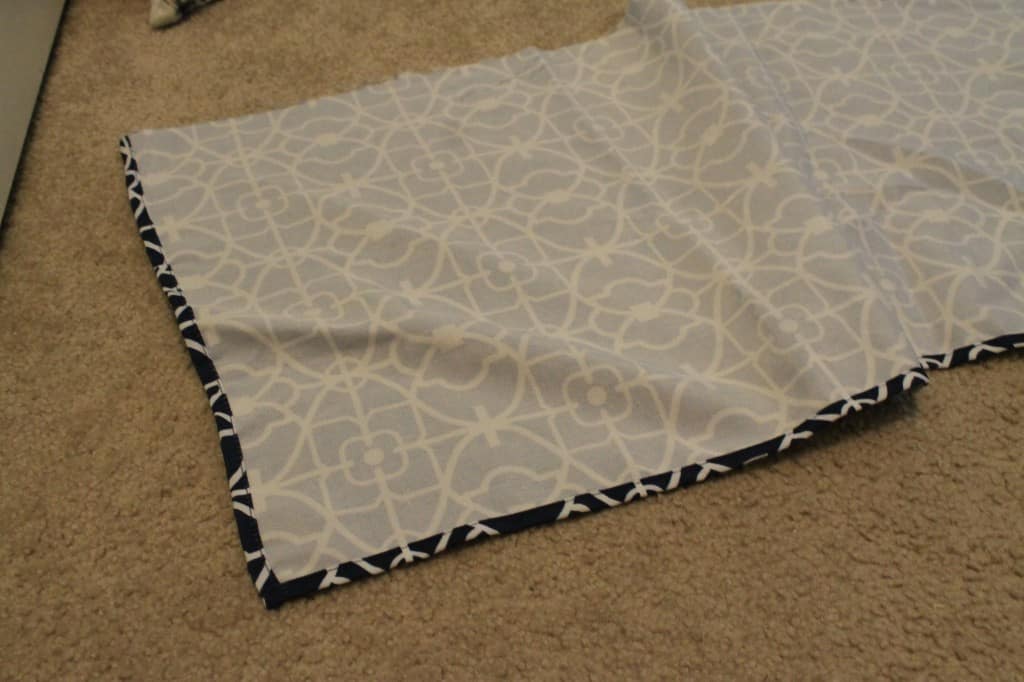
The fabric I used is a table cloth so I cheated by having 2 sides already hemmed 🙂

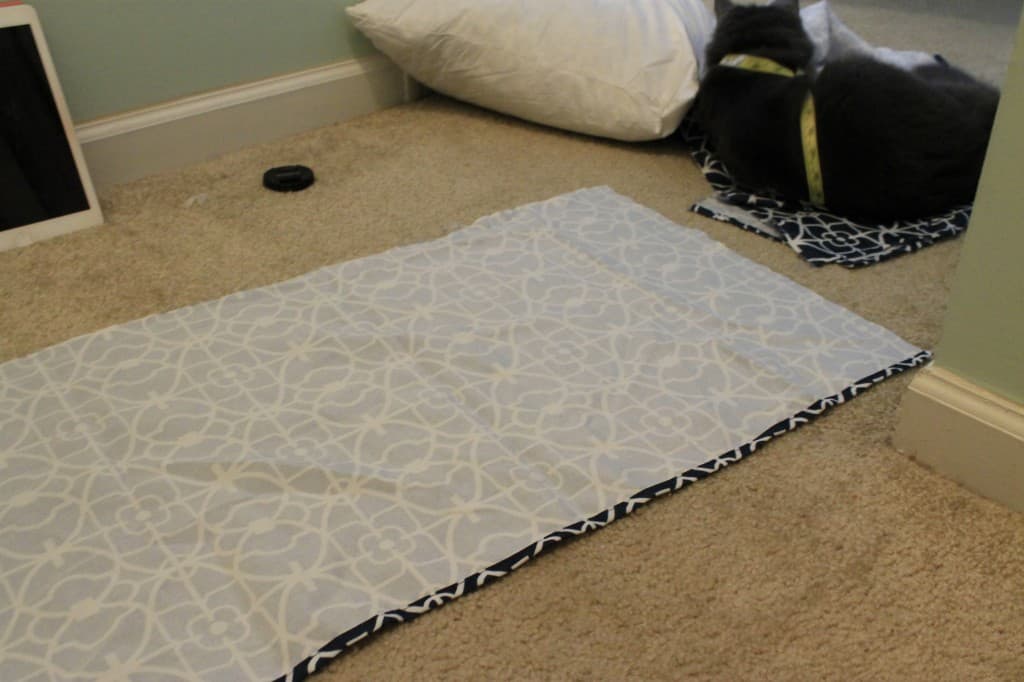
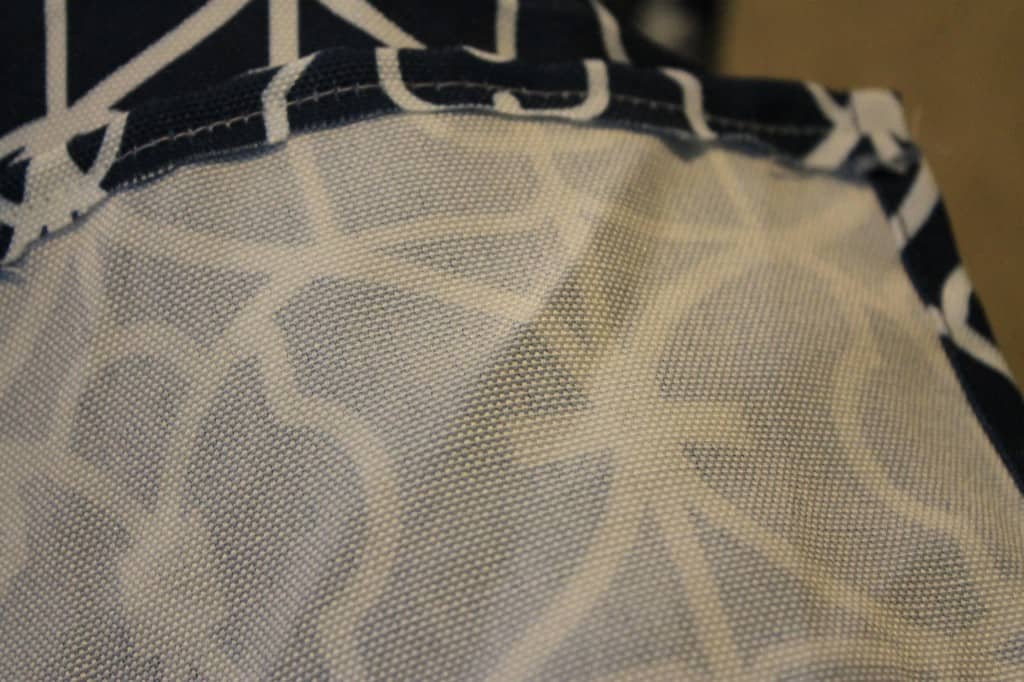
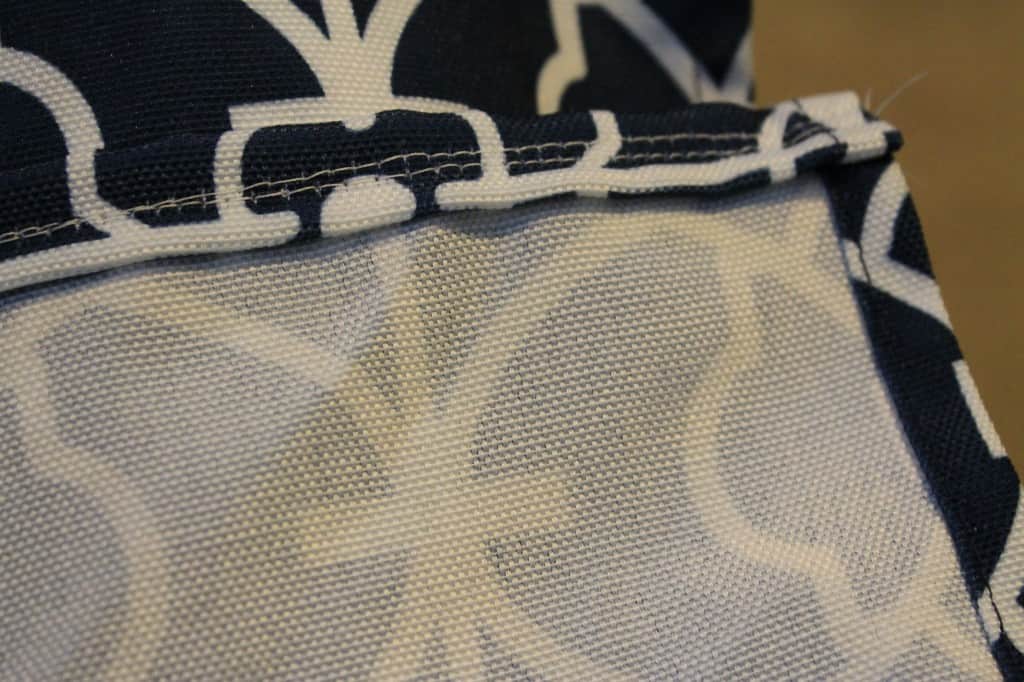
Use your machine to hem the 2 short sides. Fold them over about ¼ of an inch, pin in place, and sew with small stitches. Your lines might not be perfectly straight if you are just beginning. It’s ok! No one needs to look that closely anyways.

Sewing an Envelope Pillow Cover - Charleston Crafted

Fold the edge over again and repeat, to hide all the unravelled edges.

Sewing an Envelope Pillow Cover - Charleston Crafted

Sewing an Envelope Pillow Cover - Charleston Crafted

Sewing an Envelope Pillow Cover - Charleston Crafted

Leave the long sides unhemmed.

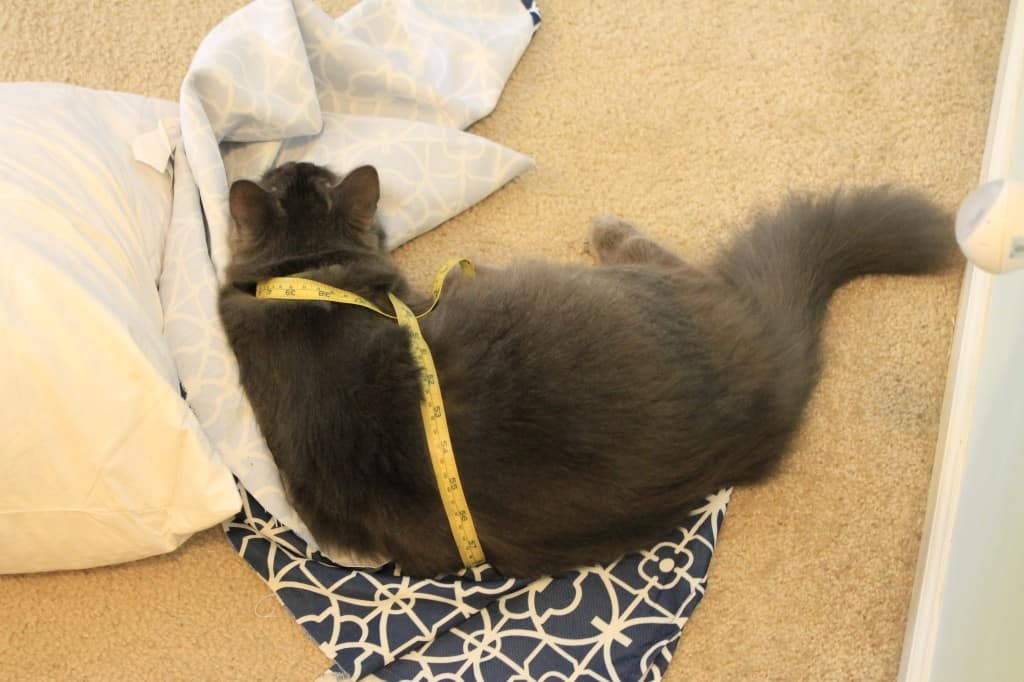
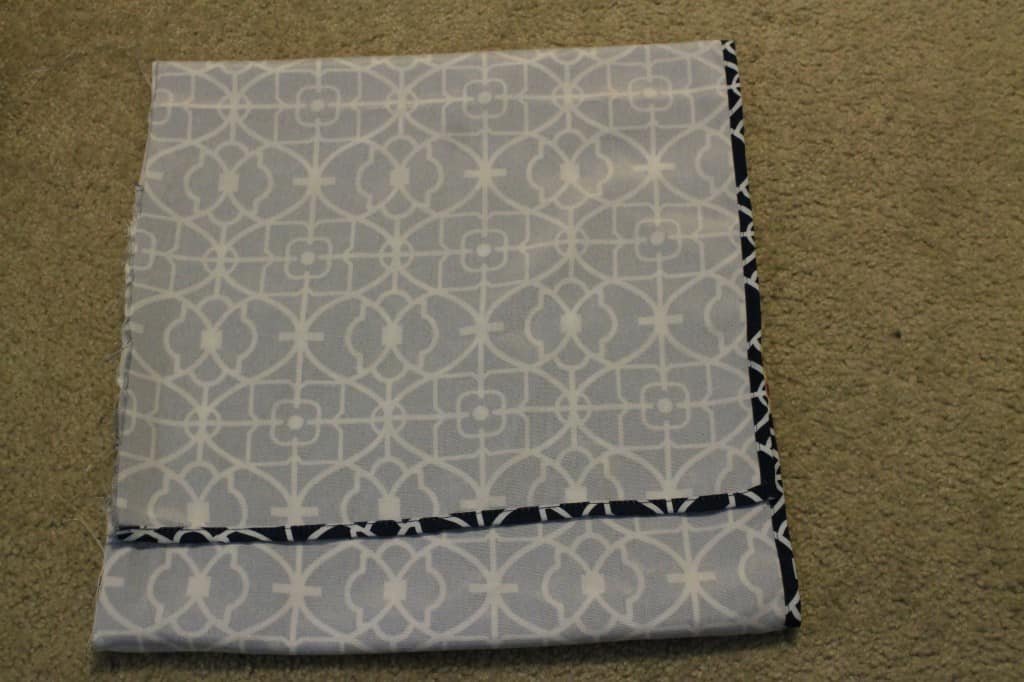
Fold the rectangle (good side of the fabric up) over your pillow form to get a good measurement of how big it needs to be. You will have overlap of the 2 ends. That’s good. That’s the “envelope”.

Sewing an Envelope Pillow Cover - Charleston Crafted

Pin the edges to keep the folds in the right place. I don’t have a lot of pins, so I used painters tape to keep the flap in place. Ghetto, maybe. But I wasn’t letting anything stop me once I got going on this.

Sewing an Envelope Pillow Cover - Charleston Crafted

Sewing an Envelope Pillow Cover - Charleston Crafted

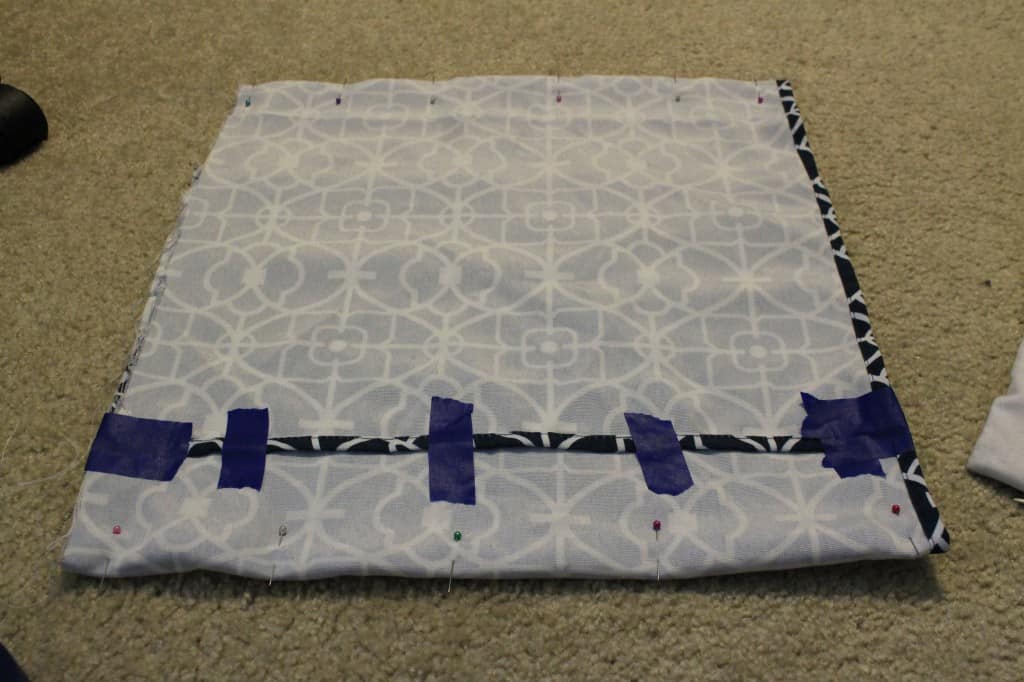
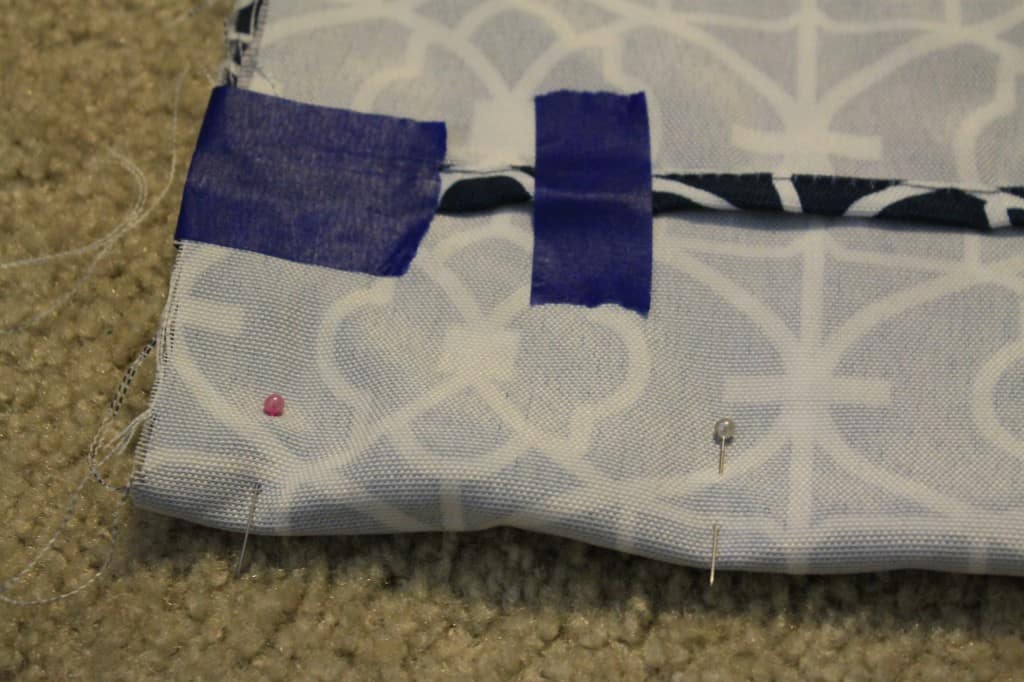
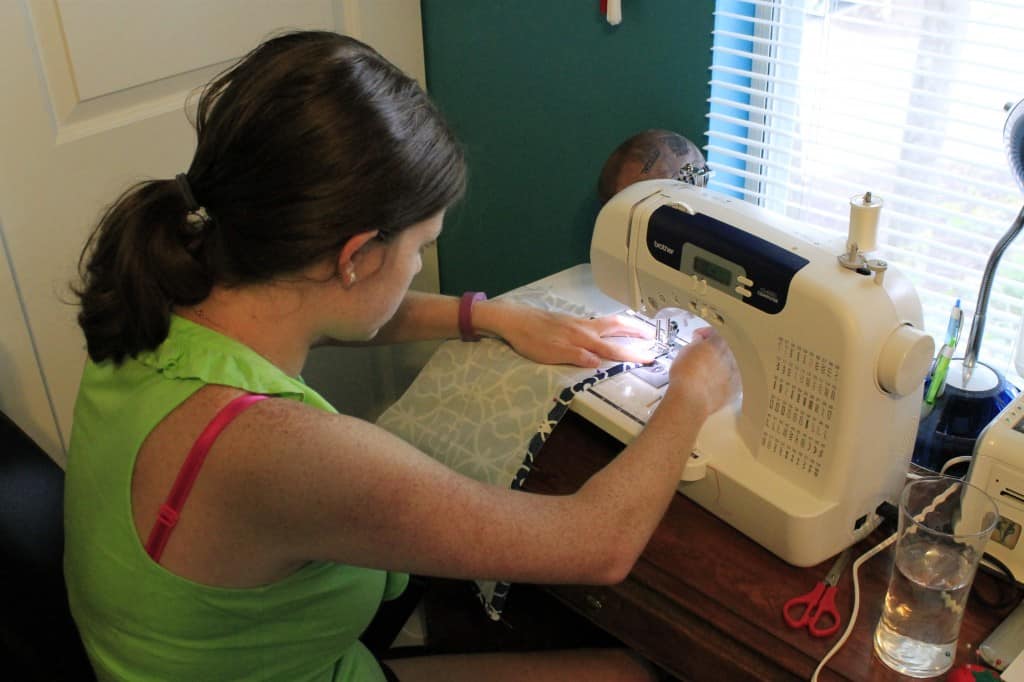
Now, I sewed each fold in place. You don’t have to, persay, but it will give you nice crisp edges, and it means you can take out some pins.

Sewing an Envelope Pillow Cover - Charleston Crafted

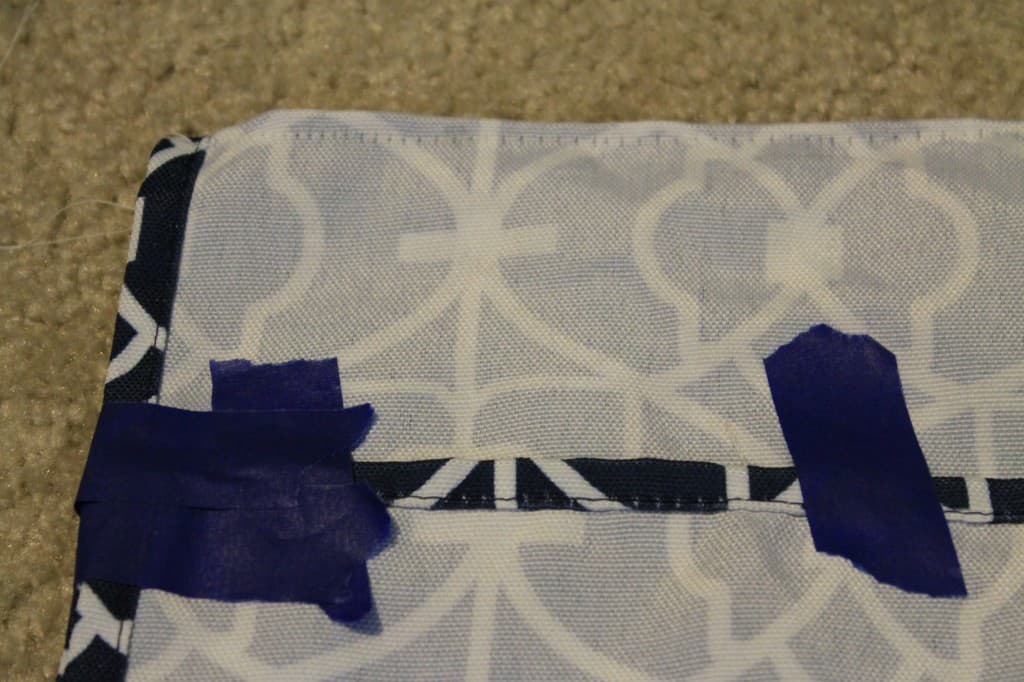
Then, pin the open sides and sew them closed, too. I ended up sewing over the thick parts (where the flaps overlap) 4 times just to be sure they were not going to rip.

Sewing an Envelope Pillow Cover - Charleston Crafted

Sewing an Envelope Pillow Cover - Charleston Crafted

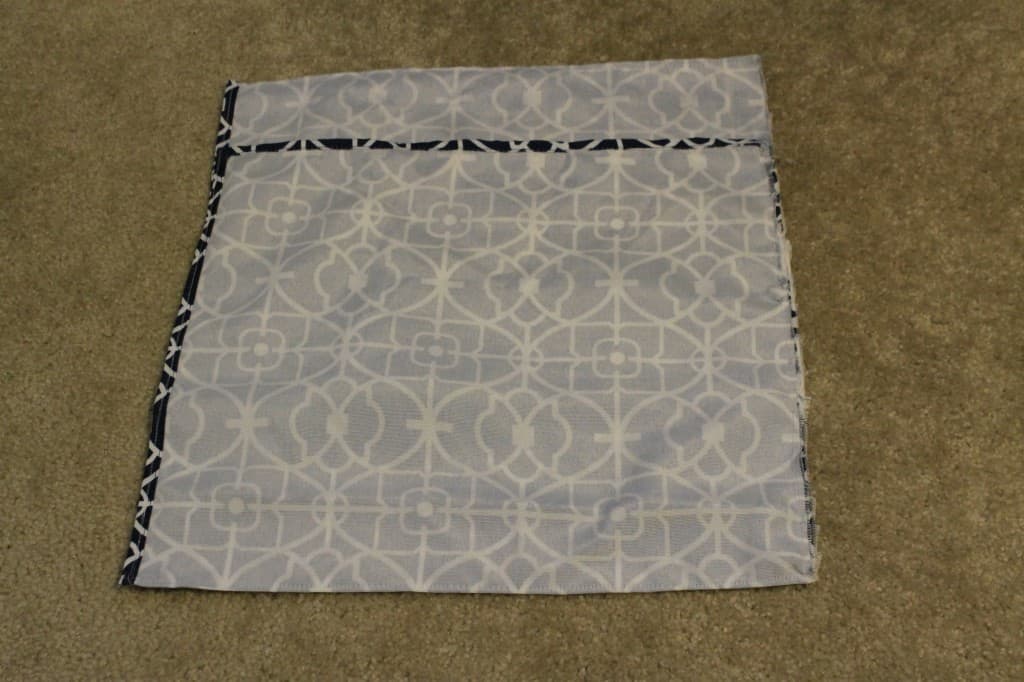
Trim all your threads, and turn that sucker inside out. I also snipped the corners to a diagonal so there was less fabric in the inside of the corners, and therefore they lay more pointed and sharp.

My first pillow (the first thing I’ve sewn in a decade) took less than 20 minutes. These are so easy folks!

Sewing an Envelope Pillow Cover - Charleston Crafted

Sewing an Envelope Pillow Cover - Charleston Crafted

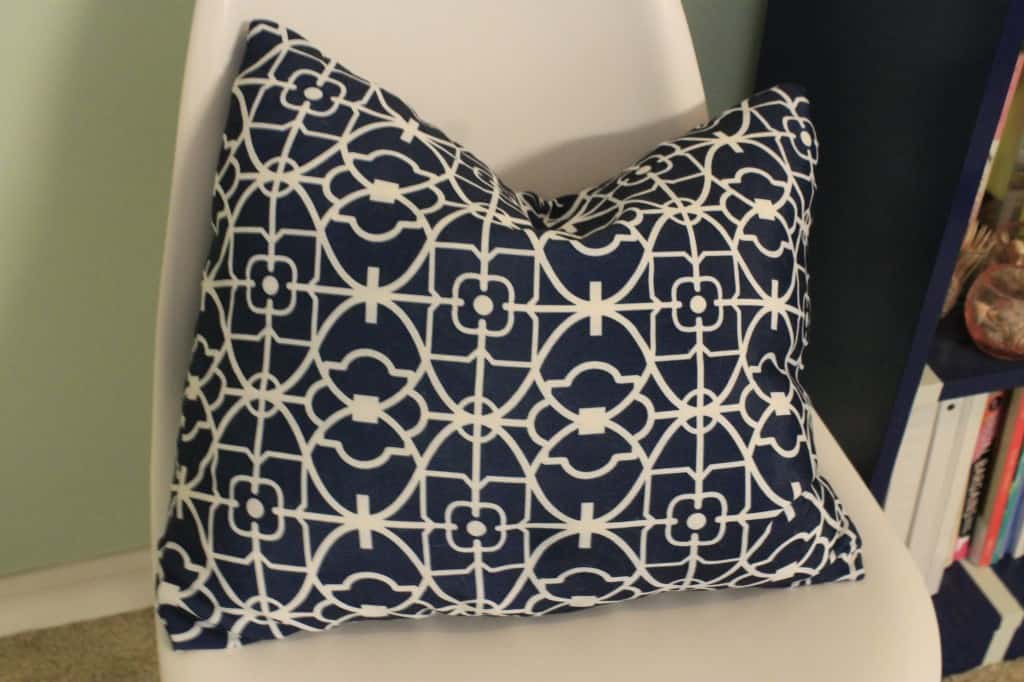
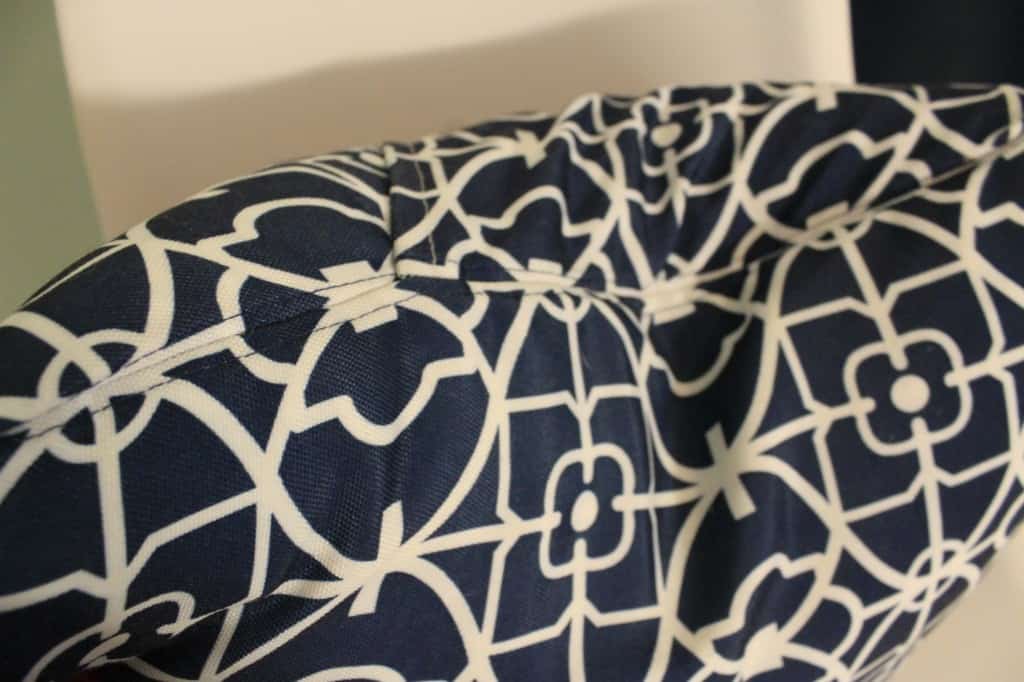
And look how much better the sewed one looks than the taped one!

I’m keeping my hem tape, but hoping to keep it on the backburner for a while!

  signature 2
 logo facebook  logo instagram  logo pinterest  logo twitter
Morgan headshot cropped
Morgan

Hello, I'm Morgan, half of the creative force behind CharlestonCrafted.com! With a passion for DIY that dates back to 2012, I've transformed three homes and now I'm dedicated to helping others craft their dream spaces. Let's turn your house into a home together!

More Home Projects

  • DIY floating corner shelves - Charleston Crafted
    How to make floating corner shelves
  • how to assess your home renovation needs
    How to assess your home renovation needs
  • Top Mistakes to Avoid When Renovating Your Home
    Top Mistakes to Avoid When Renovating Your Home
  • How to create a DIY home renovation plan
    How to create a DIY home renovation plan

Primary Sidebar

Charleston Crafted about us image

Hey y'all!

We are Morgan & Sean McBride and we are crafting our home together in Charleston, South Carolina.

More about us

Popular Posts

  • DIY Coffered Ceiling
    DIY Coffered Ceiling
  • How to Make DIY Concrete Pumpkins via Charleston Crafted
    How to Make DIY Concrete Pumpkins
  • How to Make a Cupid's Arrow Valentine's Day Wall Hanging with felt on the Cricut
    How to make a Cupid's Arrow Valentine's Day Wall Hanging
  • Our Tropical Oasis - A backyard Hammock area - Charleston Crafted
    Our Tropical Oasis

Recent Posts

  • fisherman aesthetic home inspiration
    Fisherman Aesthetic Decor for Your Home
  • Senix Tools Review- Charleston Crafted
    Are Senix power tools any good?
  • Your Weekend To-Do List: 15 Things to Do for Summer Home Upkeep
    Your Weekend To-Do List: 15 Things to Do for Summer Home Upkeep
  • How to build a DIY gate pergola- Charleston Crafted
    How to build a DIY gate pergola

Privacy Policy

Footer

↑ back to top

Navigation

  • Home
  • Blog
  • Contact Us
  • Terms of Use
  • Disclaimer

Newsletter

  • Sign up for emails and updates
  • Follow us on Instagram
  • Work with Us

Browse by Category

  • Woodworking
  • Home Projects
  • Paint Colors
  • Room Reveals

© 2025 The Charleston Crafted Blog LLC DBA “Charleston Crafted” and “CharlestonCrafted” (also known as N/A) / All Rights Reserved.
Official Website: (Charleston Crafted)
Registered in USA (Co. Reg. No.: 565586)
Address: Charleston, USA 29414, South Carolina
Contact Phone: Not applicable — contact is via email: sean@charlestoncrafted.com

DISCLAIMER: The content on this website is provided for general informational purposes only and is not intended as professional advice. The Charleston Crafted Blog LLC and The Charleston Crafted Blog LLC make no representations or warranties—express or implied—regarding the accuracy, completeness, or suitability of the information contained herein. Any reliance you place on this information is strictly at your own risk. In no event shall The Charleston Crafted Blog LLC or The Charleston Crafted Blog LLC be liable for any loss or damage, including without limitation, indirect or consequential loss or damage, arising from the use or inability to use this website. This website is the official website of The Charleston Crafted Blog LLC.

AFFILIATE DISCLOSURE: This website contains affiliate links. If you click through and make a purchase, we may earn a commission at no extra cost to you.

As an Amazon Associate, I earn from qualifying purchases.

Site Editor: Morgan Smith McBride

Copyright © 2025 Charleston Crafted