One of the easiest ways to update your living room look is by getting new pillows. But, instead of buying new pillows, I like to just recover the ones that I already have. I got a little "Pinterest famous" thanks to my no sew envelope style pillow covers, and while fresh out of college Morgan loved that no sew tape, married Morgan has kind of moved on. I am itching to fill our home with nice things that will last - and no sew tape does not. It's a temporary solution, like spray painting your door knobs or putting a slipcover on a couch. It has a time and a place, but I'm trying to move on.
However, I am able to use the same technique with my new, super inexpensive sewing machine to create envelope- style pillow covers with piping or pom pom trim in less than an hour each. And, yes, that includes cutting and ironing (my least favorite of chores).
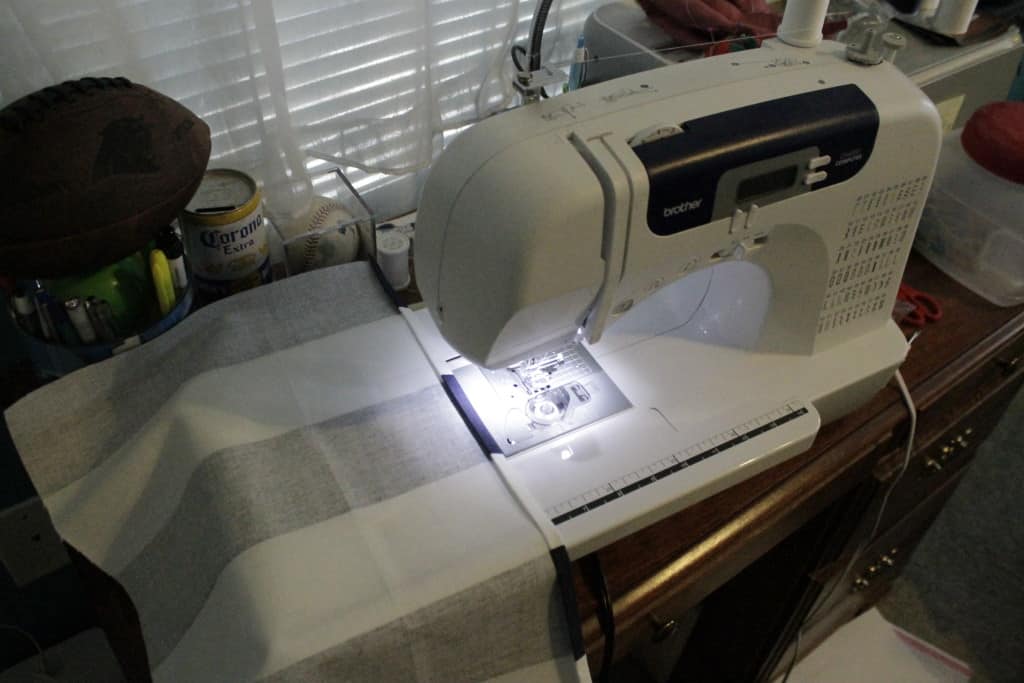
So, don't be scared, jump on it, invest in an inexpensive machine, you can do it!
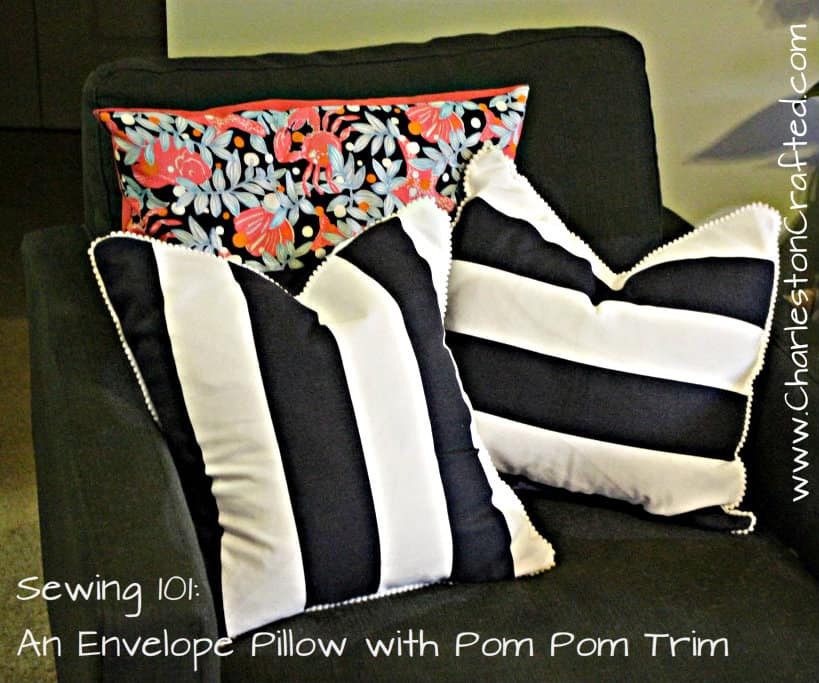
My striped fabric is available here and the micro pom pom trim is from here
Here's how:
Ok, so you have to start with math. Eeek, don't be scared!
You will want to measure across your pillow to determine the length and width. This is made all the easier if the pillow already has a cover on it that you can take off and measure flat.
Math time. You are going to want two pieces. The first will be the front of the pillow - you need it to be the size of the current pillow cove, plus enough room for your seam. I like to leave ¼ inch seam allowance on each side, so add ½ inch to each the length and width of your cover to get the front piece measurement.
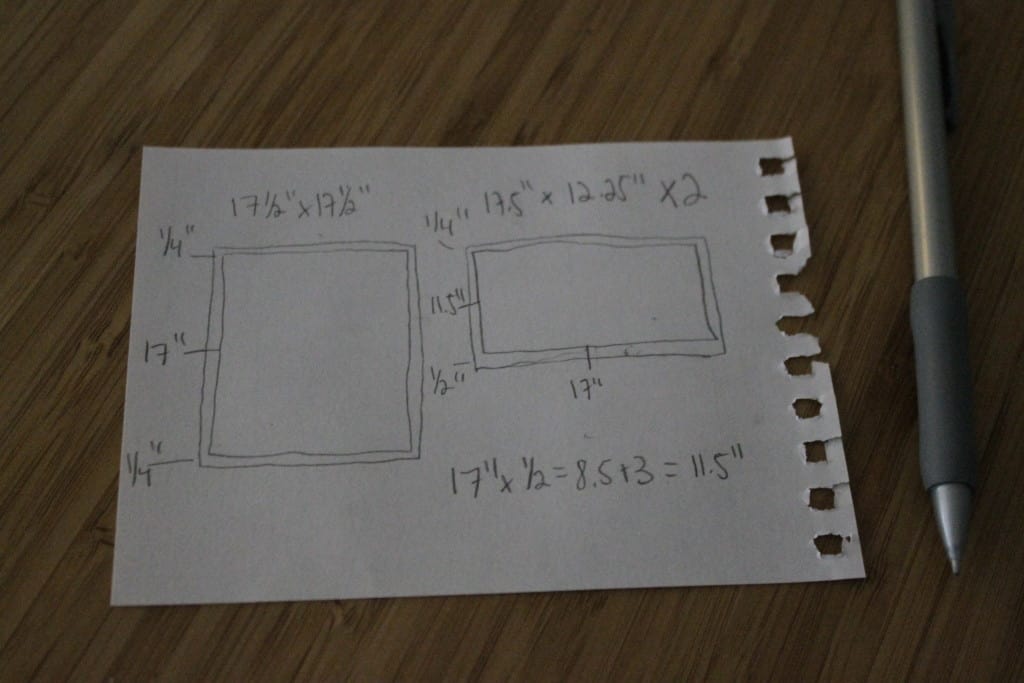
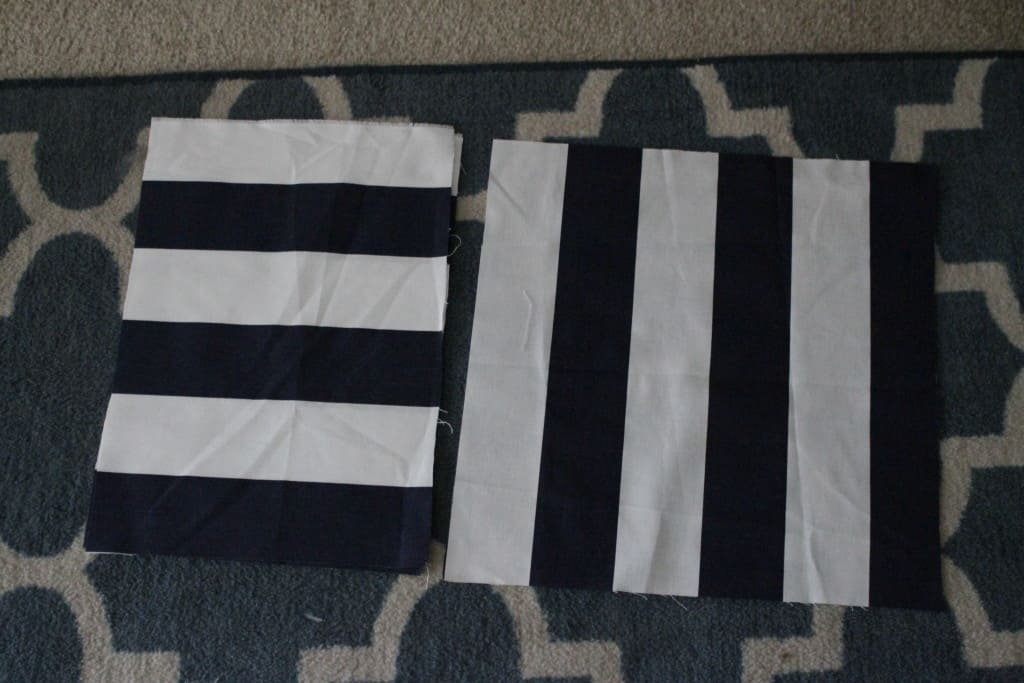
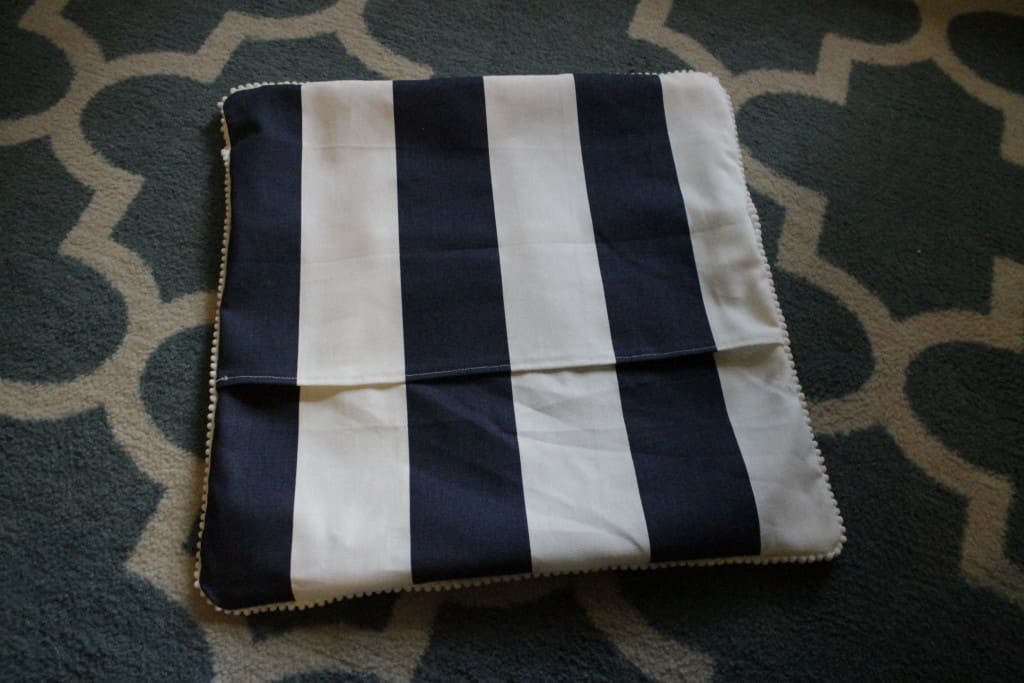
Now is the time to cut the second two pieces for the back of the pillow. Pay attention if your fabric has a pattern (like mine is striped) that you orient the pattern in the correct way before measuring and cutting. The width of your fabric will be the same as the front - the width of the pillow plus ½ inch seam allowance. However, the height needs to allow room for the two panels to overlap.
Since my pillow was 17" tall, I chose to make two 11.5" panels, for about three inches of overlap. You will need to add ¼" for the top seam allowance and a DOUBLE seam allowance for the bottom - because you will fold it over twice to get a clean hem. So my height was 11.5" + ¼" + ½" = 12.25"
That's as hard as it gets, folks.
The first thing that you want to do is iron your fabric pieces. On each of the back pieces, fold over your ¼ inch seam allowance, iron, then fold and iron again. A crisp seam will make it that much easier to sew. The double fold hides any loose threads from the edge of the fabric.
Sew each of these folded seams straight across.
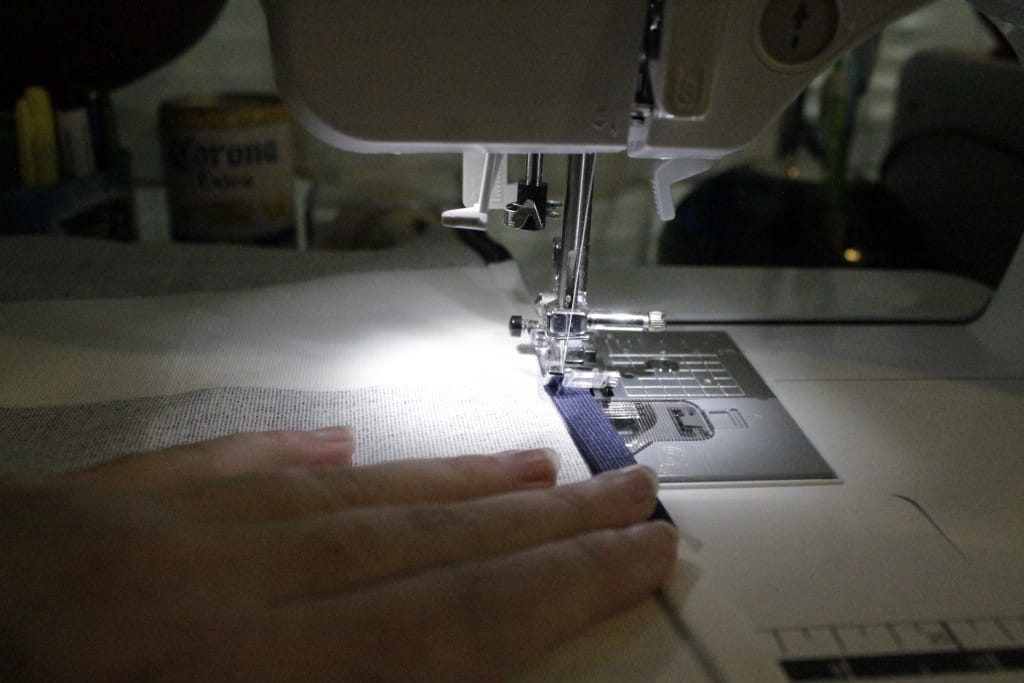
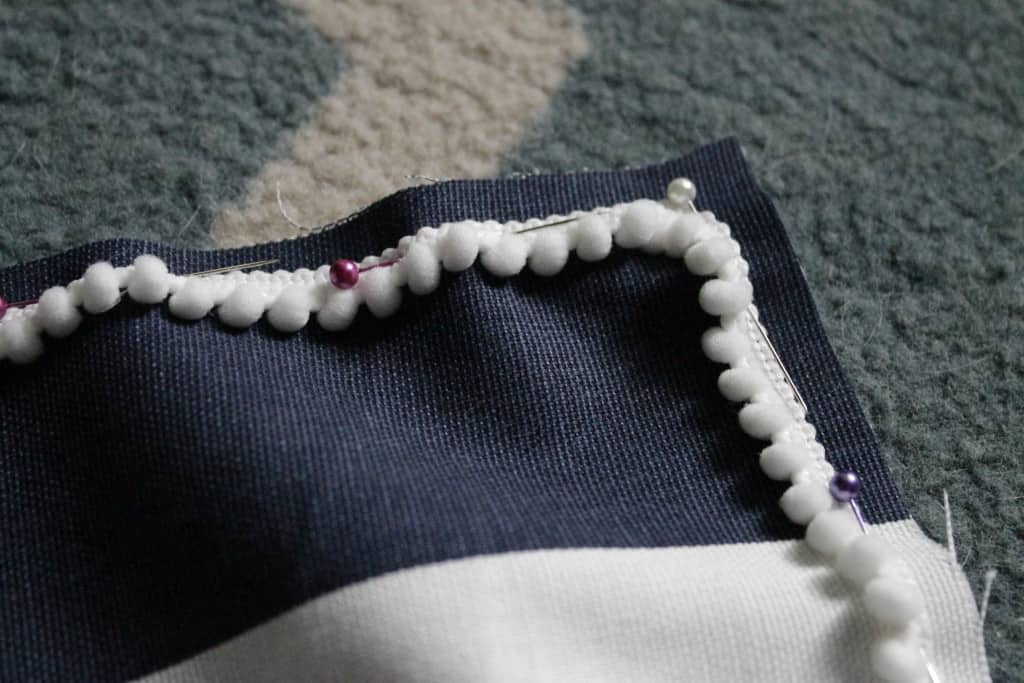
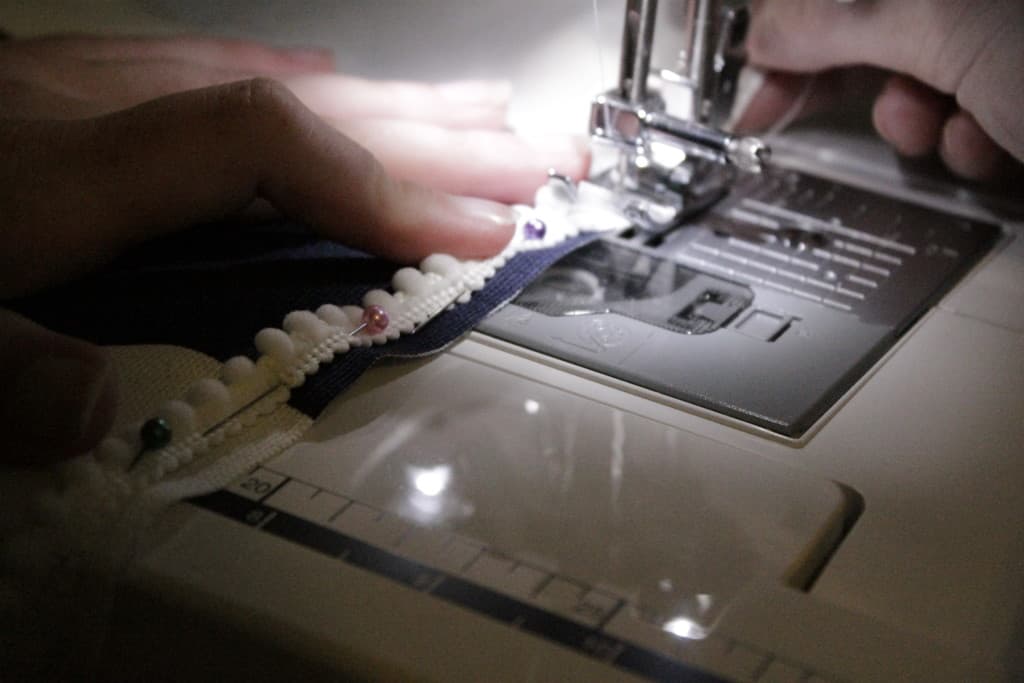
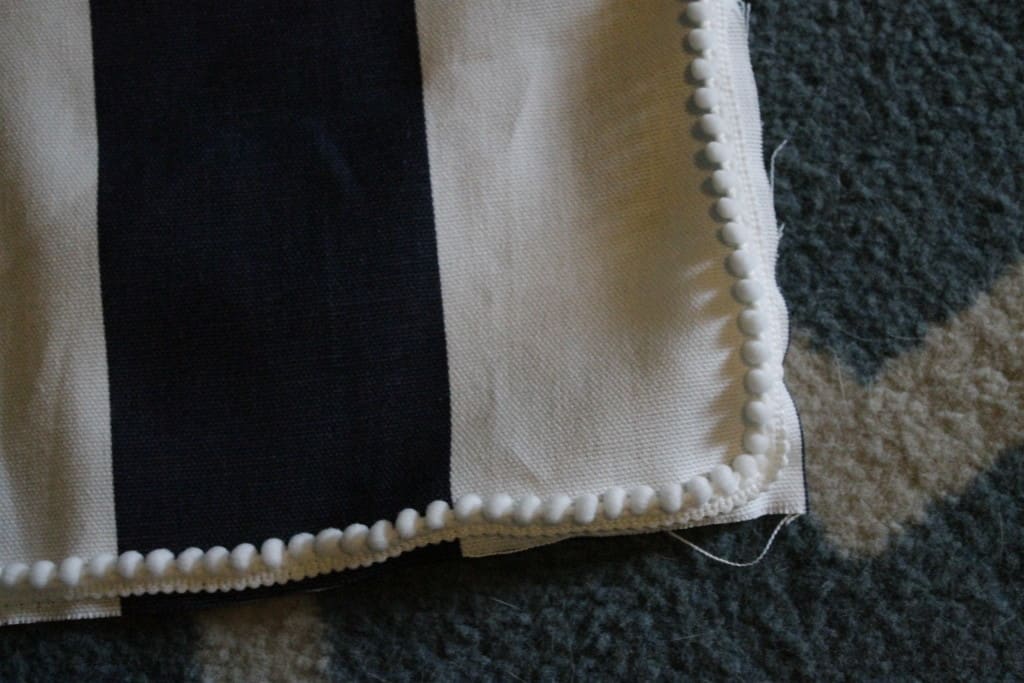
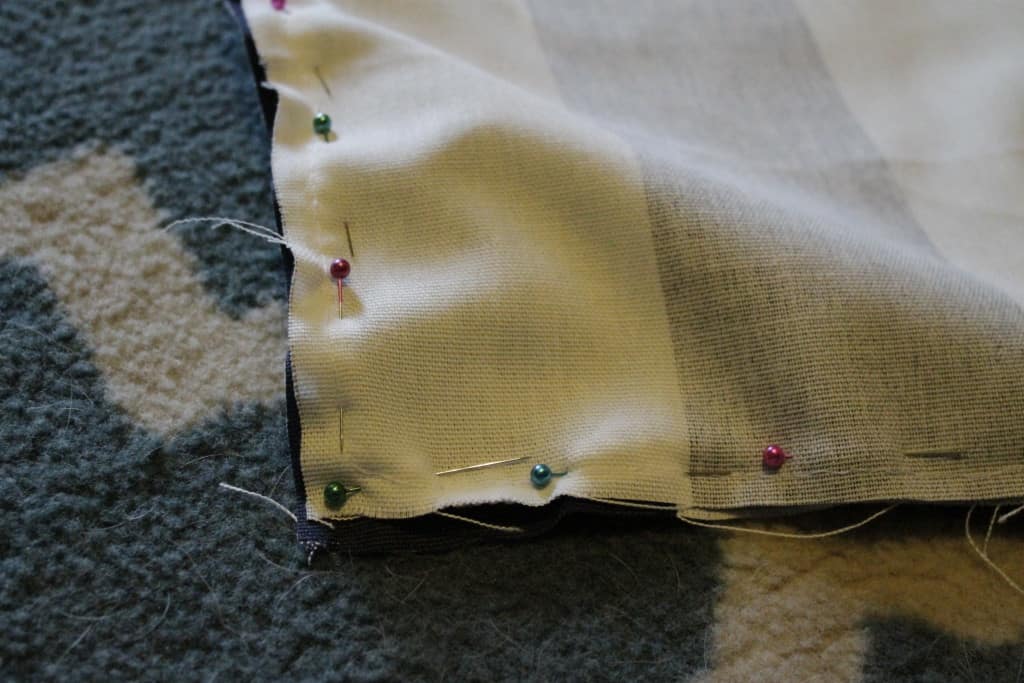
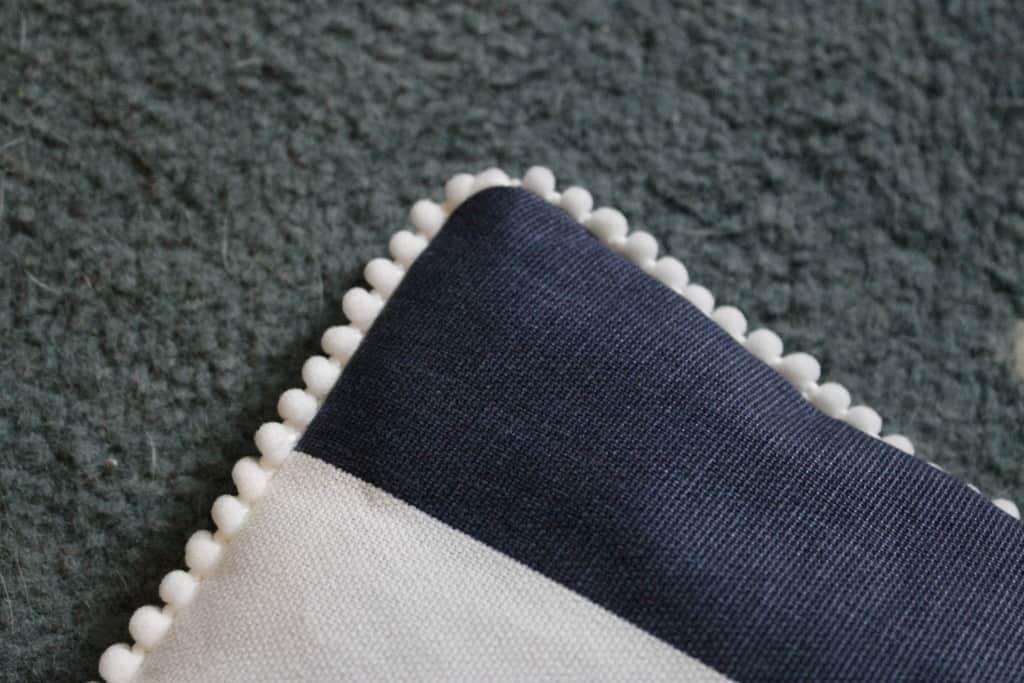
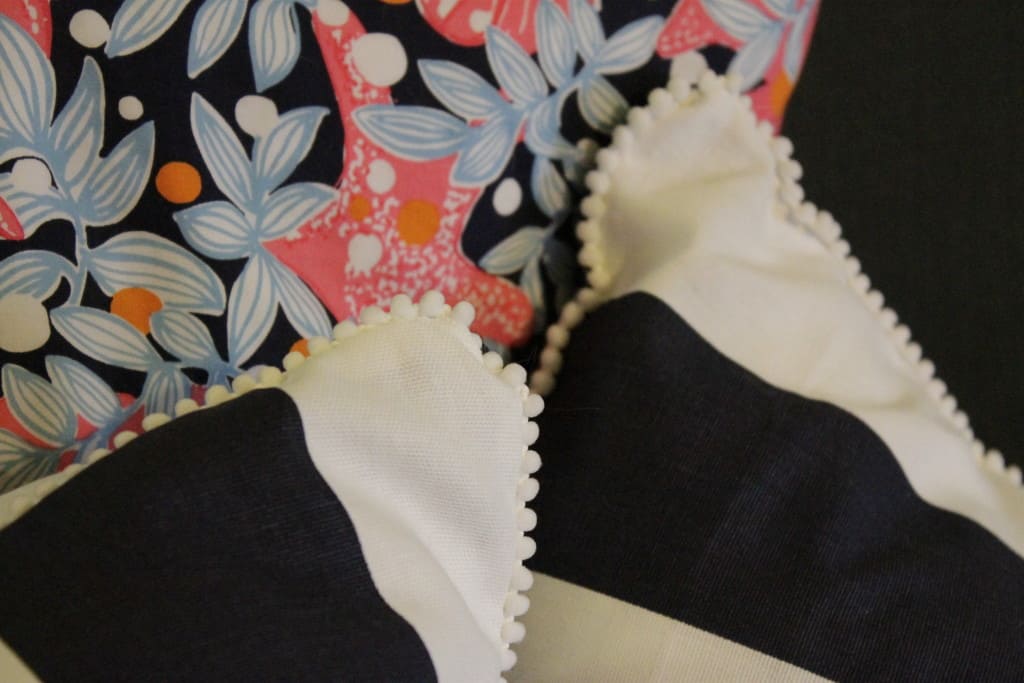
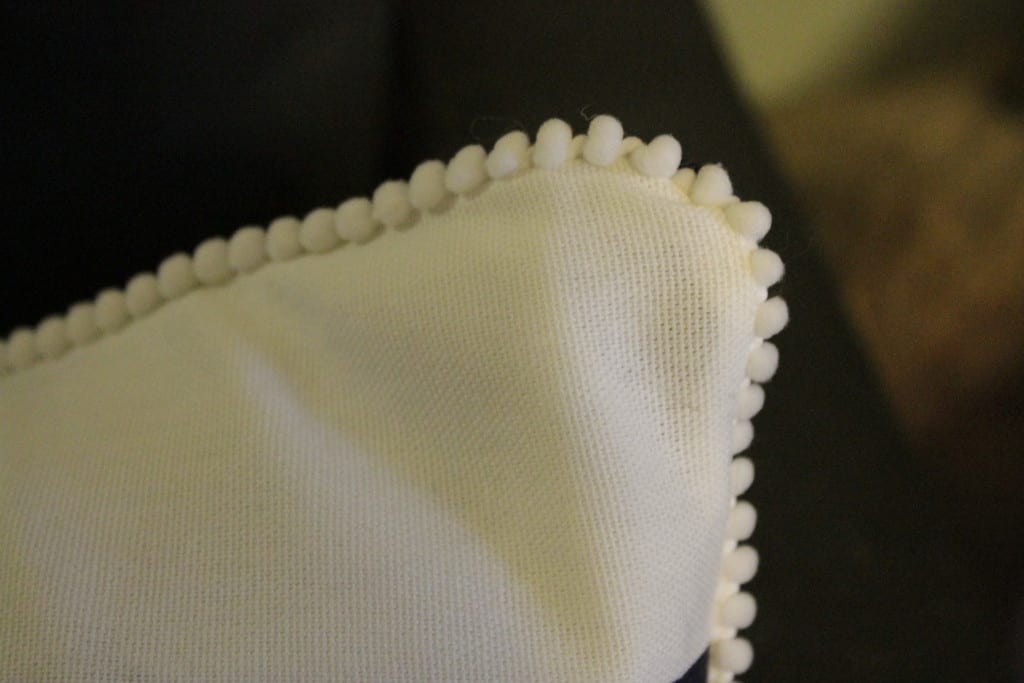
Next you get to add your piping. You want to pin it in place first. Pin it approximately ¼" from the edge so it will be right on your seam. You might have to use scissors to cut small slits to make the corners easier.
Sew directly on the seam to hold the piping in place.

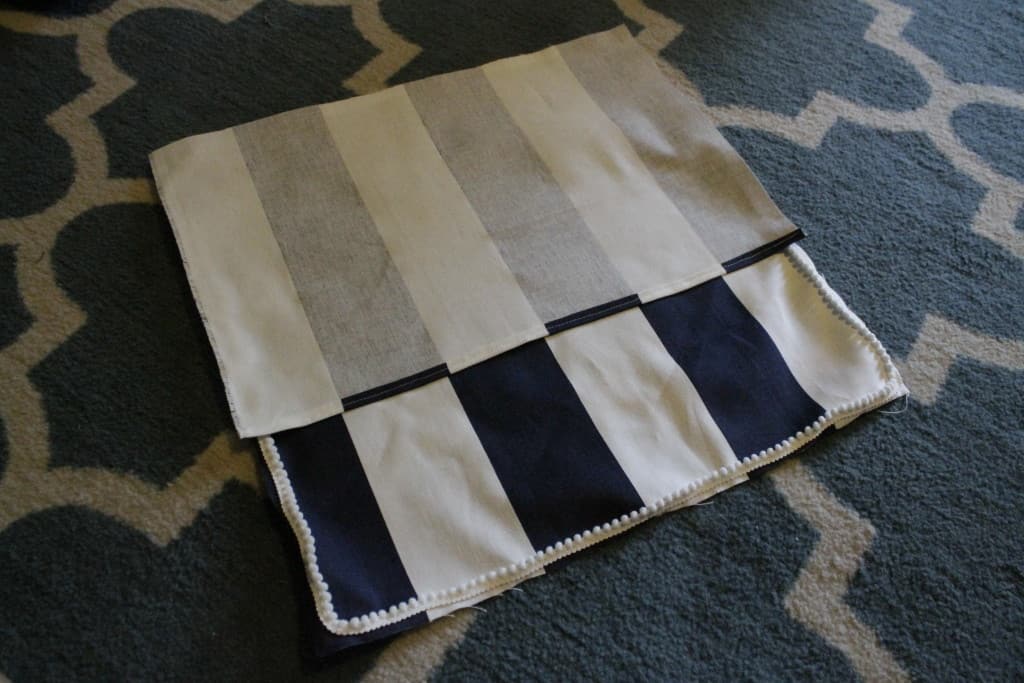
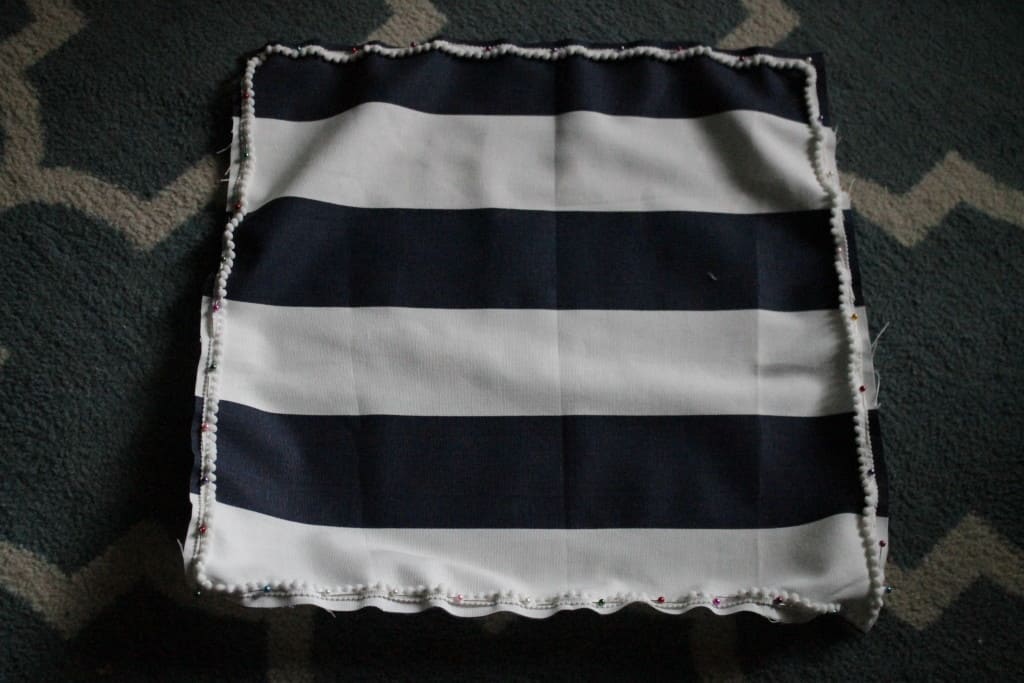
Now, lay your pieces together. You want them "good side" out AKA the pillow case should look inside out, with the front of each piece of fabric touching in the middle of the sandwich.
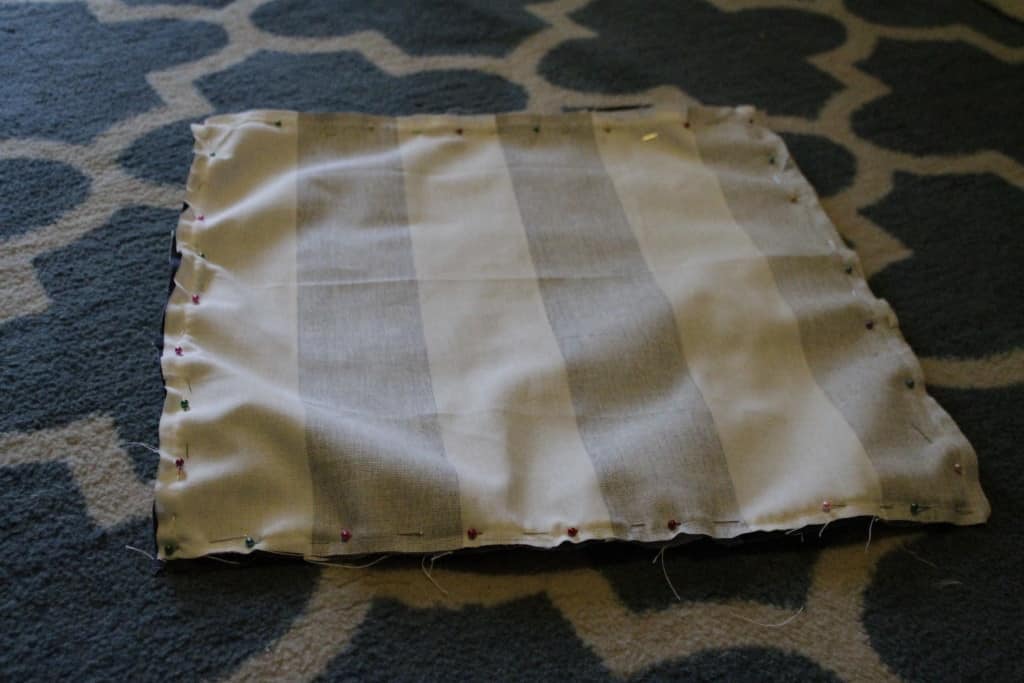
Carefully line up the back pieces so their edges line up with the large front piece and pin in place.
Sew all of the way around the edge. My best tip is to have the front piece (the large piece with the piping) on top as you sew. This way, you can see your stitches from where you sewed on the piping. You want to stay on this line or just so ever so slightly on the outside of it. You don't want to be inside it or you are sewing up your piping!
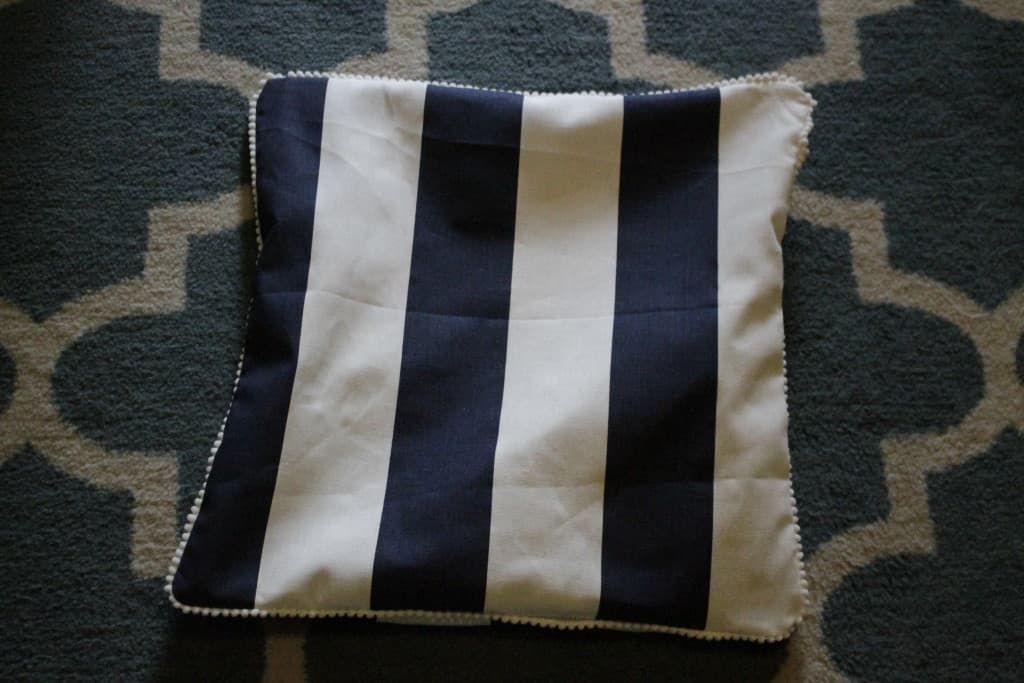
Turn it inside out. You might want to iron again. Ta-da! You have a pillow cover.
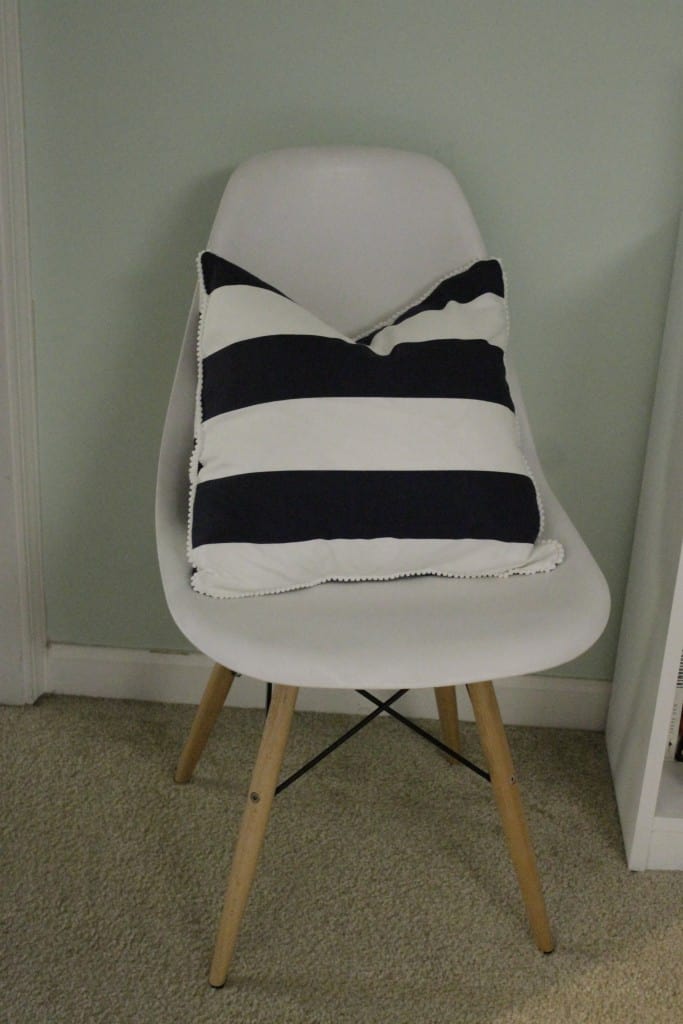
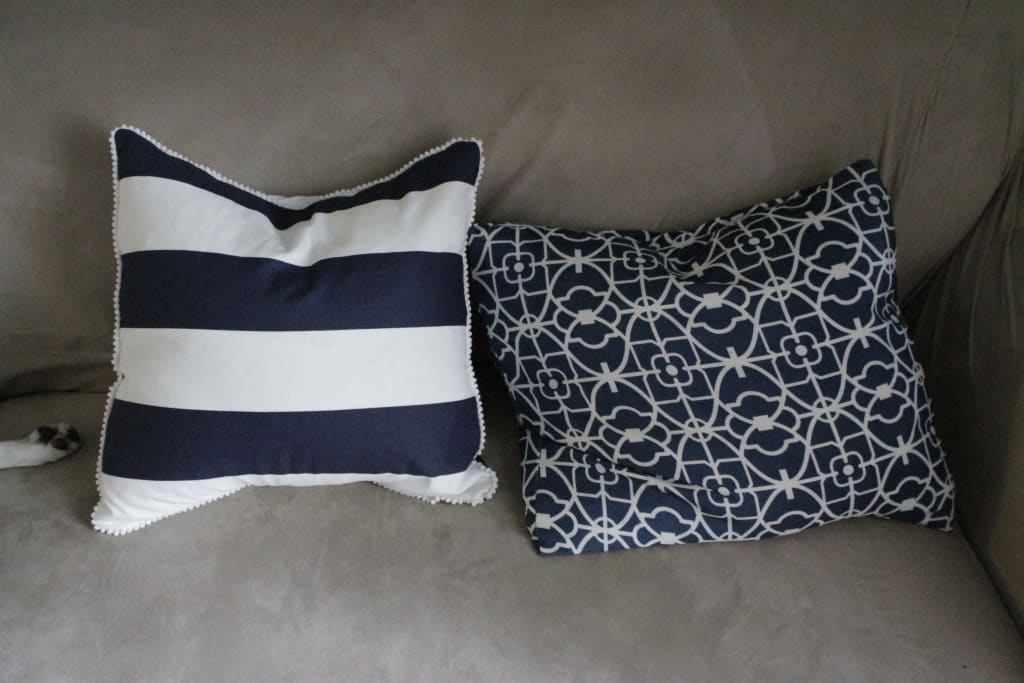
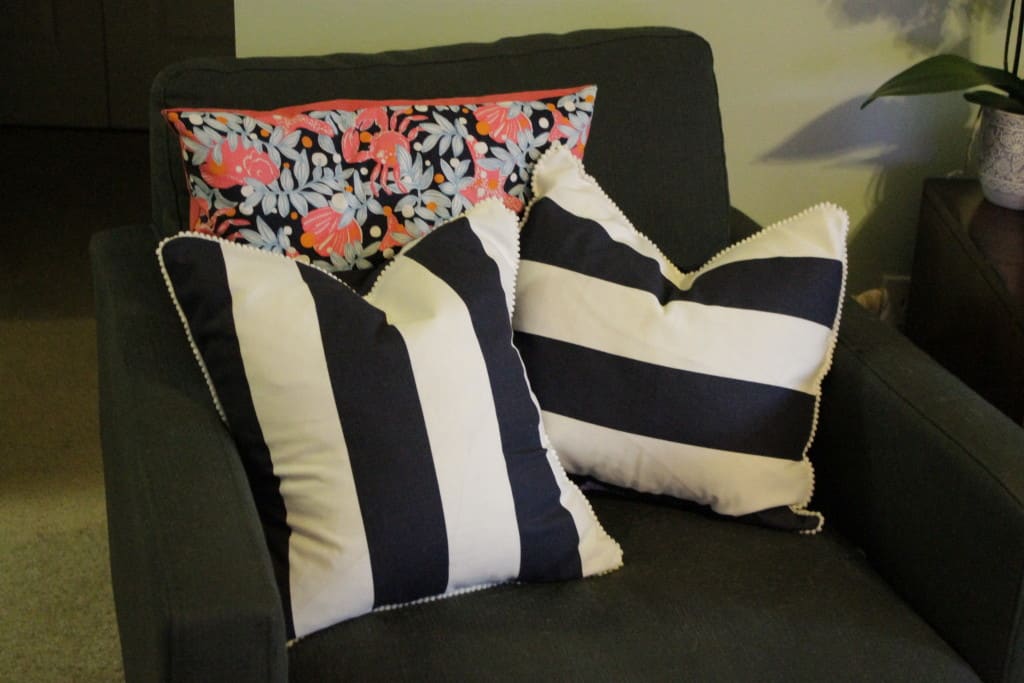
Here's the before and after of my saggy old no sew pillows and my new sewn ones! Same pillow, just a new cover.
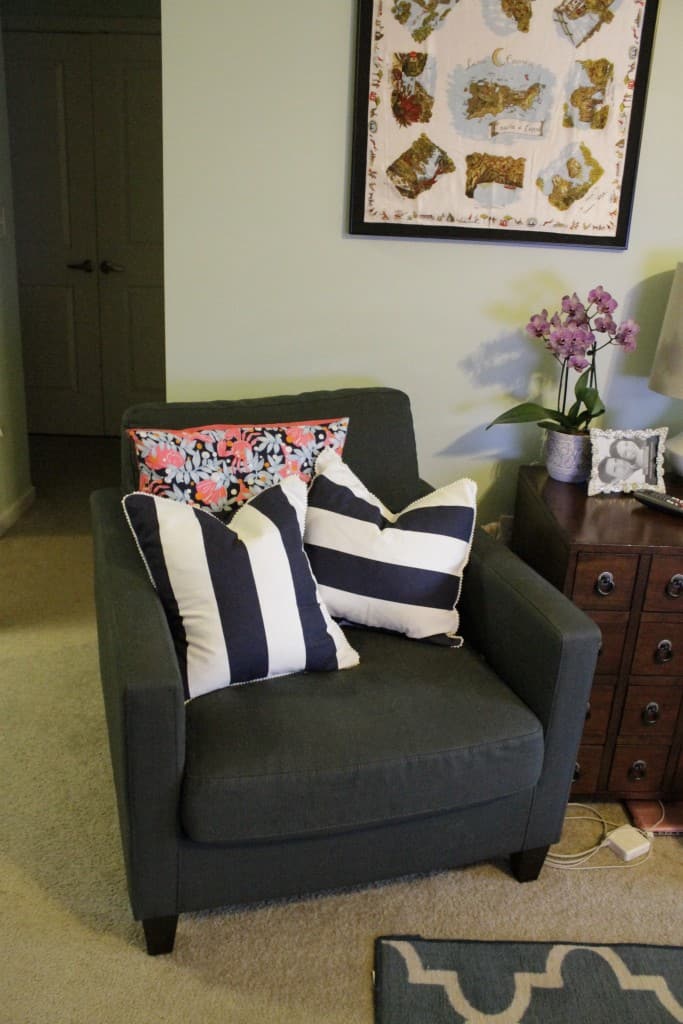
I made two of these in about an hour and a half. No excuses, ladies!
Have you sewn anything lately?
PS - I don't write many sewing tutorials because I am a beginner myself. If anything is unclear, please let me know in the comments and I will clarify!
| |
|||
| |
|
|
|

Hello, I'm Morgan, half of the creative force behind CharlestonCrafted.com! With a passion for DIY that dates back to 2012, I've transformed three homes and now I'm dedicated to helping others craft their dream spaces. Let's turn your house into a home together!