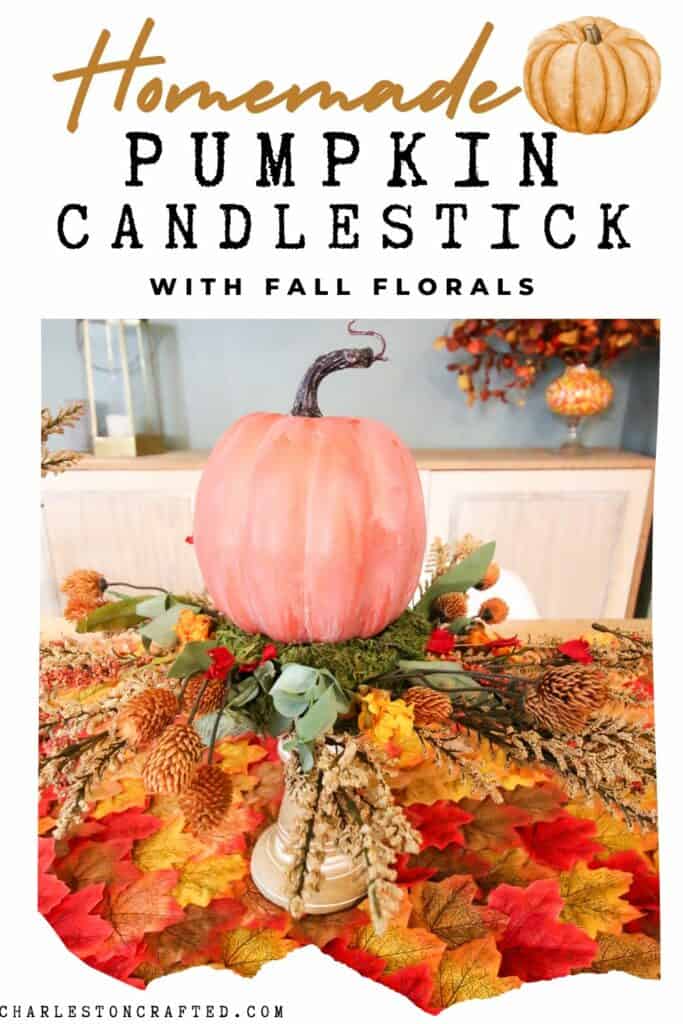
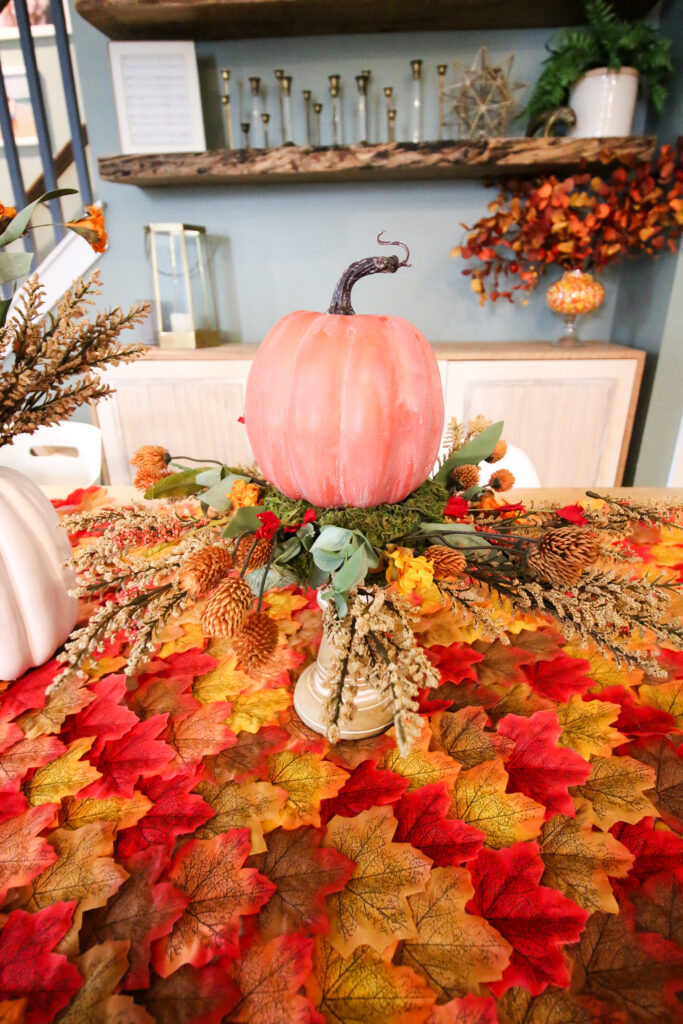
Learn how to make a DIY pumpkin candlestick centerpiece with just a few simple materials for a stunning fall display. This easy, step-by-step guide will help you create a beautiful autumn decor piece in no time!
We never host Thanksgiving and so I honestly have never really done much fall decorating. However, this year I have really been in the crafting mood and so I've been making a few fall-specific home decorations.
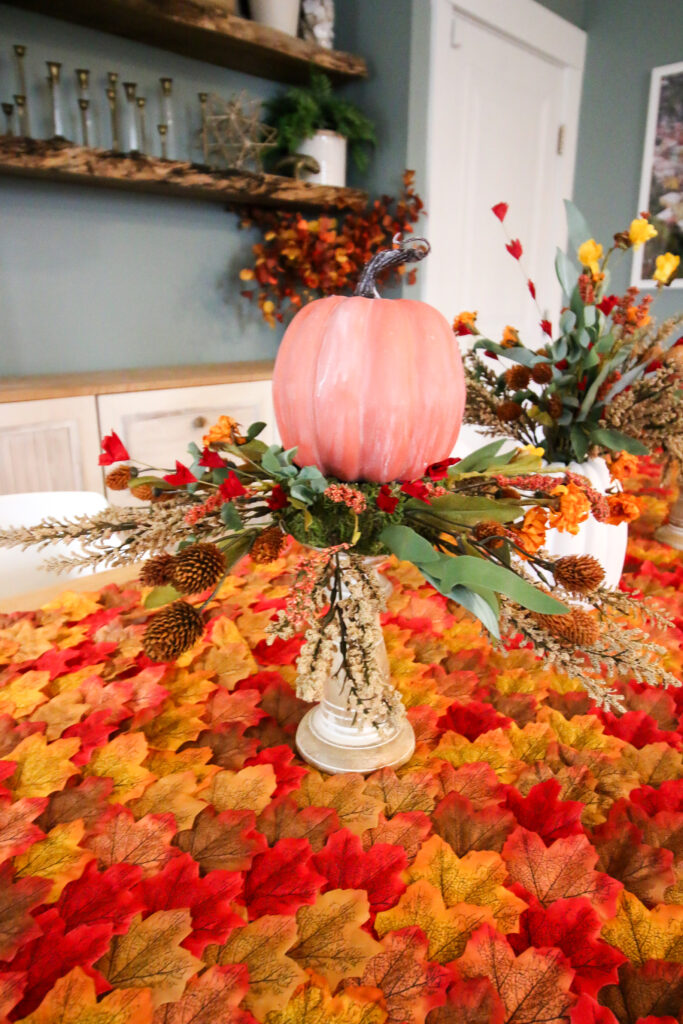
I had so much fun making my fall leaf table runner that I was inspired to make a centerpiece to go with it.
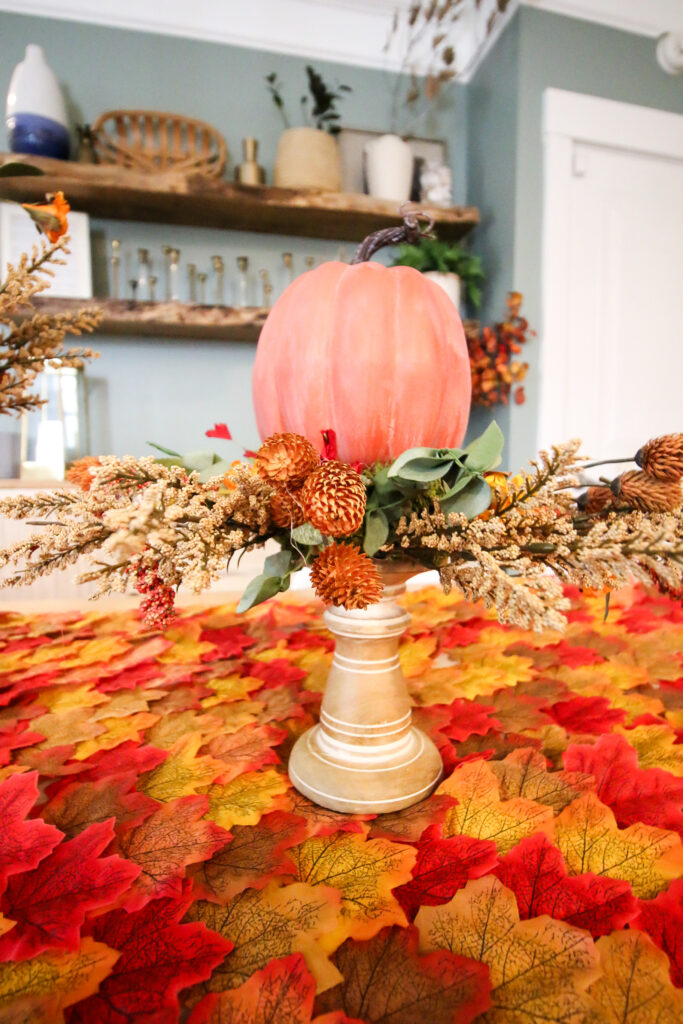
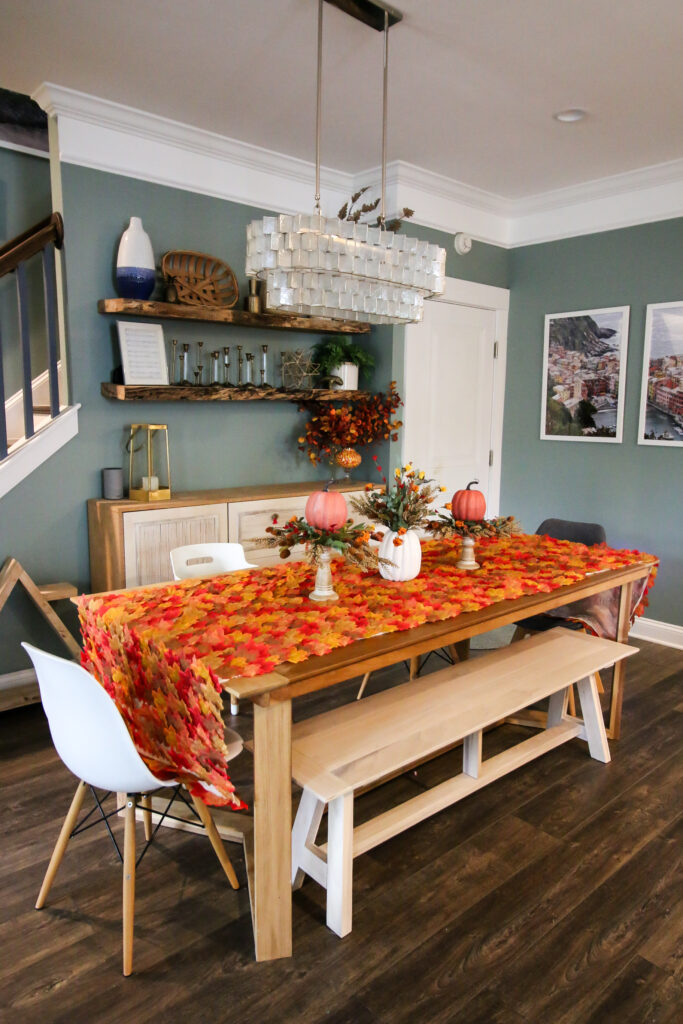
I used candlesticks and small faux pumpkins to make these centerpieces. I got a set of three candlesticks, but ended up only making two into pumpkin candle holders to go on either side of my candy corn vase. I think it's a great combo.
It's not hard to make, though it to take me about half an hour to get it done. Here's how easy you can make them yourself, too.
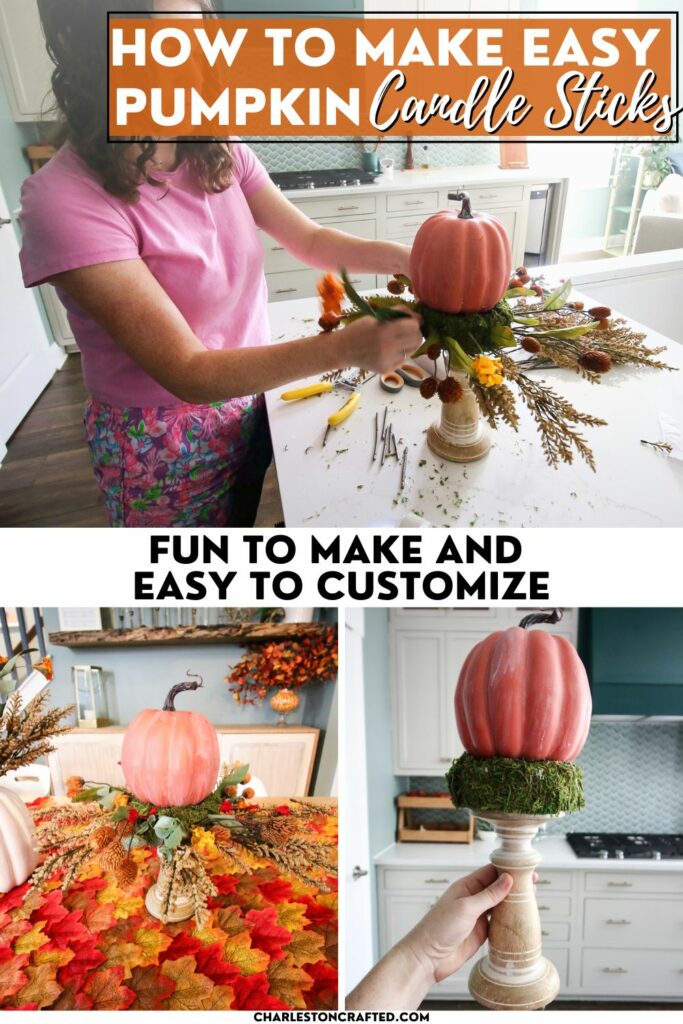
How to make a DIY pumpkin candlestick centerpiece
Here's how easy it is to make these Fall centerpieces!
Supplies Needed
- Candlestick
- Floral foam round (size depends on your candlestick)
- Sheet moss
- Hot glue & glue sticks
- Small pumpkin (real or faux)
- Floral picks (fall colors, dried florals, berries, or greenery)
- Scissors (to trim picks, moss, etc.)
Click here to shop all of the supplies used in one convenient place!
Step-by-Step Process
Step 1: Choose Your Candlestick
Select a sturdy candlestick that fits the look you're going for. Whether rustic or modern, this is your foundation!

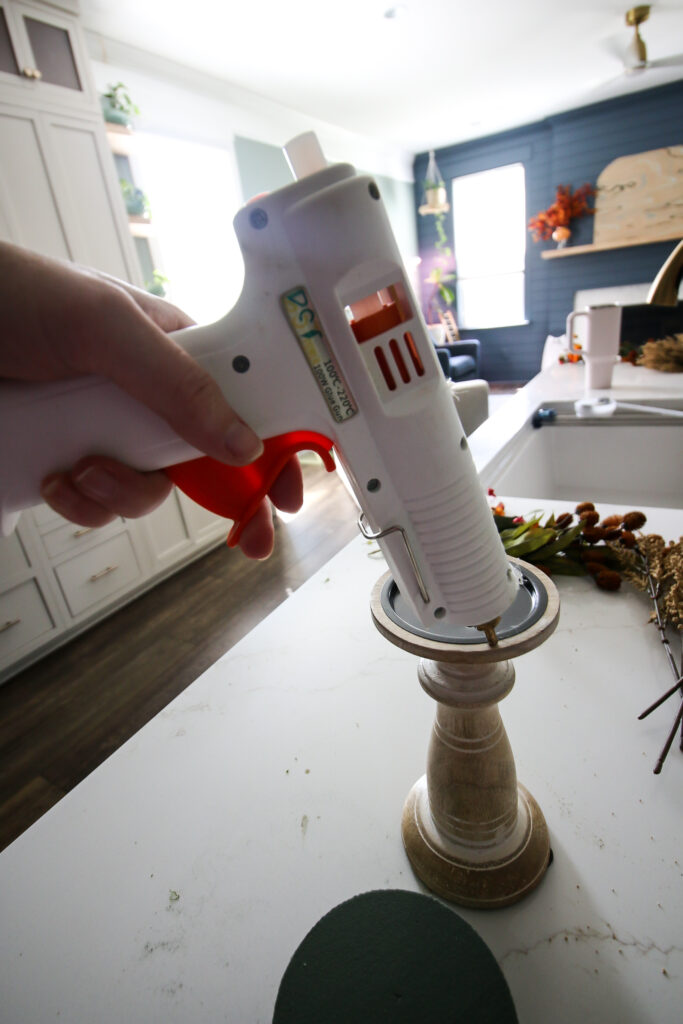
Step 2: Attach Floral Foam to the Top
Hot glue a floral foam round on top of the candlestick. Make sure it's secure—it will hold everything together.
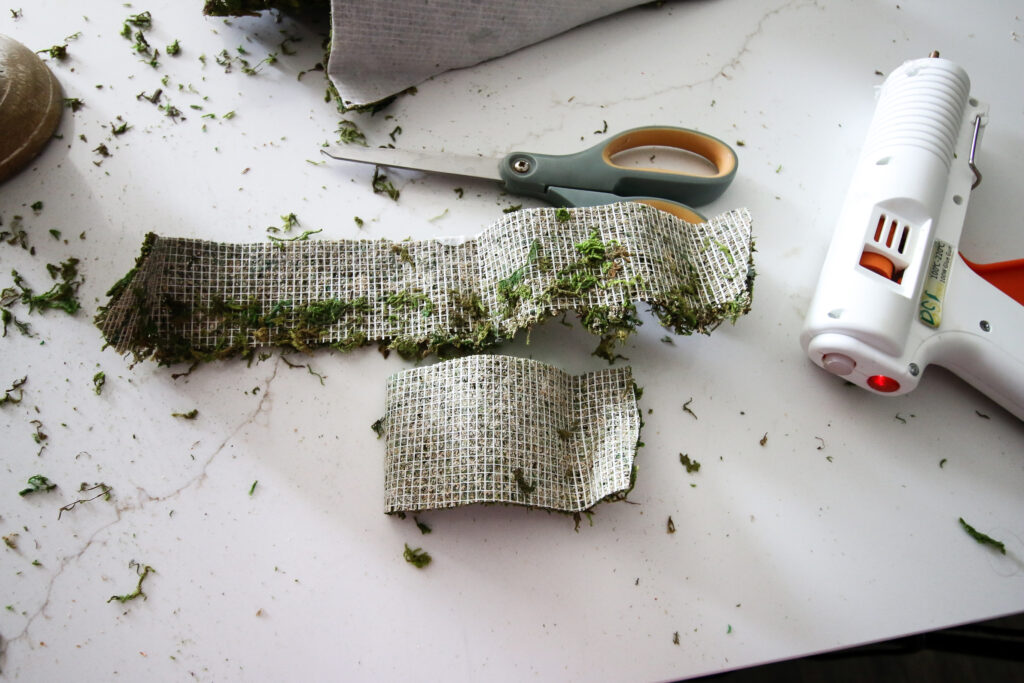
Step 3: Add Moss (or Skip to the Picks!)
- Version 1 (Easier Approach): Wrap the foam in sheet moss, securing it with hot glue. This covers the foam and creates a natural base for the pumpkin and picks.
- Version 2: Start by placing your floral picks into the foam. Once you're happy with the arrangement, add moss around the picks, tucking it into the bare spots to cover the foam. Note: The pumpkin will still be glued directly onto the foam, not on top of the picks.

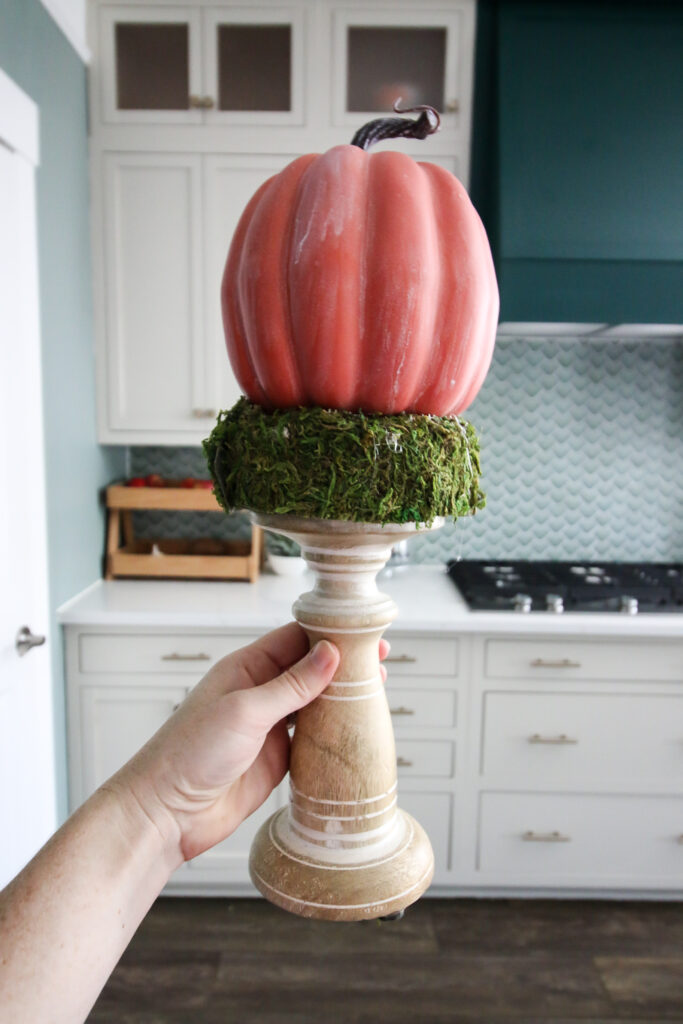
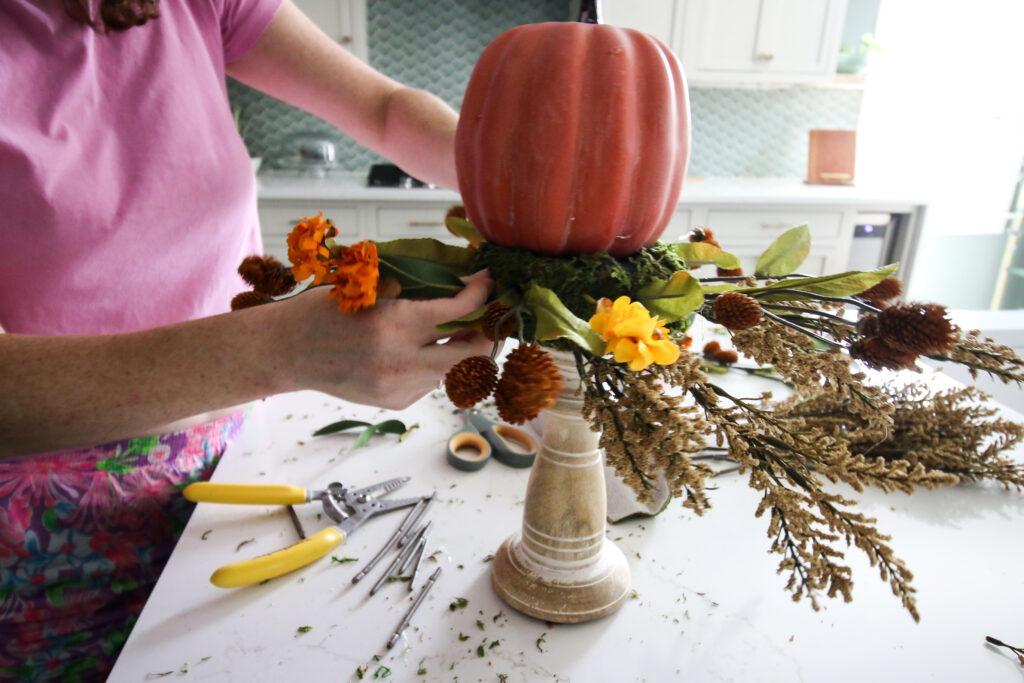
Step 4: Place the Pumpkin on Top
Glue a small pumpkin directly onto the moss-covered foam (or directly onto the foam itself in Version 2). Make sure it's centered and secure.
Step 5: Add Floral Picks
For Version 1, insert floral picks into the moss around the pumpkin to add color and texture.
For Version 2, the floral picks have already been placed, so just adjust the moss to cover any gaps.
For a full and lush look, Version 2 might be best if you're working with bigger floral picks.

But if you're aiming for a balanced, less fussy centerpiece, going with Version 1 (adding moss first) makes it easy to handle. The beauty of this DIY project is how customizable it is!
This project is the perfect way to bring a warm, cozy vibe to your fall décor. You'll love the compliments you'll get with this creative and simple centerpiece!
Ready to get crafting?
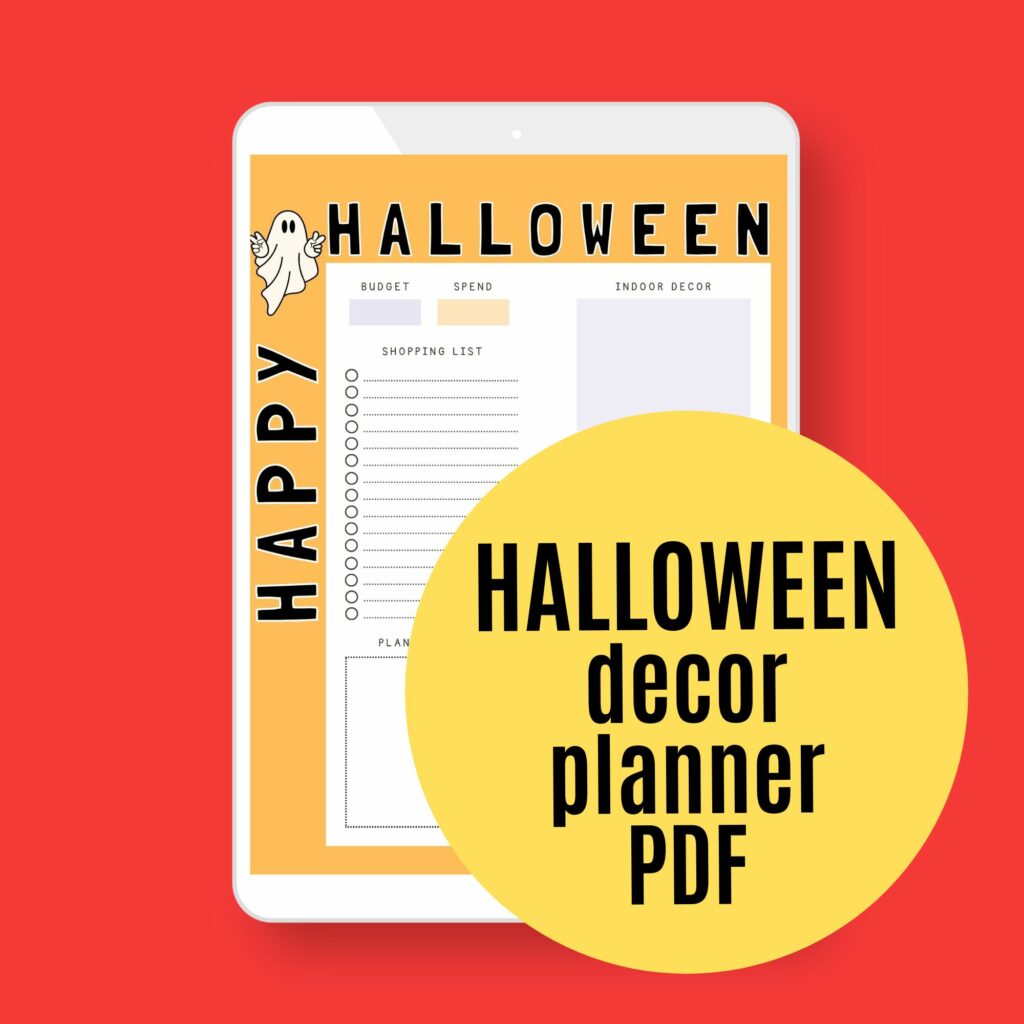
Planning a big Halloween?
Be sure to grab our FREE Halloween Decor Planner to get all of your plans organized!

Looking for something?
We've been doing this since 2012 so we have a LOT of blog posts!
Search stuff like: Ceiling Projects | DIY Plant Stands | Thrift Flips

Hello, I'm Morgan, half of the creative force behind CharlestonCrafted.com! With a passion for DIY that dates back to 2012, I've transformed three homes and now I'm dedicated to helping others craft their dream spaces. Let's turn your house into a home together!