• Skip to primary navigation
  • Skip to main content
  • Skip to primary sidebar
Charleston Crafted
  • DIY
  • Woodworking
  • Popular Posts
  • Blog
  • About
  • Shop
menu icon
go to homepage
  • DIY
  • Woodworking
  • Popular Posts
  • Blog
  • About
  • Shop
search icon
Homepage link
  • DIY
  • Woodworking
  • Popular Posts
  • Blog
  • About
  • Shop
×
Home » Crafts

How to make a faux rose table runner

Published: Feb 10, 2025 by Morgan · As an Amazon Associate, we earn from qualifying purchases. This site contains affiliate links. ·

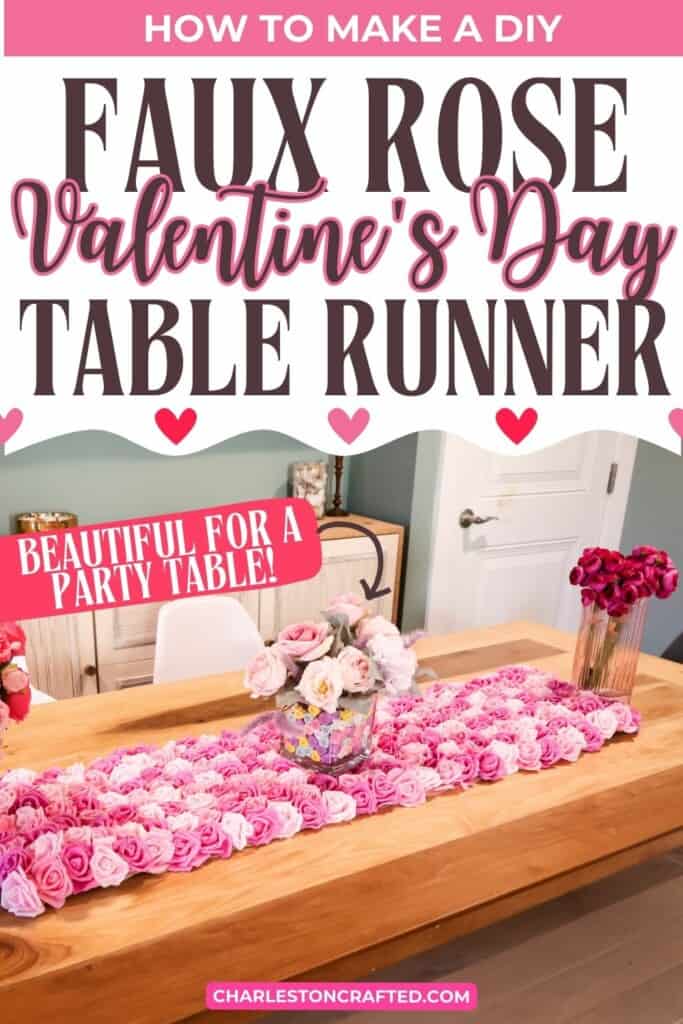
Want to transform your tables into a bed of roses? Here is how to make a faux rose table runner! This is an easy (but time consuming) craft, perfect for parties!

One thing that I love about having kids is how excited they get for every holiday. It wasn't January 2nd before my kids were asking when Valentines Day was going to be here!

I haven't historically decorated much for these smaller holidays, but their excitement makes me excited. So, this year I decided to do a little sweet decorating for this holiday.

I had so much fun making my fall leaf table runner that I wanted to make a pink rose version for February.

But, that table runner was so long that it fell into the lap of anyone sitting at the heads of the table.

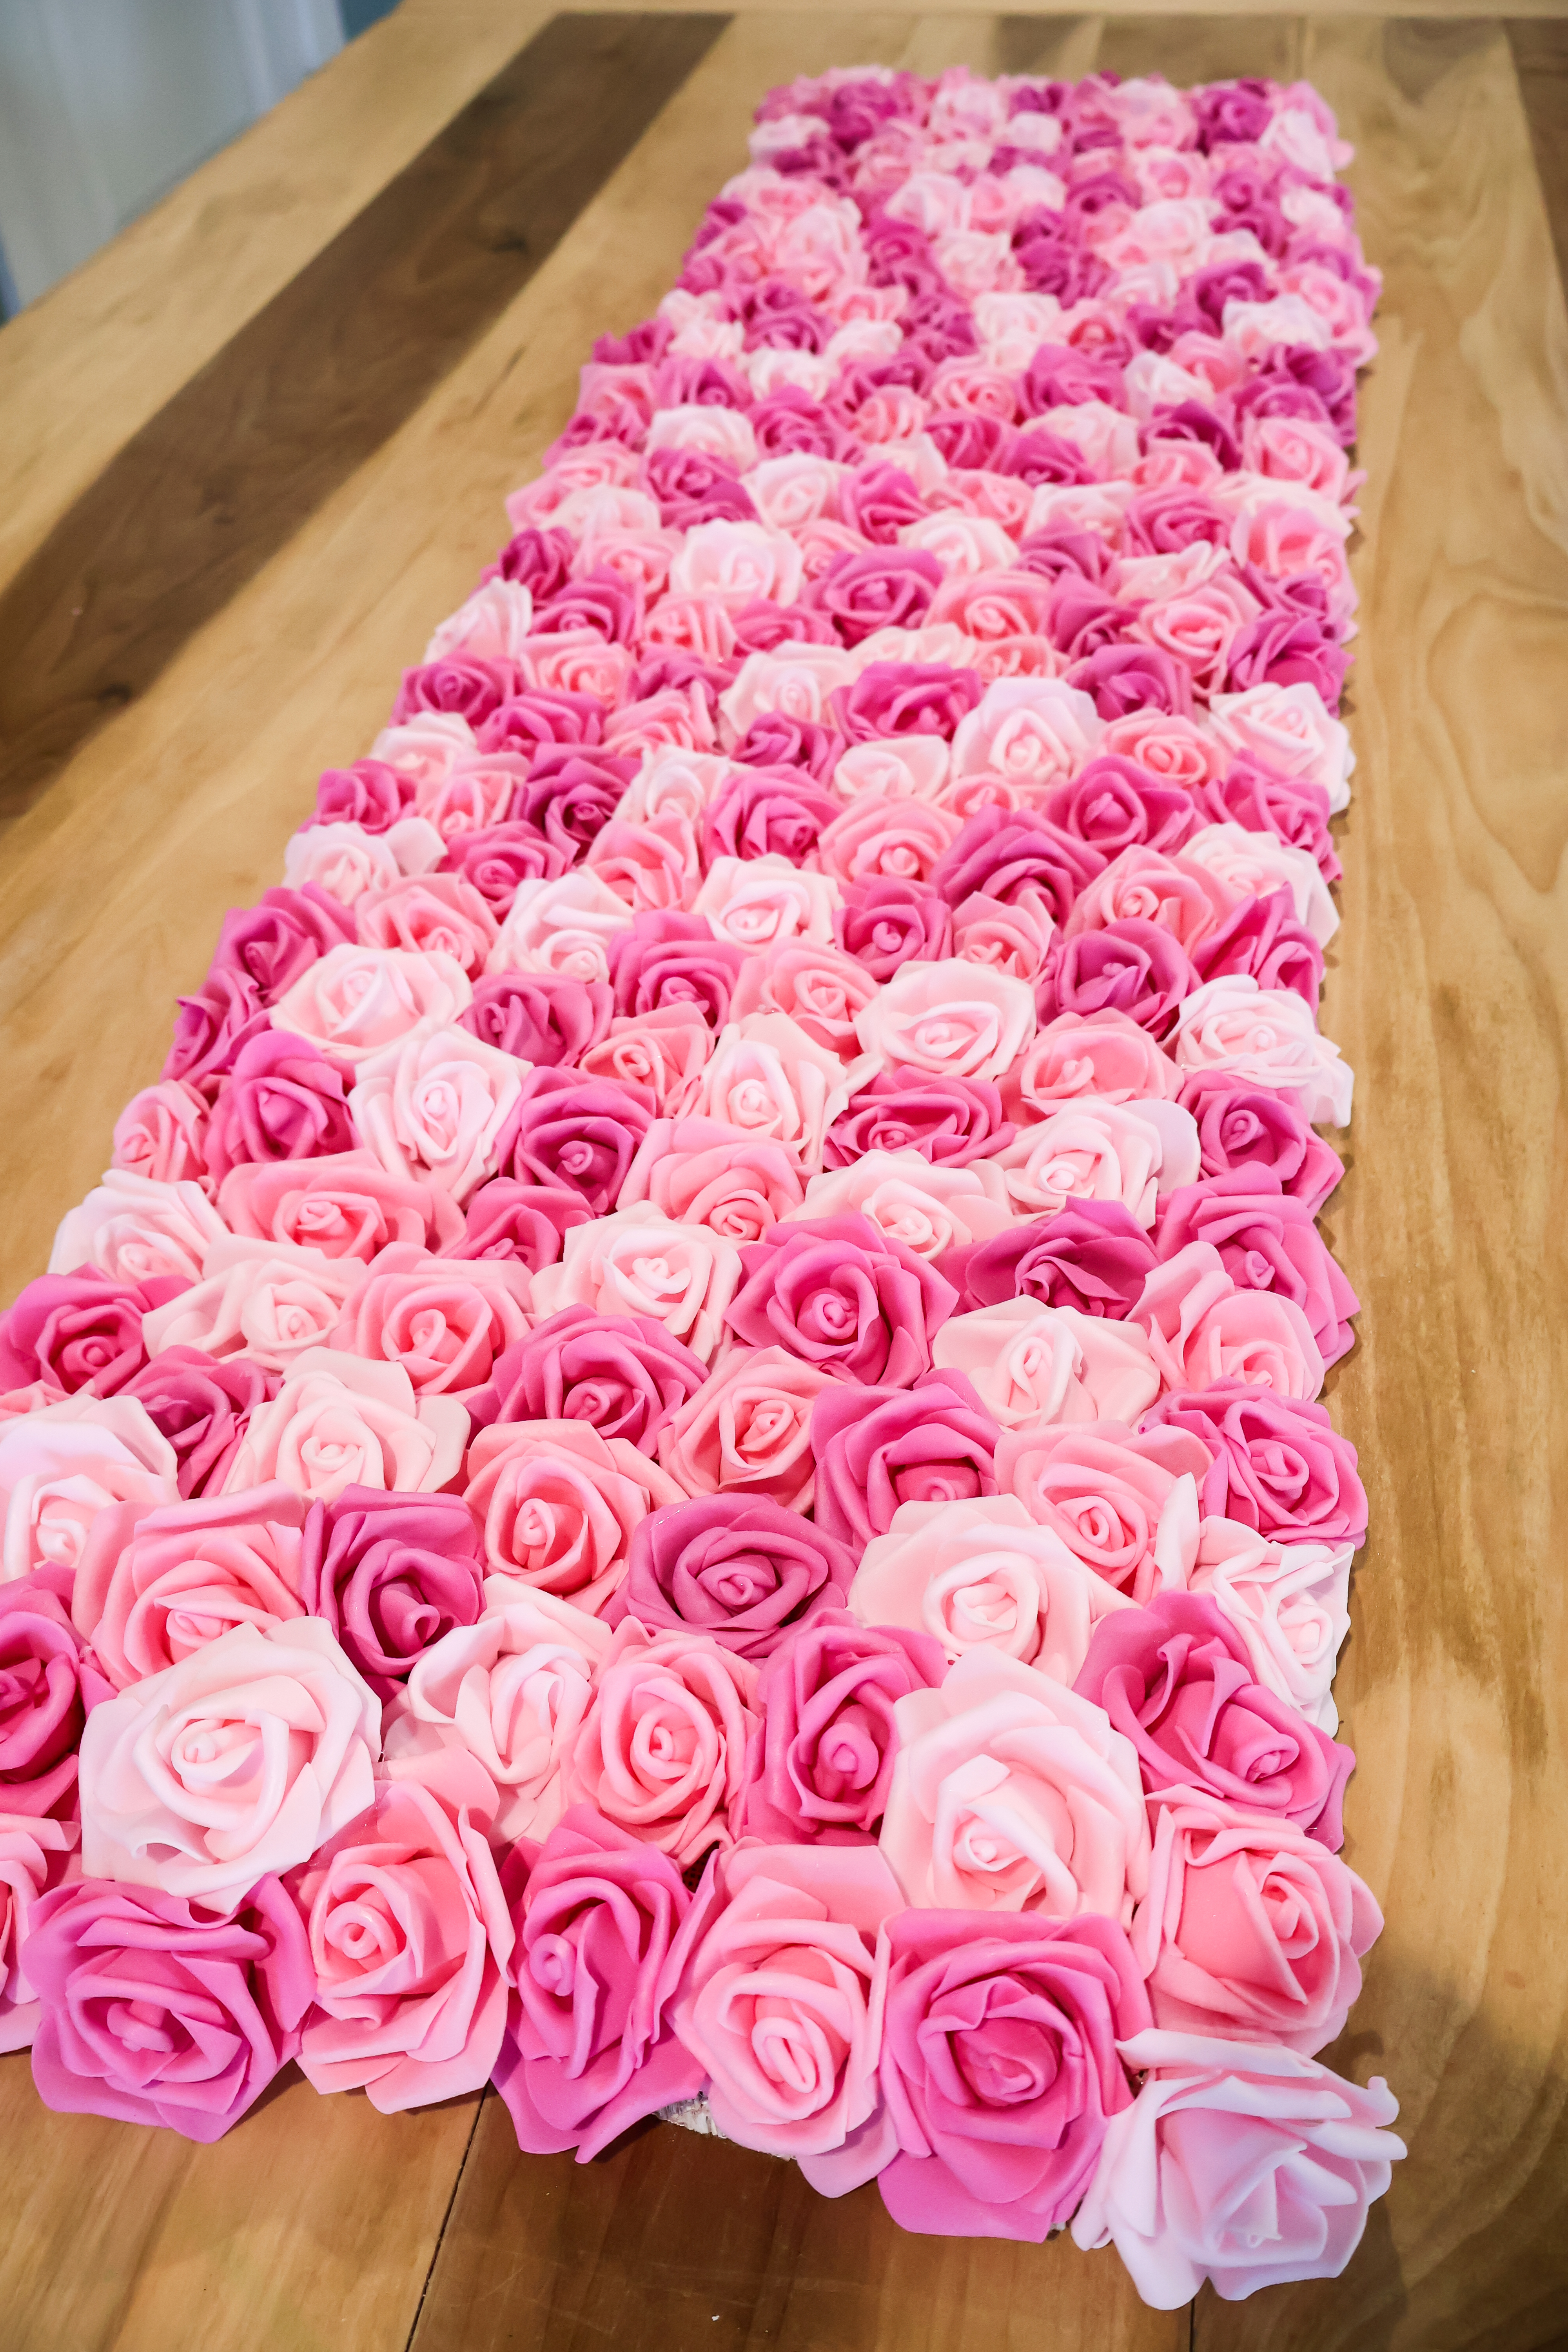
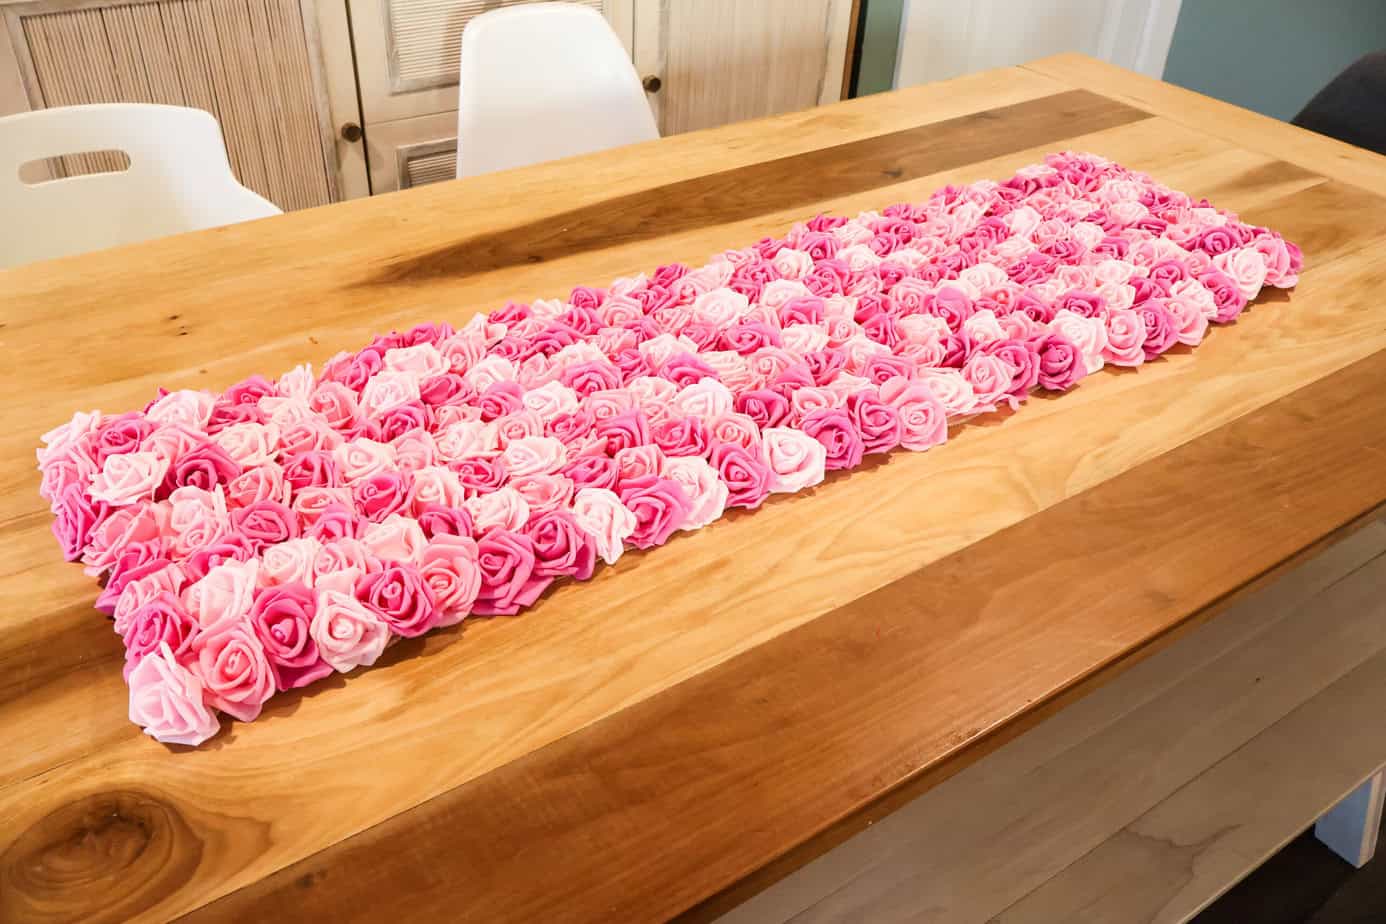
I decided to keep this one a more manageable 48 inches in length - and to have it look like a bed of roses.

how to make a rose table runner

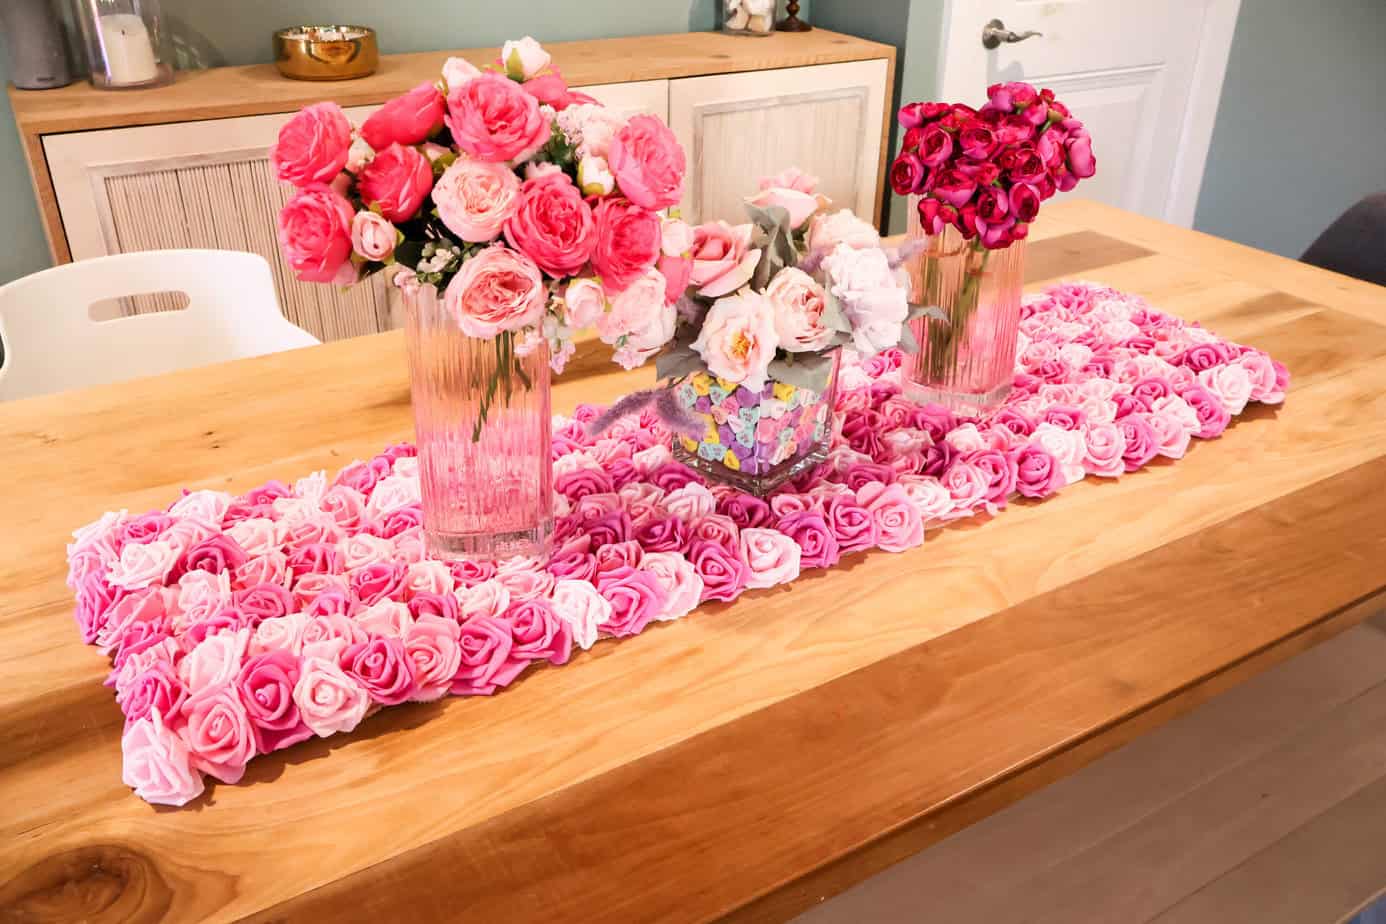
I love how it turned out, and wouldn't this be fun for a baby shower or bridal shower, too!

Keep reading for the full tutorial and supply list!

how to make a rose table runner

How to make a faux rose table runner

Here's how easy - if time consuming! - it is to make this faux floral table runner.

Supplies needed:

  • Table runner or fabric cut to size
  • Hot glue
  • Faux, stemless roses - I used these foam flowers

Note: for a 48" long table runner, I used approximately 300 foam roses.

DIY rose table runner

Steps to make:

STEP 1: Prep

Start by getting everything ready. First, plug in your hot glue and let it heat up.

Meanwhile, lay out your table runner. If it's longer than your workspace, gently roll or fold up one end and work from the other end.

Lay out your flowers. If you have multiple colors, mix them up on your work surface or sort them if you plan to pull in a pattern. Just get them ready to go!

how to make a rose table runner

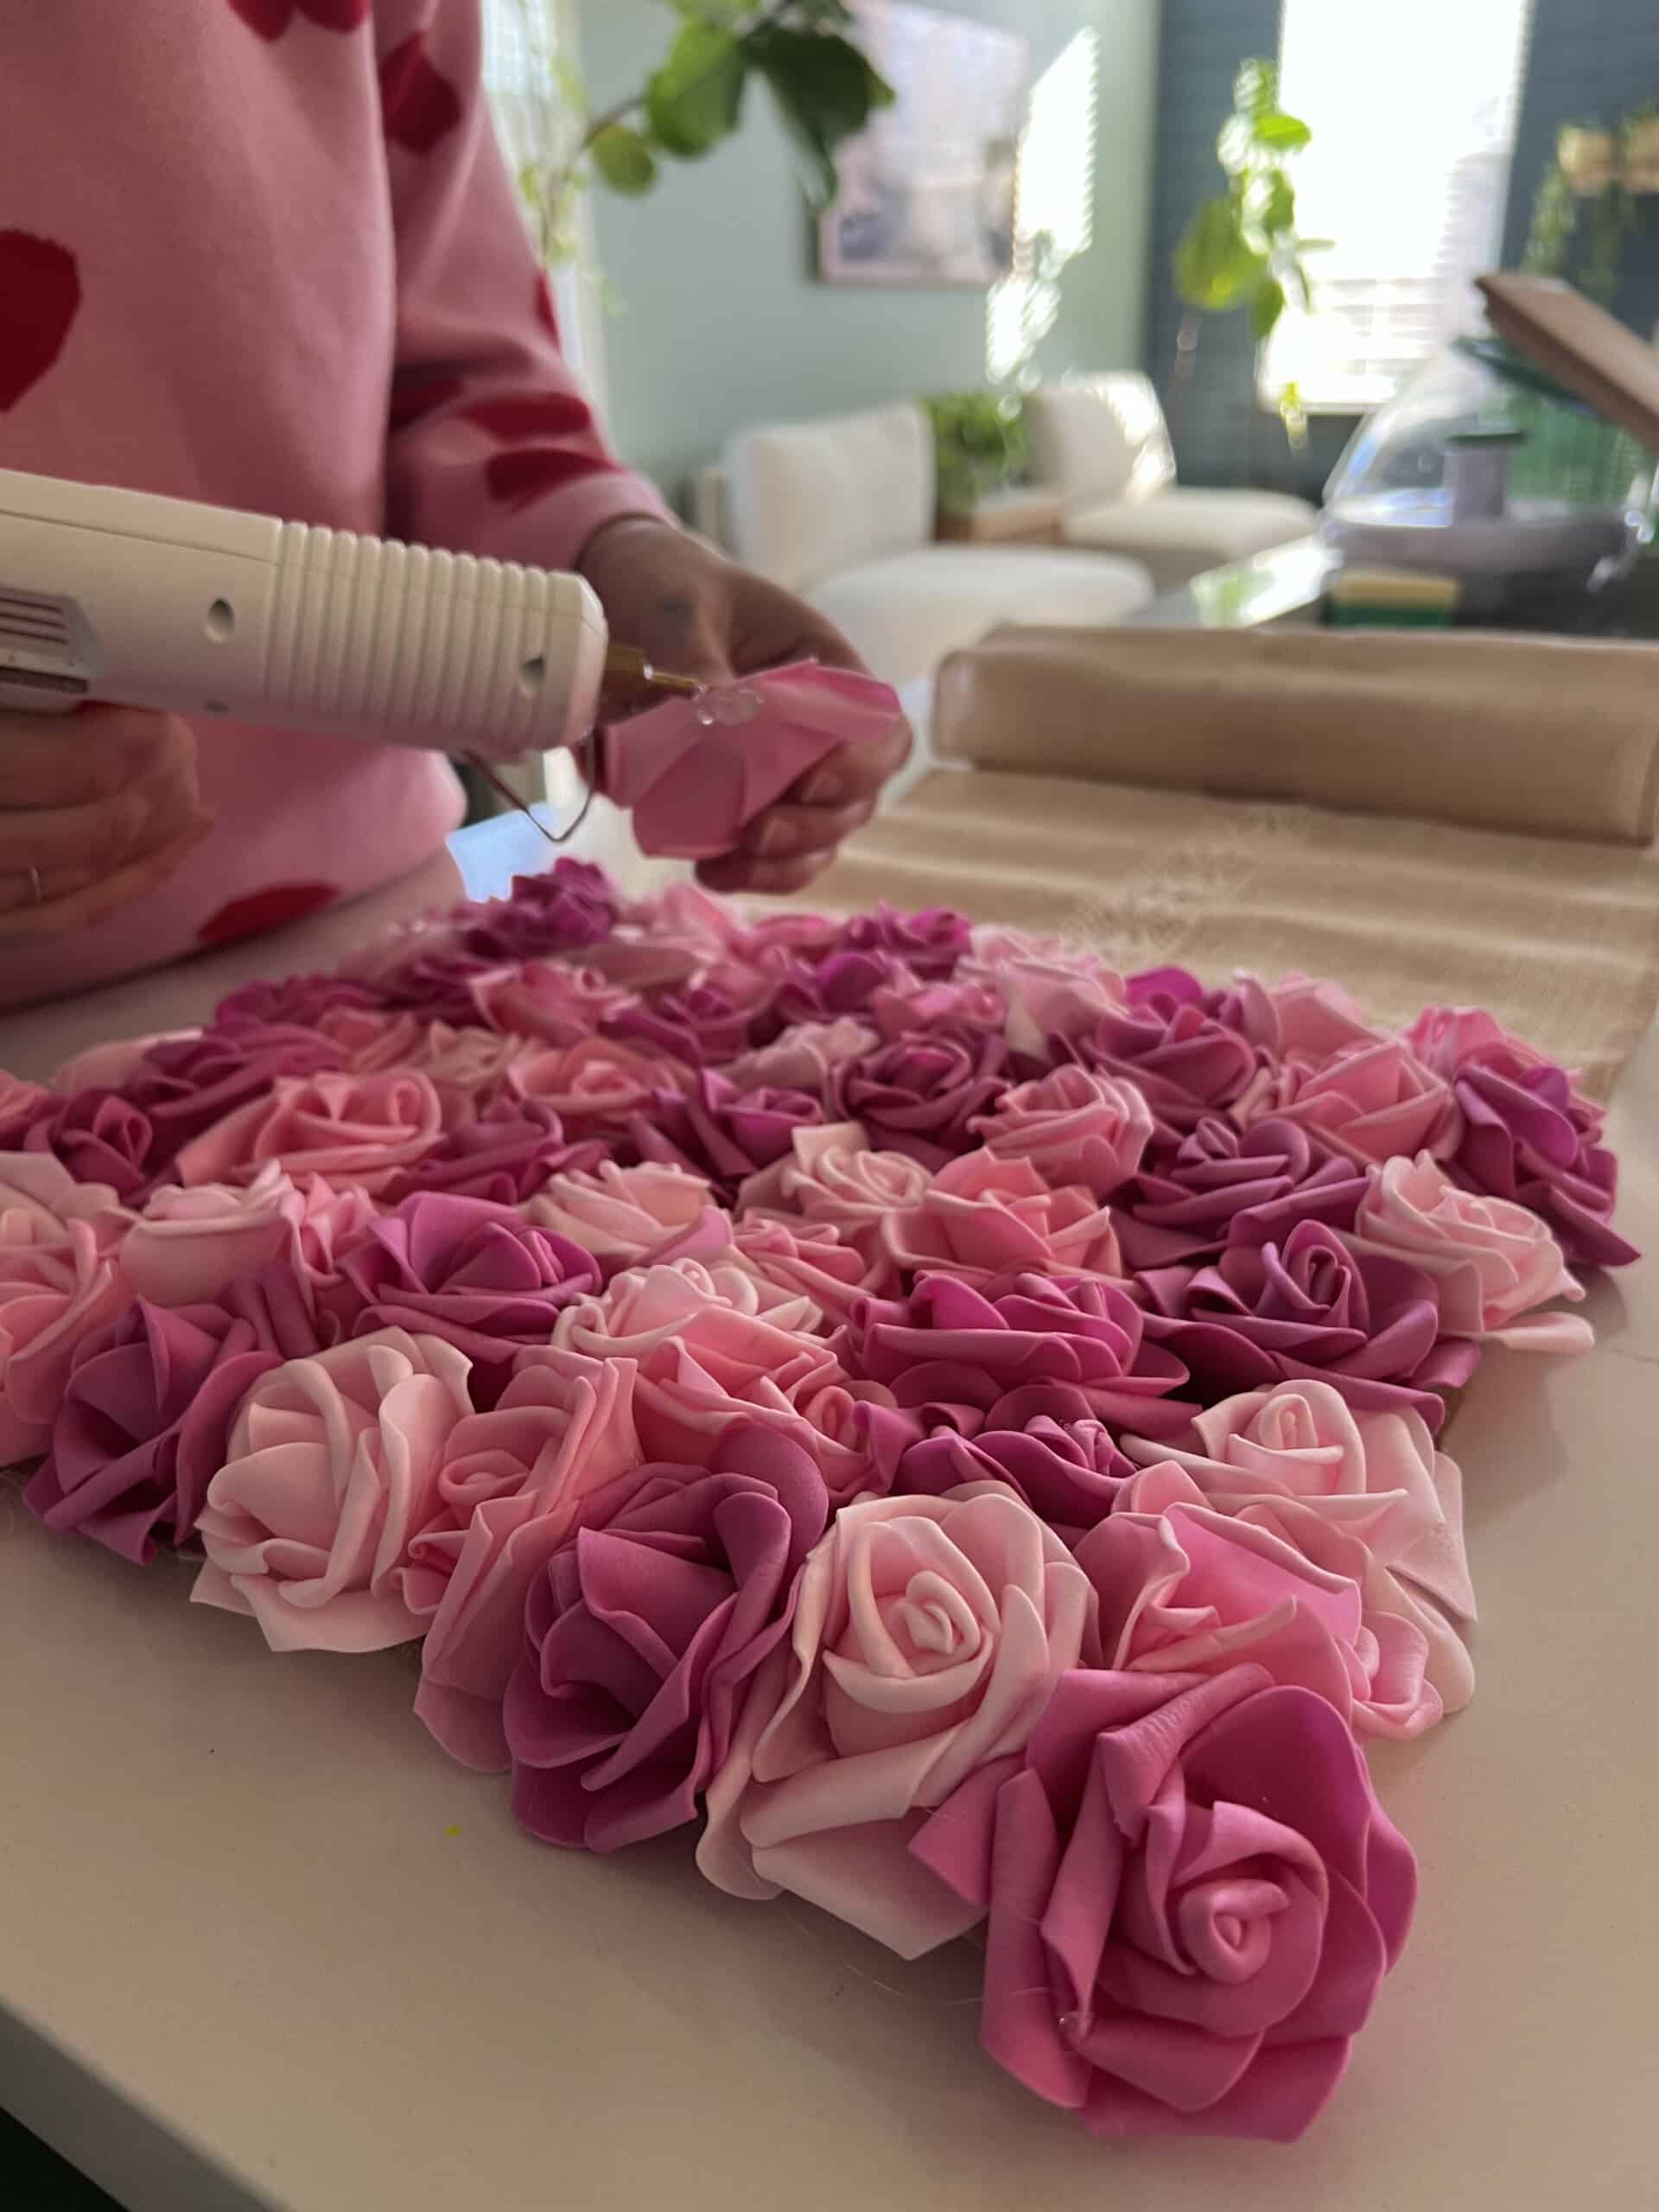
STEP 2: Start gluing

Once your hot glue is ready, apply glue to the bottom of a rose and then press onto the table runner.

I suggest starting in one corner and creating lines or rows of flowers.

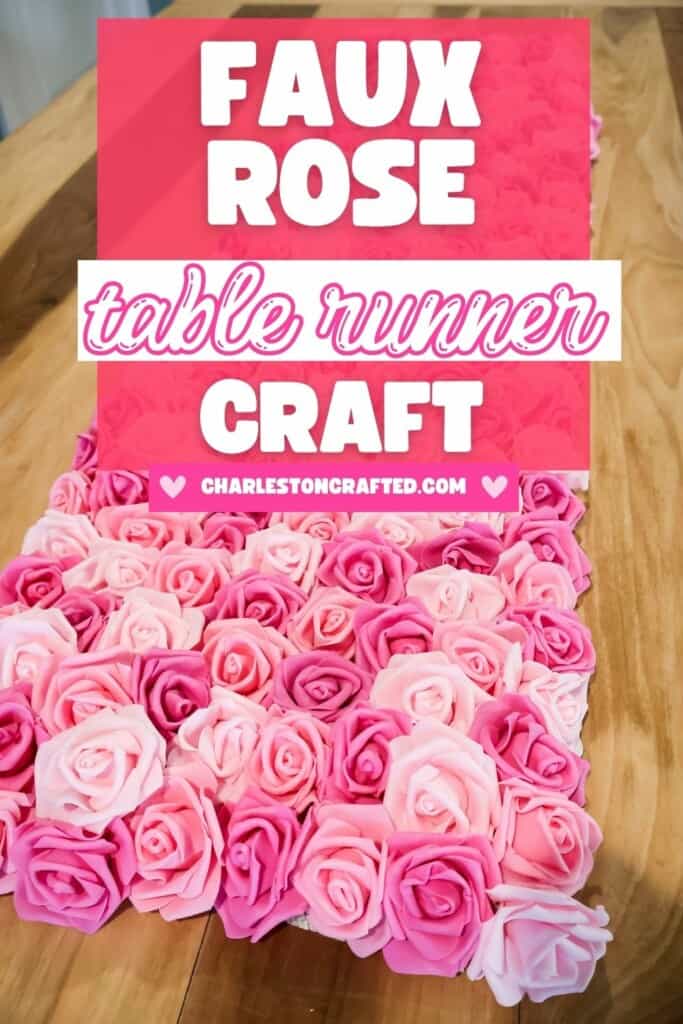
You want them to be close enough together for full coverage, but not so close that the roses look squished. It's ok to lay them out before glueing to get the placement right. Once you get going, it gets easier!

If there is a place where the flowers sit weird, you can add a dot of hot glue between the petals to hold 2 petals together. I did this in a few spots across the runner where the roses were not quite meeting perfectly.

I tried not to line my roses up like a grid but have the rows slightly staggered. I thought this gave better coverage and looked more natural!

how to make a rose table runner

STEP 3: Repeat, repeat

Repeat, row by row, until you have full coverage on the runner.

Carefully us your fingers to pull off and clean up any hot glue stringies. You can always blast it with a hair dryer to melt them down!

Let cool completely.
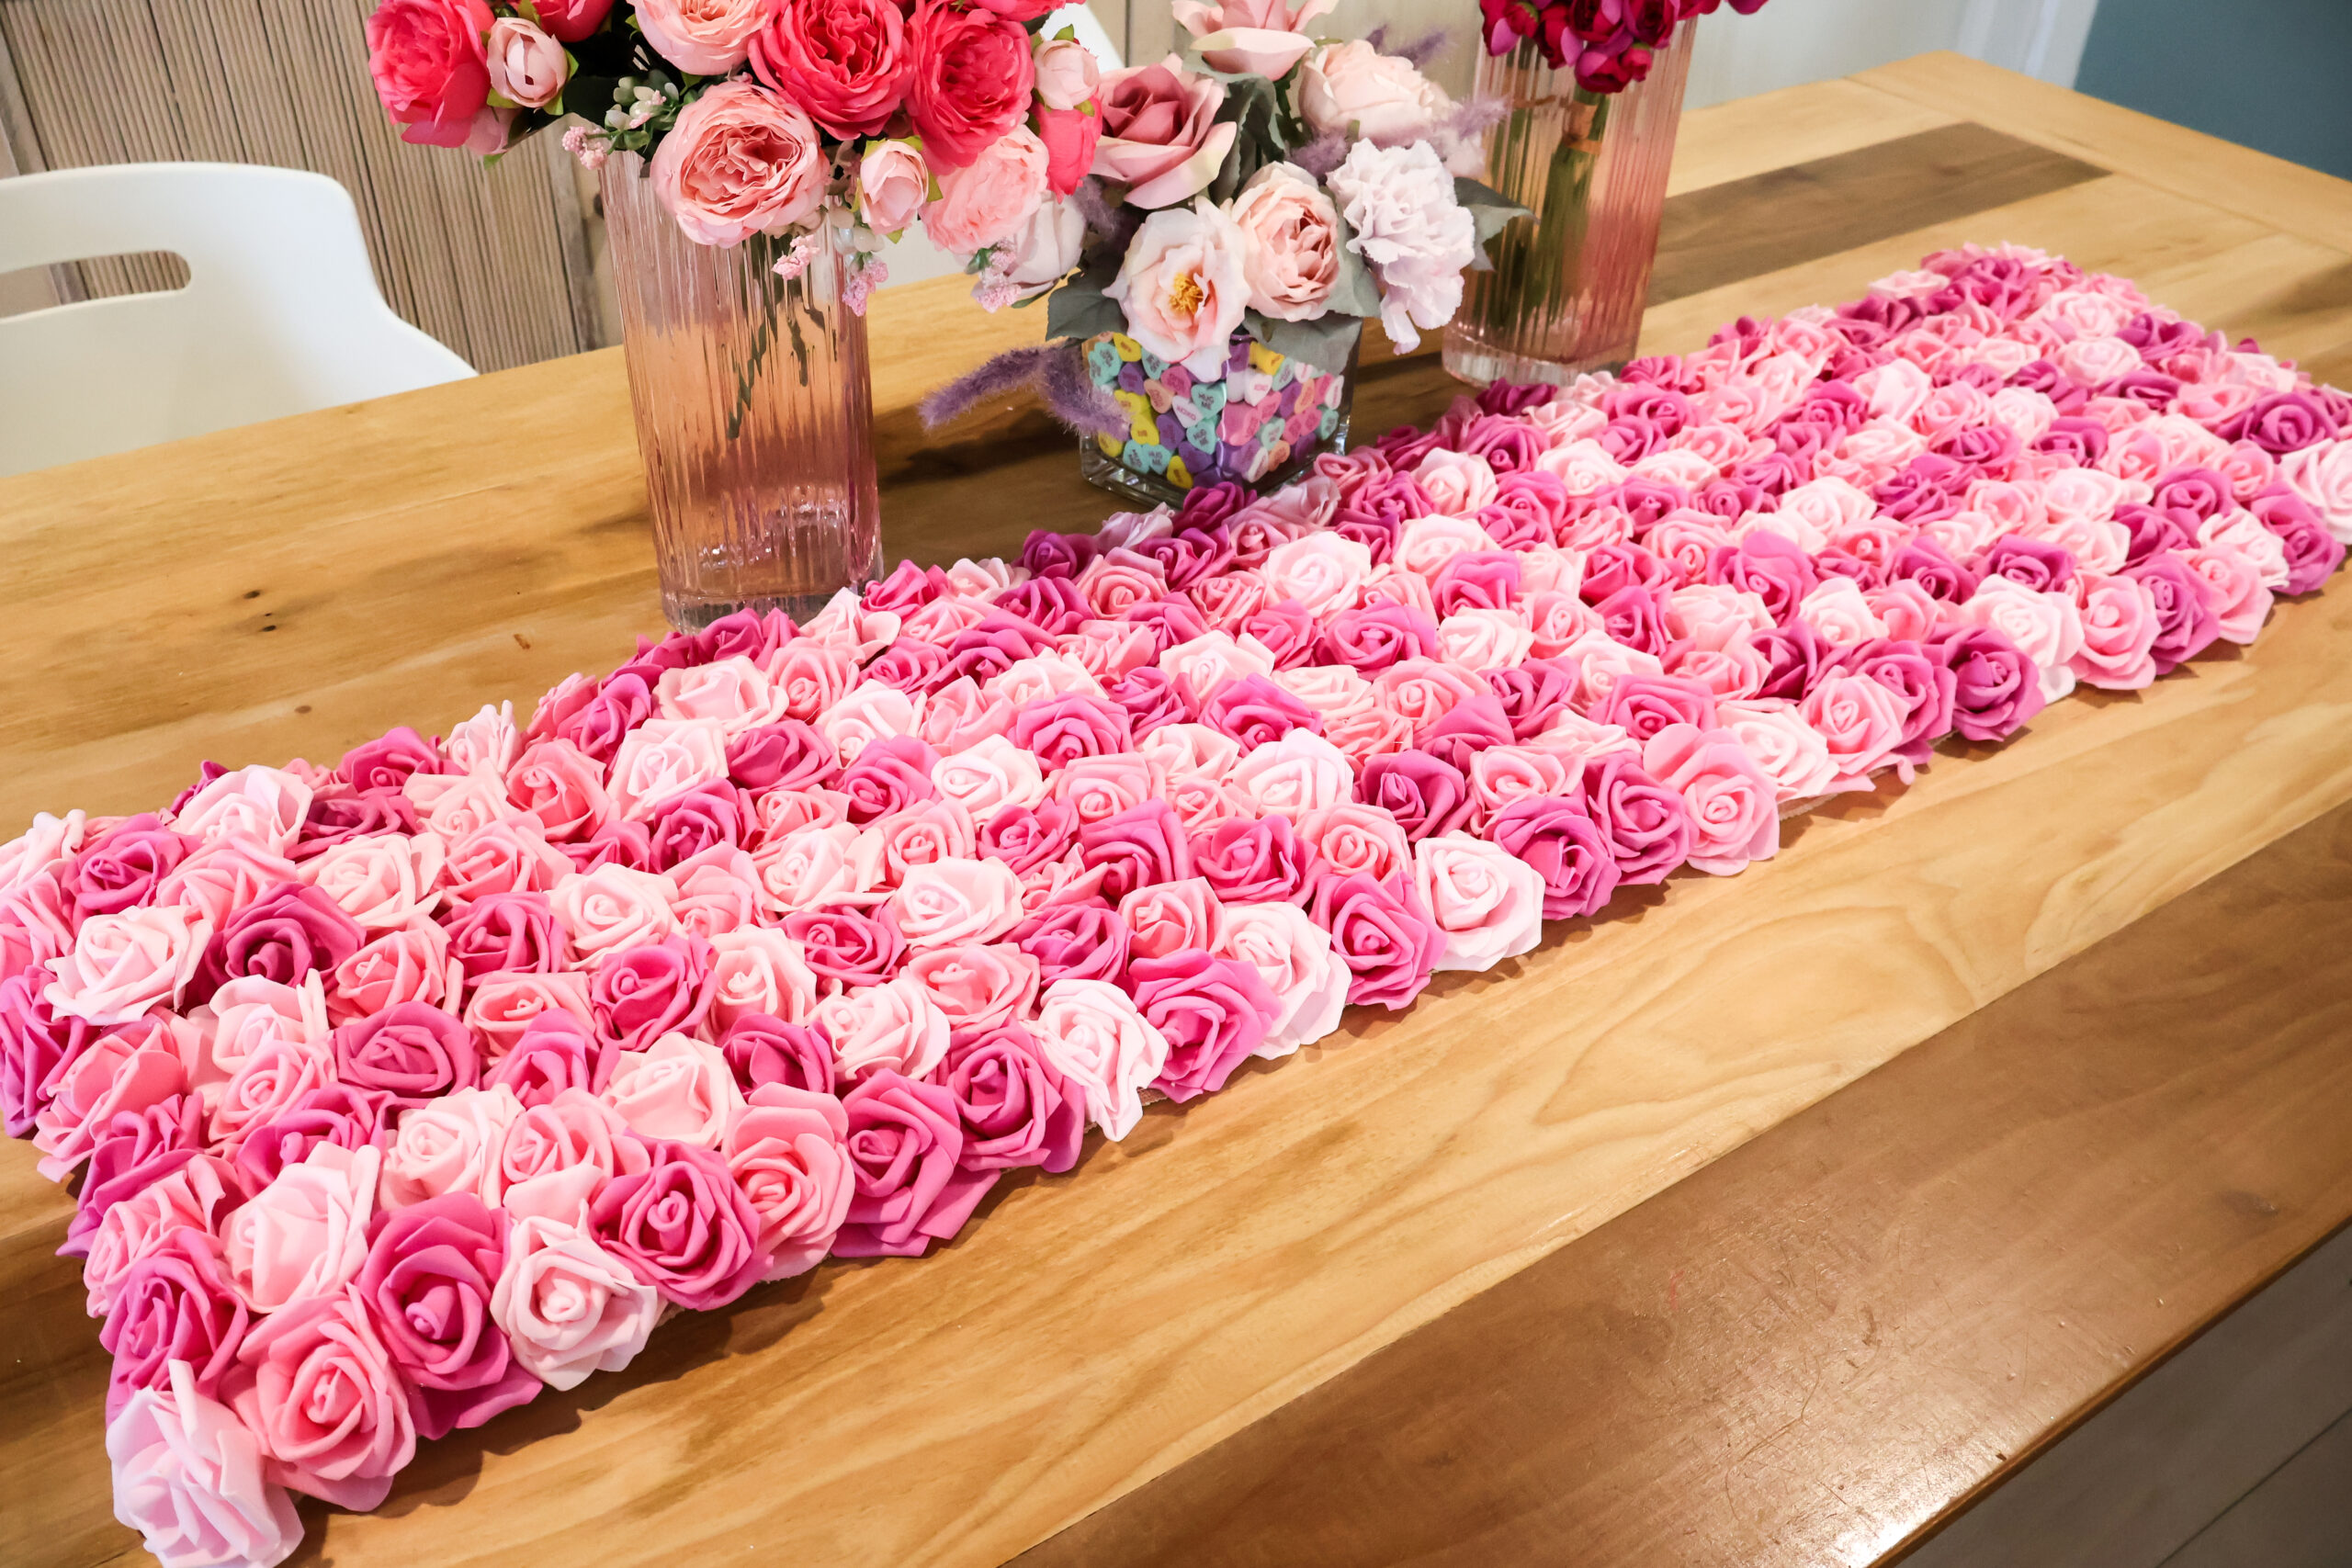
how to make a rose table runner

STEP 4: Enjoy!

Use as a part of your Valentine's Day tablescape, or for a party like a baby shower or bridal shower! Enjoy!
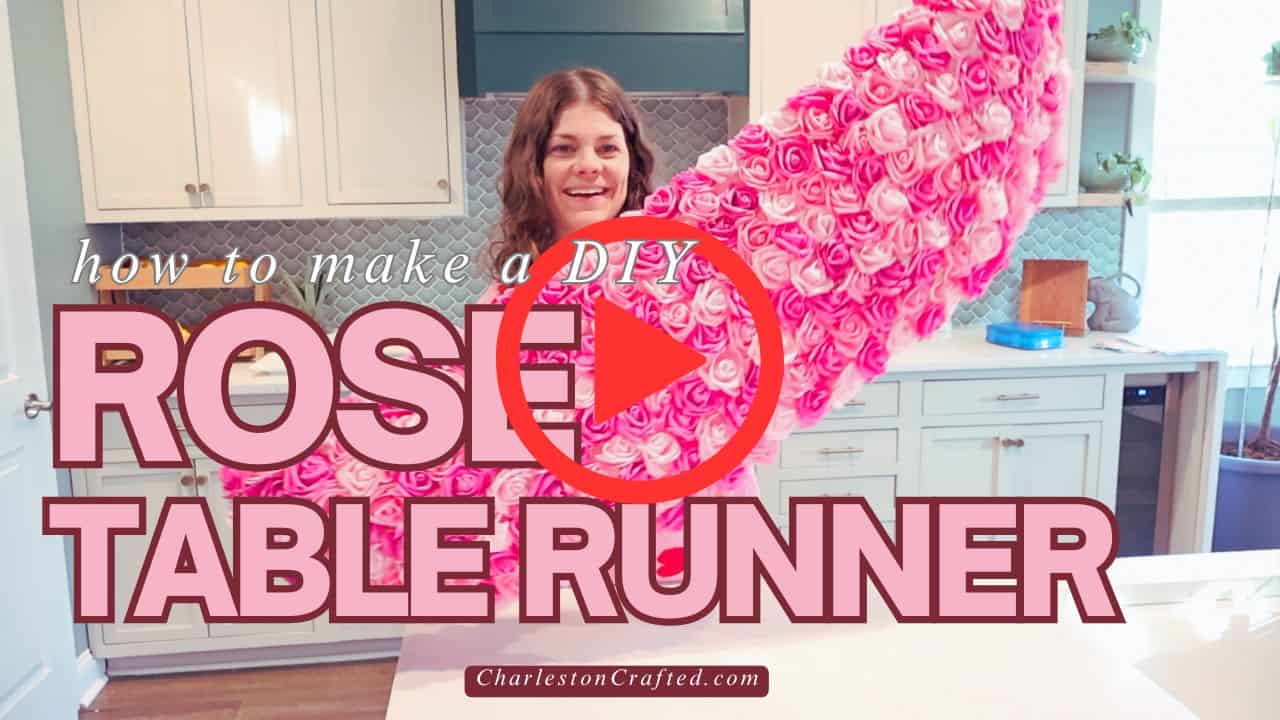
DIY rose table runner

Video tutorial

Prefer to watch? Click here or the image below to watch my tutorial video!

rose table runner YT thumbnail
how to make a rose table runner
Charleston Crafted Signature

Follow us on:
Pinterest | Instagram | TikTok | YouTube | Facebook | Amazon Storefront | LTK Shop

Looking for something?

We've been doing this since 2012 so we have a LOT of blog posts!
Search stuff like: Ceiling Projects | DIY Plant Stands | Thrift Flips

Charleston Crafted logo banner
Morgan headshot cropped
Morgan

Hello, I'm Morgan, half of the creative force behind CharlestonCrafted.com! With a passion for DIY that dates back to 2012, I've transformed three homes and now I'm dedicated to helping others craft their dream spaces. Let's turn your house into a home together!

More Crafts

  • DIY flocked easter bunny wreath
    DIY Flocked Bunny Easter Wreath
  • how to make an oversized easter egg wreath
    DIY Oversized Easter Egg Wreath
  • how to make an easter peeps centerpiece
    The EASIEST Easter Peeps Flower Centerpiece!
  • How to make a giant pool noodle Easter basket
    How to make a giant pool noodle Easter basket

Primary Sidebar

Charleston Crafted about us image

Hey y'all!

We are Morgan & Sean McBride and we are crafting our home together in Charleston, South Carolina.

More about us

Popular Posts

  • DIY Coffered Ceiling
    DIY Coffered Ceiling
  • How to Make DIY Concrete Pumpkins via Charleston Crafted
    How to Make DIY Concrete Pumpkins
  • How to Make a Cupid's Arrow Valentine's Day Wall Hanging with felt on the Cricut
    How to make a Cupid's Arrow Valentine's Day Wall Hanging
  • Our Tropical Oasis - A backyard Hammock area - Charleston Crafted
    Our Tropical Oasis

Recent Posts

  • fisherman aesthetic home inspiration
    Fisherman Aesthetic Decor for Your Home
  • Senix Tools Review- Charleston Crafted
    Are Senix power tools any good?
  • Your Weekend To-Do List: 15 Things to Do for Summer Home Upkeep
    Your Weekend To-Do List: 15 Things to Do for Summer Home Upkeep
  • How to build a DIY gate pergola- Charleston Crafted
    How to build a DIY gate pergola

Privacy Policy

Footer

↑ back to top

Navigation

  • Home
  • Blog
  • Contact Us
  • Terms of Use
  • Disclaimer

Newsletter

  • Sign up for emails and updates
  • Follow us on Instagram
  • Work with Us

Browse by Category

  • Woodworking
  • Home Projects
  • Paint Colors
  • Room Reveals

© 2025 The Charleston Crafted Blog LLC DBA “Charleston Crafted” and “CharlestonCrafted” (also known as N/A) / All Rights Reserved.
Official Website: (Charleston Crafted)
Registered in USA (Co. Reg. No.: 565586)
Address: Charleston, USA 29414, South Carolina
Contact Phone: Not applicable — contact is via email: sean@charlestoncrafted.com

DISCLAIMER: The content on this website is provided for general informational purposes only and is not intended as professional advice. The Charleston Crafted Blog LLC and The Charleston Crafted Blog LLC make no representations or warranties—express or implied—regarding the accuracy, completeness, or suitability of the information contained herein. Any reliance you place on this information is strictly at your own risk. In no event shall The Charleston Crafted Blog LLC or The Charleston Crafted Blog LLC be liable for any loss or damage, including without limitation, indirect or consequential loss or damage, arising from the use or inability to use this website. This website is the official website of The Charleston Crafted Blog LLC.

AFFILIATE DISCLOSURE: This website contains affiliate links. If you click through and make a purchase, we may earn a commission at no extra cost to you.

As an Amazon Associate, I earn from qualifying purchases.

Site Editor: Morgan Smith McBride

Copyright © 2025 Charleston Crafted