Wondering how to hang peel and stick wallpaper? Here is a step by step guide to getting the perfect results - so special tools or skills needed!
When I designed our nursery, a bold wallpaper was an important part of my vision. Sean was understandably skeptical. He has been on the wallpaper-removal side of the process and it's not pretty.
But, wallpaper is definitely back in style and a nursery is a great way to play with fun patterns. So, we decided to dive in head first and teach ourselves how to hang peel & stick wallpaper.
love this project? check out all of our nursery projects here!
The consensus? Hanging wallpaper is not easy. If we had painted, this would have cost us about $50 and 3-4 hours of time. Instead, we spent about $250 and maybe 20 hours of time. Was it worth it in the end? You decide!
I love the look and the statement that it makes, but I am not going to lie and say it wasn't stressful or frustrating, especially at first, and at one point when a sheet was really crooked and messed up and I just wanted to quit. Real life, y'all!
How to Hang Peel & Stick Wallpaper
Supplies needed to hang peel and stick wallpaper:
- Wallpaper - we purchased this wallpaper from Target.com
- Straight edge such as a yard stick
- Measuring tape
- Pencil
- Scissors
- Craft knife
- Long level
- Squeegee
Steps to hang peel and stick wallpaper:
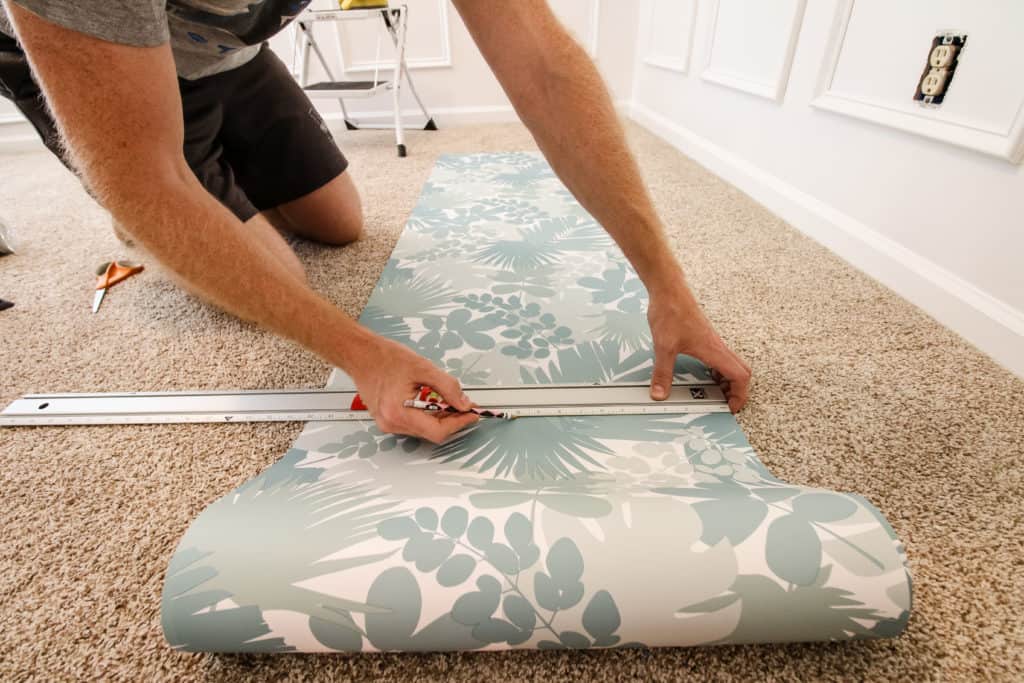
- Measure the height of your wall. This is the length of wallpaper that you need. You want to add about an inch to give you some wiggle room. Use a straight edge and pencil to cut a straight line on your wallpaper.

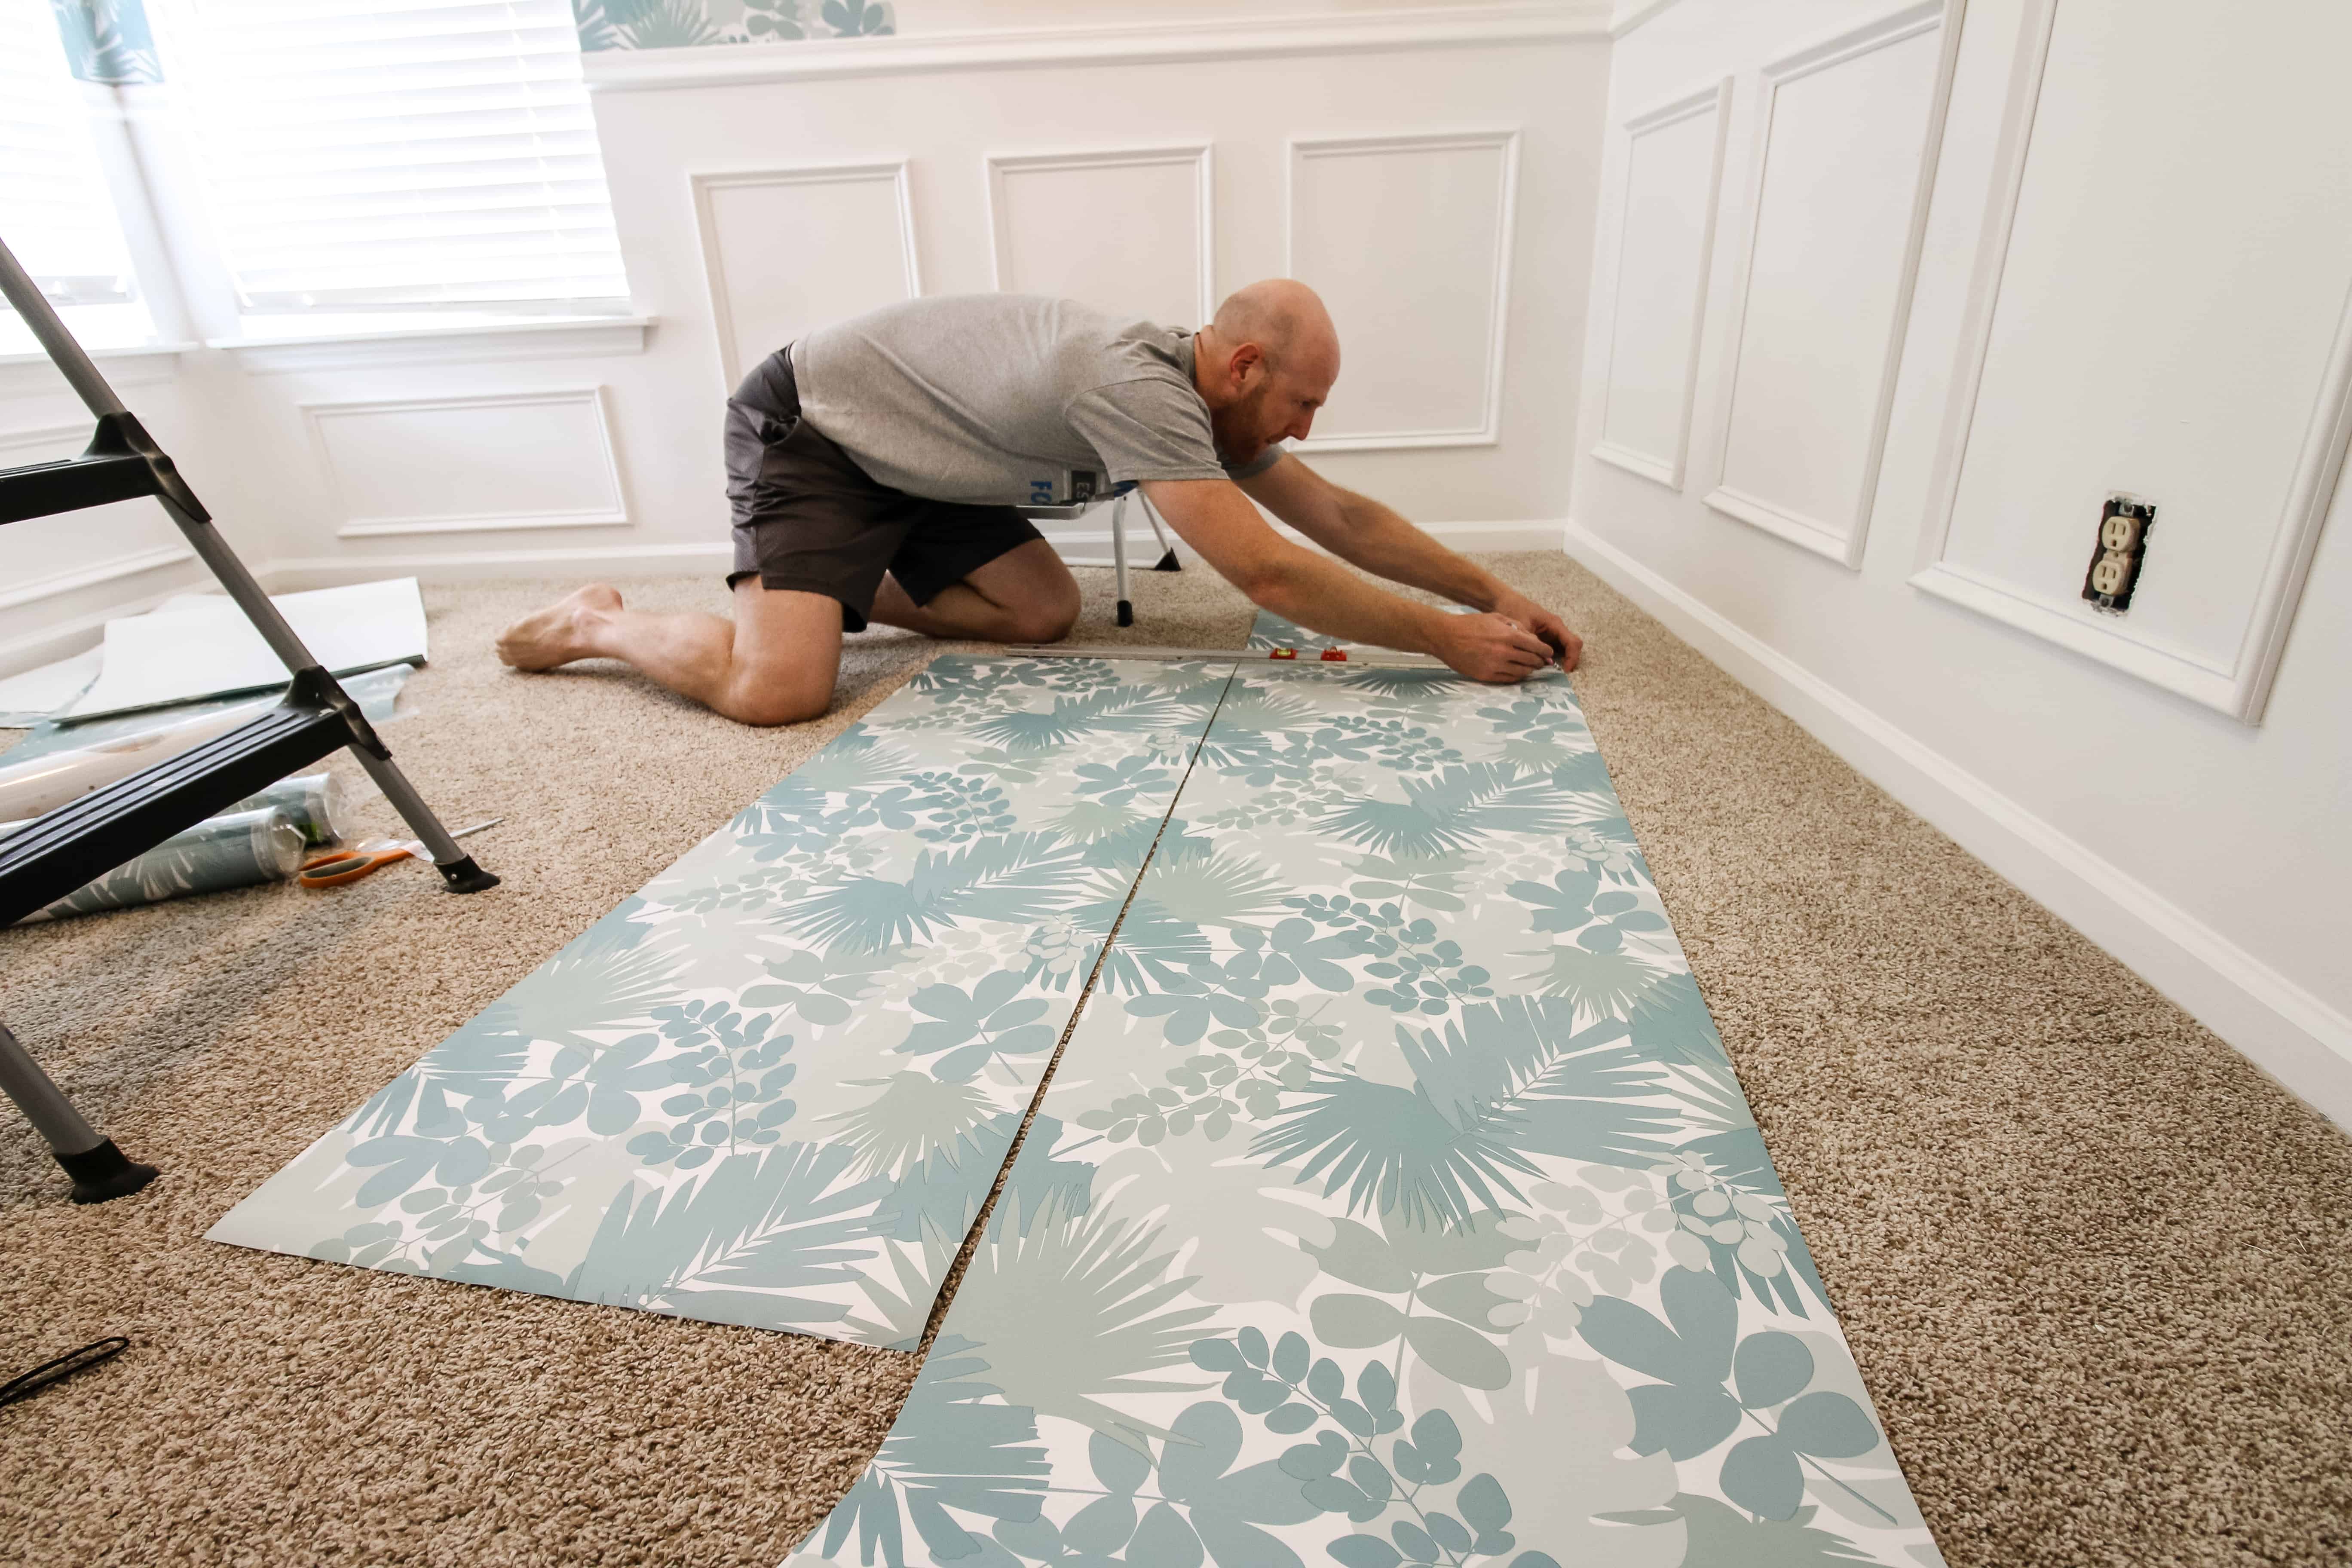
- We suggest cutting 2 pieces at a time, since it is easier to line up the pattern on the floor than on the wall. With your one piece cut, unroll the paper right next to it. Line up the patterns and cut a second piece that same length.

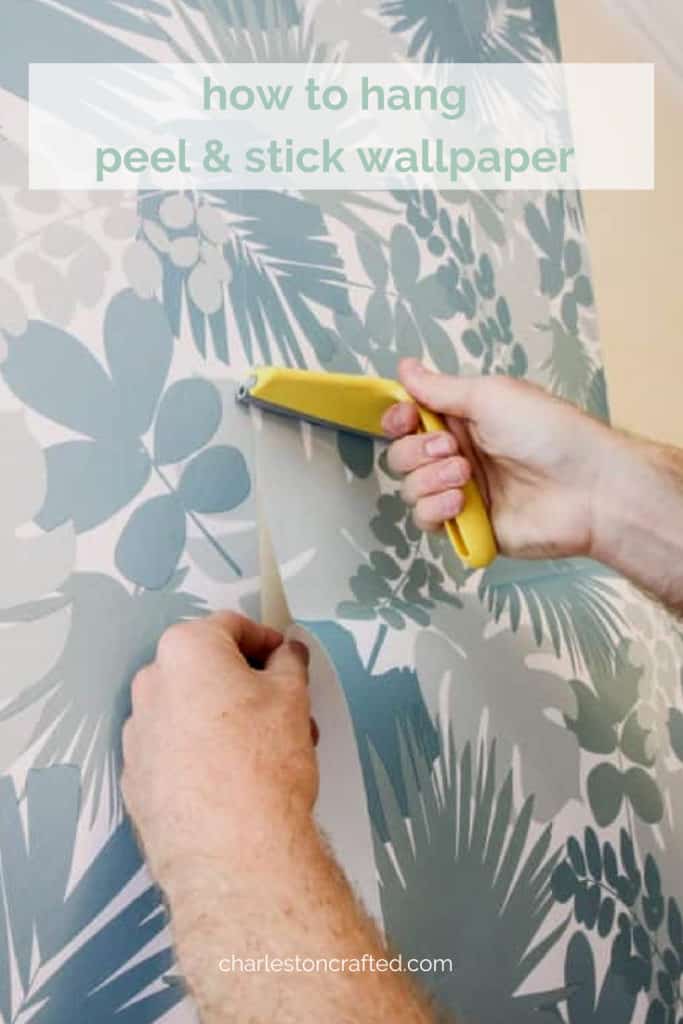
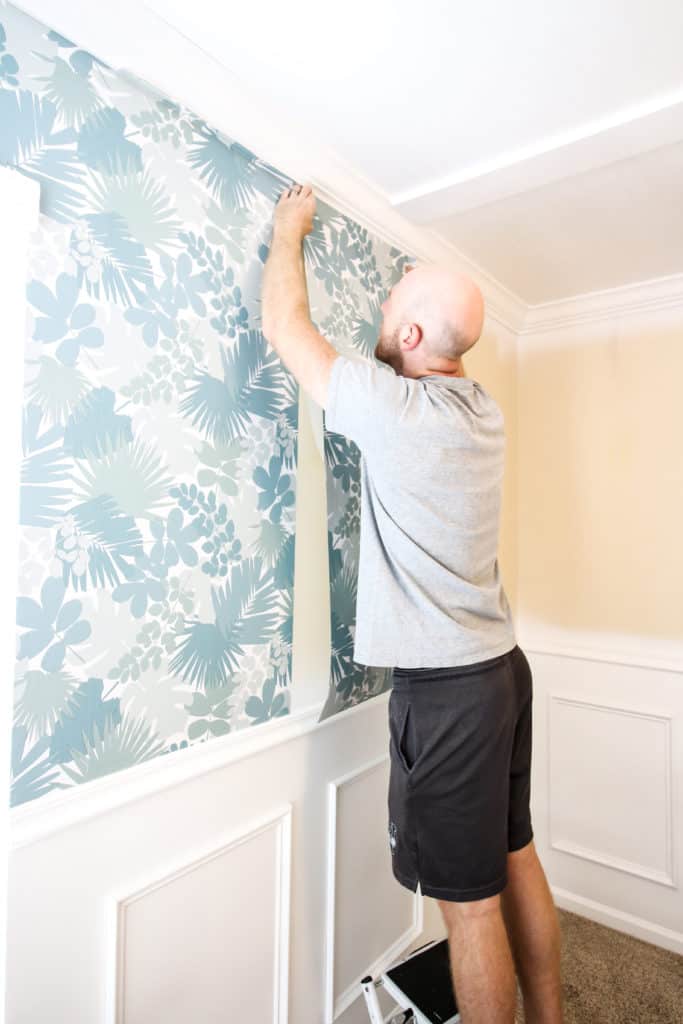
- Now hang your first piece. Line up the top with the ceiling and use your finger to sort of seal it in place. At this point, I like to have about 12" of backing peeled from the paper. Once you are satisfied with how it's hanging, peel the backing down about a foot at the time and use your squeegee and hands to smooth it to the wall.

- Use your exacto knife to trim any excess from the top or bottom of your wall.
- You are done! Go ahead and cut your next (second) piece and repeat the process, lining up the pattern on the sheets, until you finish the rooms.
Tips for applying peel and stick wallpaper:
- Lining up the pattern - the wallpaper that we selected had a really intricate pattern. It was hard to line it up perfectly all the way down. I vote to give yourself a little grace here. It will be hard to tell from any distance away.
- Overlapping just right - some brands are different from others, but our paper did not call for any overlap. It's hard to get it to line up perfectly, and we found that a very slight overlap looked much better than any gap whatsoever.
- How to cut wallpaper straight - mark your cuts on both sides of the roll, connect with a straight edge and cut that line. It's extra work but super important to get level, even cuts.
- Keeping the pieces level - especially when you do a corner, the pieces tend to go a bit crooked horizontally, making the next vertical seam not level, making the whole process harder.
- Getting all the bubbles out - this wasn't actually that bad, but it did take a few sheets to get it down. My best advice is to line up the vertical seam about 12" as a time, and use your hand/squeegee to press it along the wall. Let gravity help you! Don't stretch or pull the paper.

Do you overlap peel and stick wallpaper?
Certain peel and stick wallpapers say to overlap them and some do not. There is a difference in the print of the wallpaper that determines the overlap amount.
I definitely recommend buying a wallpaper that has an overlap. Our paper did not - you were supposed to line it up edge to edge for the pattern to work. That was really hard. We then had some shrinkage which left gaps in the paper. not cute.
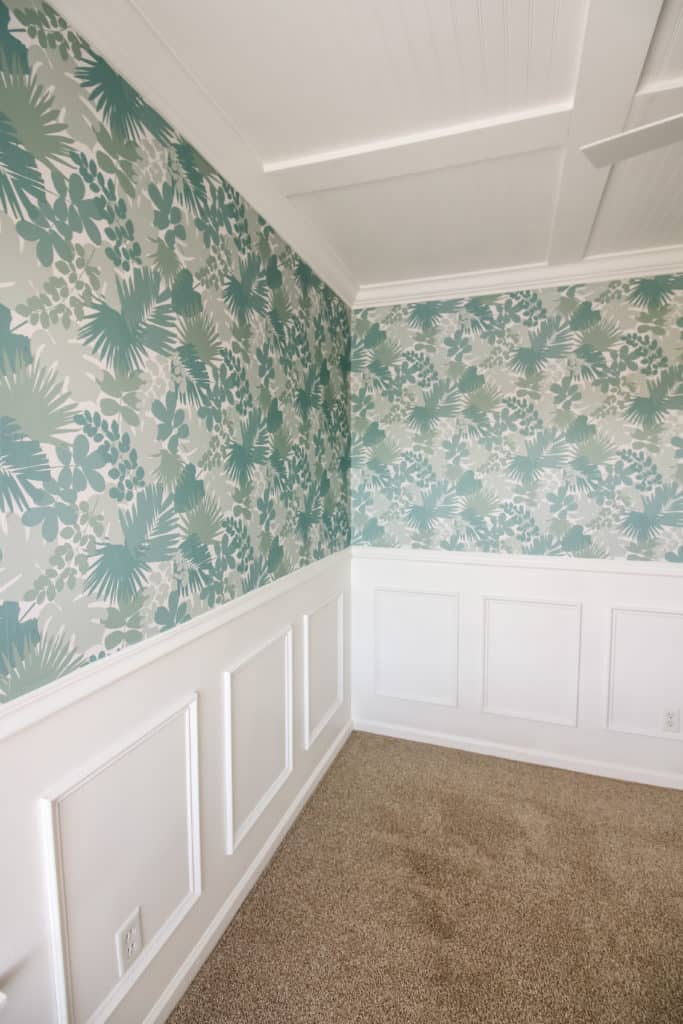
How to do corners with peel and stick wallpaper
Corners are particularly frustrating for applying peel and stick paper. You don't want a seam in the corner - that would be very hard to line up. You instead want at least 2 inches of paper on each side of the turn.
Line your paper up on one side of the wall or the other and smooth completely. If possible, leave the backing on the other half at first.
Then, press the paper firmly into the corner.
Finally, use your squeegee to press the second wall of paper into the wall. Press from the corner to away from the corner using the squeegee to get all the bubbles out. Move on to the next strip.
Devine Color Jungle Peel & Stick Wallpaper
We purchased this wallpaper from Target.com. Each roll is 20" wide and 198" long. However, because we had to match up the pattern, we were only able to get 3 sheets (or 60" wide) from each roll.
We had a lot of excess/waste that we hope to re-purpose. I encourage you to order a lot of extra if you use this wallpaper, knowing that you can return it to Target.
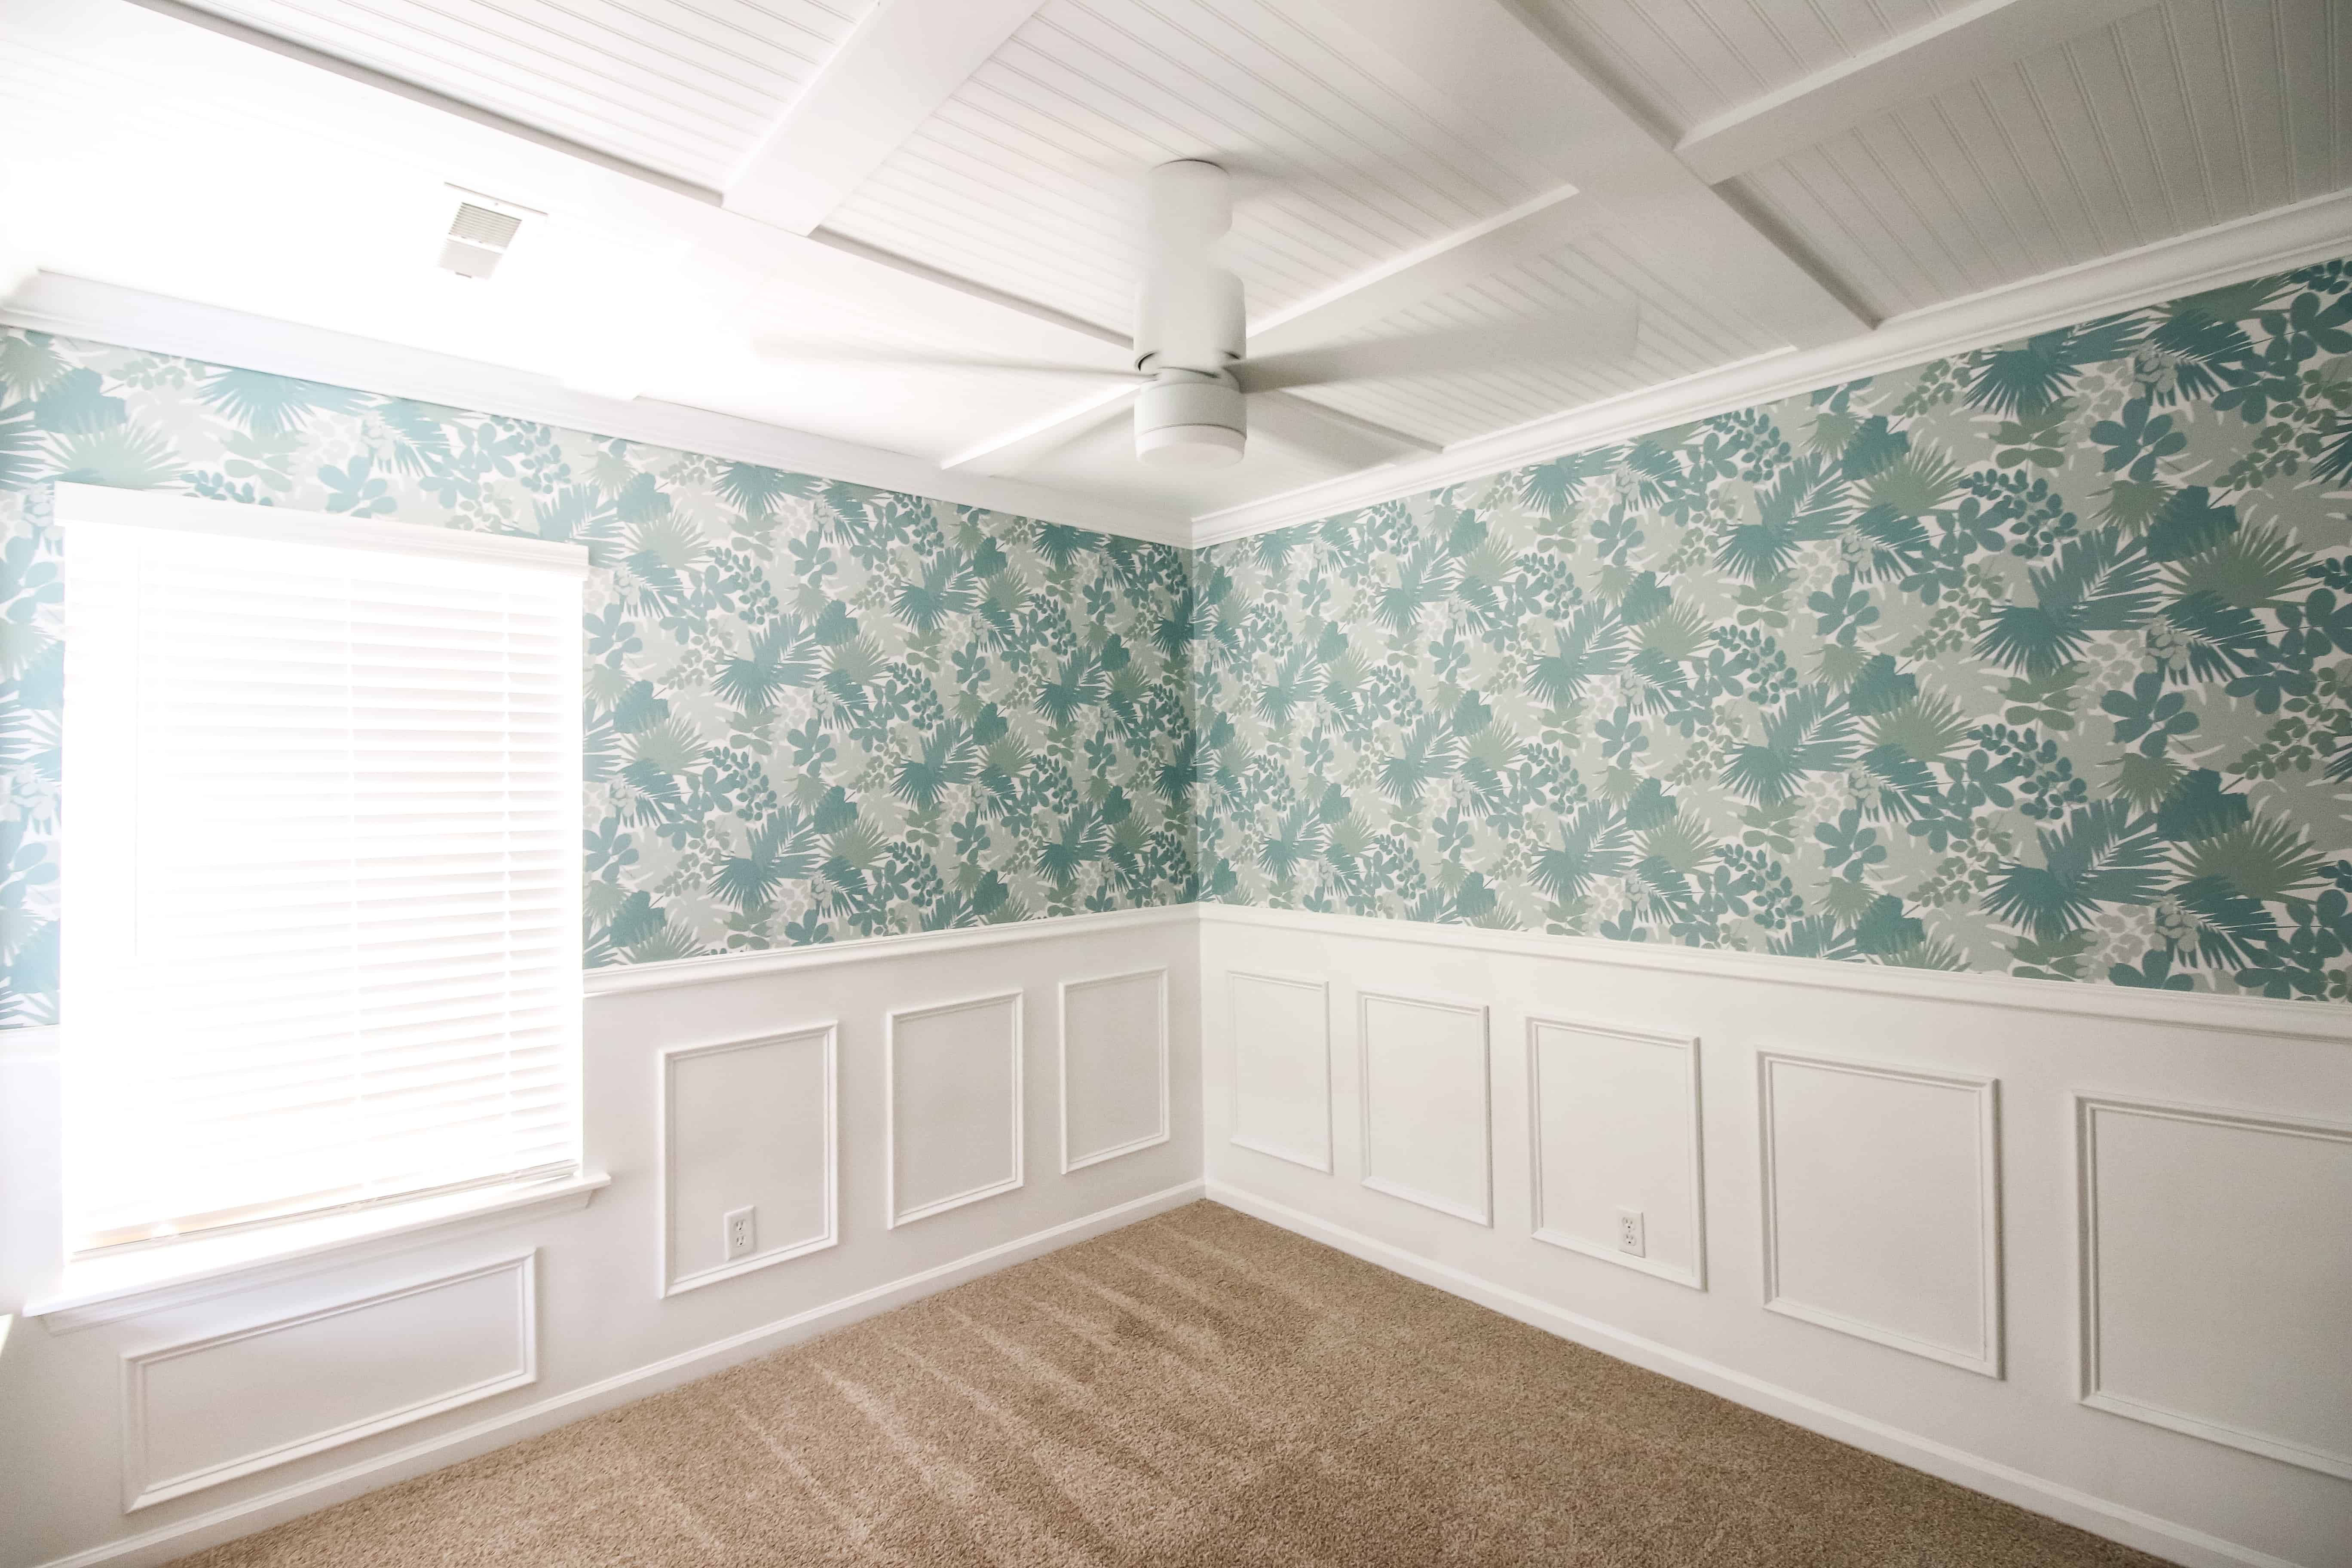
Results
In the end, we love the look of the pattern throughout the nursery. It was a lot of work and definitely not as easy as painting, but it looks really good and we're very pleased. Hopefully our baby is too!
Be sure to click over and check out our Jungle Theme Nursery Reveal!
How long does peel and stick wallpaper last?
Peel and stick wallpaper should last until you remove it. We have had zero issues with peeling off the walls.
The only issue we had is with shrinking and gaps appearing between the strips of wallpaper. This happened within the first week of it being up.
Why is my peel-and-stick wallpaper falling off?
If your peel and stick wallpaper is not sticking, the wall might not be clean or dry. If the paper has been up for a while and now is starting to fall off, the main reason is either heat (could come from sunlight) or humidity.

Looking for something?
We've been doing this since 2012 so we have a LOT of blog posts!
Search stuff like: Ceiling Projects | DIY Plant Stands | Thrift Flips

Hello, I'm Morgan, half of the creative force behind CharlestonCrafted.com! With a passion for DIY that dates back to 2012, I've transformed three homes and now I'm dedicated to helping others craft their dream spaces. Let's turn your house into a home together!


valerie warren says
I used to hang wallpaper for a living. when you have a large repeat like the paper shown it will save paper to cut from 2 different rolls at a time. Most rolls don't start at the same point and cutting from the 2nd roll for your alternate piece really helps. For inside corners cut your strip the number of inches you need to meet the corner and then place the other cut piece. This way if your wall is not plumb you can fudge it some to make the next full piece even.
Ivory says
Amazing! Thank you. I will be using all of these ideas, because we will be hanging wallpaper in one of our rooms as well.