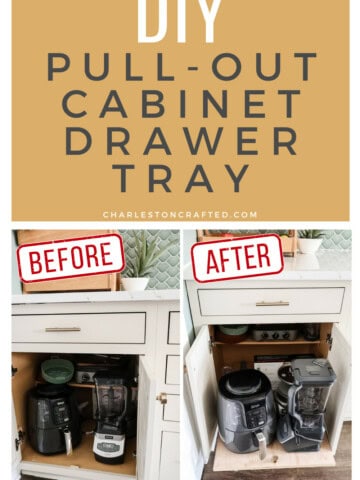
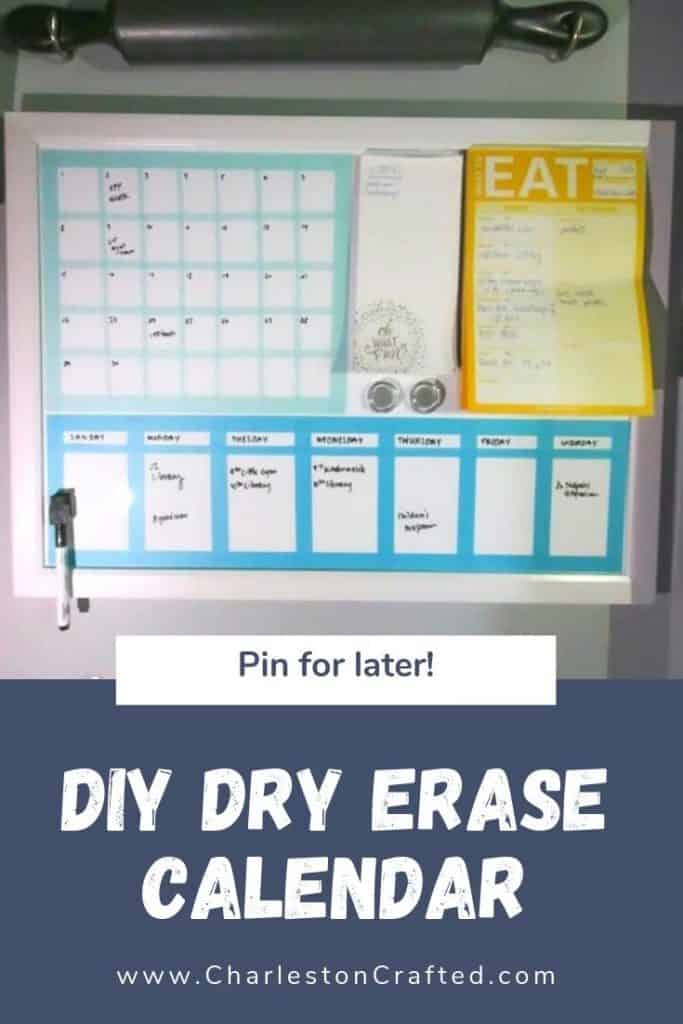
Need to get more organized in your life? Here is how to turn a basic dry erase board into a custom calendar to hang on your wall and get you or your family organized!
This is going to sound ridiculous because he is 11 months old, but Luke is starting to have a booked up schedule.
I know, I know, but we both really like keeping busy. He has 2 scheduled classes per week, as well as several other activities we do weekly.
I was starting to have trouble keeping it all straight, so I decided to make a simple dry erase calendar.
I actually planned to just buy one, but I couldn't find one the right size (18x24") with both a monthly and weekly view.
So, of course I decided to DIY my own.
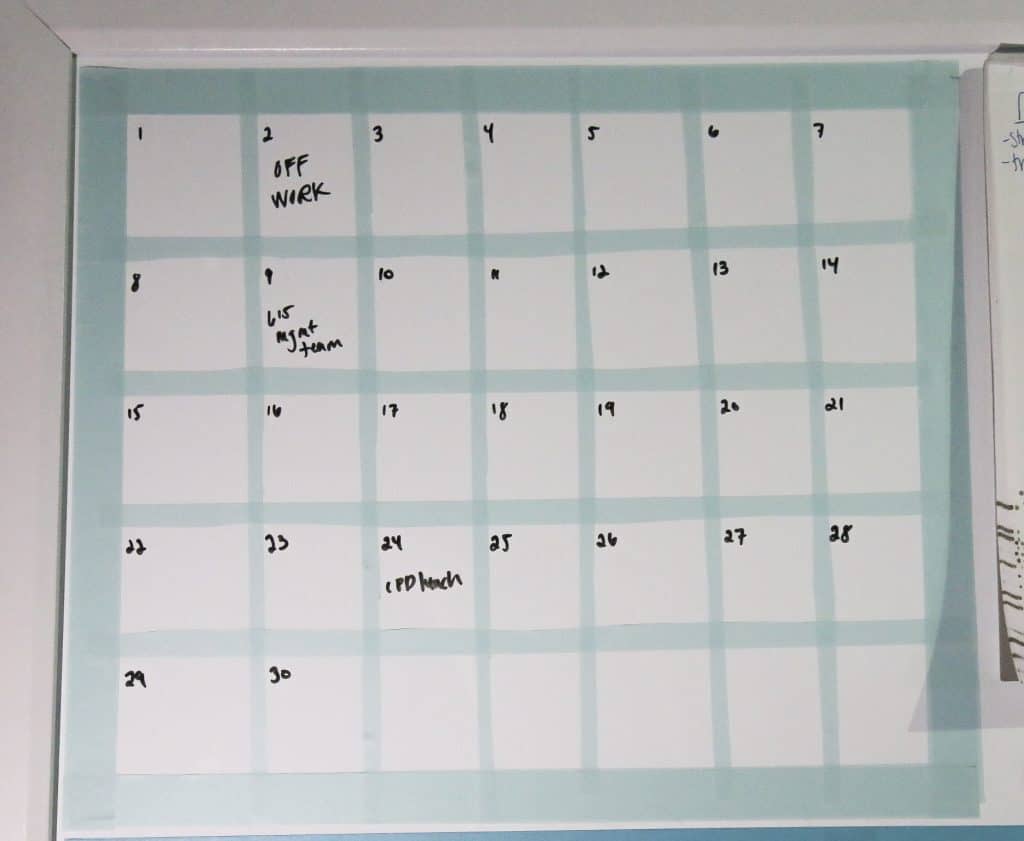
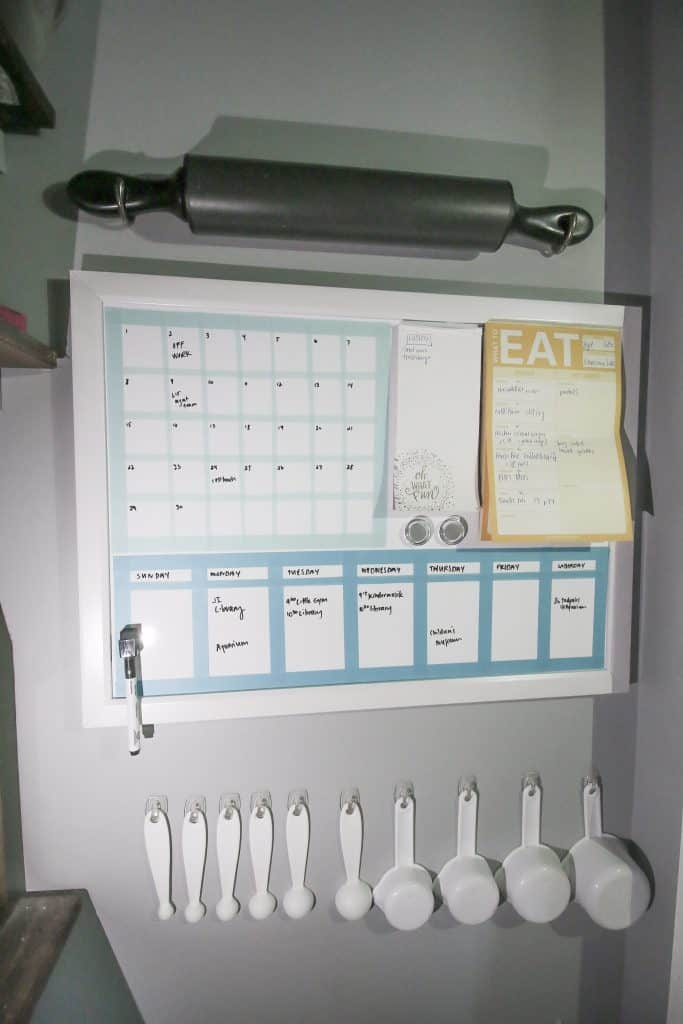
I made this custom calendar and was even able to leave the perfect space for our Costco list and our meal planner/grocery list magnetic pads. Hooray!
I decided to put the calendar in the kitchen because that is where I am usually standing when I am wondering what we are doing today or what nights this week we have plans.
It is located inside our pantry, out of public view, but really easily accessible for us!

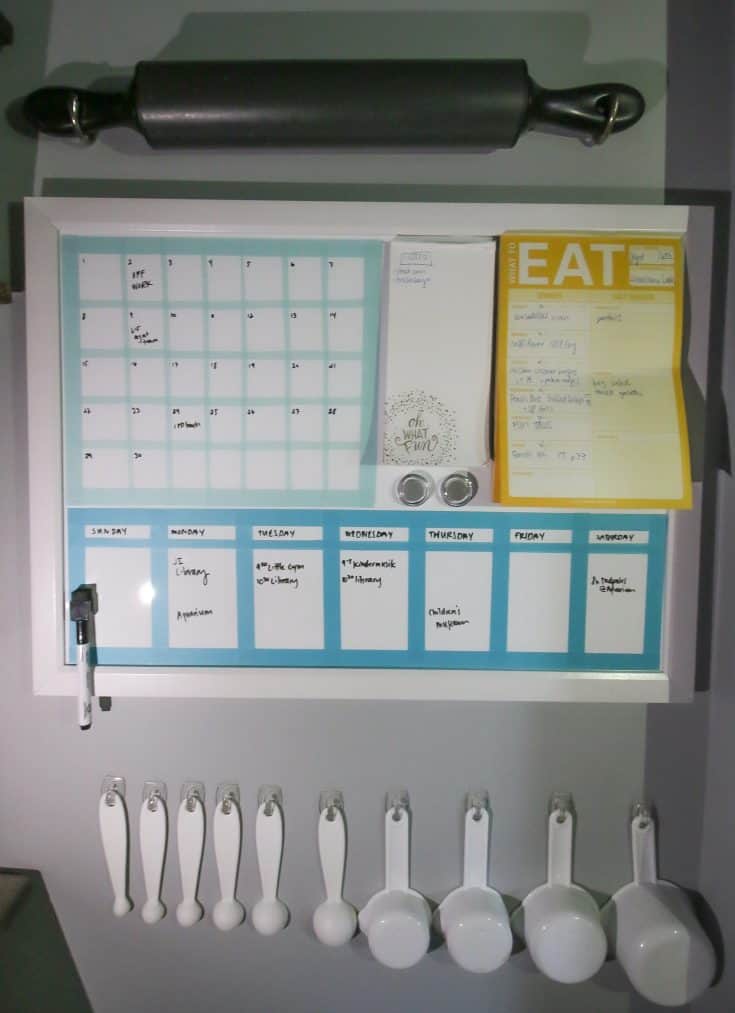
This was really, really easy to make. All you need is washi tape and a dry erase board! I used scissors to trim to size and stick in place.
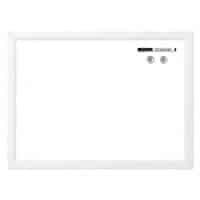
This is the dry erase board that I ordered. It's nothing fancy - but fit my space perfectly. If this was going to be out more, I'd add a wood frame, but since it's hidden in my dark shadowy pantry I am trying to let it go 🙂
I have a cricut machine, but decided to use washi tape because it's easy to remove if I change my mind or need to use this is another way.
This is the washi tape that I used. I already had it on hand. I used 2 slightly different colors of blue for the 2 calendars, just to mix it up.
To get the thinner lines in the monthly calendar, I cut the tape in half lengthwise. This was super annoying honestly. I should have just bought thinner washi tape!
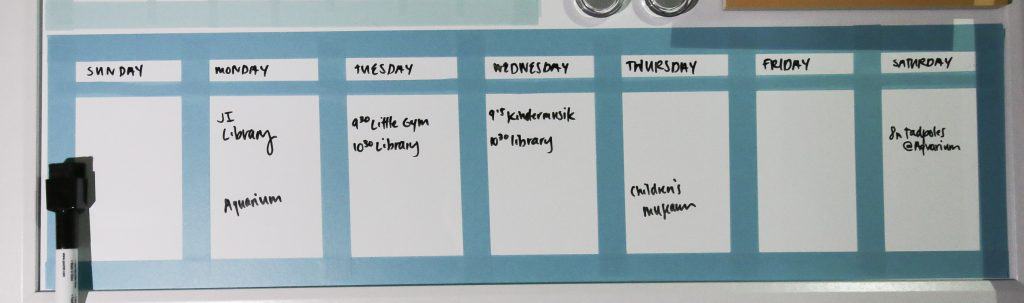
At the bottom of the calendar I made a weekly calendar. This I will update each week. Many of the items will stay the same, but appointments and Sean and I's meetings (Junior League, HOA board, etc) will change.
I didn't put any blog or work stuff on here, but now I kind of want to create a work calendar! I try to keep all that digitally, though. It's hard to have it in too many places!
As a reminder, here is what the area in the pantry looked like BEFORE. It was a sheet of metal (from the hardware store) that we drilled into the wall, since our fridge is not magnetic.
It was fine, and a great place to put miscellaneous items, but it wasn't great or very organized.
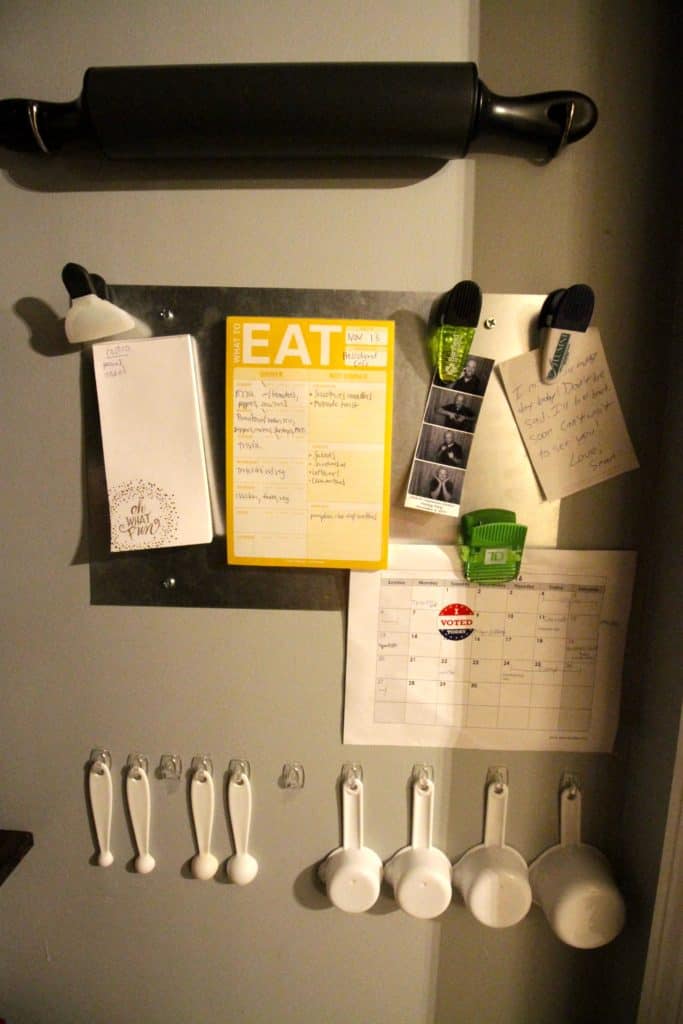
Now this same area is so much better! Sure, it's still a dark shadowy pantry, but it works so much better for us!
This will help to coordinate our schedules and hopefully make everyone's lives easier!
SHOP THIS POST:
How to make any dry erase board into a calendar
Have really specific needs for a wall calendar? Or just want to DIY one yourself? Here is how to turn any dry erase board into a wall calendar!
Materials
- Dry erase board
- Washi tape
Tools
- Scissors
- Straight edge - ruler or level
Instructions
- First, plan what you want on the board. Sketch it out if you need to.
- Cut washi tape to size to create your calendars. I like to do my lines 2 strips thick to get a nice solid colored line and not see the overlapping bits as much.
- For thinner lines, cut washi tape in half lengthwise. I know, it's annoying.
- Hang on the wall and enjoy!
Recommended Products
As an Amazon Associate and member of other affiliate programs, I earn from qualifying purchases.
How are you getting your family more organized?

Looking for something?
We've been doing this since 2012 so we have a LOT of blog posts!
Search stuff like: Ceiling Projects | DIY Plant Stands | Thrift Flips

Hello, I'm Morgan, half of the creative force behind CharlestonCrafted.com! With a passion for DIY that dates back to 2012, I've transformed three homes and now I'm dedicated to helping others craft their dream spaces. Let's turn your house into a home together!