• Skip to primary navigation
  • Skip to main content
  • Skip to primary sidebar
Charleston Crafted
  • DIY
  • Woodworking
  • Popular Posts
  • Blog
  • About
  • Shop
menu icon
go to homepage
  • DIY
  • Woodworking
  • Popular Posts
  • Blog
  • About
  • Shop
search icon
Homepage link
  • DIY
  • Woodworking
  • Popular Posts
  • Blog
  • About
  • Shop
×
Home » Building

Hashtag String Art

Published: Apr 14, 2015 · Modified: Jan 29, 2023 by Morgan · As an Amazon Associate, we earn from qualifying purchases. This site contains affiliate links. ·

Our wedding venue is so beautiful that it really doesn't need much decor. But, we wanted a few pieces around to make it extra personalized.

One of our favorite projects that we have ever done is the XL Ampersand string art hanging above our bed. Classic Pinterest? Perhaps, but it looks so good and was a snap to make. Plus, it's a super inexpensive project.

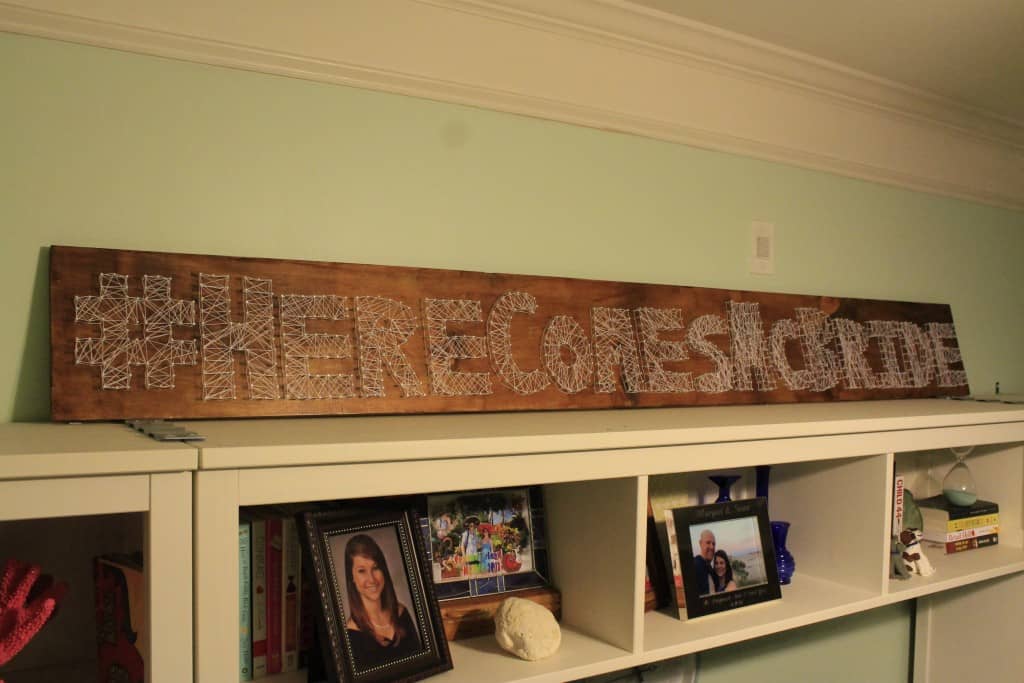
So, we decided to recreate it for our wedding, but instead to feature our wedding hashtag. Sean is very into social media (it's what he does for a living, plus he loves live tweeting Panthers games). So, it's pretty fitting that we push the hashtag on our guests a little bit.

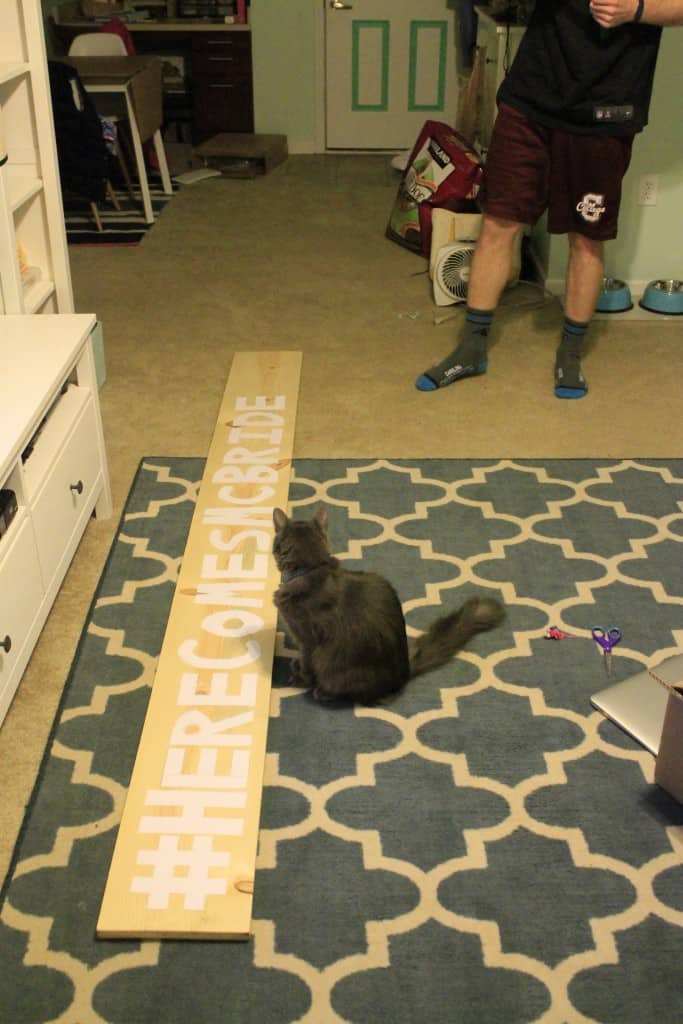
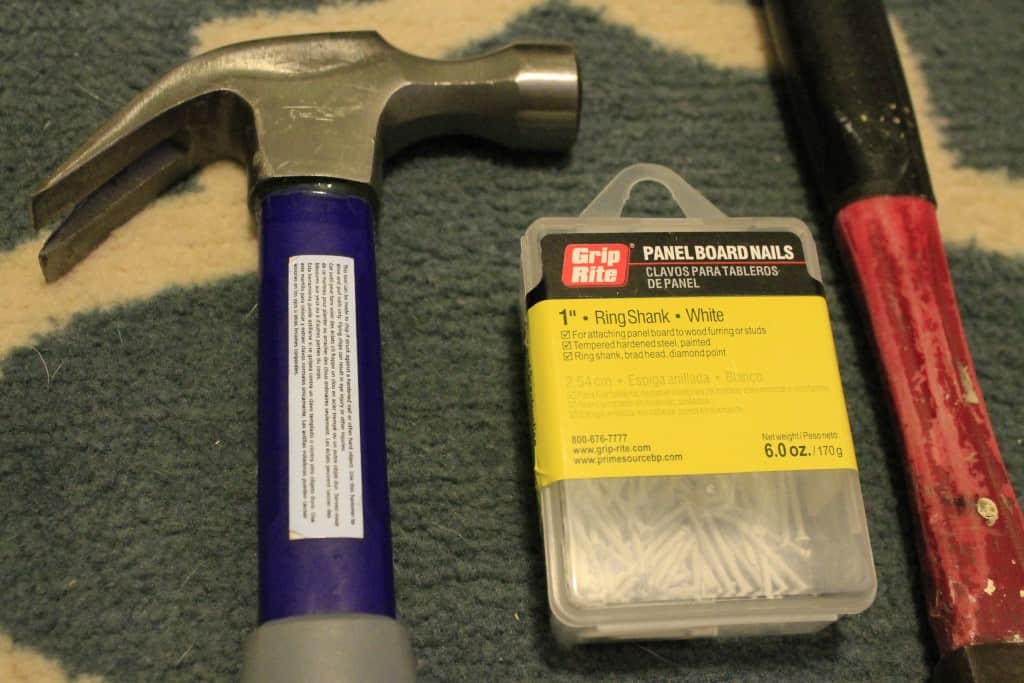
Sean started out by picking up a 10 inch x 8 foot by 1 inch piece of pine wood. We also grabbed 3 packs of 1 inch white panel board nails and an XL spool of cotton string in white.

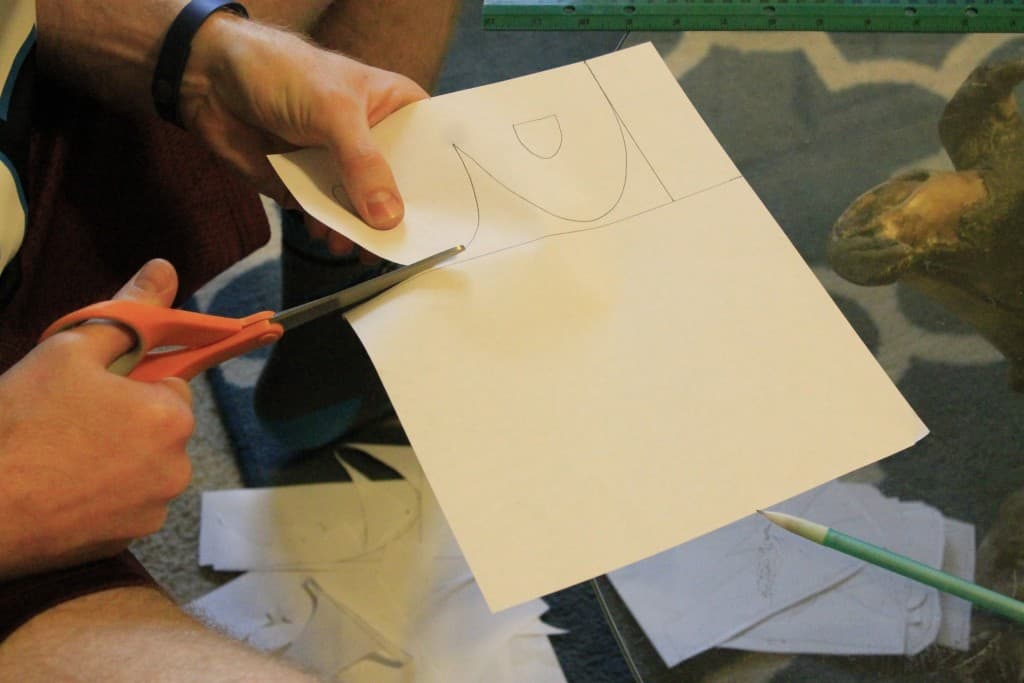
He started by tracing the letters that he wanted onto scrap paper and cutting them out. He then laid them on the board, measured how long it needed to be, and marked the board.

Wedding Hashtag String Art - Charleston Crafted

Wedding Hashtag String Art - Charleston Crafted

He used his saw to trim the board and then sanded the newly cut edge until it was smooth.

Wedding Hashtag String Art - Charleston Crafted

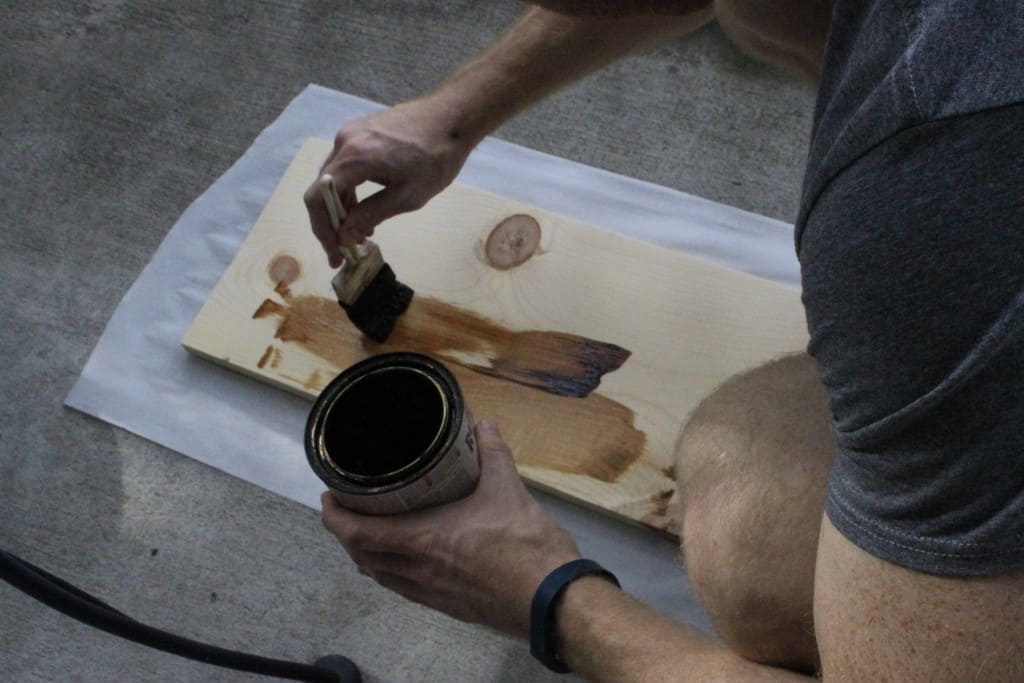
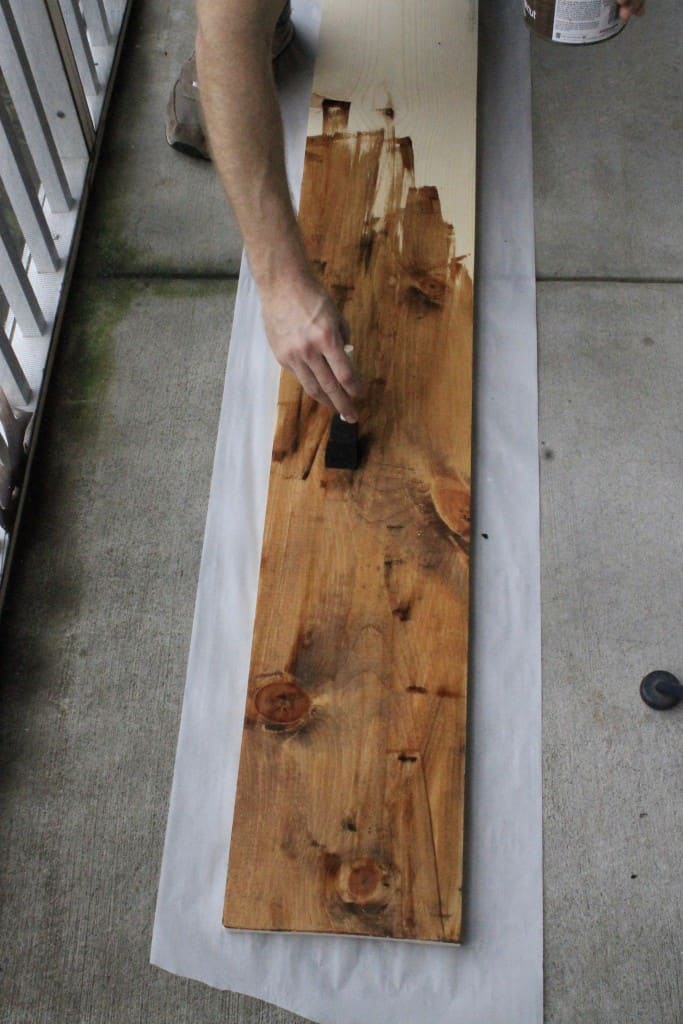
We used our go to stain, Rustoleum dark walnut, to give the board a nice color. It took two coats of paint on, wipe off, to get it just right. If you haven't stained wood before, click here for some tips!

Wedding Hashtag String Art - Charleston Crafted

Wedding Hashtag String Art - Charleston Crafted

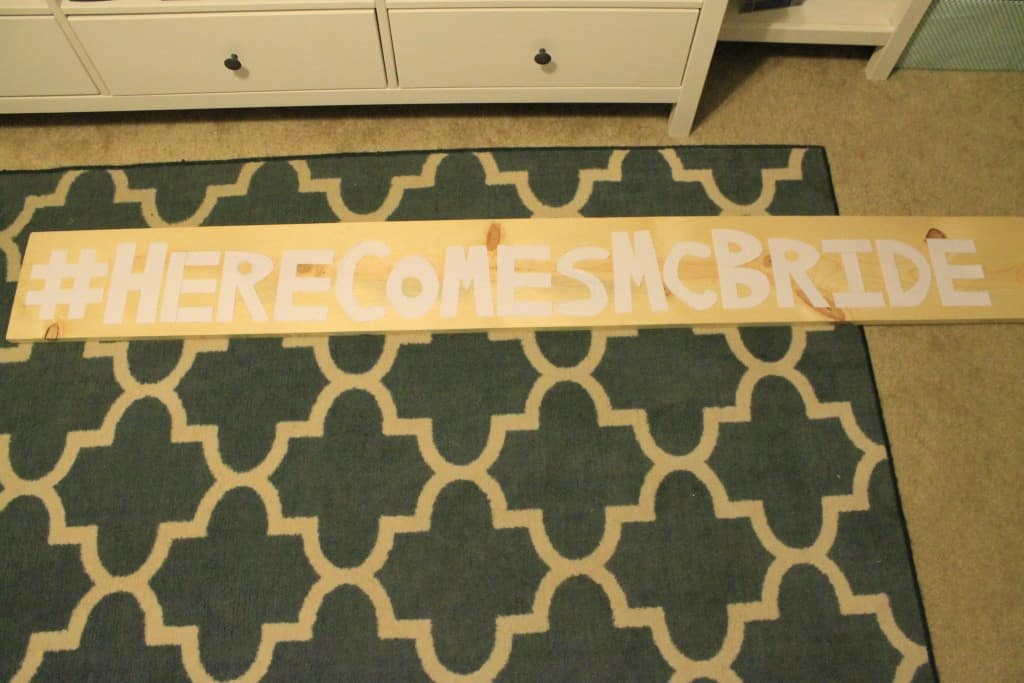
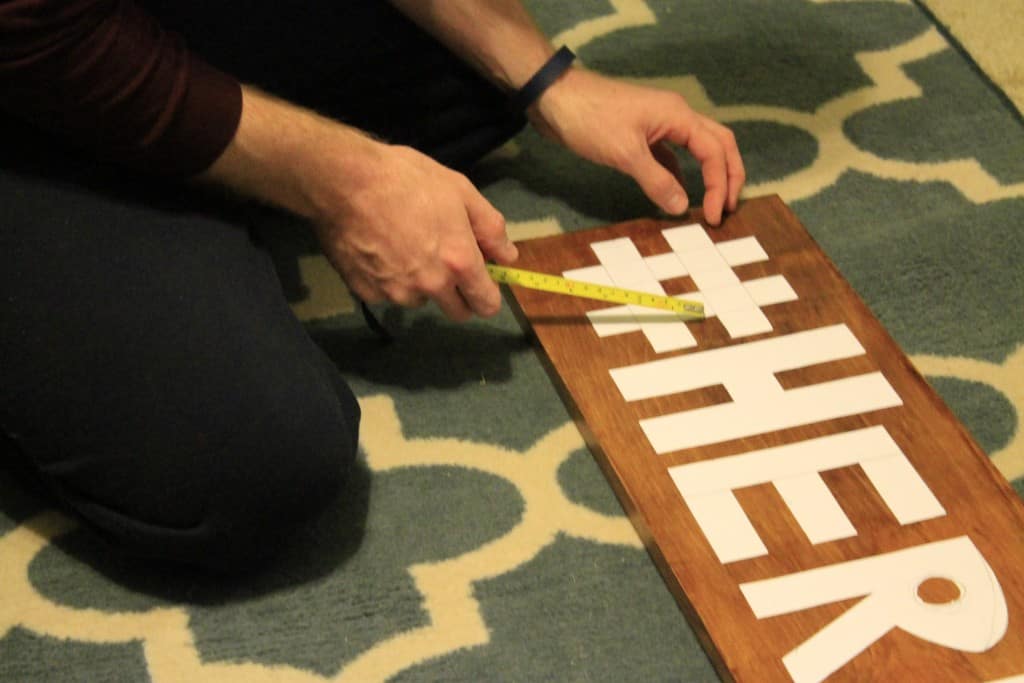
Then Sean cut out more precise letters out of scrap paper, using a ruler this time. I think he got some hand cramps in the process.

Wedding Hashtag String Art - Charleston Crafted

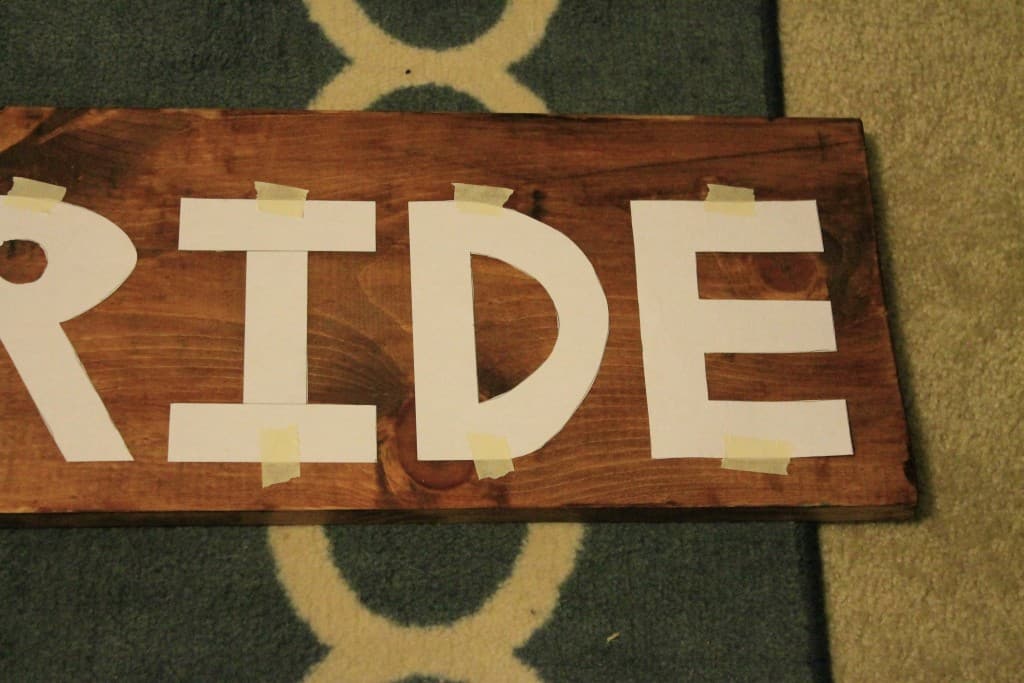
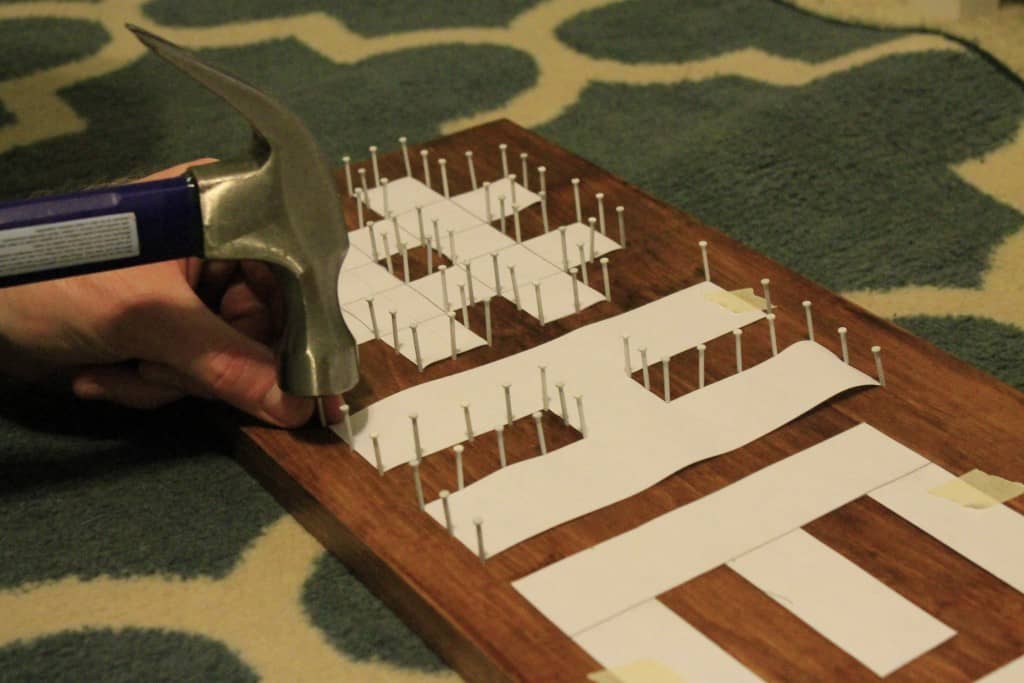
Next, we laid out the letters and used a ruler to get perfect spacing between them. Sean has more attention to detail than I do, so he took over this job. Once they were perfect, we used tape to hold them in place.

Hashtag String Art - Charleston Crafted

Hashtag String Art - Charleston Crafted

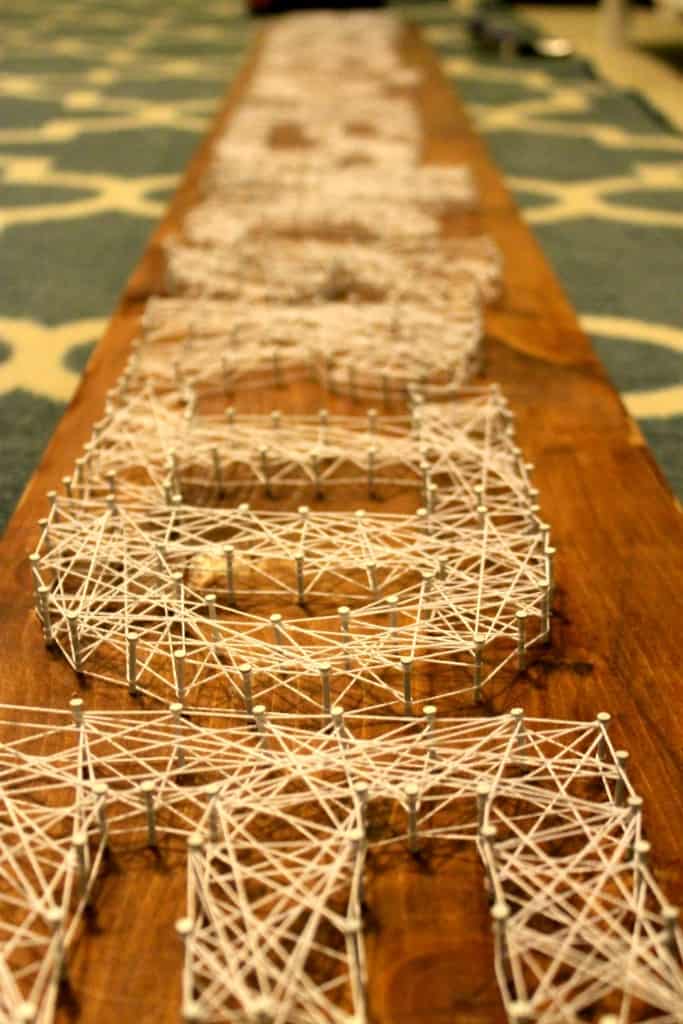
Next comes all the hammering, sorry neighbors! We hammered nails in all around the border of each letter. We started by putting a nail in each corner, and then filled in the lines in between. We didn't measure in between nails, but it's about every ½ an inch.

Hashtag String Art - Charleston Crafted

Hashtag String Art - Charleston Crafted

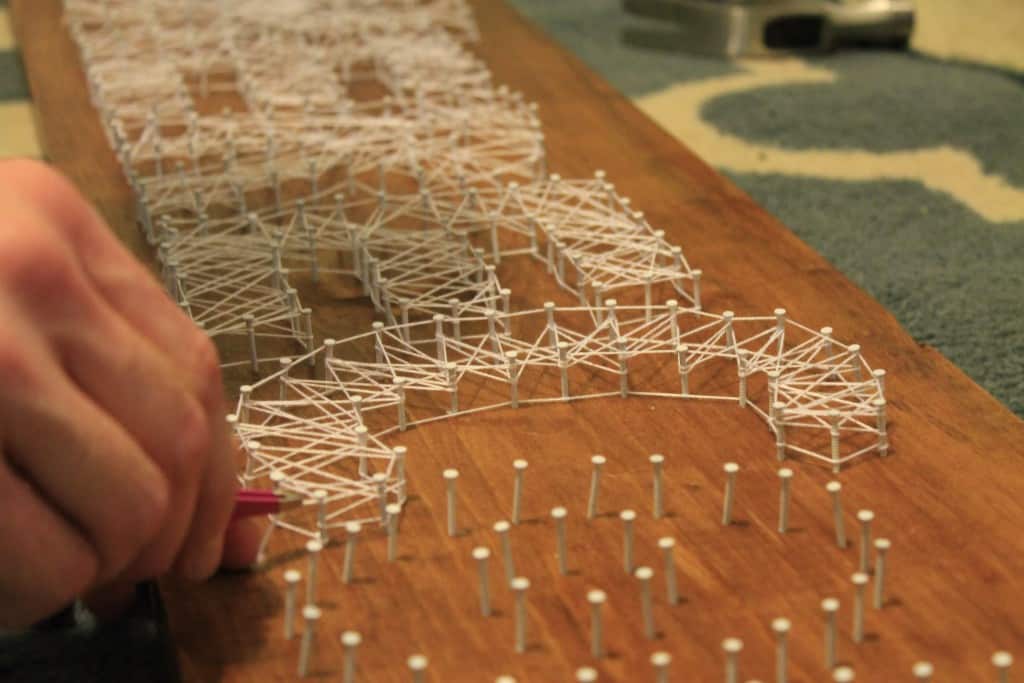
Finally, it was time to do the string. Start by tying a square knot on one nail. Trim the tail to be short.

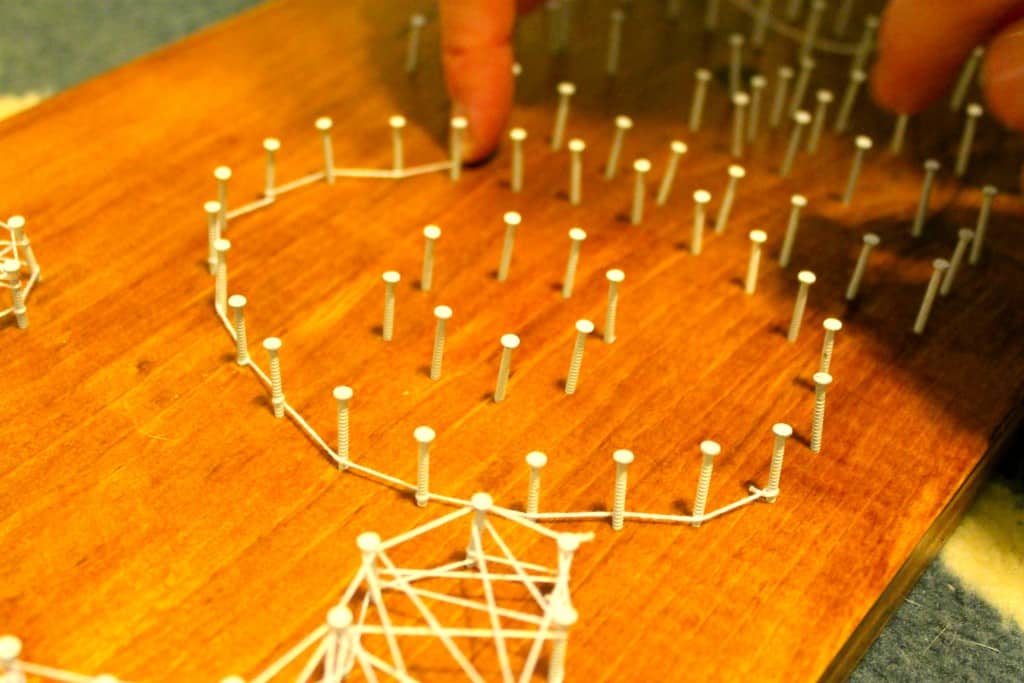
First, wrap a border around the whole outside of the letter along the bottom. Alternate/zig zag between the nails. So, go on the outside of one, then the inside of the next, then the outside of the next, etc. You might have to loop around some nails on corners or for curved letters. Make sure you outline any "holes" in the letters - such as inside the A or the D.

Wedding Hashtag String Art - Charleston Crafted

Wedding Hashtag String Art - Charleston Crafted

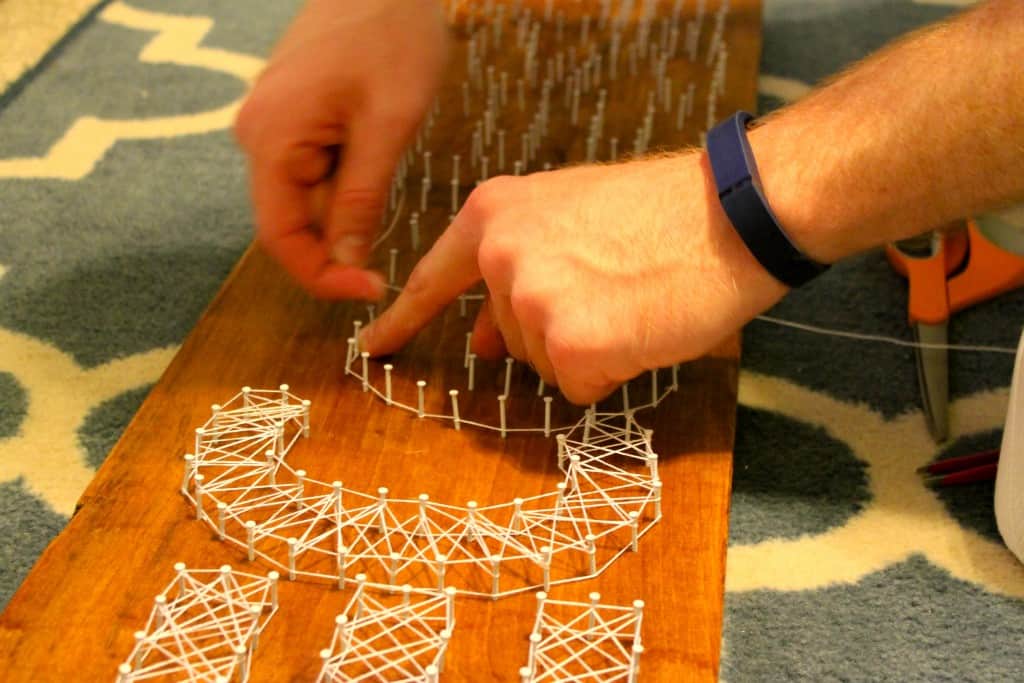
Now, criss cross time! Make diagonals across the letter. Just loop the string and move on. I like to sort of do patterns at first but always end up going crazy filling in "blank" areas.
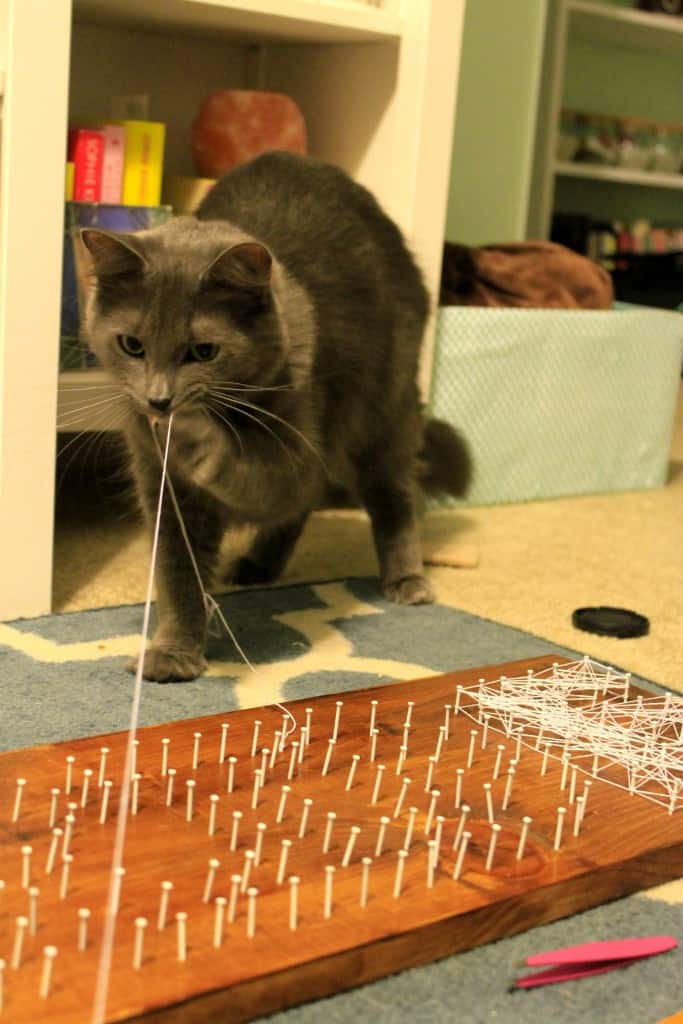
Wedding Hashtag String Art - Charleston Crafted

Wedding Hashtag String Art - Charleston Crafted

Bear helped. 

When that's as full as you like it, do one final border around the whole letter, just to give it a finished look.

Repeat to finish all your letters, and there you have it!

Wedding Hashtag String Art - Charleston Crafted

Wedding Hashtag String Art - Charleston Crafted

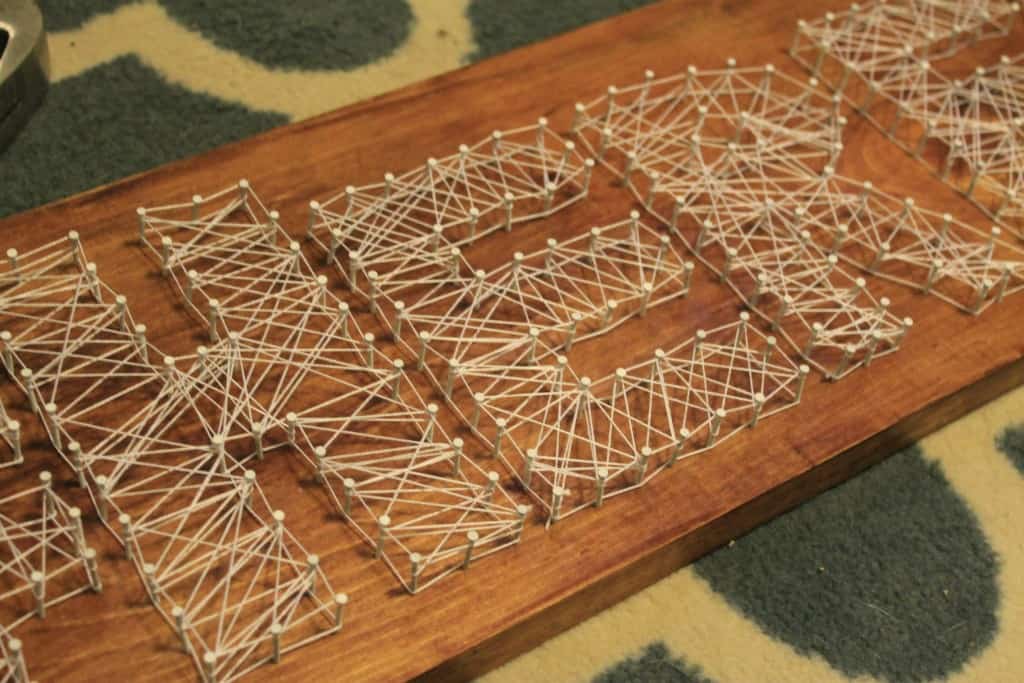
I think we are going to display this near our dance floor, but it's not all decided yet! Either way it was a fun and inexpensive way to draw attention to our hashtag!

Wedding Hashtag String Art - Charleston Crafted

Wedding Hashtag String Art - Charleston Crafted

 signature 2
 logo facebook  logo instagram  logo pinterest  logo twitter
Morgan headshot cropped
Morgan

Hello, I'm Morgan, half of the creative force behind CharlestonCrafted.com! With a passion for DIY that dates back to 2012, I've transformed three homes and now I'm dedicated to helping others craft their dream spaces. Let's turn your house into a home together!

More Building

  • How to build a DIY gate pergola- Charleston Crafted
    How to build a DIY gate pergola
  • DIY modern rolling storage table - Charleston Crafted
    DIY modern rolling storage table
  • DIY folding desk for walking pad - Charleston Crafted
    DIY folding desk for walking pads
  • DIY cube storage console table - Charleston Crafted
    DIY cube storage console table

Primary Sidebar

Charleston Crafted about us image

Hey y'all!

We are Morgan & Sean McBride and we are crafting our home together in Charleston, South Carolina.

More about us

Popular Posts

  • DIY Coffered Ceiling
    DIY Coffered Ceiling
  • How to Make DIY Concrete Pumpkins via Charleston Crafted
    How to Make DIY Concrete Pumpkins
  • How to Make a Cupid's Arrow Valentine's Day Wall Hanging with felt on the Cricut
    How to make a Cupid's Arrow Valentine's Day Wall Hanging
  • Our Tropical Oasis - A backyard Hammock area - Charleston Crafted
    Our Tropical Oasis

Recent Posts

  • fisherman aesthetic home inspiration
    Fisherman Aesthetic Decor for Your Home
  • Senix Tools Review- Charleston Crafted
    Are Senix power tools any good?
  • Your Weekend To-Do List: 15 Things to Do for Summer Home Upkeep
    Your Weekend To-Do List: 15 Things to Do for Summer Home Upkeep
  • How to stain wood with RIT dye - step by step instructions
    How to stain wood with RIT dye

Privacy Policy

Footer

↑ back to top

Navigation

  • Home
  • Blog
  • Contact Us
  • Terms of Use
  • Disclaimer

Newsletter

  • Sign up for emails and updates
  • Follow us on Instagram
  • Work with Us

Browse by Category

  • Woodworking
  • Home Projects
  • Paint Colors
  • Room Reveals

© 2025 The Charleston Crafted Blog LLC DBA “Charleston Crafted” and “CharlestonCrafted” (also known as N/A) / All Rights Reserved.
Official Website: (Charleston Crafted)
Registered in USA (Co. Reg. No.: 565586)
Address: Charleston, USA 29414, South Carolina
Contact Phone: Not applicable — contact is via email: sean@charlestoncrafted.com

DISCLAIMER: The content on this website is provided for general informational purposes only and is not intended as professional advice. The Charleston Crafted Blog LLC and The Charleston Crafted Blog LLC make no representations or warranties—express or implied—regarding the accuracy, completeness, or suitability of the information contained herein. Any reliance you place on this information is strictly at your own risk. In no event shall The Charleston Crafted Blog LLC or The Charleston Crafted Blog LLC be liable for any loss or damage, including without limitation, indirect or consequential loss or damage, arising from the use or inability to use this website. This website is the official website of The Charleston Crafted Blog LLC.

AFFILIATE DISCLOSURE: This website contains affiliate links. If you click through and make a purchase, we may earn a commission at no extra cost to you.

As an Amazon Associate, I earn from qualifying purchases.

Site Editor: Morgan Smith McBride

Copyright © 2025 Charleston Crafted