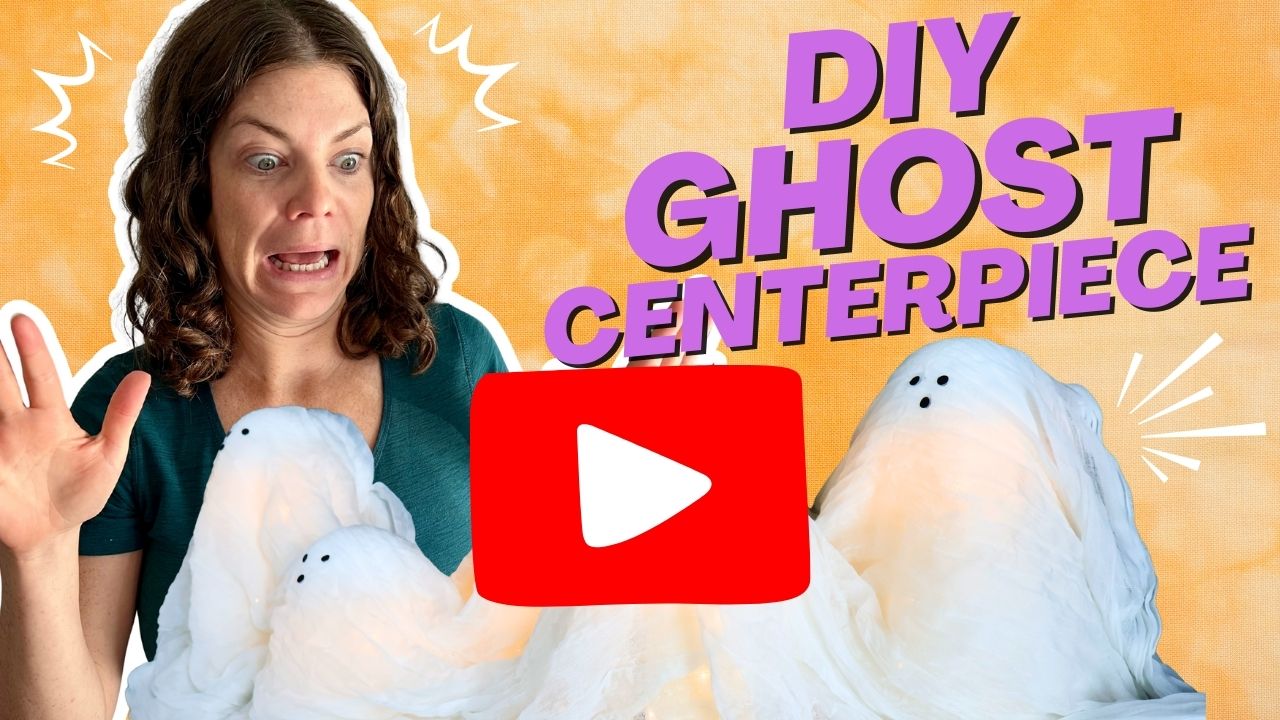
Learn how to make a ghost candle centerpiece for Halloween using LED candles and gauze for a spooky yet charming table display. Perfect for quick, budget-friendly Halloween décor.
I absolutely love Halloween and enjoy crafting for it!
While I am all about an elaborate, major halloween DIY, I also obviously appreciate the simple crafts, too.
I got the idea to turn a set of LED candles into a cluster of ghosts after seeing this super popular ghost wreath that everyone was doing versions of.
What a good reminder - all you need is some gauzy fabric and a rounded base to make a cute ghost!
I love this idea for party decor, a spooky centerpiece, or as I am using it - for styling halloween shelves!
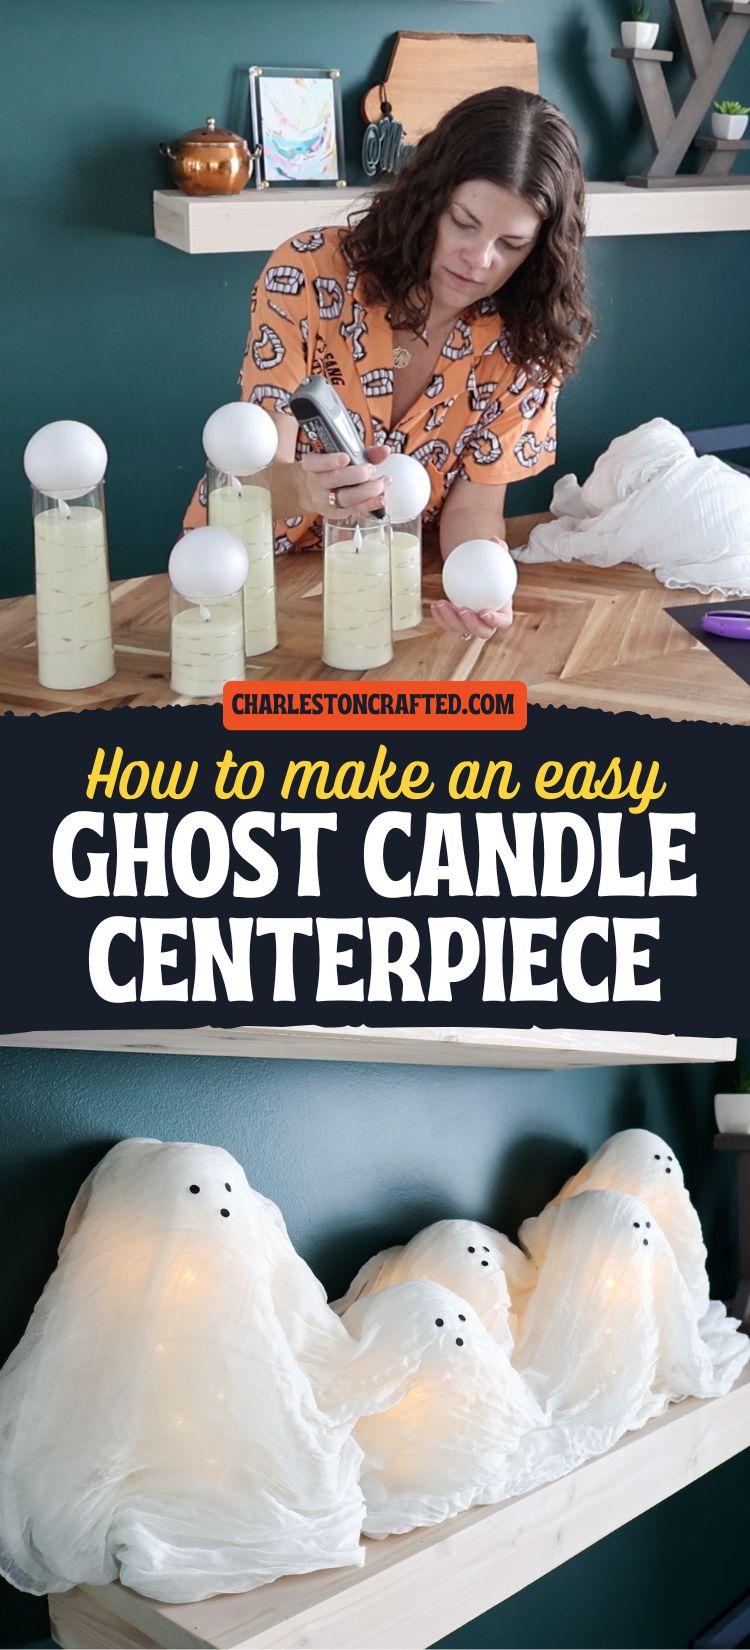
How to Make a Ghost Candle Centerpiece for Halloween
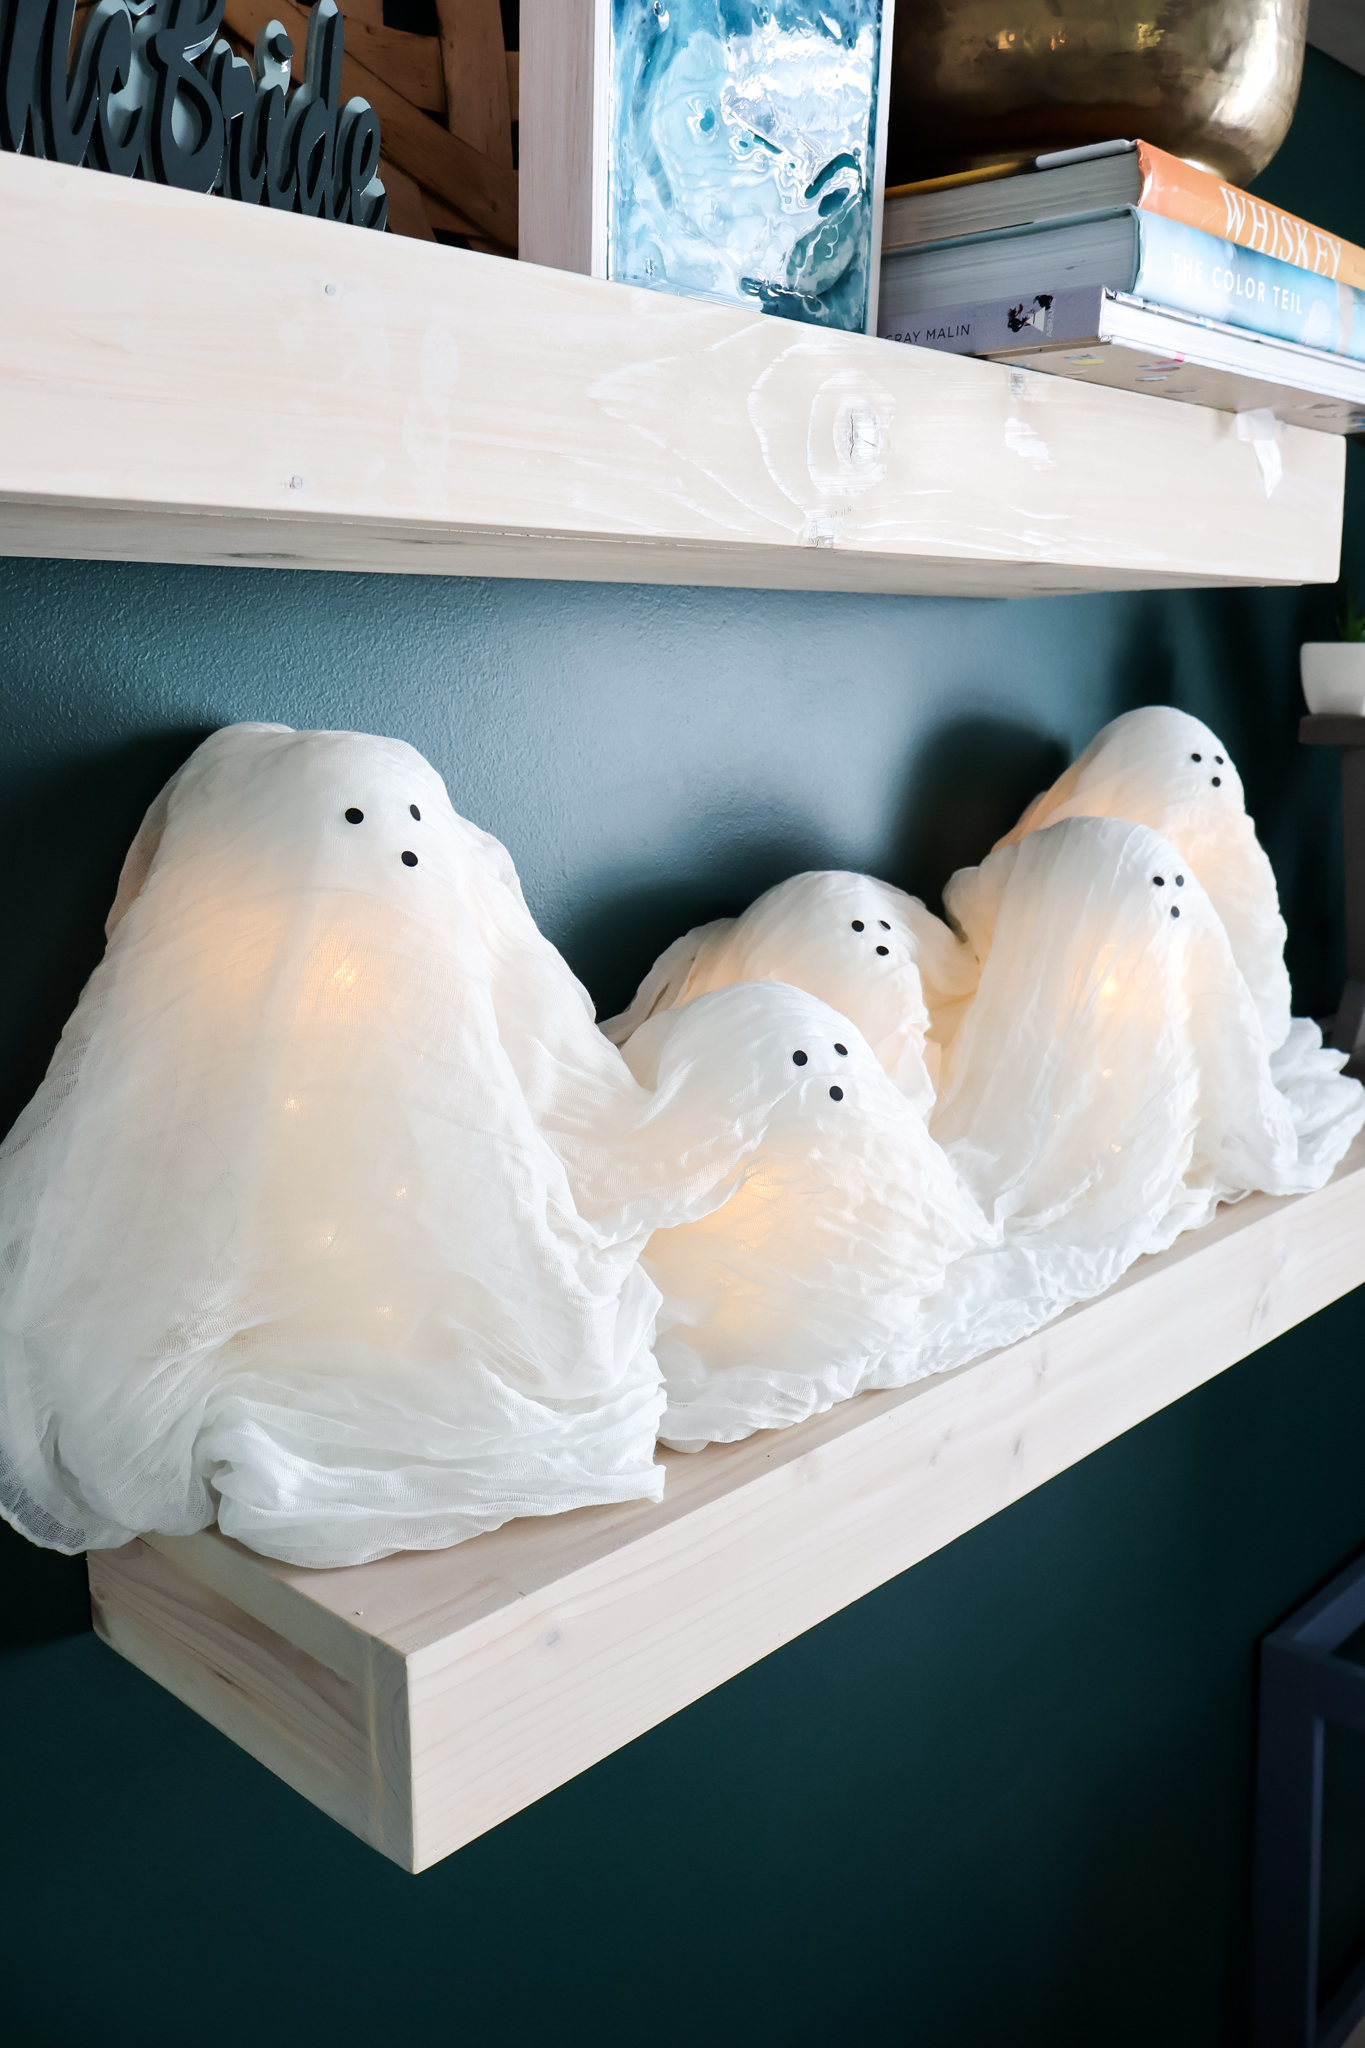
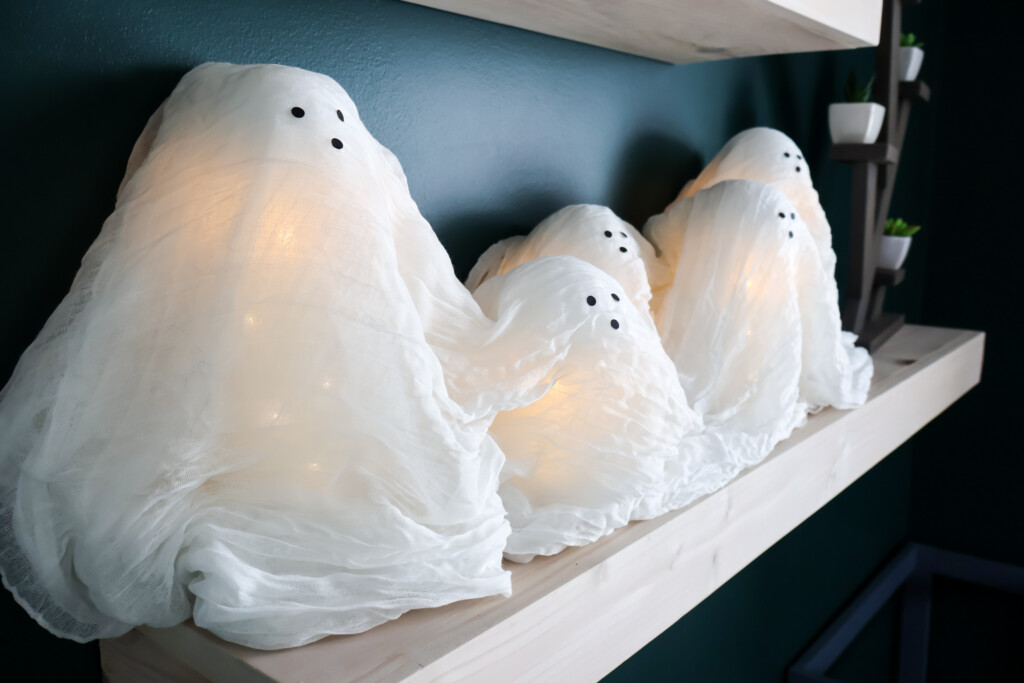
These LED candle ghosts are a perfect centerpiece or shelf decor for Halloween!
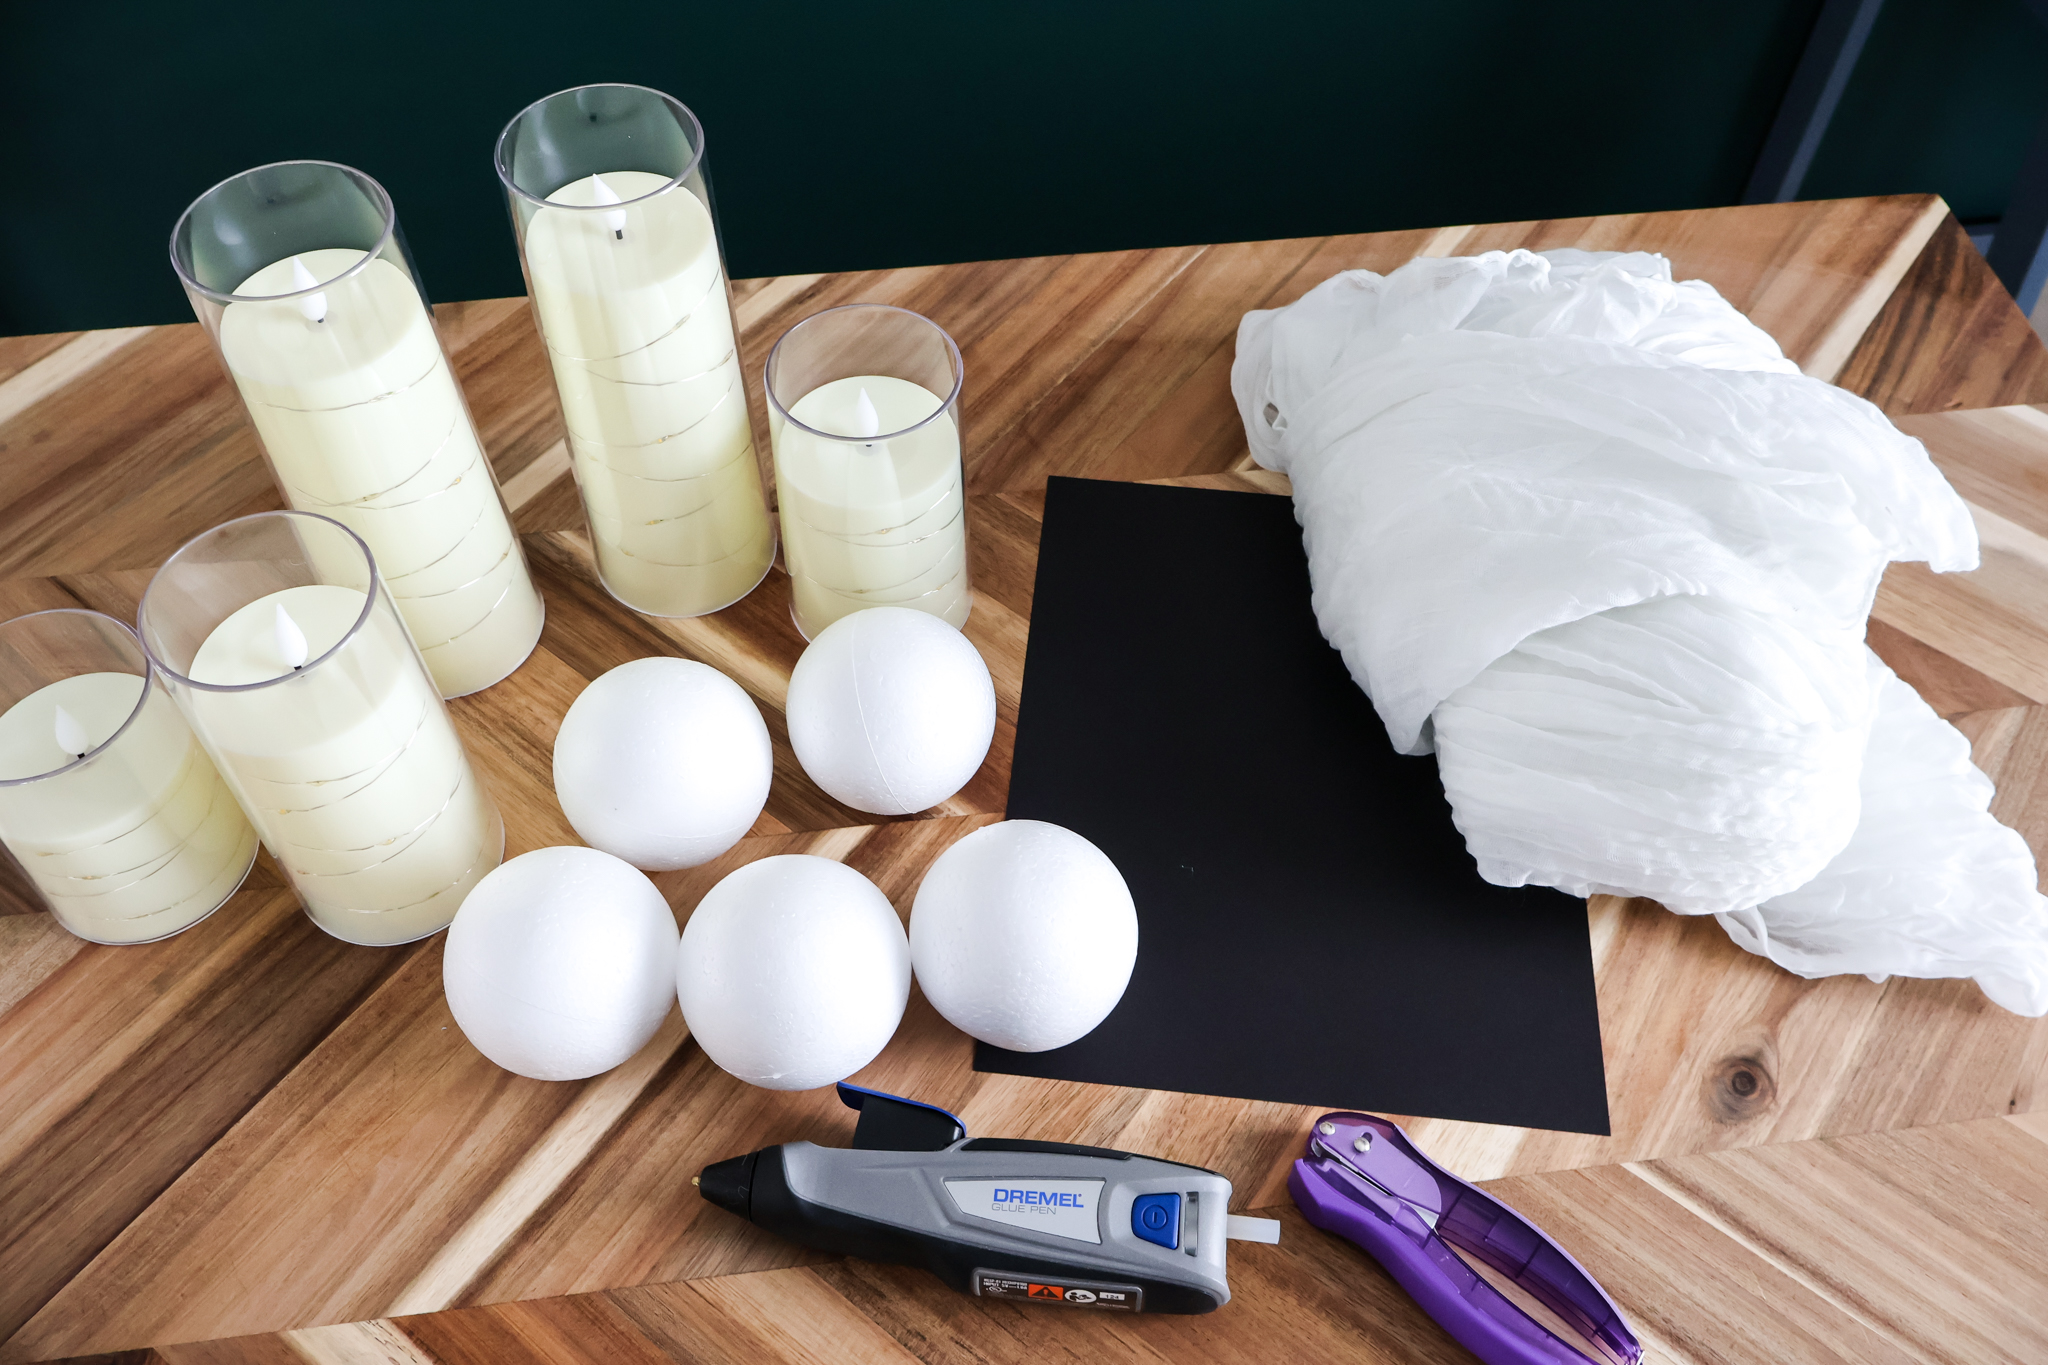
Supplies needed:
- Battery powered candles in a glass holder - I used these
- White gauze fabric - I used this table runner
- Foam balls - 3" fit my candle holder perfectly
- Black cardstock, paper, felt, or foam
- Hole punch or scissors
- Hot glue
Steps to make:
STEP 1: Arrange
Arrange your candles in a cluster. If you have a long table, make it a long cluster. For a round table or shelf, you want might it more of a round cluster.
If your candlesticks are varying heights, mix them up for an interesting look.
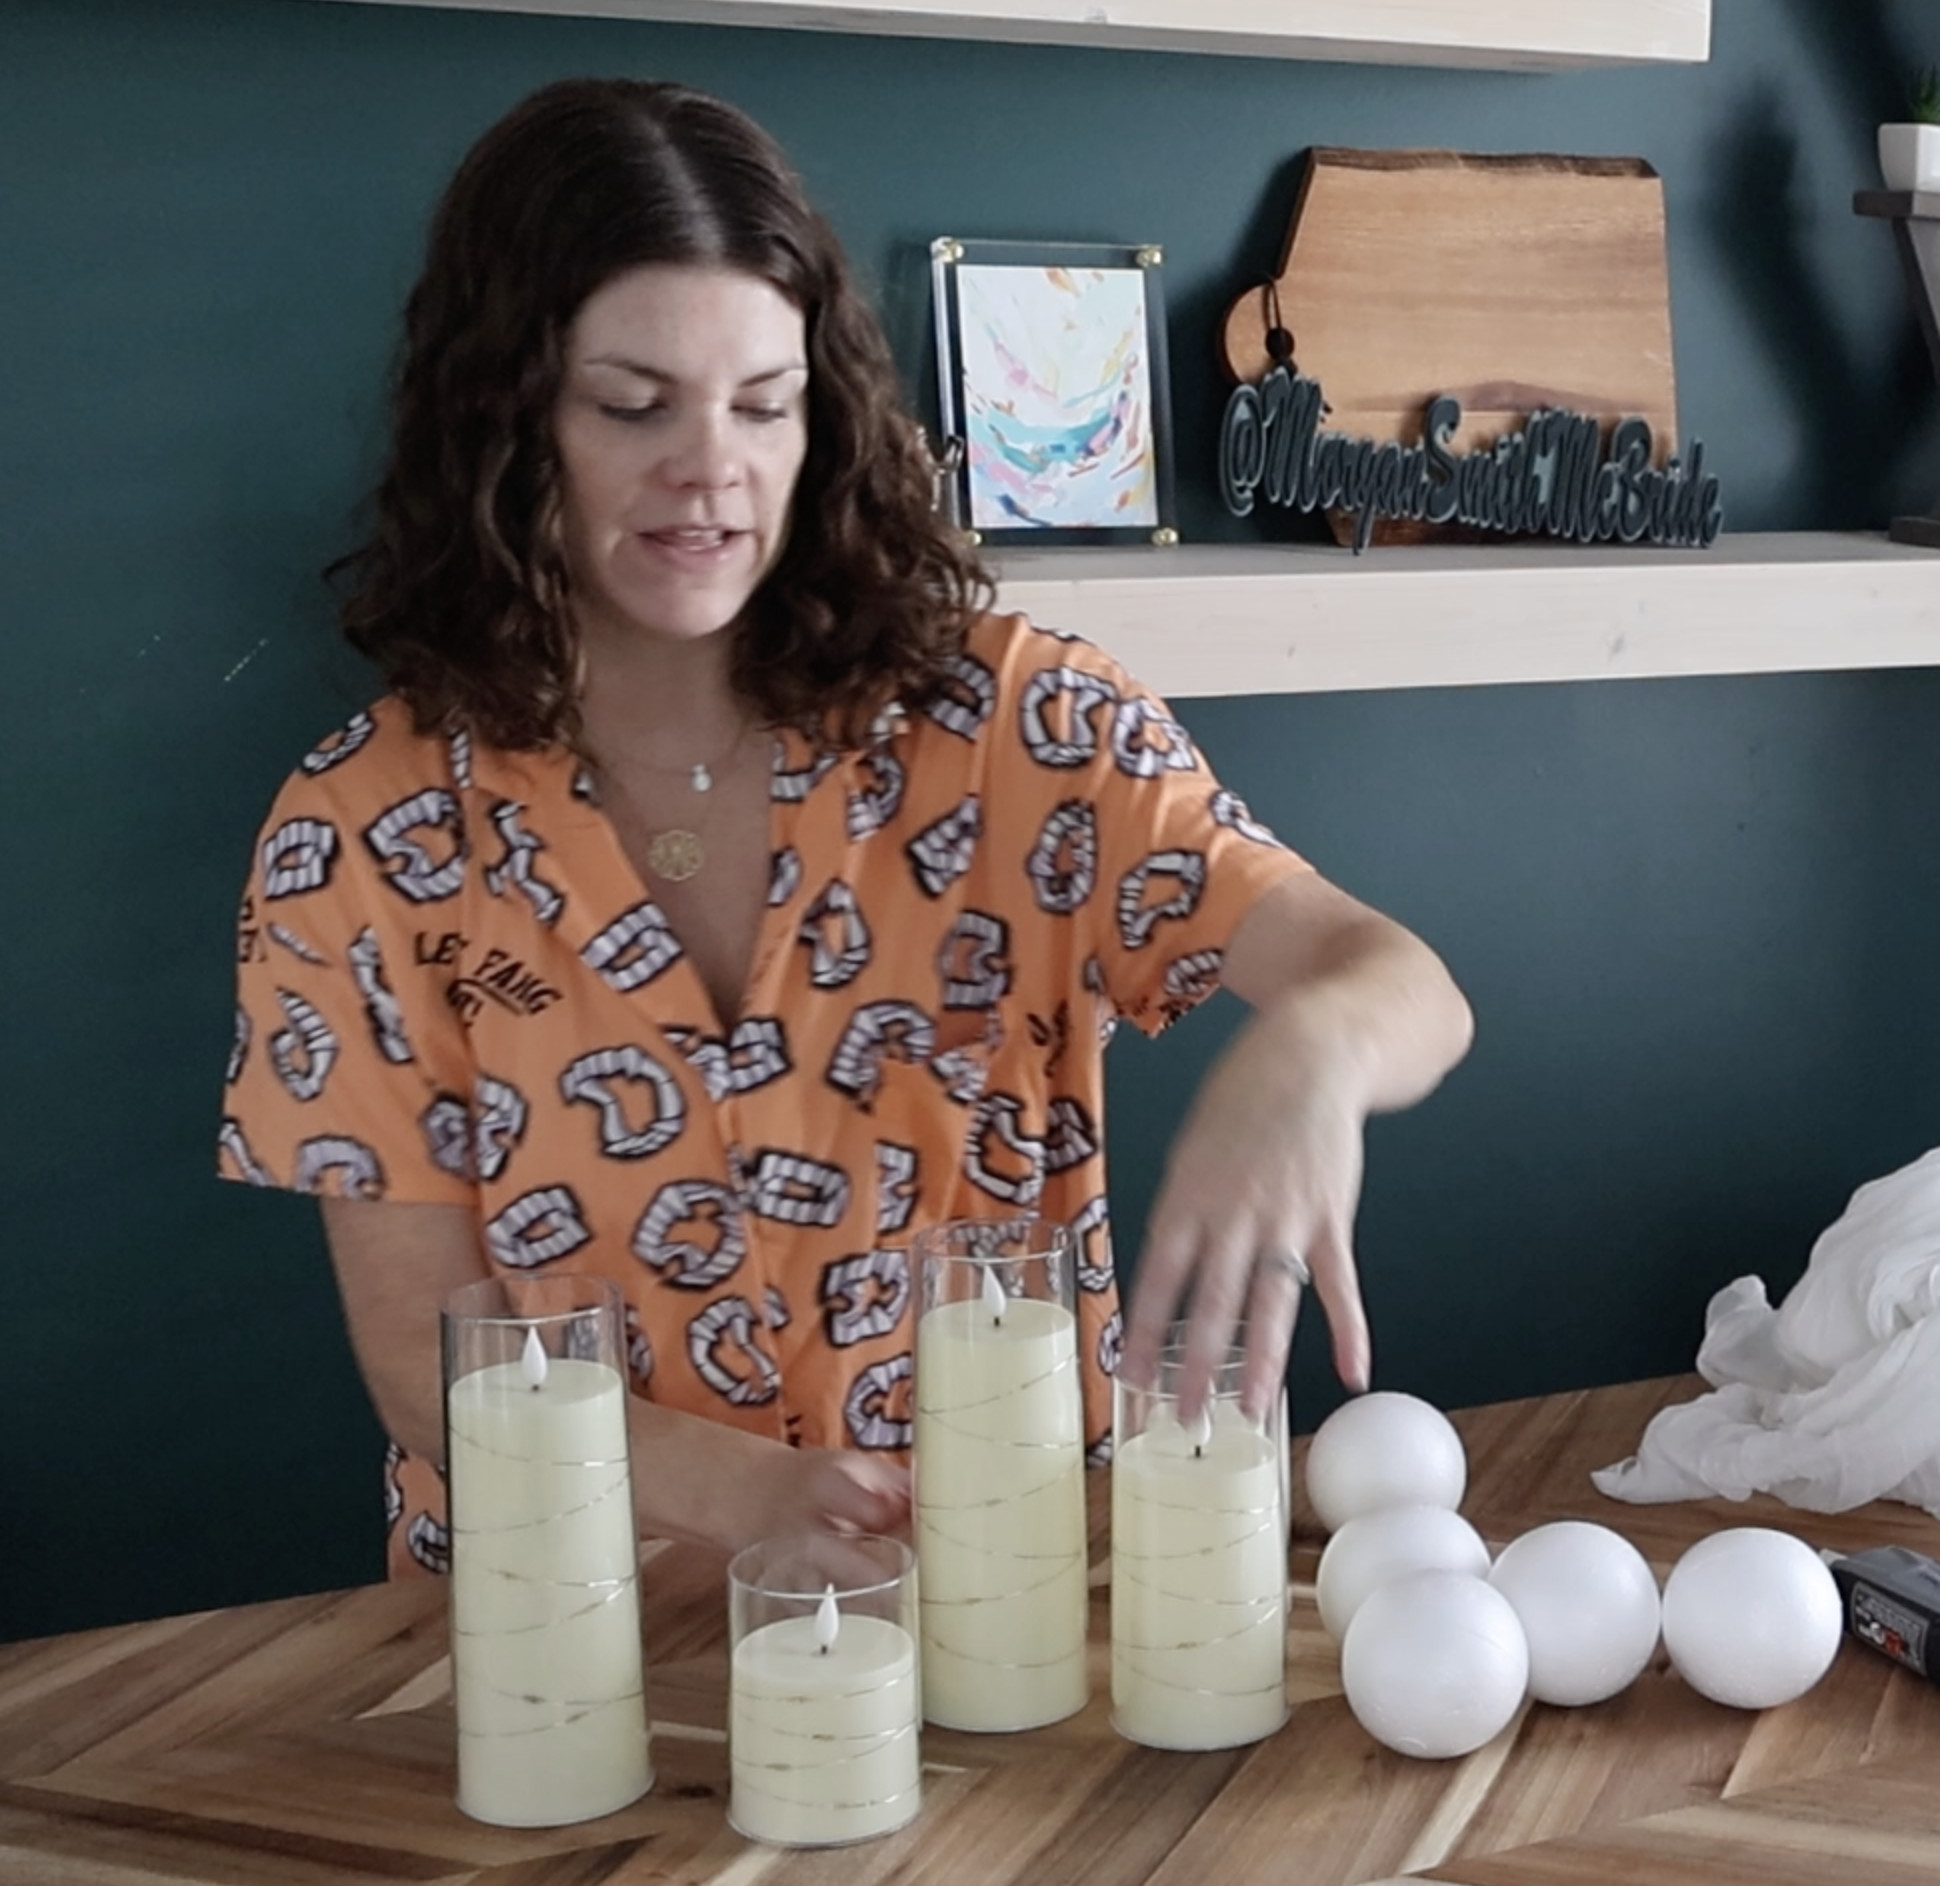
STEP 2: Add the balls
Add a styrofoam ball to the top of each candle. If the fit is perfect, you might be able to wedge them in place.
I wanted to be sure that mine were very secure - I have kids and don't want anything falling apart - so I added a dot of hot glue to the rim of each candle.
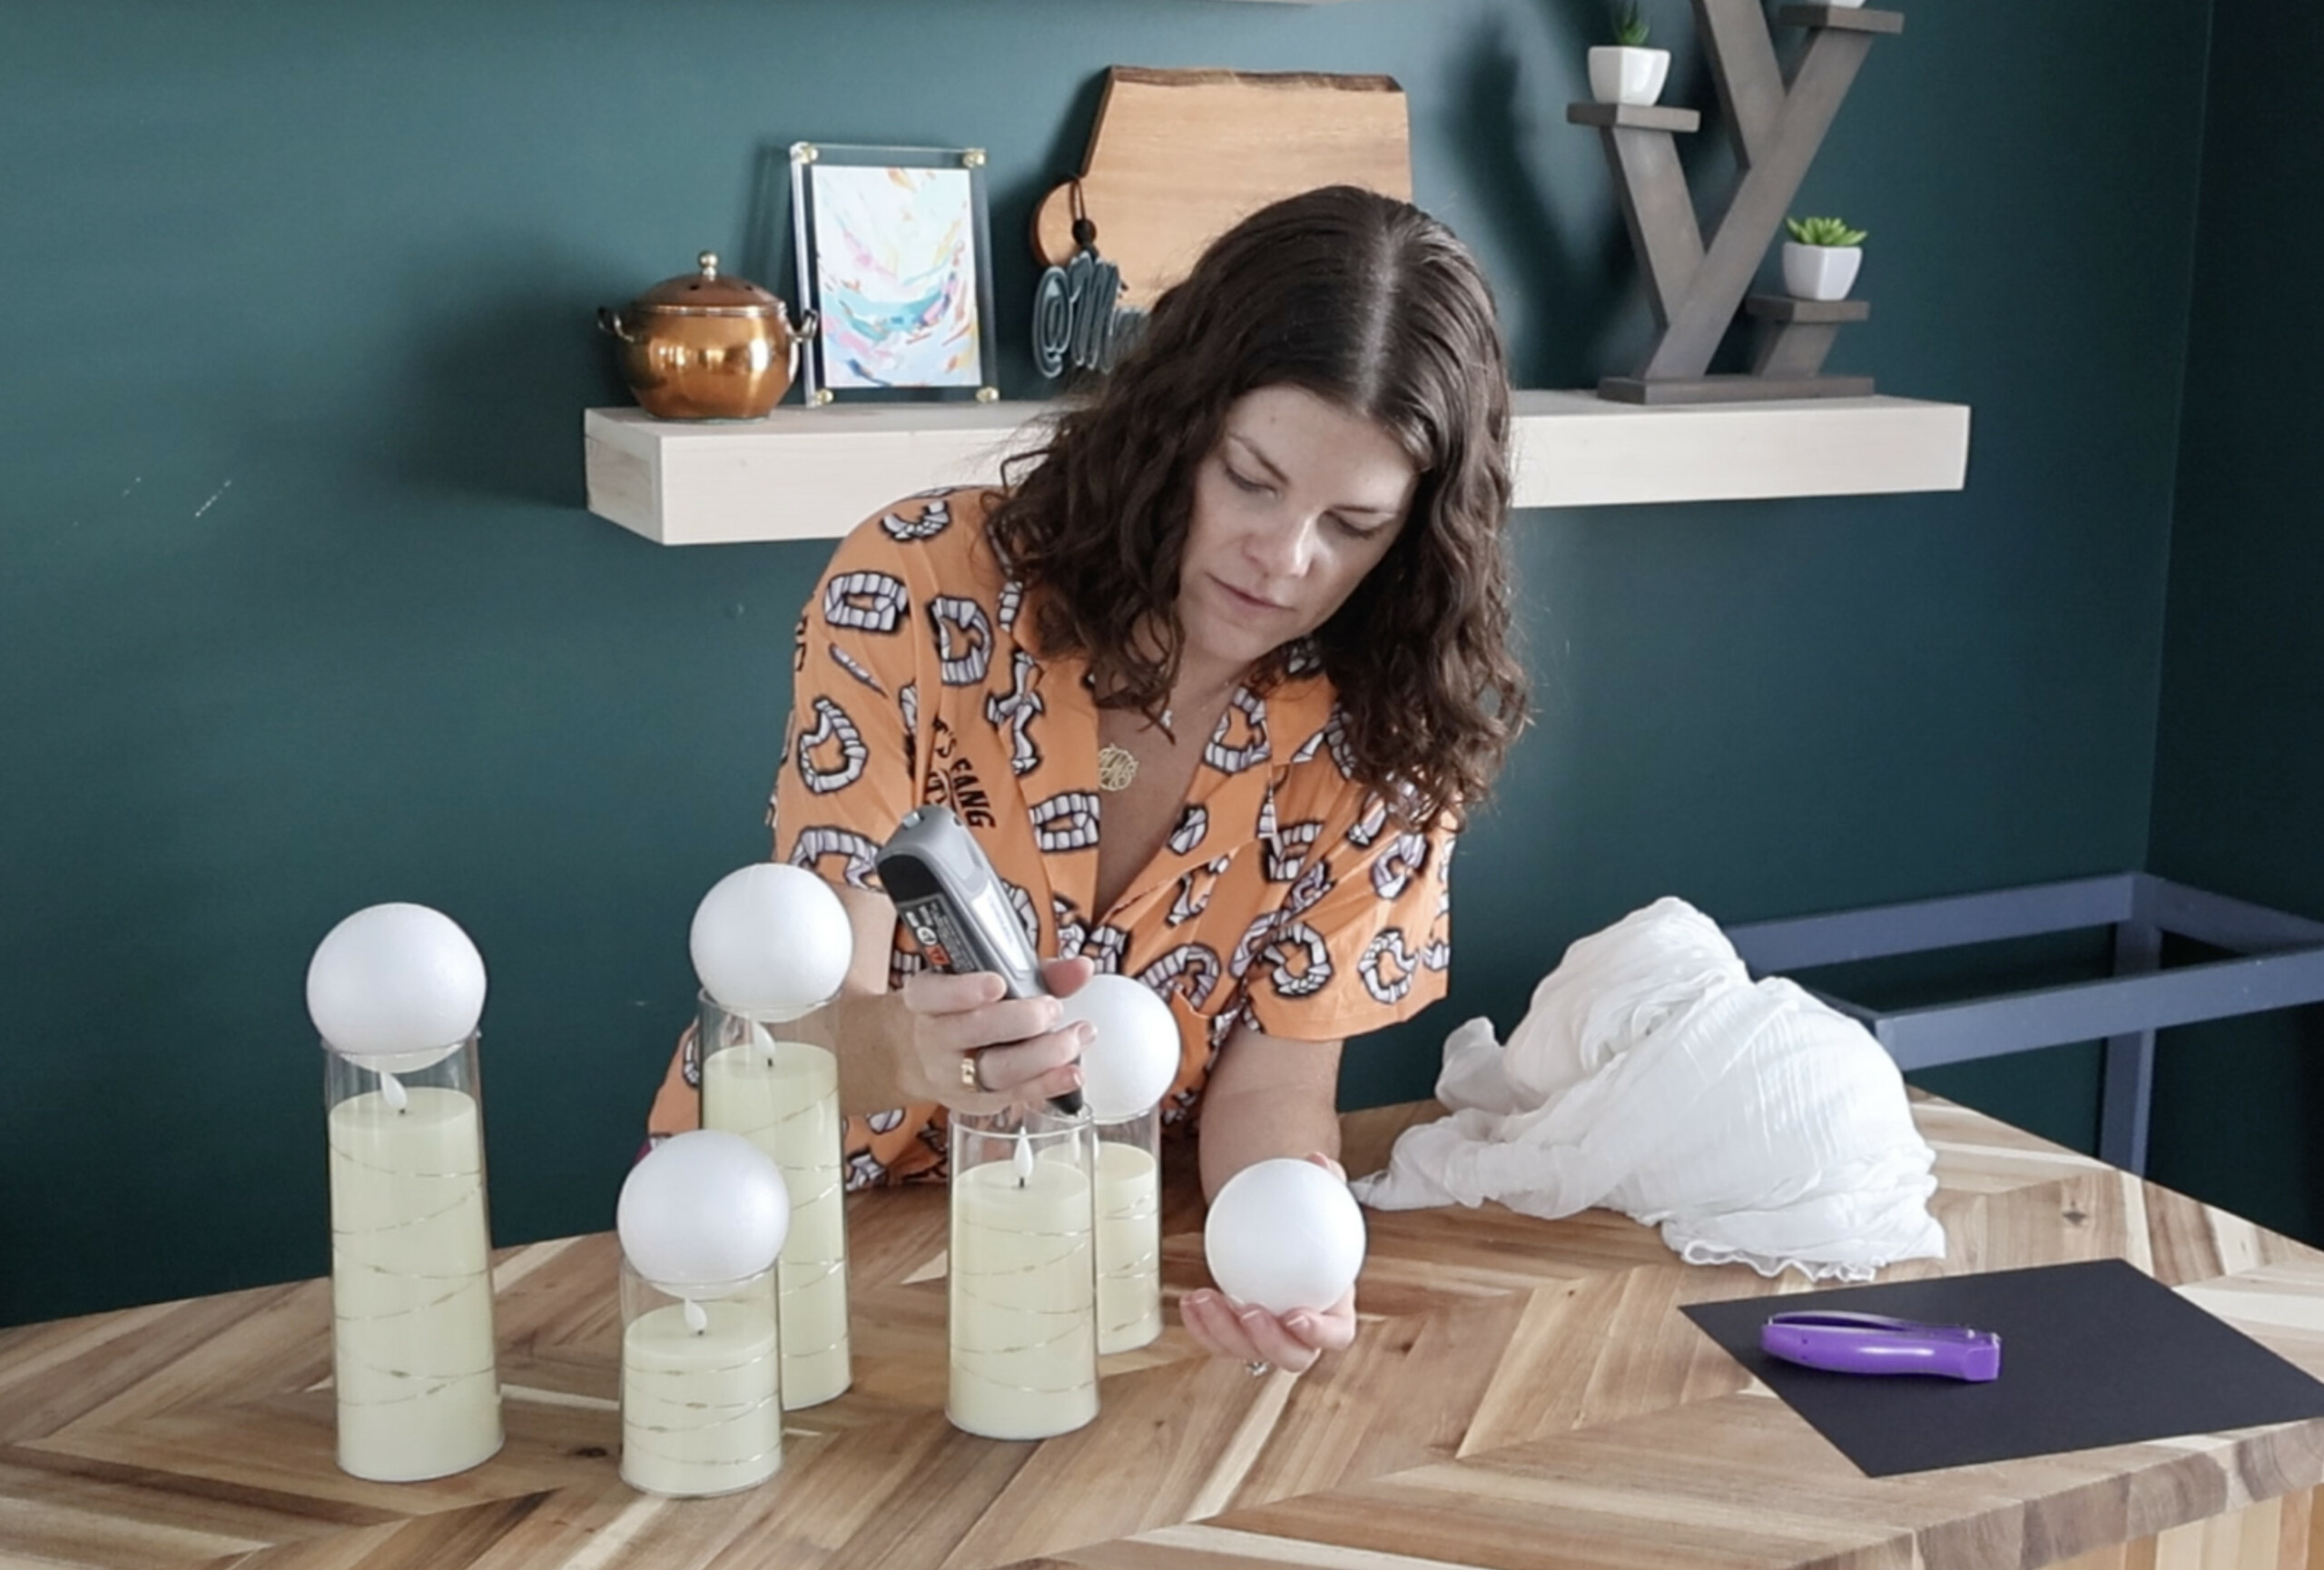
By just using a dot, they are secure enough for a tabletop, but loose enough that I can easily remove the glue and re-use the candles after Halloween.
Press the balls into place and let dry.
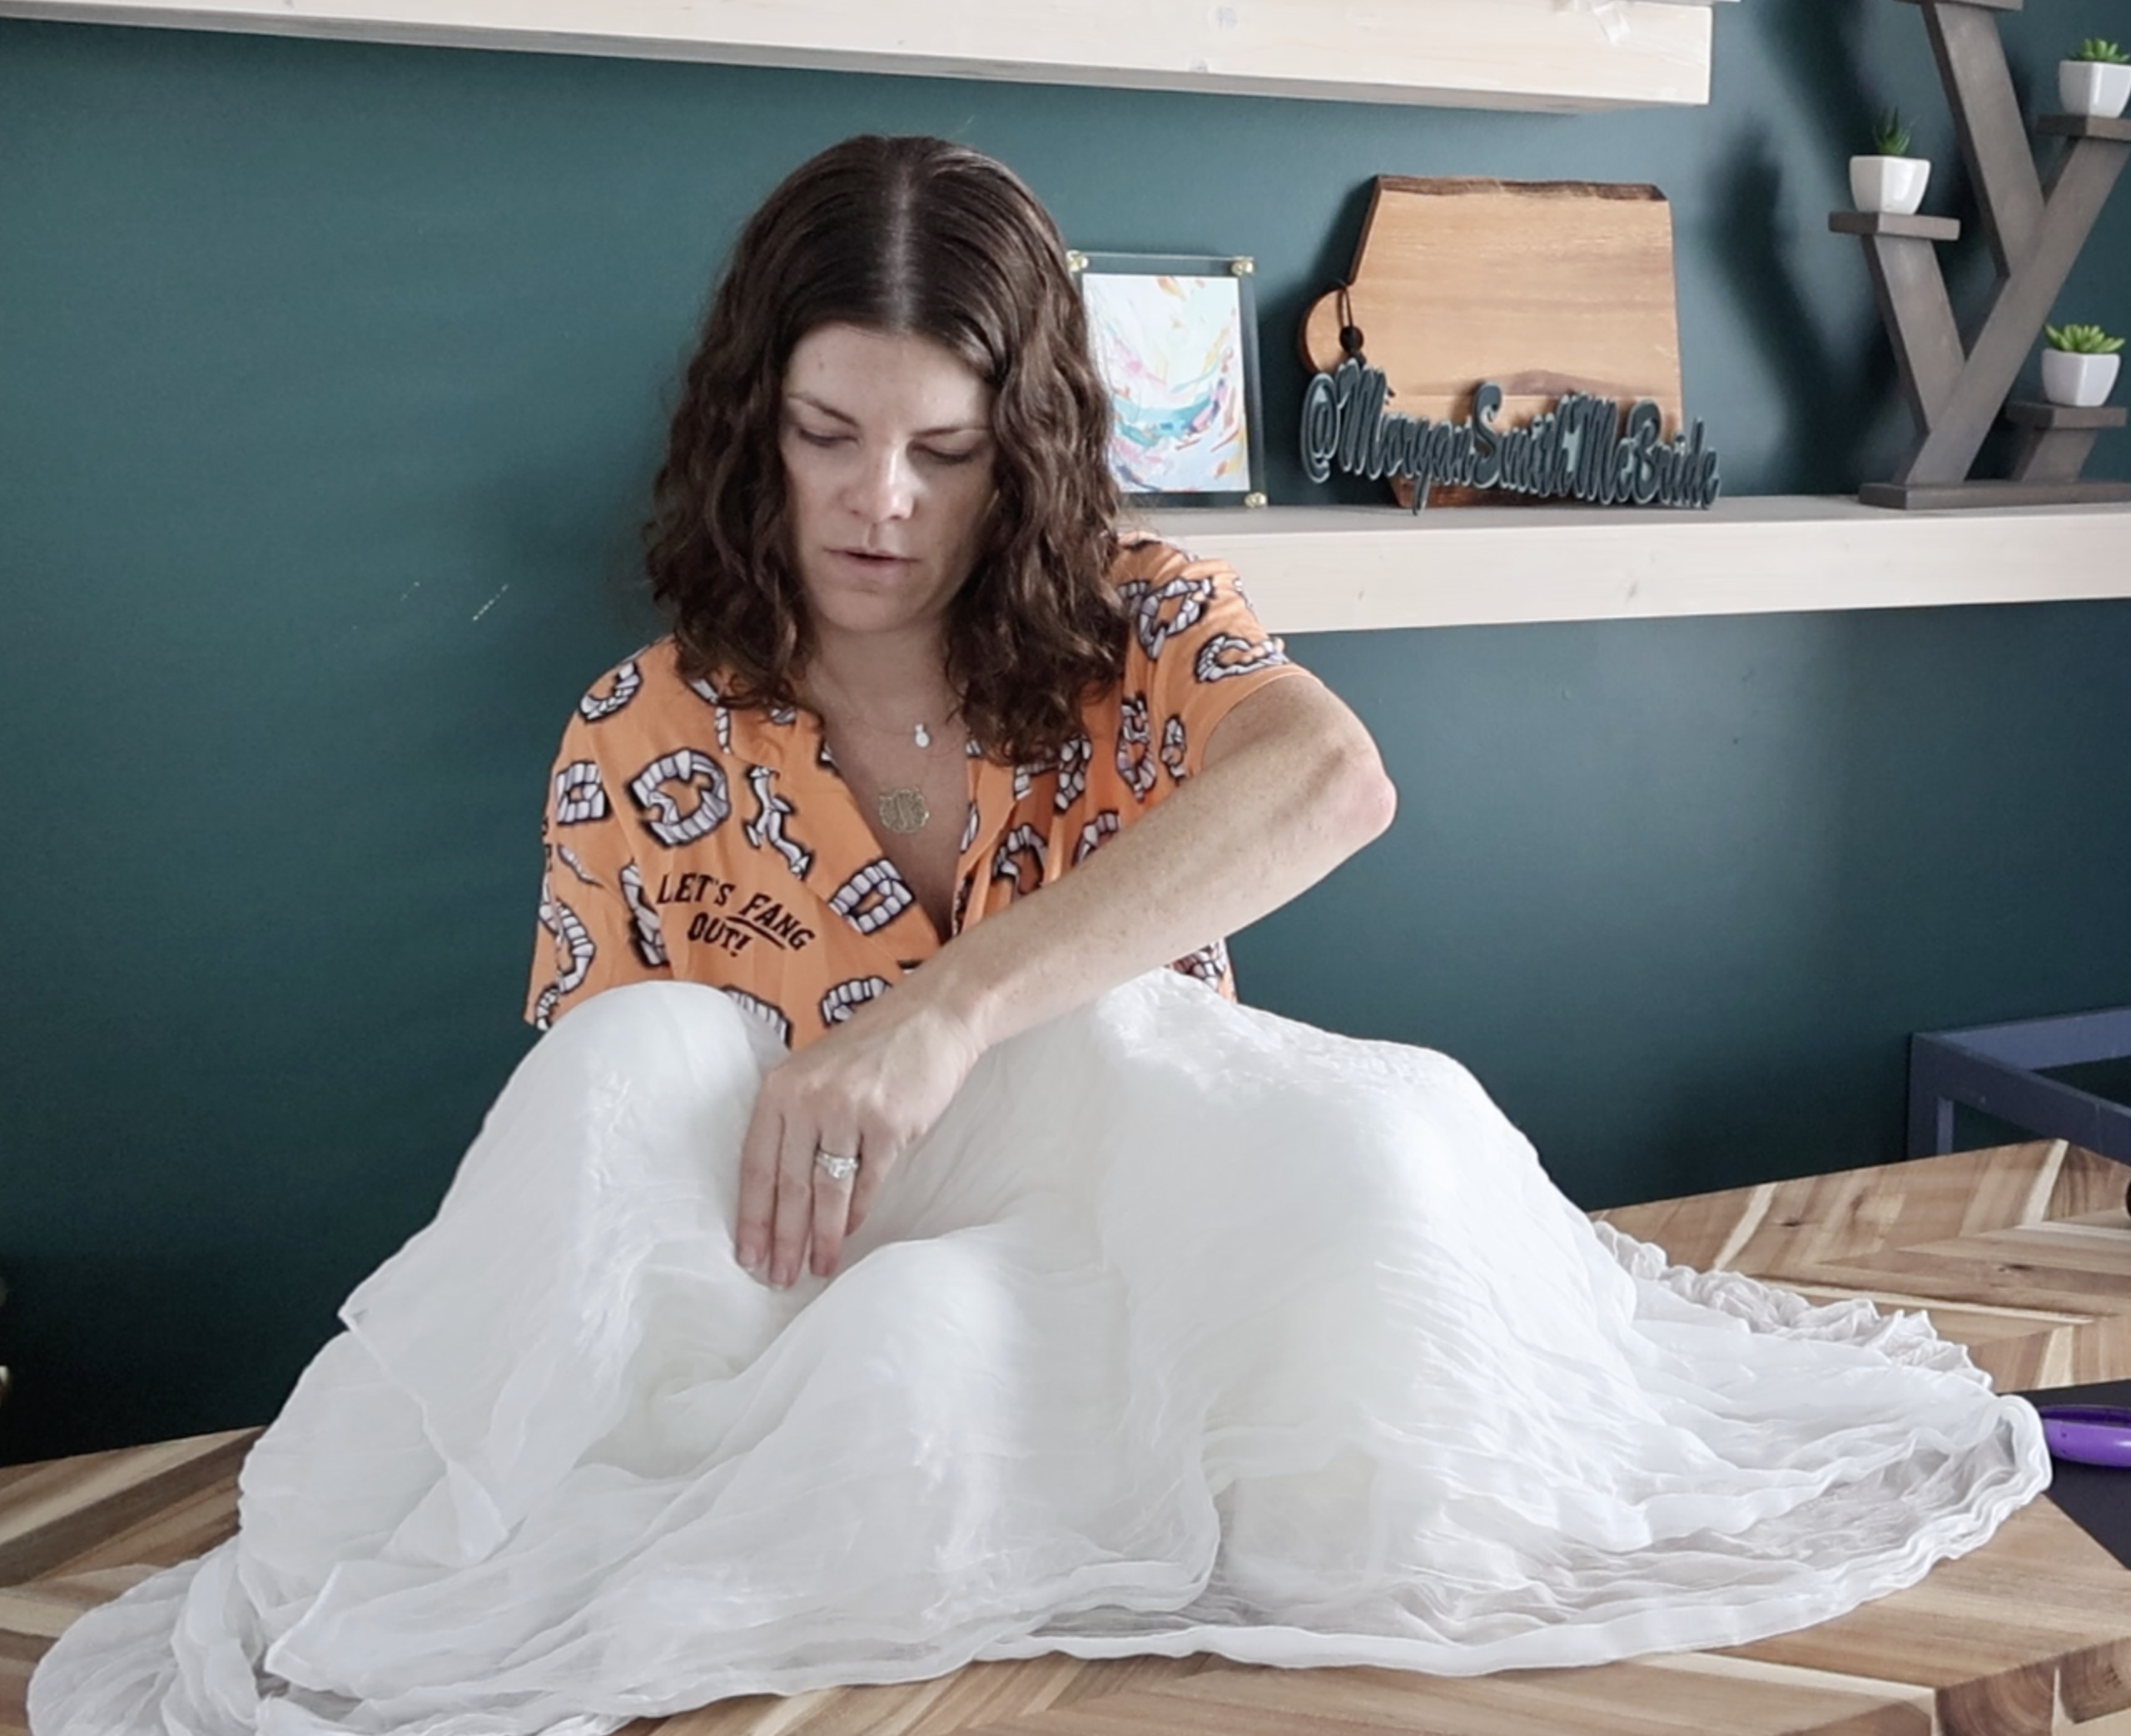
STEP 3: Drape
Drape the whole arrangement with your fabric. I went over the candles, then back, then back again for 3 layers with my table runner.

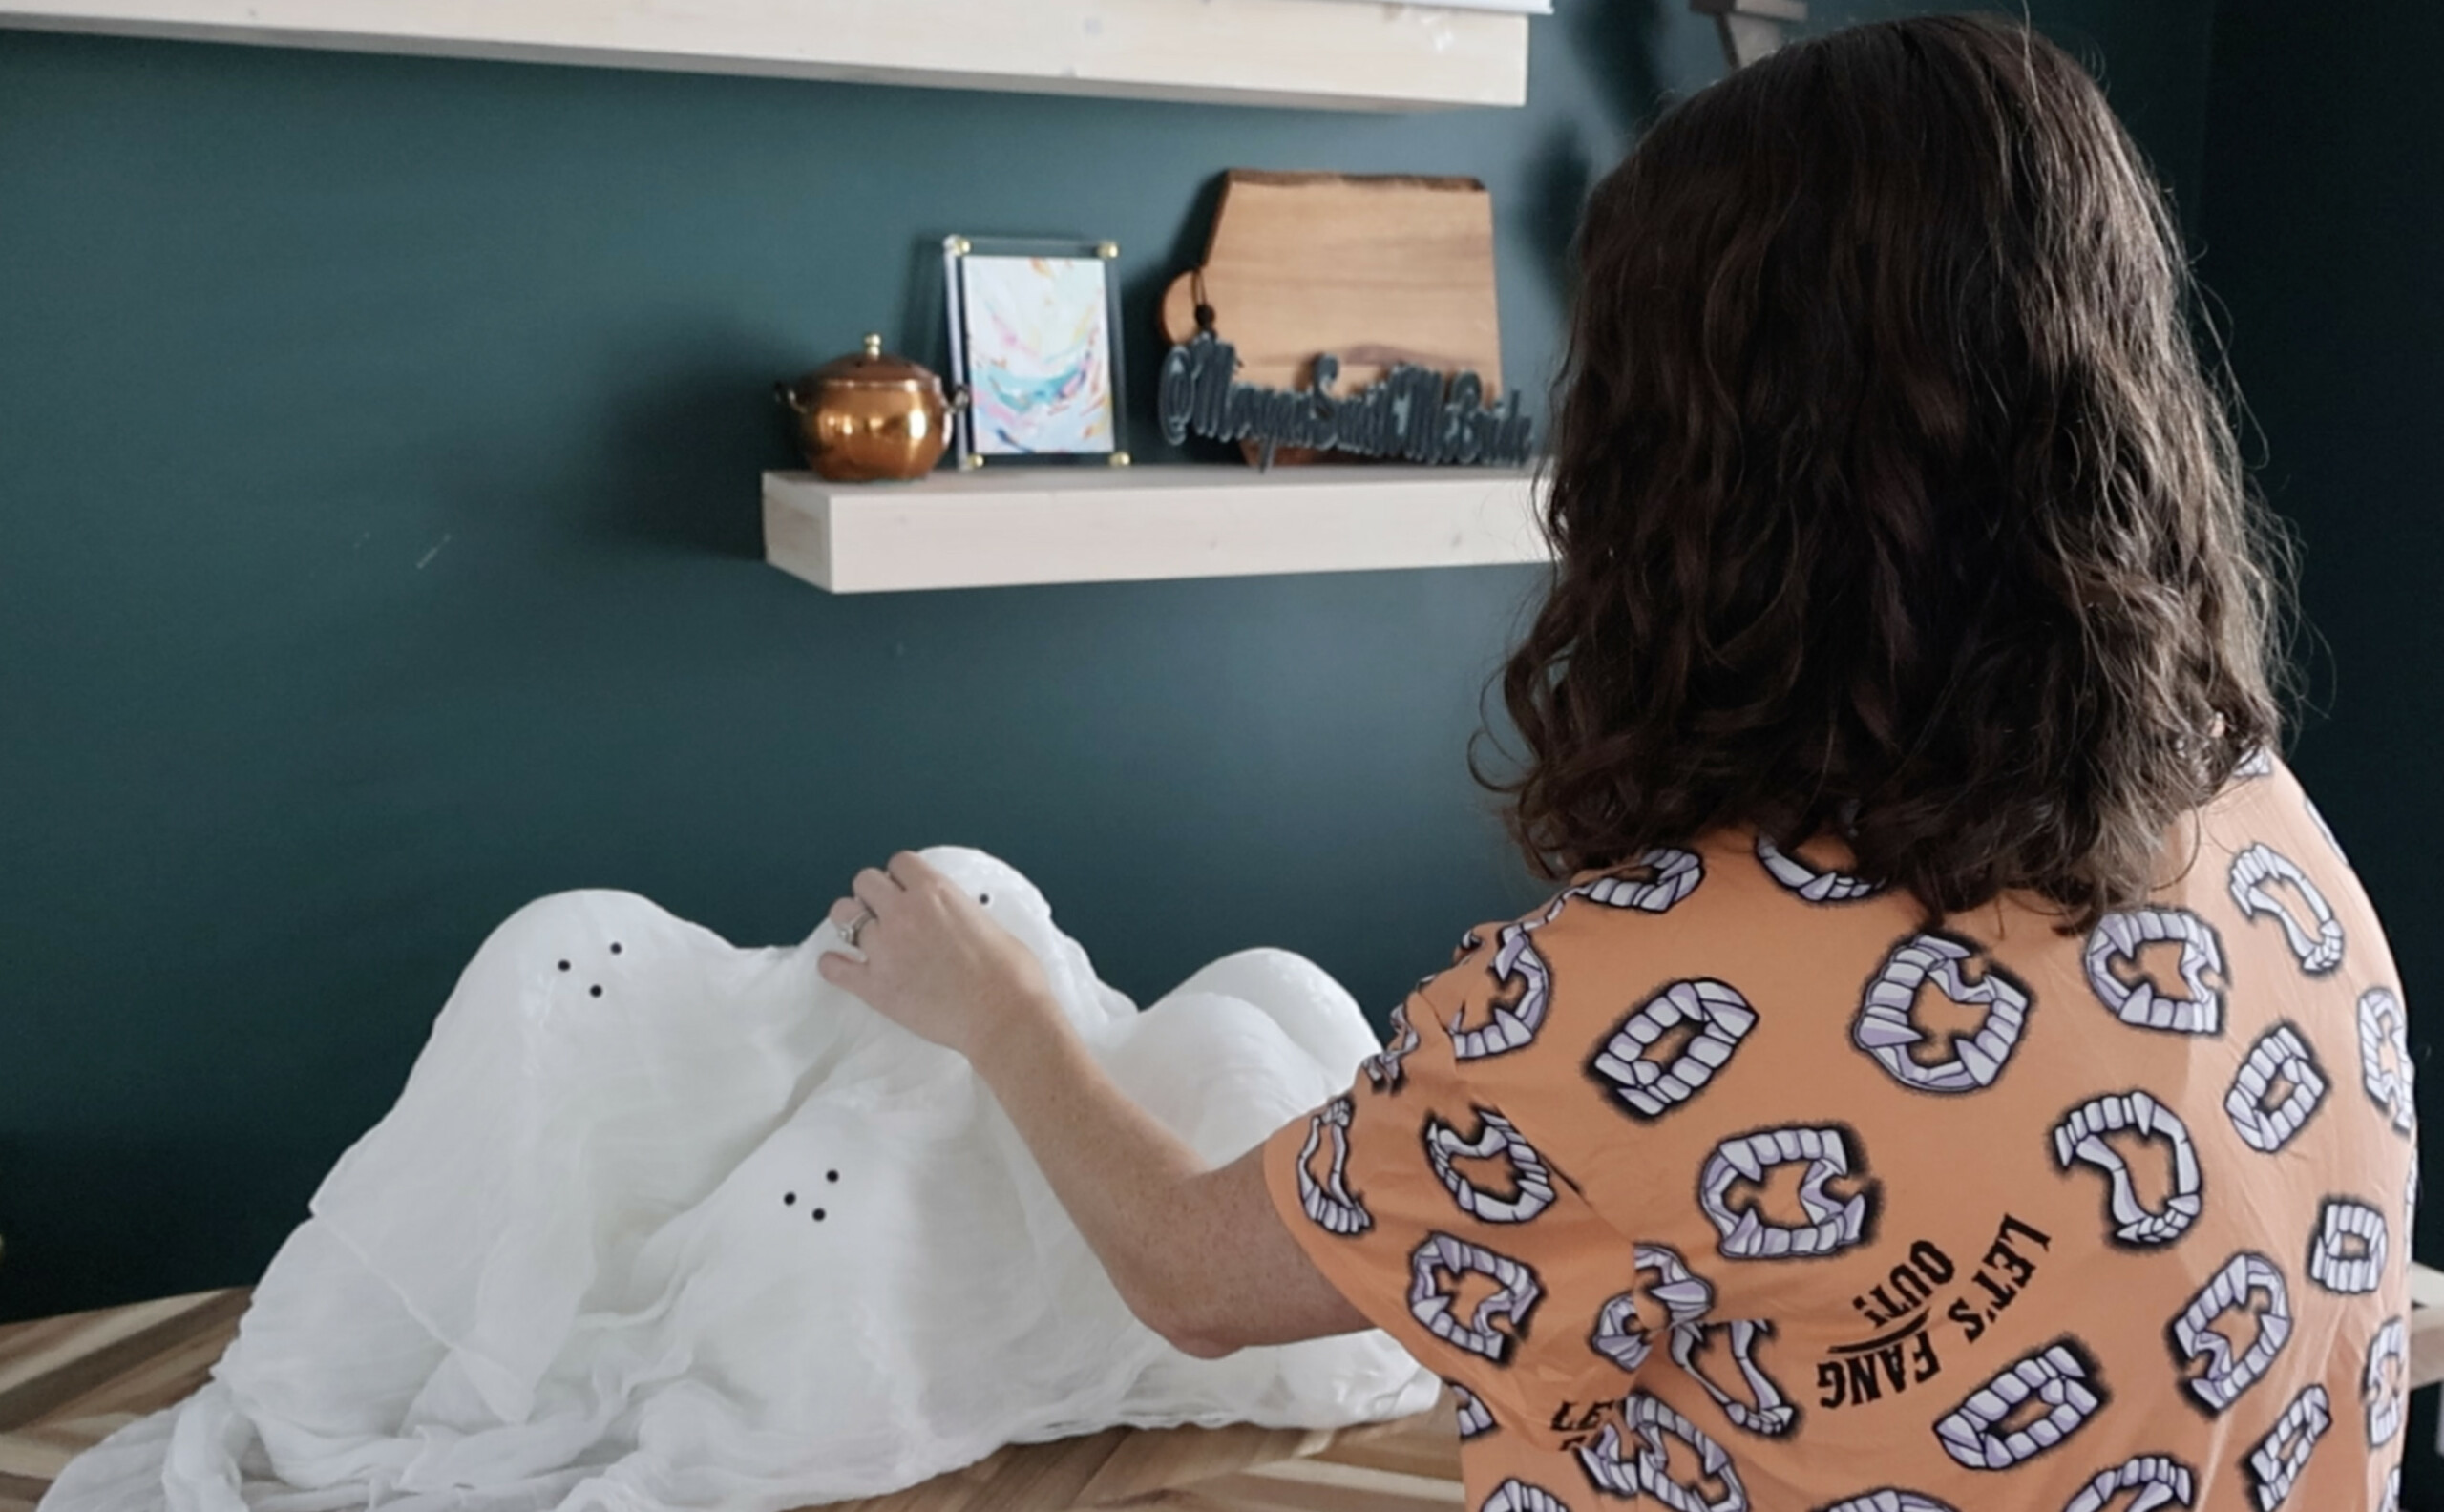
Then, carefully use your fingers to press down in between the candles. This helps each "ghost" have a distinctive shape so they don't blend together into one white blob.
STEP 4: Add eyes
Cut eyes and mouth out of black paper or fabric. I used a hole punch for simplicity and gave each ghosts 2 eyes and a mouth.
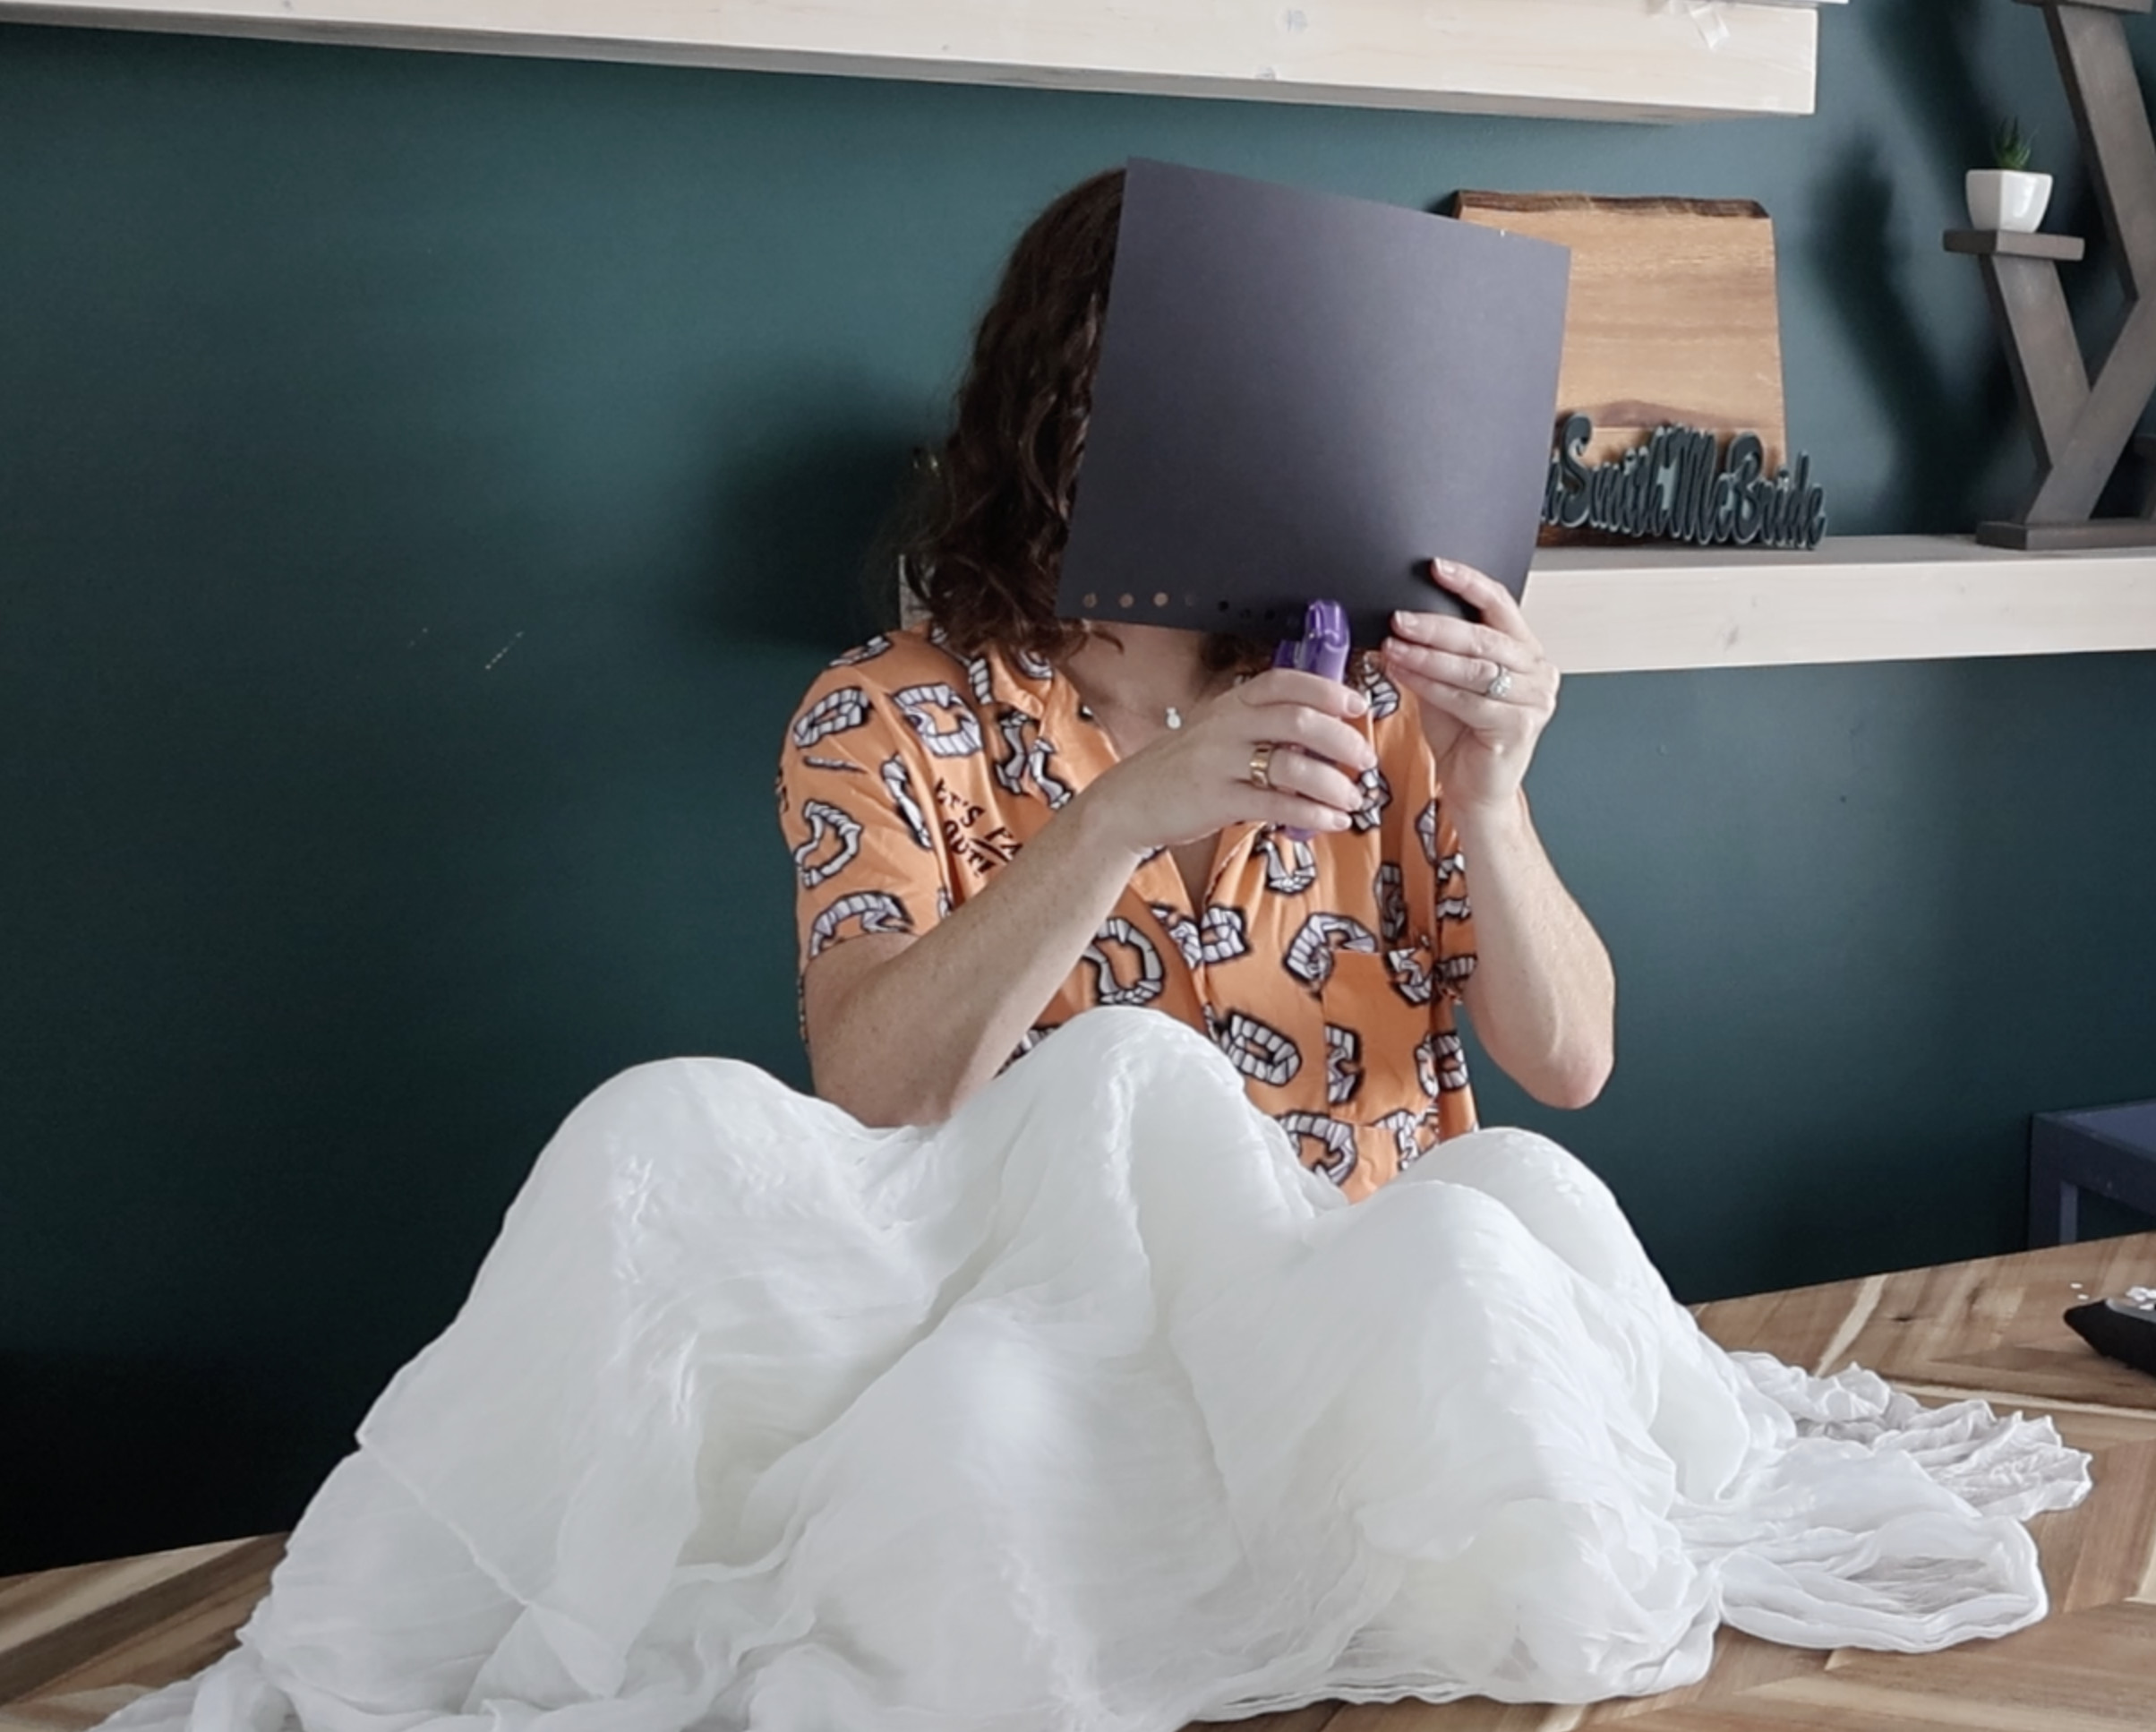
They actually stick pretty well just with static electricity, but I recommend adding a dot of hot glue to keep them in place.
Learn from my mistakes - add the hot glue to the white fabric and press the black dot in place. Don't try to hot glue the tiny dot in your fingers - you will get burned!

STEP 5: Light and enjoy!
Light the candles and enjoy the spooky ambiance! So much fun!
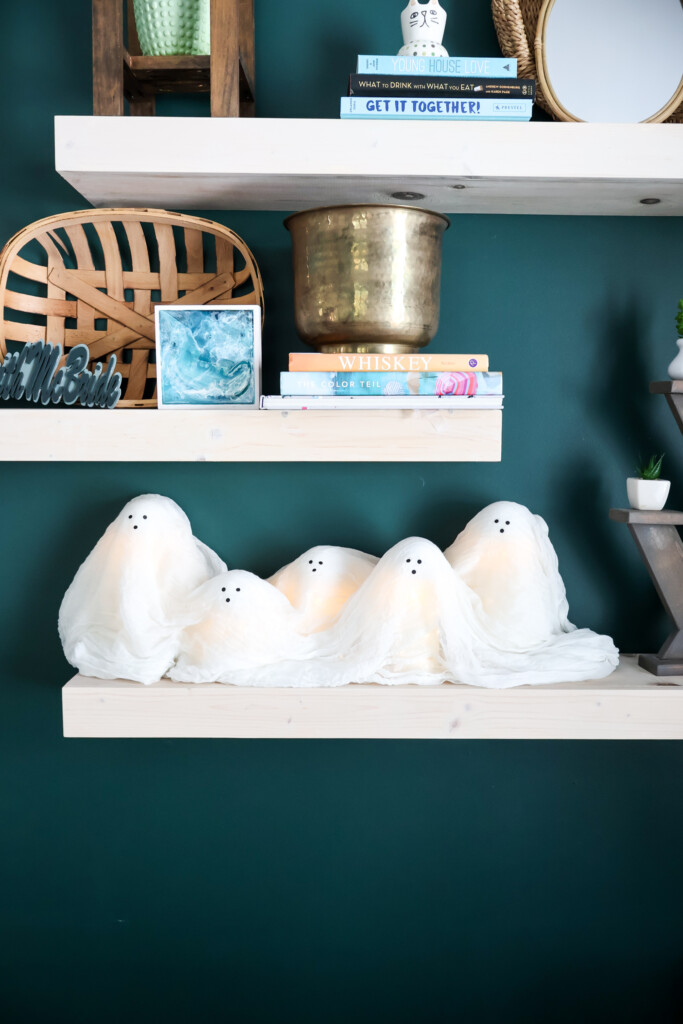
I love this simple craft and think it looks chic and totally unexpected, especially next to the dark green walls in our guest bedroom!

Overwhelmed decorating for Halloween?
Let our quickstart guide take away the overwhelm! Get it free here!
Planning a big Halloween?
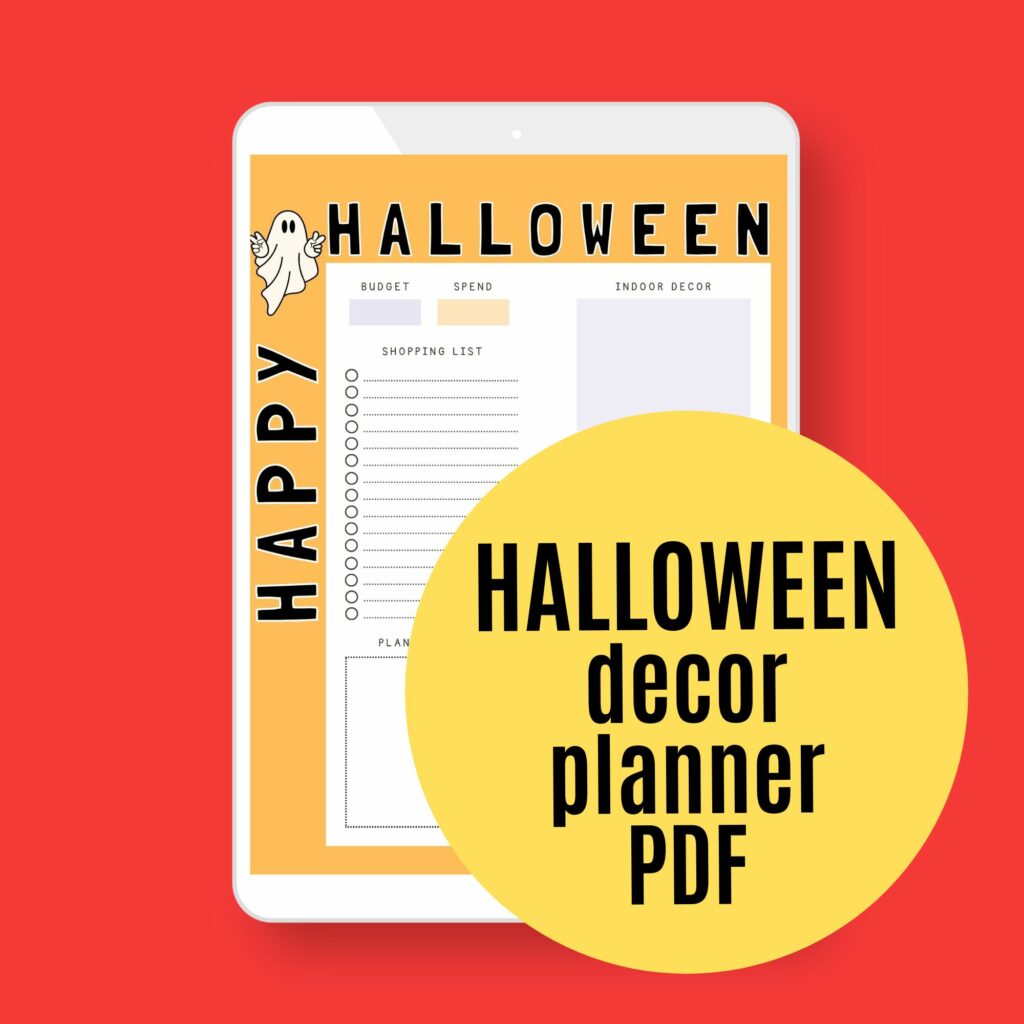
Be sure to grab our FREE Halloween Decor Planner to get all of your plans organized!

Looking for something?
We've been doing this since 2012 so we have a LOT of blog posts!
Search stuff like: Ceiling Projects | DIY Plant Stands | Thrift Flips

Hello, I'm Morgan, half of the creative force behind CharlestonCrafted.com! With a passion for DIY that dates back to 2012, I've transformed three homes and now I'm dedicated to helping others craft their dream spaces. Let's turn your house into a home together!