Want to make a homemade play tent for your children's bedroom or playroom? Here is a step by step tutorial and video to show you exactly how we made this DIY kids tent!
We are so excited to be wrapping up Luke's bedroom makeover. It has been so fun working on all of these projects to craft him a colorful, jungle-inspired bedroom.
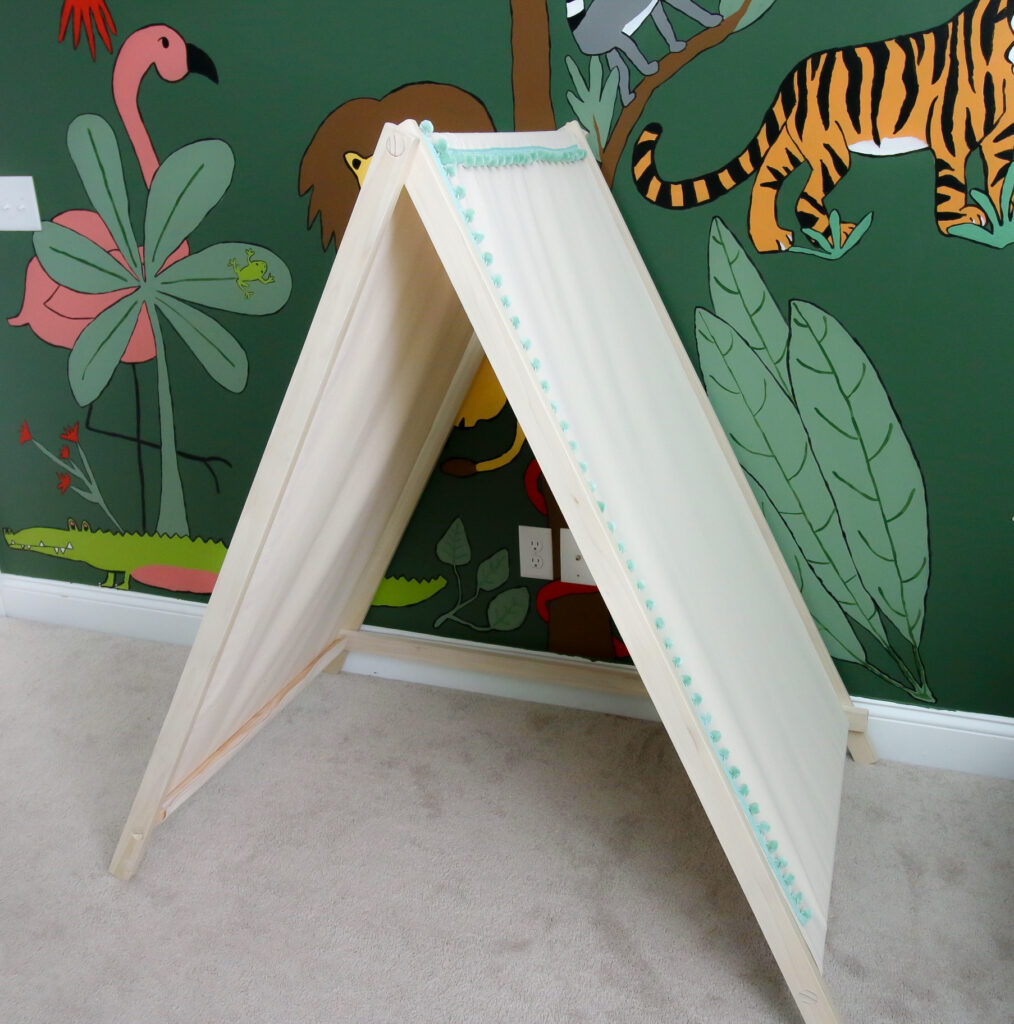
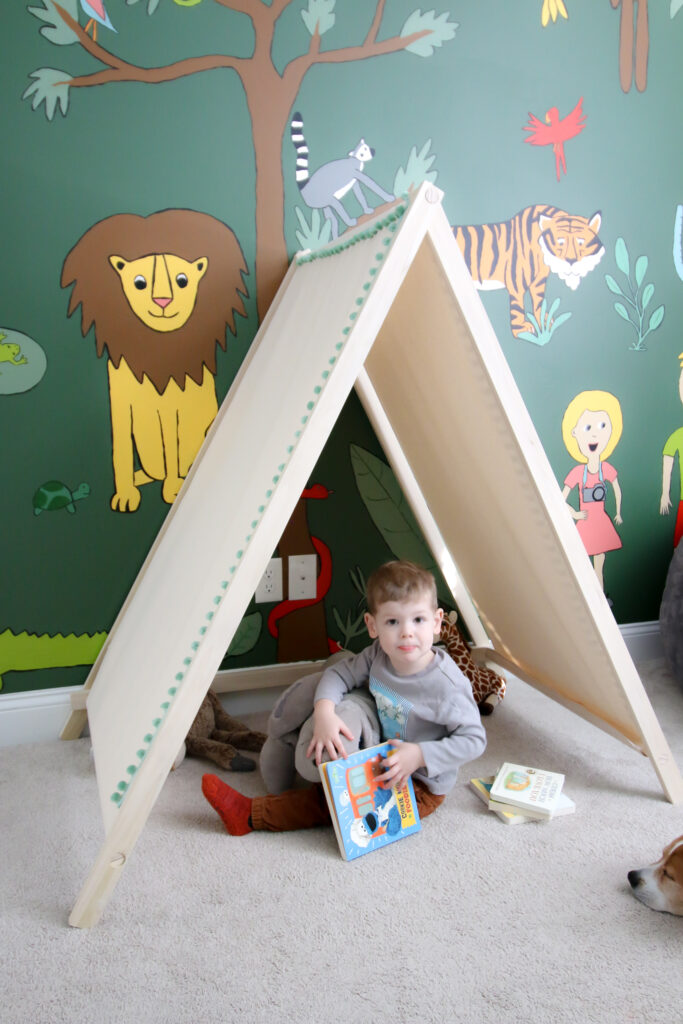
One of the last touches that we wanted to add was a DIY children's play tent. This tent will serve as part play house, part reading nook, and of course look cool, too!
This tent is a perfect addition to any kids cozy corner.
We decided to build an A-frame play tent using wood dowels and beams. Then, we added a canvas covering with a green pom pom trim, just to make it feel less like a camping tent and more like a kids play tent.
We absolutely love how this project turned out. Luke loves it too! We can't wait to watch him and Rory play in it for years to come 🙂

How to make a tent for kids
Let's show you what you need and how to make this play tent for kids. You can also grab the plans to get everything in a printable format with exact measurements!
Materials:
- (2) 6' 1x8 boards
- (3) 48"x1" dowels
- 3 yards of fabric
- Heavy duty Velcro
- 4 yards pom pom trim (optional)
- Thread for sewing machine
Tools:
- Table saw
- 1" Forstner drill bit
- Clamps
- Sewing machine
- Scissors
- Iron + ironing board
- Straight pins
Full woodworking plans for the DIY childrens play tent
If you want to get the full printable PDF plans for the DIY kids play tent, download them!
The woodworking plans for the play tent include the full cut list and step-by-step tutorial with images.
These plans will help you build this play tent quickly and easily. More on how to build the tent is below!
How to make this a-frame tent:
Here's the general overview instructions for how to built the tent.
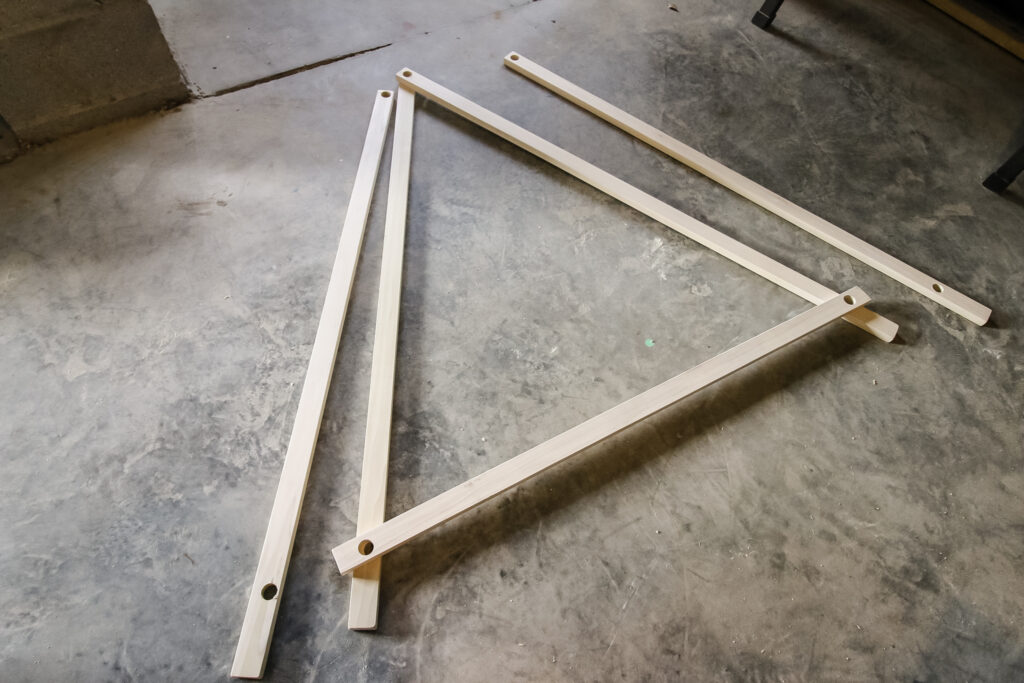
STEP 1: Lay out the poles and drill holes
Lay out the poles and support beam to align them where you want.
Clamp them together and drill holes through the meeting points for the dowels.
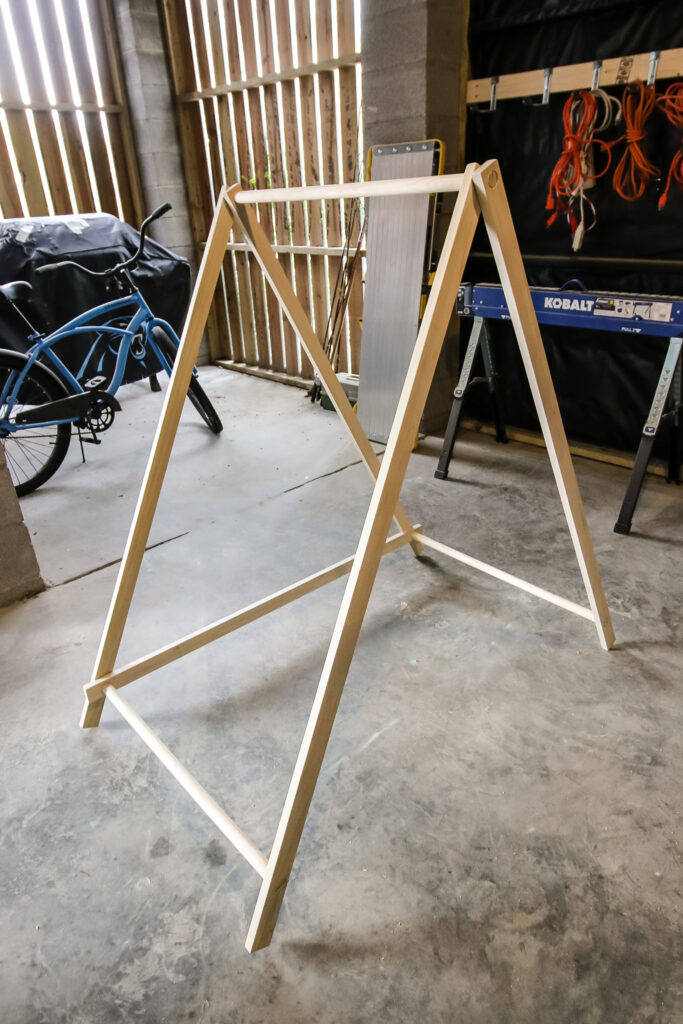
STEP 2: Hammer the dowels through the holes
Using a mallet, hammer the dowels through the holes you just drilled until they are flush on all sides.
Start with the back poles and support beam and then hammer in the front poles.
How to make the canvas tent cover:
If you would prefer not to sew, you could use a flat toddler sized sheet for your covering. However, the sewing on this project is super simple. It's just straight line hemming.
I honestly hate sewing and I did this in less than an hour. So, you can totally do it! I wanted a canvas material for a tent-like look, so a sheet wouldn't do for me.
STEP 1: Cut the fabric
Cut a rectangle of fabric 105.5" long by 27.5" wide.
STEP 2: Pin the fabric
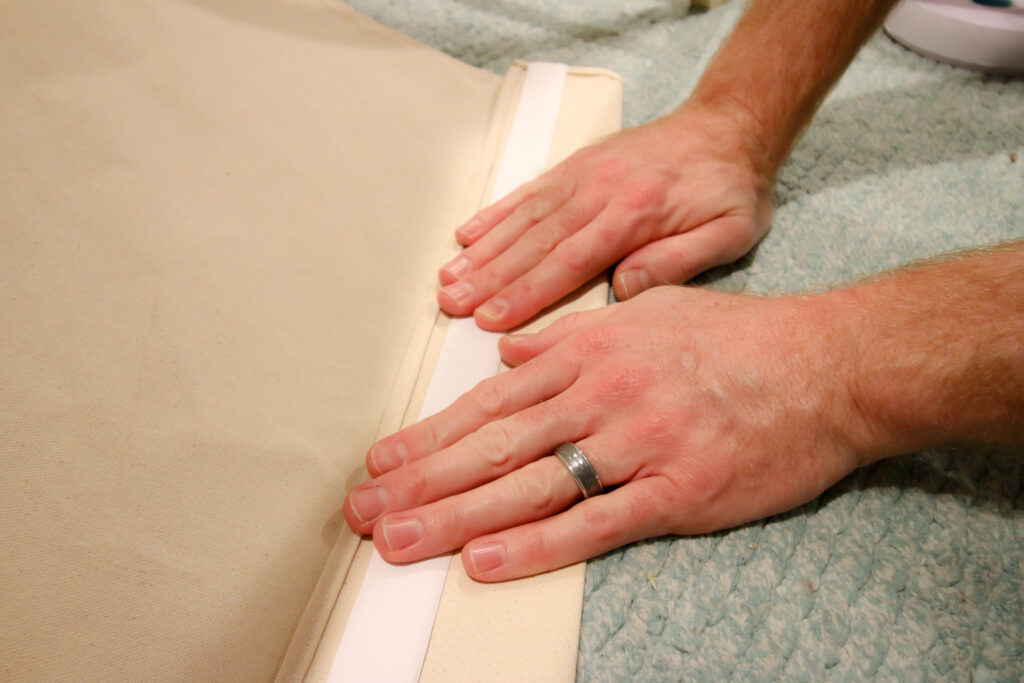
Use your iron to fully iron your material and get out any wrinkles.
Then, iron the hem. Fold each side over ¼" and iron to crease. Then fold that over another ¼" to create the hem. Iron in place and use straight pins to pin.
The double fold hem hides all the scraggly edges. Canvas frays very badly and you will need to hem it or it will unravel.
STEP 3: Sew the fabric
Sew along your pinned hem on all 4 sides.
STEP 4: Add the Velcro
Hang your fabric over the top dowel of your tent to get it placed properly.
Add a strip of peel and stick velcro to the underside of the dowel, then attach the fabric to the opposite velcro in the same spot.
Repeat this on the other bottom dowel, pulling the fabric tight.
Press firmly to adhere the velcro to the dowel and fabric. Then, I un-velcroed it and let it adhere over night.

STEP 5: Add pom pom trim
I decided to add pom pom trim to the sides and top of our tent. This it totally optional but really fun.
Just hold your trim up until you like the placement, cut appropriately sized pieces, and pin in place. Be sure to fold the ends of the ribbon underneath to keep them from fraying.
Run this through your sewing machine to attach the pom pom trim and enjoy!
Check out our tutorial + woodworking plans for how to build a kids learning tower!
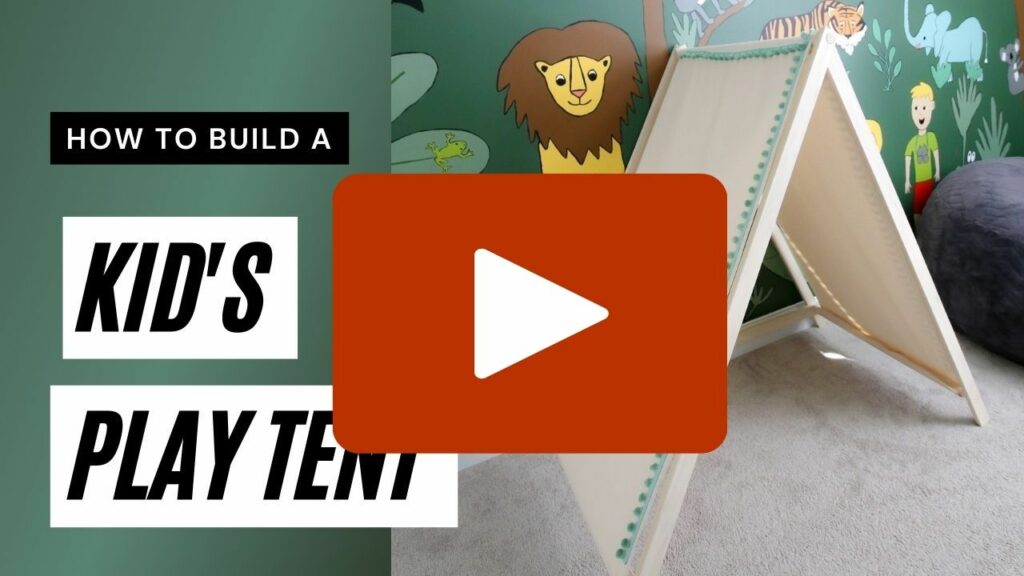
Video tutorial
Be sure to watch our full video tutorial!
Why we didn't build a teepee (or tipi)
When I told people we were putting a reading tent in Luke's room, several said "oh, like a tipi?"
There are two main reasons that we did NOT go with a tipi in this space.
The easiest answer is that this is a jungle themed room and I wanted more of a camping-in-the-jungle vibe. This a-frame tent takes me back to my girl scout platform camping days!
But on a more serious note, teepees being used as decor in non-native people's homes is not okay. It is definitely cultural appropriation and indigenous people have said time and time again that it is not okay with them. So just don't do it!
This article is much more articulate than I could ever be, but is definitely worth a read if you are still not convinced.
Any more questions about this tent for a kids room?

Looking for something?
We've been doing this since 2012 so we have a LOT of blog posts!
Search stuff like: Ceiling Projects | DIY Plant Stands | Thrift Flips

Hello, I'm Morgan, half of the creative force behind CharlestonCrafted.com! With a passion for DIY that dates back to 2012, I've transformed three homes and now I'm dedicated to helping others craft their dream spaces. Let's turn your house into a home together!

Ivory says
I love this post. When my now 18 year old was little, he would have loved this. Thanks for sharing