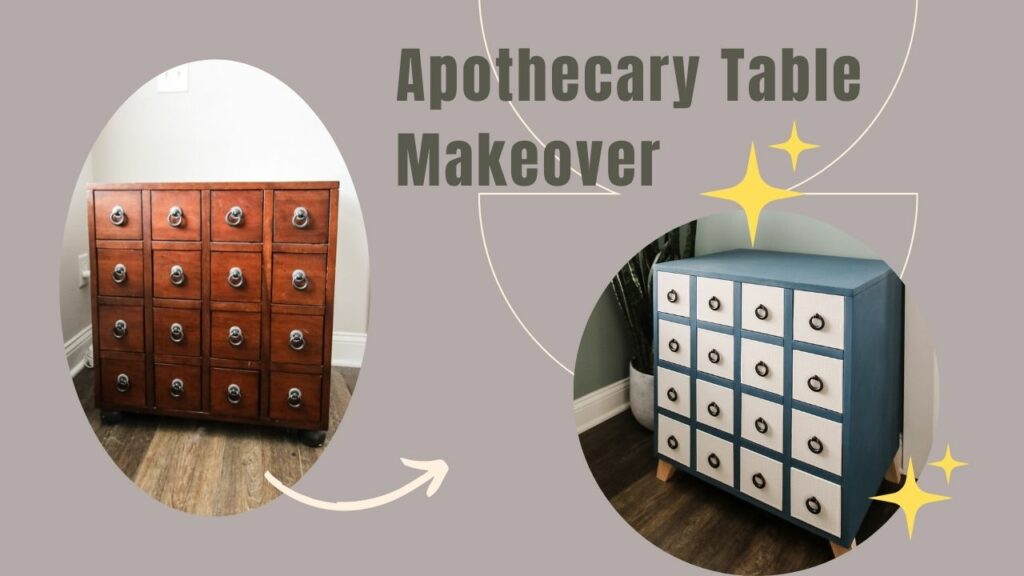
Here's how I transformed a dated old apothecary table using paint and contact paper!
We have had this wooden apothecary table since we lived in our first condo! I bought it at a Habitat for Humanity ReStore in North Carolina somewhere around 2013 and I have always loved it.
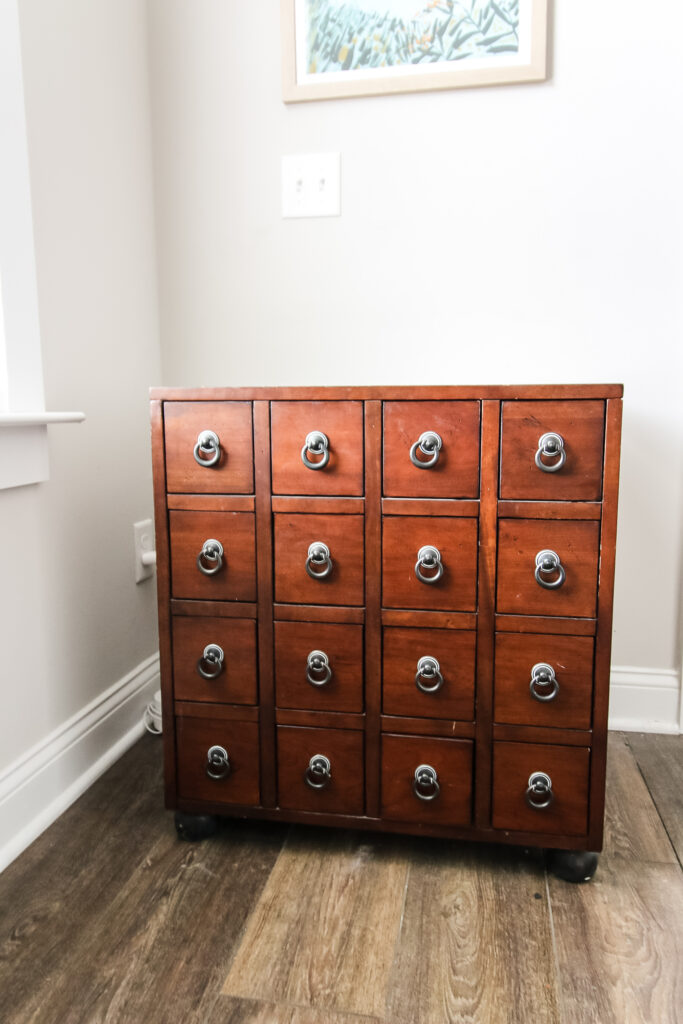
It's big, heavy, and really unique with 16 drawers!
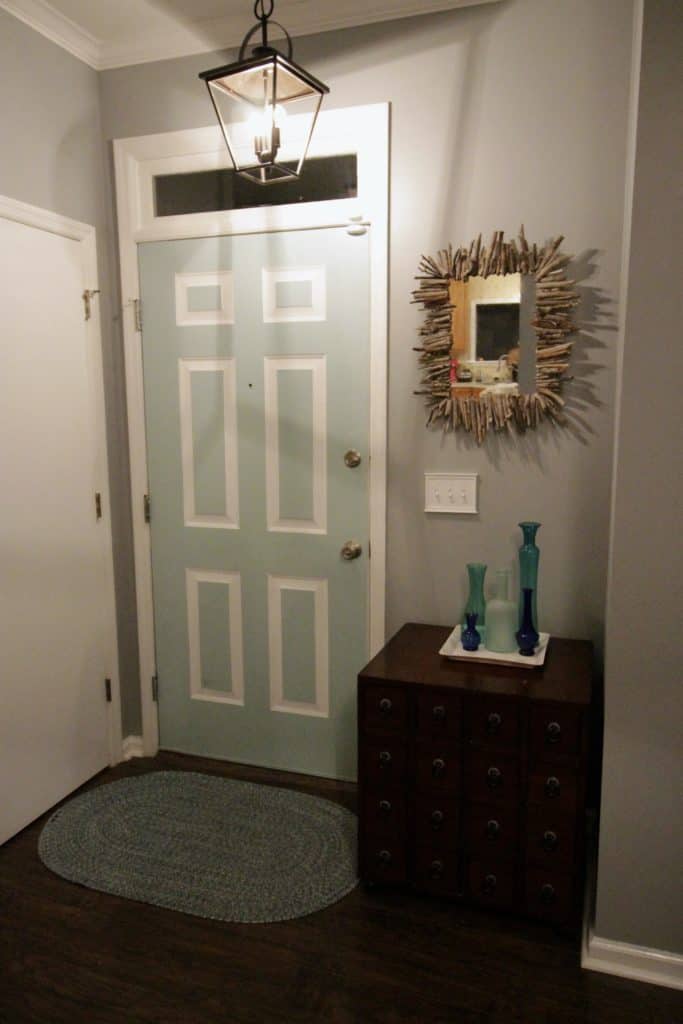
It was a side table in our condo and the entryway table in our old house.
Now, we have it on the landing at the top of the stairs, right outside our master bedroom.
I have been walking past this thing every day, and while I love it, I hated how the wood stain color looked with our floors. The stain is cherry red and the floors are brown-gray - it clashes.
So, I decided to refinish it!
My idea was to sand off the finish and white wash it in a light wood color.
Well, I sanded it a lot and used stripper to remove the finish and realized that it is not solid wood but actually a very thin veneer.
I sanded through the veneer in several placed and could not get the finish off completely without exposing the plywood underneath the veneer. Whomp whomp.
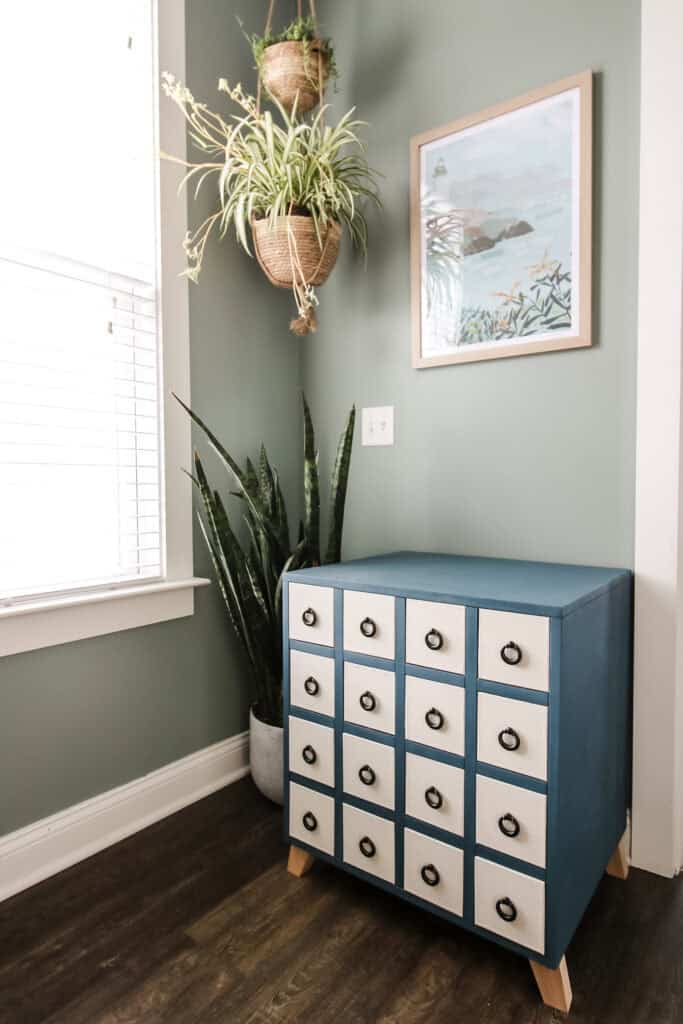
So, after all of that sanding, I ended up painting it. I chose Deep Lagoon chalk paint by Jolie Paint. I had this left over from when we turned a headboard and footboard into a bench. It's a gorgeous color!
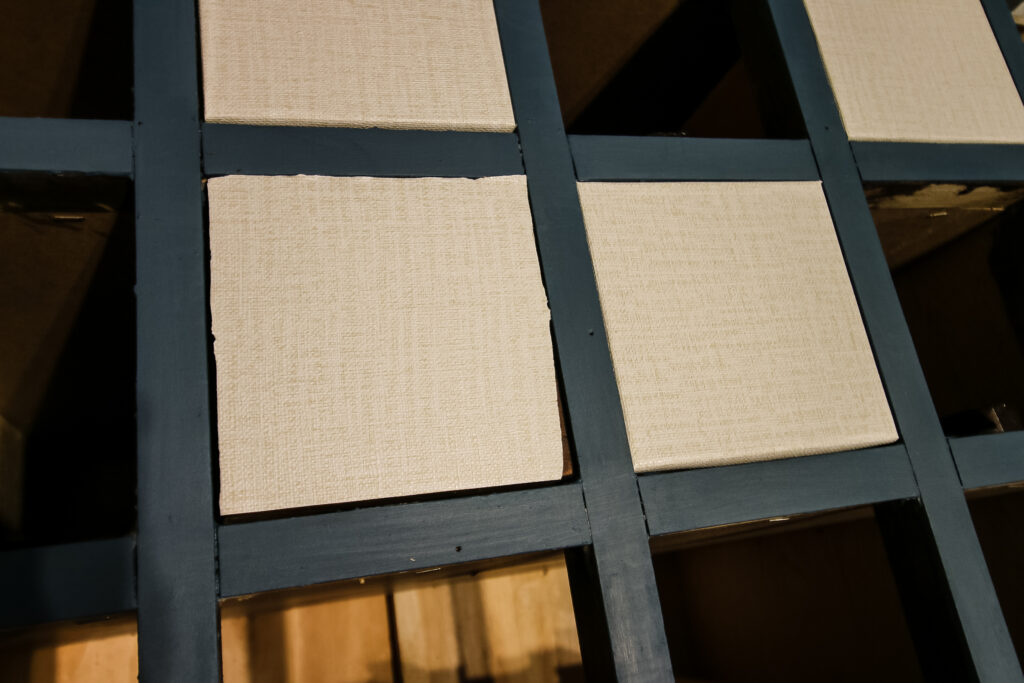
I love the blue but wanted to lighten the piece up, so I decided not to paint the drawer fronts. Instead, I wanted them to look like linen.
I got this linen contact paper and applied it to each drawer front.
Tip: Don't cut a square to cover the front. Cut excess and wrap around the sides of each drawer front for a more perfect finish.
Then, I stuck the hardware back through the contact paper (it was easy to pop a hole in it with the screw end.) The hardware was actually 2 pieces and I didn't reuse the back plates, just the loops.
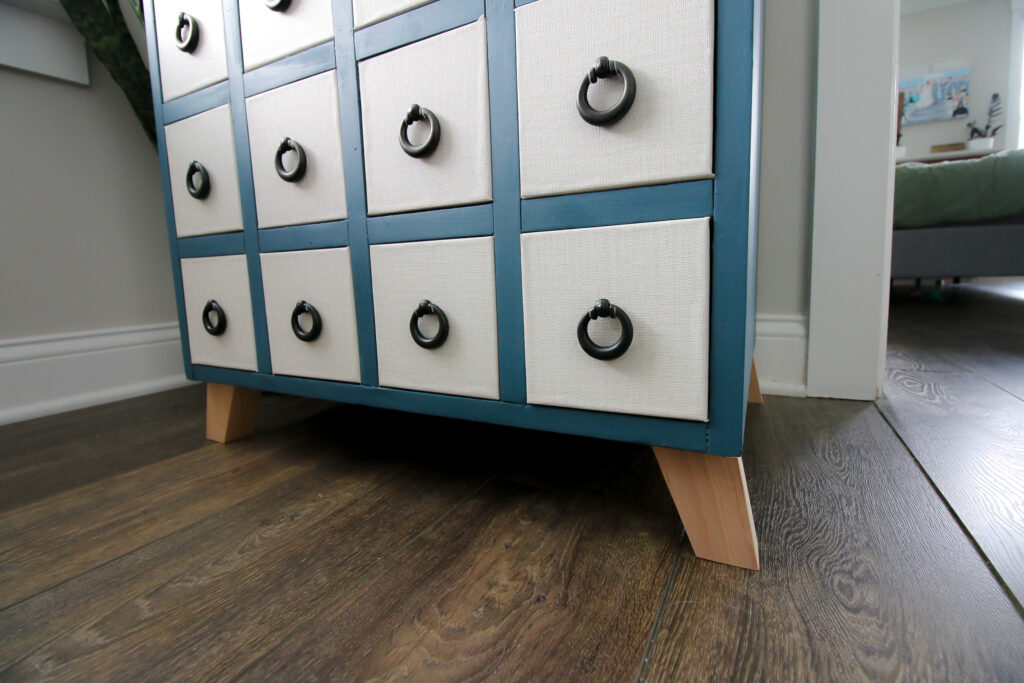
Finally, we added new feet. I ordered these tapered wooden feet. They felt a little too long so we chopped about ½ of the length off with the miter saw before screwing them into place.
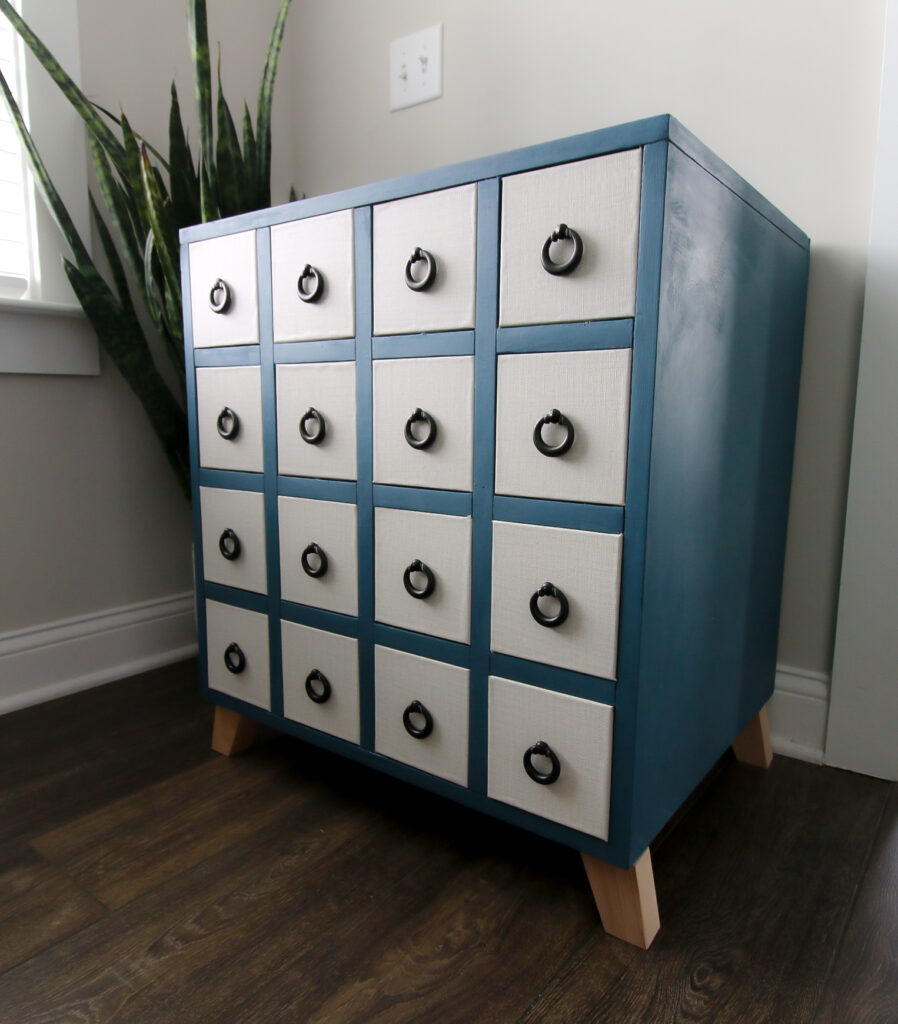
I decided to leave the legs raw wood since it contrasted nicely and also helped to lighten up the piece.
I absolutely love how this makeover turned out! We ended up painting and hanging new art and a hanging plant here, too. This little landing is so happy now!
Video demonstration
Check out this whole makeover process in a video!

Looking for something?
We've been doing this since 2012 so we have a LOT of blog posts!
Search stuff like: Ceiling Projects | DIY Plant Stands | Thrift Flips

Hello, I'm Morgan, half of the creative force behind CharlestonCrafted.com! With a passion for DIY that dates back to 2012, I've transformed three homes and now I'm dedicated to helping others craft their dream spaces. Let's turn your house into a home together!


