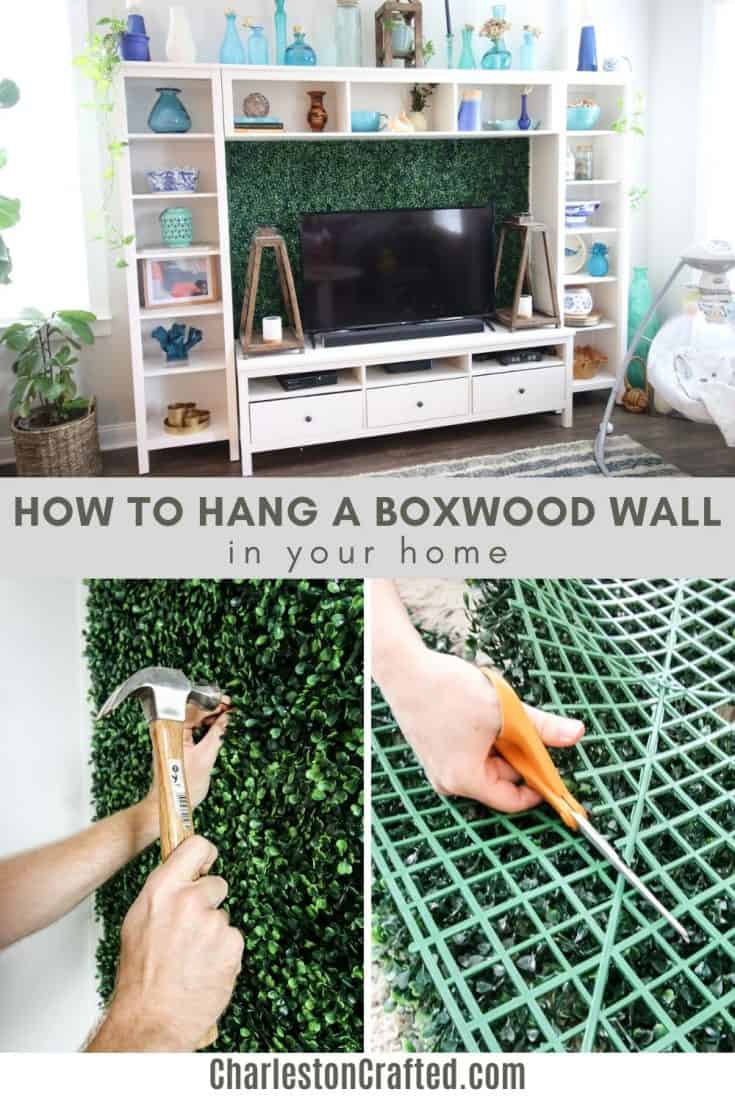
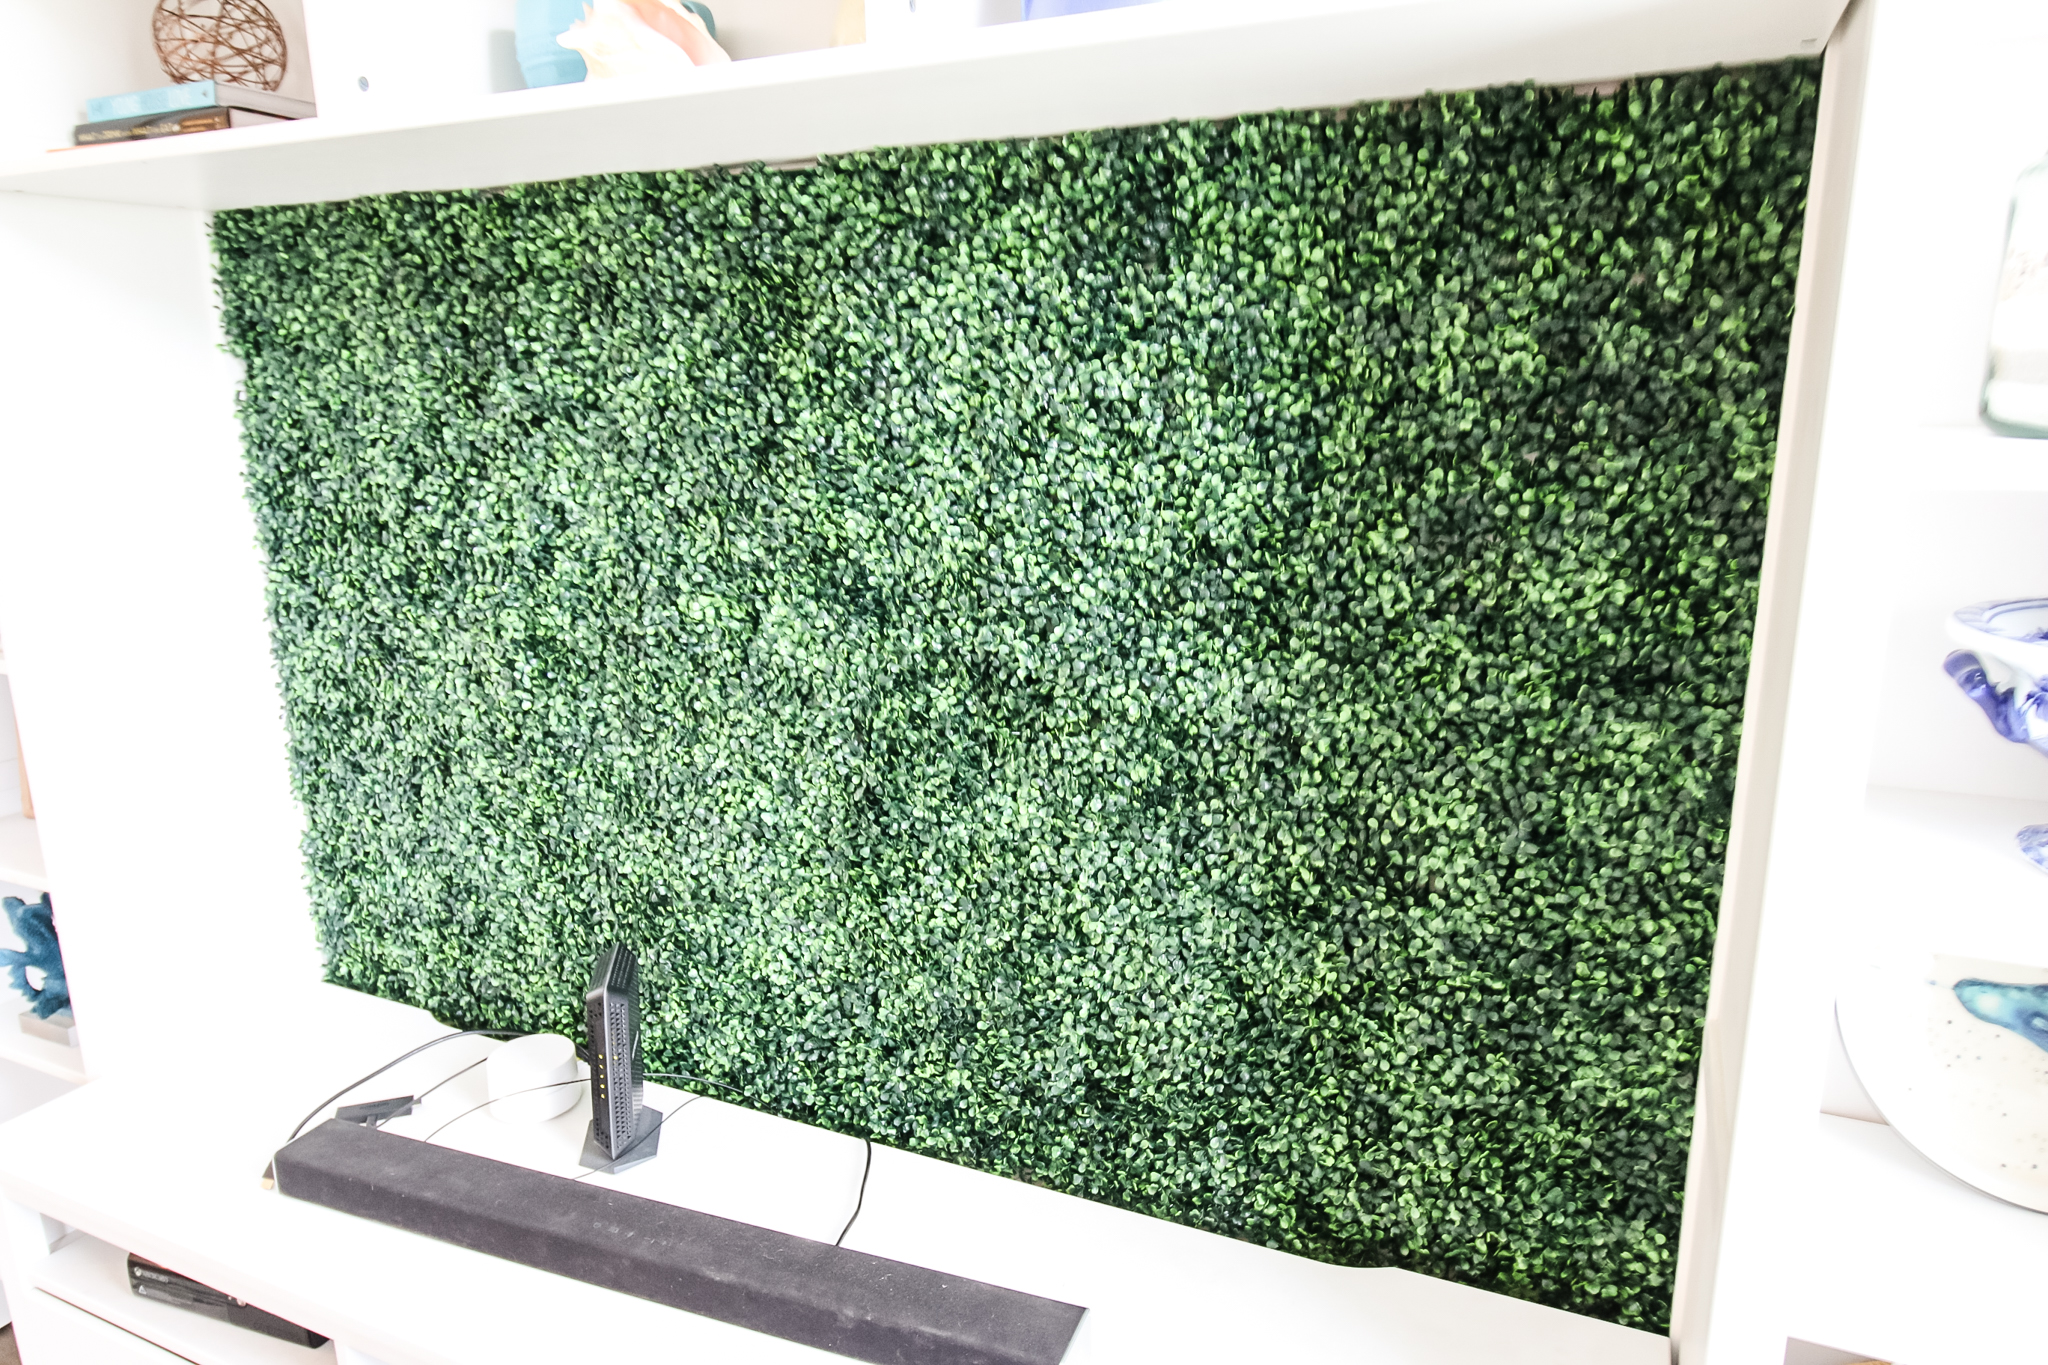
Boxwood walls make a great backdrop for photos, photobooths, weddings, and even inside your home! We used a wall of faux boxwood to cover an unsightly wall behind our TV. Here's a step by step tutorial and video on the DIY process!
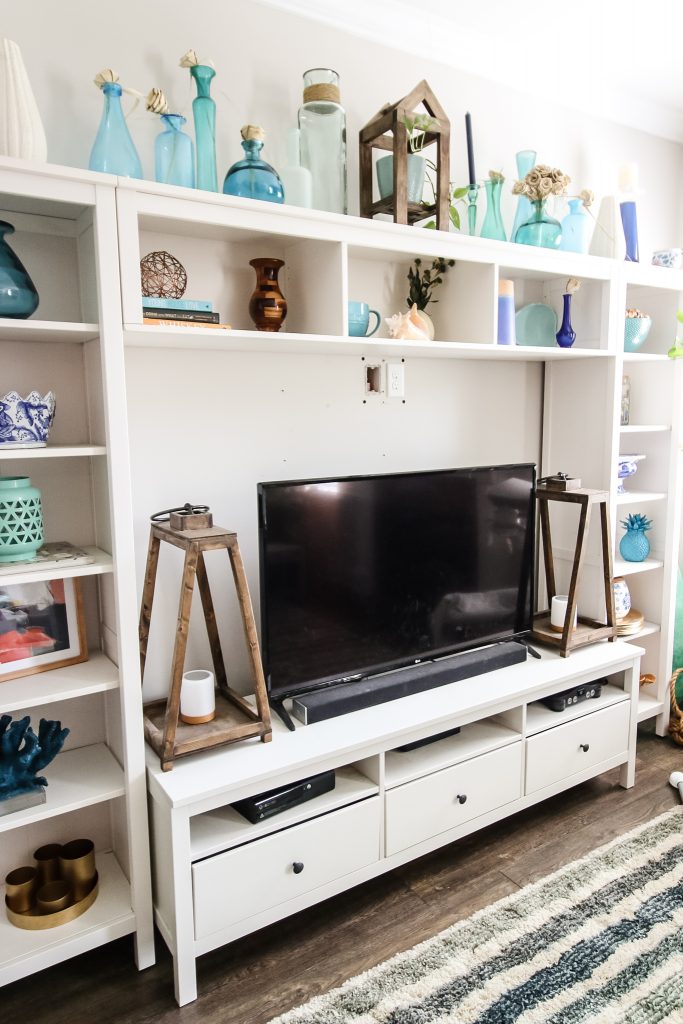
One thing that I was so excited for about our new living room was that it was big enough to bring back our entertainment center.
This entertainment center is the Ikea Hemnes and we had it in our condo from 2012-2016.
However, when we moved to our last house, the living room wall was not wide enough for the entertainment center to fit. Sad!
We split it up and used the base to hold the TV, the side pieces as a part of a china cabinet, and the top as a window seat! Talk about resourcefulness.
Now, in our new space, we have enough room to put it back together again!
However, we quickly realized that the entertainment center was like a giant bullseye pointing at these holes in the wall.
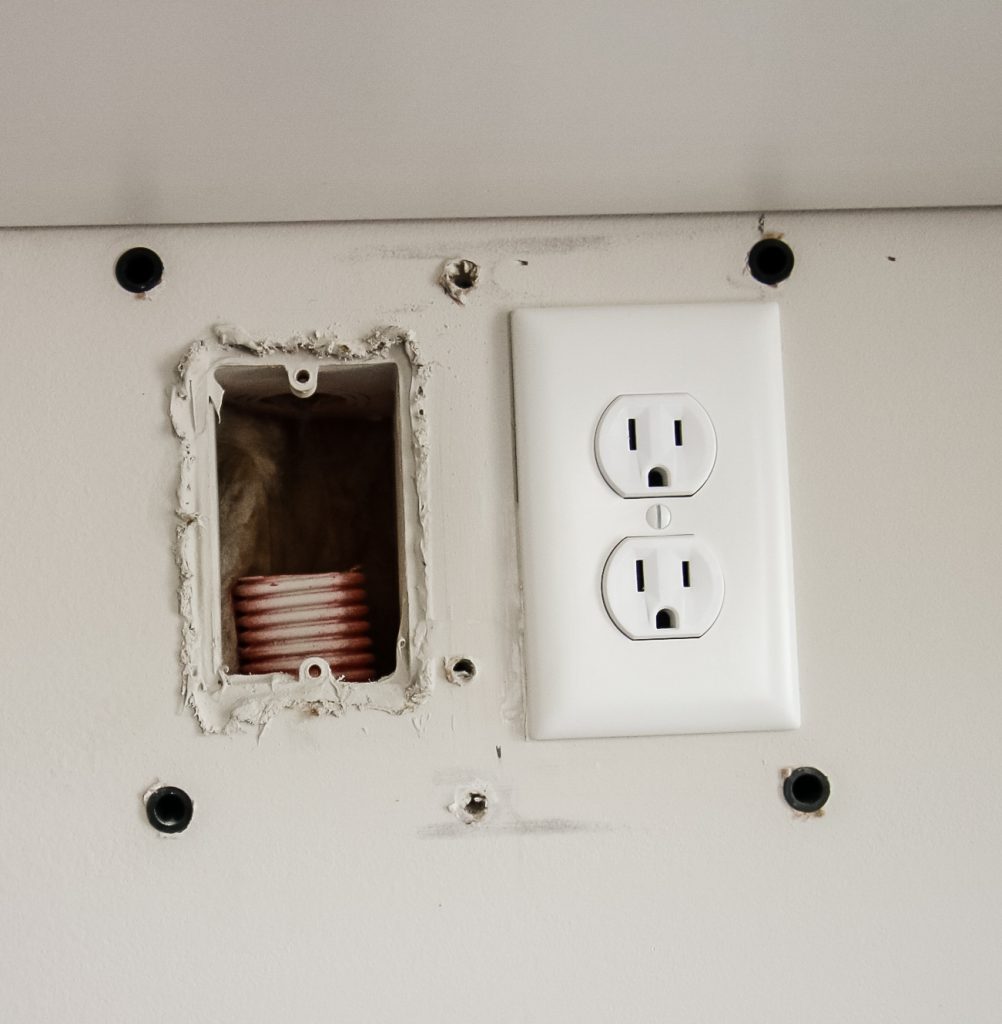
So ugly, right? The previous owner had mounted their TV, and they also these holes installed so they could tube their wires through the wall down to the outlet.
Totally cool if you want to mount your TV, but I did not, and these holes are oddly high on the wall. I really hated the way that they looked!
We talked about patching the holes, but since it was an outlet (I'm not going to mess with patching over an outlet!) and something that we very well may want to use in the future if we decide to mount a TV, we decided to cover it instead.
We thought about cutting and painting plywood, hanging fabric or a tapestry, or even peel-and-stick wallpapering over it.
But then I remembered a boxwood wall that I saw at a shop downtown once. Since we are going for a light, bright & plant filled vibe in this space, a faux-plant wall would be the perfect touch.
Here is how we did it!
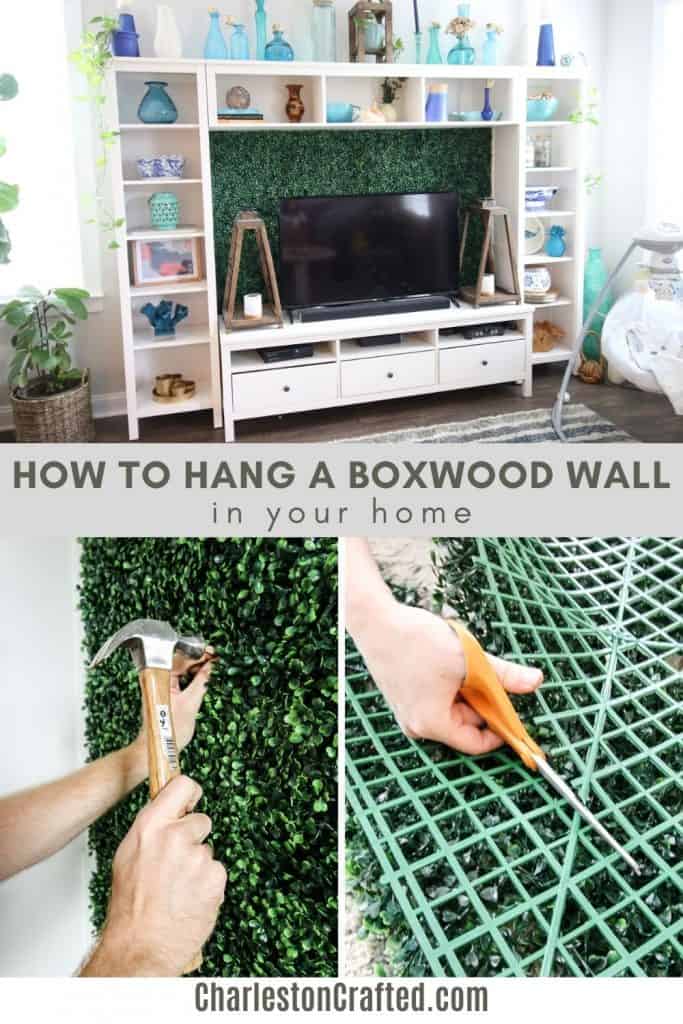
How to make a boxwood wall
What you'll need:
- Artificial Boxwood panels to cover your wall. See my notes below on measuring!
- Hammer
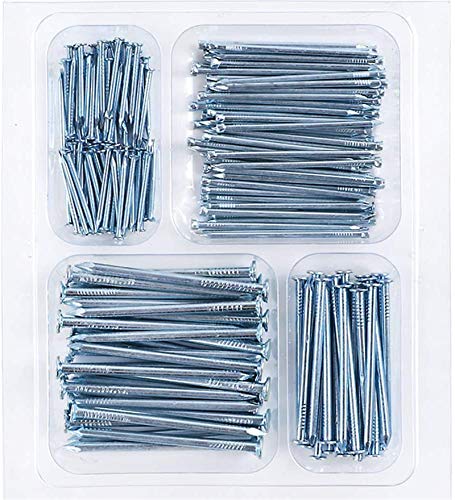
- Picture hanging nails
- Scissors
SHOP BOXWOOD HEDGE PANELS ON AMAZON:
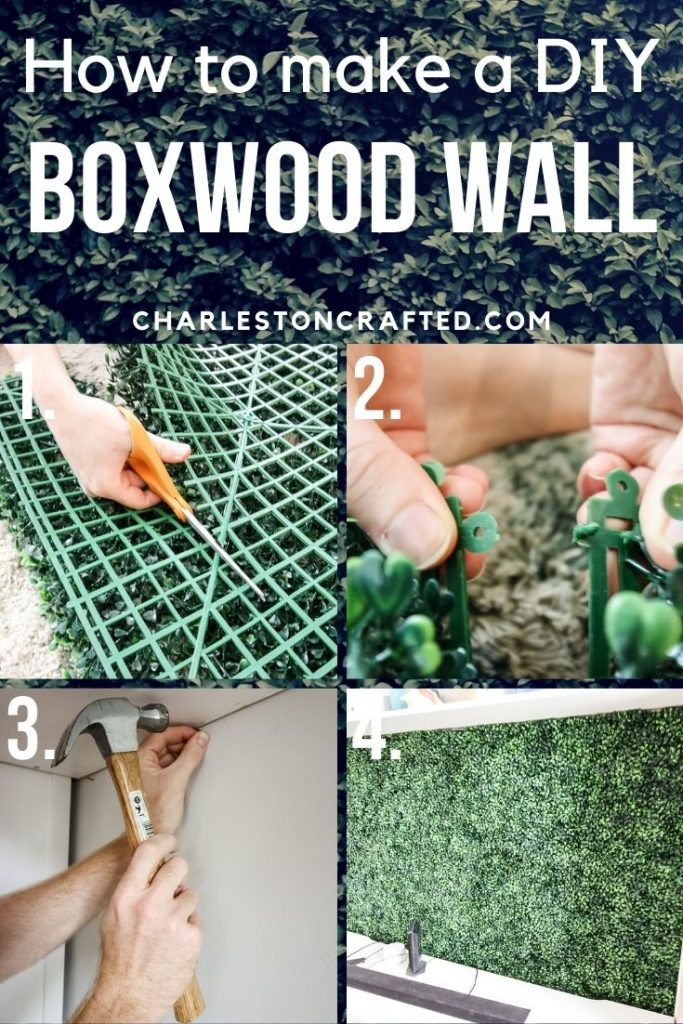
How to hang a boxwood wall:
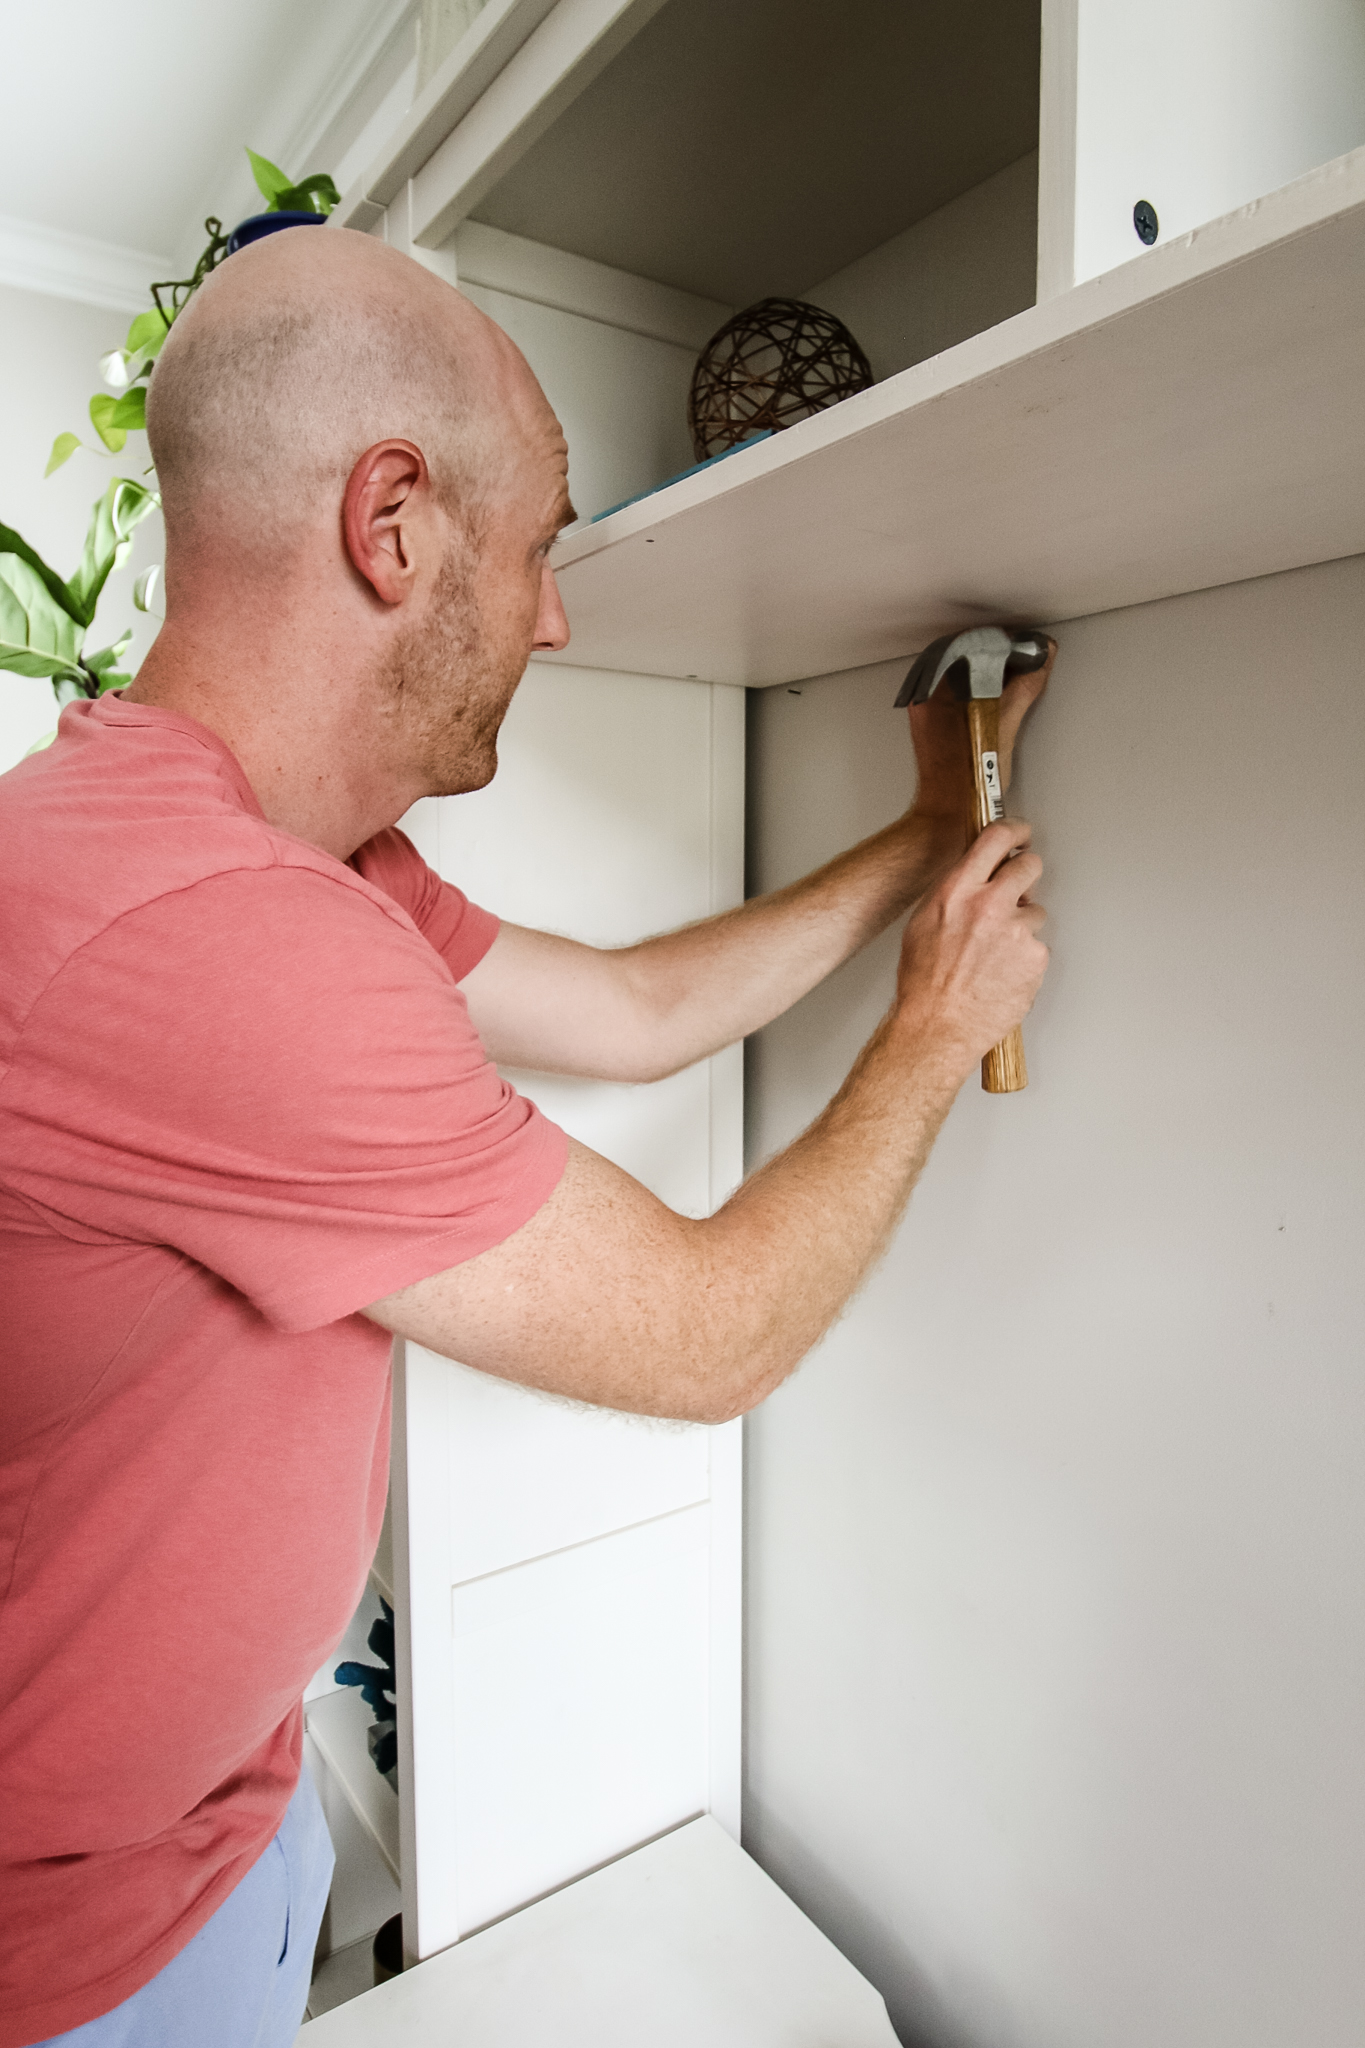
- Add several nails along the top of your wall - 2 per panel. I spaced the nails 18" apart for my 20" panels.
I suggest starting in an upper corner with a full piece and working your way horizontally and then adding rows one by one beneath them. - Hang the panel by the top loops onto the nails.
- Move horizontally, add 2 more nails and hang the next panel on those nails.
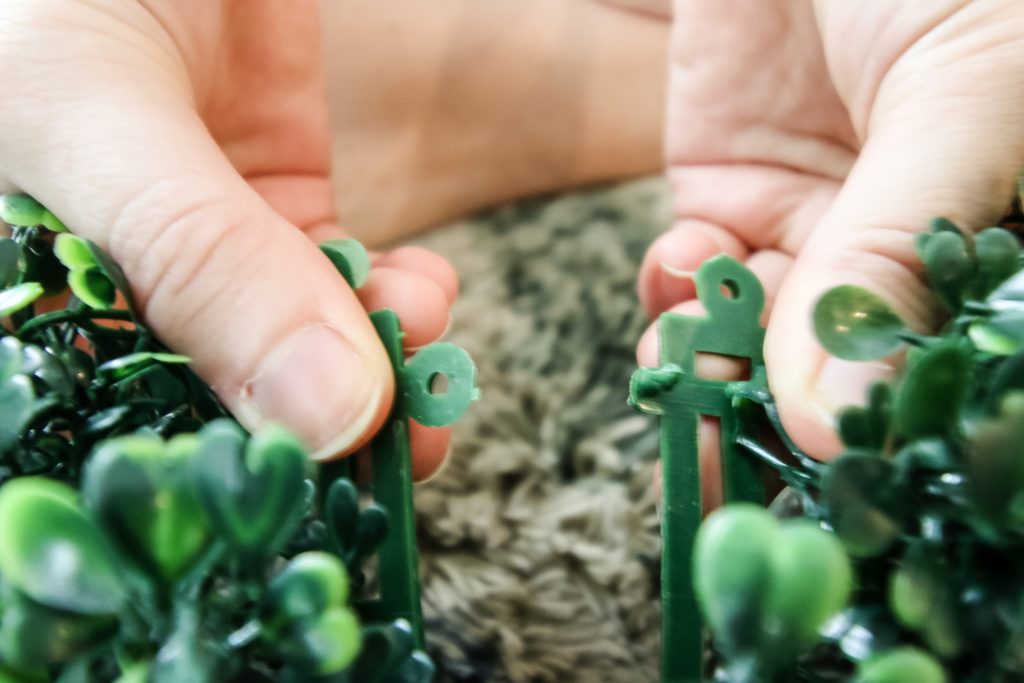
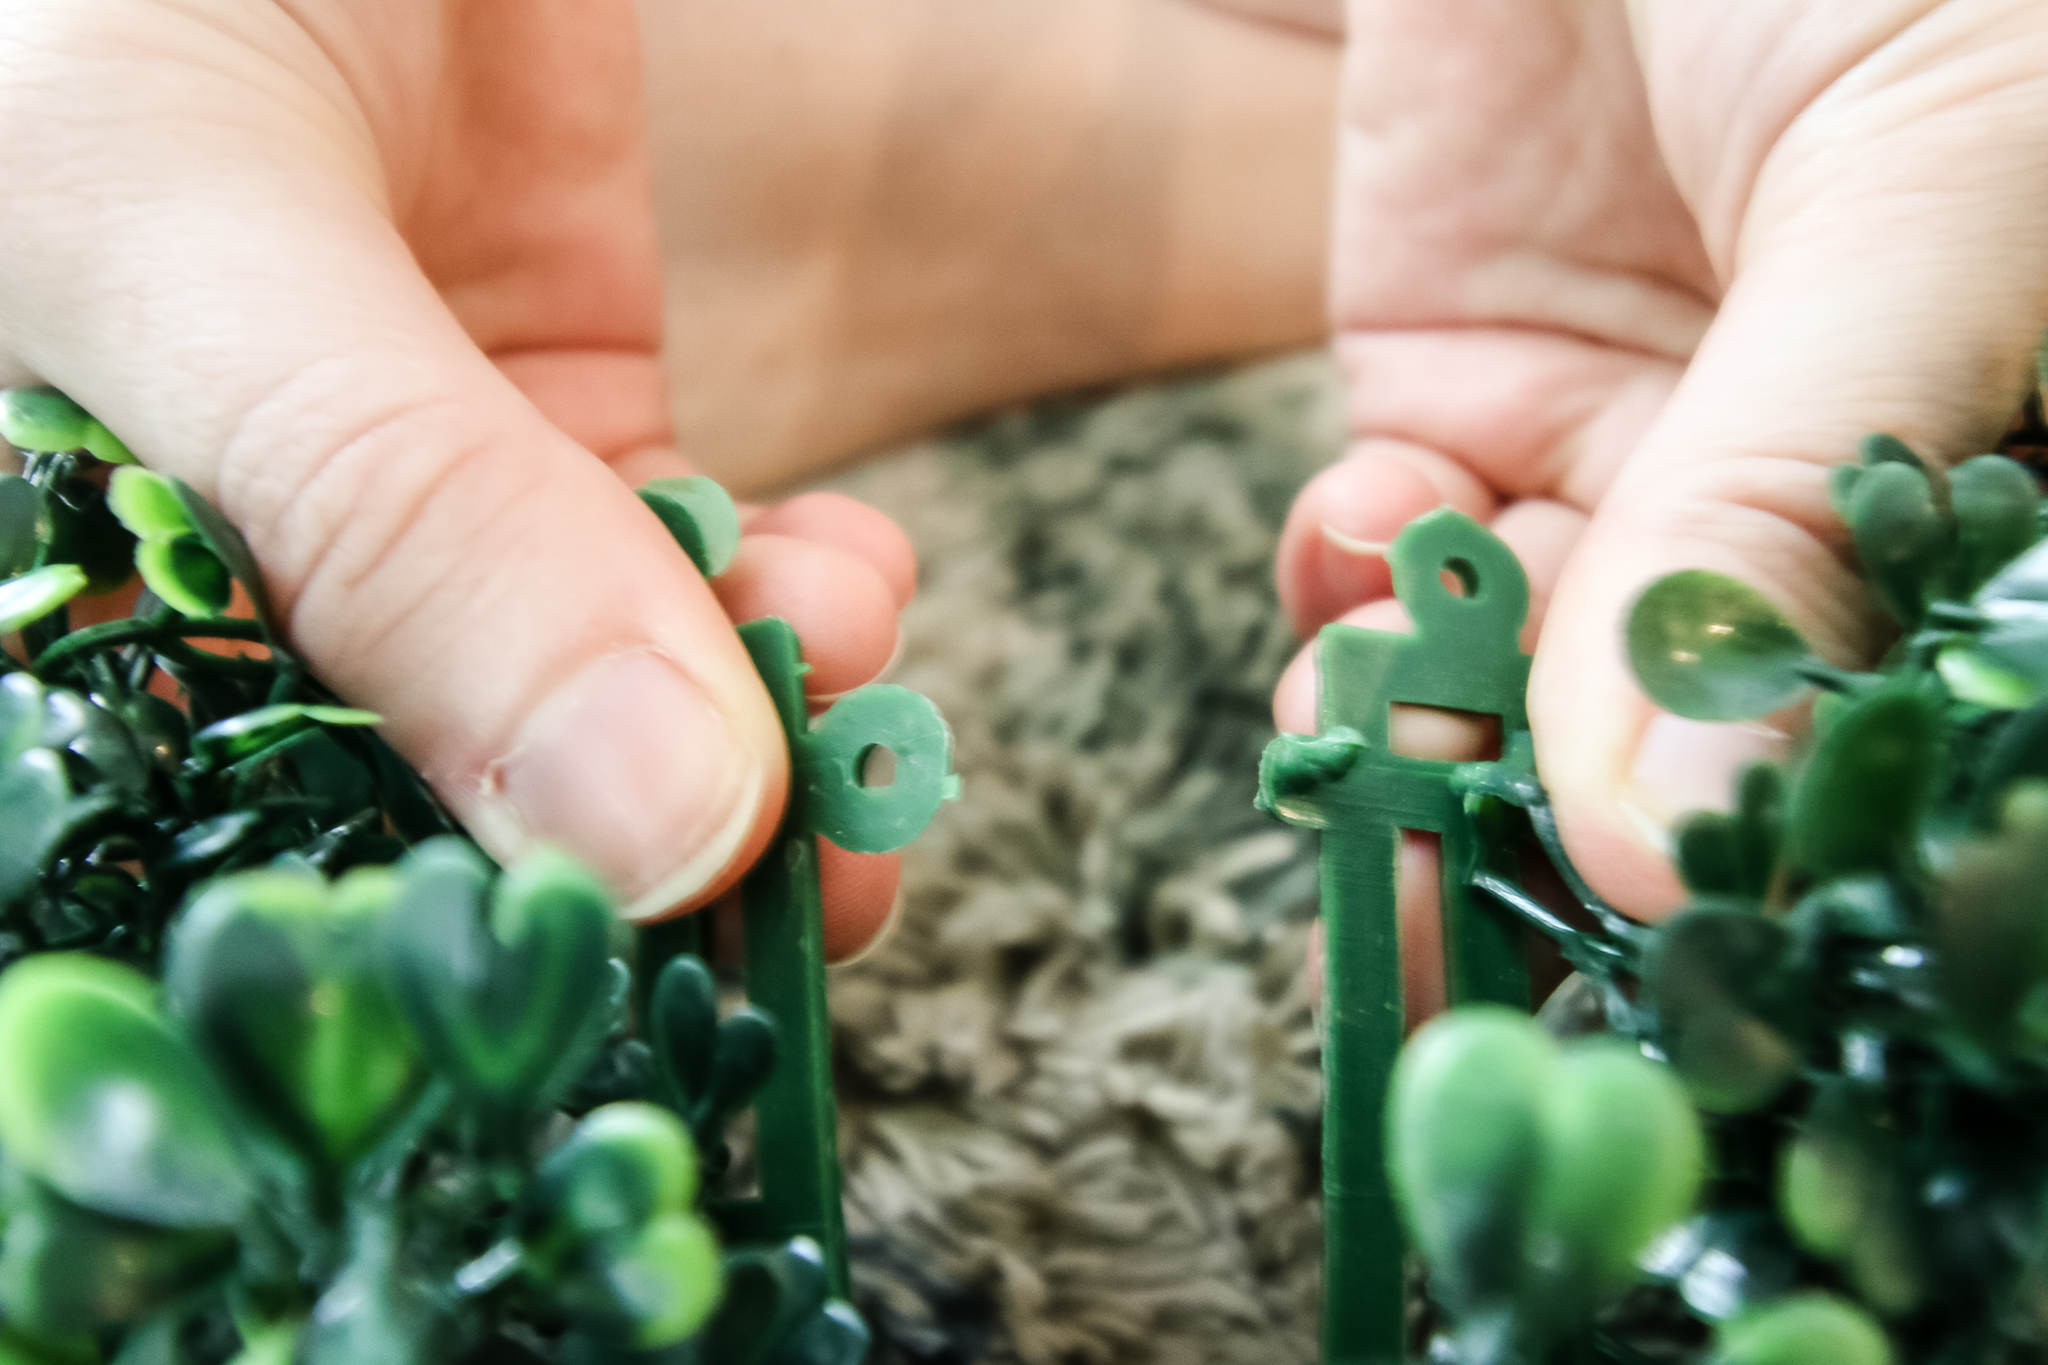
- Find the edge between the two panels and join them. You will need to be sure they are rotated so that one side has the loops and one has the hooks, so they can easily connect.
- Repeat this to complete your horizontal row.
- Start your second row. Add nails to the wall, hang the panel on them, and hook the panel to the panel above and beside it. It can help to have a second set of hands to do this.
- Repeat with all full panels.
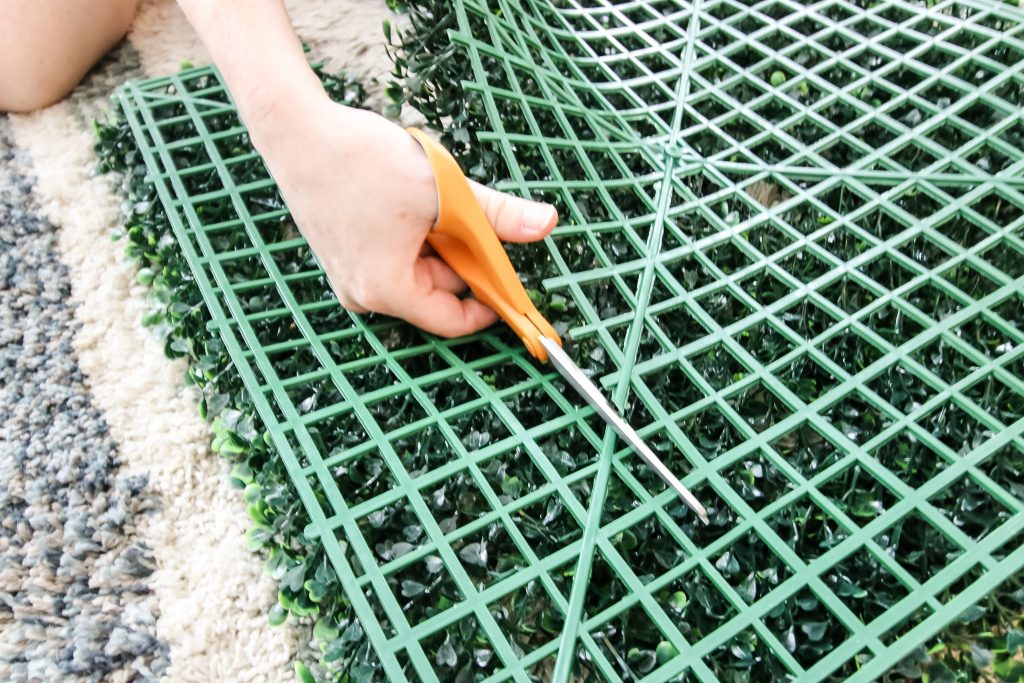
- The last row and column may need to be trimmed. It is easy to cut the panels by turning them upside down and snipping the plastic with scissors. BE VERY CAREFUL when doing this. Triple check that the piece you are cutting off has the correct connectors - loops or hooks - on the right sides so it fits in the puzzle correctly.
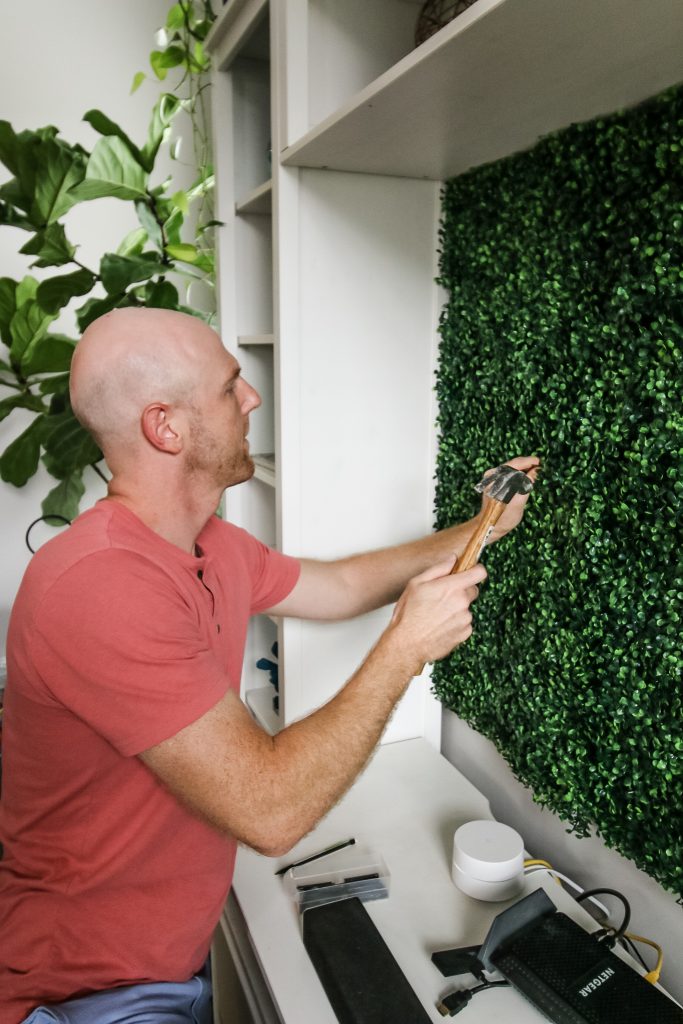
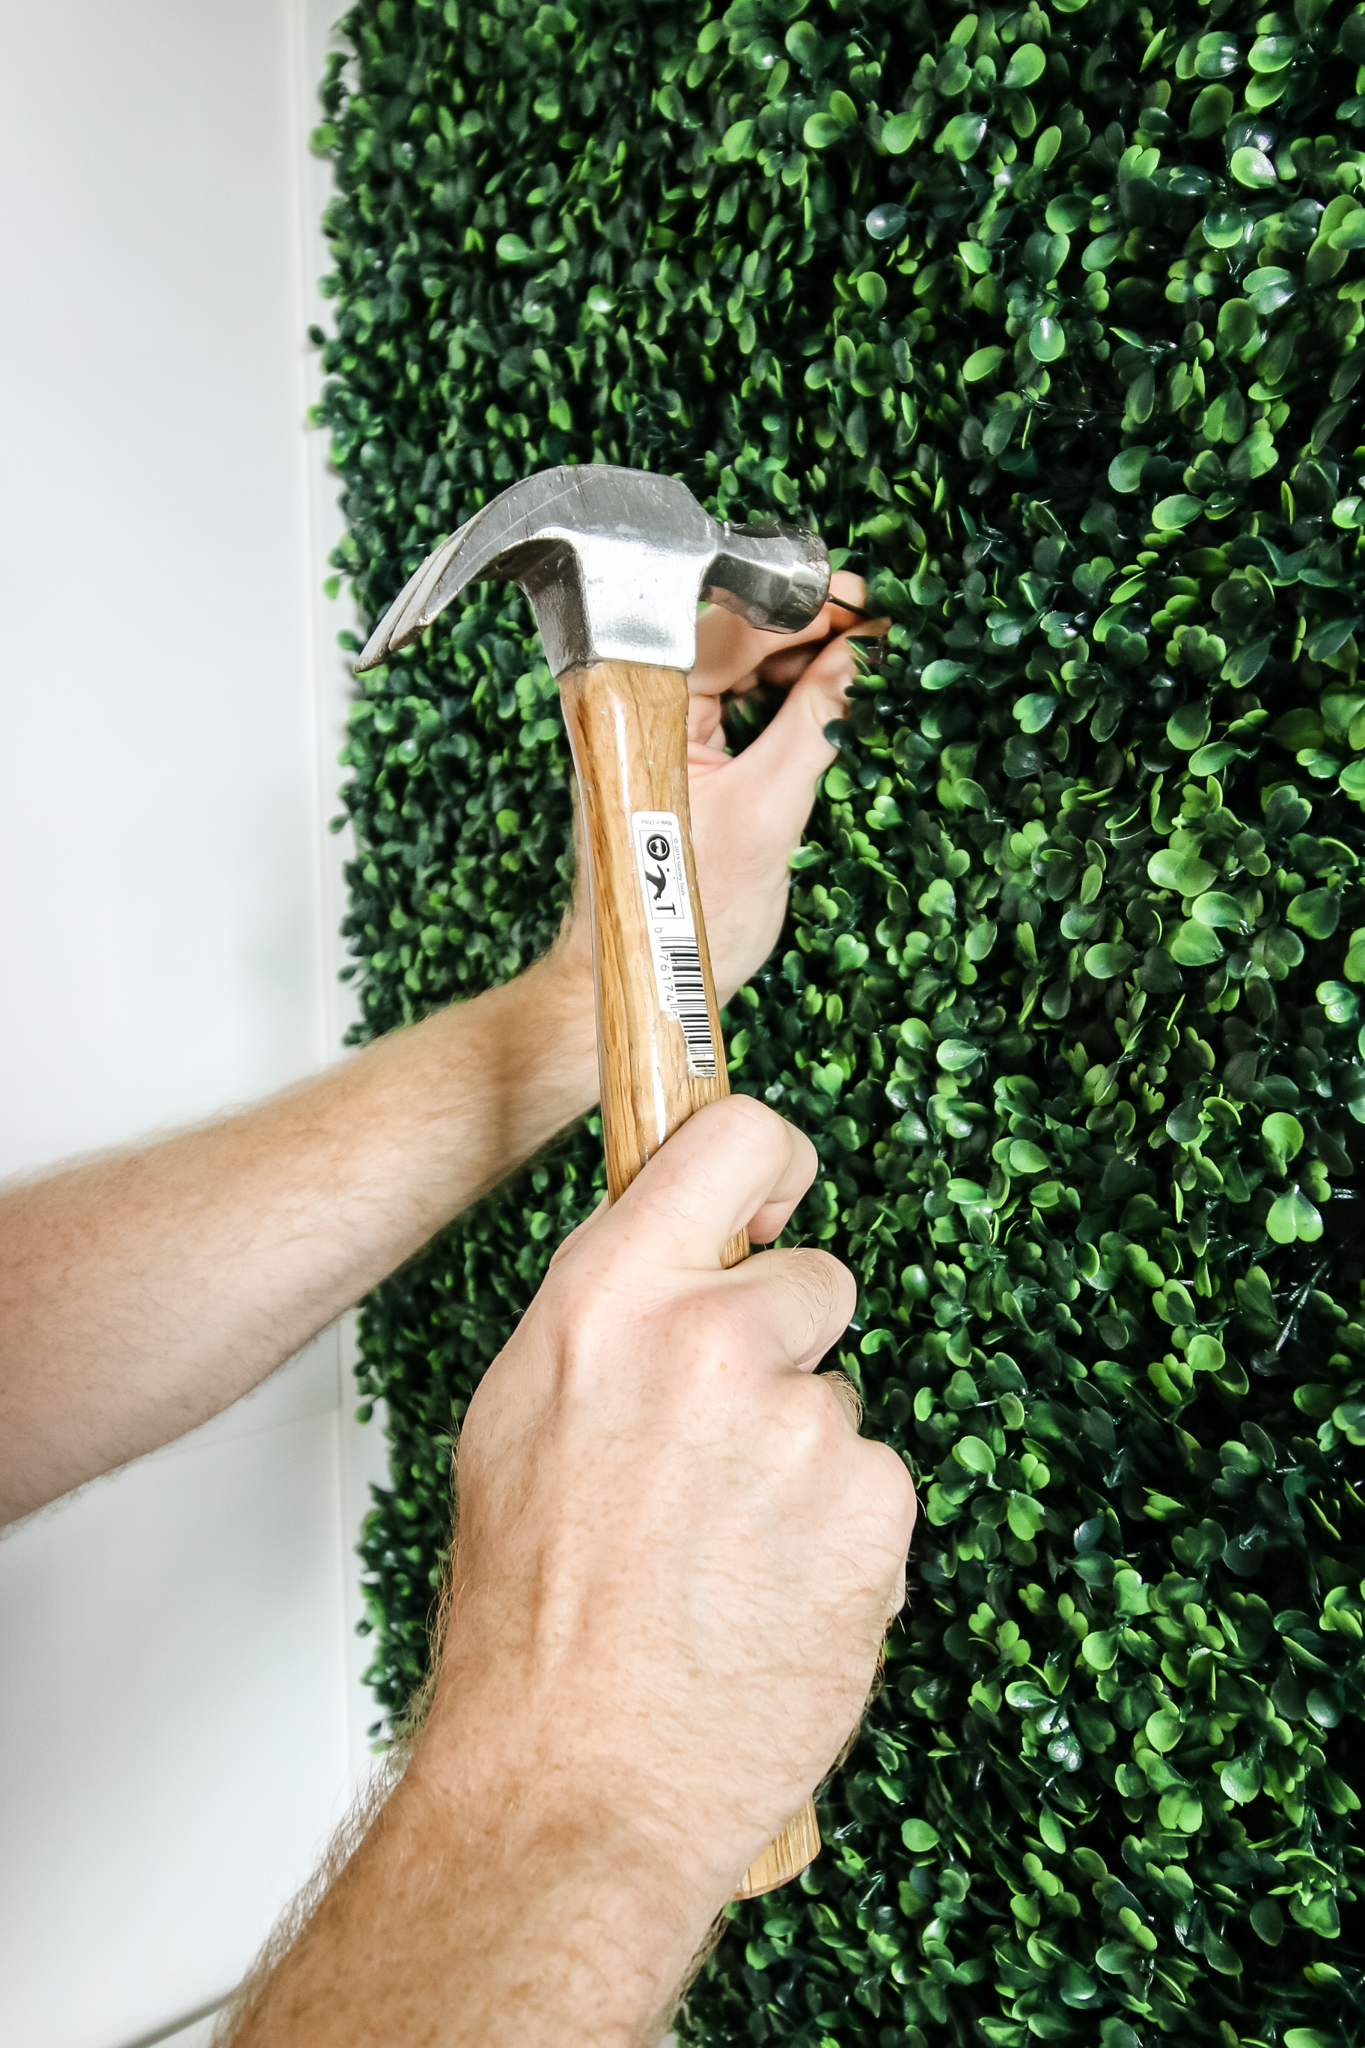
- Once all of your pieces are hung, we added additional nails. We actually nailed these THROUGH the plastic to help hold it to the wall in places where it was bowing out a bit.
Note: our boxwood came with zip ties to connect them to each other. We did NOT use these and do not find them necessary.
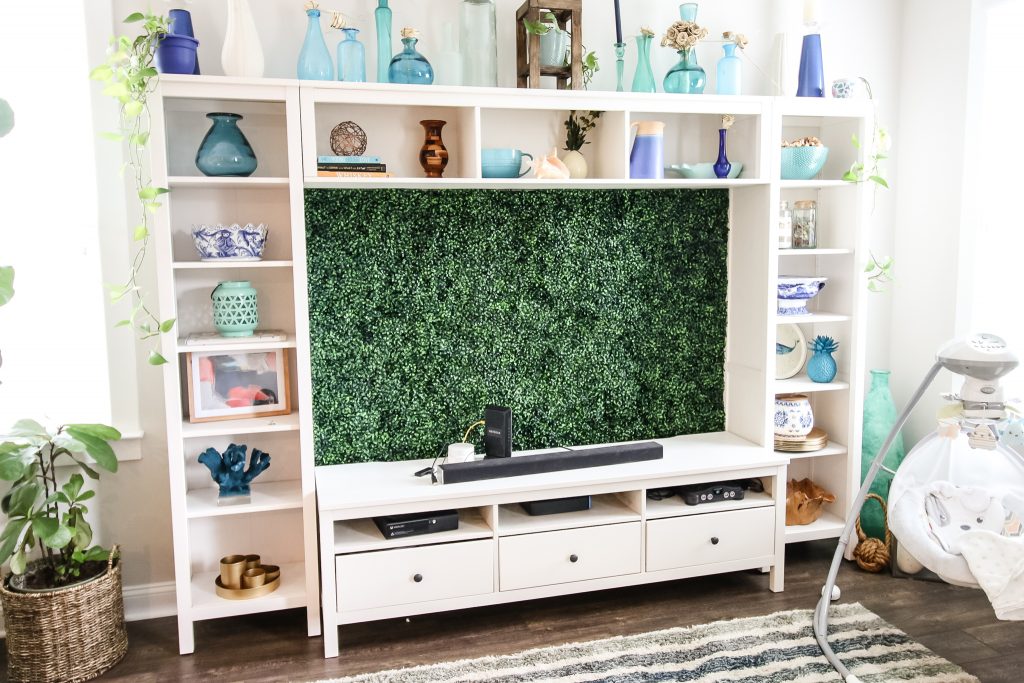
I am obsessed with how this wall turned out. It has texture, color, and, most importantly, covers that ugly hole in the wall. Plus, if we ever want to take it down, it will be super easy to do so!
We also hope to add faux flowers, florals, and holiday decor to this space seasonally. Check back in to see how that turns out!
How to measure your wall for boxwood panels:
First, determine the size of your boxwood panels. Mine were sold as 20"x20" but in reality, they were 19"x19" (plus some overhang of the greenery, but the plastic backer was 19" square.)
This kit will do a wall up to 80 inches by 80 inches.
Measure your wall in length and width and divide each side by the size of your panel, rounding up.
Our space was 72" wide and 45" tall. So, we needed 4 pieces wide and 3 pieces tall. 12 pieces total.
If you need half sheets, it makes sense to cut from the same sheet but you have to be careful. Because the sides have hook and loop joints, you have to be sure to cut from the correct side of the panel to get either hooks or loops.
For this reason, I had to cut bits off of several panels instead of taking multiple cuts off of one panel!
Do I need to mount the boxwood panels on plywood?
One popular way to make a DIY boxwood backdrop is by stapling the panels to plywood pieces and screwing the plywood into your wall or display.
I really didn't want to do that.
Plywood isn't cheap, plus it is heavy and would need to be screwed in on anchors or into the studs.
I was trying to make this a semi-permanent solution, knowing that we will paint this room in the next year and have to take this all down for that.
You can definitely mount it to plywood if you want to - but it's not necessary.
How much does it cost to make a boxwood wall?
It was about $120 for 12 20"x20" boxwood pieces. I had the nails and tools on hand already so the boxwood was my only expense.
Check out this video to see us putting up the boxwood wall:
How to hang a boxwood wall backdrop
Want to create a boxwood wall for a backdrop or for a fun accent wall in your home? Here is how!
Materials
- Boxwood panels
- Nails
Tools
- Hammer
- Scissors
Instructions
- Starting in the top corner, hang nails along the top of your wall. Space them out 2" smaller than the width of your panel. Hang your first panel on those nails.

- Move horizontally, hanging nails, hanging the panel on the nails, and then connecting the two panels using hook and loop system.

- Once the row is done with complete sheets, move down and start the second row.
- Once complete, cut sheets to fit smaller gaps, being sure that the hooks and loops are facing the correct direction.
- Attach to wall using same system.
- Add additional nails through the plastic grid to help secure to the wall where it is gapping.


Recommended Products
As an Amazon Associate and member of other affiliate programs, I earn from qualifying purchases.


Any more questions about making a DIY boxwood backdrop?

Looking for something?
We've been doing this since 2012 so we have a LOT of blog posts!
Search stuff like: Ceiling Projects | DIY Plant Stands | Thrift Flips

Hello, I'm Morgan, half of the creative force behind CharlestonCrafted.com! With a passion for DIY that dates back to 2012, I've transformed three homes and now I'm dedicated to helping others craft their dream spaces. Let's turn your house into a home together!


