Hey guys, welcome back to our $100 half bathroom makeover. We will be sharing updates every Wednesday for the month of March and also are linking up with some other wonderful bloggers at the bottom of each post.
Last week, we shared our design plan for the half bathroom. As a reminder, this is right off the kitchen and our only downstairs bathroom.
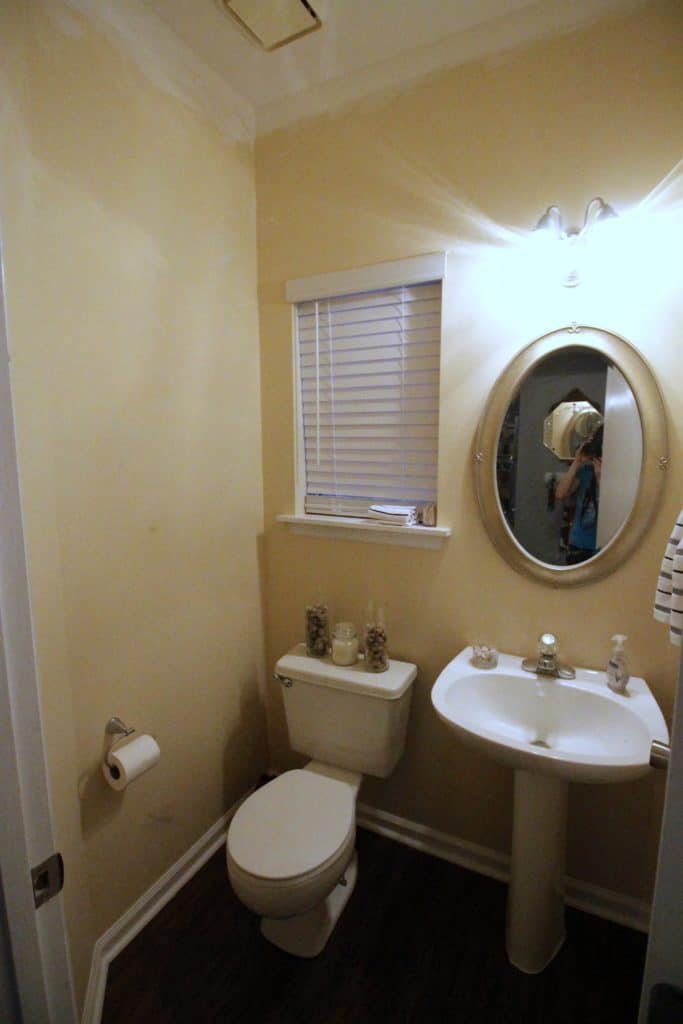
After an Instagram stories poll, I decided to paint the space Watery by Sherwin Williams in an eggshell finish! It's the same color as our front door and our kitchen island, and I love how it ties the space together. It's a bright color, but I think that it works in a space this small.
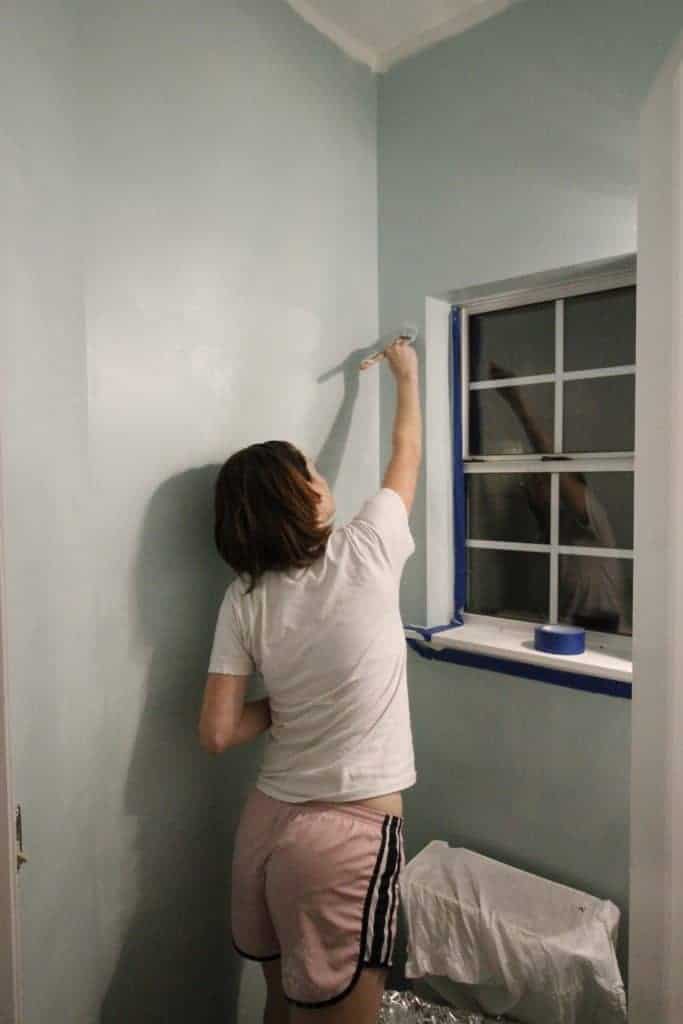
We taped off and painted the space and painted it on Thursday night. It was so small that it was an easy week night project, though we did use a FULL quart of paint. I always need more paint than I think I will. We painted up to about 2" from the ceiling since we will be running crown molding in here. We paid $$$ to have these ceilings done so I didn't want to risk getting paint on them!
In addition to painting, we also got to work replacing the fixtures with ORB ones. We decided to spray paint the existing toilet paper holder and toilet flusher to save budget (to be pictured next week as they aren't up yet). We also already have an ORB faucet so we will be installing that hopefully in the next couple of days. Here is the pineapple towel ring that I used, swiped from my Etsy inventory. I used brass screws but will touch them up with orb paint. shocker 🙂
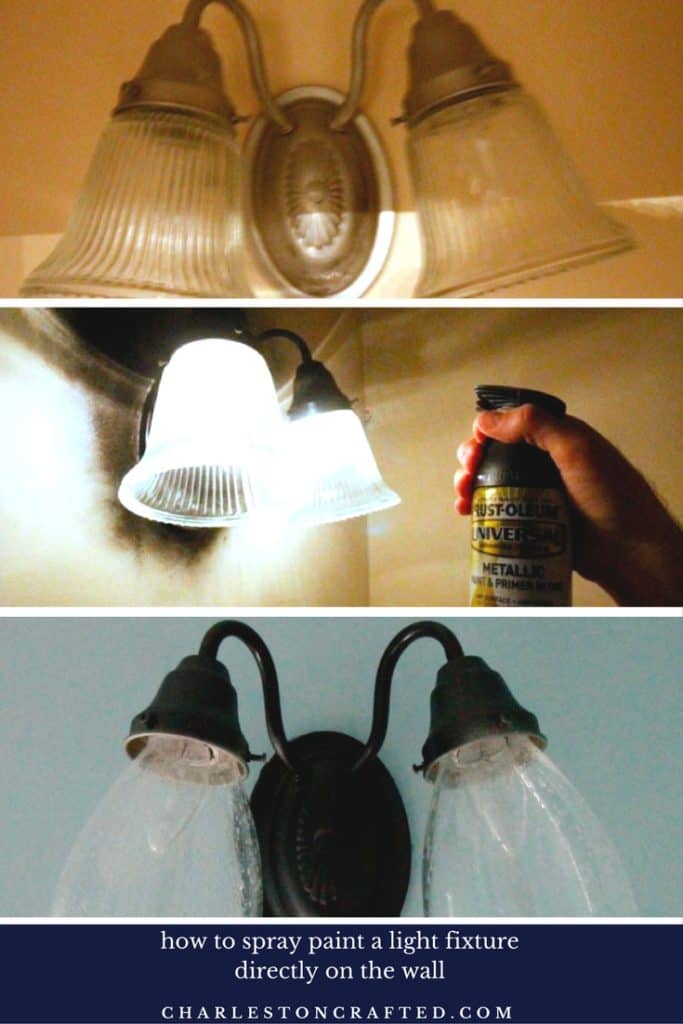
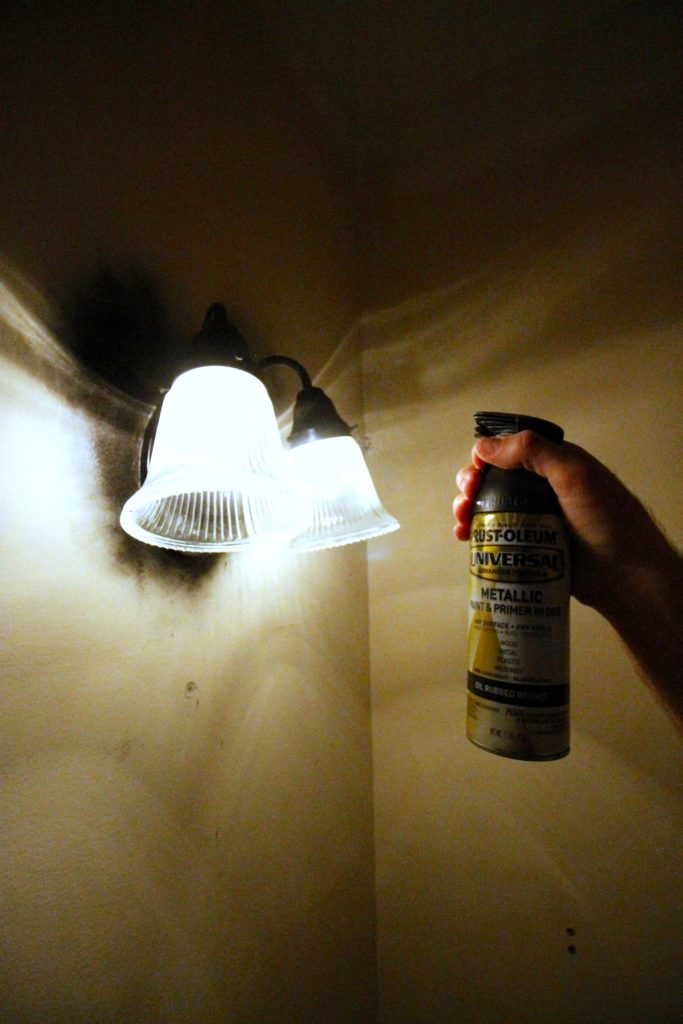
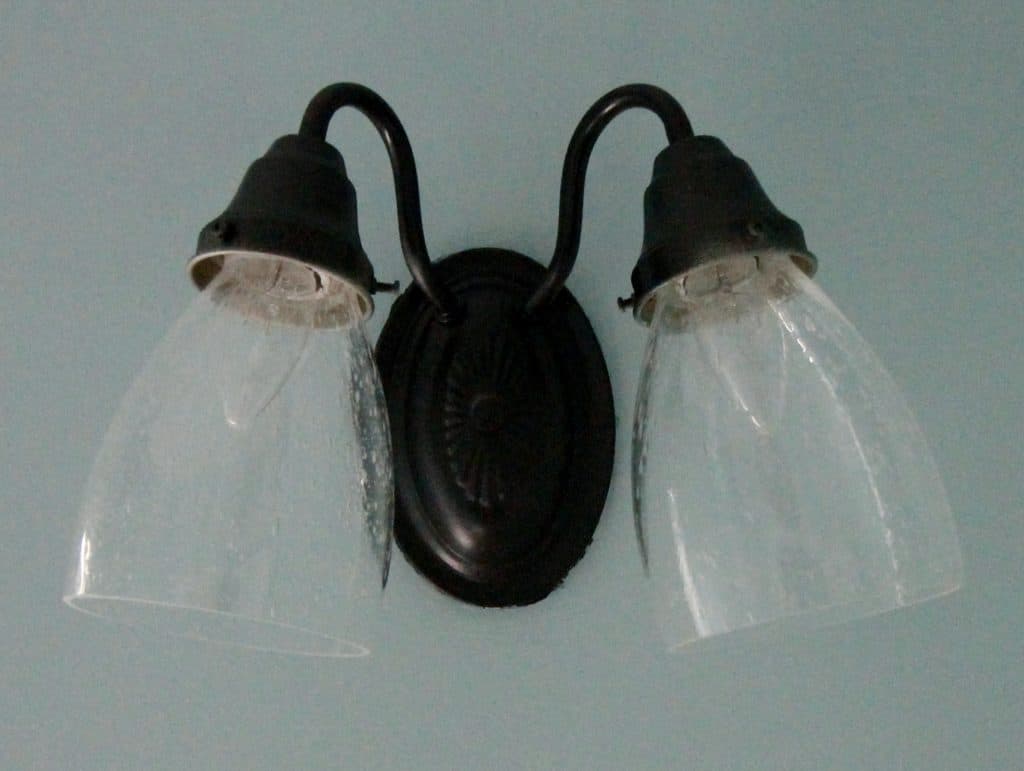
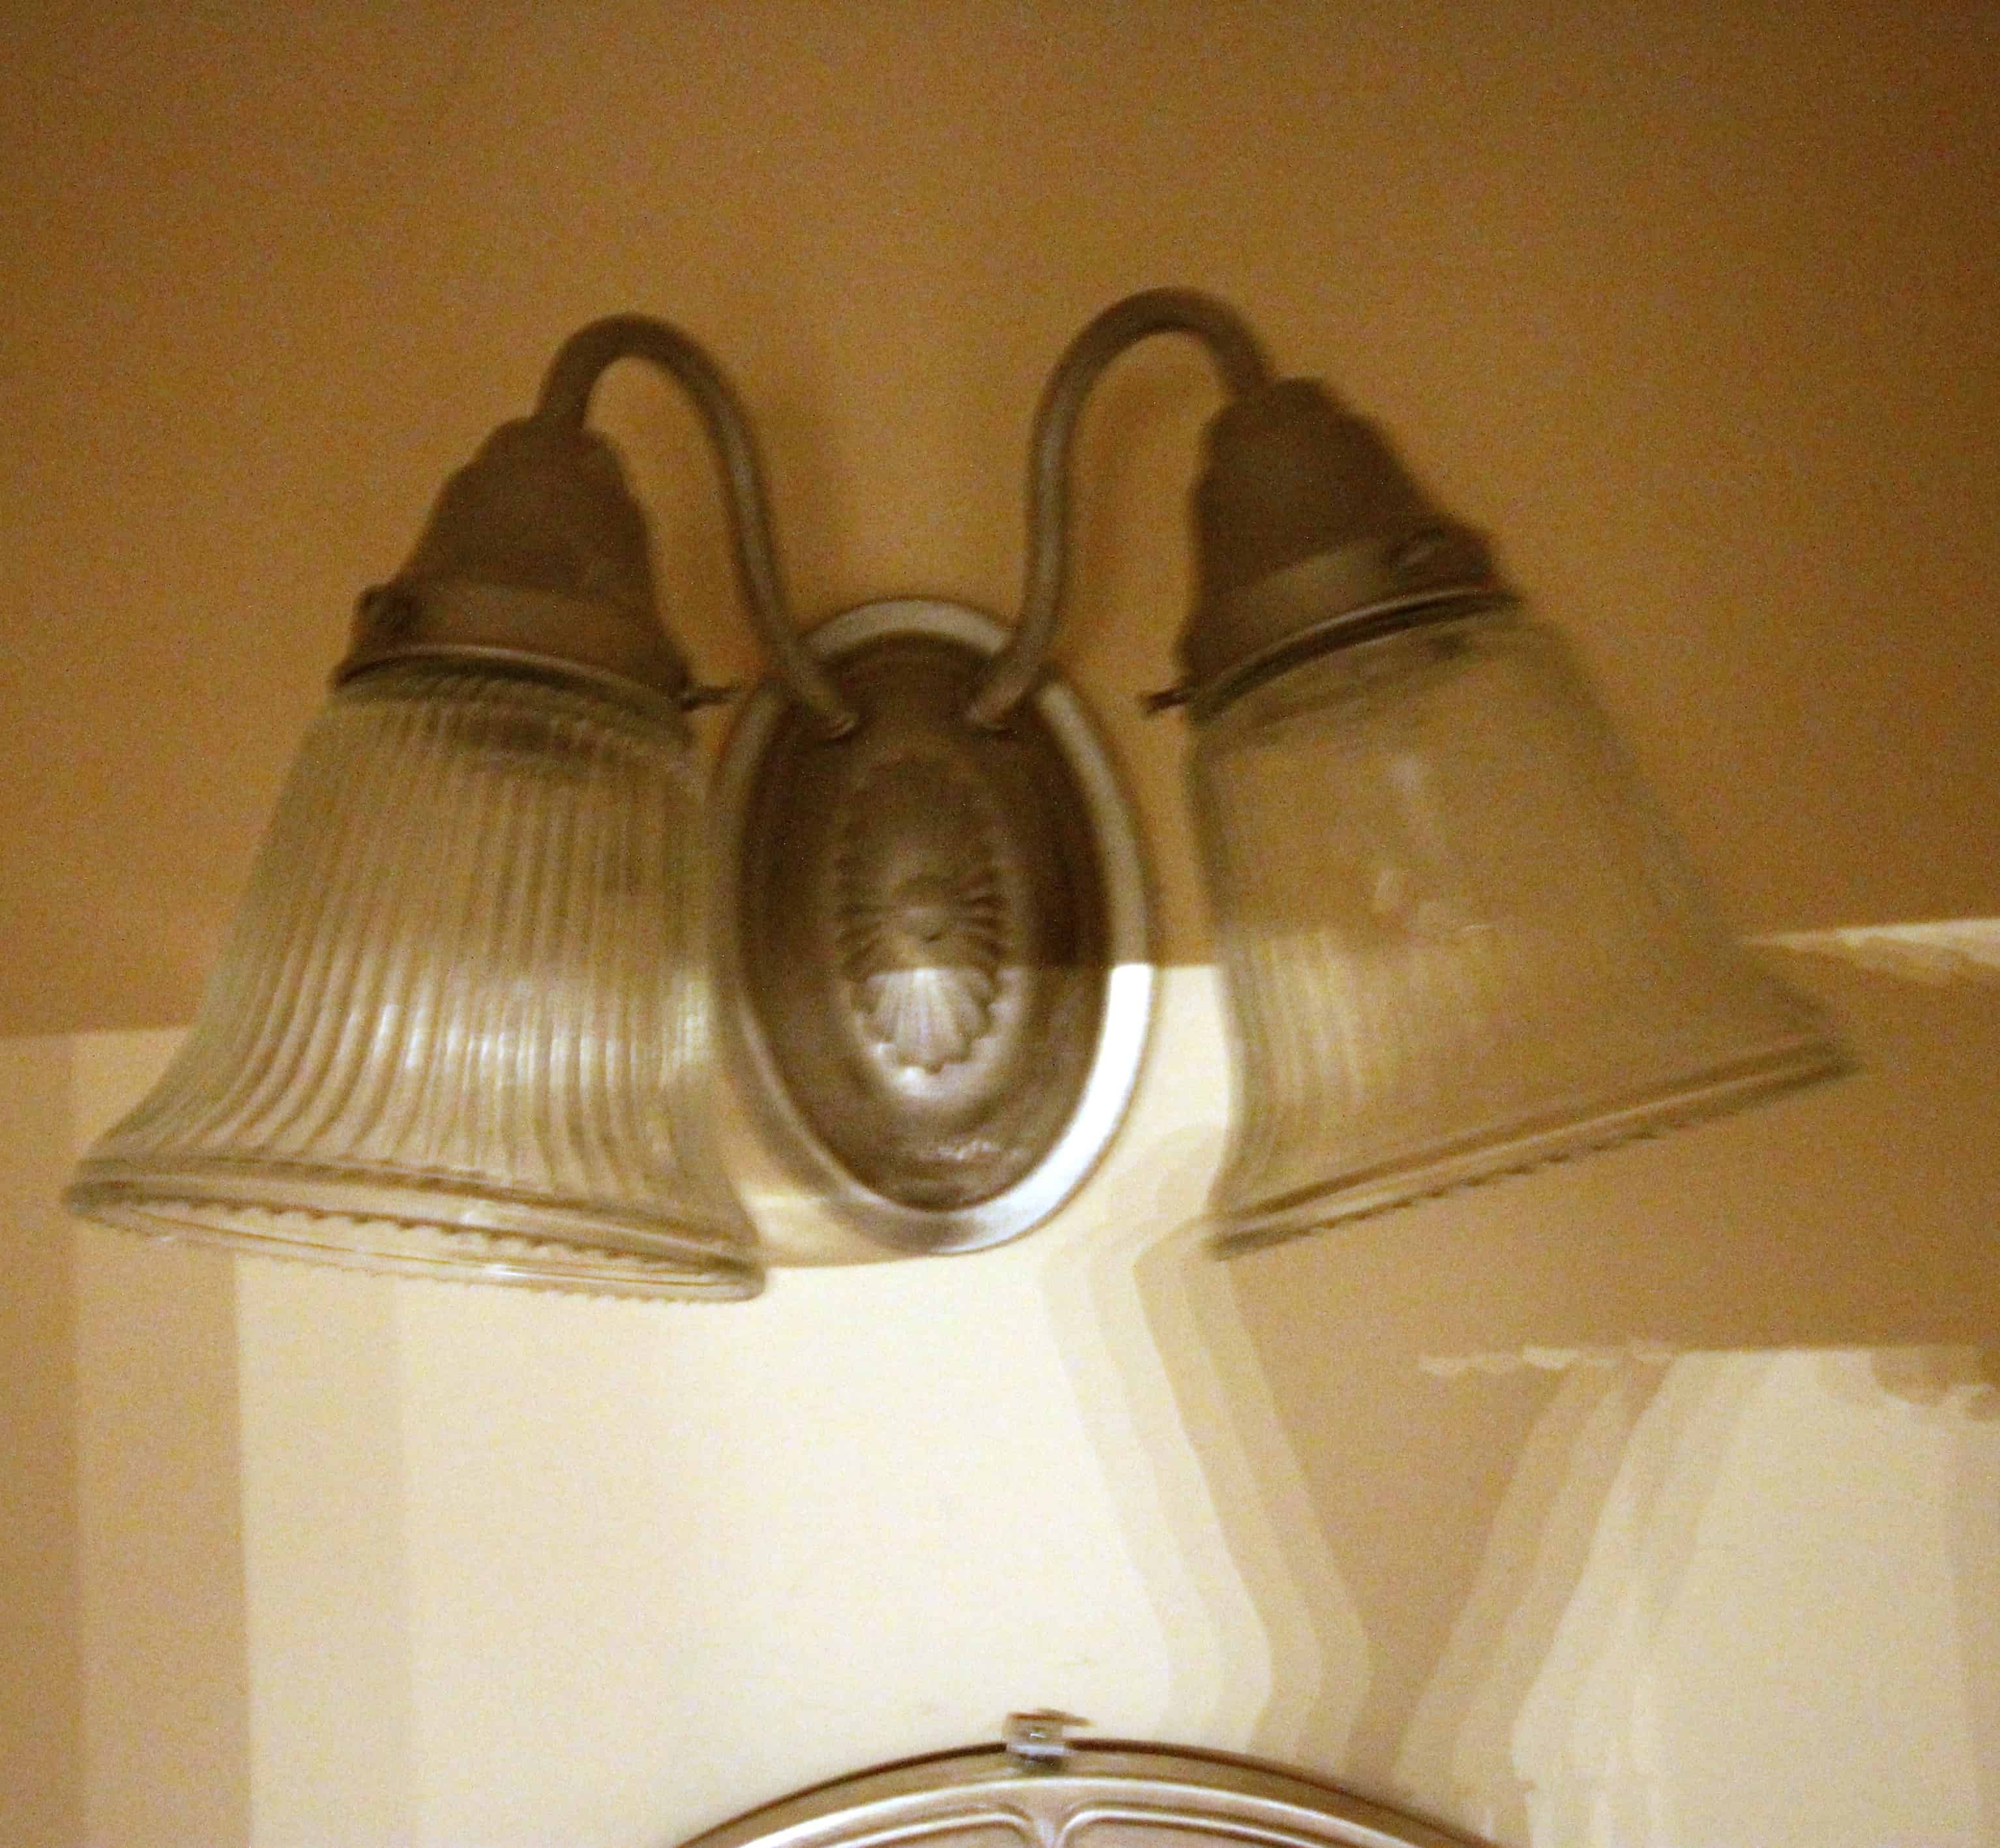
I also decided that I wanted an ORB light fixture. All of our kitchen light fixtures are already ORB so it will help tie the spaces together. However, with the $100 budget, there was no room for a new fixture. Instead, I grabbed the above mentioned can of ORB spray paint. We actually painted it directly on the wall since we were going to paint anyways. So much easier! We also swapped out the existing 90's glass shades for the seeded glass ones just like we did upstairs. A lot of our light fixtures have seeded glass so it was all about tying the spaces together. Pretty good for under $10 total!
I am in a wedding this weekend (yay!) so we will see how much work I get done on this project. My goal is to have the faucet in, the newly ORBed fixtures mounted, and the mirror done for next week's update.
Wish me luck & pop over to check out the other $100 room updates:
[inlinkz_linkup id=701938 mode=1]
| |
|||
| |
|
|
|

Hello, I'm Morgan, half of the creative force behind CharlestonCrafted.com! With a passion for DIY that dates back to 2012, I've transformed three homes and now I'm dedicated to helping others craft their dream spaces. Let's turn your house into a home together!

Nicki Parrish says
What a great idea to spray paint that light while it was on the wall, and before you painted to room. that saved a lot of time and energy I am sure. and the new glass make it look brand new!
Aimee Mars says
Ah, I love thrifty updates! I'm going to have to store this one for my easy DIY files.
sherry cole says
Dang, I wish I had read this post before I took my light fixture down so that I could spray paint it! That is so clever. Your room is going to be beautiful!
Tracy says
Oh wow! I had never thought of painting the lighting fixture while it was on the wall! Looking good so far! I love the paint colors.
Meg Taylor says
I absolutely love your inspiration board and the color you chose to paint the room. What a fantastic idea to re-purpose the fixtures, too. Can't wait to see more from this project.
Meg, Borrowed Heaven
Brittany Goldwyn says
OMG, I could have done this in my powder room. I wanted to paint the fixture but just didn't feel like taking it down. Why didn't I think of this, lol.
Natalie @nelidesign says
Nice color, and wow, the light fixture. Right on the wall? I don't think I would have been game to do it, but now I know!!!
Leanna says
I love the 100 dollar room makeovers. Picking a bathroom to make over is risky because they are so expensive to refinish but you did a nice job. It looks much more modern and fresh now.
Sue Purdy says
It's looking great so far, and what a huge difference spray painting your light fixture has made. I love it and can't wait to see more.
Amber Harrop says
The light fittings look great and spraying them was such a clever idea !
Erin @ Lemons, Lavender, & Laundry says
Love Oil Rubbed Bronze Spray Paint. Awesome that you could just spray it on the light fixture since you were painting anyway 🙂 Love the wall color as well. Sure does brighten up the space.
Ashley ~ 3 Little Greenwoods says
Isn't that the best spray paint? Love it!
Smart girl for not wasting time taking that light fixture down. But was it difficult to cover the spray paint with the blue?
Morgan says
no, it covered great with my normal 2 coats!!
Linda says
The new color looks great and really brightens up your bathroom. And, how clever to spray paint fixture right on the wall, I mean you're already going paint right 🙂
Jessie says
I love what you did! I've been looking for seeded glass light covers like that and can't find them anywhere! Where did you find them? And do you by chance have a link?
Thanks so much!
Jessie
Sean says
We bought them in person at Lowes but here are some similar on Amazon:
https://amzn.to/2DIKZ0r - straight
https://amzn.to/2UxMmEA - bell shaped
https://amzn.to/2Dy2wbz - curved
I hope that helps!!