
Need to make a giant oversized chalkboard? This is a great addition for a classroom or backyard for kids of all ages and you can make it yourself!
I have to be honest with you- I haven’t seen a chalkboard in quite some time. Like, literally, not since elementary school.
I was probably one of the last classes of people that had chalkboards in their classrooms. My school switched over to whiteboards when I was in elementary school and I know that because I can still smell those scented markers the teachers had.
But, we have an event coming up at my office soon and my boss had the idea to have a chalkboard available for people to write messages about the theme. I don’t really know where you buy a chalkboard anymore so I decided to build one using wood and chalkboard paint.
Here’s how to make a DIY chalkboard.
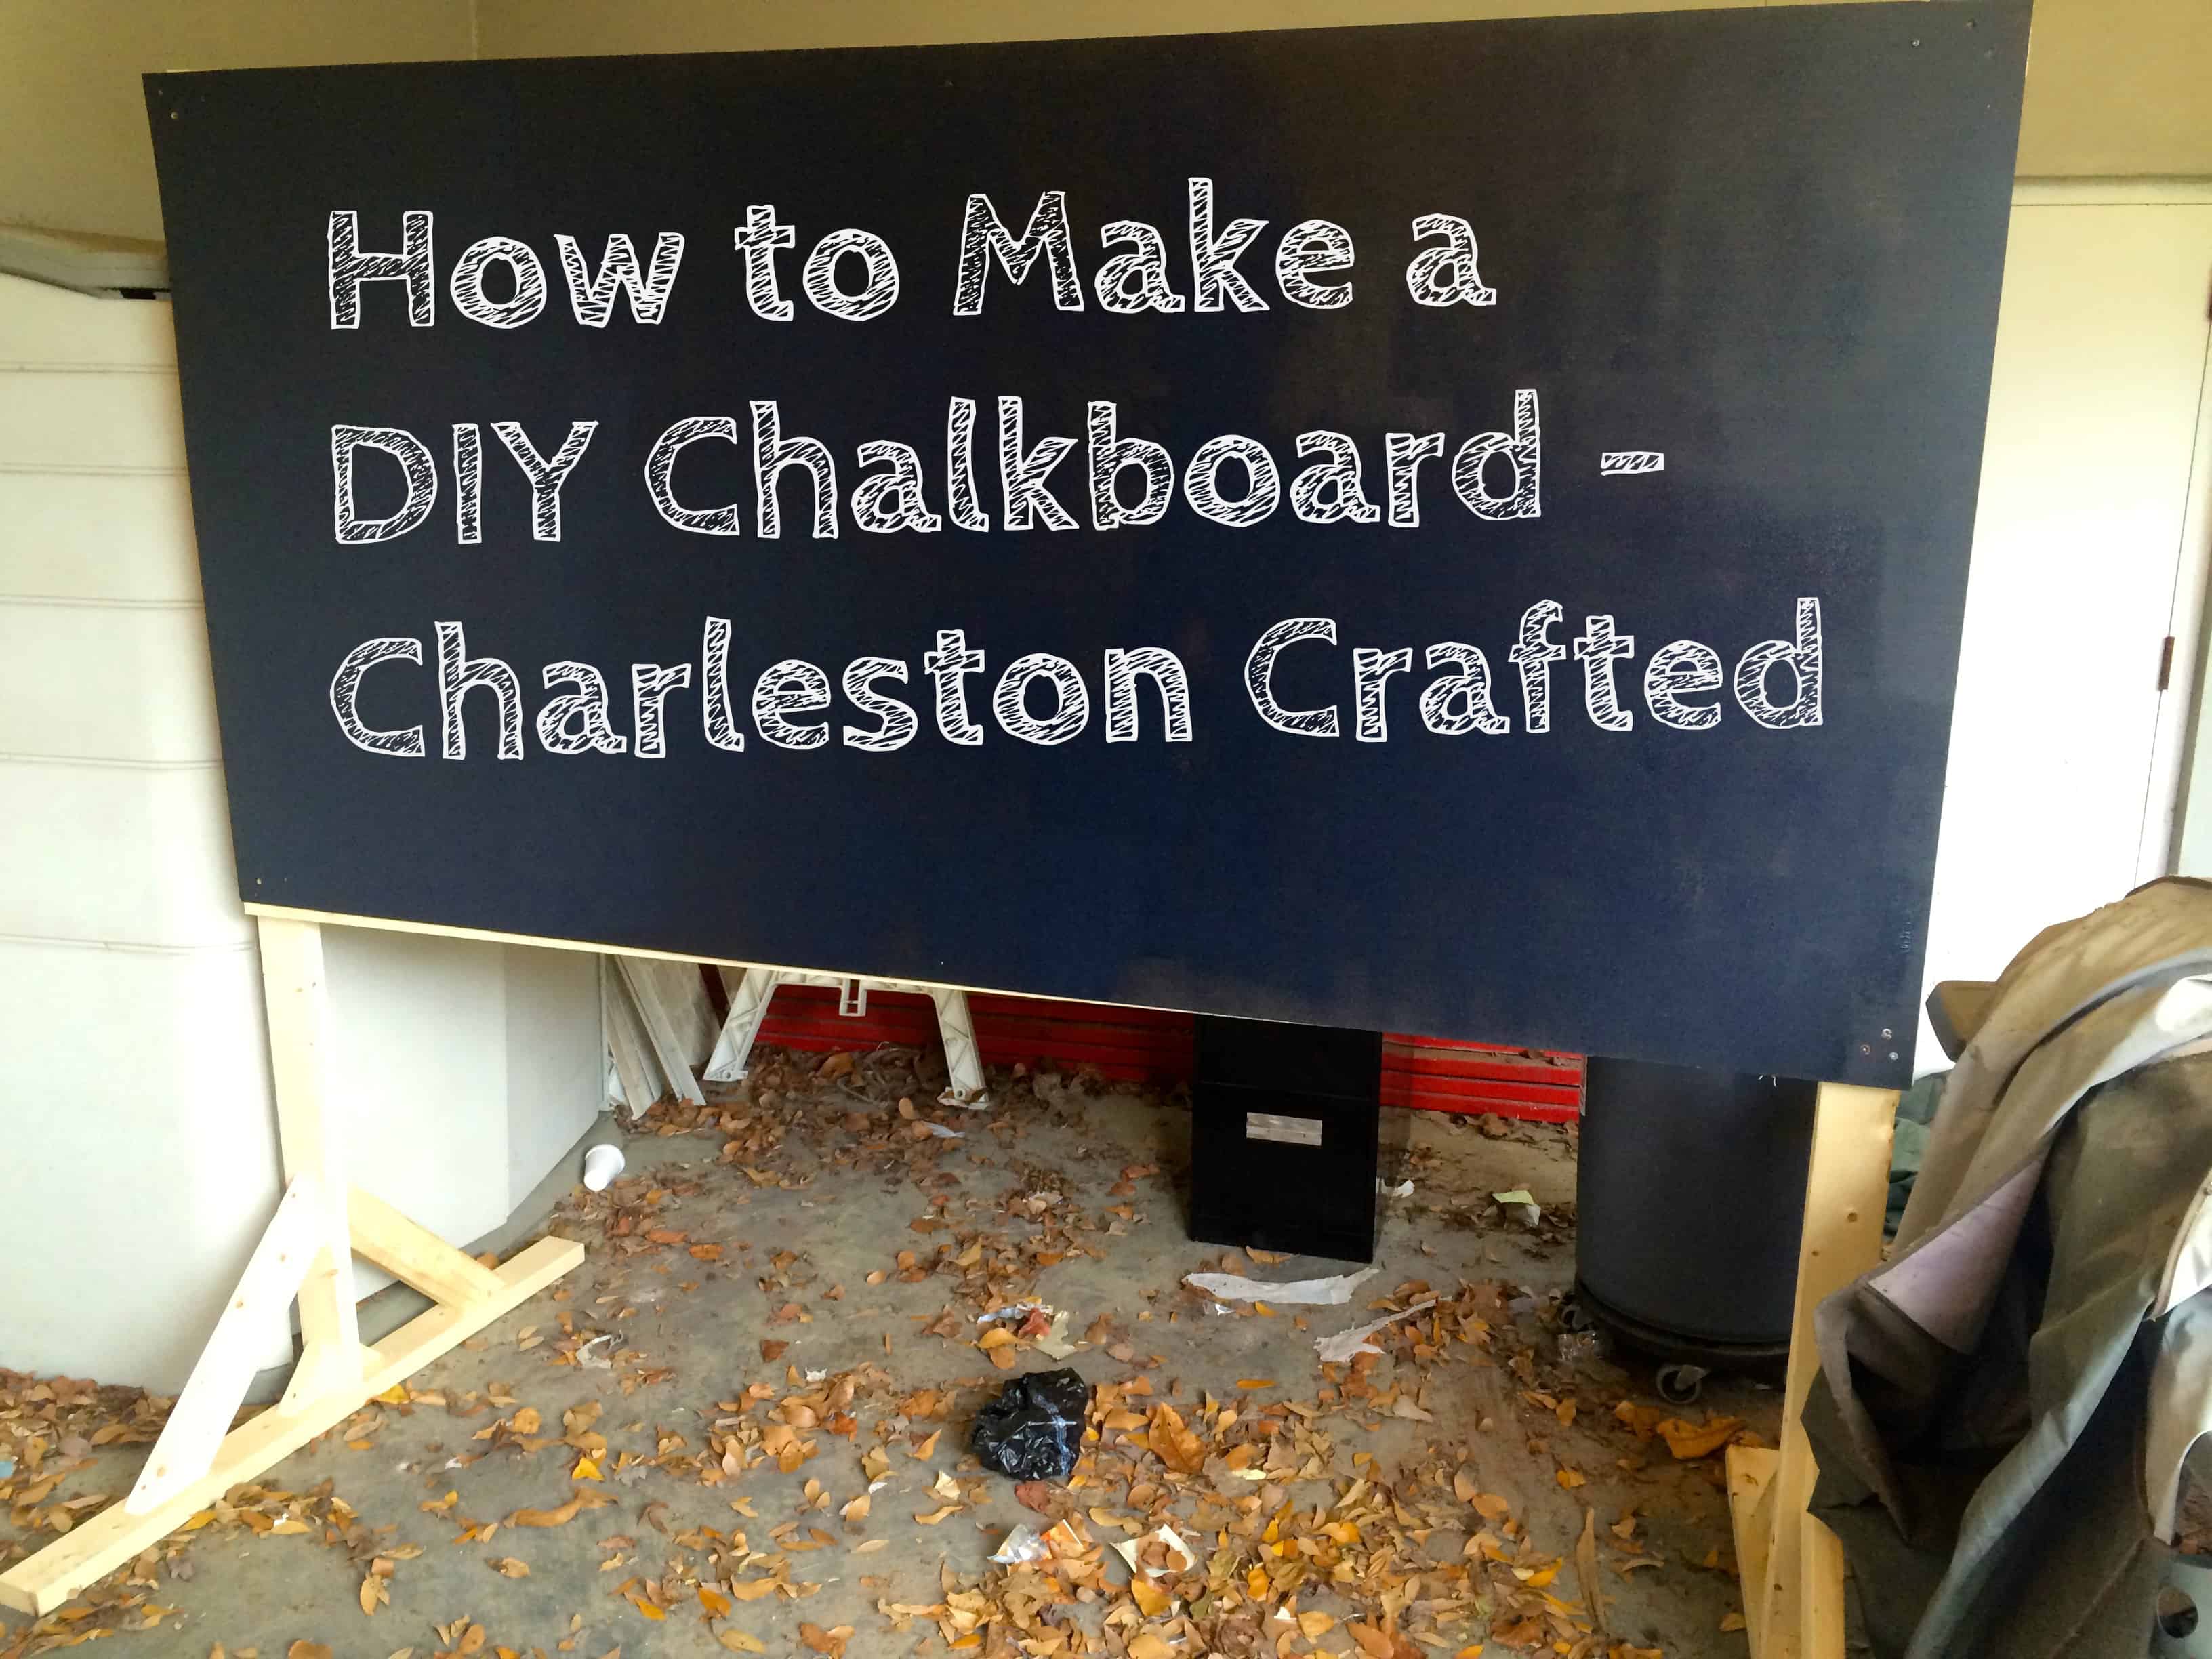
DIY oversized chalkboard
At Lowe’s, my coworker and I got six 8-foot 2’x4′ boards and a 4’x8′ piece of thin whitewood. This was going to be a pretty big chalkboard, so you might want to go with something a little smaller if you’re using it in your home.
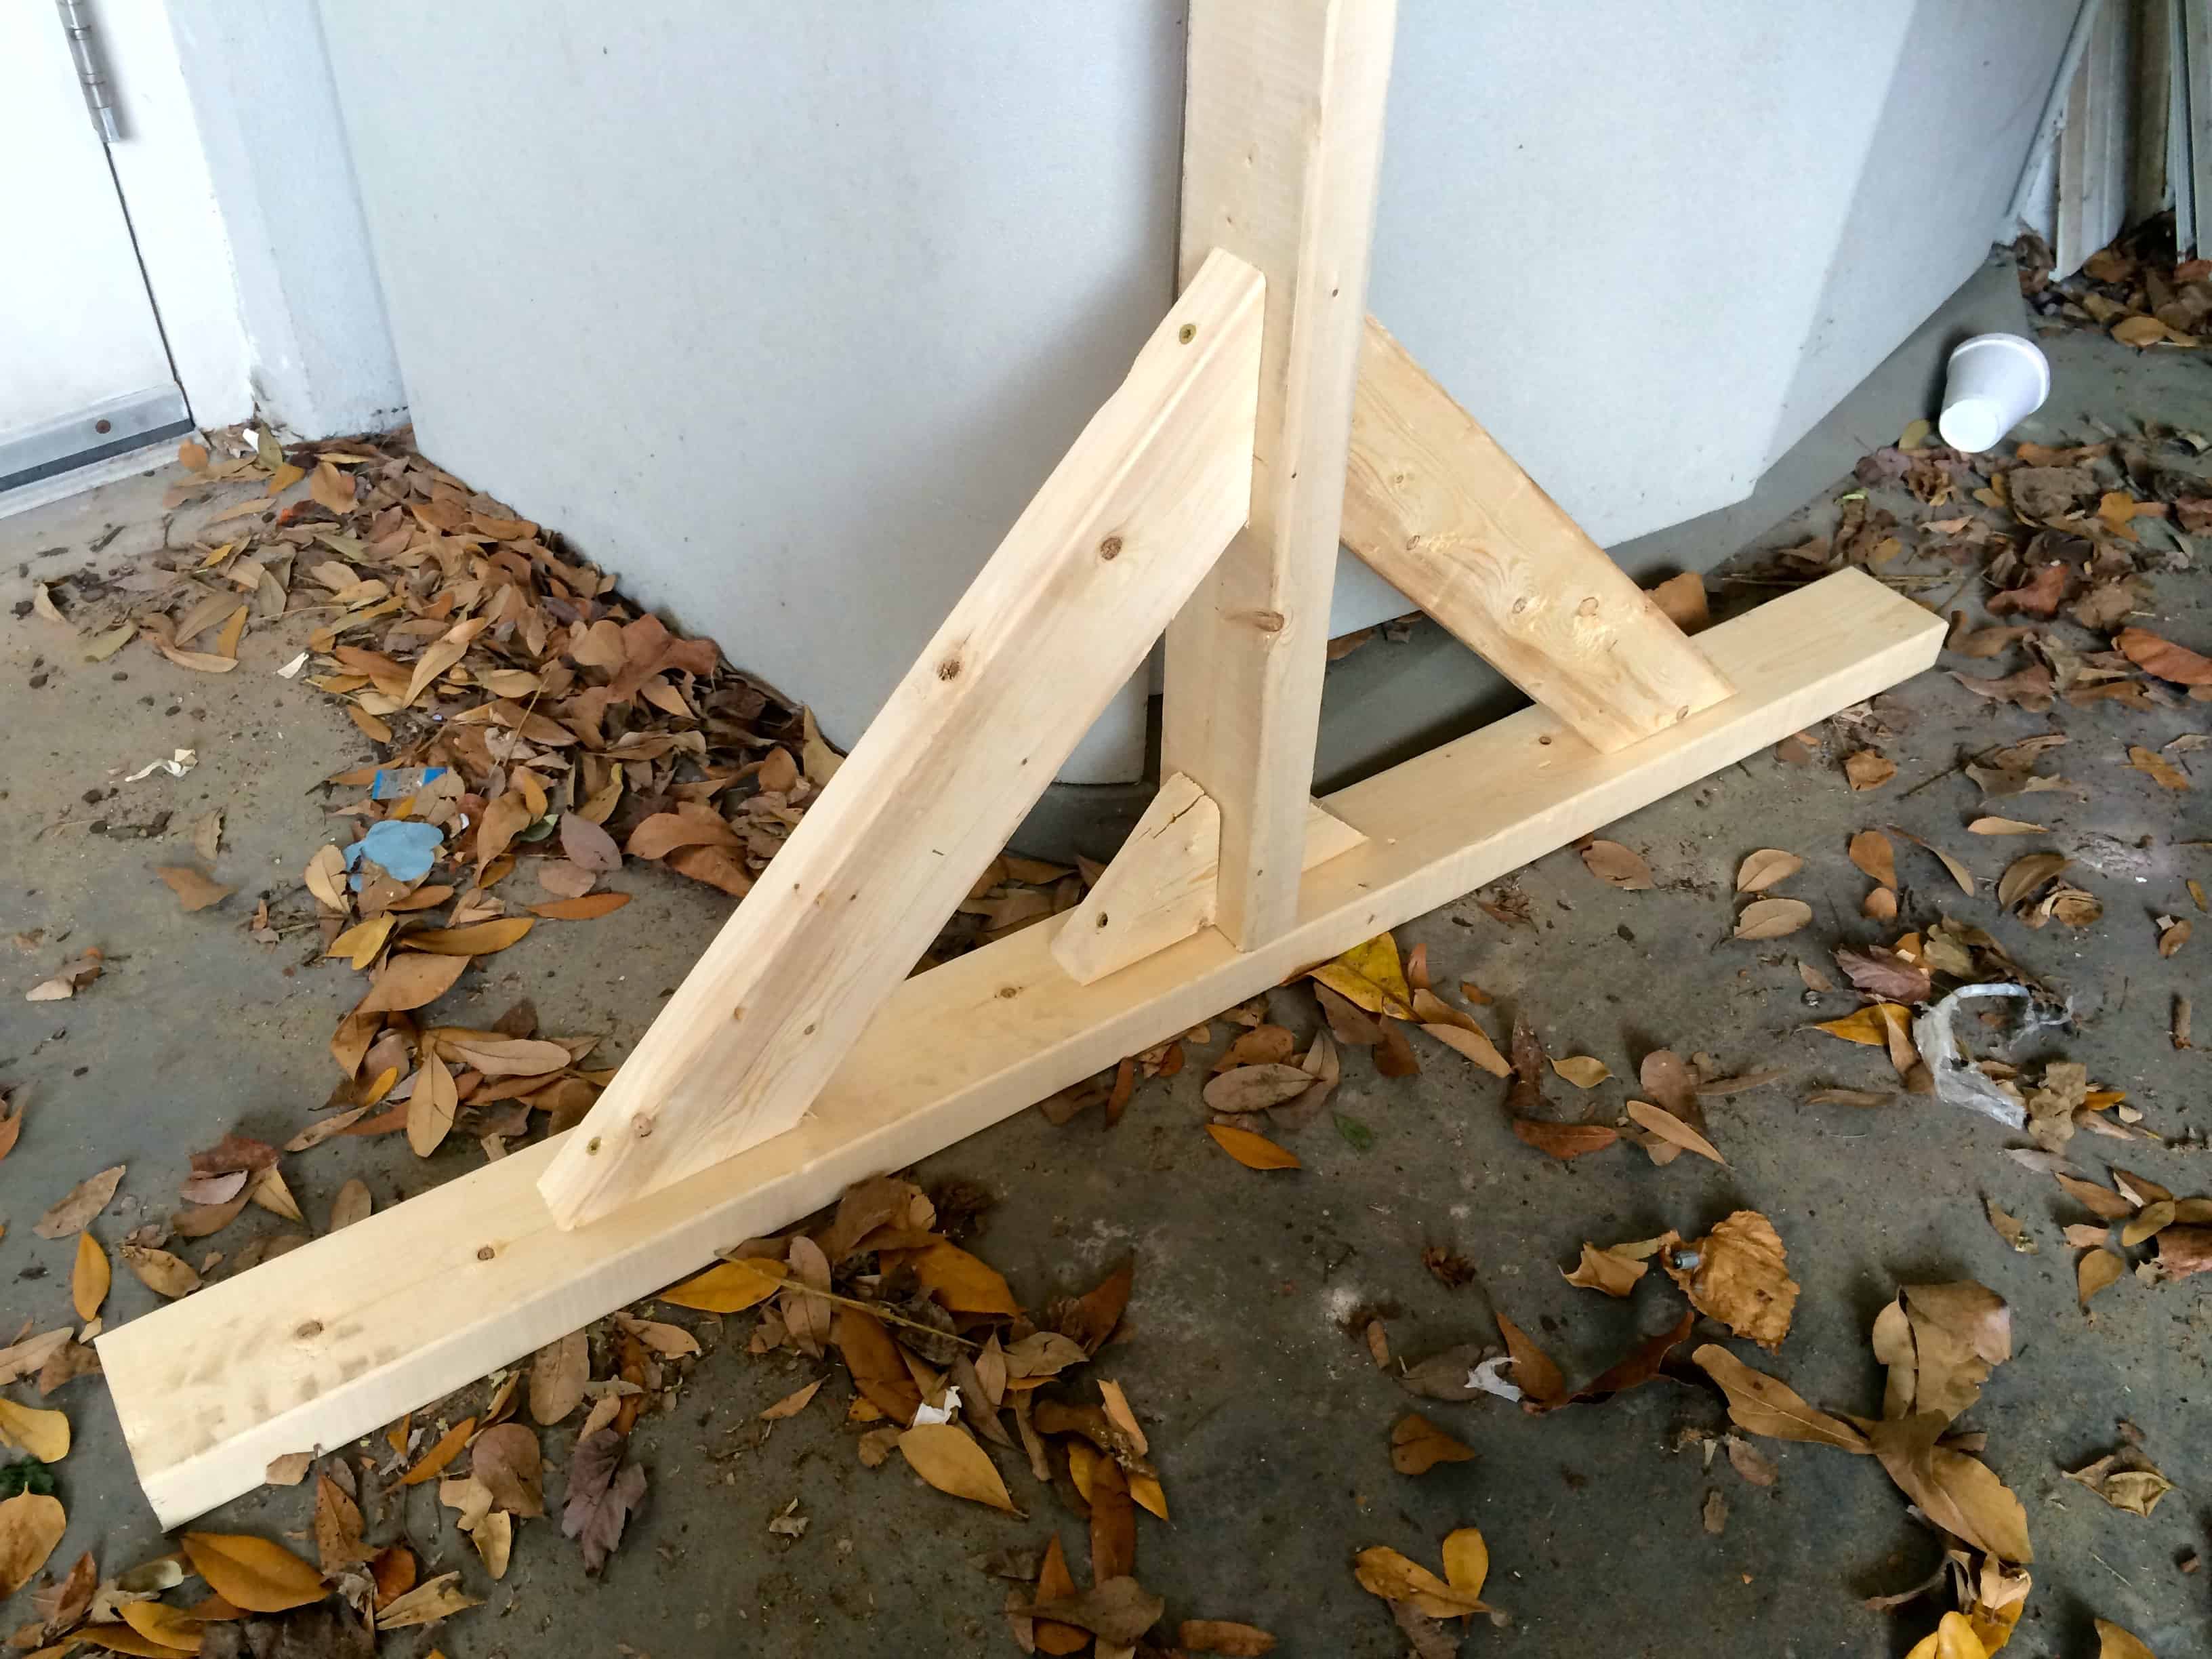
Step one: build legs
The first thing we did was build the legs of the structure. We cut one of the boards in half to act as the feet. Then, we attached two of the other boards to the feet perpendicularly, after cutting a foot off the top.
Then, we took one of the remaining boards and used a miter saw to cut them at 45 degree angles to act as stabilizers between the legs and the feet of the board.
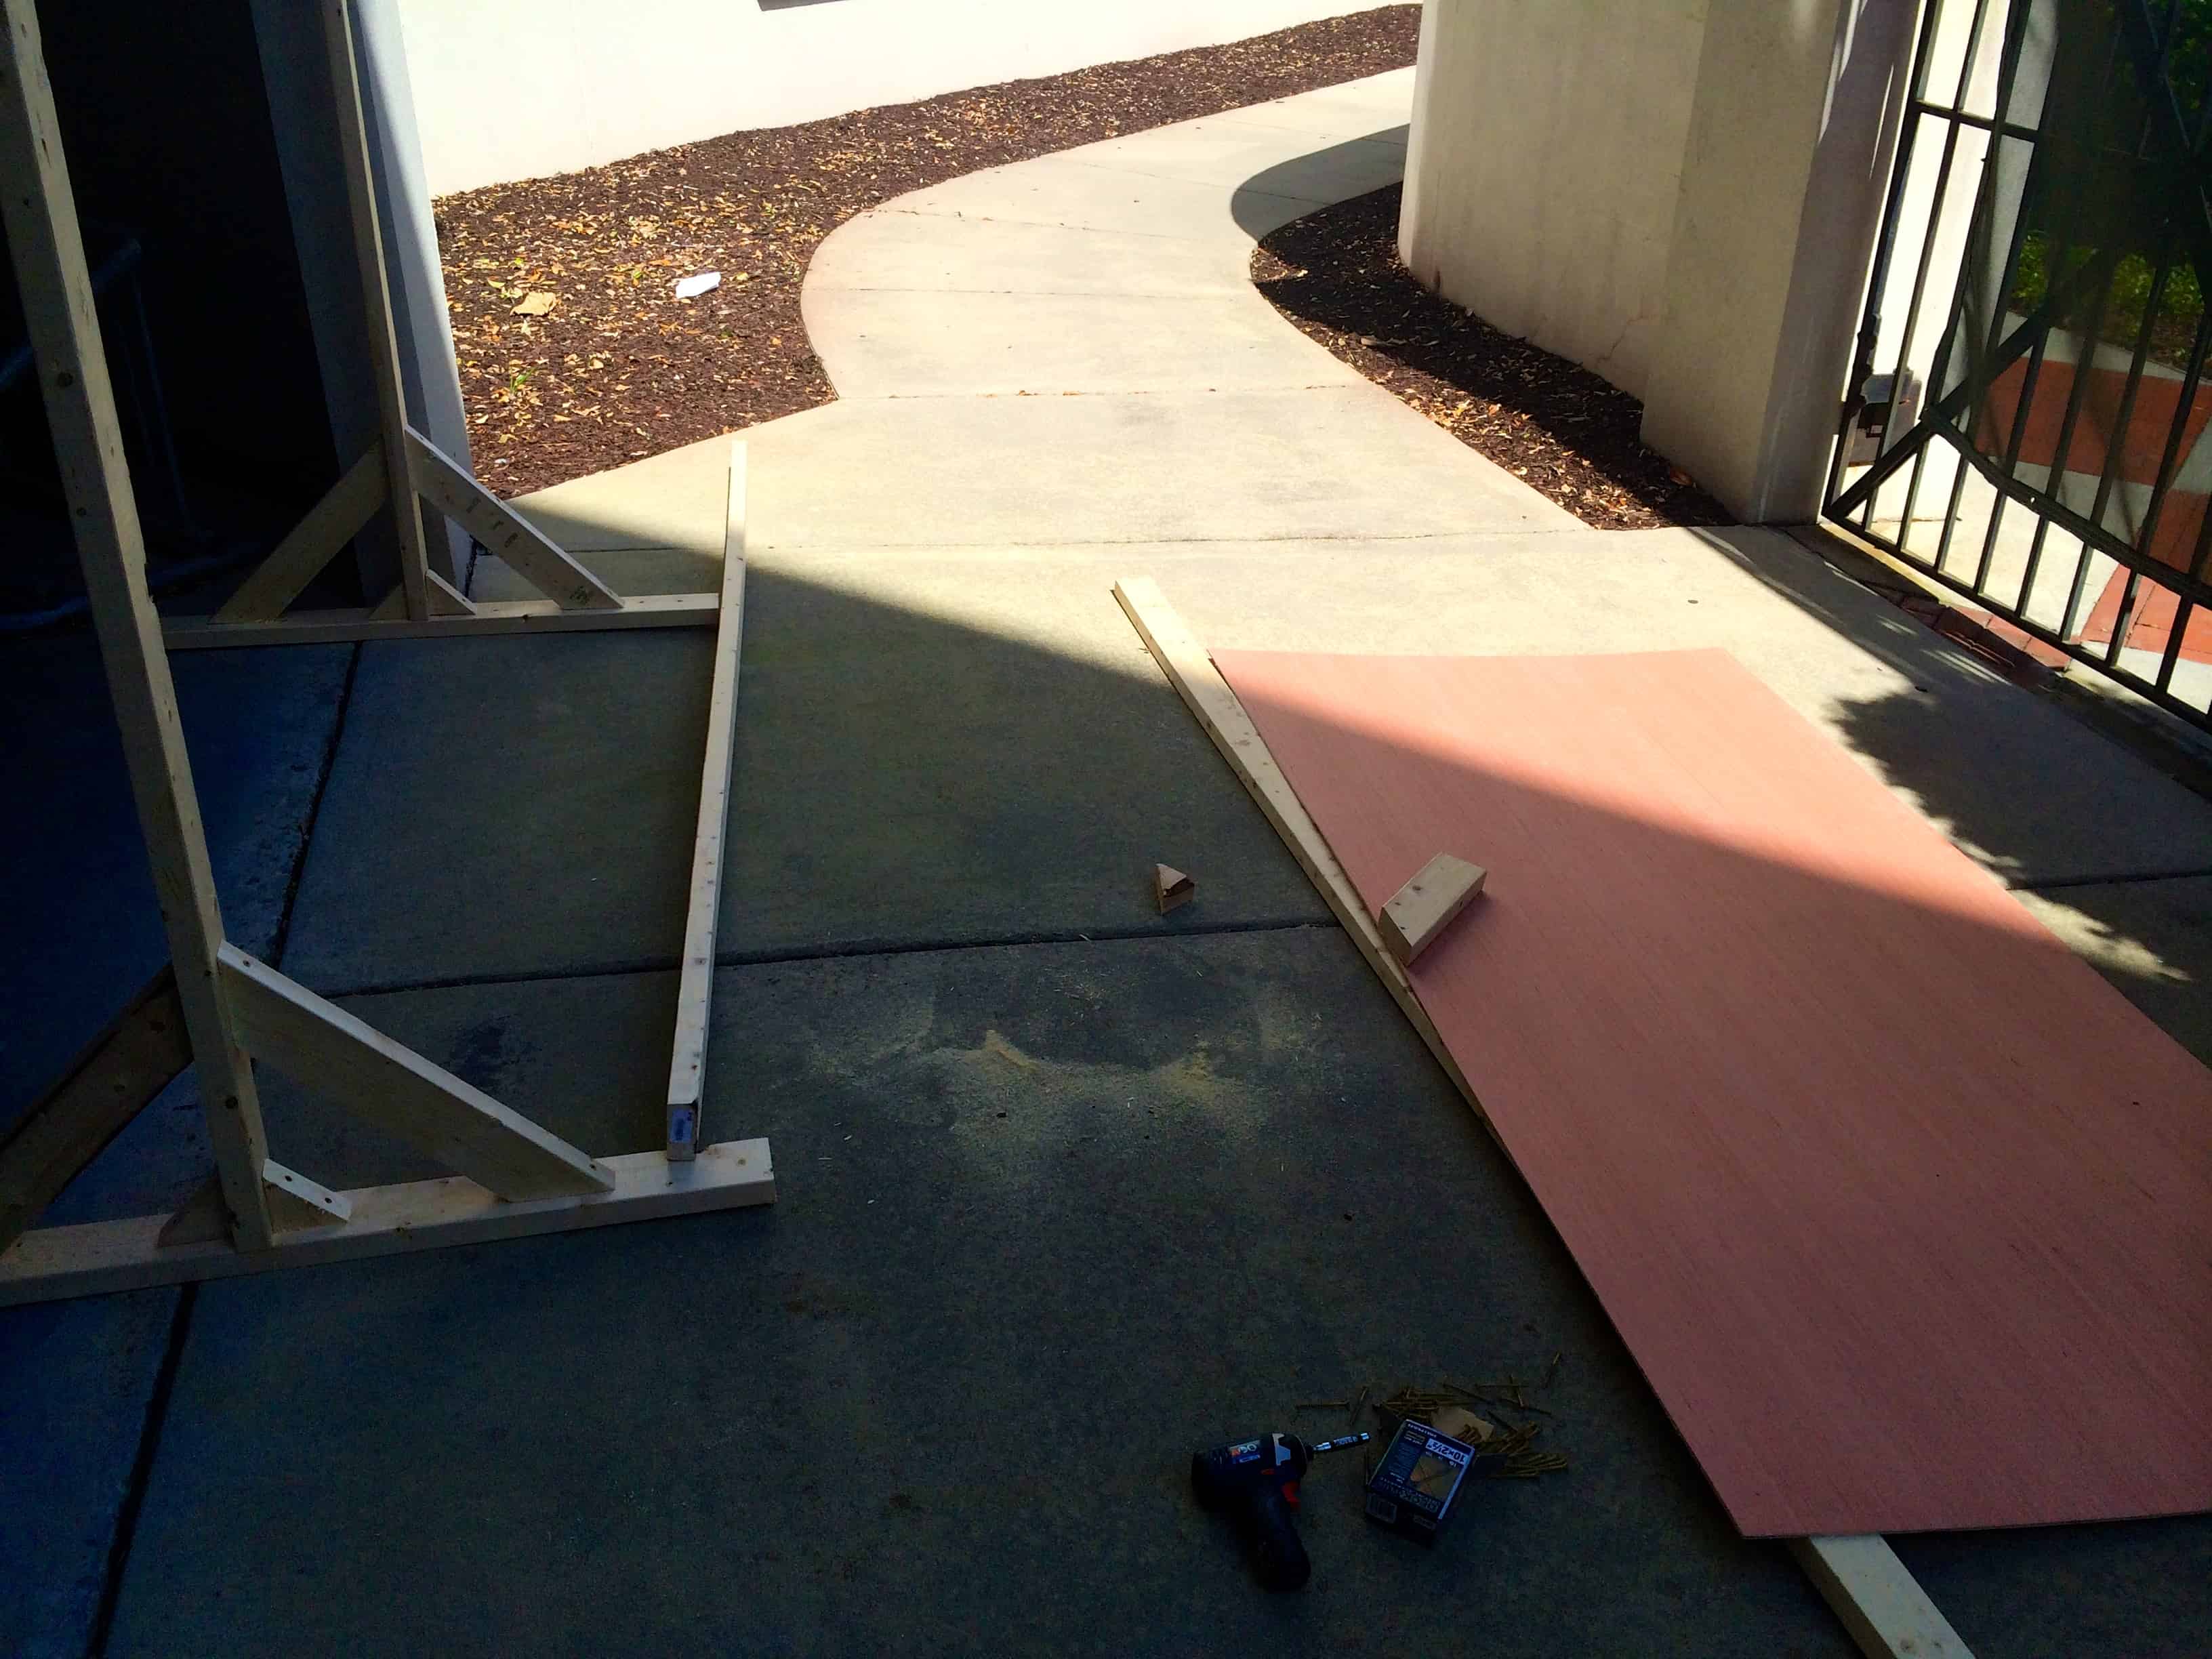
Step two: attach board
Now that we had the two legs built, we needed to attach what would be the chalkboard. We used the remaining two 8-foot boards and screwed them into the 4×8 board at the top and bottom.
Then we simply attached those to the legs that we had already built, using two screws in each corner.
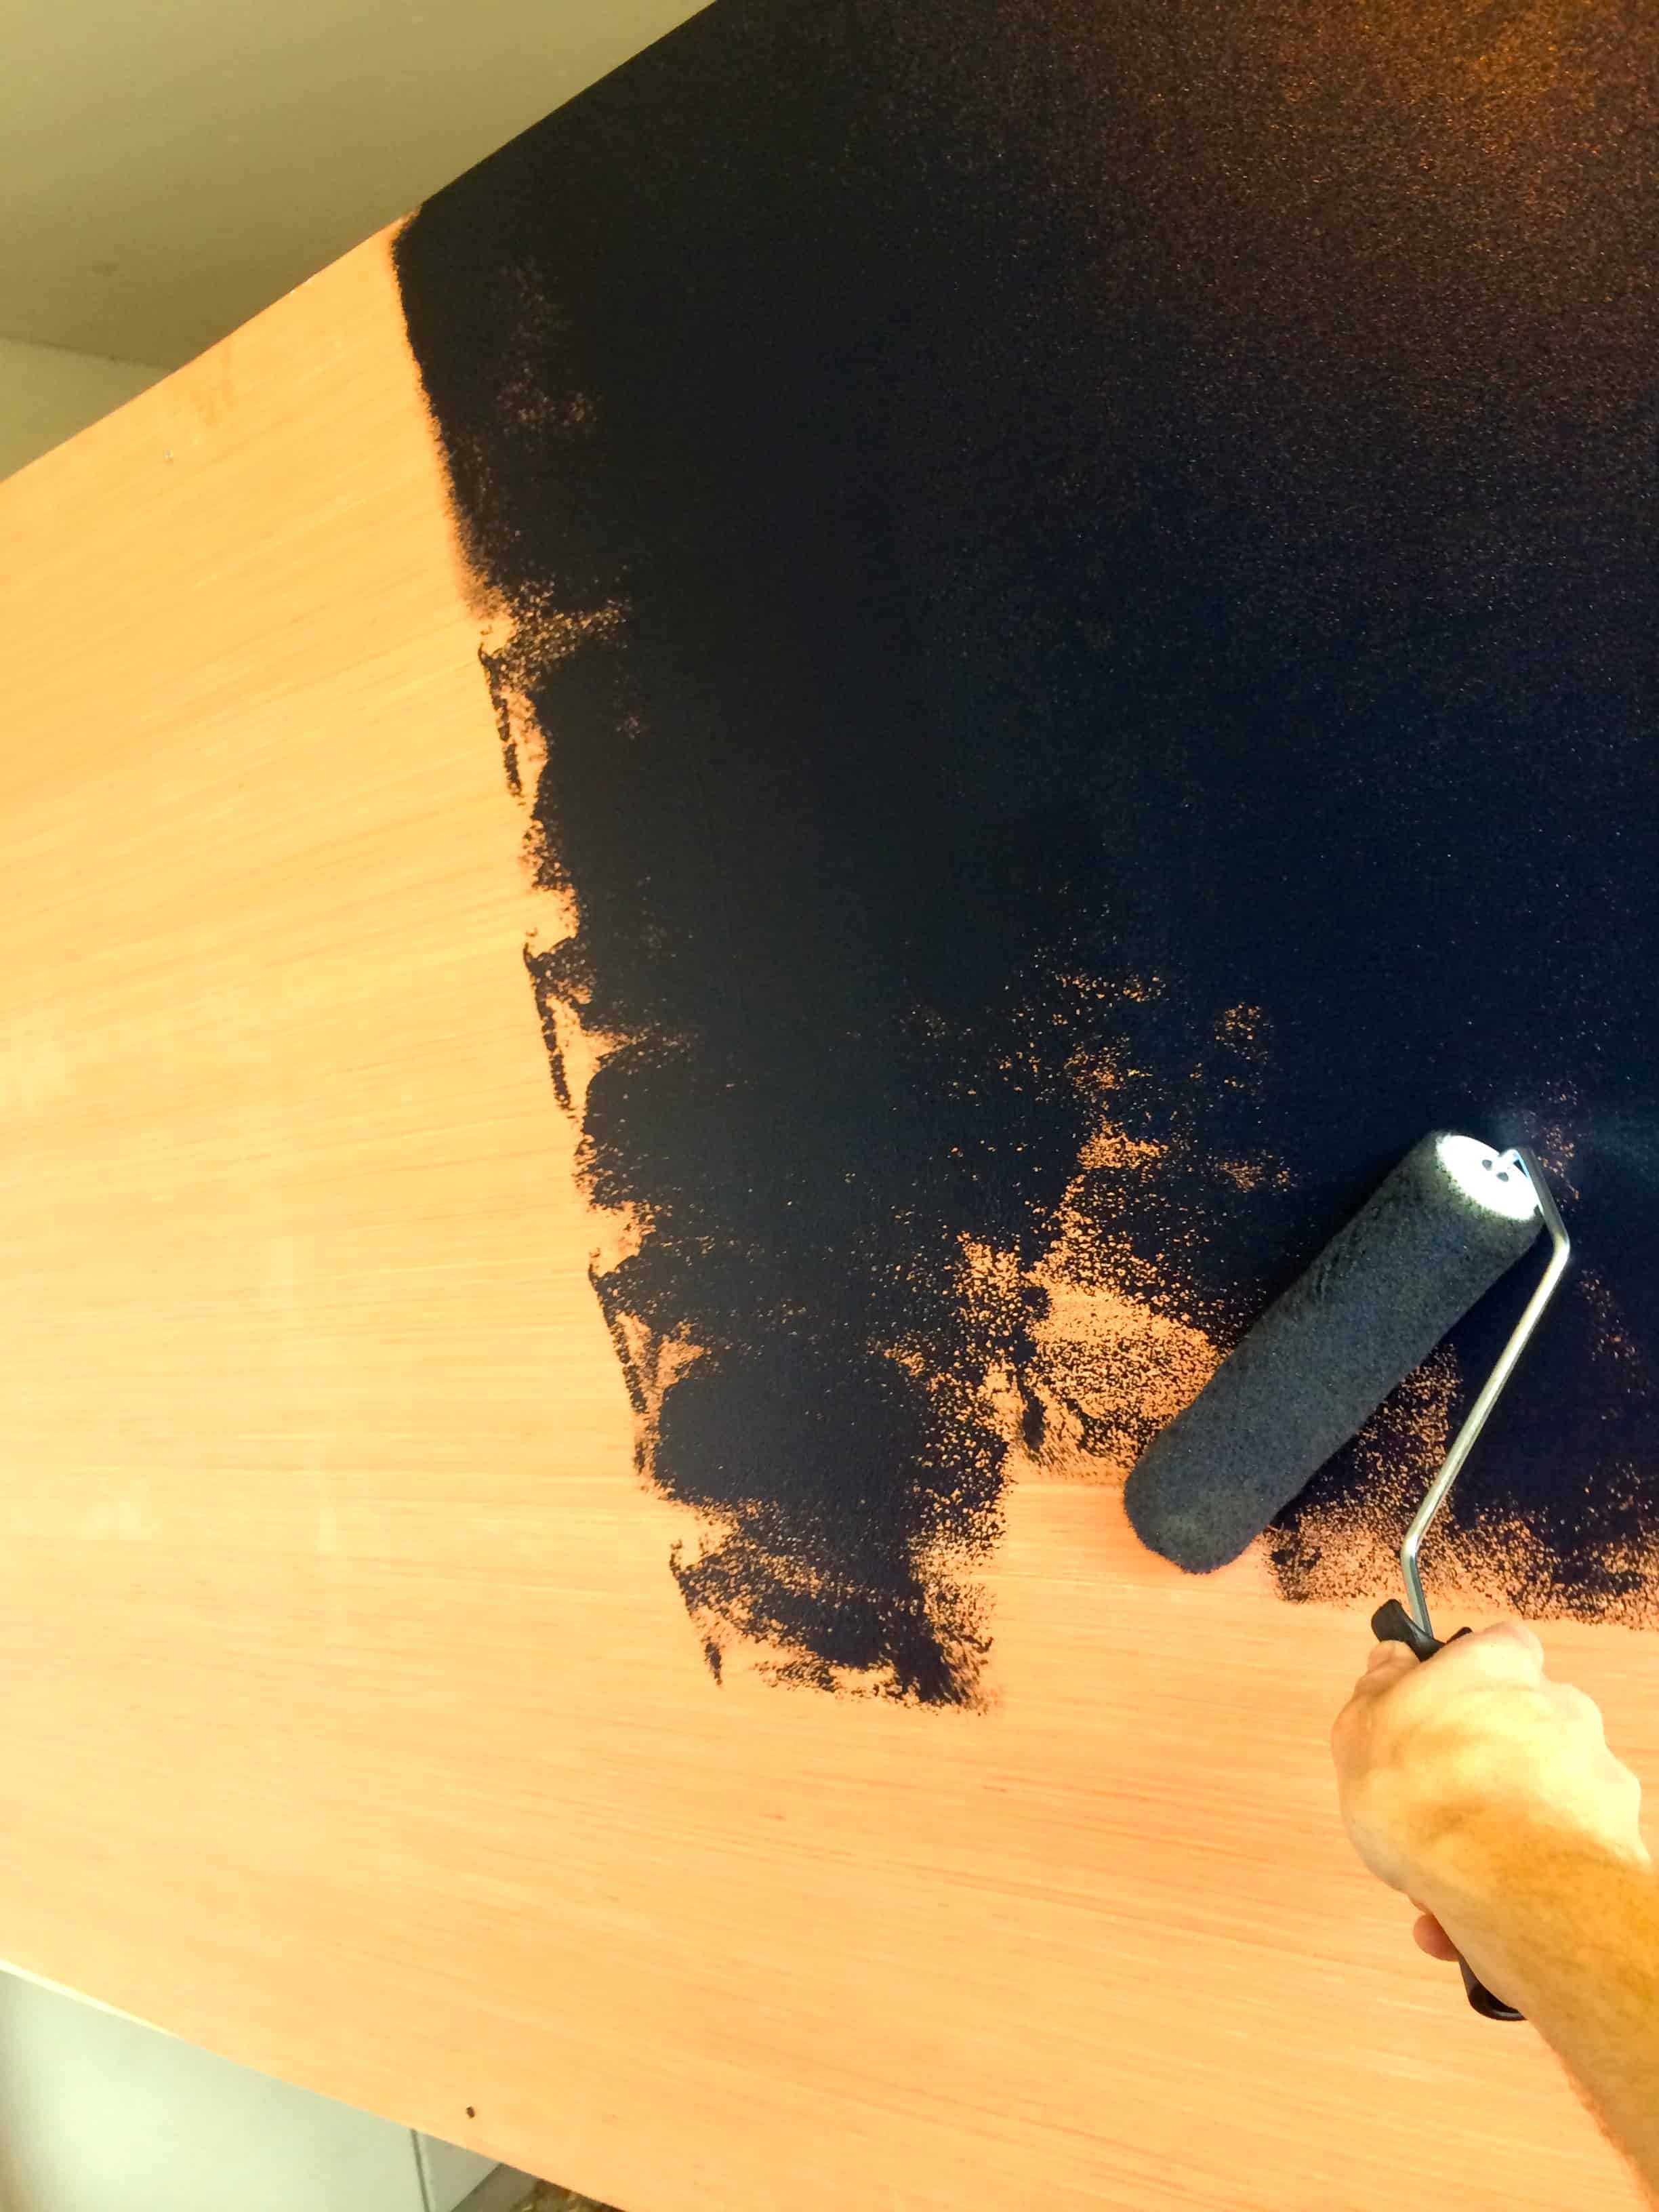
Step three: chalkboard paint
Once the board was entirely constructed, it was time to paint it with the chalkboard paint. I got one pint of black chalkboard paint, which is supposed to cover 100 square feet.
With the board being 32 square feet, this was going to get me a good three coats. The paint went on super easy and smooth and dried up nicely.

Step four: test the chalk
Then it was time to test if the chalkboard paint actually did make a chalkboard. I was a little skeptical, but here goes nothing.
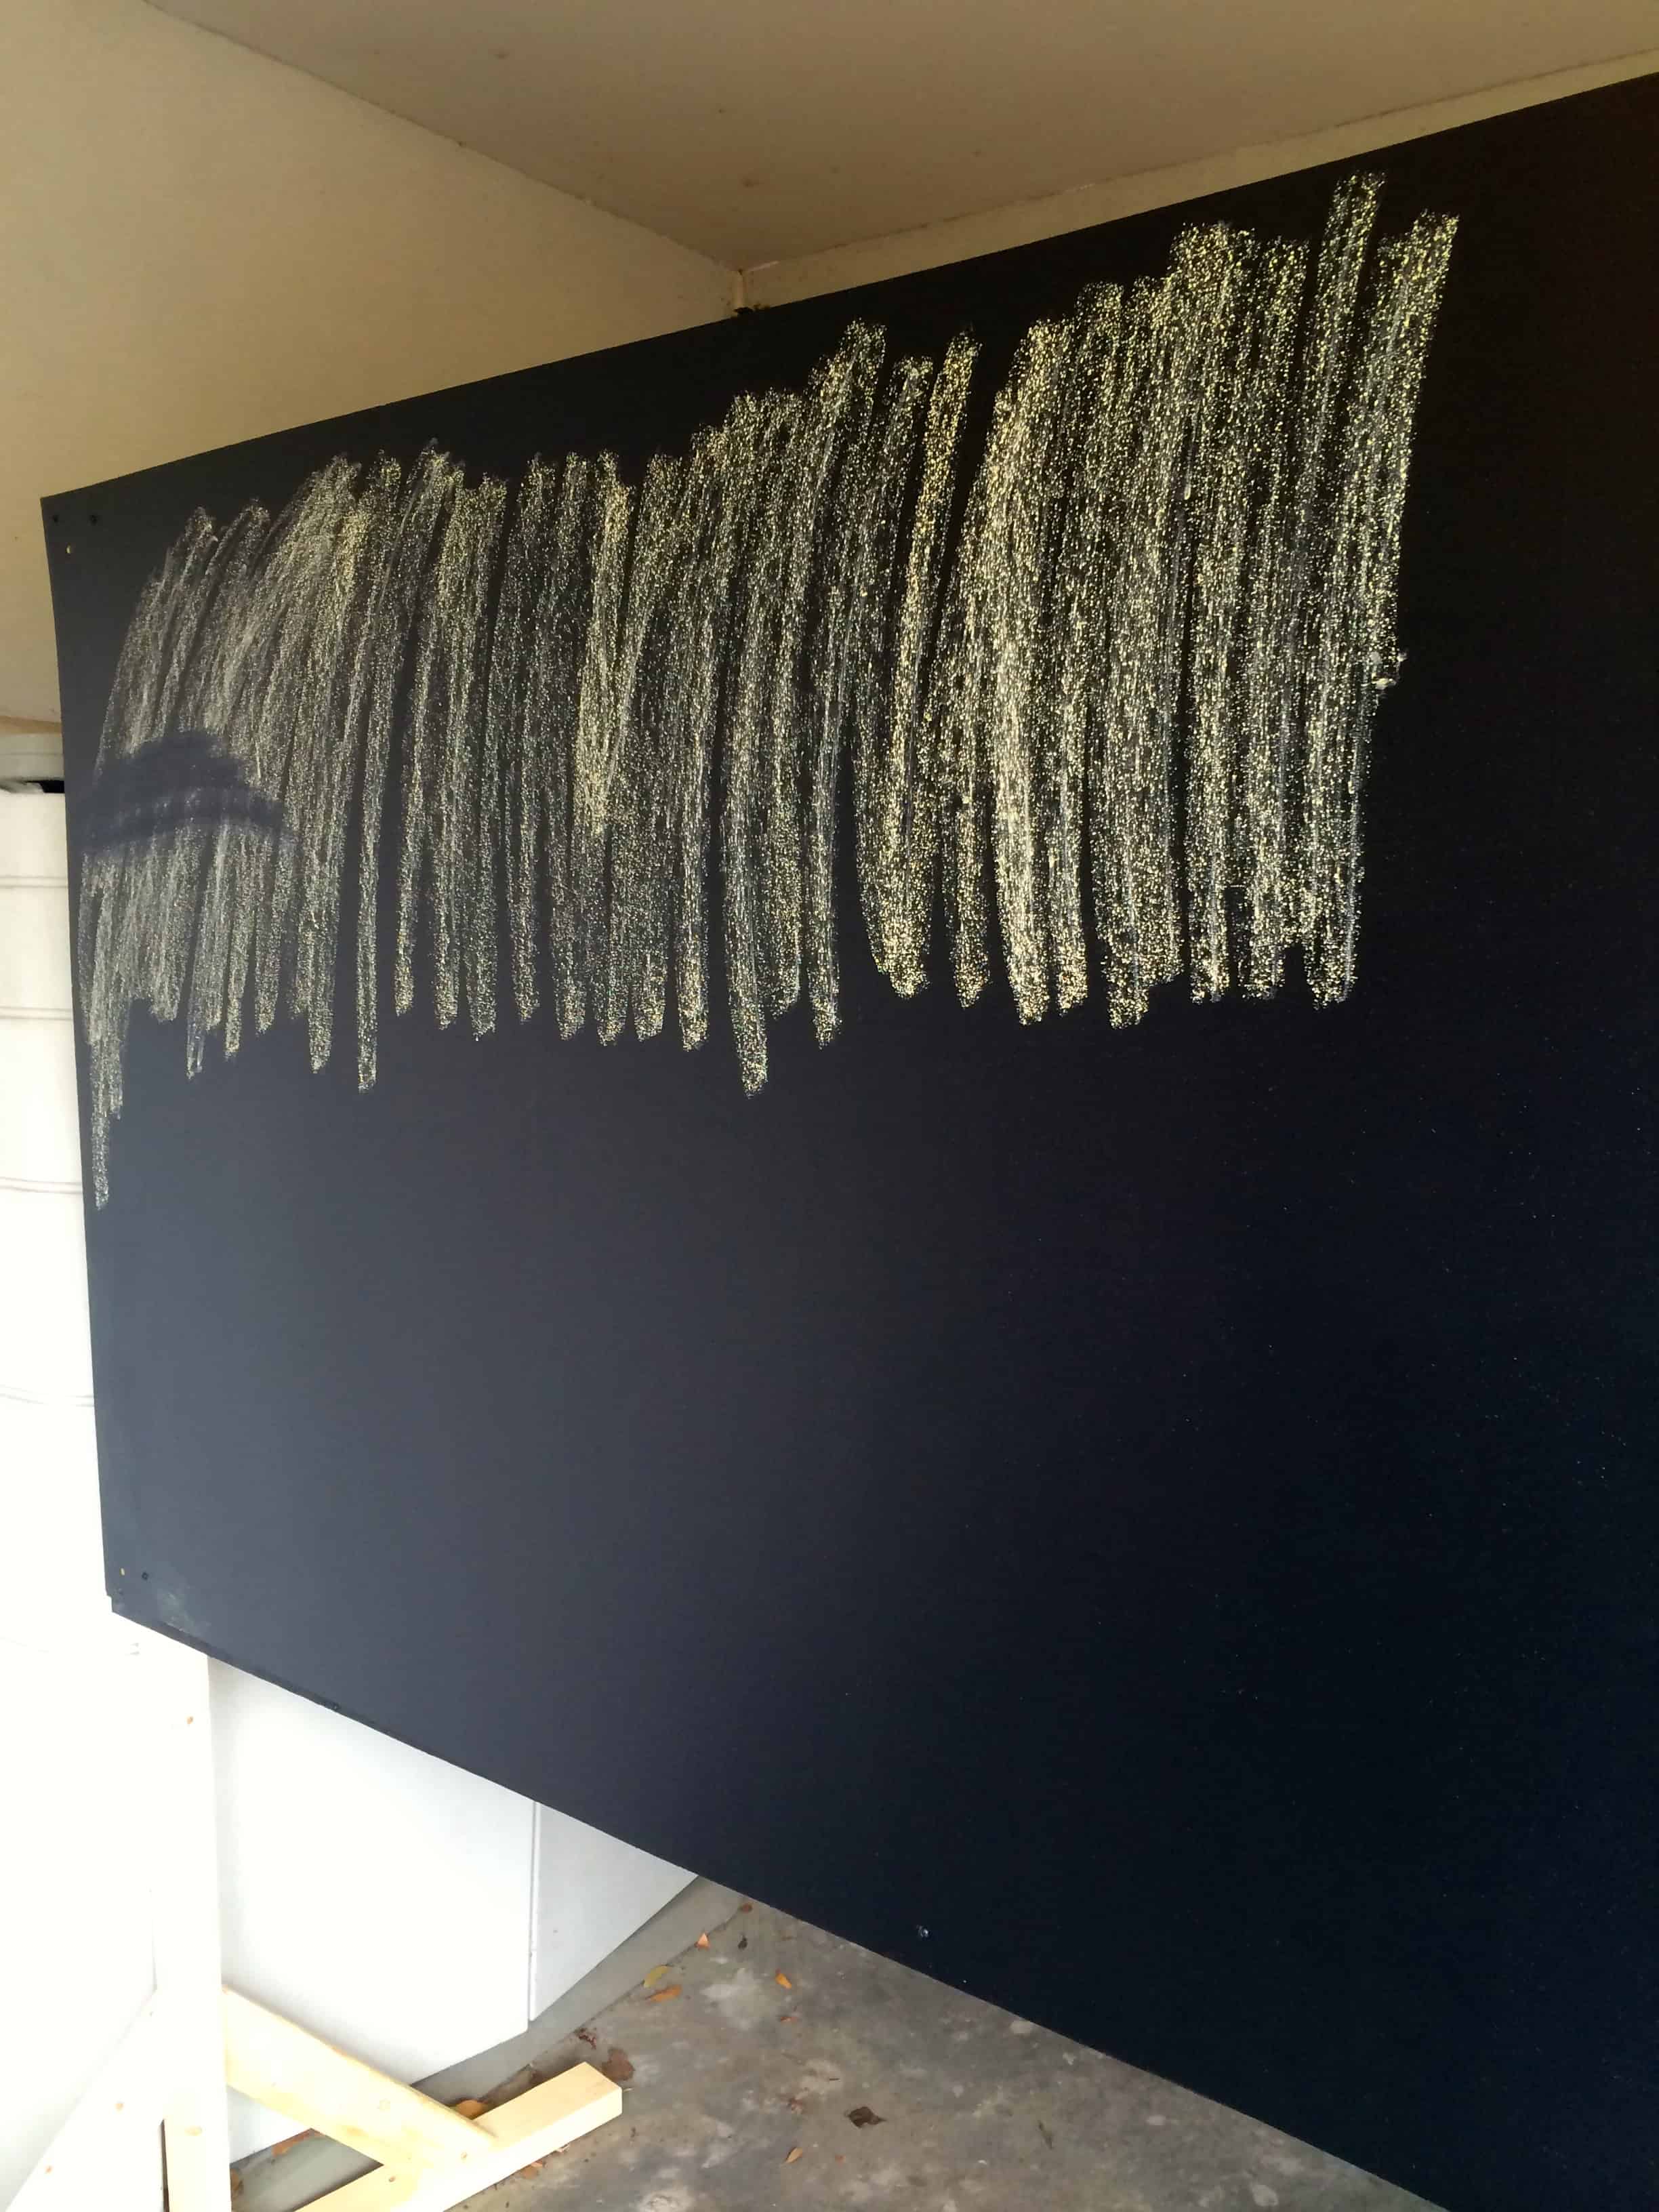
Morgan had told me that we should use the flat side of the chalk to go over the entire board first with a layer of chalk so that, in the future, the first words we ever write on the board don’t end up on the background of everything. I tested it in the corner so that you can see the difference.
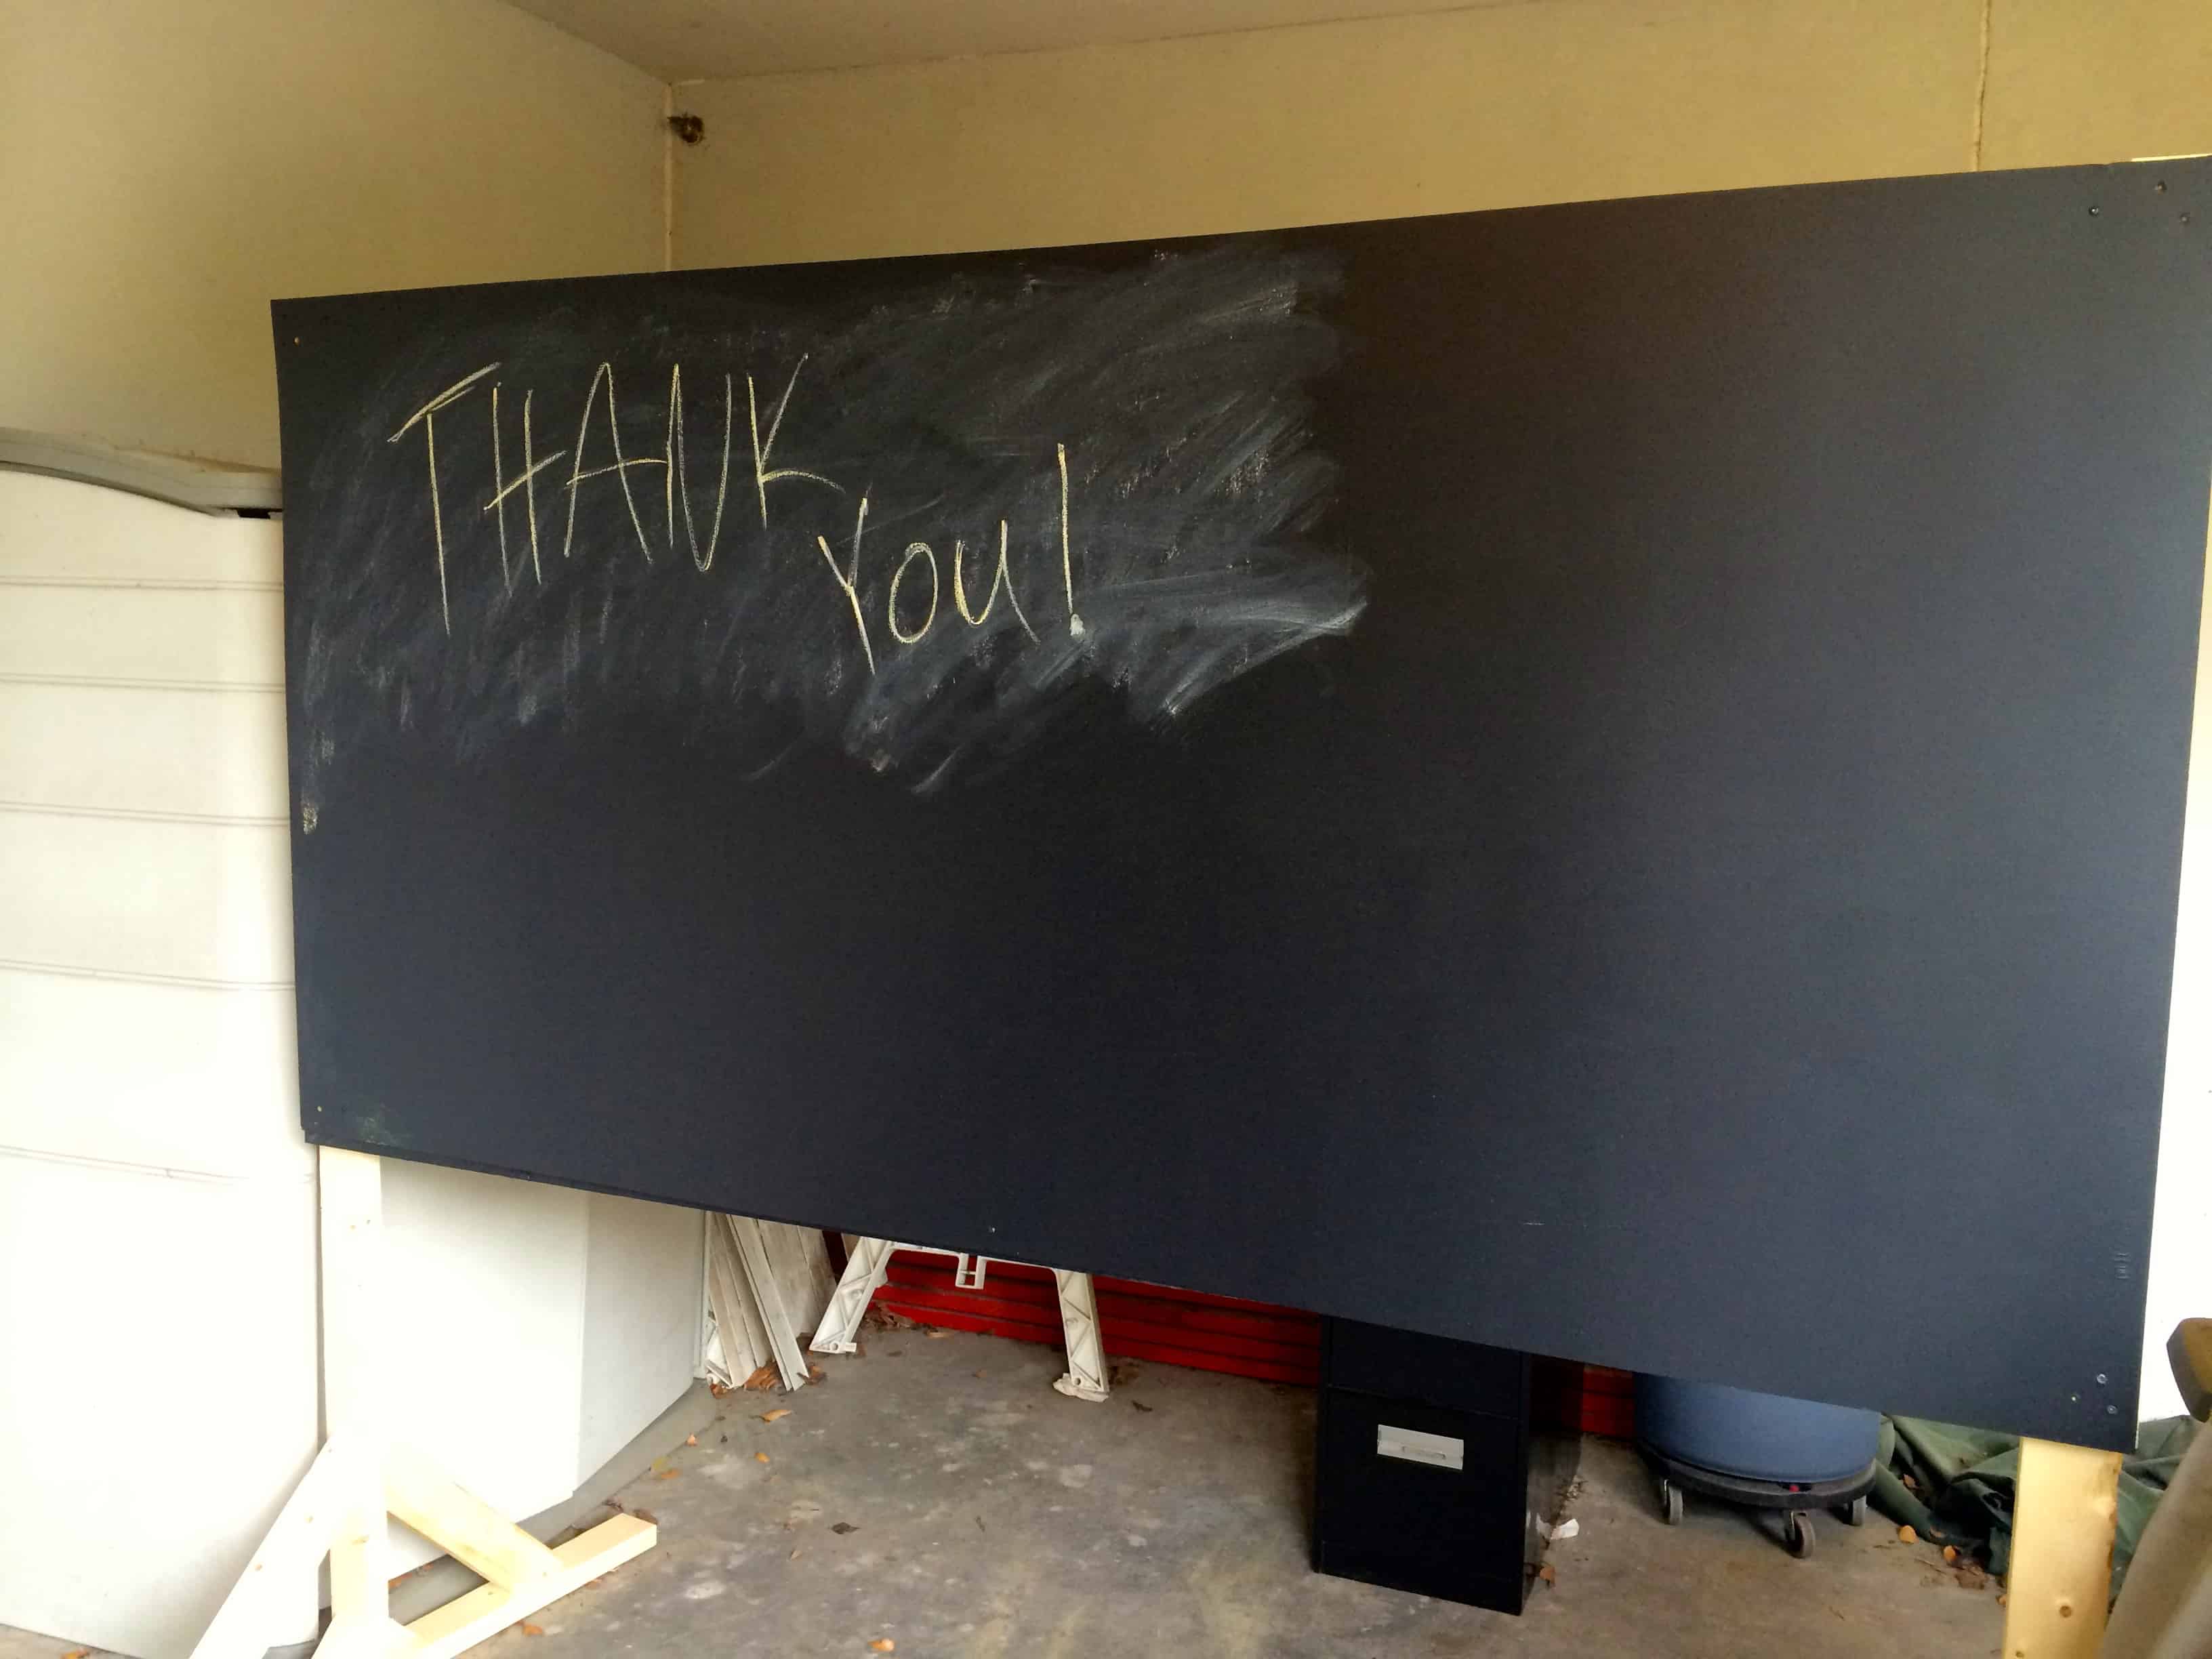
In the end, it works out great! The chalk wiped off nicely with a damp rag and gave it that dusty chalkboard look it’s supposed to have.
The chalkboard paint really works and it took me only about an hour and a half to build the board, plus probably 30 minutes total for three coats of paint. It worked out well and looks great. Can’t wait to show it off at our event!


Looking for something?
We’ve been doing this since 2012 so we have a LOT of blog posts!
Search stuff like: Ceiling Projects | DIY Plant Stands | Thrift Flips


Hey there, I’m Sean, the woodworking enthusiast and builder behind CharlestonCrafted.com! Since 2012, I’ve been sharing the magic of turning raw materials into beautiful creations. I love teaching others the art and satisfaction of woodworking and DIY. I try to inspire fellow crafters to make something extraordinary out of nothing at all.