
Wondering how to stain outdoor furniture? Here are the supplies you need, the steps to take, and all of the considerations for getting the job done!
One of the easiest and cheapest ways to change the look of a piece of furniture is to give it a new coat of stain.
Today I want to talk specifically about how to stain outdoor furniture. It’s actually very similar to staining indoor furniture, except that you need to get the right materials to have a durable and lasting finish.
Let’s talk about everything you need to know about staining and sealing outdoor wooden furniture.
How to stain outdoor furniture
Here’s how easy it is to stain furniture to keep outdoors.
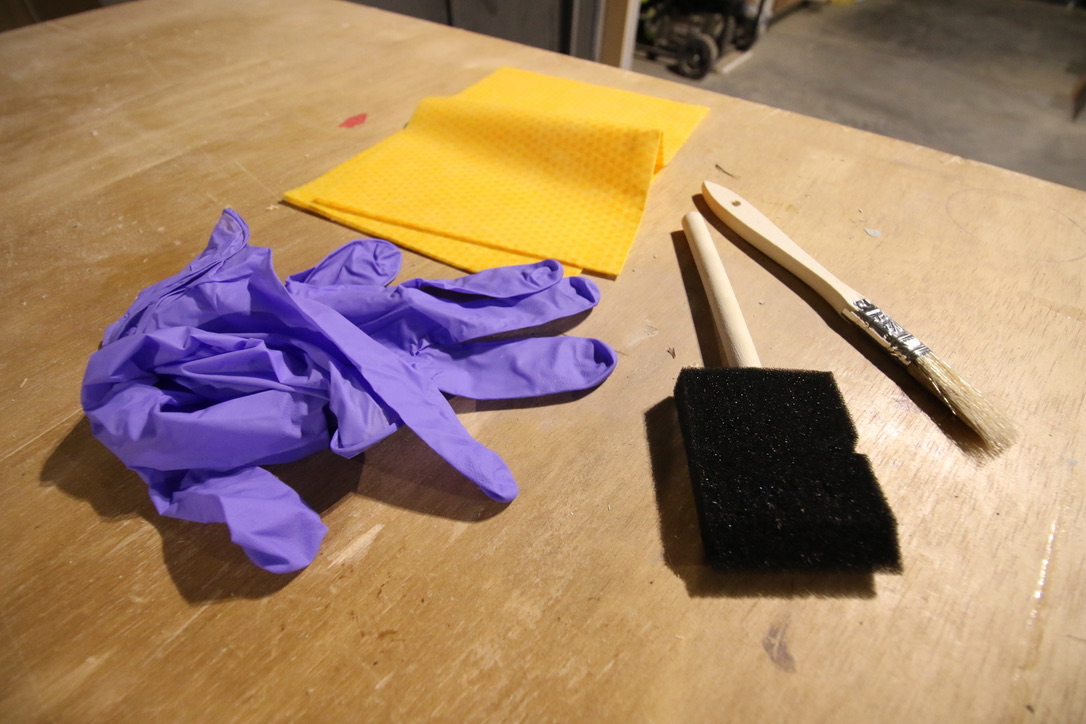
Supplies needed:
- Sanding block or sander
- Clean cloths
- Paint brush or link free cloths to apply stain
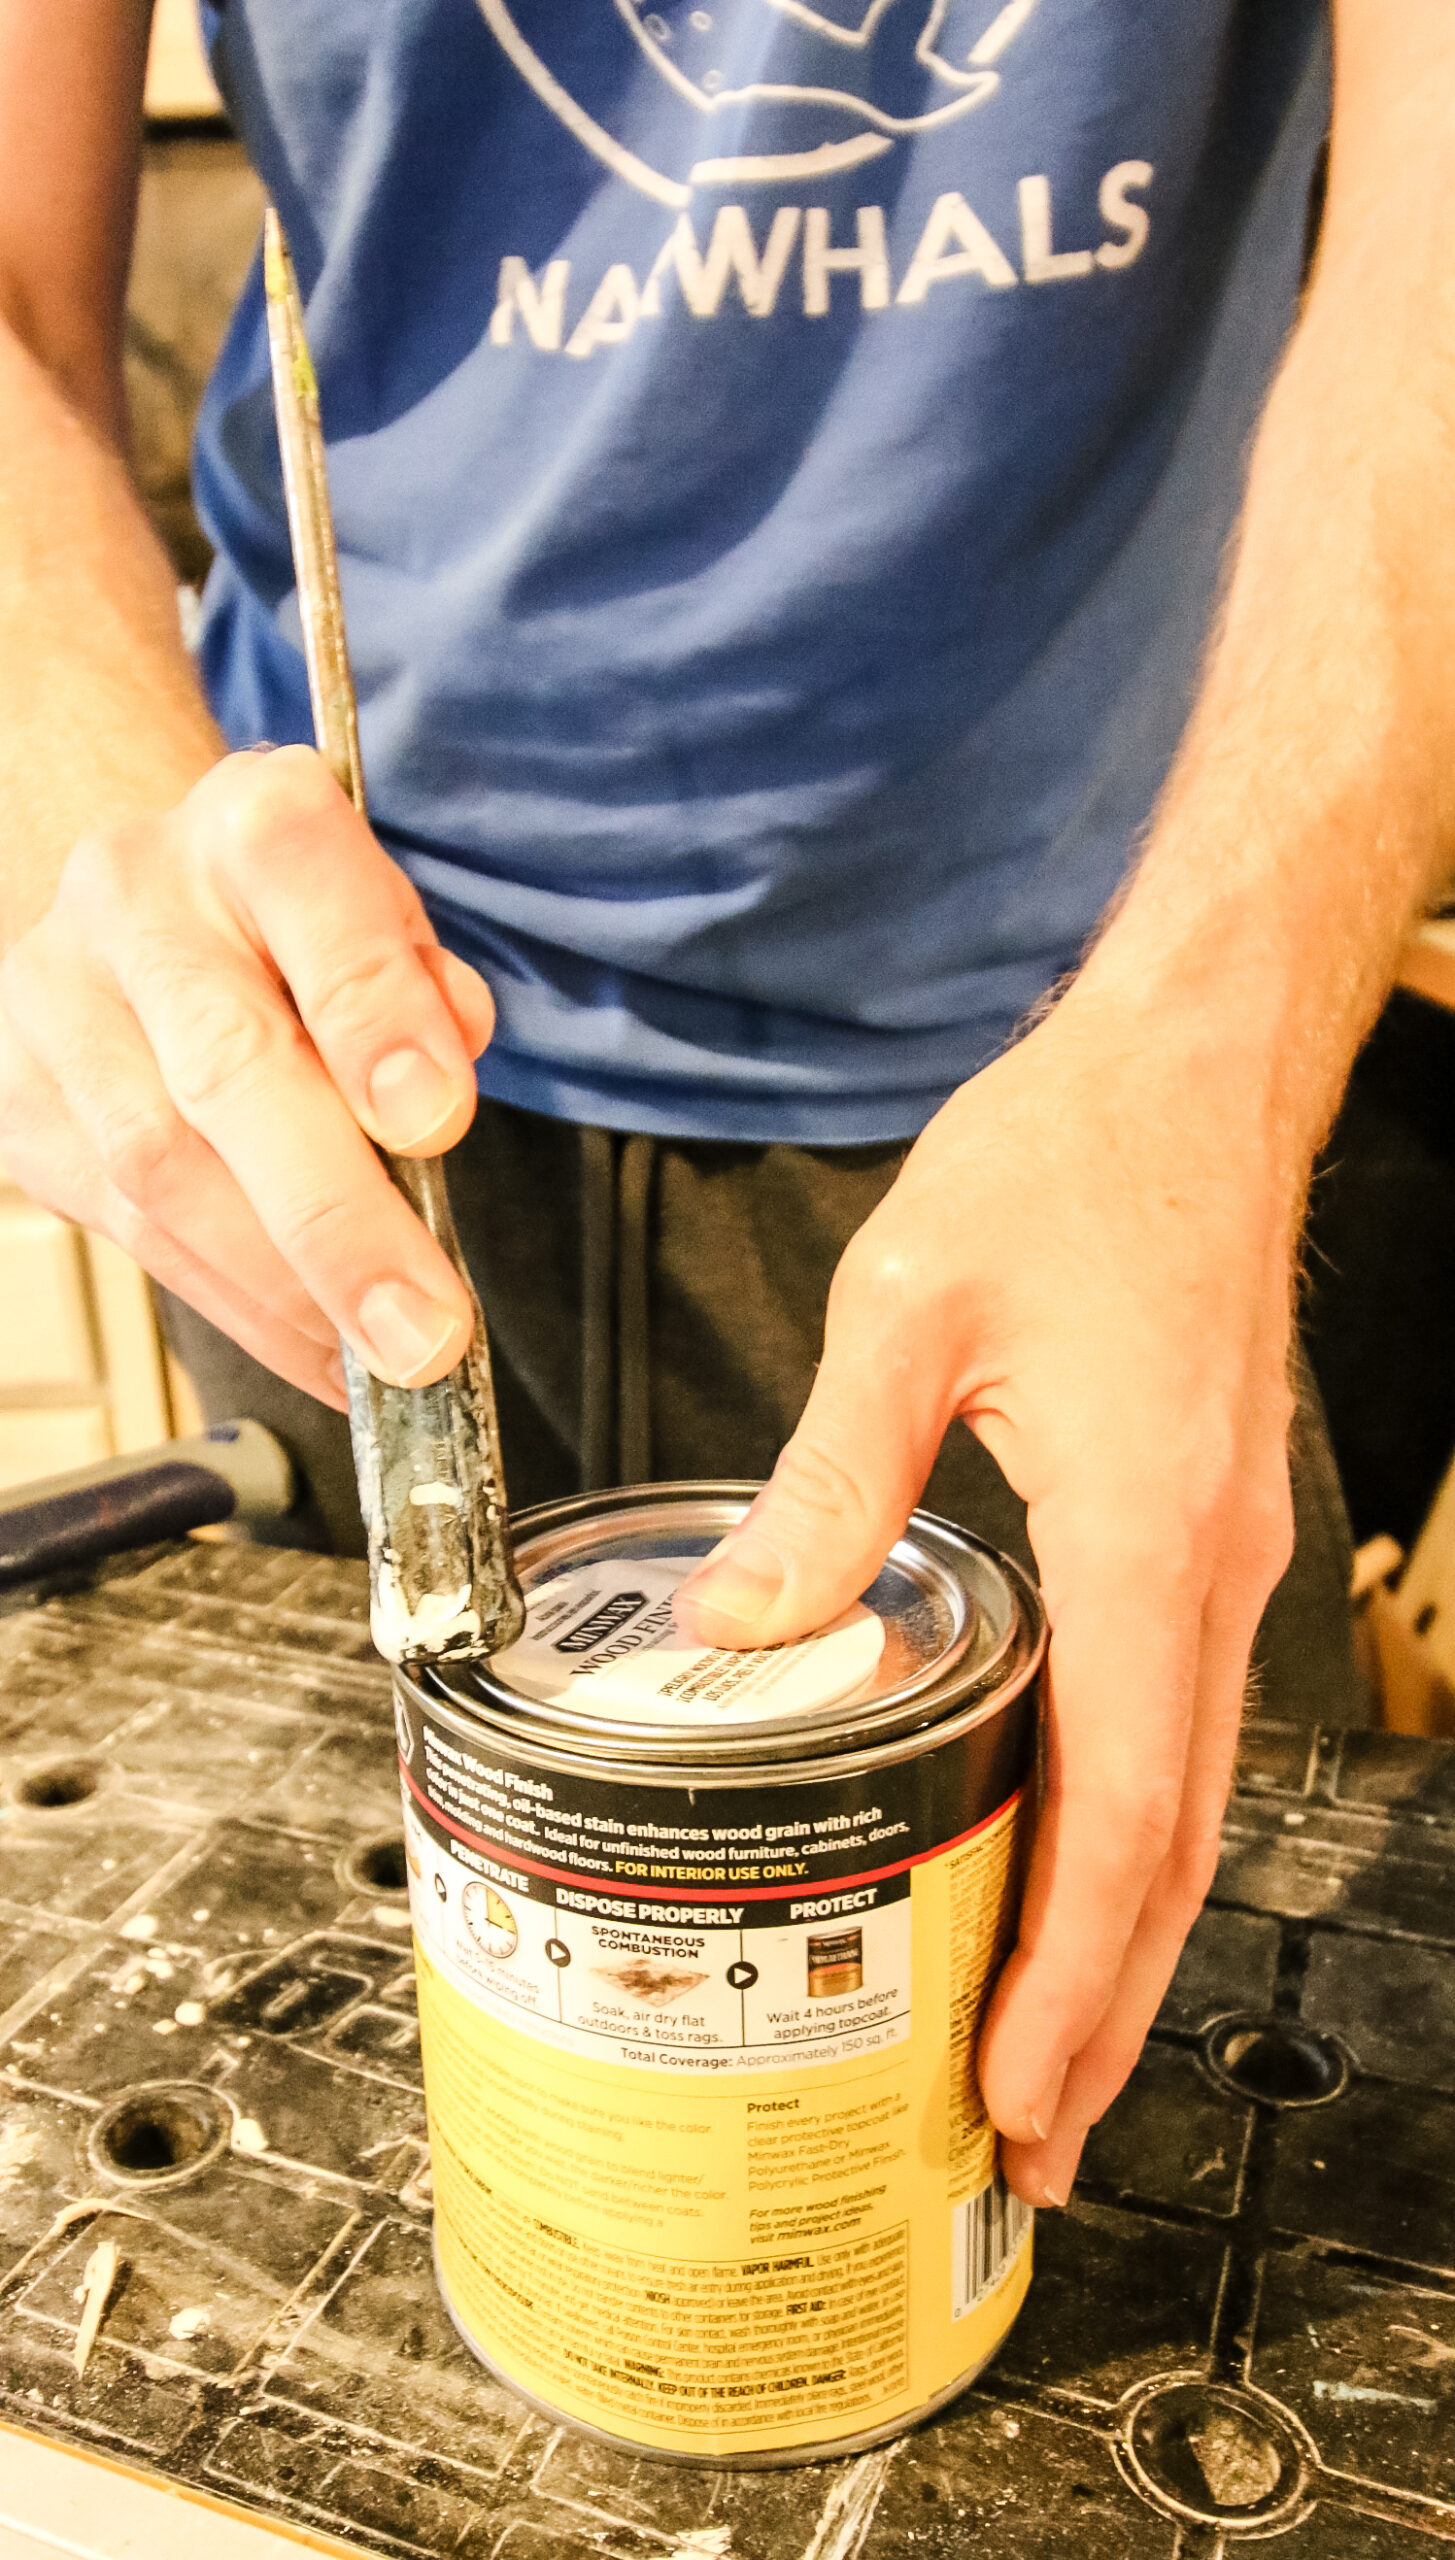
- Flat head screwdriver to open stain can
- Outdoor grade wood stain
- Outdoor grade wood sealant
- Safety gear: gloves, goggles
- Tarps or drop cloths to protect your area
Need help picking the right stain color? We tested 10 stains so you can see which might be perfect for your project!
How to prepare outdoor furniture for staining
The prep work can be way more work than actual staining. But, it’s super important to do good and thorough prep if you want a beautiful finish.
STEP 1: Remove Extras
Take a minute to remove anything you don’t want to stain. This could be cushions, embellishments, or hardware. Get it out of the way so there’s no chance of getting stain on it.
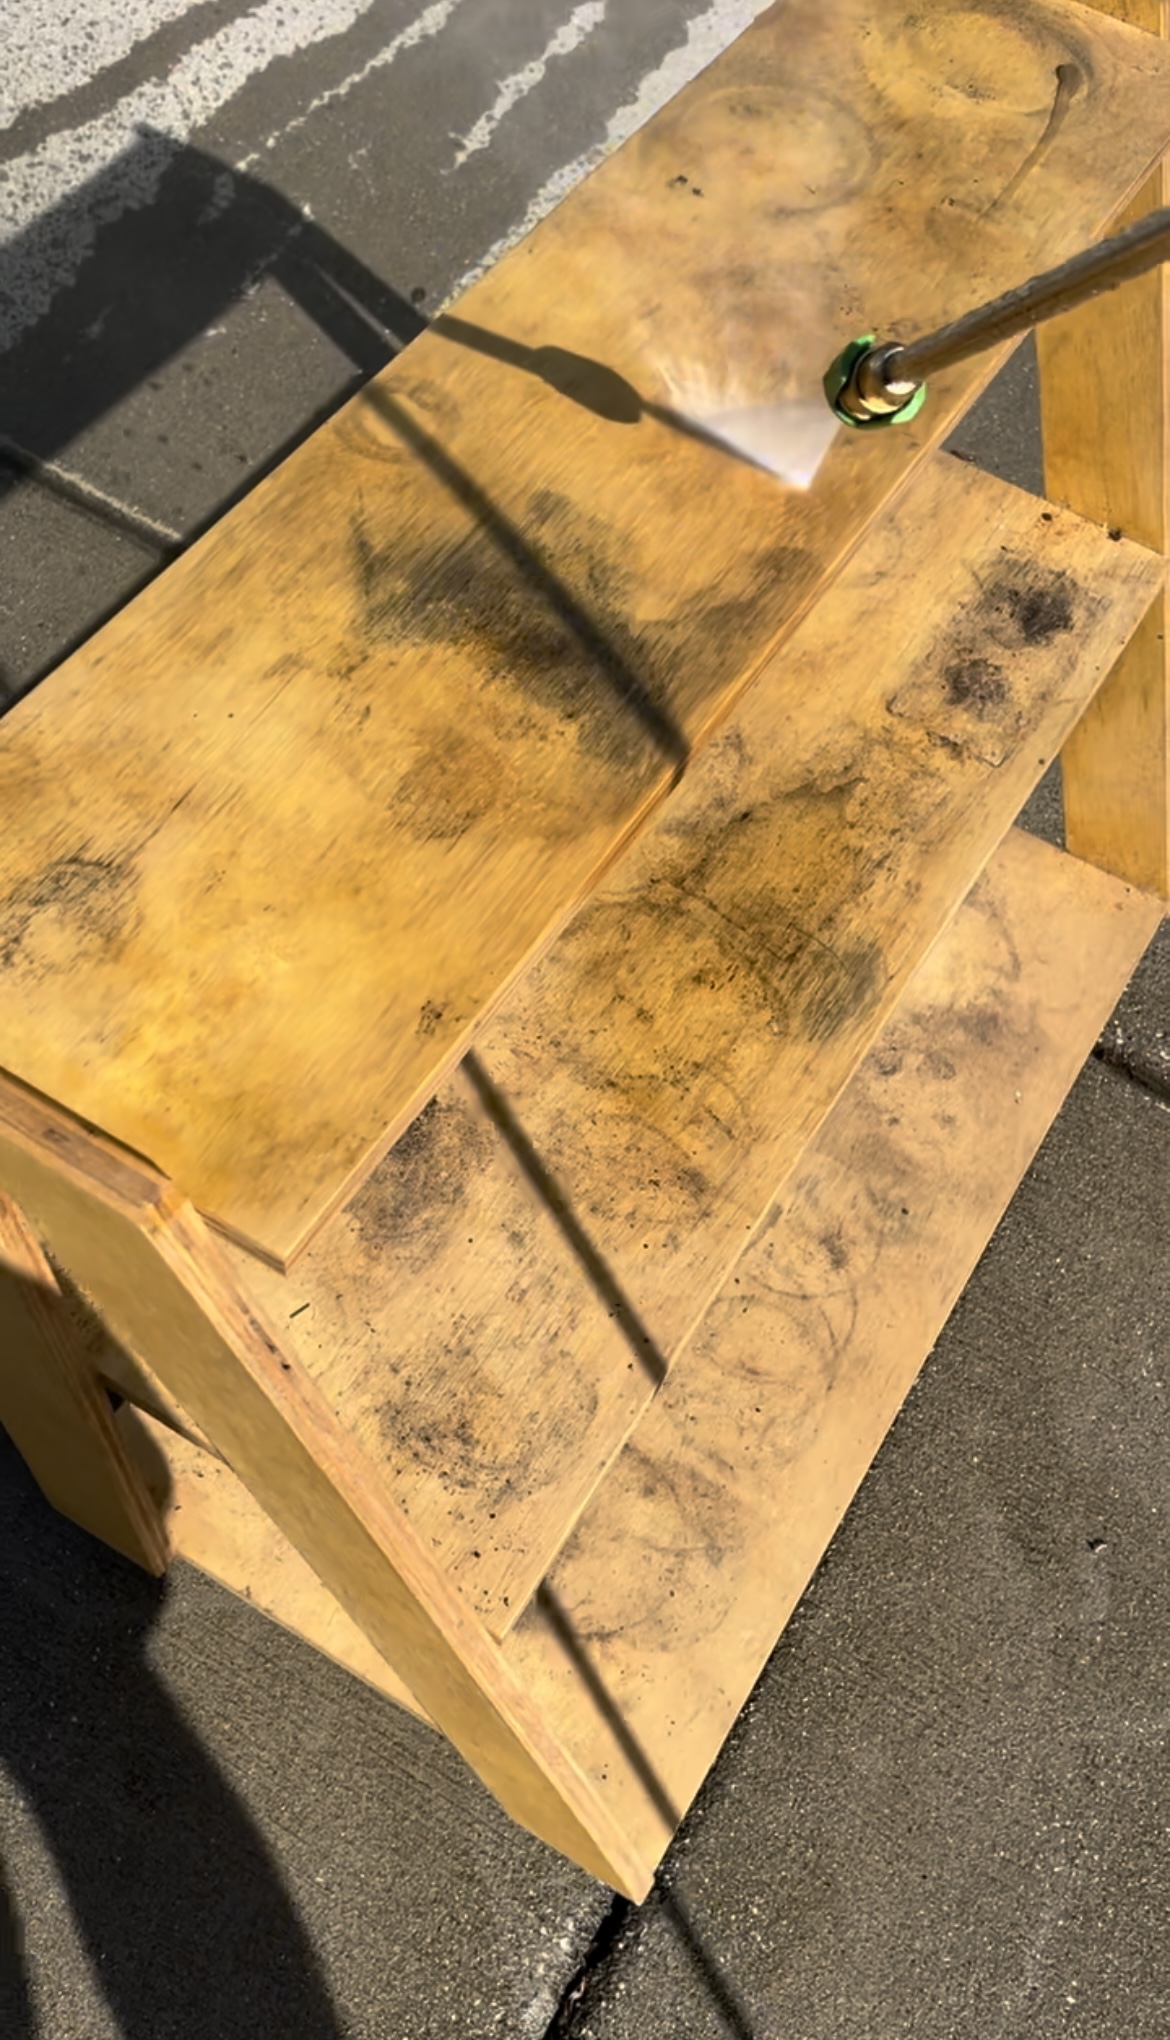
STEP 2: Clean
Now, clean your wood thoroughly. Some people like to sand first, but I can’t stand sanding something that is covered in dirt or junk.
You can wipe down your furniture with a sponge and soapy water, or use a pressure washer if it is very dirty.
You can skip this step if the item is brand new or has been indoors.
STEP 2: Sand
Use a sanding block or electric sander to sand in the direction of the wood grain to take off the existing top coat or sealant.
I like to start with a coarse, low grit sand paper (something with a grit under 100). Then, once you feel that the protectant coating is off, you can sand with a finer grit sandpaper (I usually go with 220 grit) to get a smooth finish.
If the finish will not sand off, you are going to have to strip it. I prefer this stripper and a scraper tool. It sucks, but it’s not hard, just time consuming.

STEP 3: Wipe Clean
Take a dry or slightly damp cloth and wipe the whole thing clean. Get rid of any dust, debris, or residue. You don’t want to stain that to the furniture!
STEP 4: Let Dry
If you use a damp cloth, you will want to give the wood a bit of time to be completely dry before staining it.
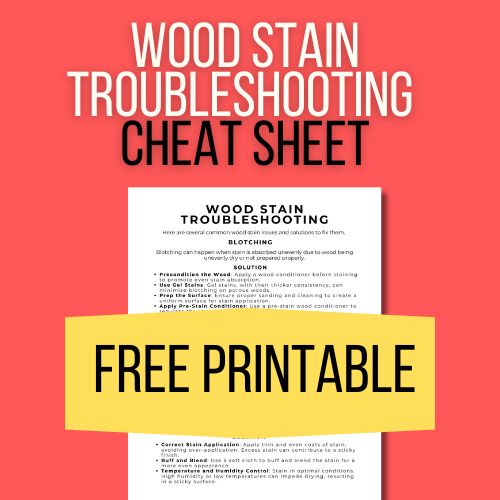
Want help getting the perfect wood stain finish?
Be sure to grab our FREE wood stain troubleshooting cheat sheet, with the top staining problems + easy solutions for each!

Safety first!
Remember to always follow safety procedures when working with wood stain. That means wearing protective gear such as safety glasses, gloves, and dust mask and working in a well ventilated space.
Steps to stain furniture for outdoors:
Once your furniture is fully prepped, you are ready to apply the stain!
STEP 1: Set up your space
Choose a space to do your staining. You want somewhere open and well ventilated, if possible.
Lay out drop cloths and move anything that could have a chance of getting stain on it.
Go ahead and gather your materials and have them all ready to go.
STEP 2: Stir your stain
Do not shake wood stain – stir it instead. This is actually important because stain pigment can sink and settle to the bottom, leaving you with a watery light color on top.
For an even finish and true color, stir stir stir first!
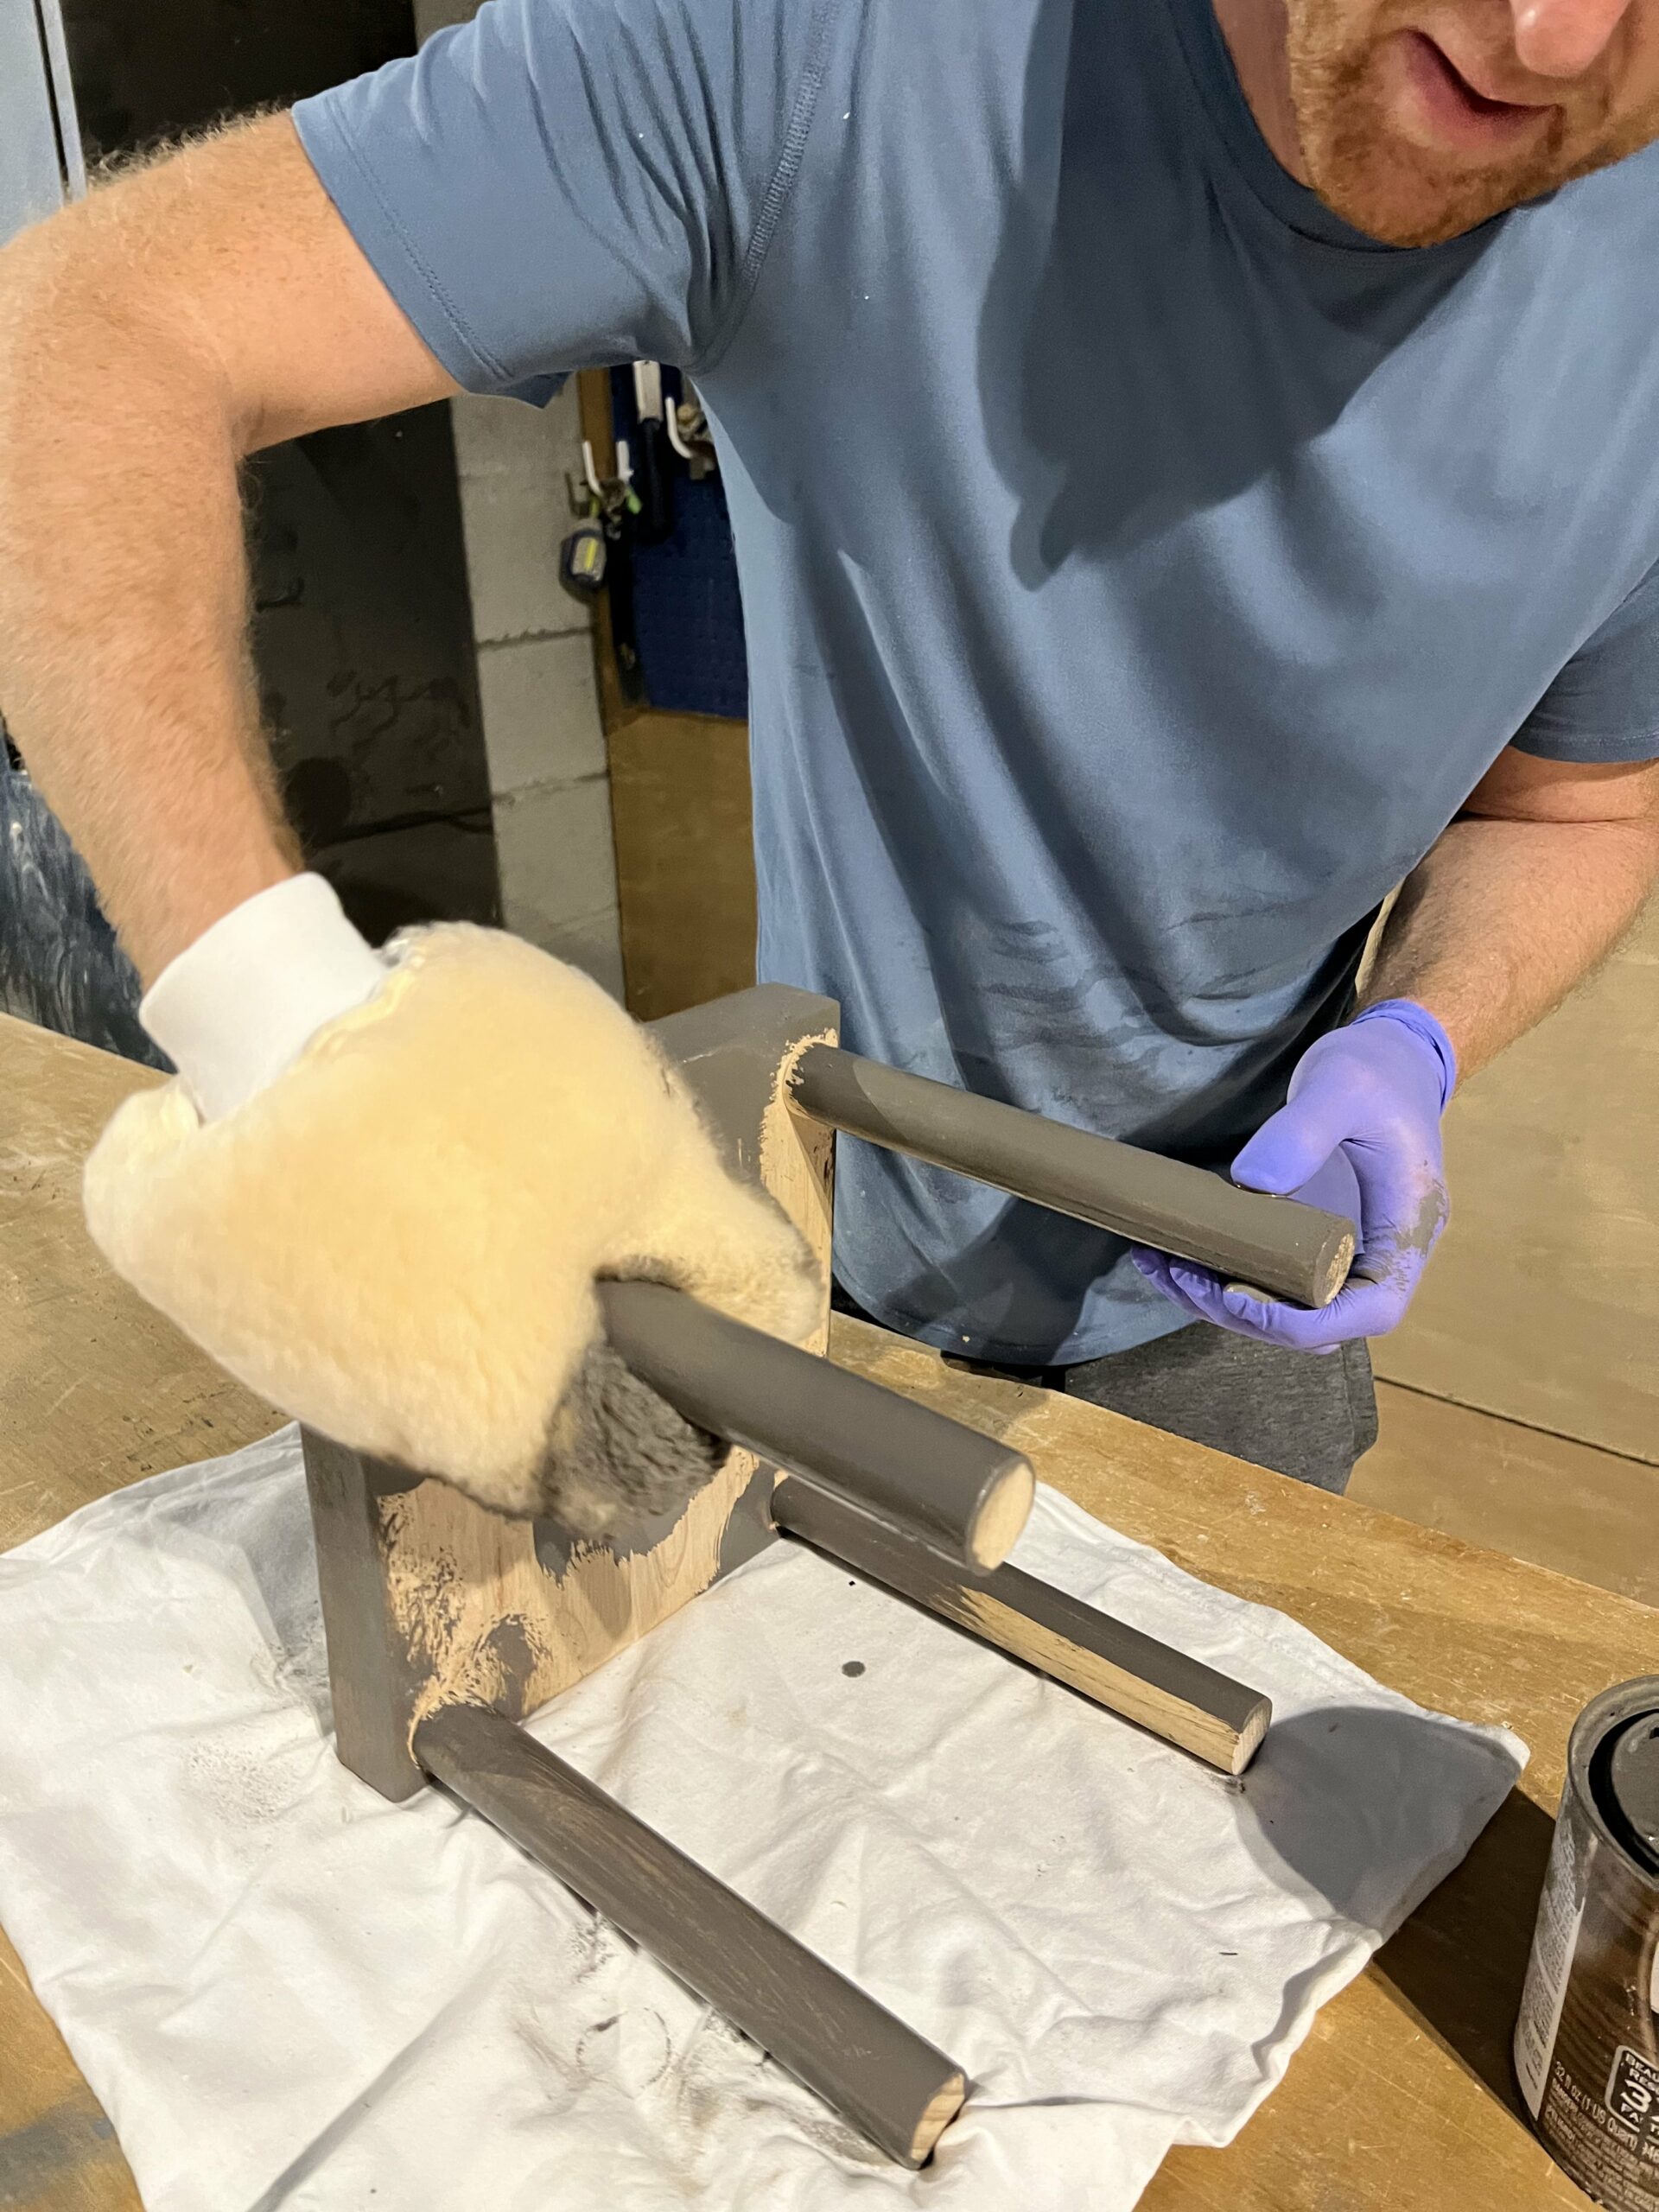
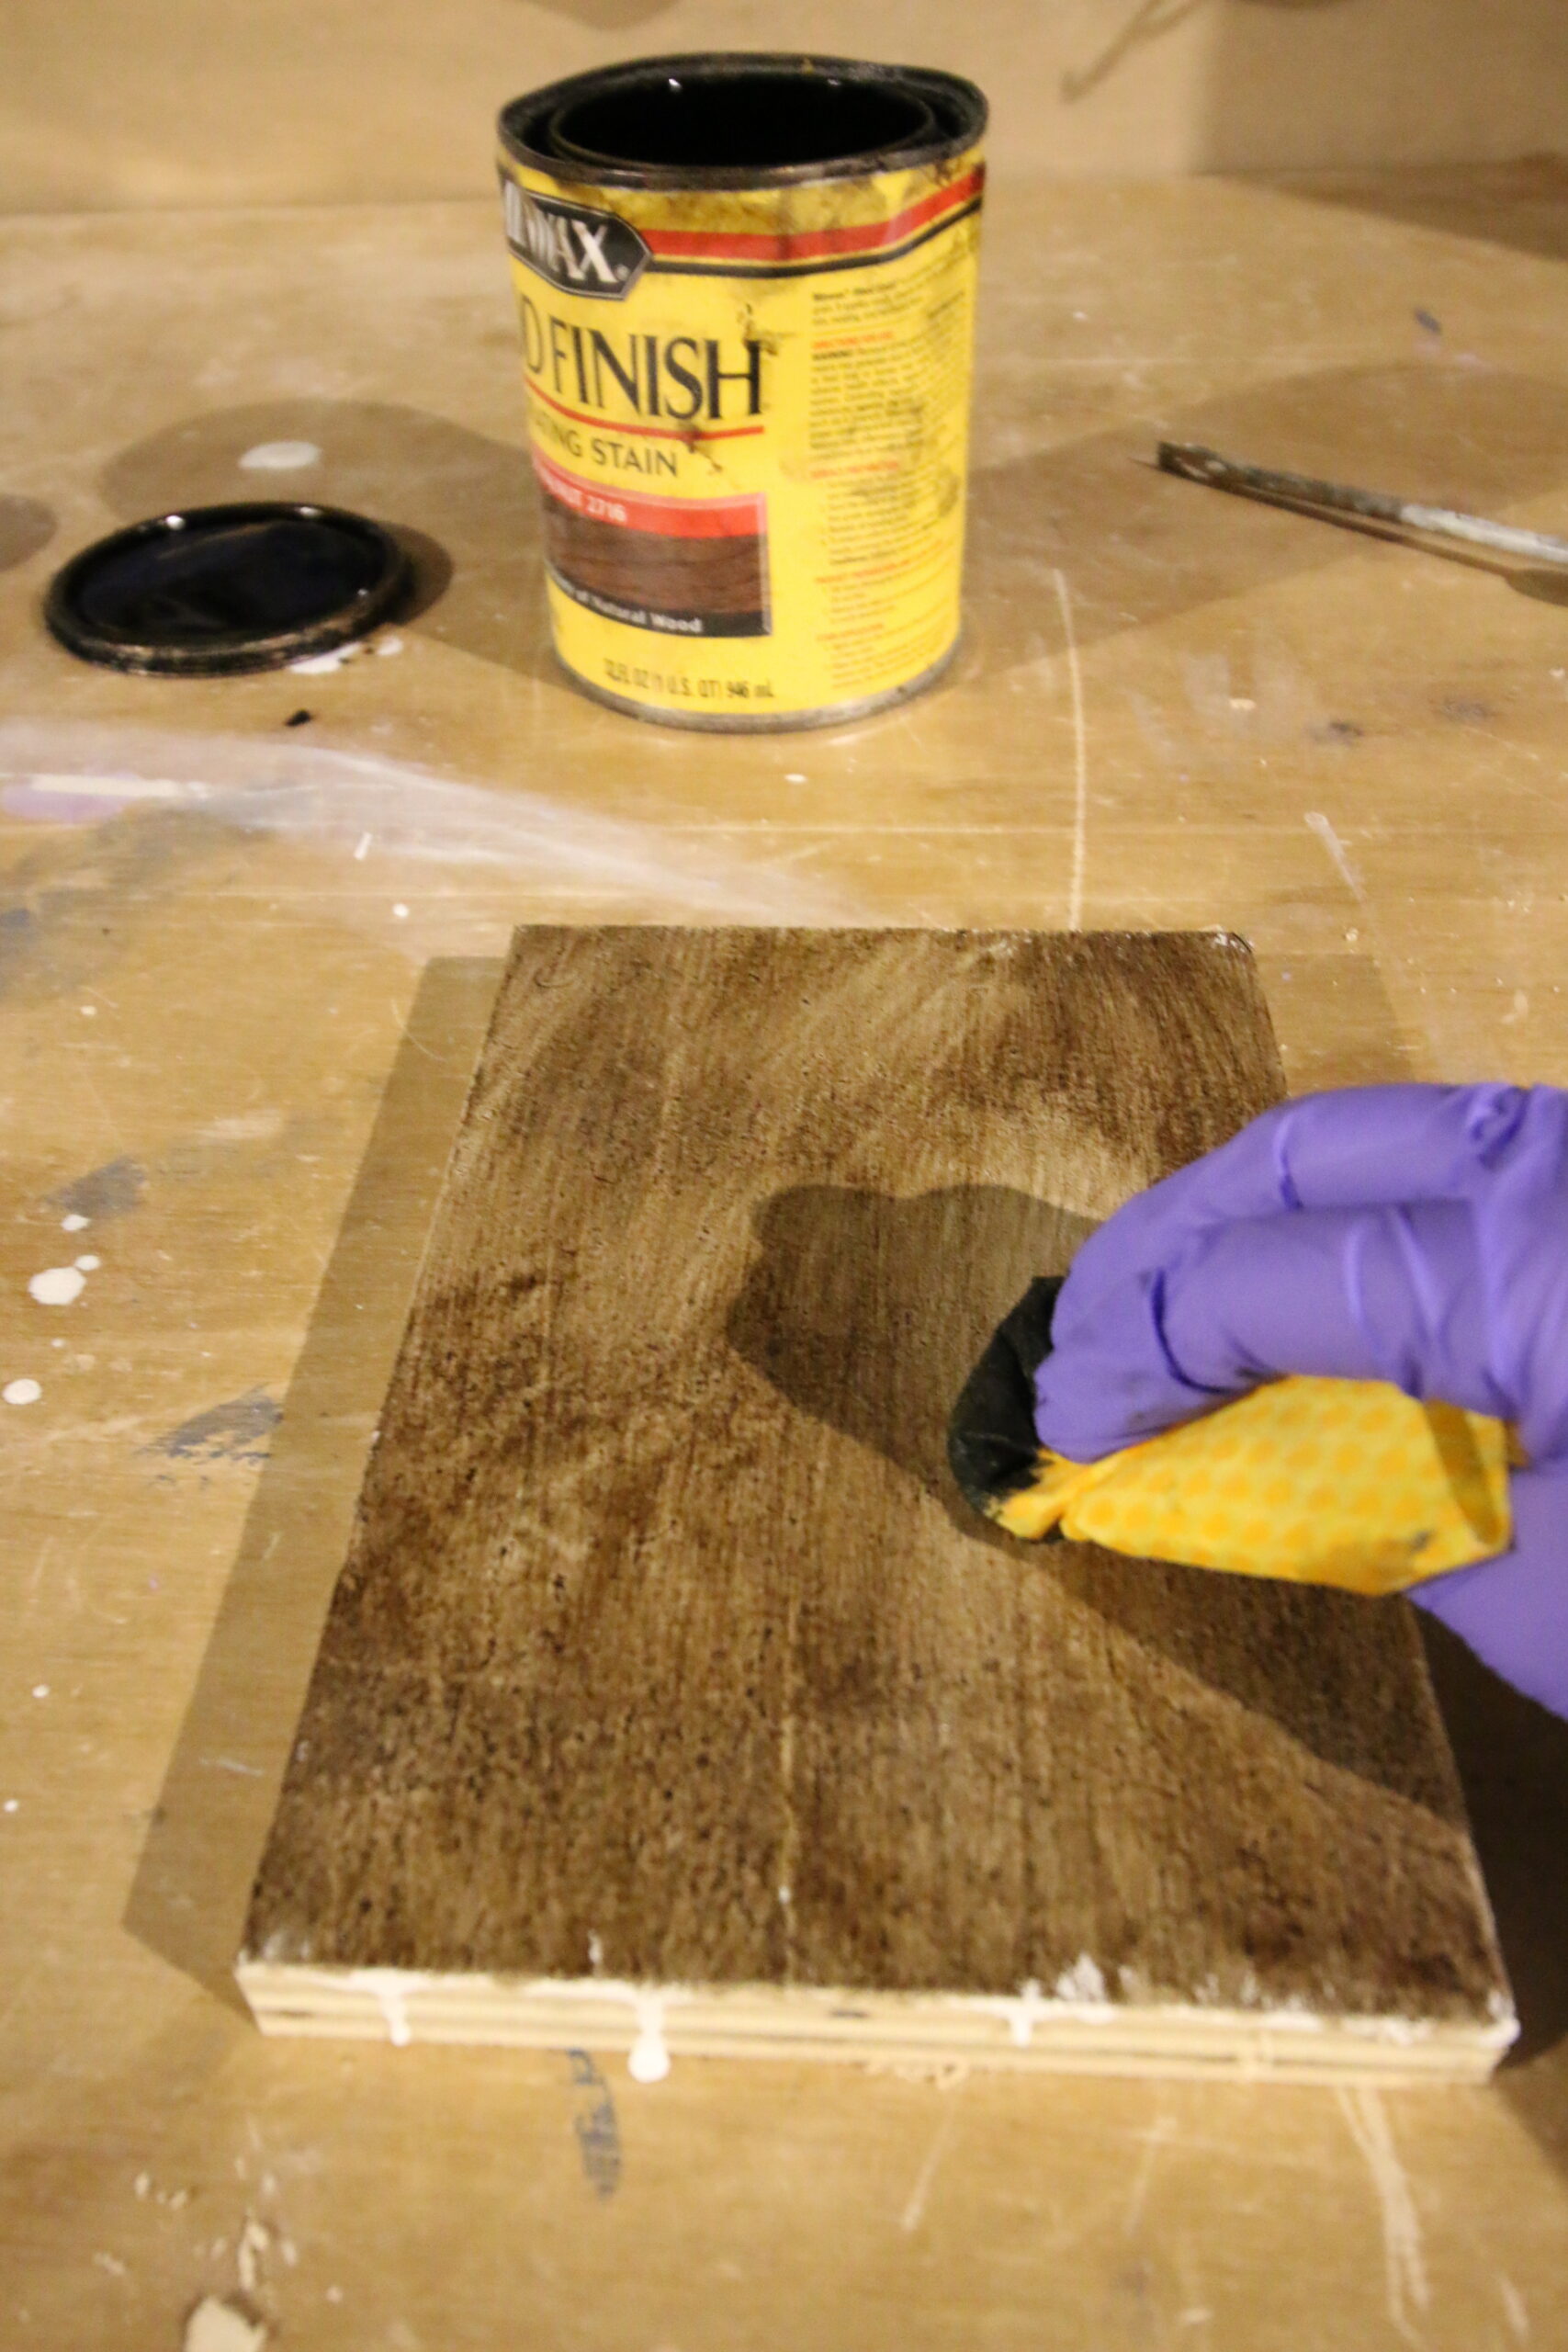
STEP 3: Apply Stain
Apply stain in the direction of the wood grain. You can use a link free cloth or paint brush to do so.
Go slowly, taking your time to check for drips or pooling as you go.
Every 5 minutes or so, go back over your last batch of work with a clean cloth to wipe up any excess, pooling, or dripping stain. This is important to avoid a sticky finish later.
STEP 4: Let Dry
Let it dry according to the directions on your can of stain.
STEP 5: Apply second coat (if you want it)
Assess the color of your stain. Are you happy with it? If not, now is the time to apply a second coat.
You can layer 2 coats of the same color of stain for a deeper/darker finish or layer in a different color for a unique look.
I highly, highly recommend testing on scrap wood before experimenting on your actual piece of furniture. You want to be sure you really like the look before committing!
STEP 6: Let Dry
Let it dry completely, according to the dry time on the can, before applying a top coat.
Remember that things will take longer to dry in very wet/humid or cool conditions.
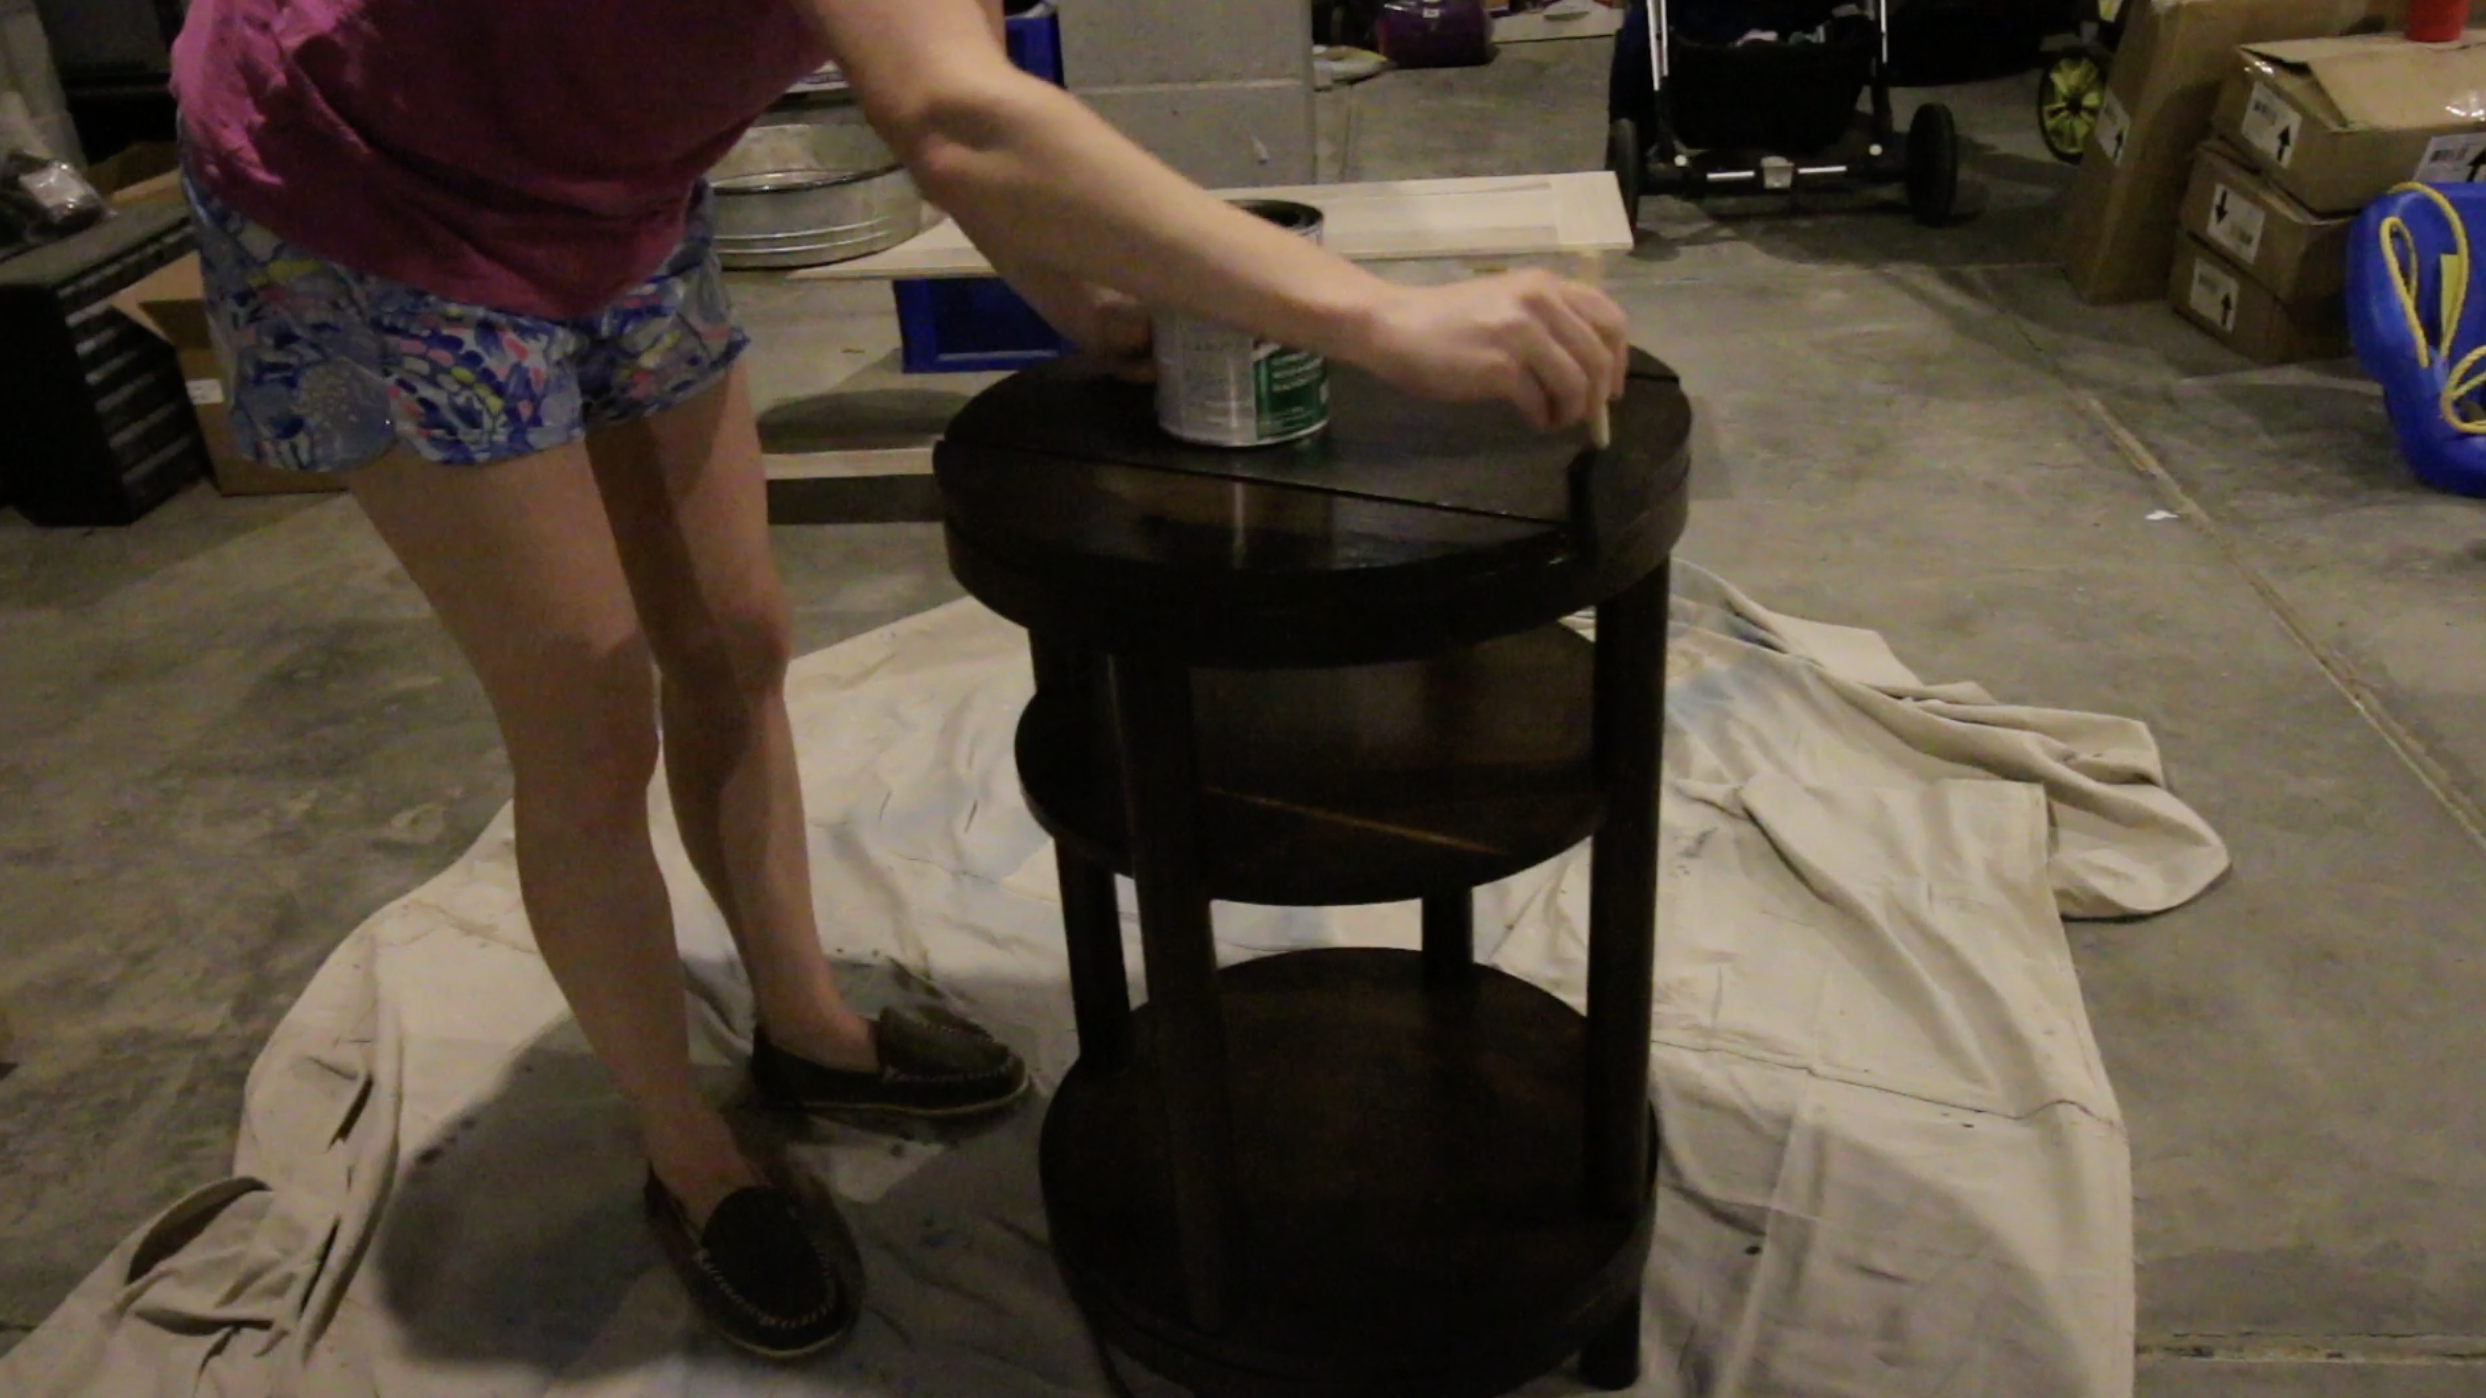
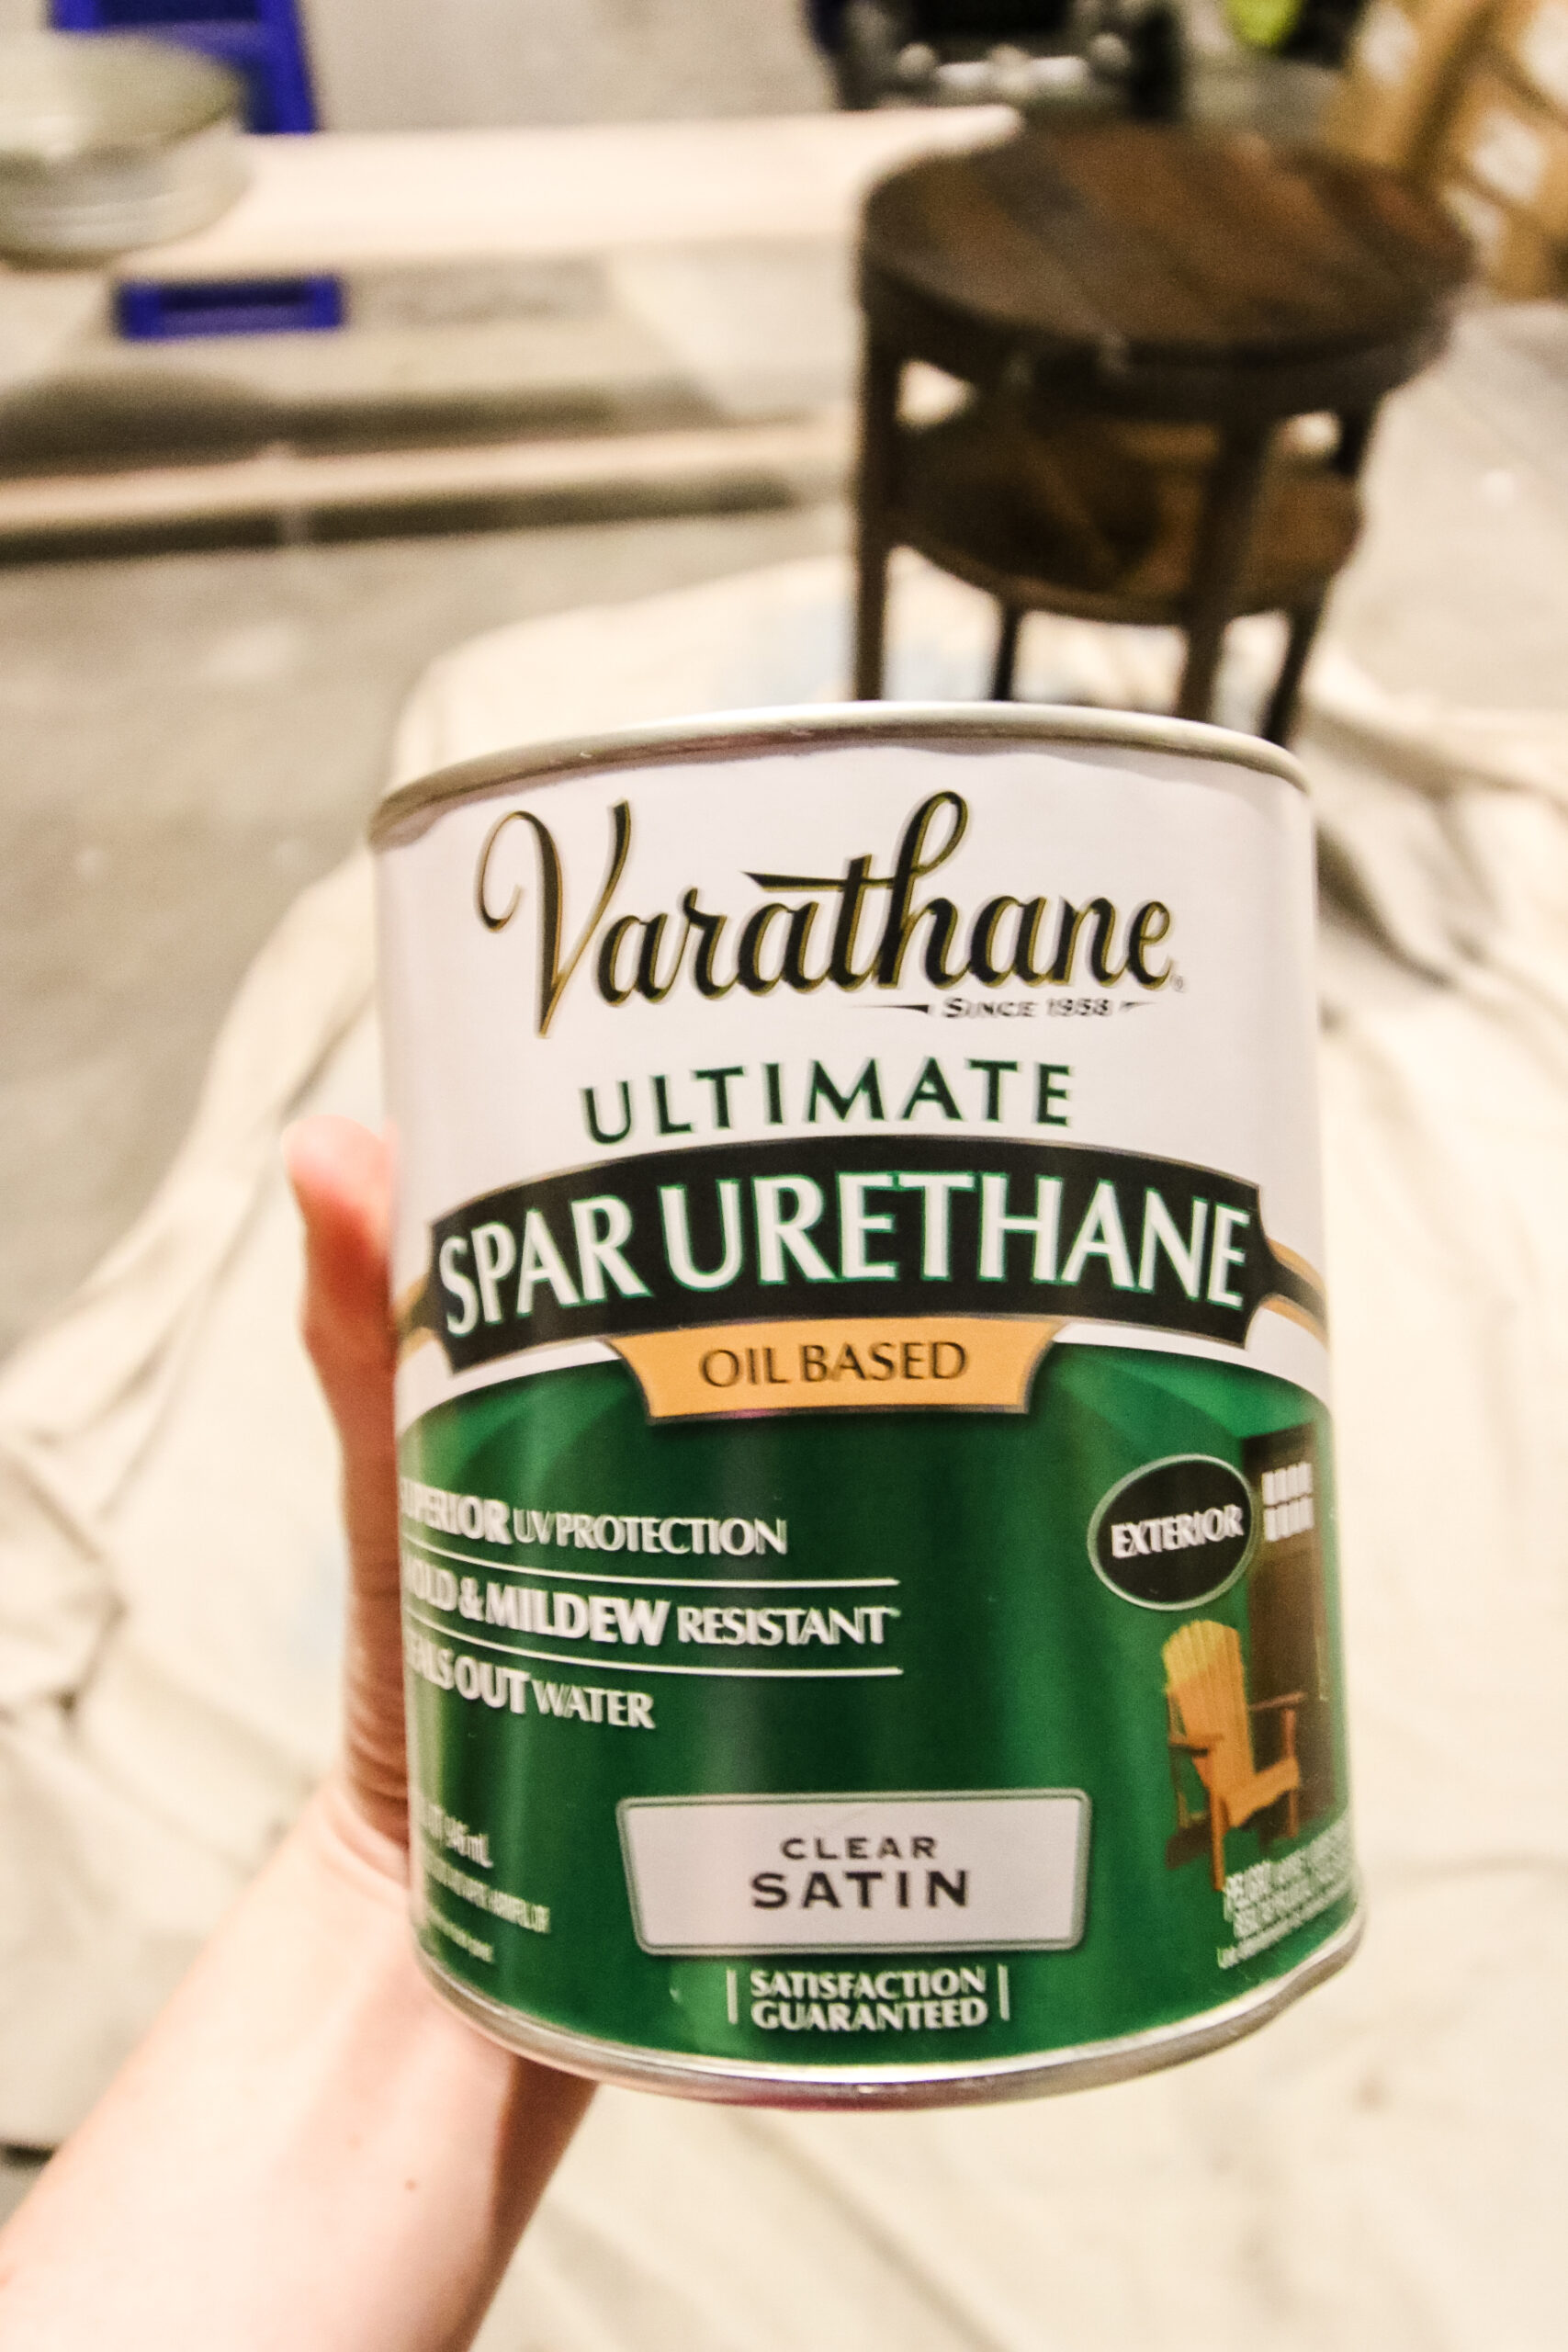
STEP 7: Apply Sealant
It is super important to apply a sealant to protect your wood furniture, especially if it’s going outside. I suggest an oil based spar urethane.
You can apply this with a paint brush, in the direction of the wood grain. I suggest doing 2-4 thin coats. Thick coats tend to lead to drips and bumps – which you don’t want!
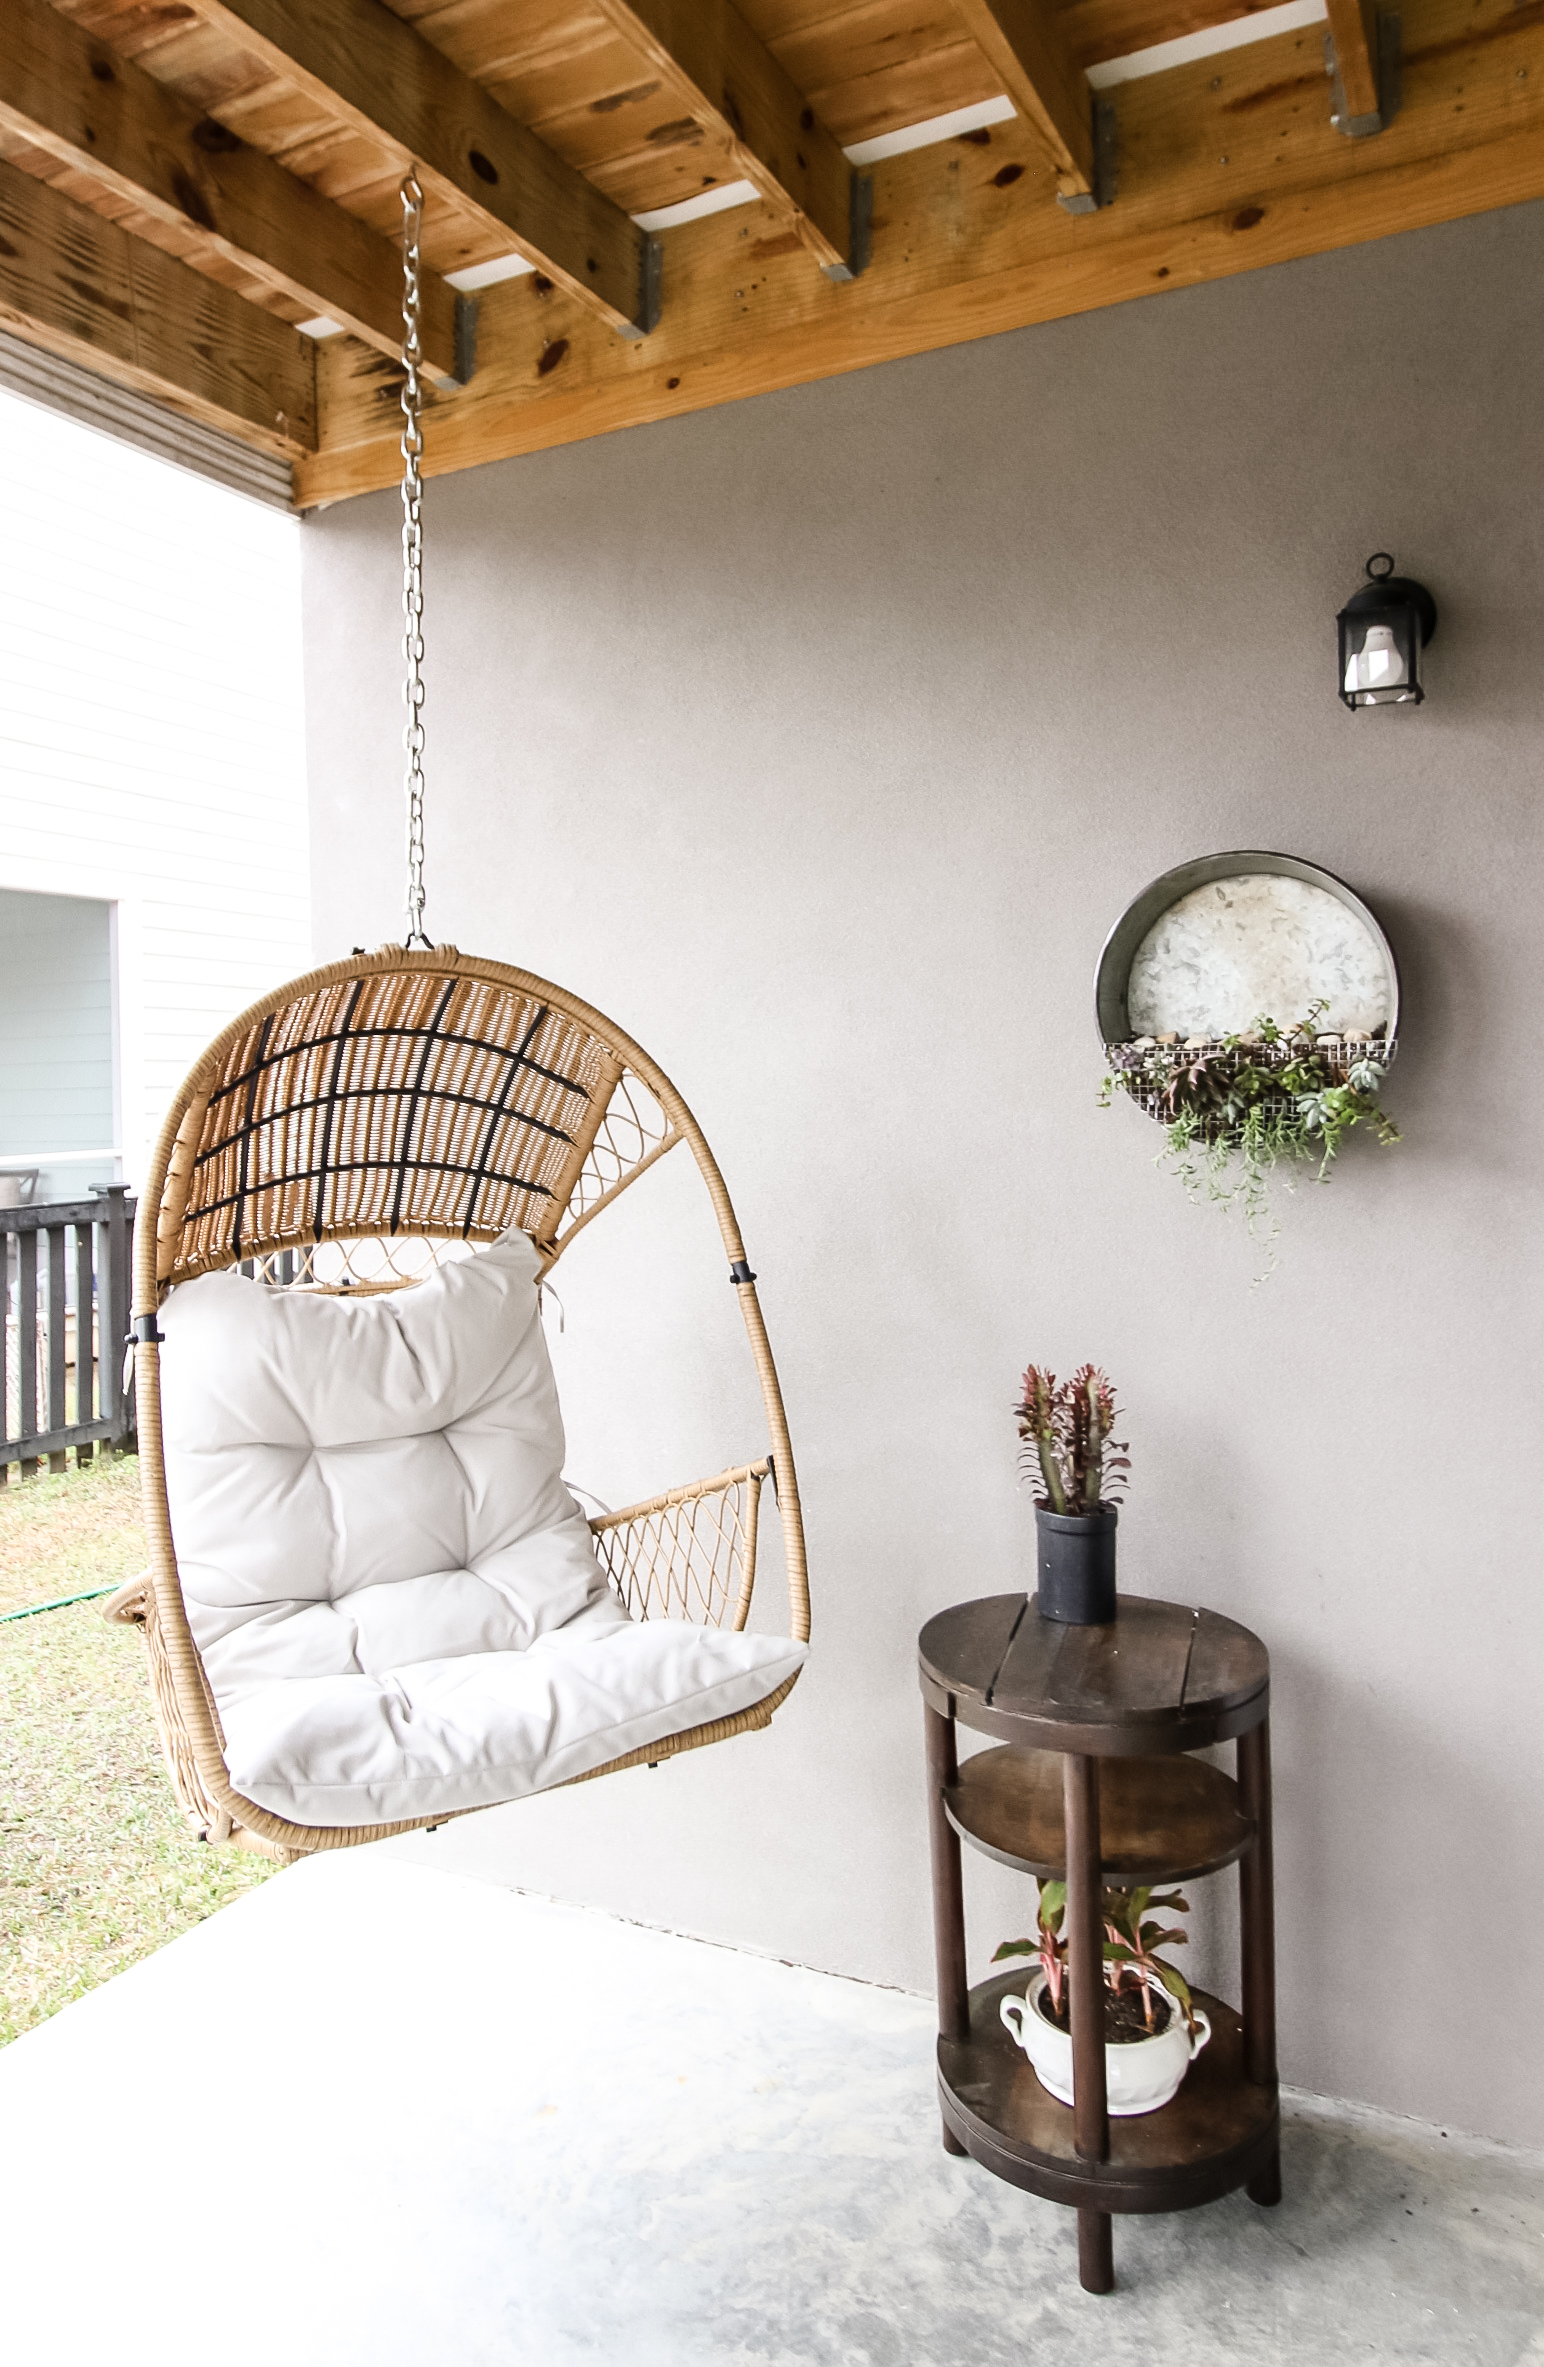
STEP 8: Let Dry
I know, I know, you are ready to enjoy it. But, let your piece dry completely before handling it. Trust me – you don’t want to get dings or smudges in the finish!


Looking for something?
We’ve been doing this since 2012 so we have a LOT of blog posts!
Search stuff like: Ceiling Projects | DIY Plant Stands | Thrift Flips


Hello, I’m Morgan, half of the creative force behind CharlestonCrafted.com! With a passion for DIY that dates back to 2012, I’ve transformed three homes and now I’m dedicated to helping others craft their dream spaces. Let’s turn your house into a home together!