
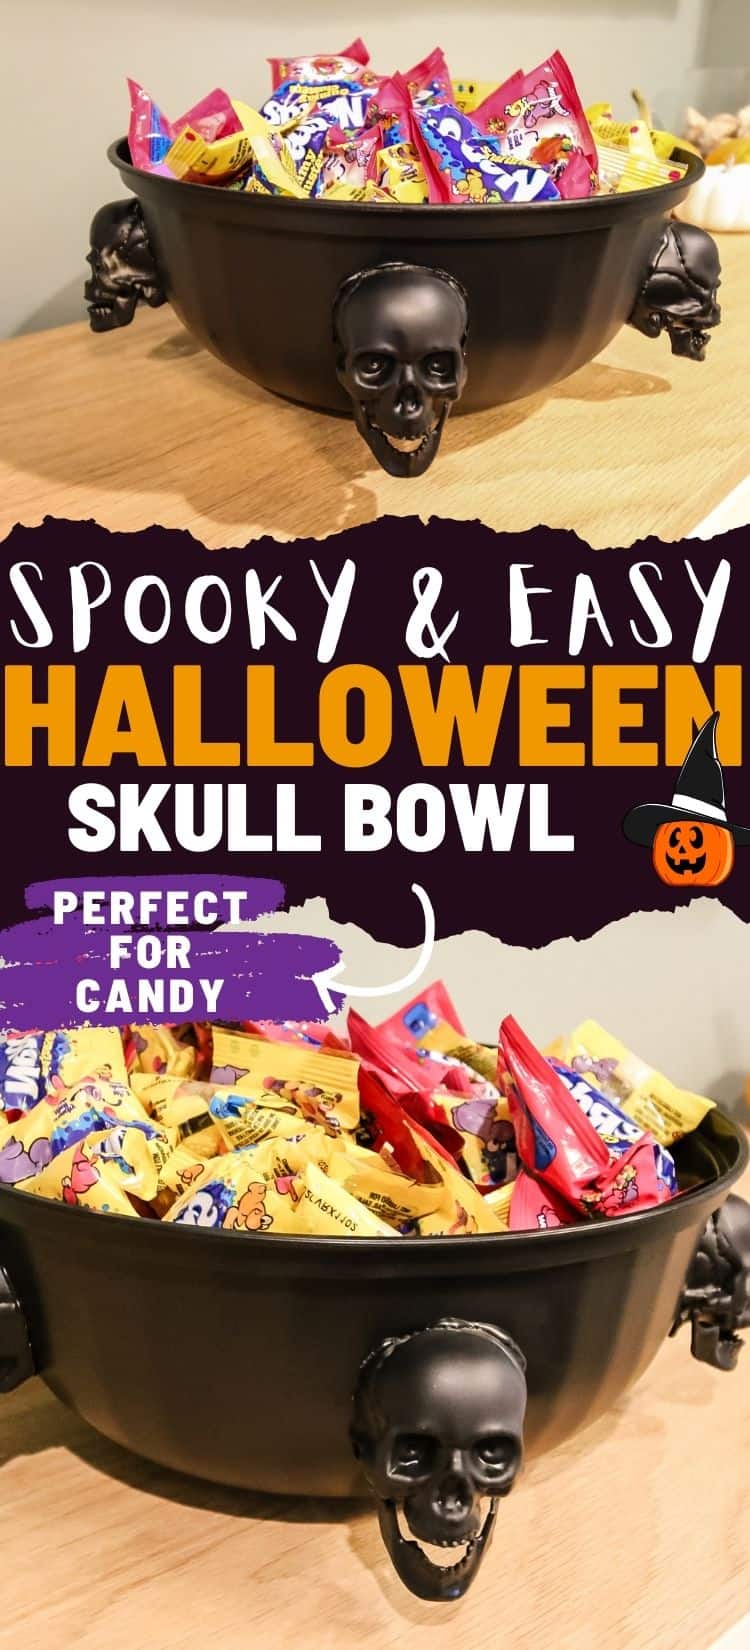
Discover the joy of crafting this Halloween with our DIY Skull Halloween Candy Bowl tutorial. Inspired by a stylish yet expensive version from West Elm, learn how to create a spooky and chic candy bowl using affordable materials like plastic bowls and skeleton heads.
I have so much fun decorating for Halloween every year. It’s a great time to dust off your craft supplies and get creative if you haven’t in a while.
I was recently browsing the West Elm Halloween collection and landed on this terracotta skull candy bowl. Super cute and chic for Halloween, but I knew that I could make a similar version for less than the $56 price tag.
Of course, the West Elm version is a beautiful terra cotta material, but I am going to show you how to build a plastic version for less than $6!
DIY Skull Halloween Candy Bowl
Here’s how easy it is to make a spooky skull bowl for your Halloween candy!
Supplies needed to make:
- Large plastic bowl
- 2-3″ skeleton heads
- Hack saw or other hand saw
- Soft measuring tape (like for sewing)
- White crayon or chalk
- Hot glue
- Matte black spray paint
A note on spray painting bowls: I did decide to spray paint my entire bowl to give it a matte look – similar to the original’s terra cotta.
However, I would not recommend eating food out of a spray painted bowl, or putting it in the dishwasher.
If you want something food-safe, leave the inside of the bowl unpainted!
Steps to make it:
Here are the simple steps to make this skull halloween bowl!
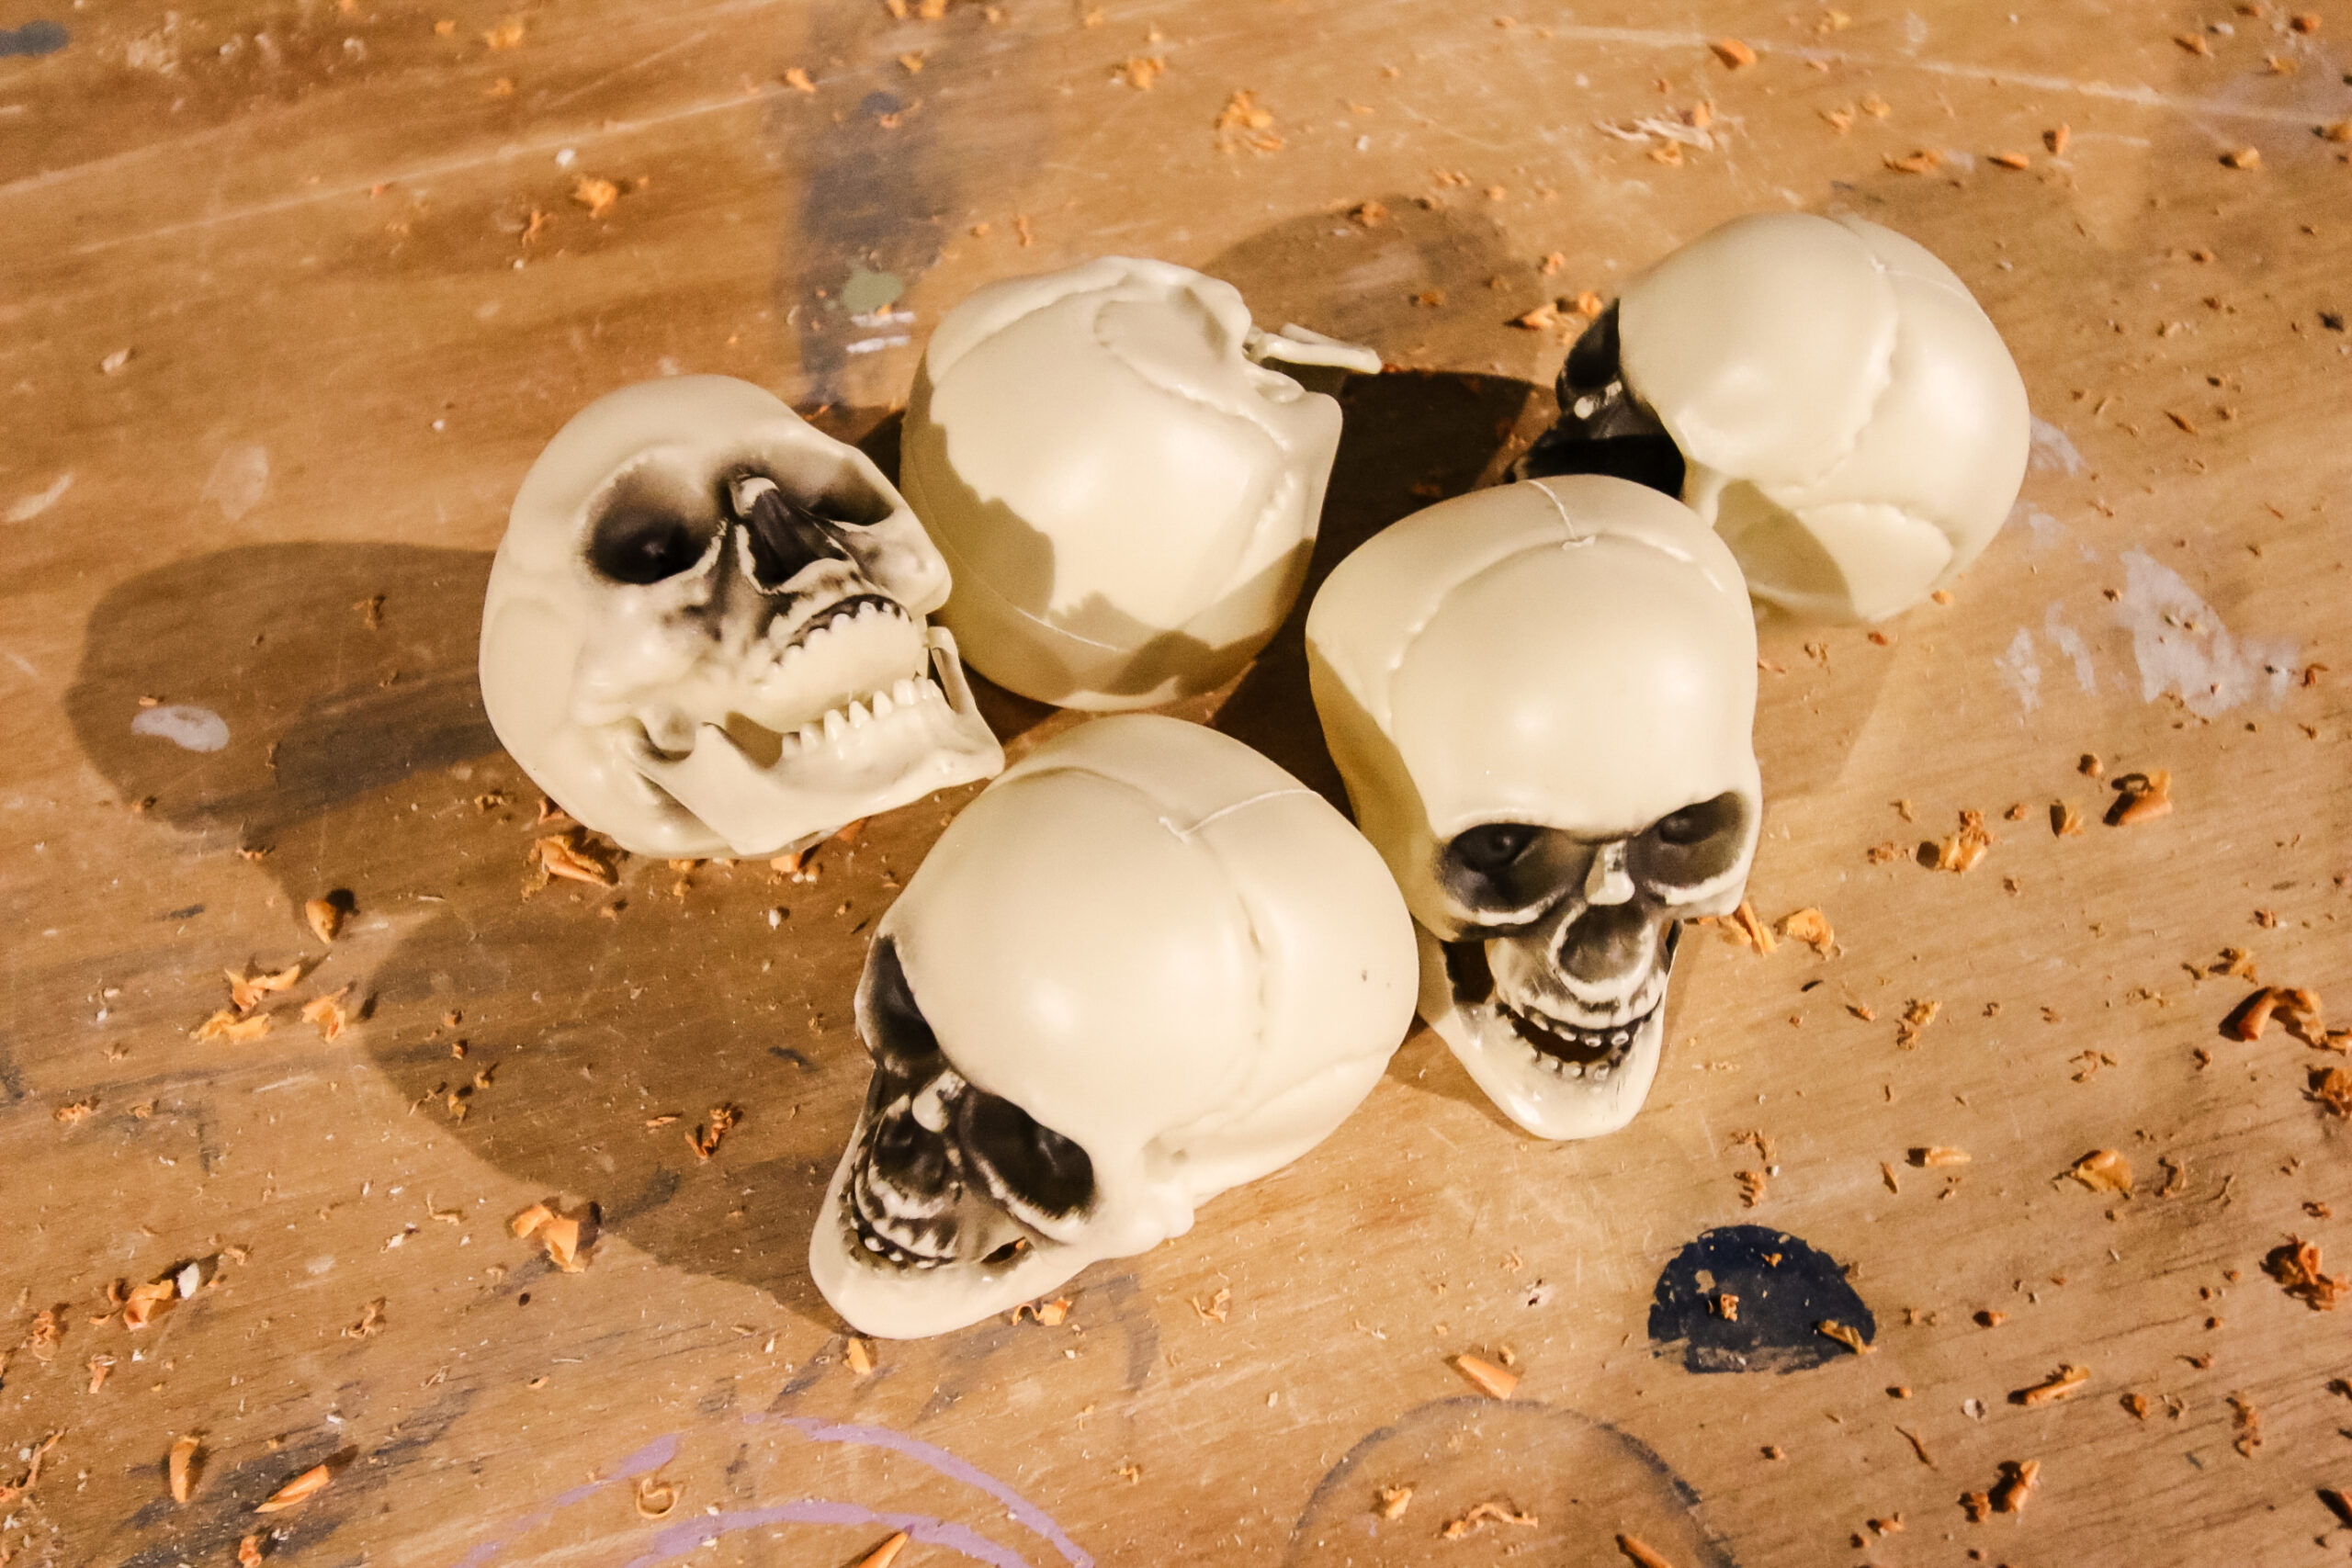
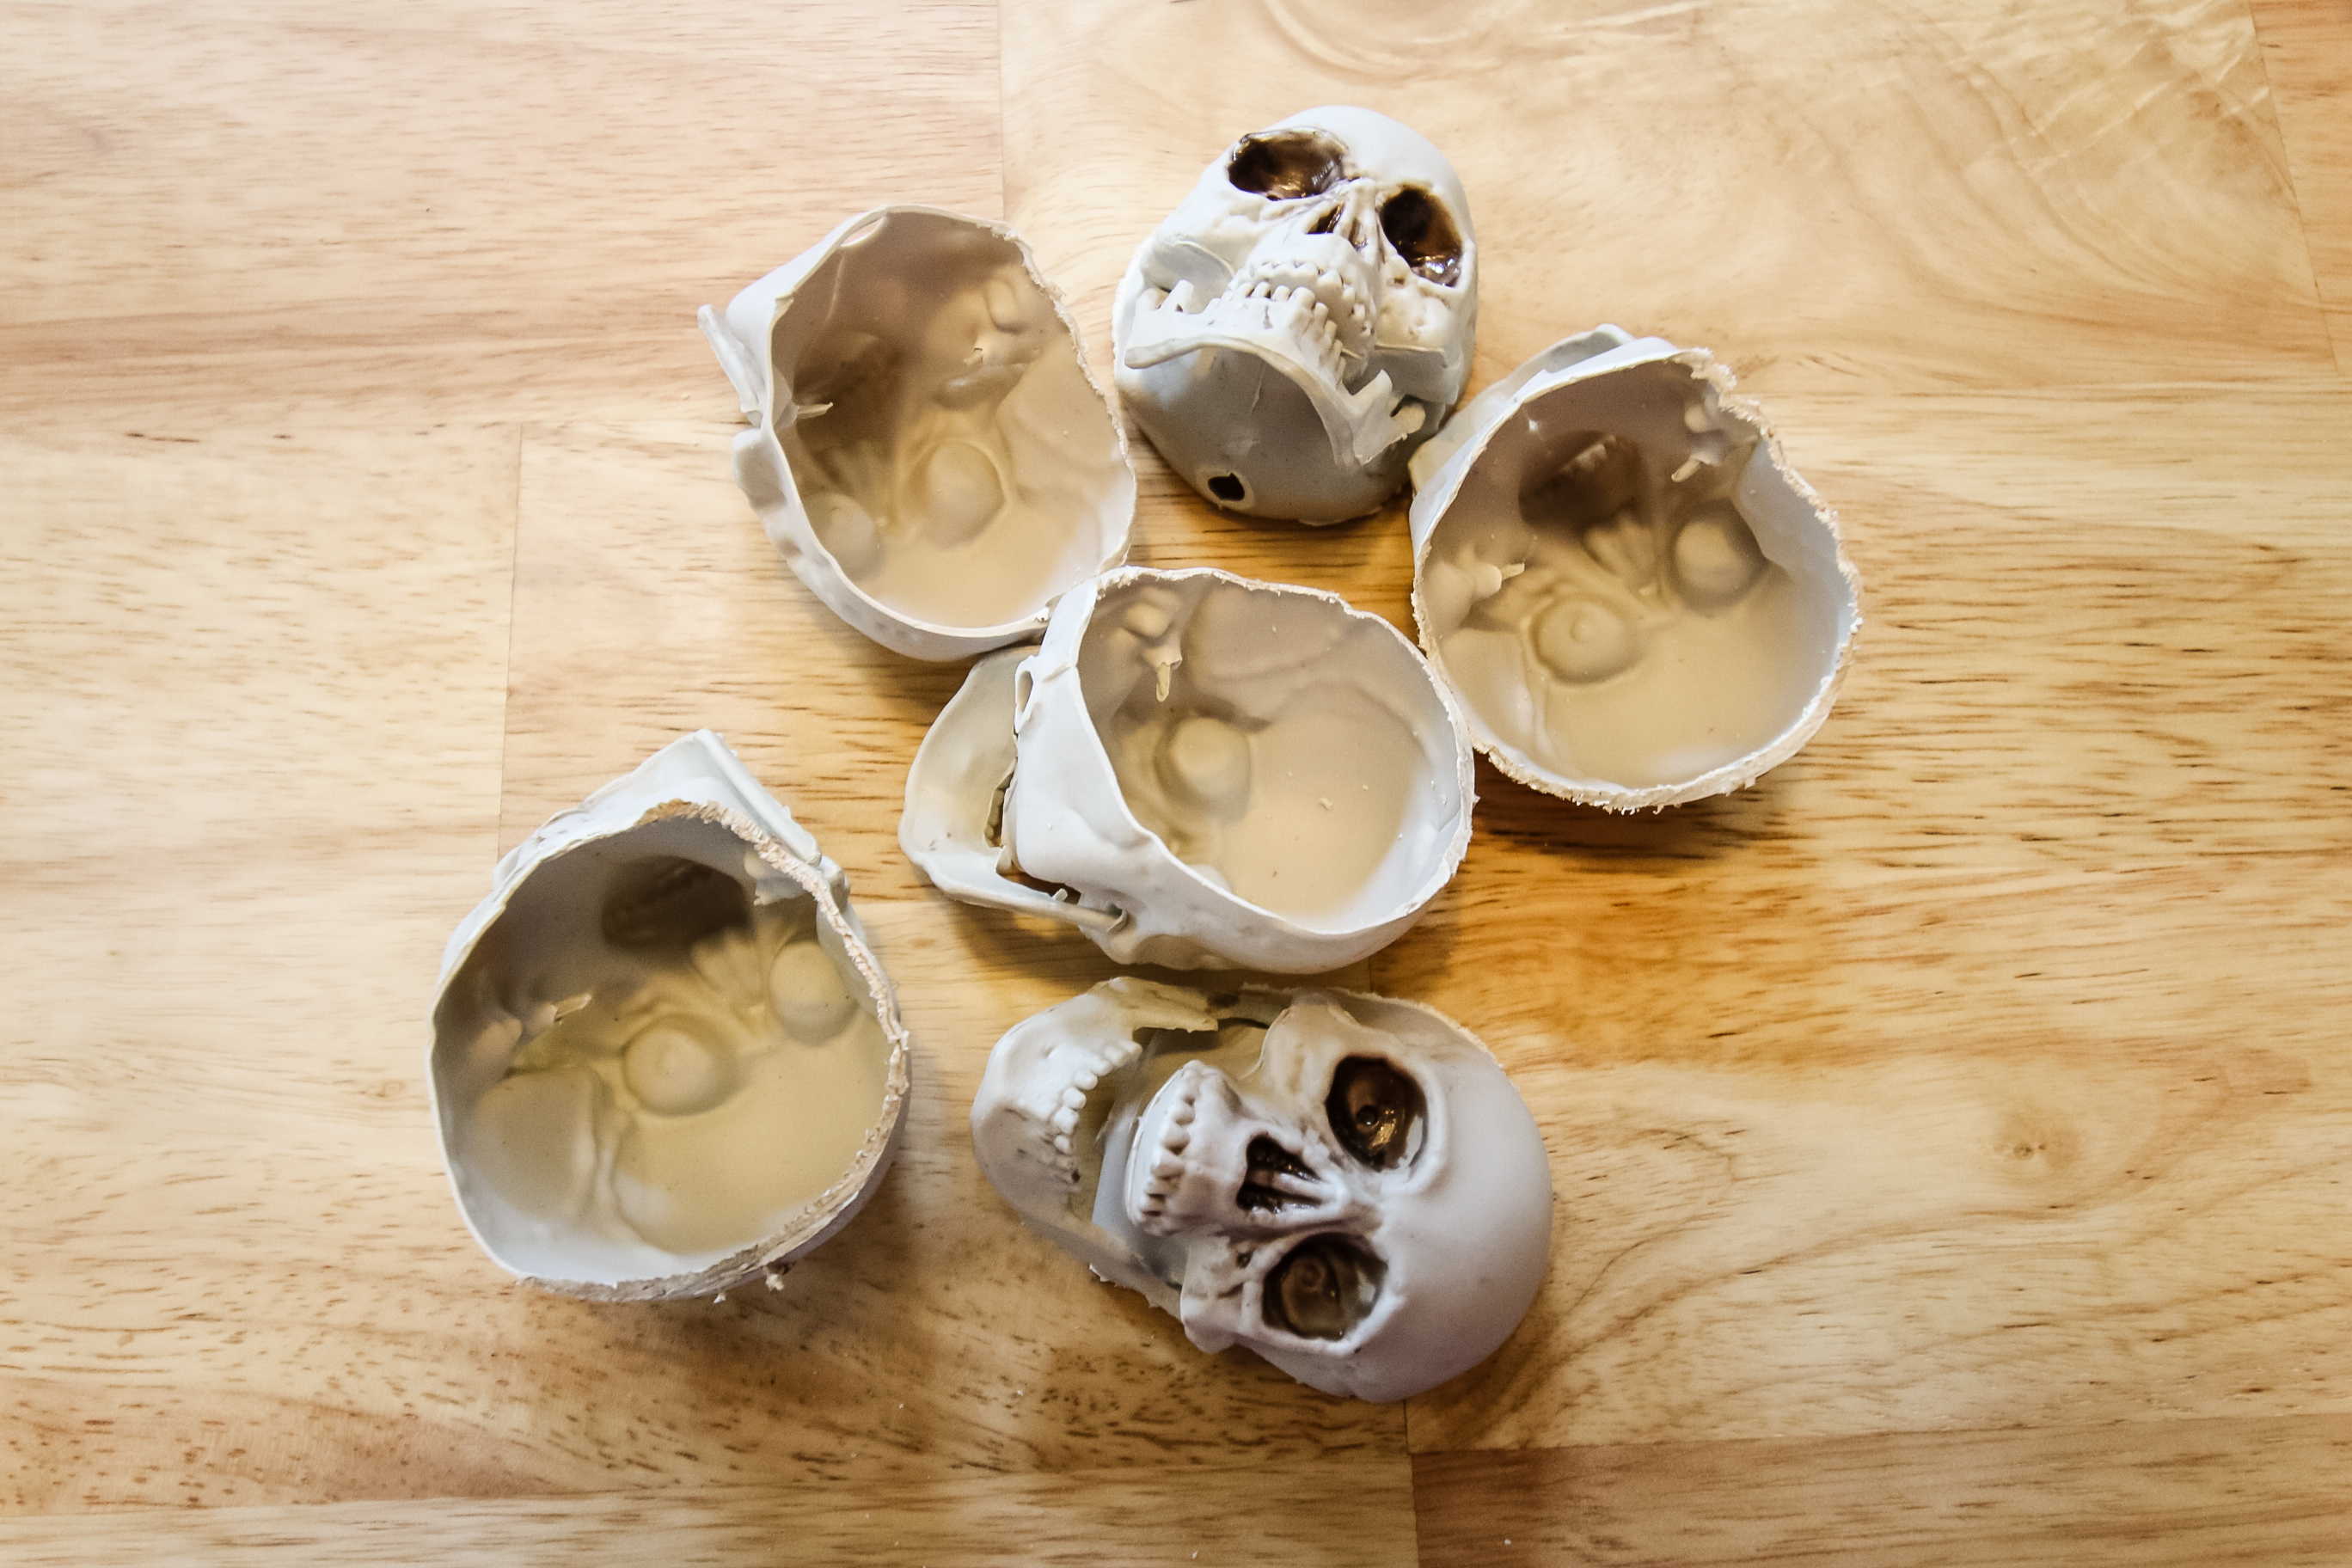
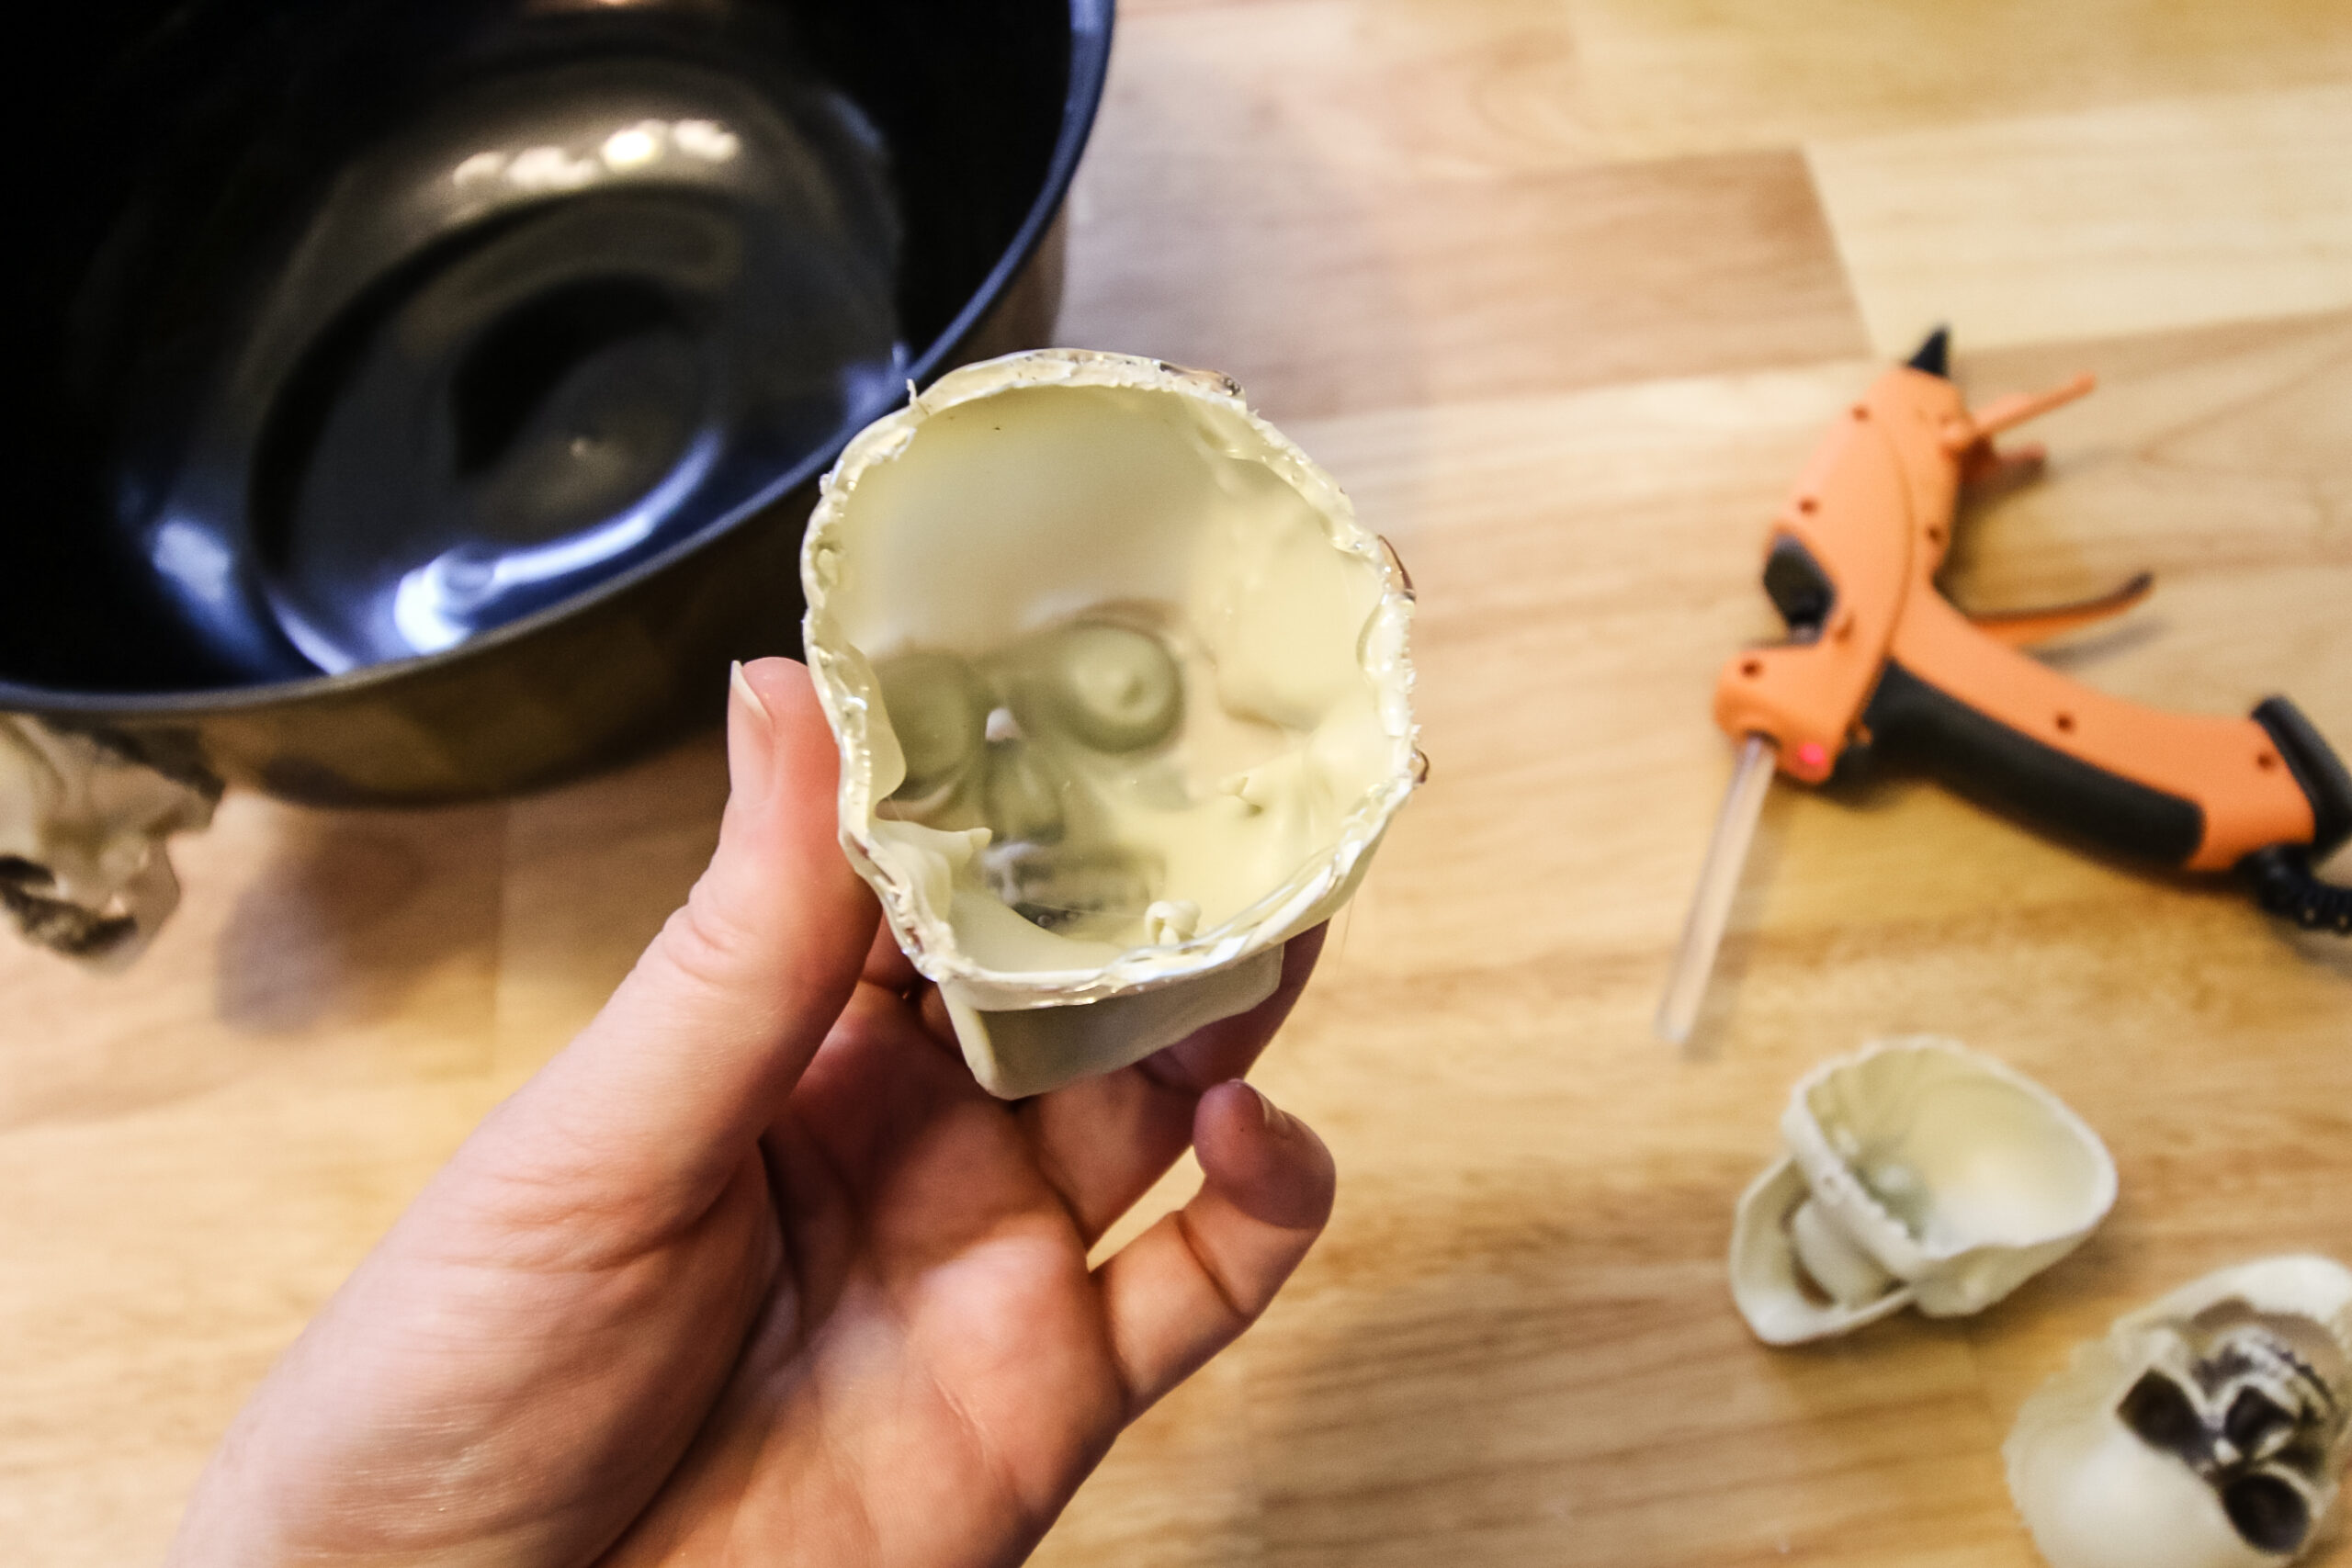
STEP 1: Cut the skulls
You are going to want to cut the face off of each skull. To do this. Hold them on a work surface and very carefully saw straight down from the top of the skull.
I found it easier to saw it 90% and then snip the very bottom portion with scissors.
Depending on your exact skulls, you might be able to cut it entirely with scissors. It just depends on how thick the plastic is!
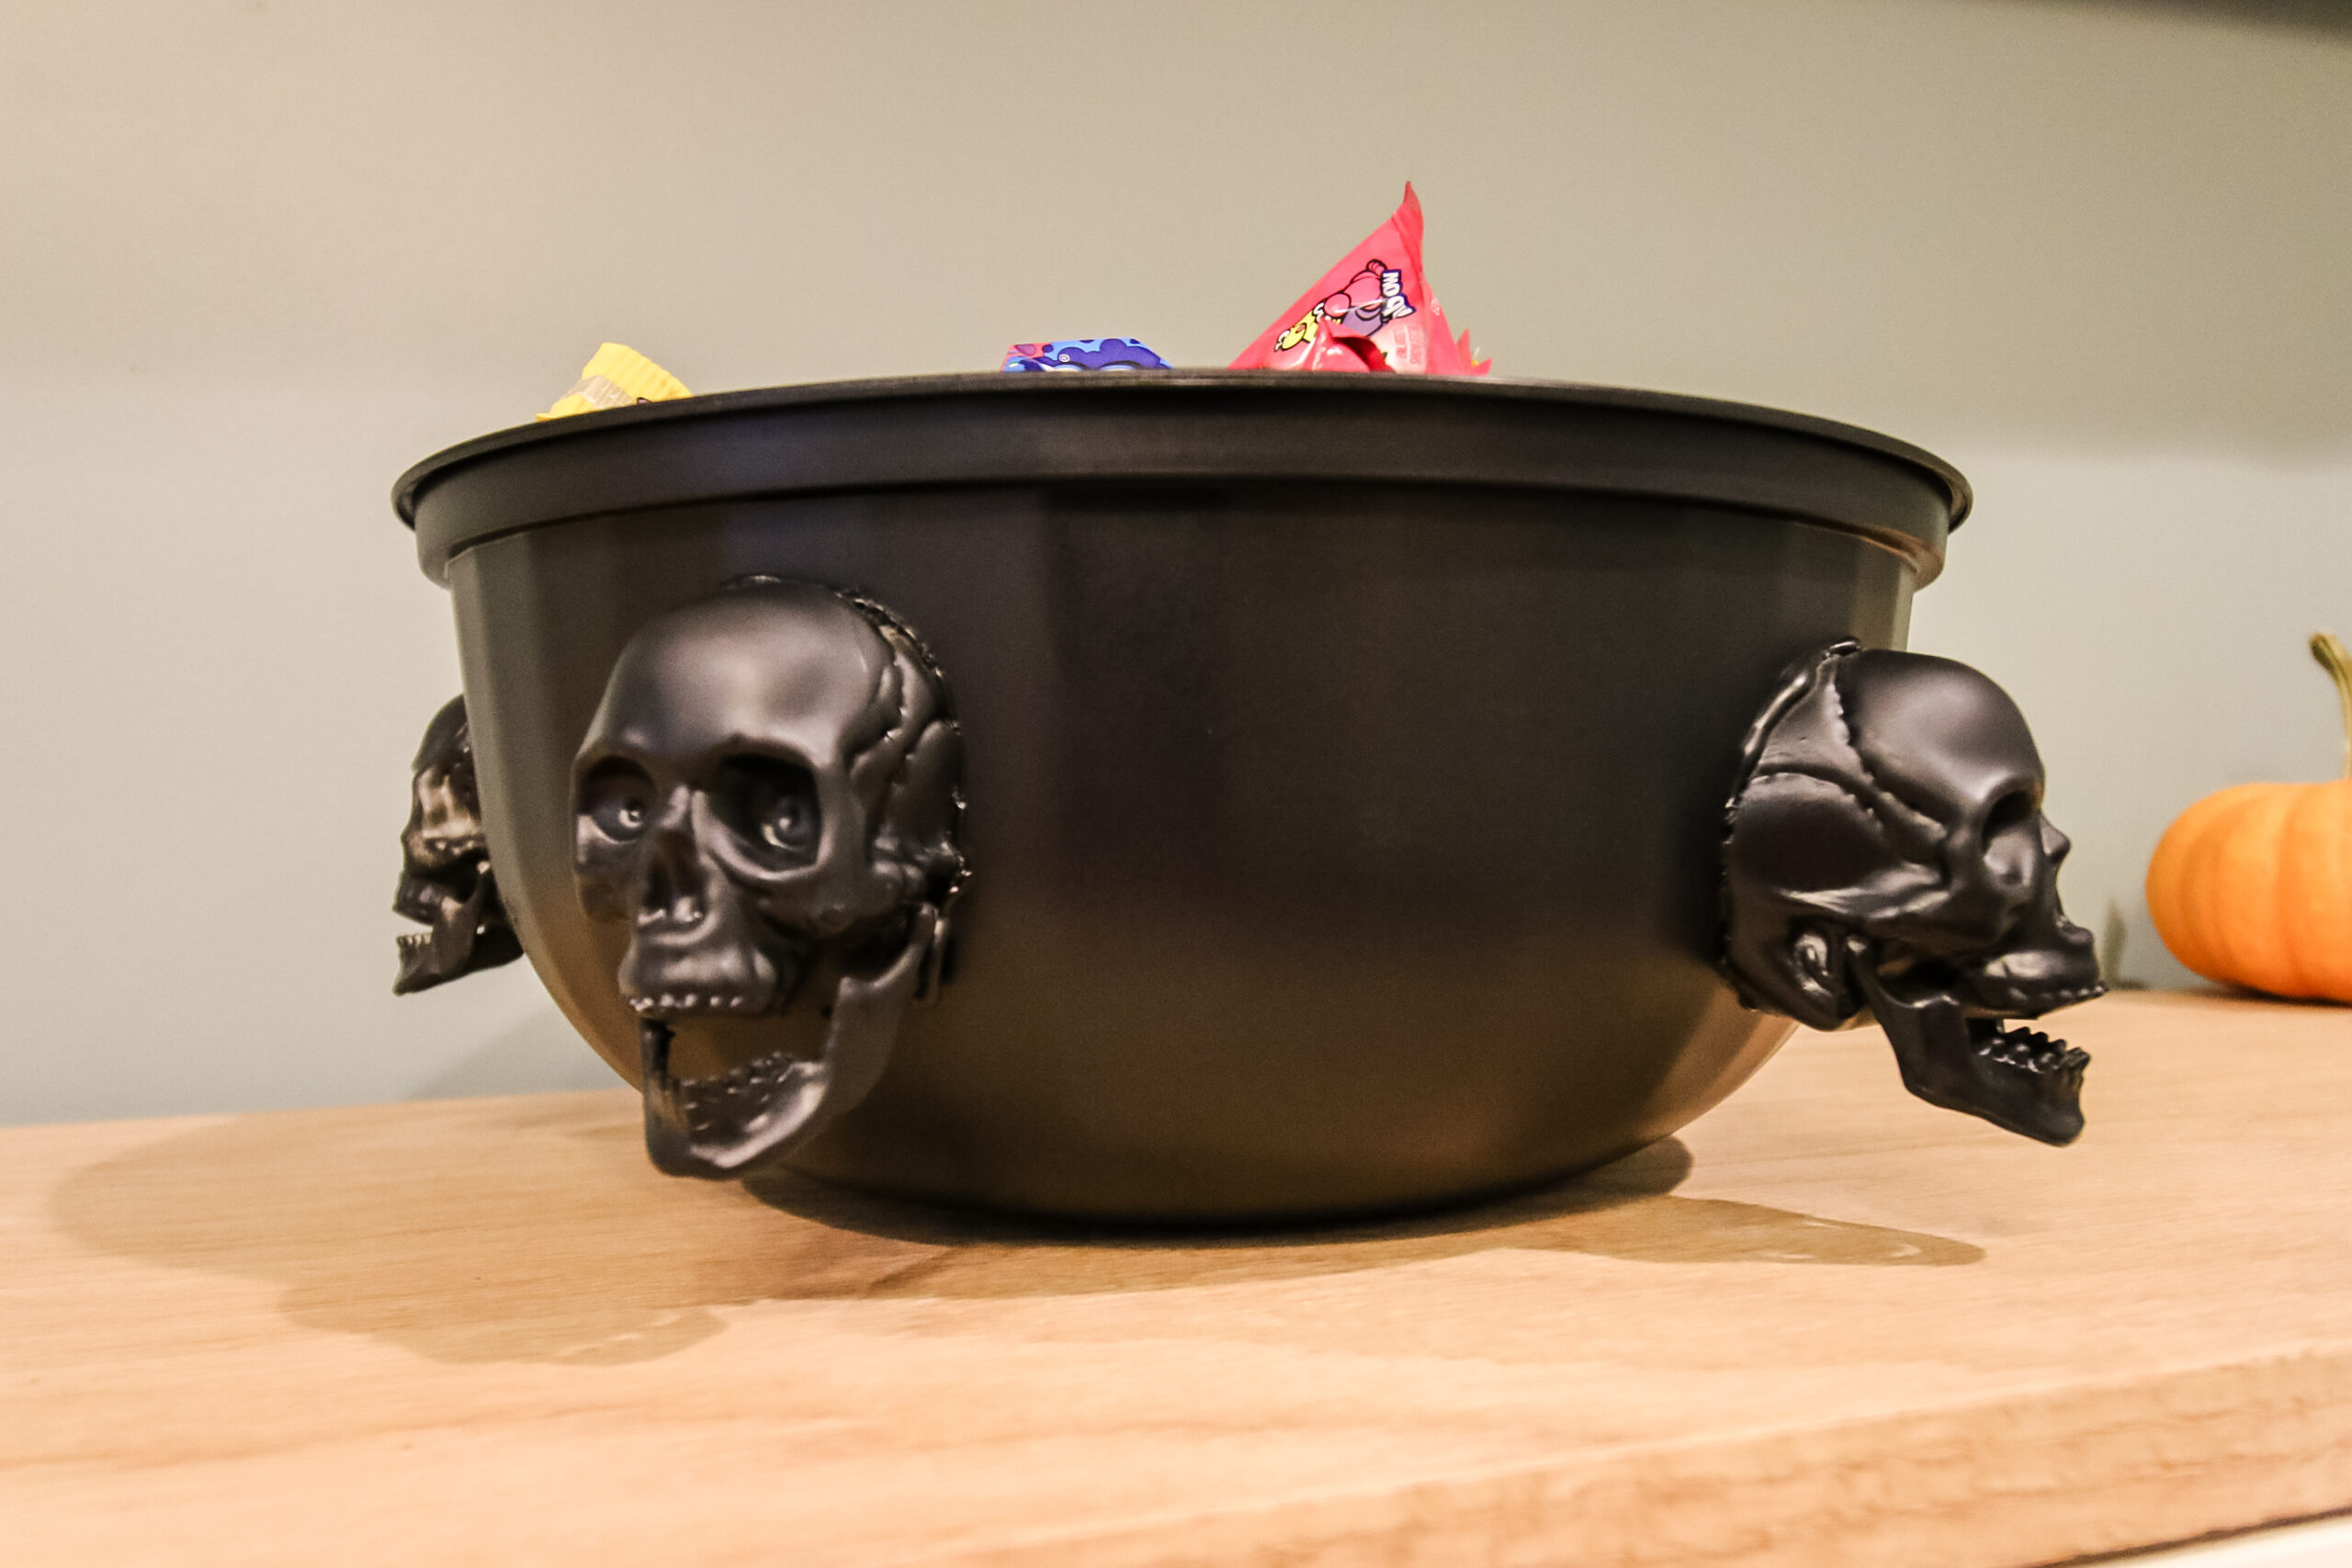
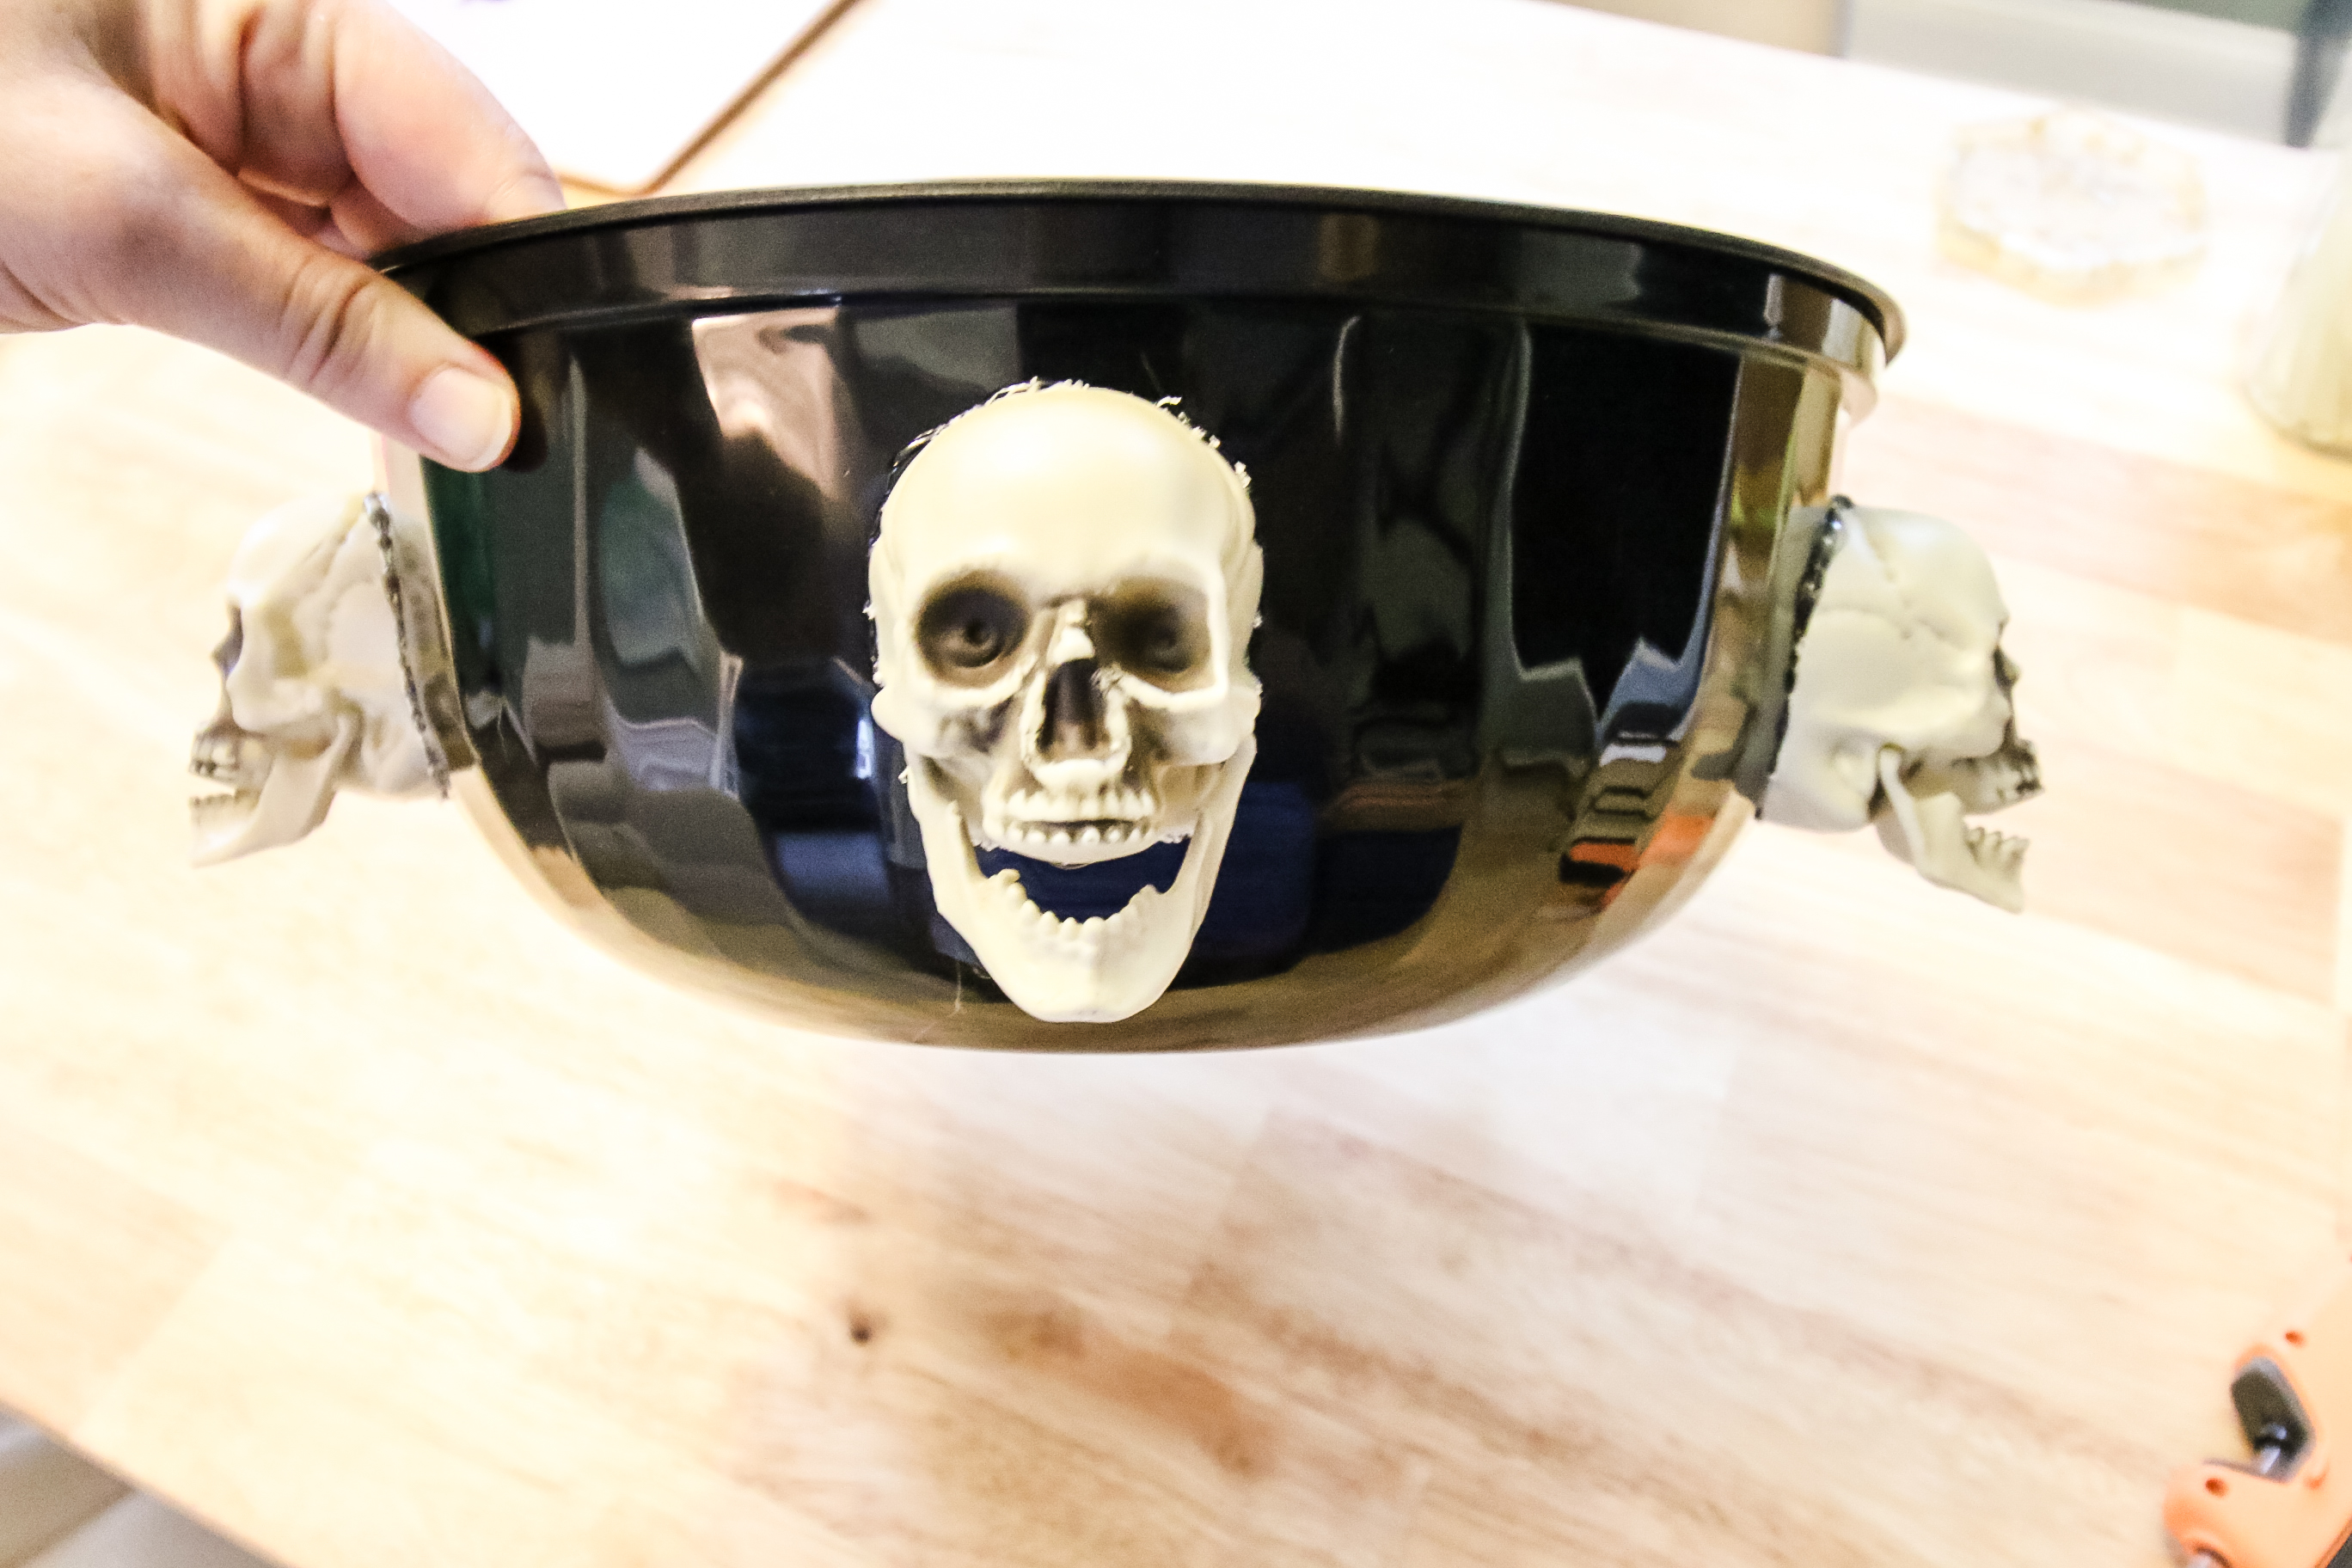
STEP 2: Glue the skulls
Cut on your hot glue.
Measure around your bowl and use a white crayon or chalk to mark 5 equally spaces dots around the bowl.
Apply hot glue to the rim where you cut each skeleton. Line up with the dot you marked and press into place.
Let cool completely.
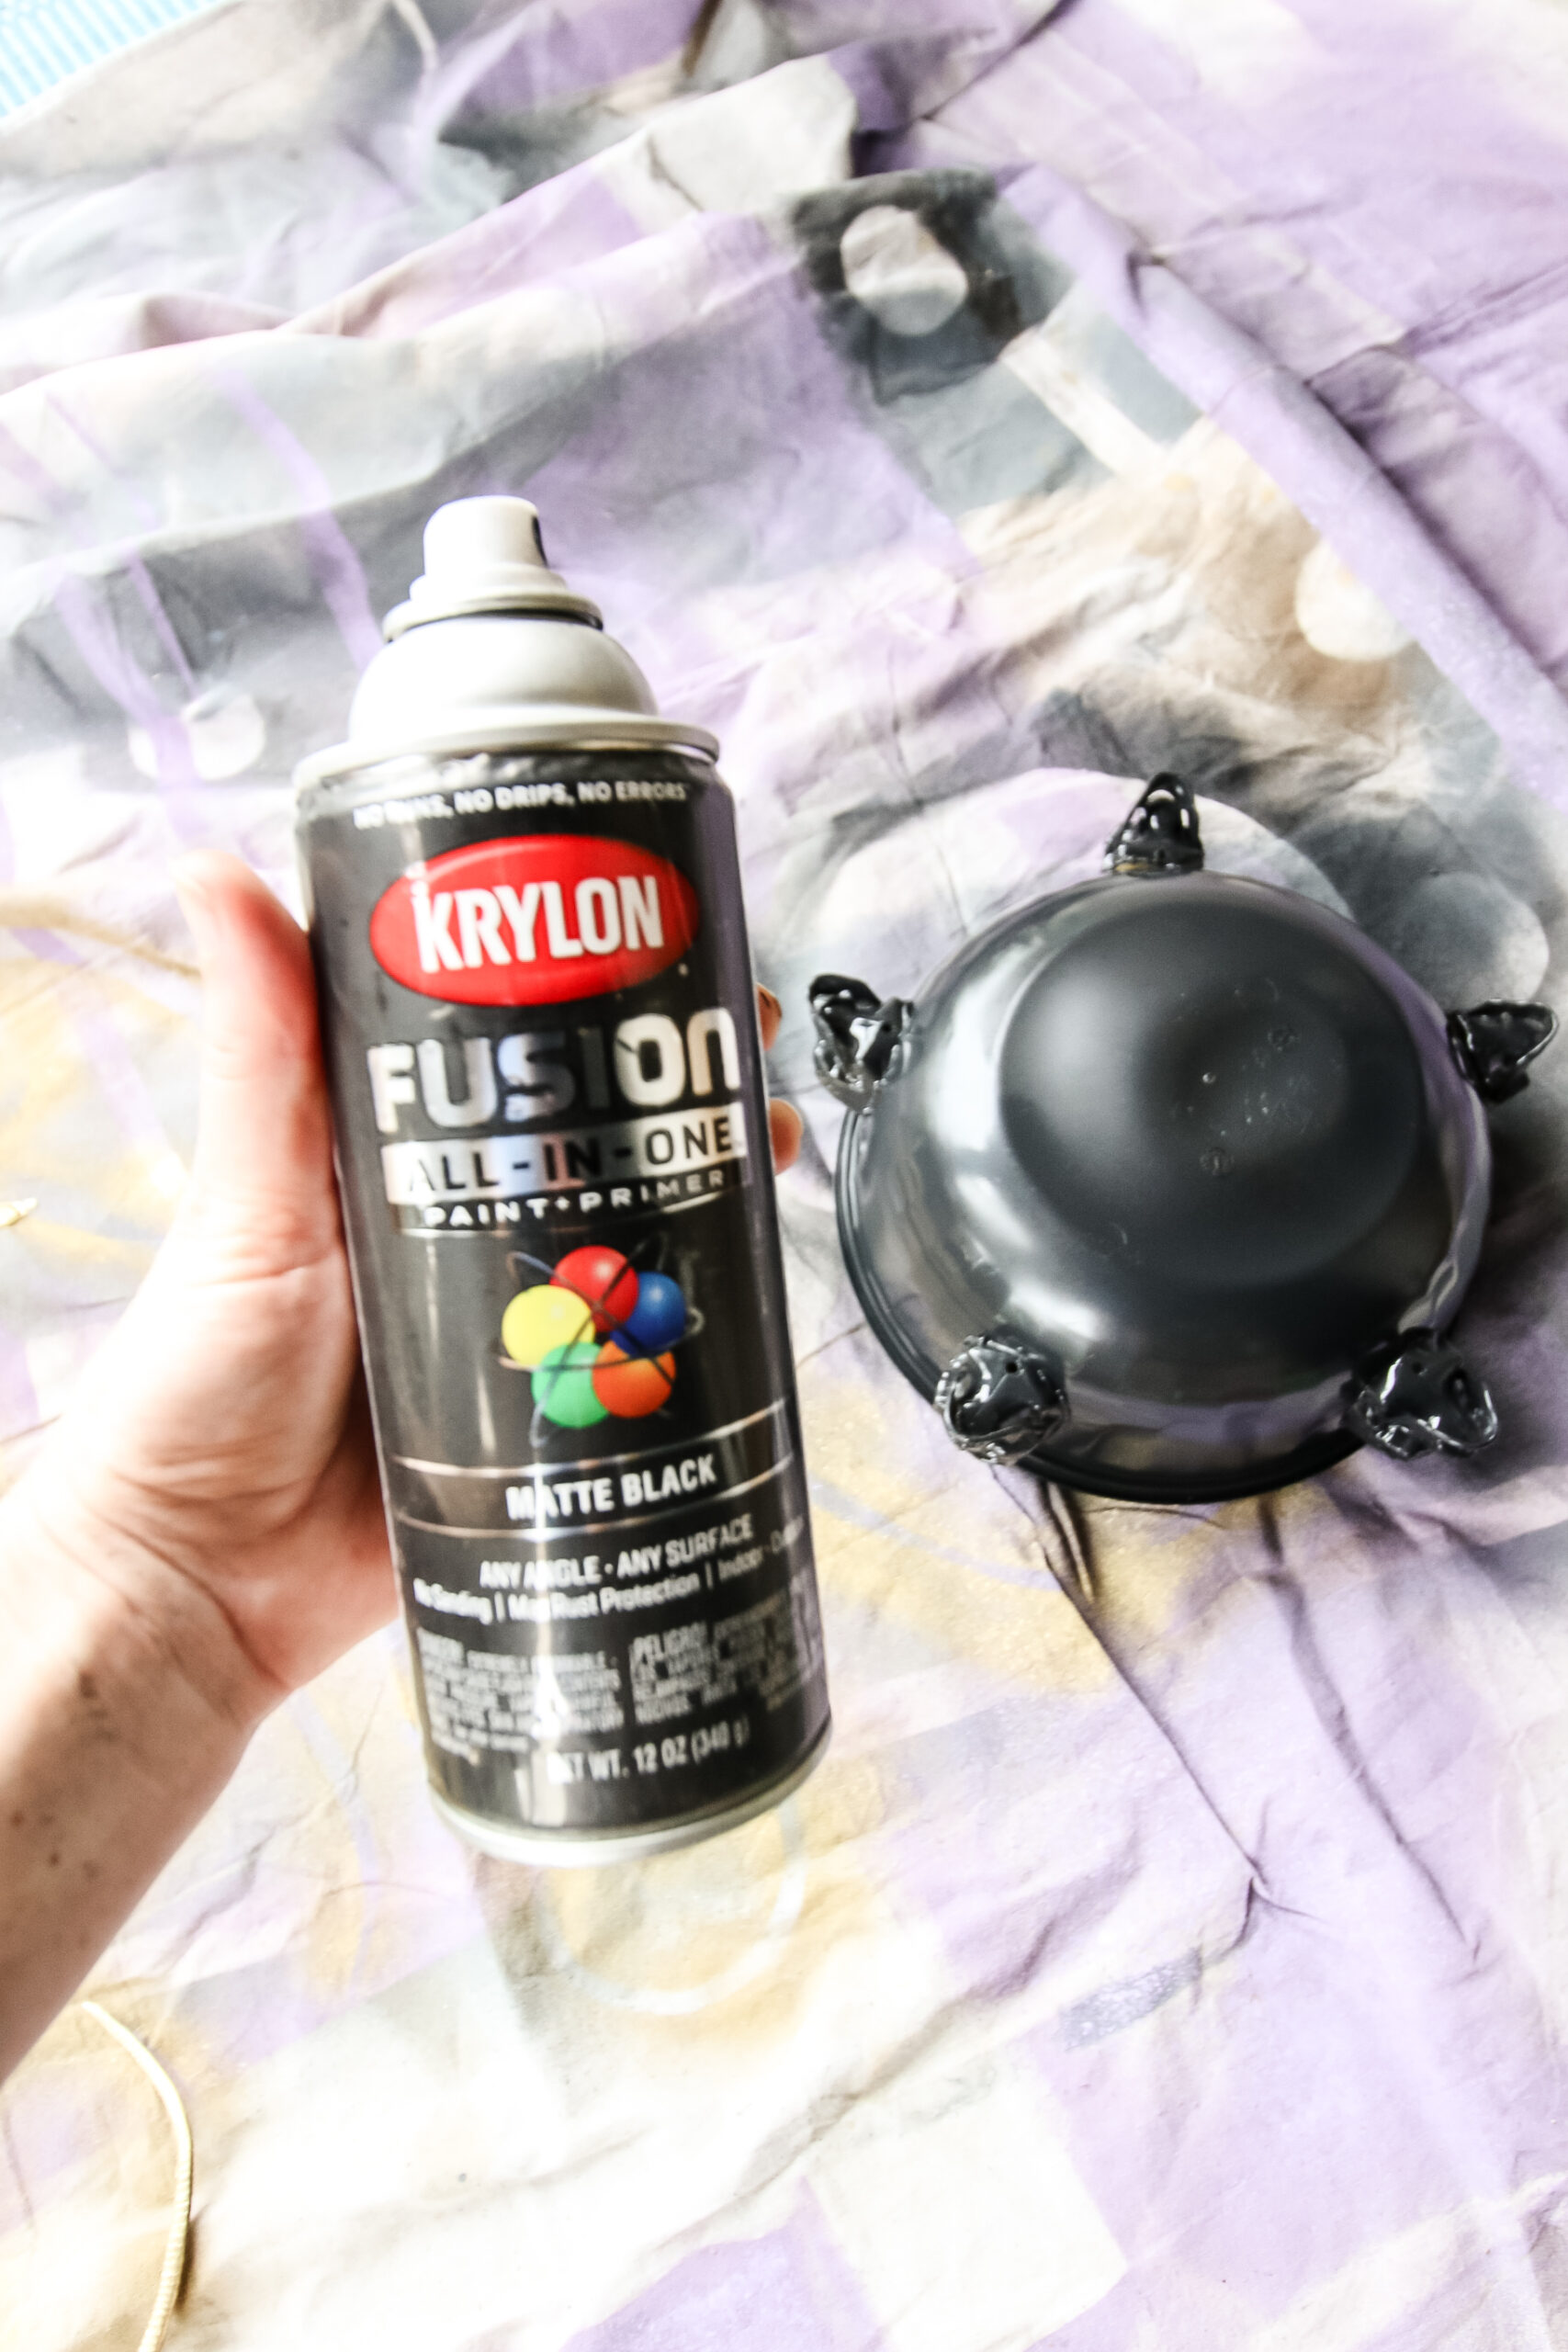
STEP 3: Paint the bowl
Lay out a tarp or drop cloth. Start with the bowl upside down and spray paint with light even coats.
Once you are satisfied, let dry for 15 minutes, then flip right side up and repeat on the other side, being sure to come at the skulls from enough angles to get in all of the crooks and crannies.
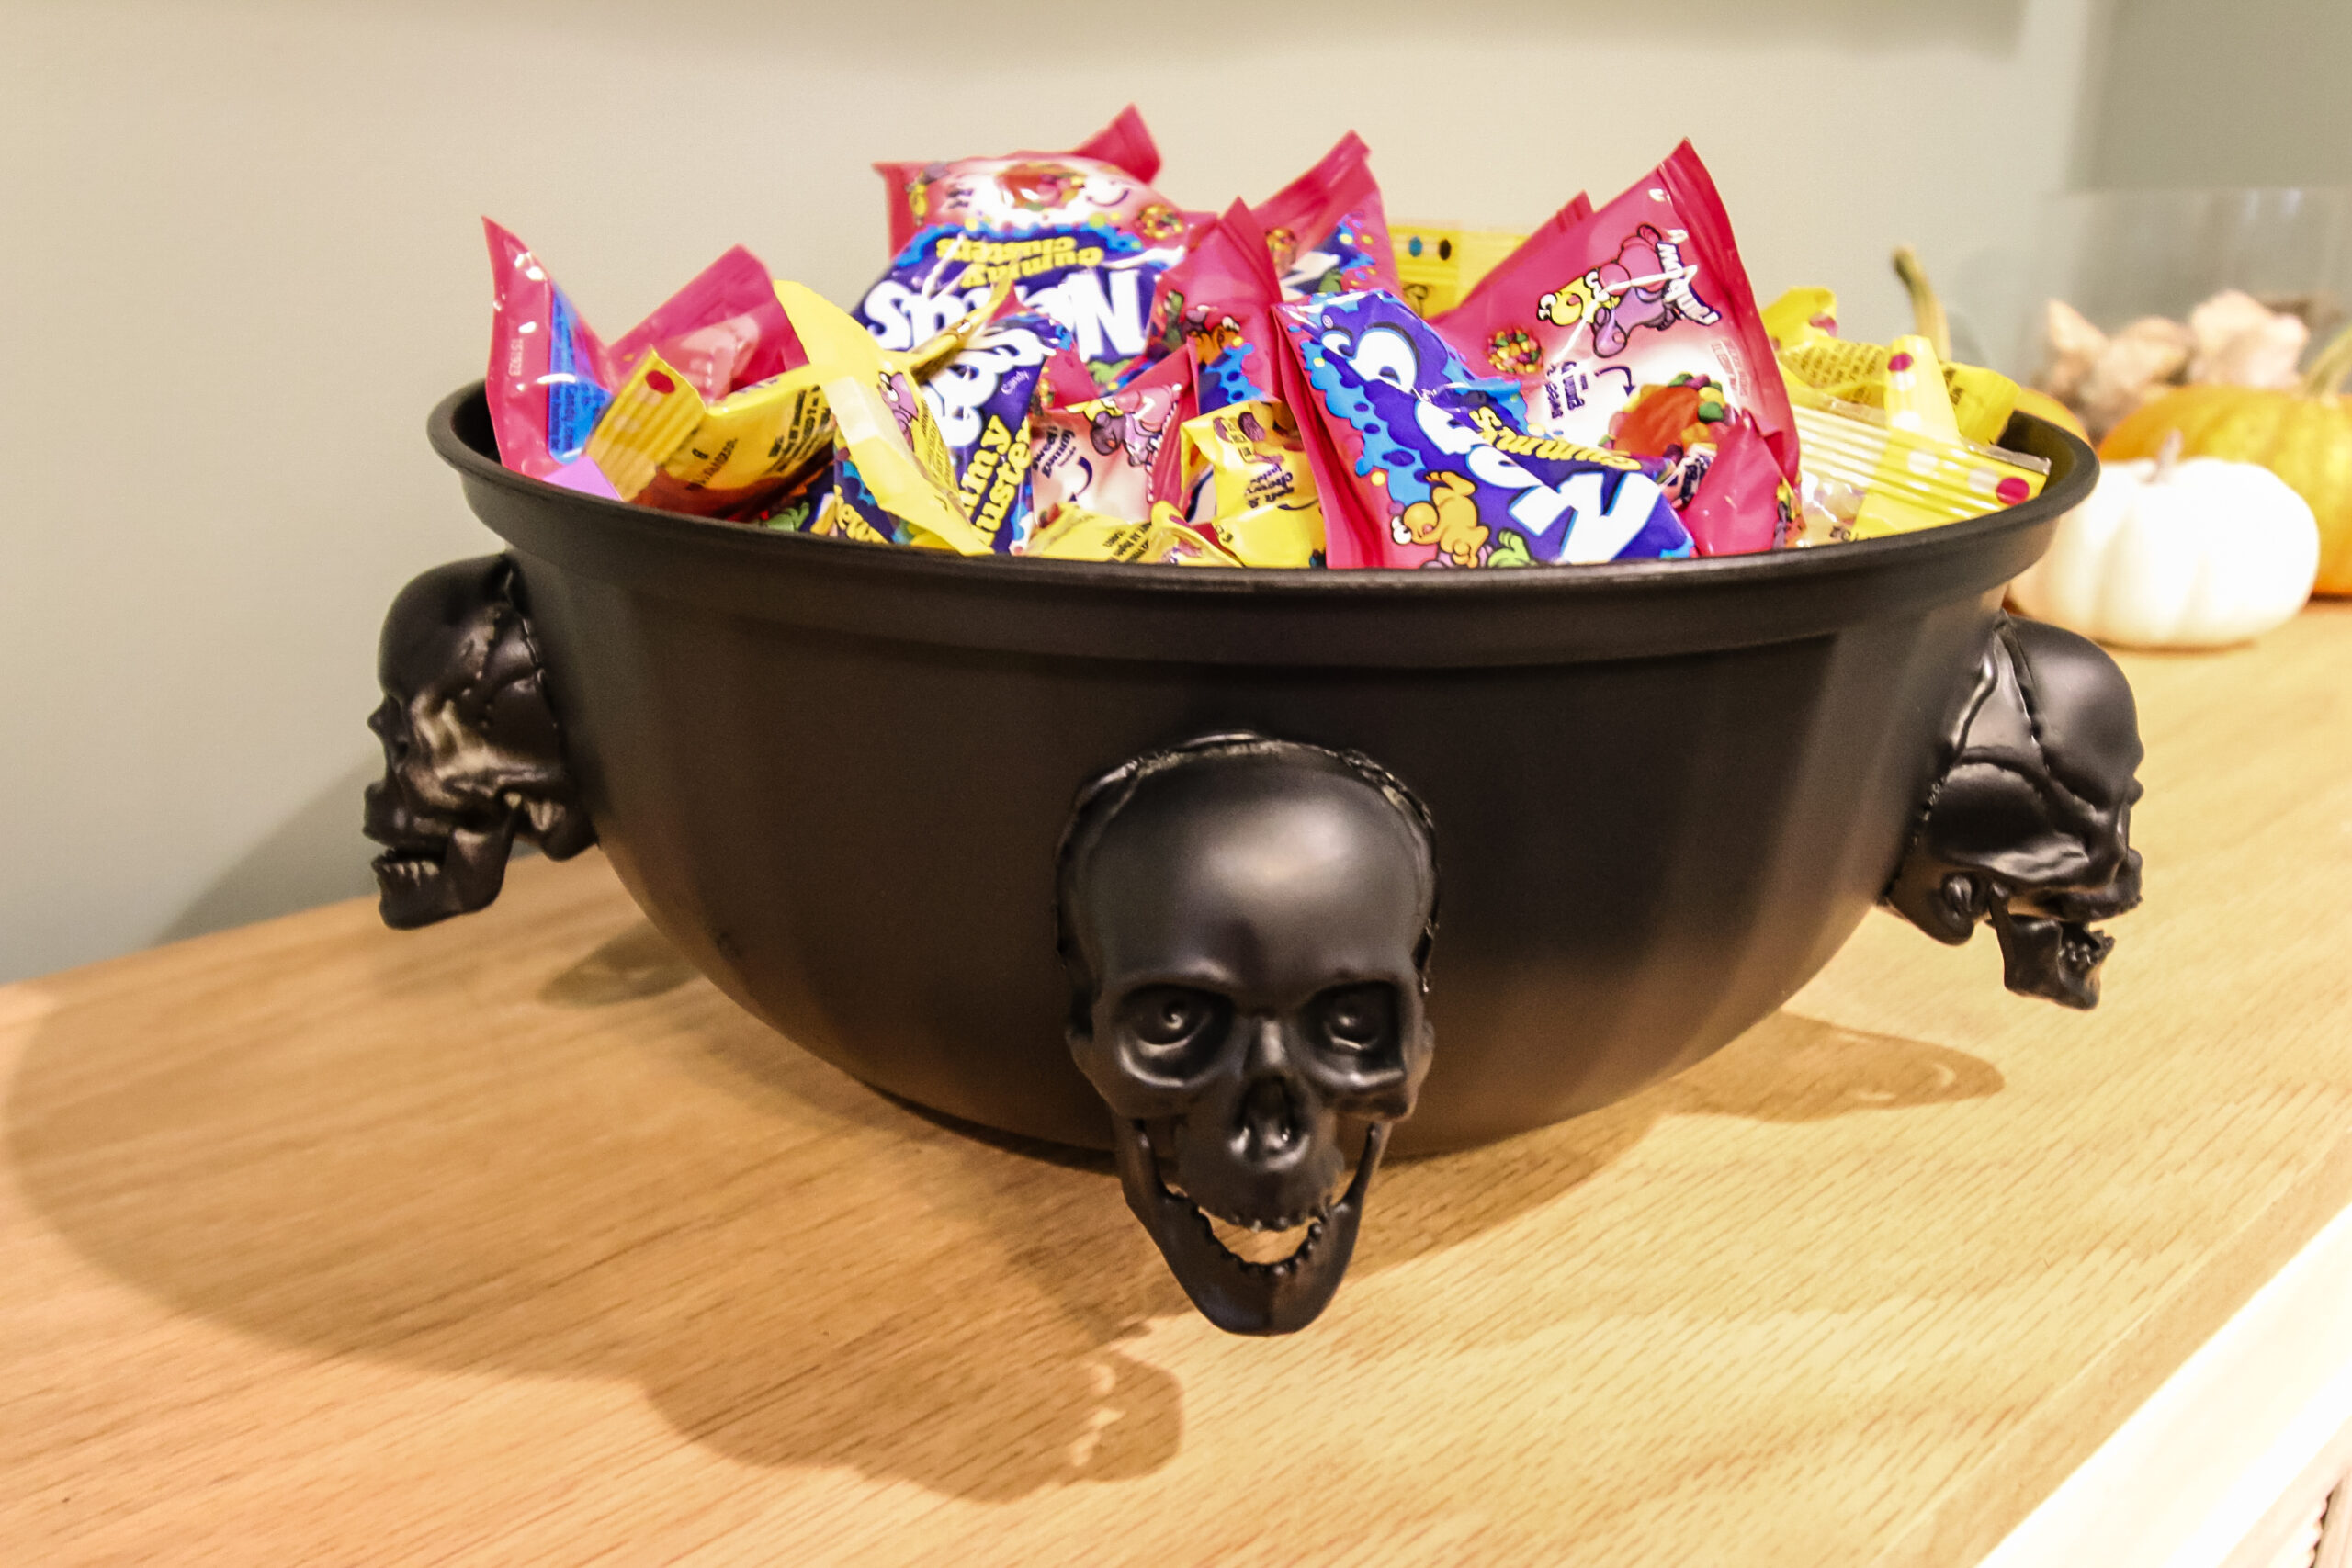
STEP 4: Enjoy!
Let dry for 24 hours before heavily handling. Then, it’s ready for your Halloween candy!
Any questions about this fun Halloween craft?


Looking for something?
We’ve been doing this since 2012 so we have a LOT of blog posts!
Search stuff like: Ceiling Projects | DIY Plant Stands | Thrift Flips


Hello, I’m Morgan, half of the creative force behind CharlestonCrafted.com! With a passion for DIY that dates back to 2012, I’ve transformed three homes and now I’m dedicated to helping others craft their dream spaces. Let’s turn your house into a home together!