
Wondering how to paint a dresser? Here is a step by step tutorial and tons of tips from me, someone who has painted a LOT of wood furniture!
Dressers are an important part of any bedroom’s decor. They are super functional – but that doesn’t mean that they can’t be pretty! When re-decorating a space, a lot of times all that a dresser needs is a new coat of paint.

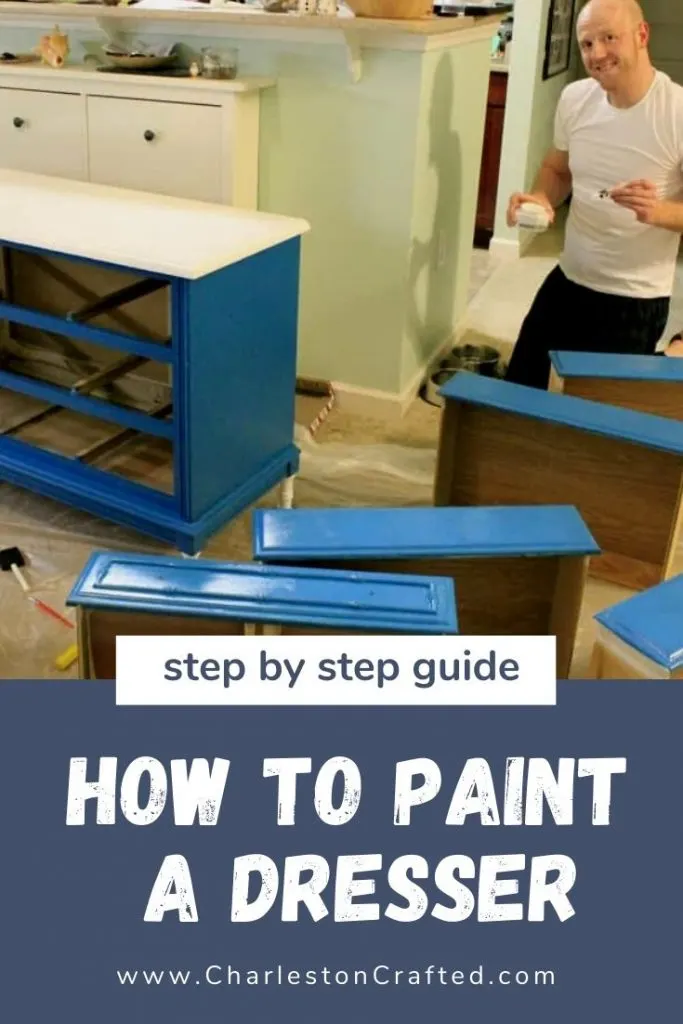
How to paint a dresser
Painting a dresser is really easy to do. Here’s how to do it in the least number of steps.
Materials
The materials that you need will vary slightly based on the type of and condition of dresser that you are starting with. Here are some basics:
- A dresser
- Sand paper – medium and fine grit – an orbital sander makes this faster!
- Primer – spray paint or in a can with a brush
- Paint – latex paint is my go to
- High quality paint brush OR foam brush
- High density foam mini roller
- Polyeurathane or sealant of choice
- Drop cloths to protect your flooring
Steps
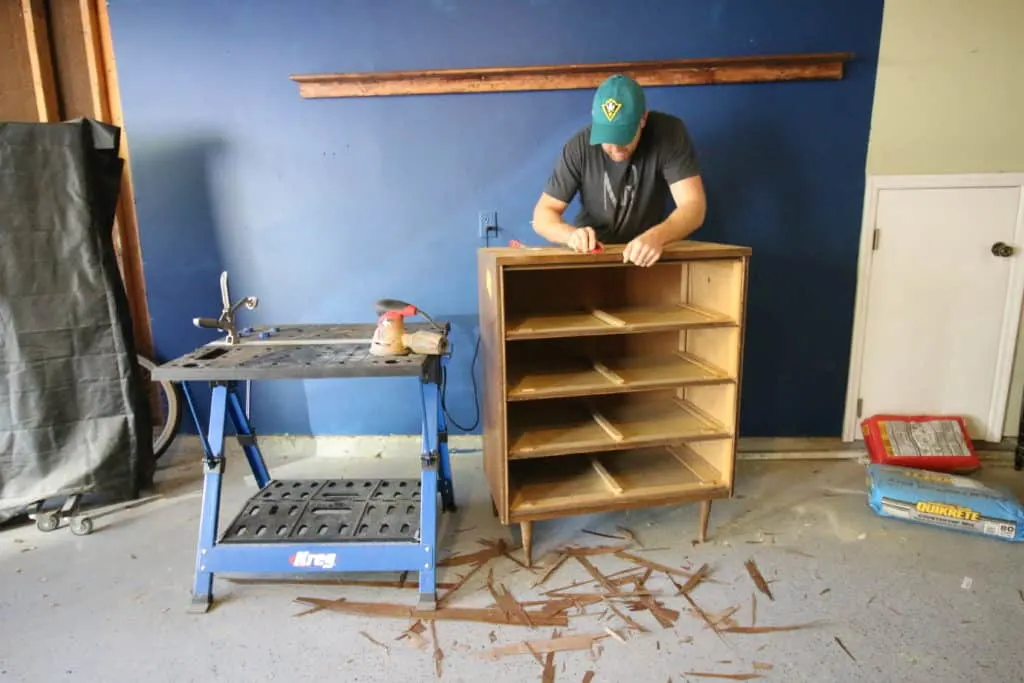
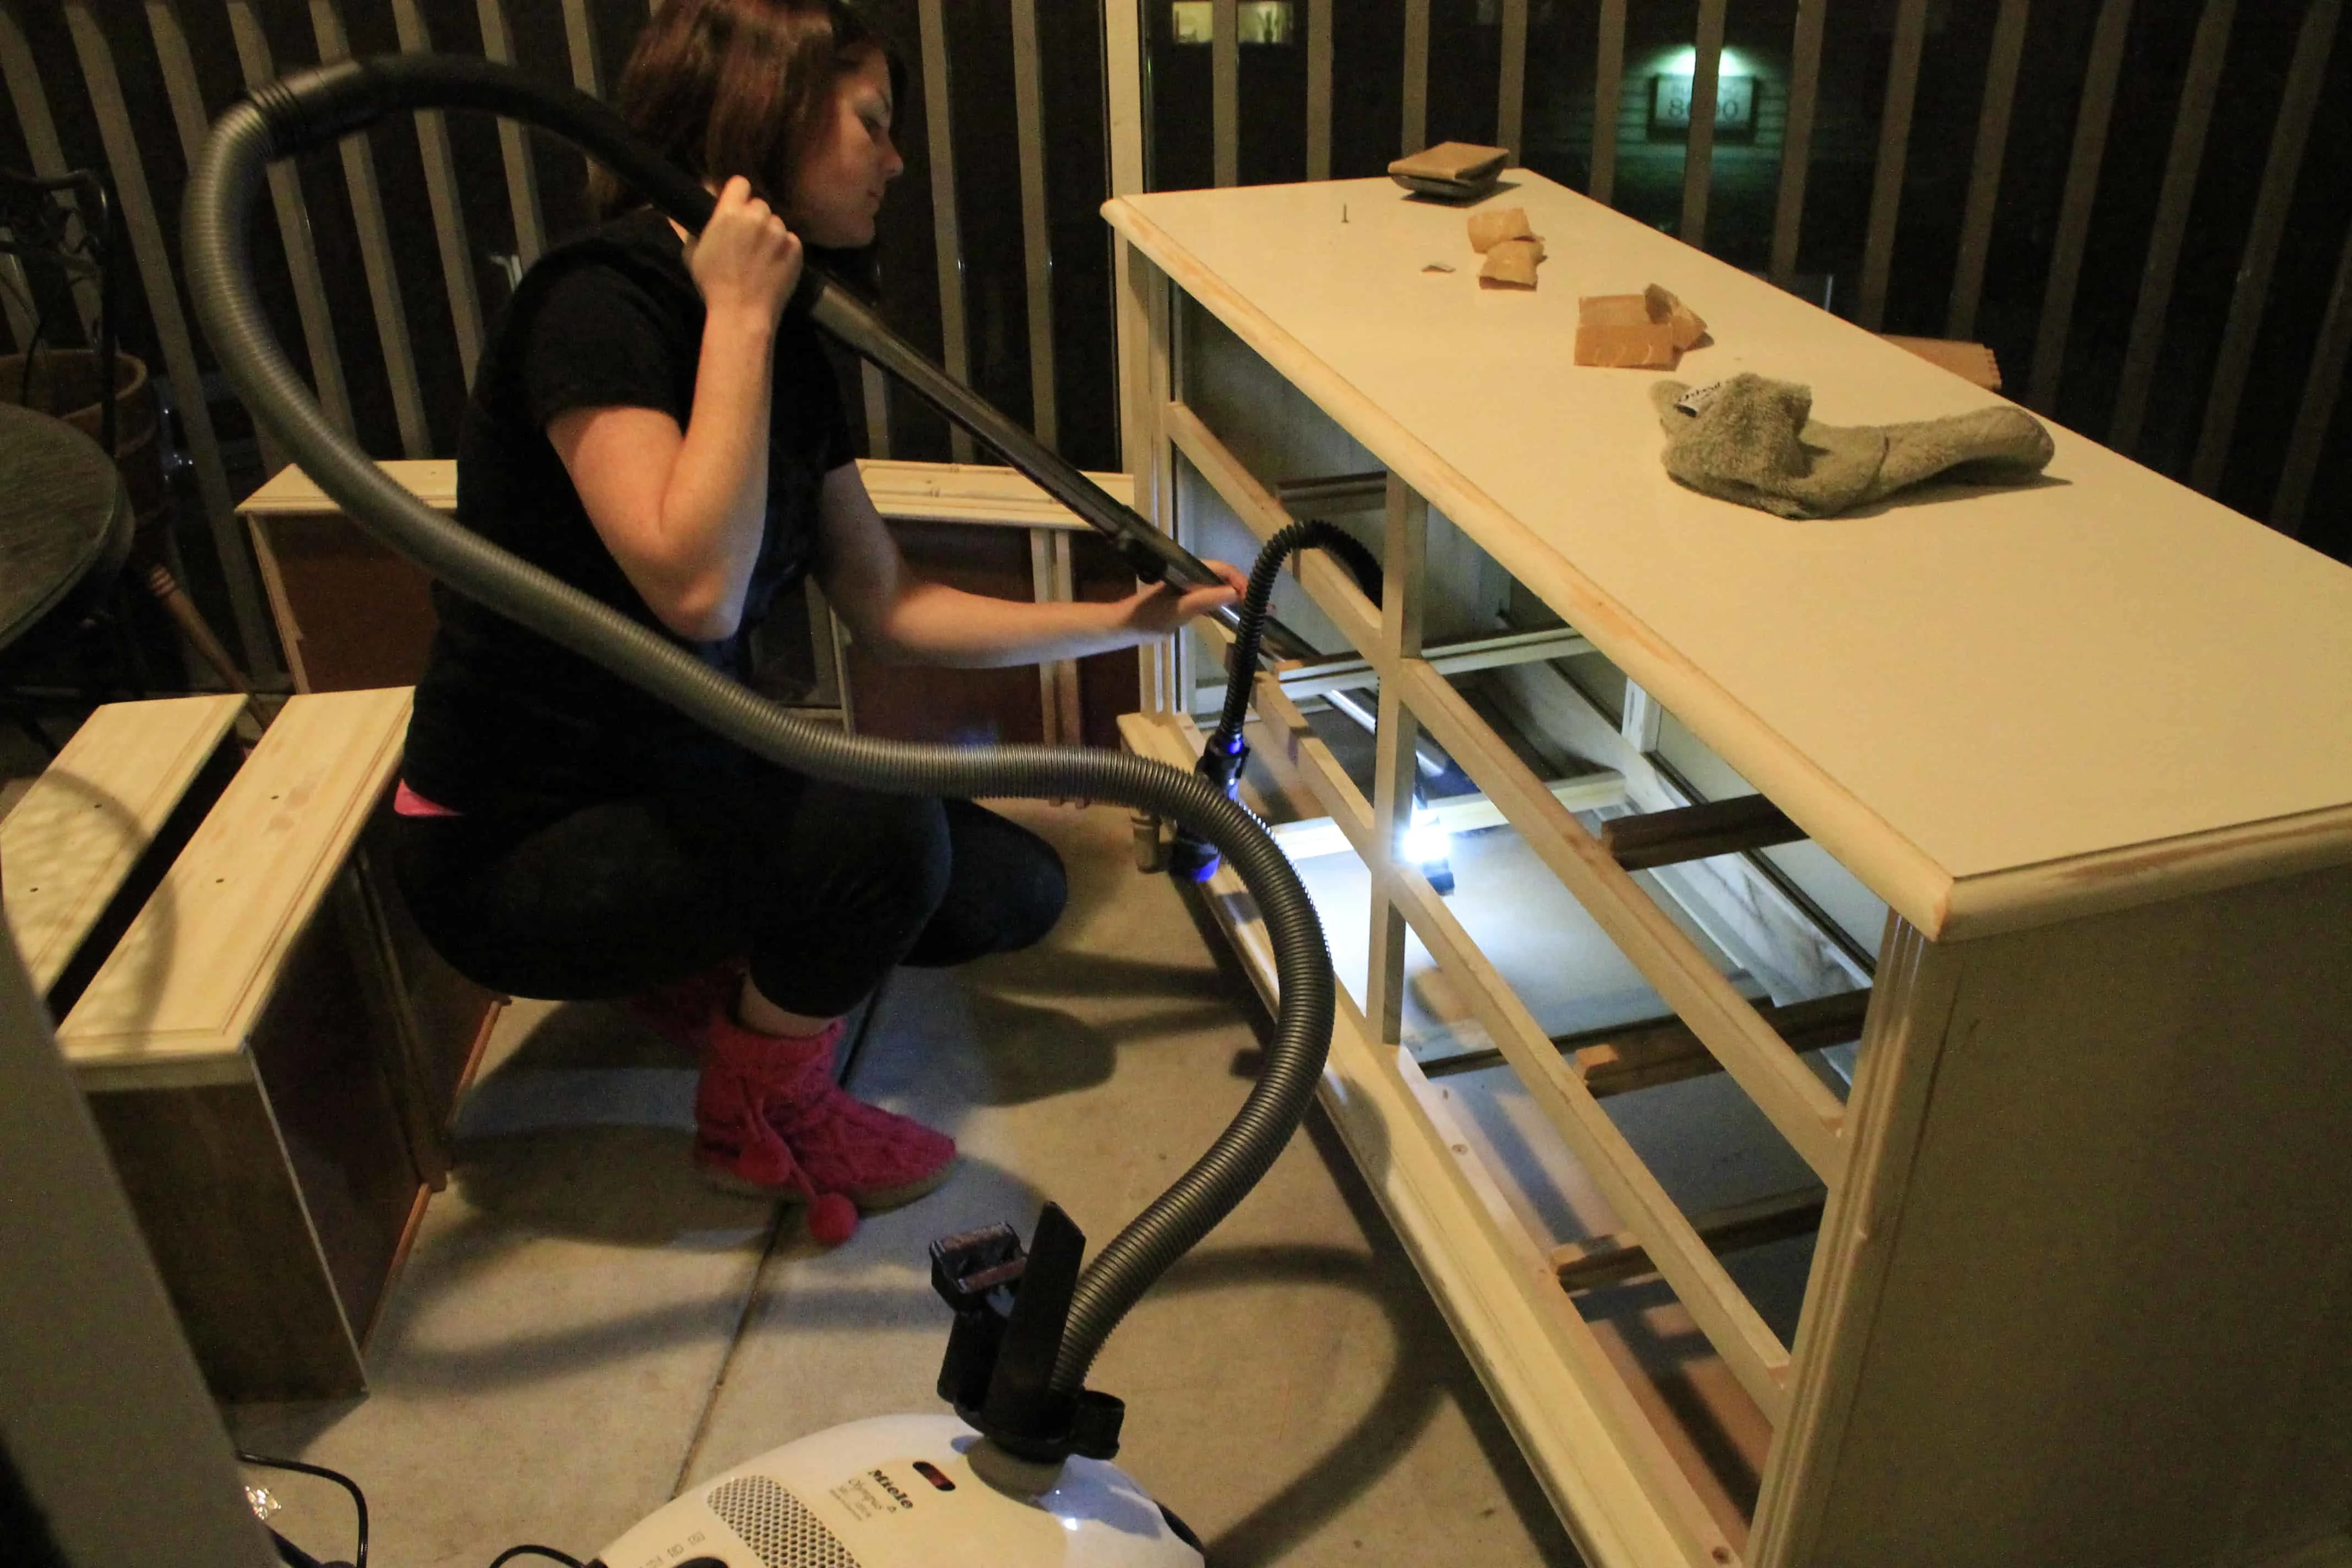
STEP 1: Prep!
Prepping is as important as painting itself. If you don’t prep well, you are likely to get uneven or dissatisfying results.
To prep, I like to use a damp cloth to wipe down my entire dresser. Remove drawers and wipe them inside and out.
Remove any stickers or tape. Pull any staples or weird things sticking off the back.
If your dresser is damaged, apply wood filler, allow to dry, and sand smooth. This is your chance to fix any imperfections!
Unscrew any hardware – like knobs or pulls – and set aside. Pull the drawers out so you can easily paint the drawer fronts and sides.

STEP 2: Sand
I’m sorry – everyone wants to skip this step – but it is so important. I will advise that you invest in an electric sander – they are super cheap – to make the process easier and quicker.
Start with medium grit sand paper and then move to finer grit (higher numbers) for a smooth finish.
If your dresser has detailed spots such as molding or intricate woodwork, you might need to hand sand those parts.

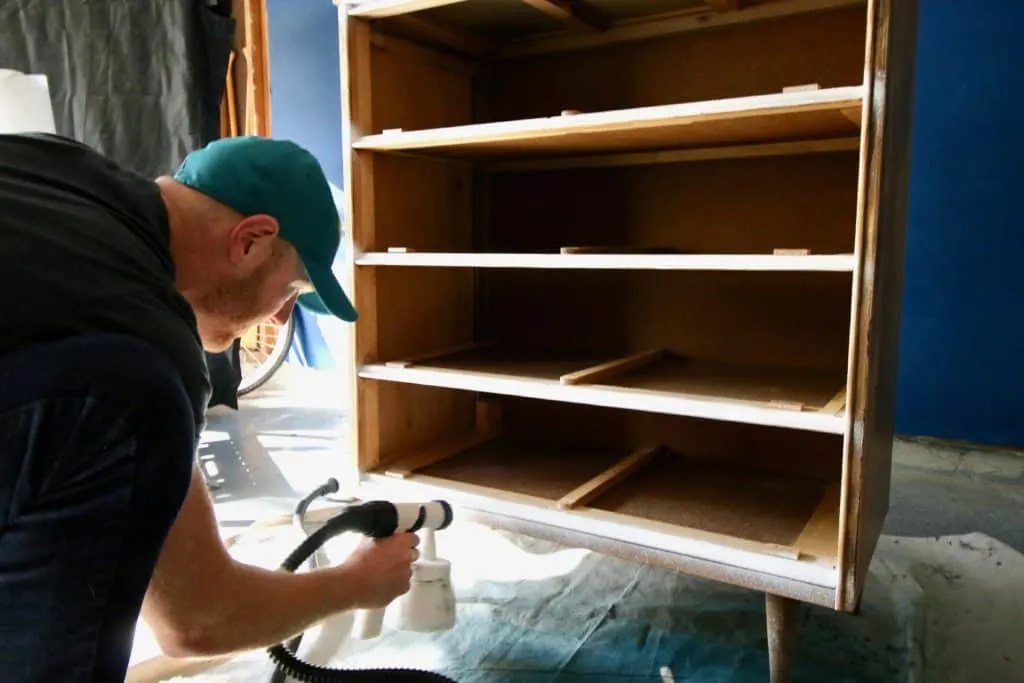
STEP 3: Prime
Primer is an optional step, but it helps to ensure that paint adheres evenly to your dresser or chest of drawers.
Pick a primer that works well with the type of paint that you are using for best results.
Apply one to two coats off primer, depending on how dark your piece is. Painting over a dark piece with light paint means more primer might be necessary!

STEP 4: Sand again!
Most primers suggest sanding with fine grit sand paper after the primer is dry before painting.
This will help with any lumps or drips. Always follow the directions on your primer can.
I usually use 220 grit sandpaper to just lightly sand and remove any tiny bumps.


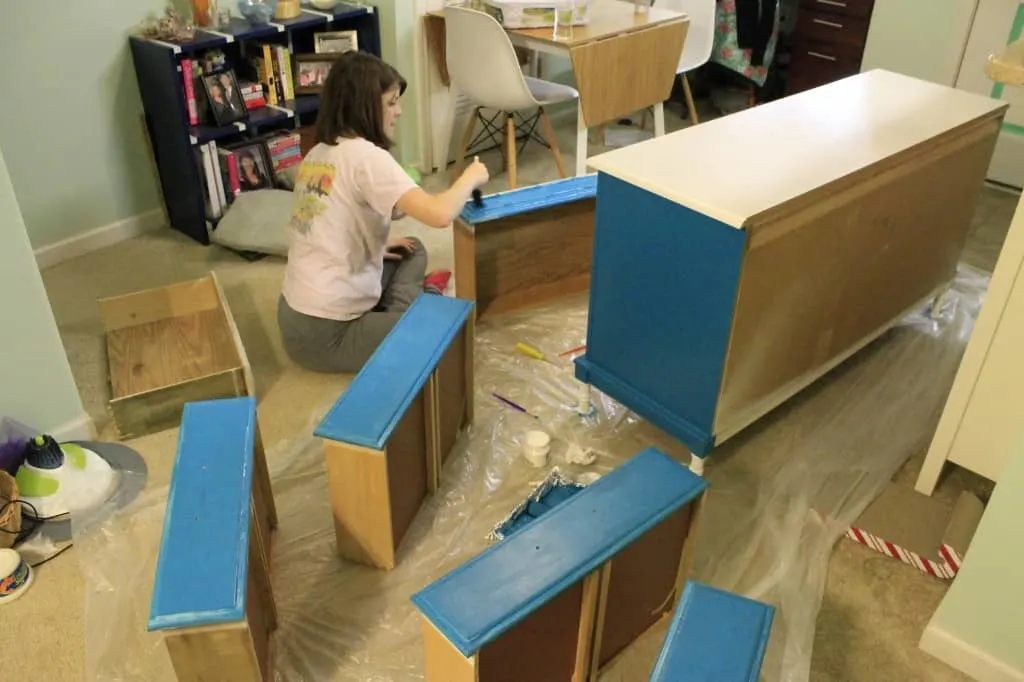
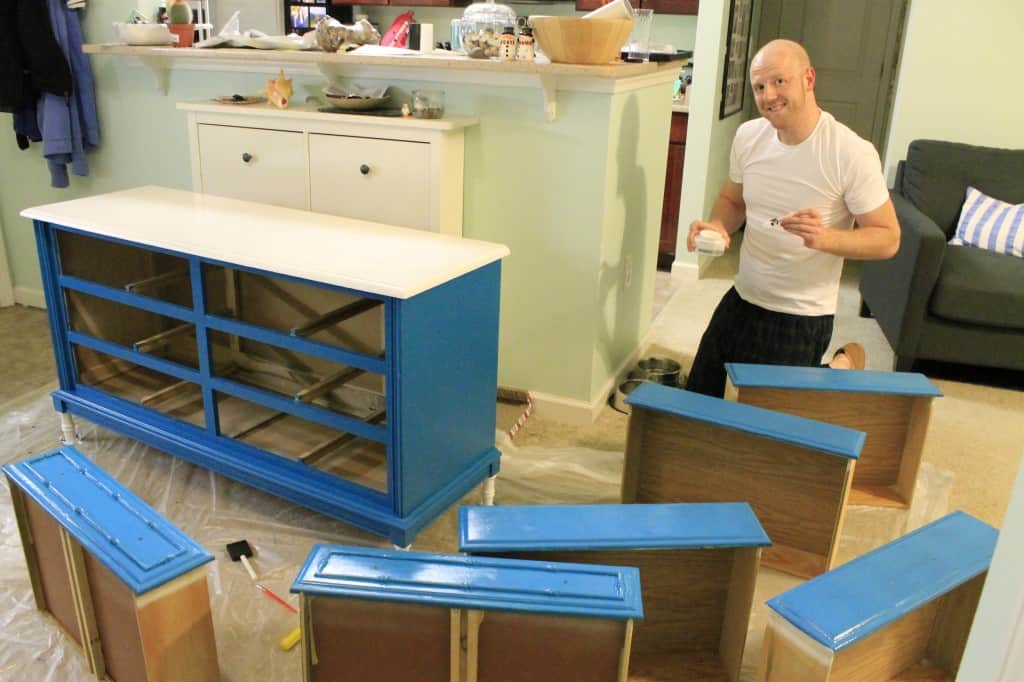
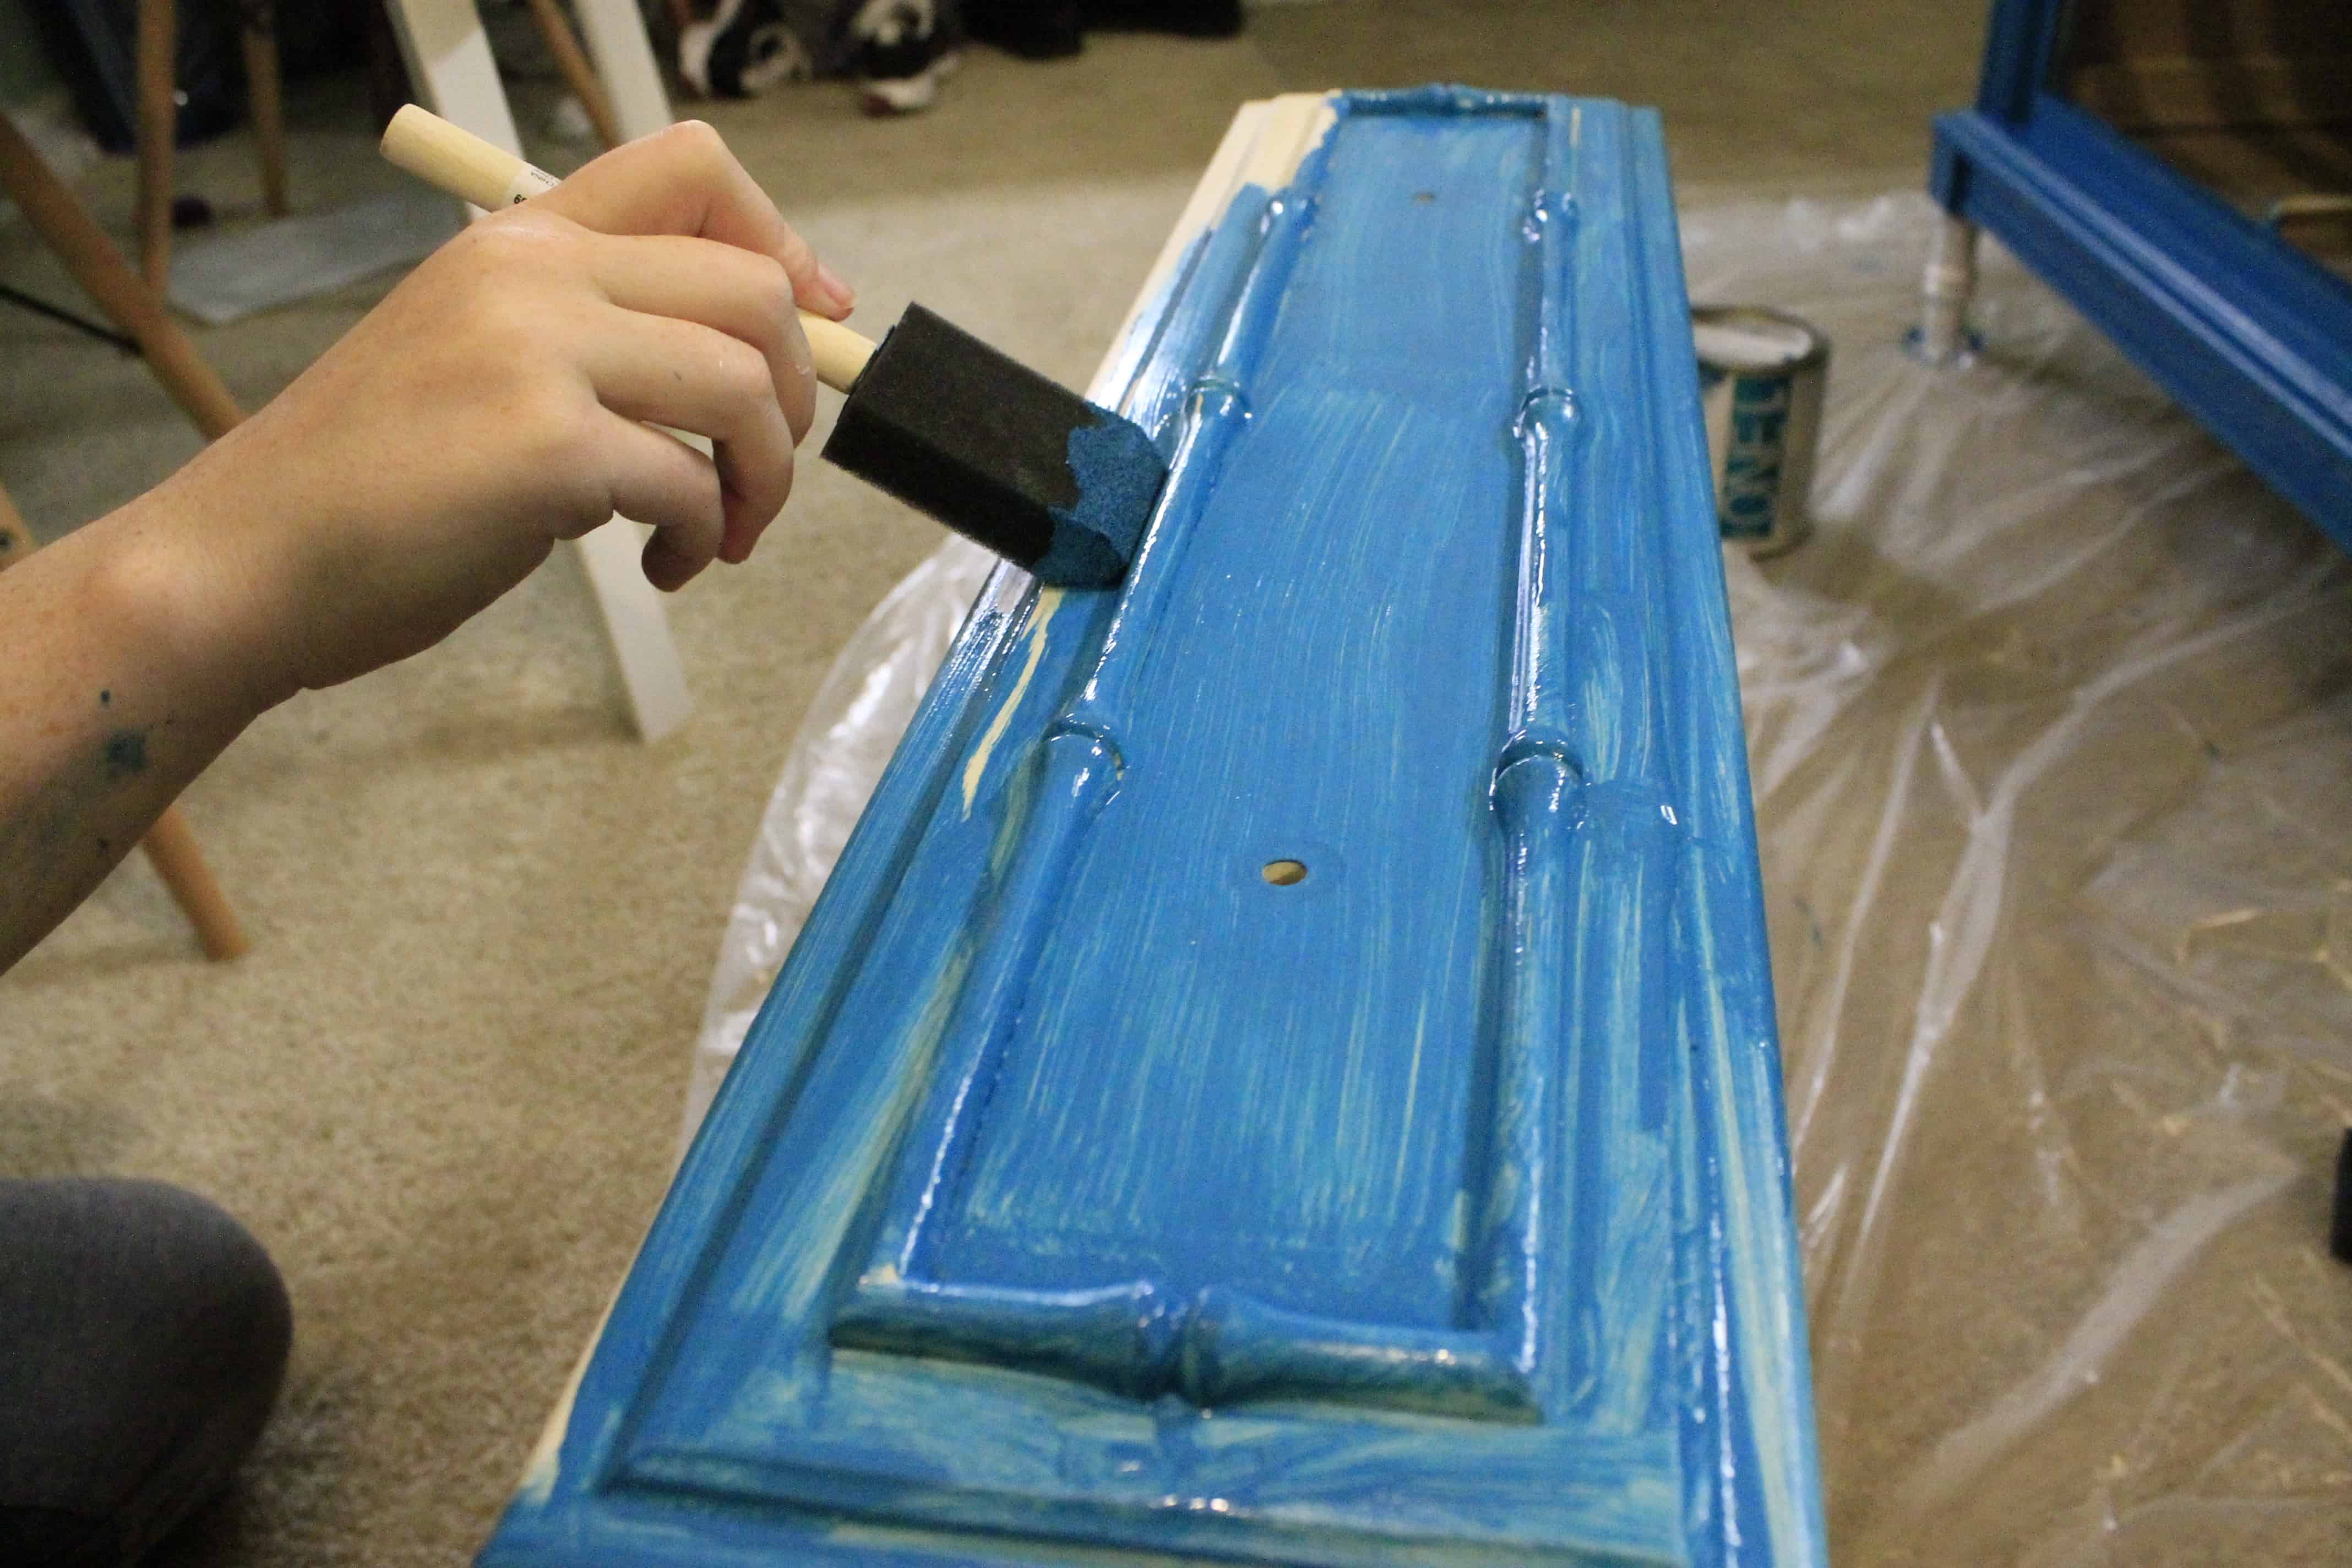
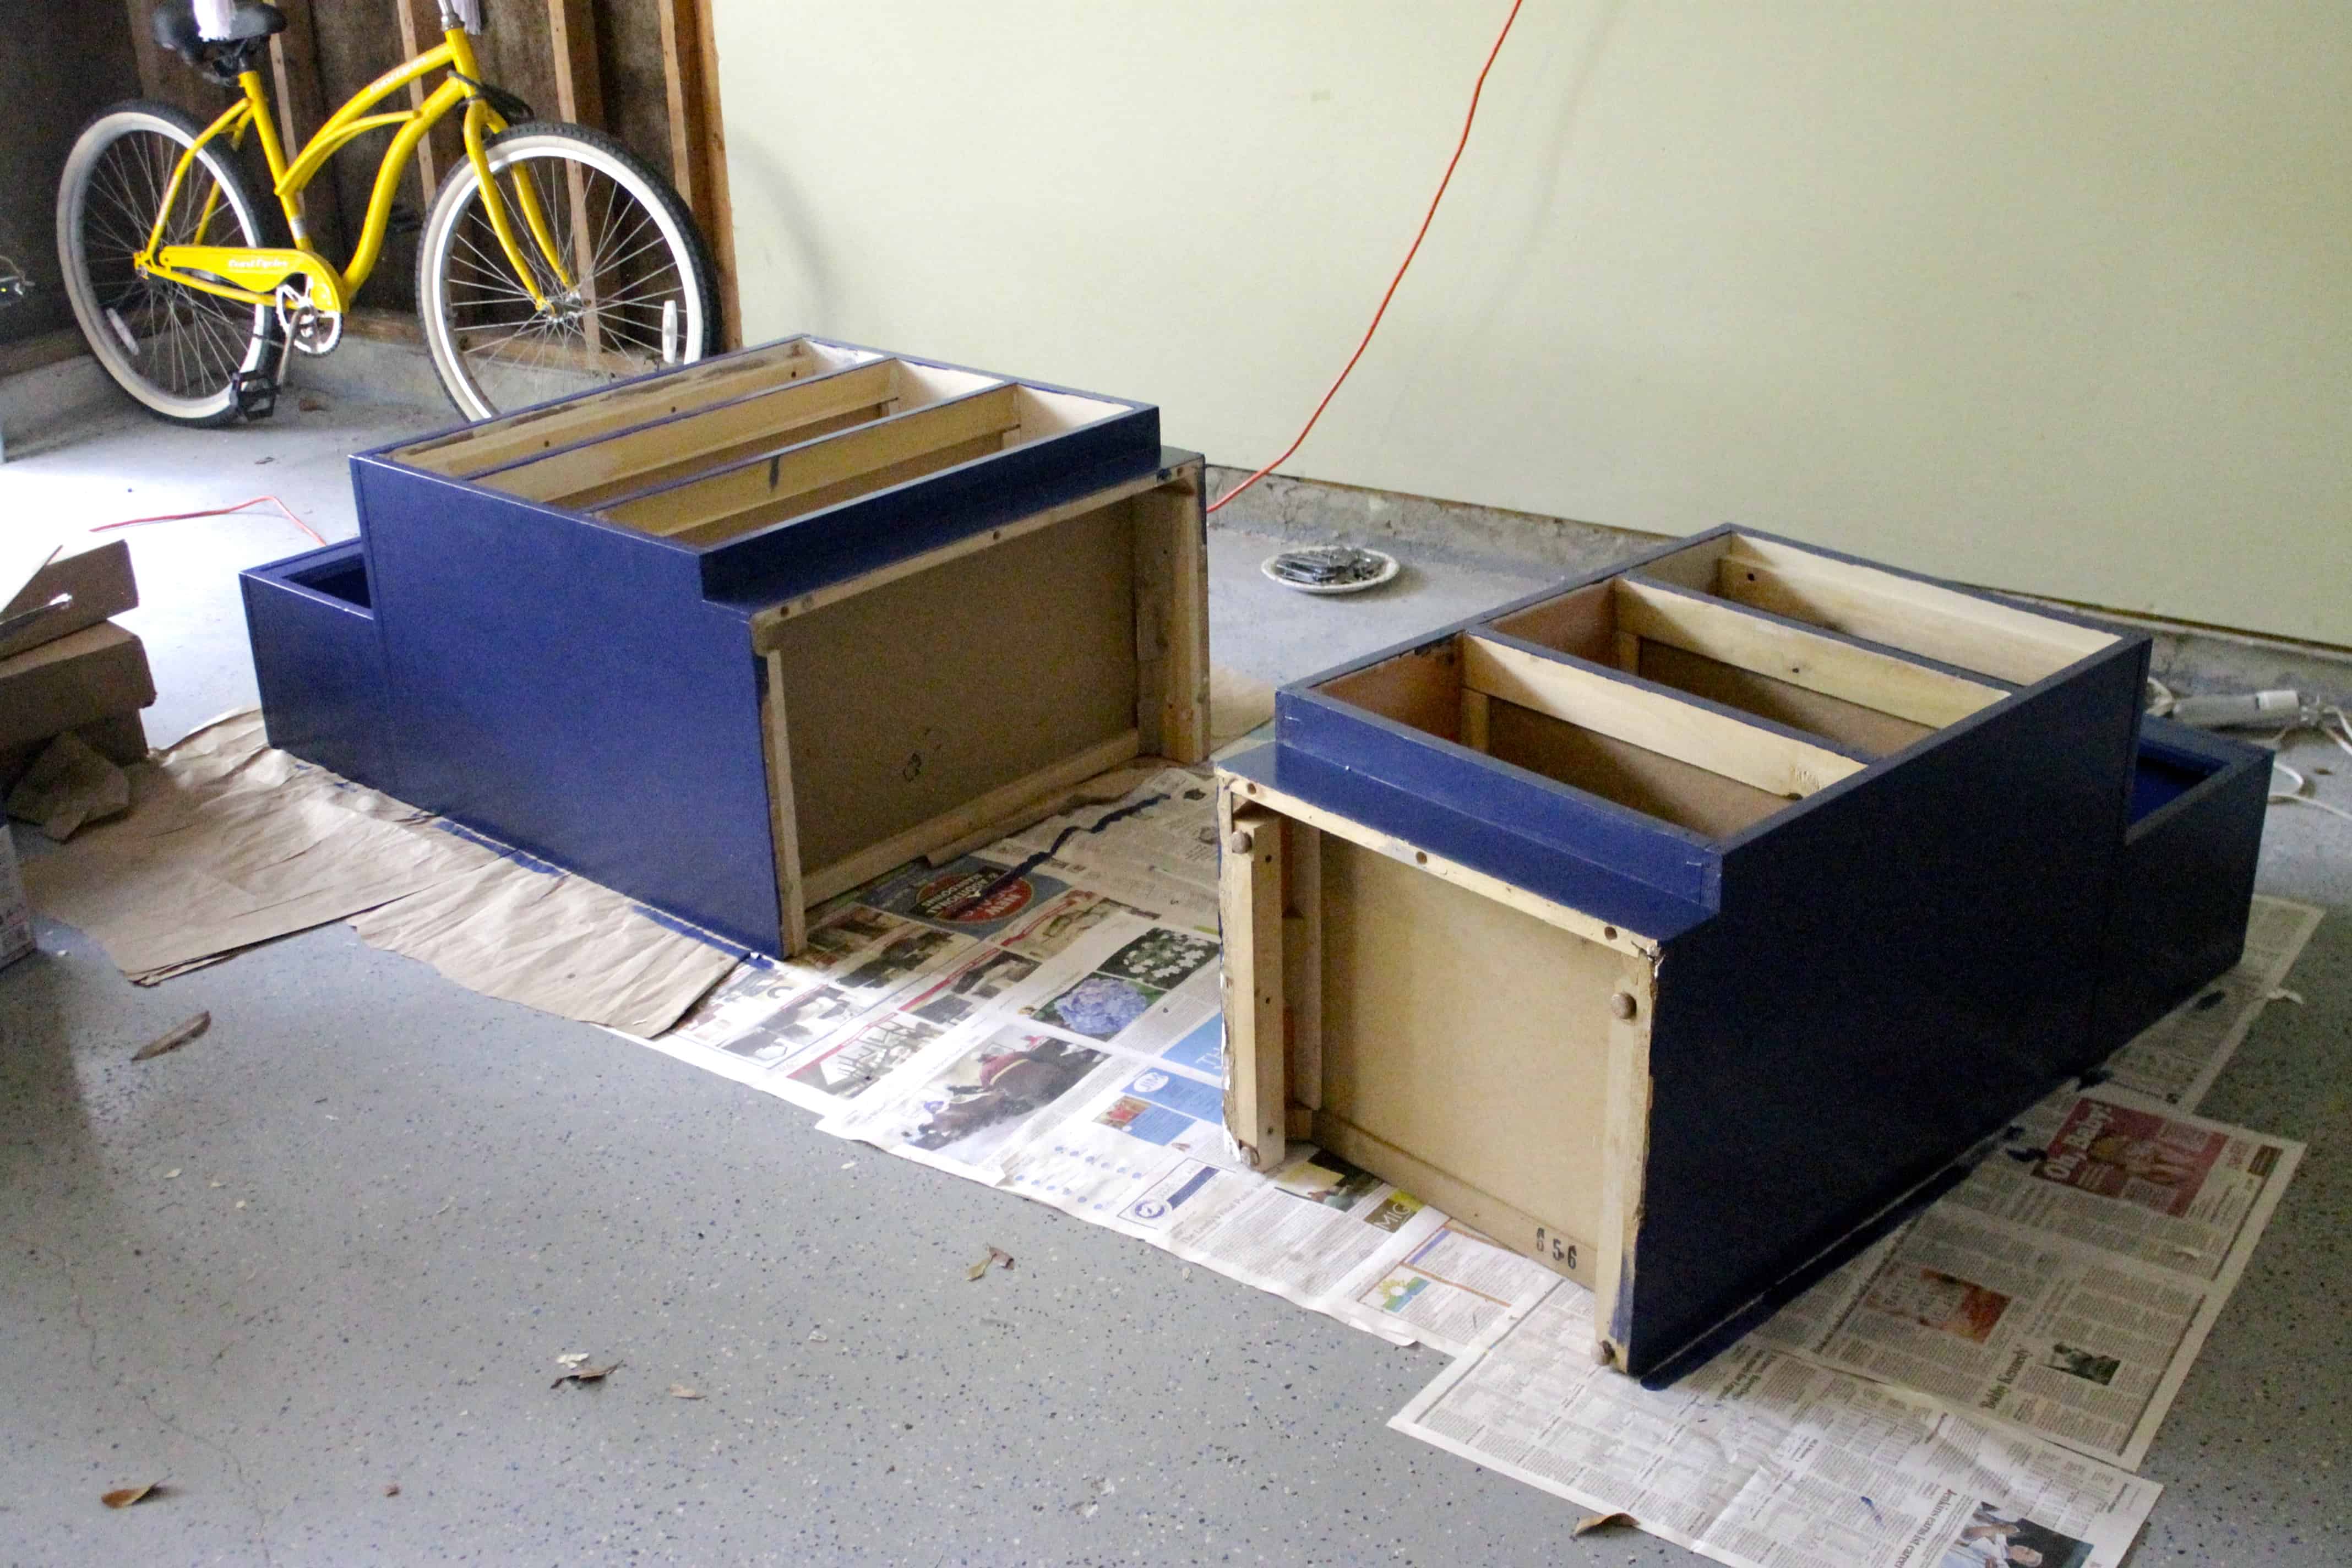
STEP 5: Paint
Now you finally get to paint your dresser! I like to use a mini foam roller on any piece of furniture to avoid brush marks. I definitely use a roller on drawer fronts and large, flat sides of the dresser. You might need a brush for smaller or more intricate spots.
I usually do 2 – 3 coats of paint when repainting a dresser. If you think that your paint job looks good after 1 – 2 coats, you can call it a day. It will all depend on the paint color and the color of the dresser underneath.
Make sure that you allow your paint to dry completely before handling it or applying the sealant.

STEP 6: Seal
Once your paint job has fully cured, you probably want to apply a sealant to your dresser. A clear sealant will act as a top coat protectant and keep your dresser’s new paint from getting damaged.
Follow the directions on your sealant, but in general you want to apply a few thin coats and sand gently with a sanding block in between coats.

STEP 7: Replace hardware and enjoy
Once your sealant has fully cured, you can re-attach your old (or new) hardware such as drawer pulls. Replace the drawers into the dresser and enjoy it!

How to paint a dresser
If you want to update and upgrade an old dresser, a coat of paint is a super cheap and easy way to do that. Here is an easy step by step 5 guide to painting a dresser!
Materials
- A dresser
- Sand paper – medium and fine grit
- Primer – spray paint or in a can with a brush
- Paint – latex paint is my go to
- Polyeurathane or sealant of choice
Tools
- Orbital sander
- High quality paint brush OR foam brush
- High density foam mini roller
- Paint sprayer
Instructions
- Prep - wipe down the surface of your dresser.

- Sand - start with medium grit and work your way to fine grit sand paper to remove the existing finish. Don't skip this step!


- Prime - primer will help paint adhere more evenly and take less coats.


- Sand again - follow instructions on your primer to sand again if necessary


- Paint - apply paint using a roller, brush, paint sprayer, or a combination there of.

- Seal - apply a sealant to protect your newly painted dresser.

Recommended Products
As an Amazon Associate and member of other affiliate programs, I earn from qualifying purchases.
-

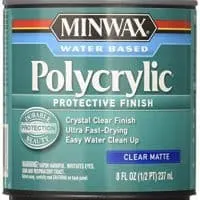 Minwax Polycrylic Protective Finish Water Based, 1/2 pint, Matte
 -
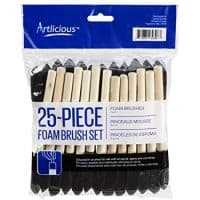
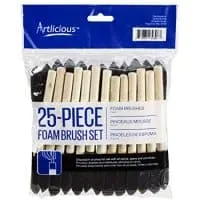 Foam Paint Brush Value Pack
 -

 Paint brush set
 -

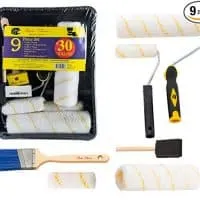 Bates Paint Roller - Paint Brush, Paint Tray, Roller Paint Brush, 9 Piece Home Painting Supplies, Foam Brush, House Painting Tray, Painting tools, Roller and Paint Brushes, Interior Paint Brushes
 -
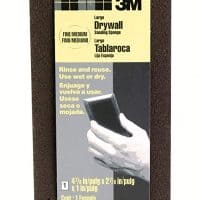
 Sanding Sponge, Fine/Medium
 -

 Orbital Sander
Frequently Asked Questions
You can paint any kind of dresser! It can be fun to find something old and outdated at a thrift store and bring it into this century with paint.
It can also be fun to find a dresser that’s got fantastic lines but just needs some TLC. Facebook Marketplace is a great place for these type of finds.
Most importantly, look for a dresser that is sturdy and in good shape. It’s easy to change the paint, but harder to change the shape or sturdiness of a piece of furniture.
I use latex or oil-based paint in a satin or matter finish. This could be as simple as regular wall paint or as specific as paint that says furniture on the can or bottle.
You CAN paint over furniture without sanding, but I do not recommend it. Slight differences in the finish will cause the paint to absorb/stick slightly differently. You will likely get a blotchy finish or spots where paint does not stick well at all.
Spray paint is not going to give you very even coverage of a dresser – you are much more likely to get drips. However, you can consider using a paint sprayer to paint your furniture with regular paint.
Yes – one quart of paint should be plenty for a dresser.
Sanding serves 2 purposes.
1. to remove any loose paint or debris. If you don’t sand it off, and instead paint over it, it’s likely to flake off and leave your paint job looking subpar.
2. to rough up the underlying material so your paint sticks better. If you paint over another paint job, the slick topcoat can cause your new paint to scratch or chip more easily.
Sanding is the best option for a durable finish.
You certainly can paint over your old dresser. However, even quickly rubbing it down with sandpaper – you don’t need to remove everything below, just rough up the surface – and then wiping it clean with a cloth to remove dust and debris – will really help your paint last longer.
The best way to avoid brush marks when painting furniture is by using either a foam roller or a paint sprayer or spray paint. Be sure to do light coats to avoid drips.
No! If the inside of drawers are damaged I instead suggest covering them with contact paper or peel and stick wallpaper. Paint inside drawers always gets scratched and dinged.
Using a primer before painting furniture makes the paint adhere to the furniture better and means you will need less coats of paint. If you are looking to skip a step, consider using a paint-and-primer-in-one!
Can I see some of the dressers that you have painted?
You betcha!
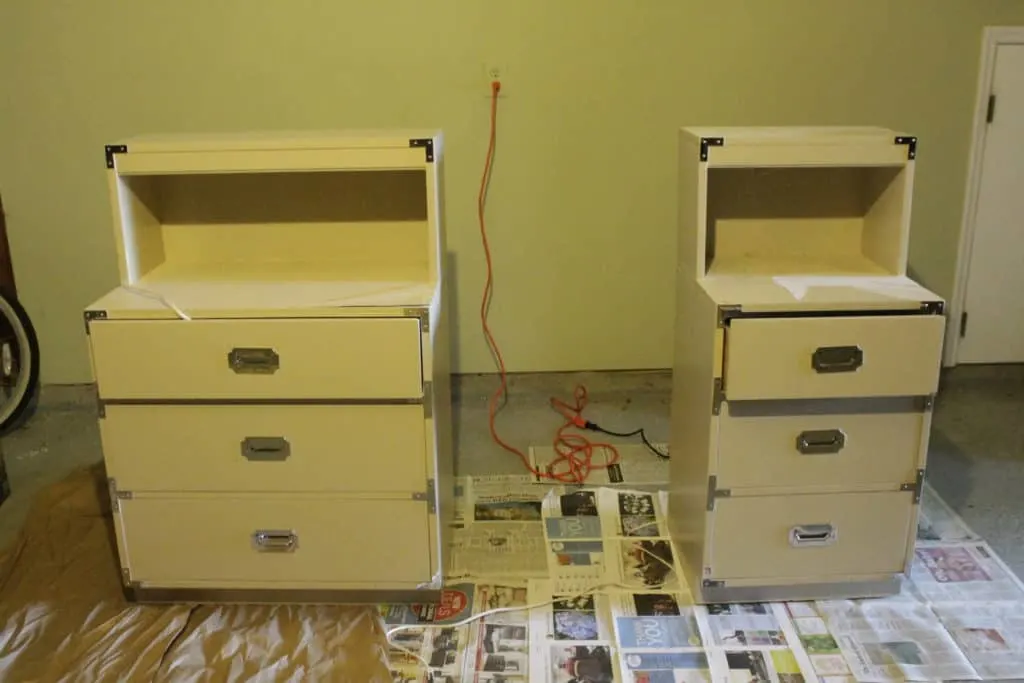
- Campaign dressers painted navy blue
- Bamboo dresser painted teal and white
- Ikea Hemnes dresser makeover
- Mid century modern dresser painted wood and white
Any other questions about painting a dresser?


Looking for something?
We’ve been doing this since 2012 so we have a LOT of blog posts!
Search stuff like: Ceiling Projects | DIY Plant Stands | Thrift Flips


Hello, I’m Morgan, half of the creative force behind CharlestonCrafted.com! With a passion for DIY that dates back to 2012, I’ve transformed three homes and now I’m dedicated to helping others craft their dream spaces. Let’s turn your house into a home together!