
Wondering how to make a felt jungle baby mobile? I am so obsessed with how this DIY mobile turned out! If you are planning a jungle themed nursery, you will love this simple tutorial!
As we are finishing up decorating our jungle nursery, I am focusing on the final little touches. That has meant art and accessories. One functional accessory is a baby mobile.
I considered purchasing a baby mobile (how cute is this musical jungle mobile or this simpler felt ball mobile) but the crafter in me just wanted to DIY my own!
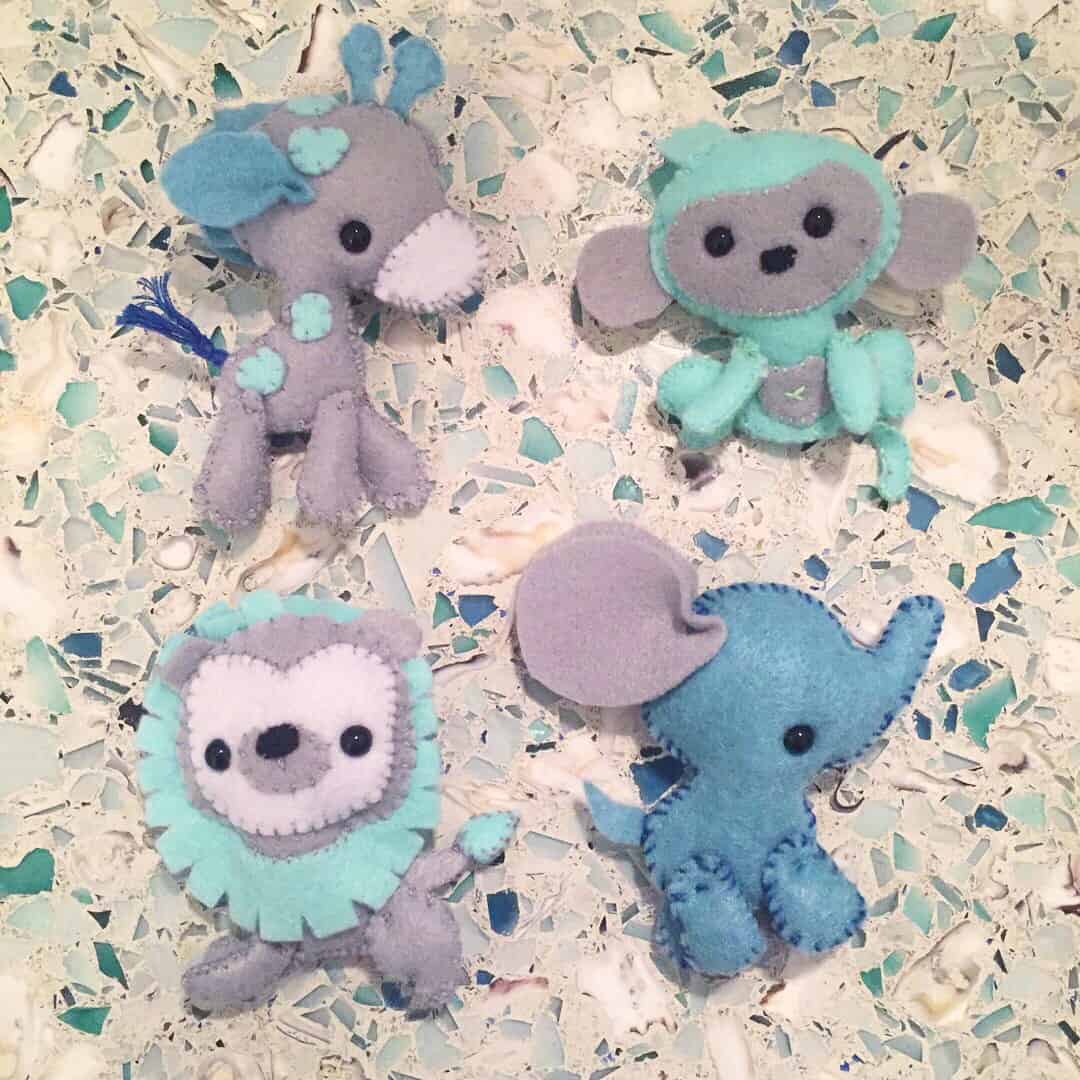
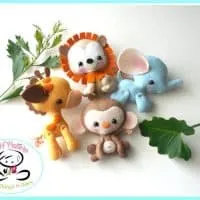
To start, I decided to make felt animals to hang. I actually purchased patterns to make these animals off of Etsy. I am very, very pleased with how they turned out, though I will warn you that the patterns are hand drawn. If you are a serious sewer, this might bother you.
The patterns are great because they give you all the instructions that you need to sew the little guys. I actually sewed them during my downtime while we were on hurricane watch! Luckily, the hurricane spared us and I got these guys finished.
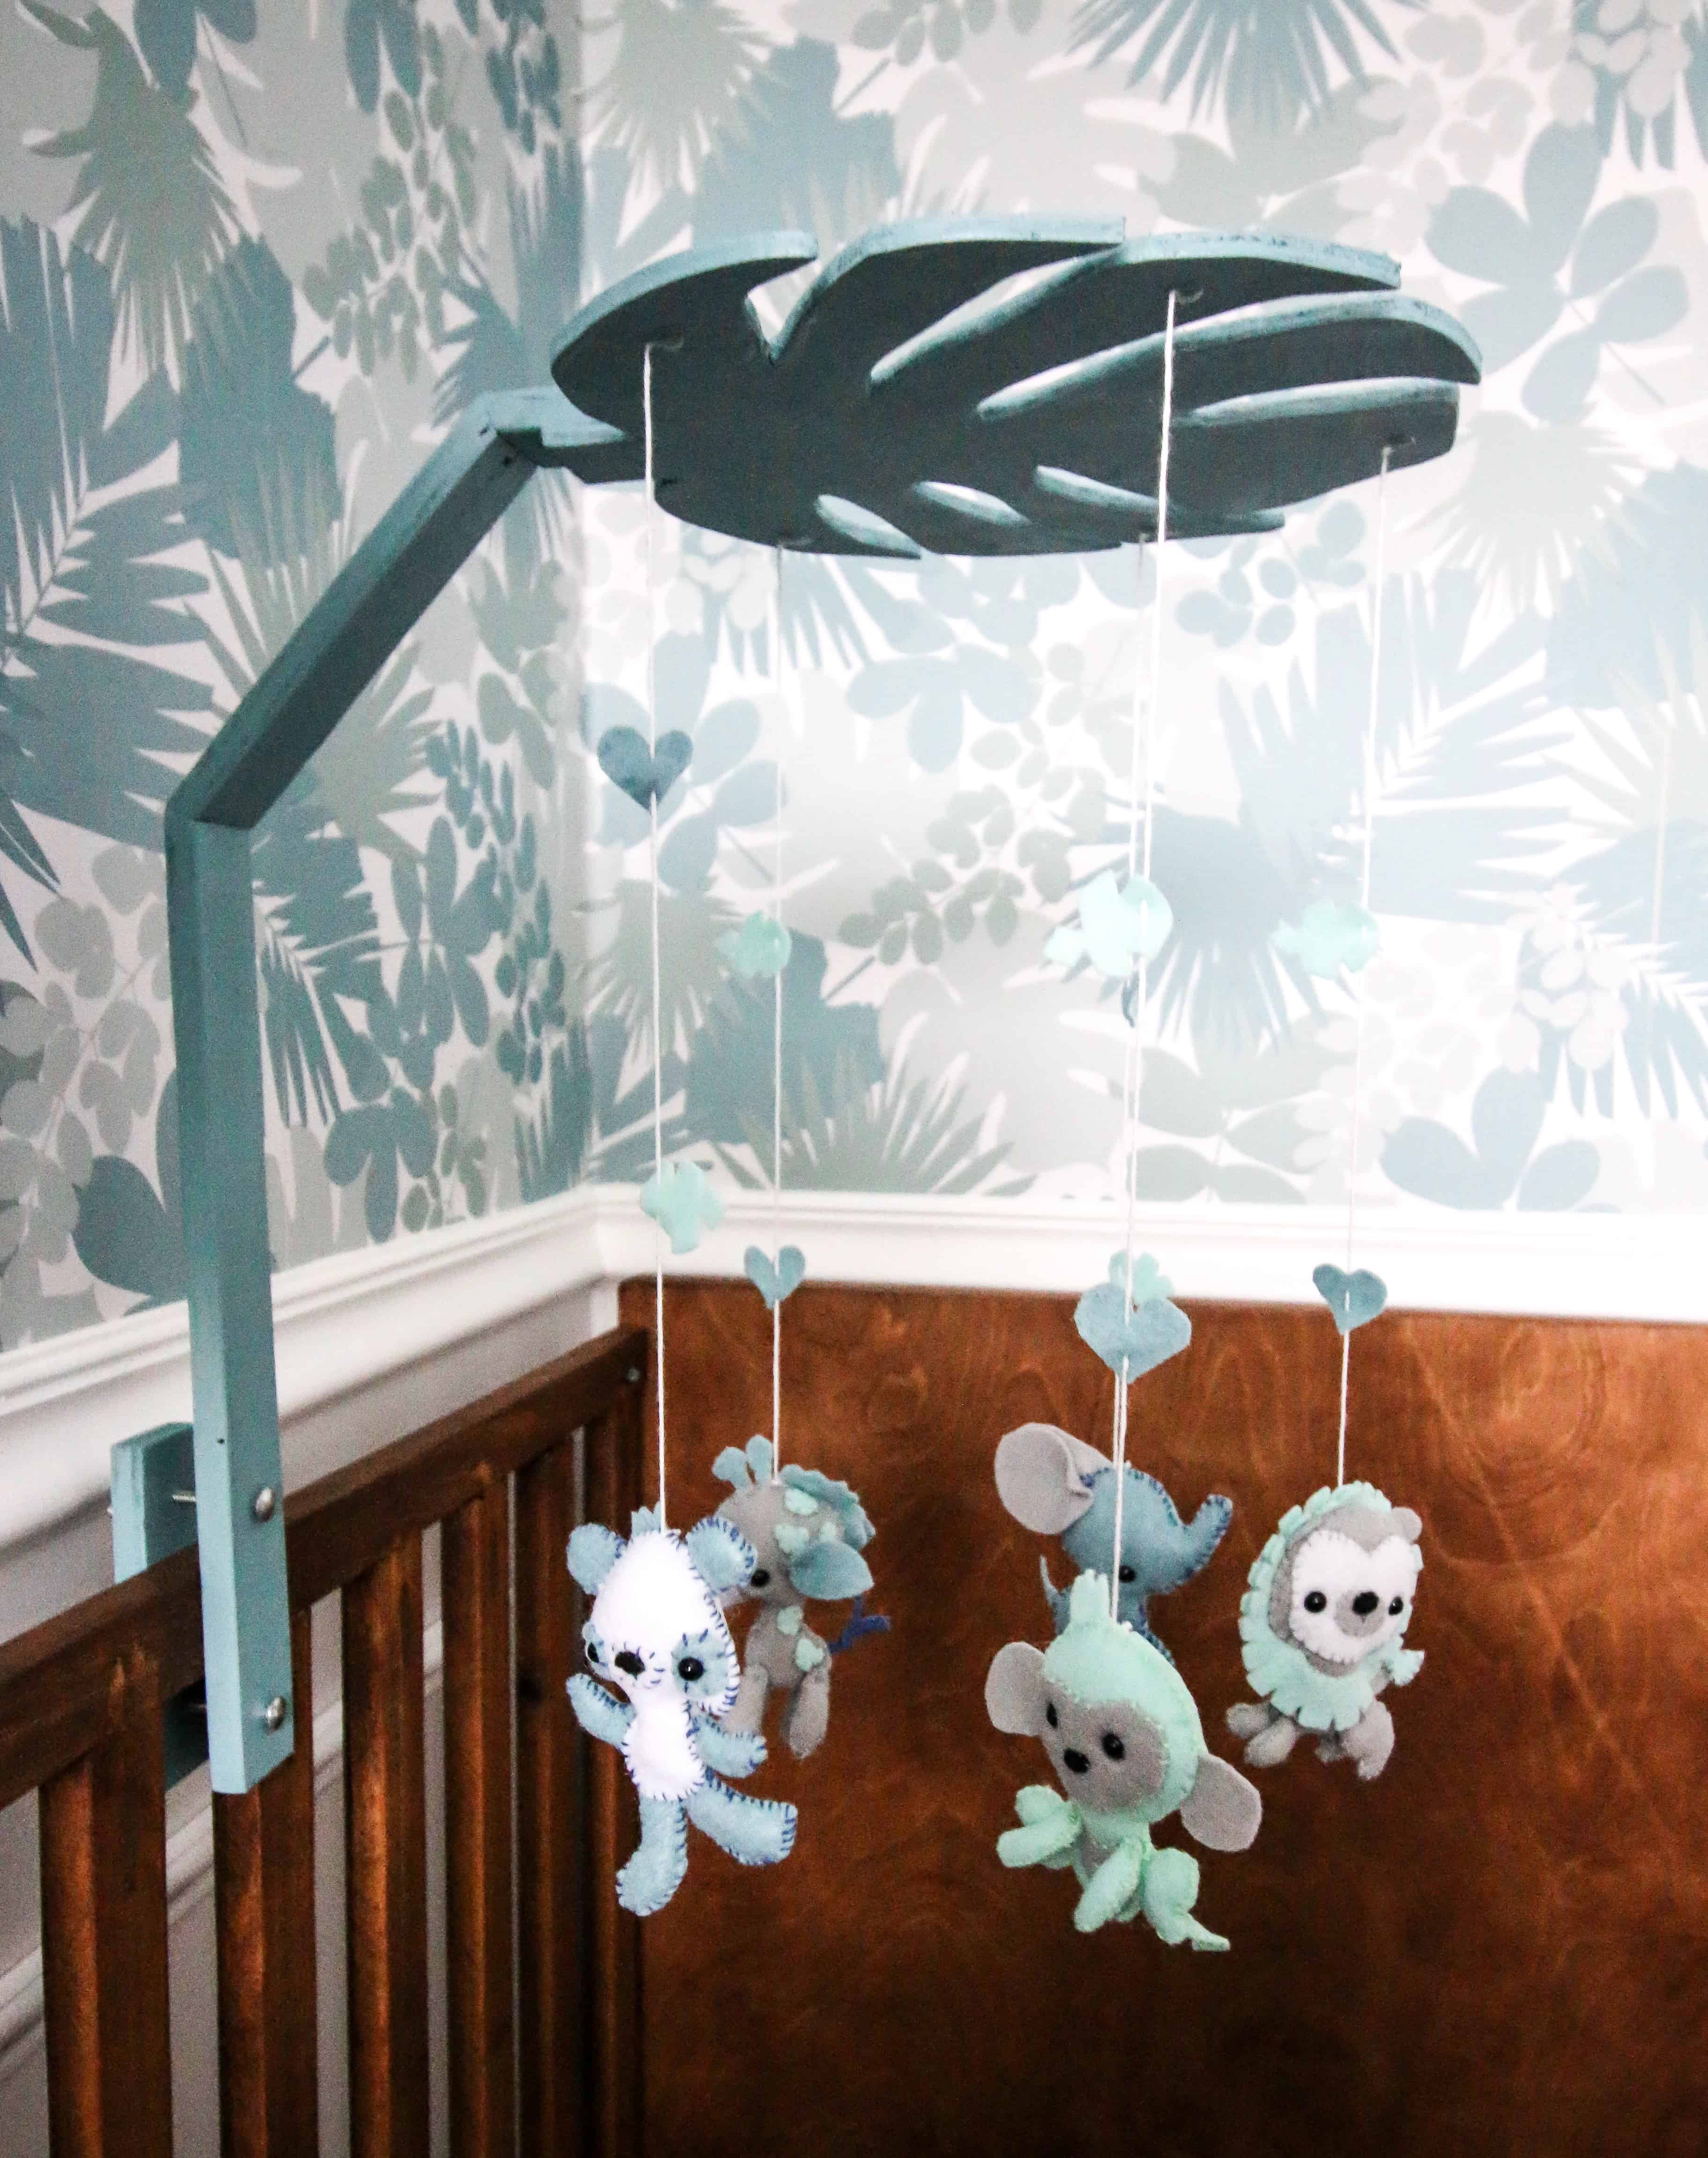
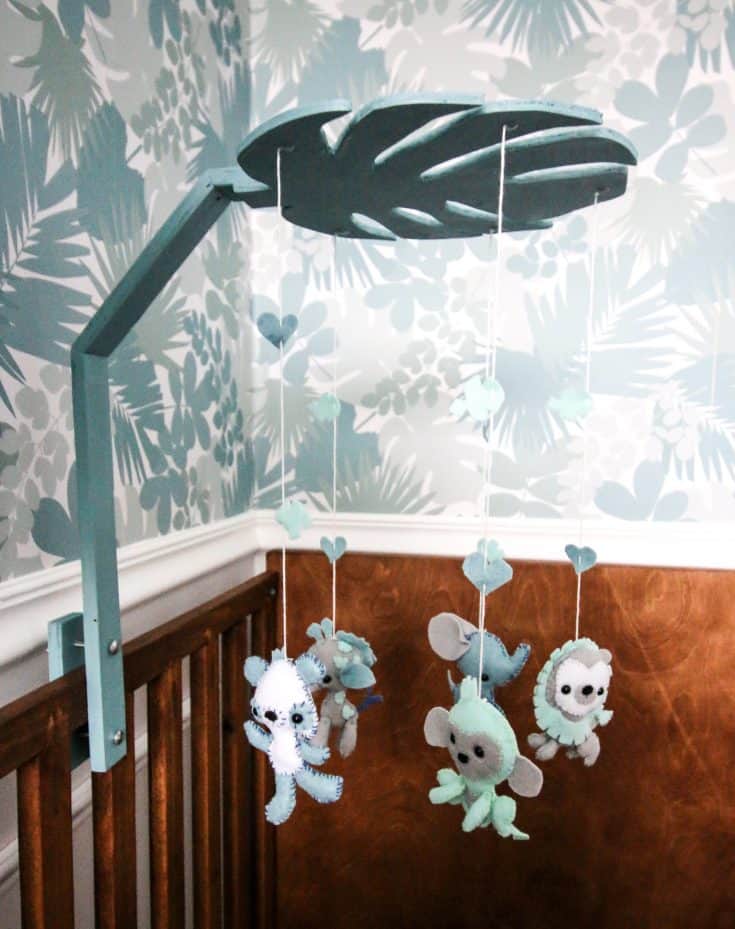
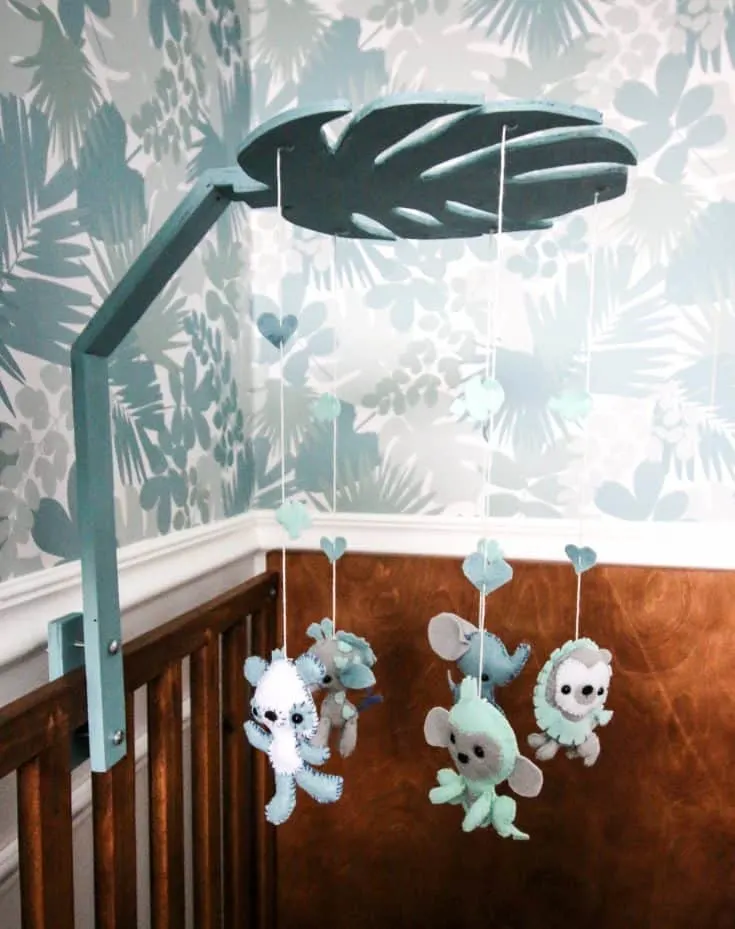
I contemplated purchasing a musical mobile base to build off of, but decided that this baby had enough musical toys for now. I wanted something more aesthetically pleasing and so I designed a plywood leaf-shaped mobile arm and mount.
This mount clips to the bars of the crib using wing nuts. It’s a really simple design but I just love the way that it turned out!
Be sure to click over and check out our Jungle Theme Nursery Reveal!
How to Make a Felt Jungle Baby Mobile
What you need for the animals:
- Animal patterns
- Felt
- Embroidery floss
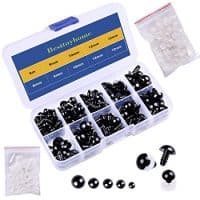
- Craft safety eyes
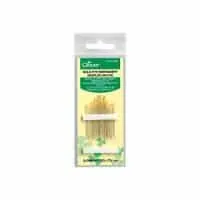
- Embroidery needle
- Scissors
- Stuffing
What you need for the mobile stand:
- 1/4″ plywood
- 1″x2″ boards (we used poplar scrap from the crib)
- Jig saw
- Sander + sand paper
- Paint + Brush
- Wood glue
- Clamps
- Wing nuts + bolts x2
What you do:
- Follow the directions on the patterns to create felt animals.
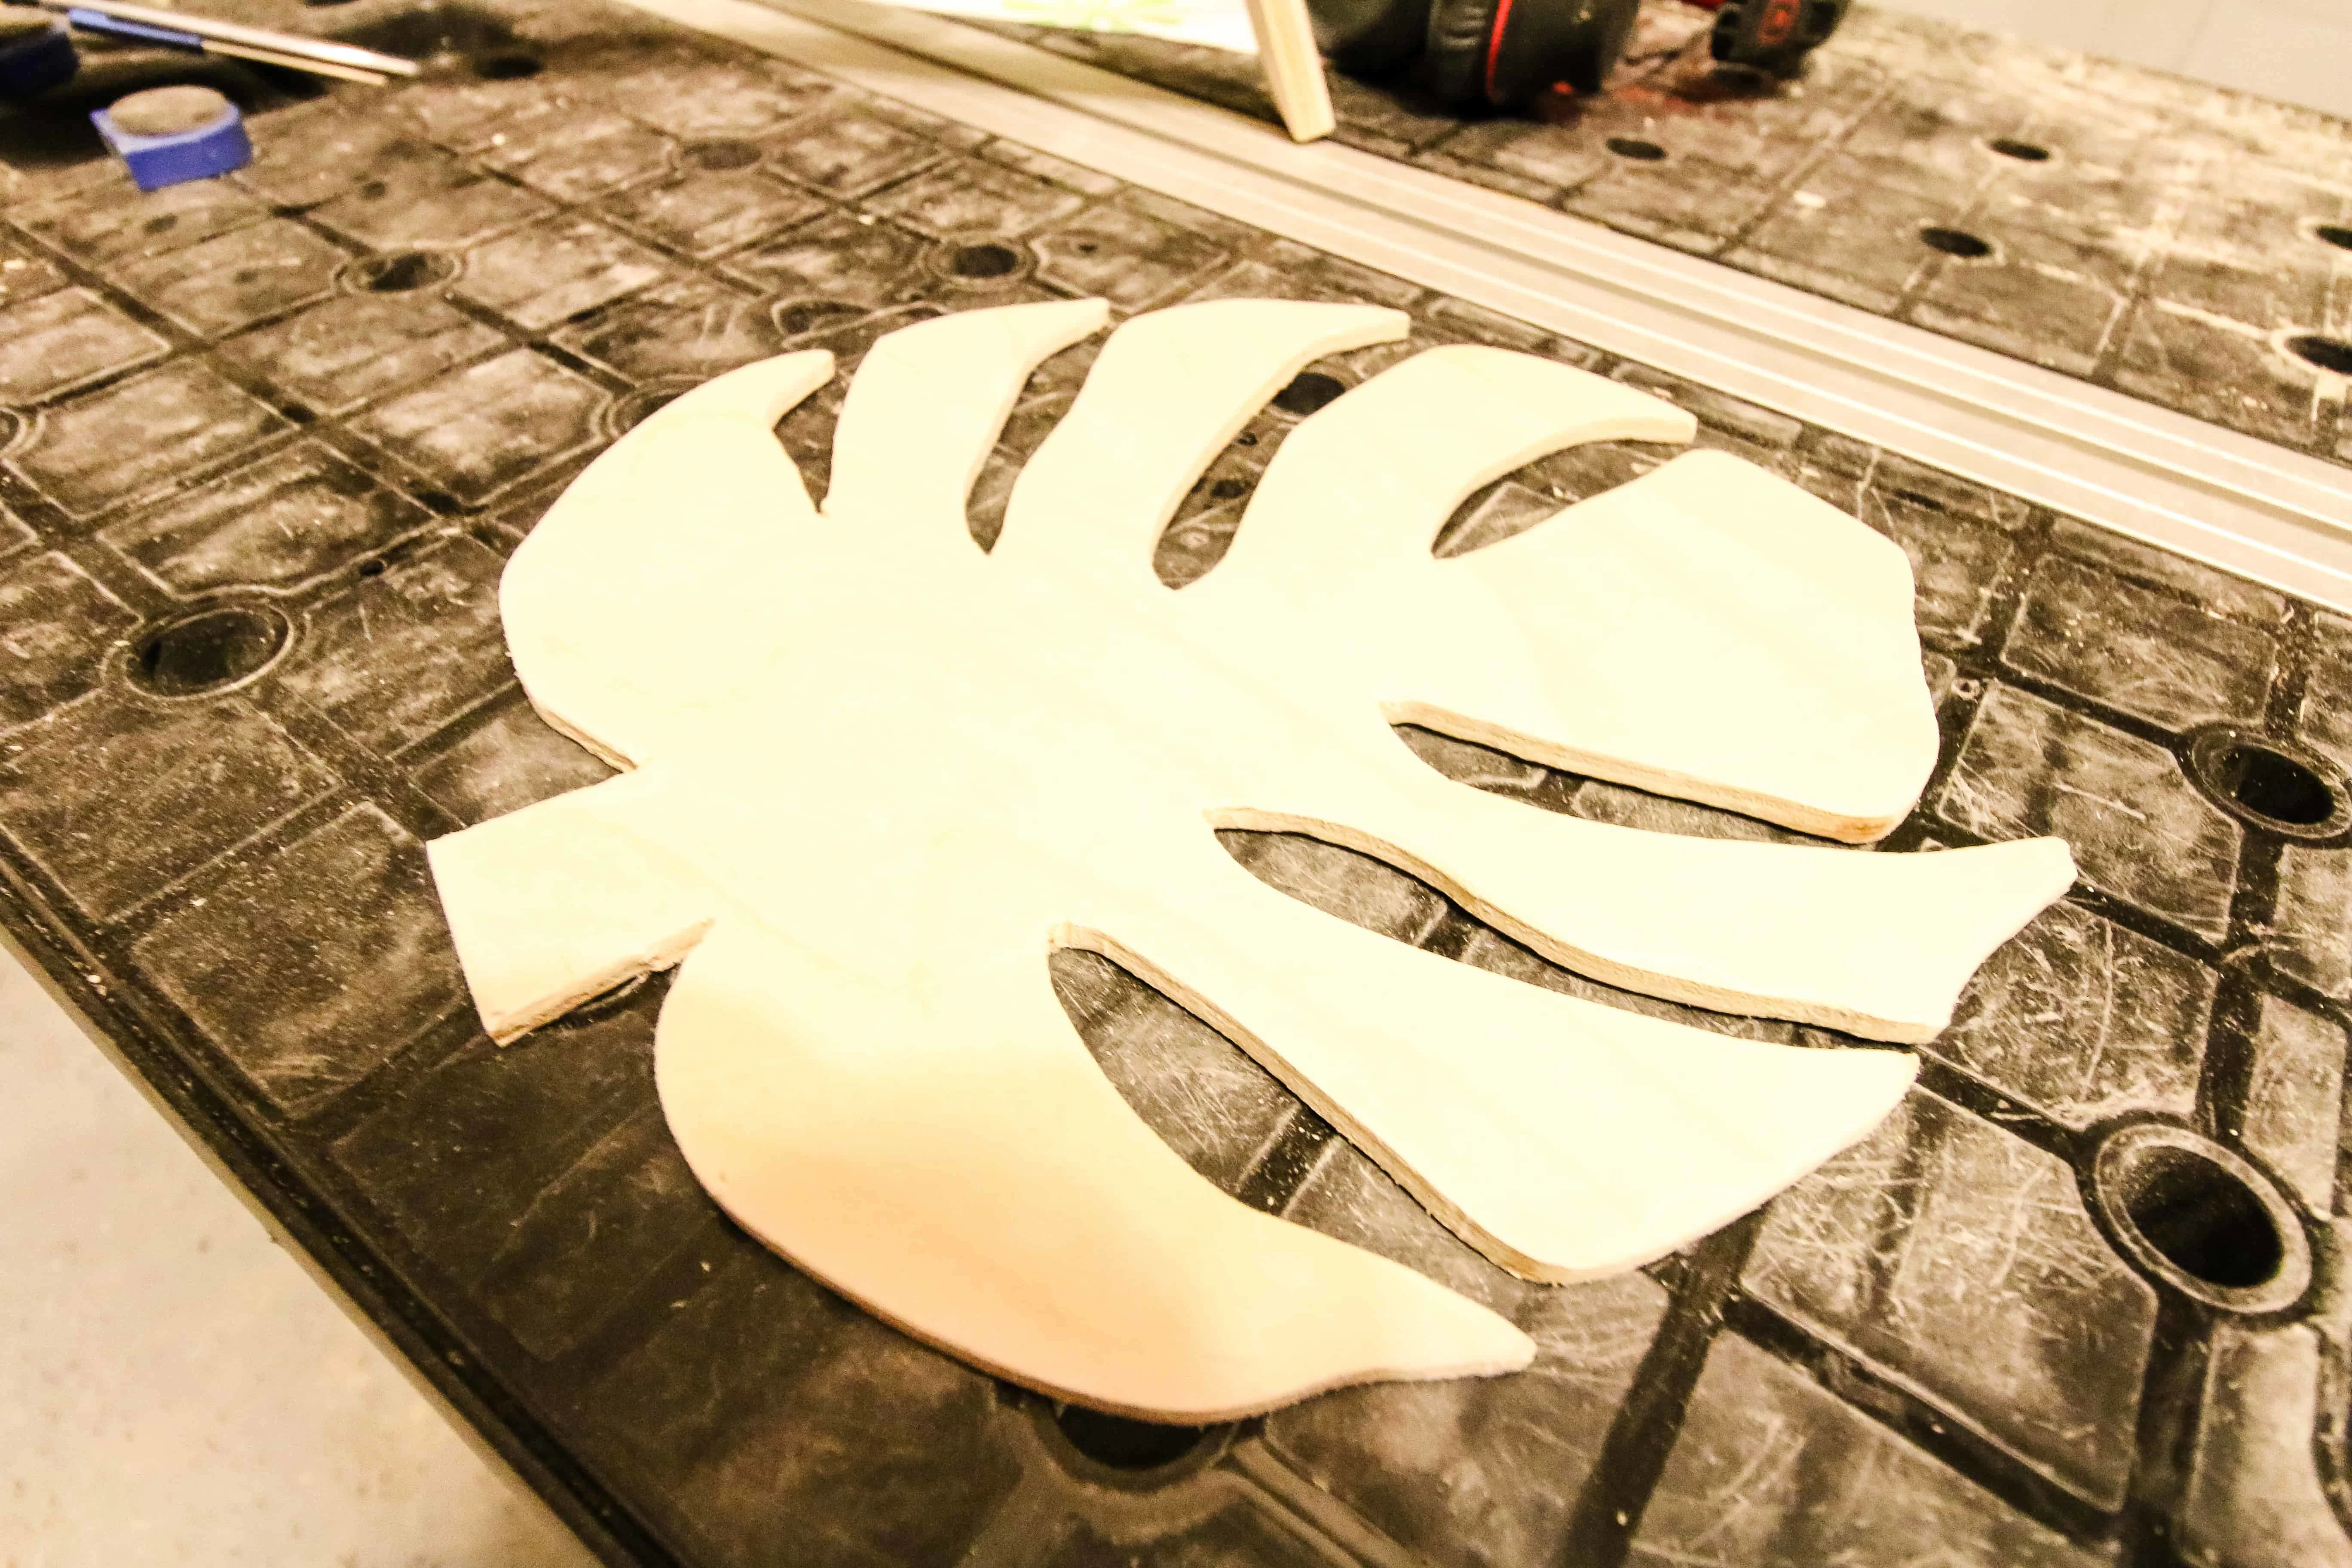
- Use a jig saw to cut a leaf shape out of the plywood. Make it about 12 inches long.

- Cut a piece of 1×2 to about 12 inches with a 20 degree bevel.
- Then cut the next piece about four inches long with a 25 degree bevel going in the opposite angle of the 20 degree angle.
- Finally, cut the cutoff piece flat about 2 inches off the end of the last cut piece.
- Piece together your wood pieces by flipping the angles. The whole piece should end up with a right angle, just with a curved piece in the middle.
- Glue the wood leaf to the small piece and let dry.
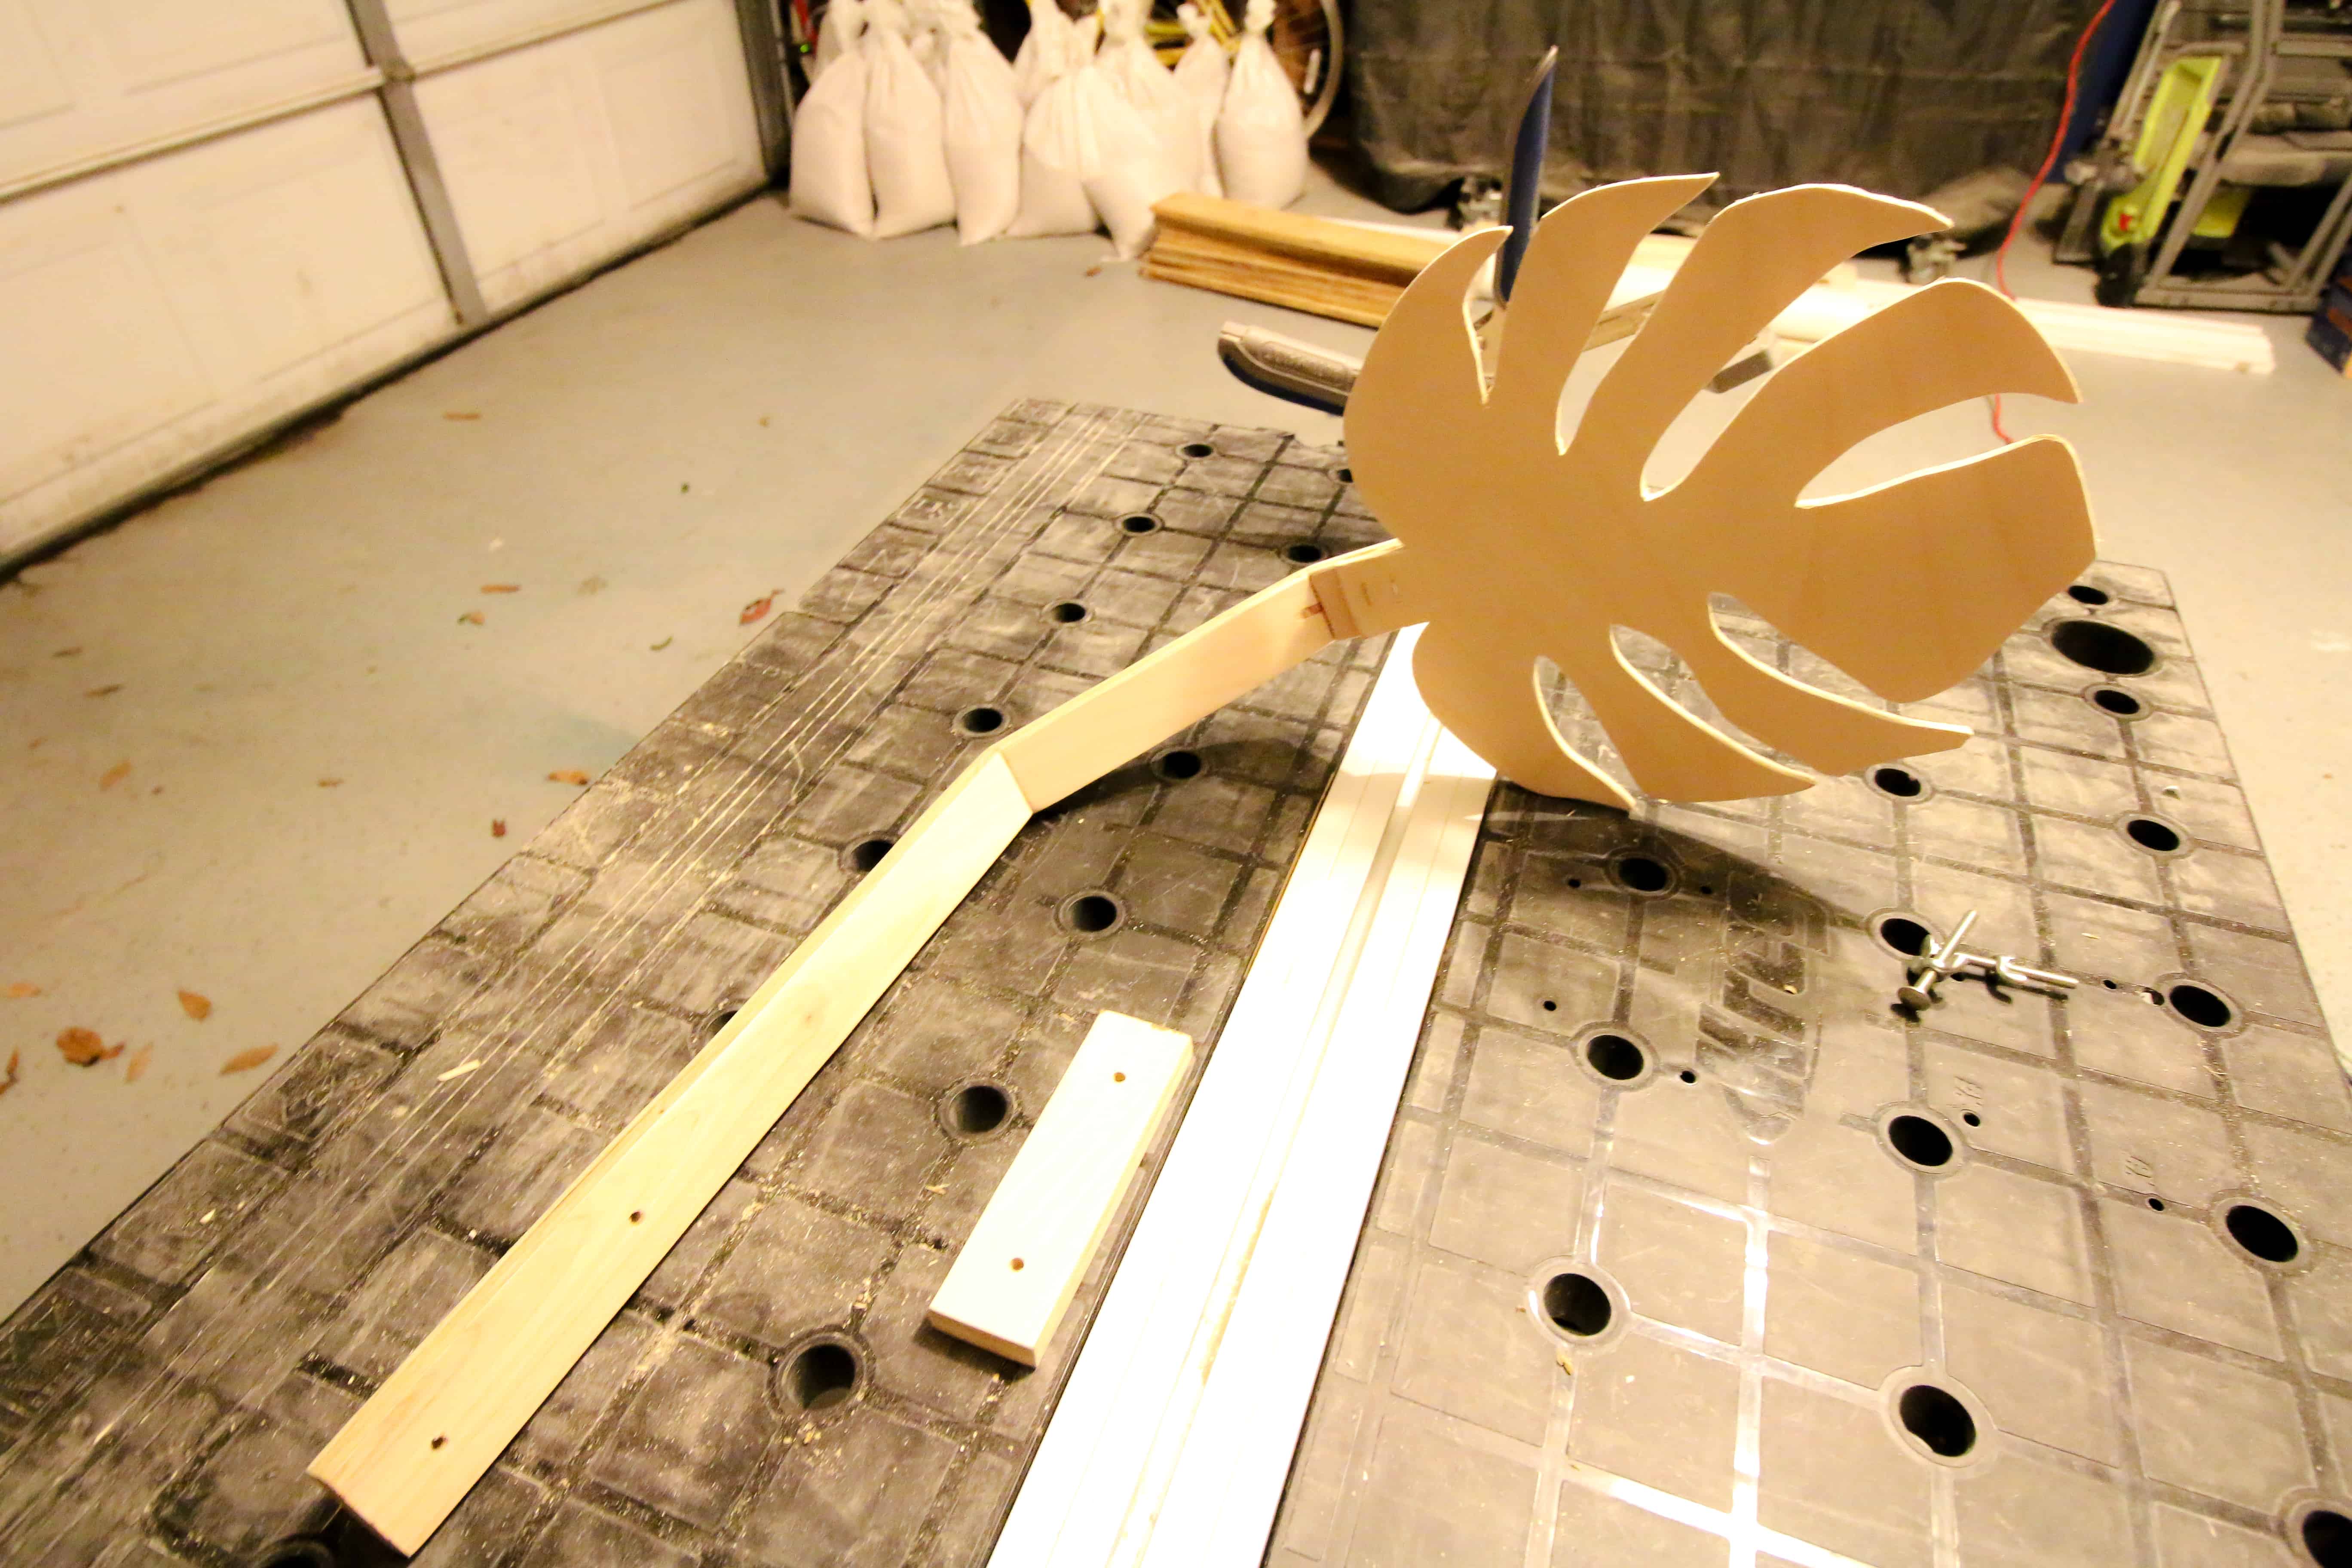

- Cut a piece of wood 4 inches and drill holes near the top and bottom of that piece and where it lines up with the curved arm. The holes should straddle the bar you’re going to connect the mobile to.
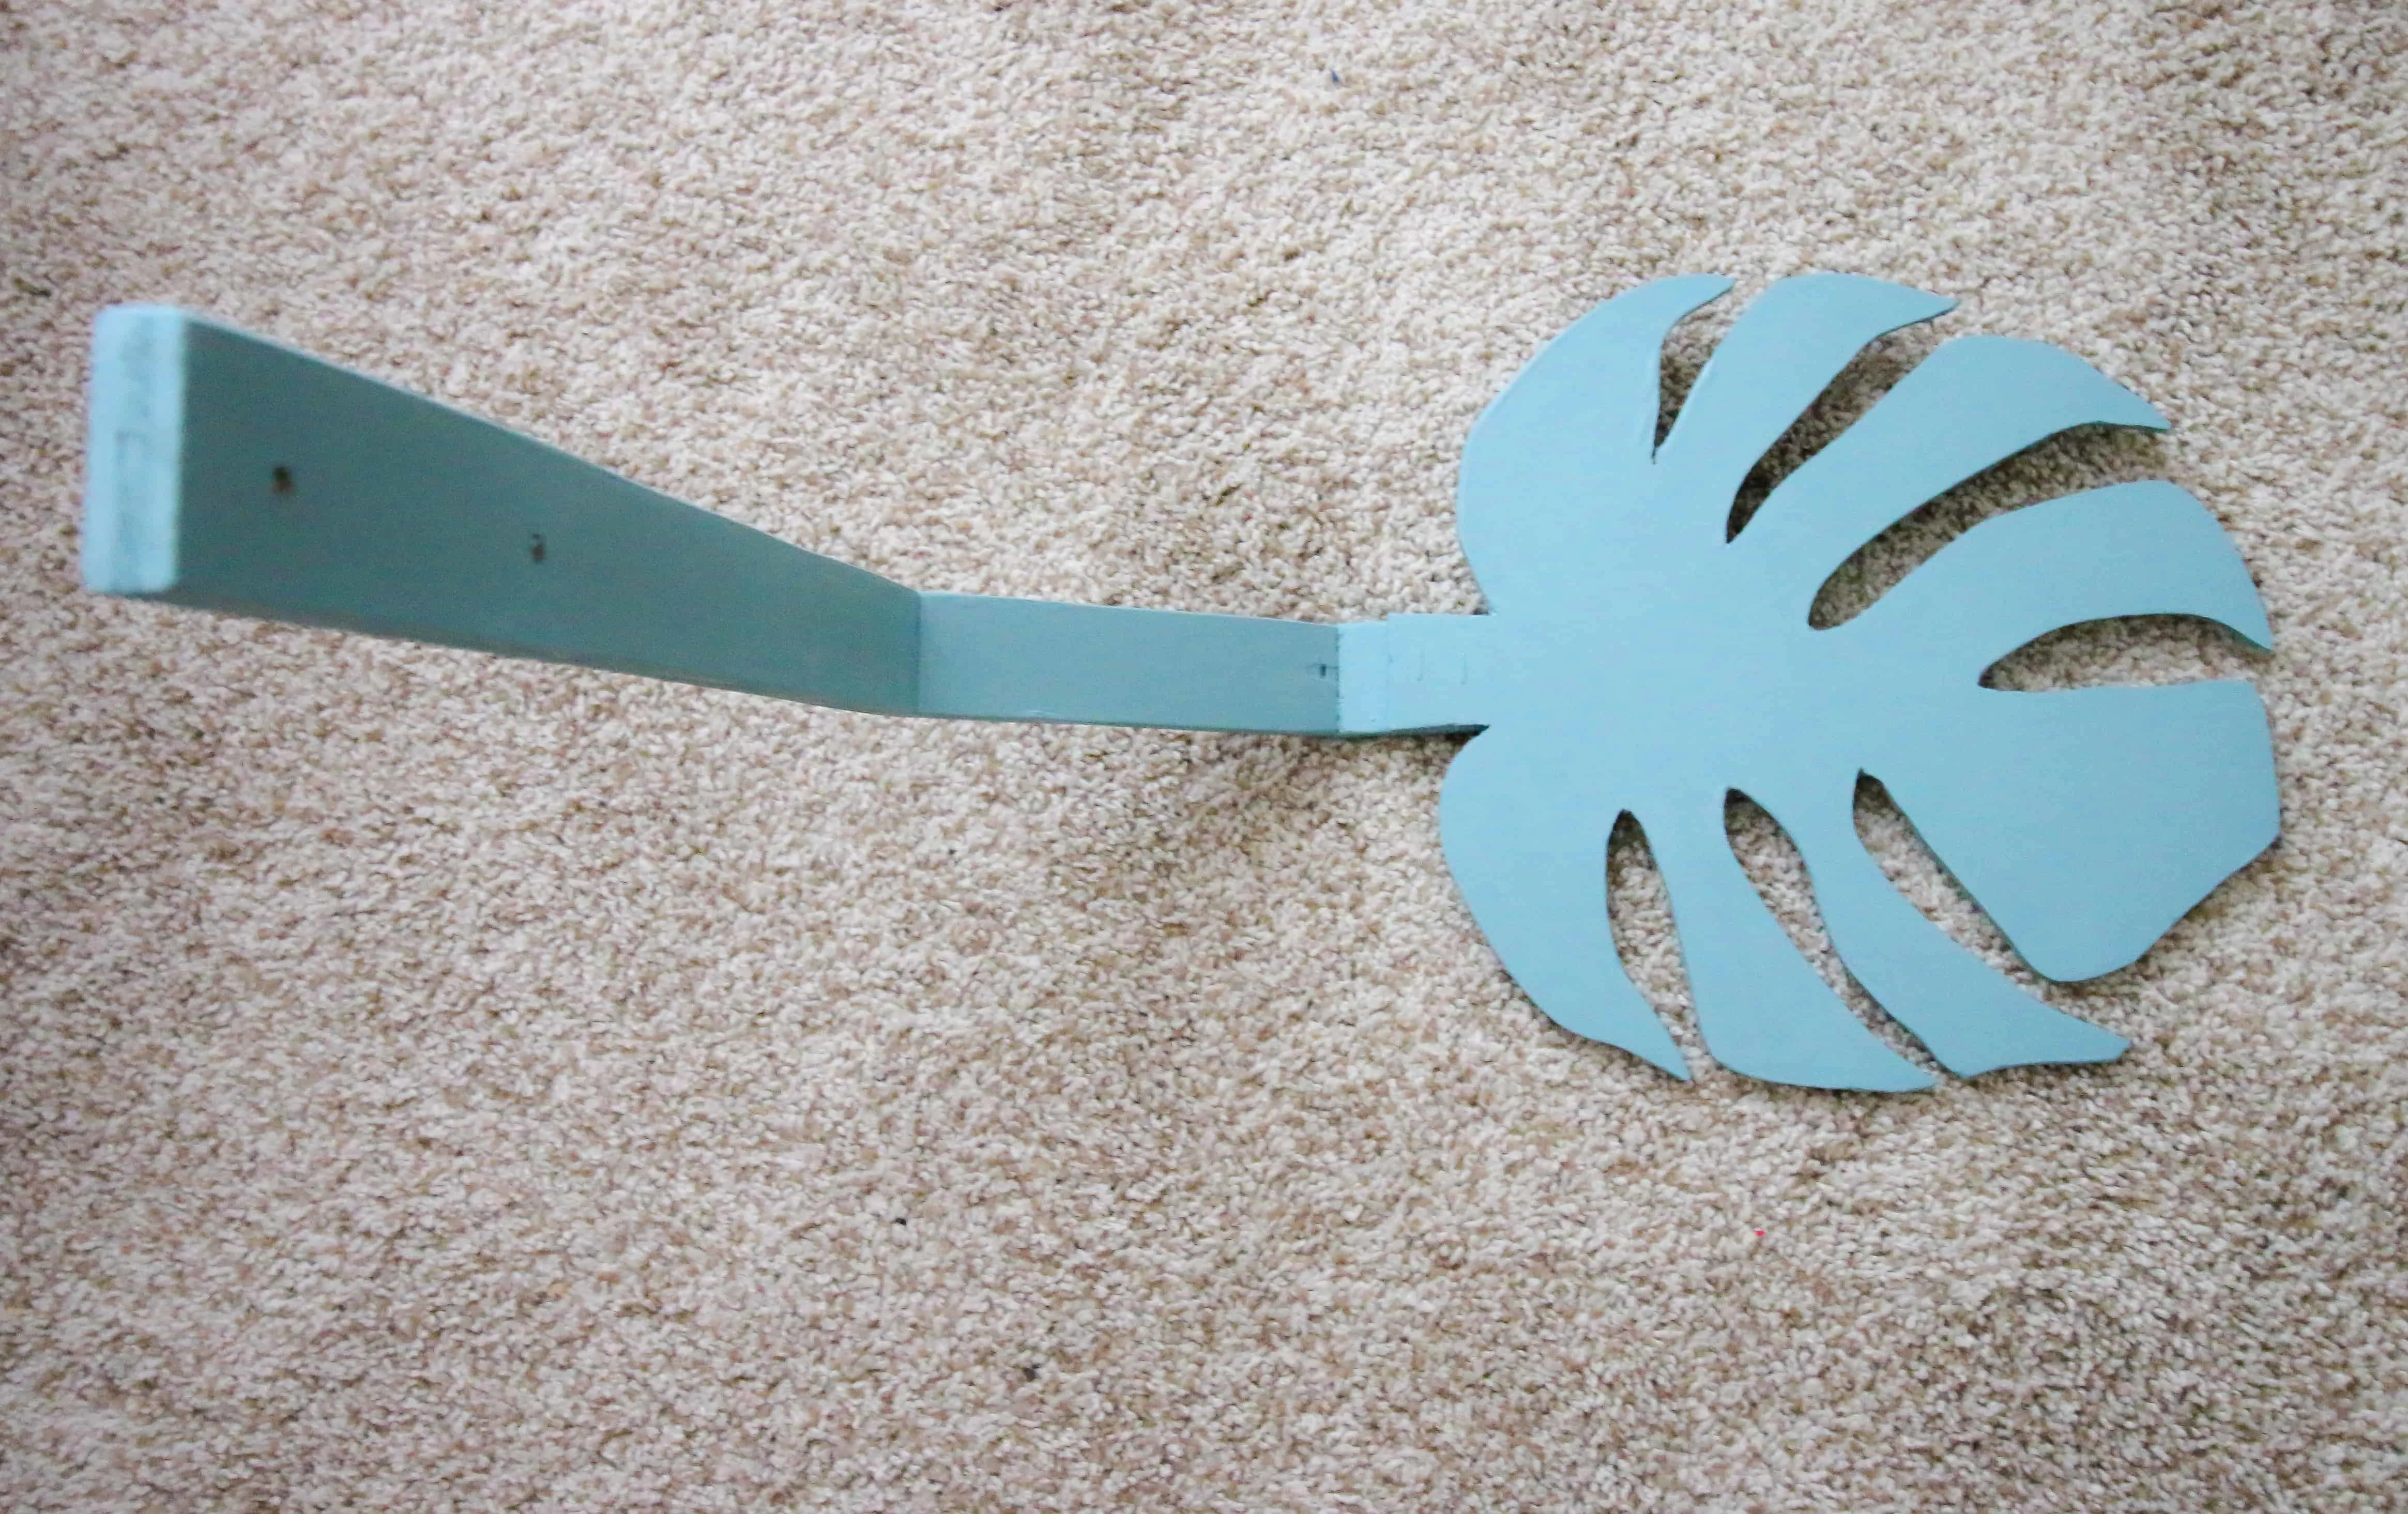
- Paint the wooden mount and allow to dry.

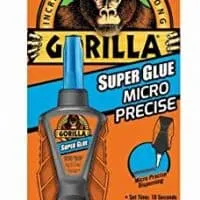
- String each felt animal on a piece of thread. Optionally, add decorative felt pieces like small leaves. Tie a knot and use clear gorilla glue to attach to the leaf.
- Use the wing nuts to attach the stand to the crib.
Have you ever made any little felt animals? I feel like I am really on a kick, now!
This post contains affiliate links, which means that if you click a lick and make a purchase, we receive a very small percentage of the sale. Thanks for your support!
How to make a felt mobile
Here is how to make a gorgeous felt mobile for your baby's nursery!
Materials
Felt Animals
- Felt
- Patterns
- Embroidery floss
- Stuffing
Wooden mobile
- Plywood
- 1"x2" board
- Paint
- Wood Glue
- Wing nuts & bolts x2
- Gorilla glue
Tools
- Scissors
- Needle
- Jig Saw
- Sander
- Paint brush
- Drill
- Clamps
Instructions
For the animals:
- Print the patterns.
- Follow the directions on the patterns to create the felt animals.
- String each animal on thread.
For the mobile stand:
- Use a jig saw to cut a 12 inch leaf shape out of plywood.
- Cut a stem from 1x2" with a 20 degree bevel.
- Cut a 4 inch long piece with a 25 degree bevel.
- Cut a 2 inch long piece.
- Assemble the stem with wood glue and allow to dry.
- Glue on the leaf and allow to dry.
- Cut a piece of wood 4 inches and drill holes near the top and bottom of that piece and where it lines up with the curved arm. The holes should straddle the bar you’re going to connect the mobile to.
- Paint the wooden mount and allow to dry.
- Use glue to attach the animals to the leaf.
- Use the wing nuts to attach the stand to the crib.
Recommended Products
As an Amazon Associate and member of other affiliate programs, I earn from qualifying purchases.


Looking for something?
We’ve been doing this since 2012 so we have a LOT of blog posts!
Search stuff like: Ceiling Projects | DIY Plant Stands | Thrift Flips


Hello, I’m Morgan, half of the creative force behind CharlestonCrafted.com! With a passion for DIY that dates back to 2012, I’ve transformed three homes and now I’m dedicated to helping others craft their dream spaces. Let’s turn your house into a home together!