
Adding DIY wainscoting to any room is an easy way to add elegance to a space. We’ve got the steps for the easiest way to install DIY wainscoting here!
Thank you to Woodgrain for sponsoring this post. All opinions are our own.
Looking for the easiest way to install DIY wainscoting? Adding wainscoting to a room is a quick, inexpensive and easy way to make any room in your house instantly look fancier, more formal or more complete.
Installing wainscoting is an easy DIY project that can be done in a weekend on a budget. It’s as simple as nailing a few specific pieces of molding in the right place on your wall.
We also used Woodgrain molding to create a DIY coffered ceiling and to hang crown molding in our bedroom!
Click here to pin this project to your Pinterest boards!
Easiest Way to Install DIY Wainscoting
The easiest way to install DIY wainscoting is to gather your molding and paint up front after creating a quick design plan. For our project, we used Finished Elegance by Woodgrain, available at The Home Depot.
Why? Finished Elegance is the premier interior moulding line that comes pre-painted and is easy to install.
Their products are finished on all four sides, so, depending on your project, it is ready to go without you having to do any work to it at all.
Finished Elegance has so many different shapes and sizes of moulding that we knew their products were the way to go for this project and will make your DIY wainscoting project so much easier.
- Chair rail moulding
- Base cap moulding
- Caulk
- Nail gun
- White paint
- Measuring tape
- Level
How to install DIY picture frame wainscoting
Start by deciding how high you want your chair railing to be if it isn’t already in place. Install that all the way around the room at the same height.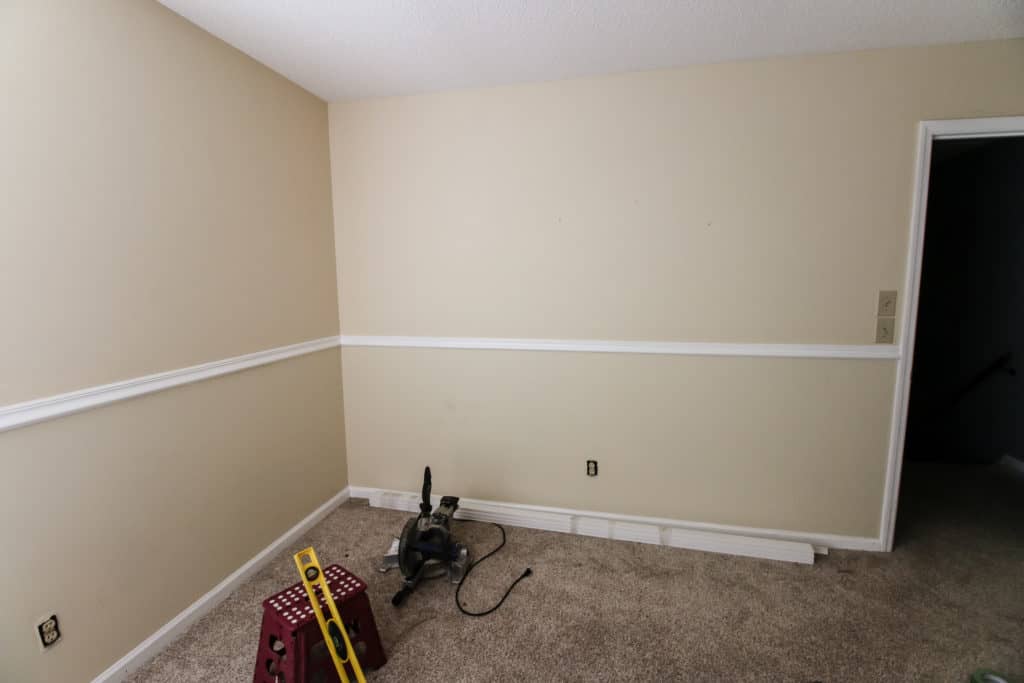
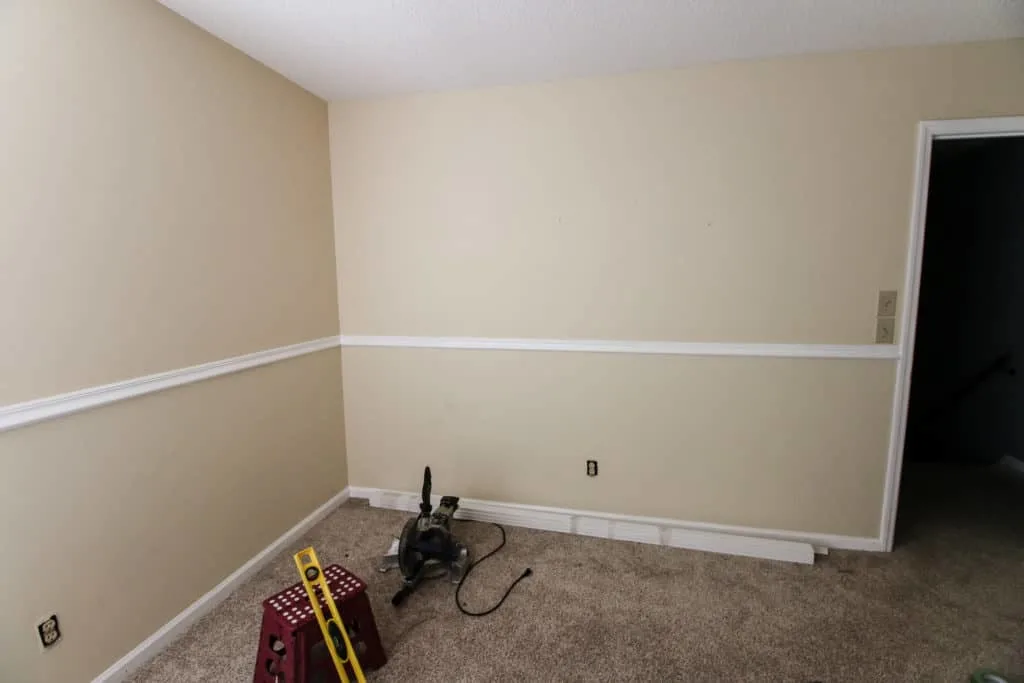
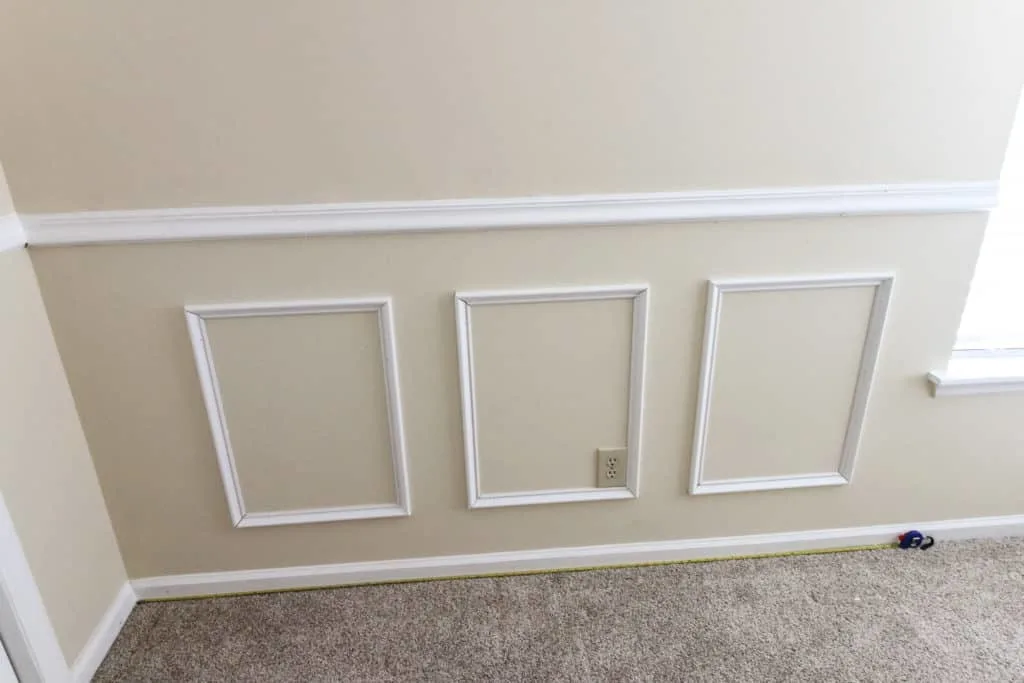
Next, determine how big you want your picture frame moulding to be. We did ours at five inches from each.
Then determine how wide they should be by measuring your wall and making sure you can evenly space out your squares.
Select either a square or rectangular size that will give you an even gap between the underside of the chair railing and the top of the base boards.
The best type of moulding to use for creating the squares in your wainscoting is to use base cap moulding. It is the right mix of elegant but not too detailed. Using Finished Elegance base cap moulding made the moulding ready to go.
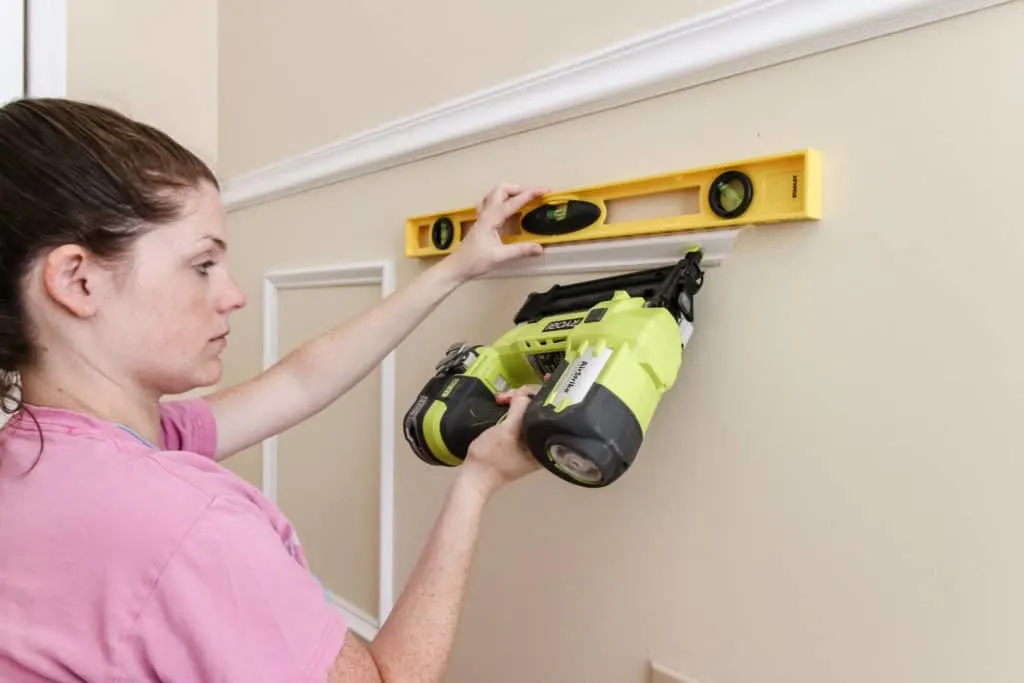
Cut your base cap moulding at 45 degree angles and line them up where you’ve determined on your wall. Use a nail gun to tack them onto the wall.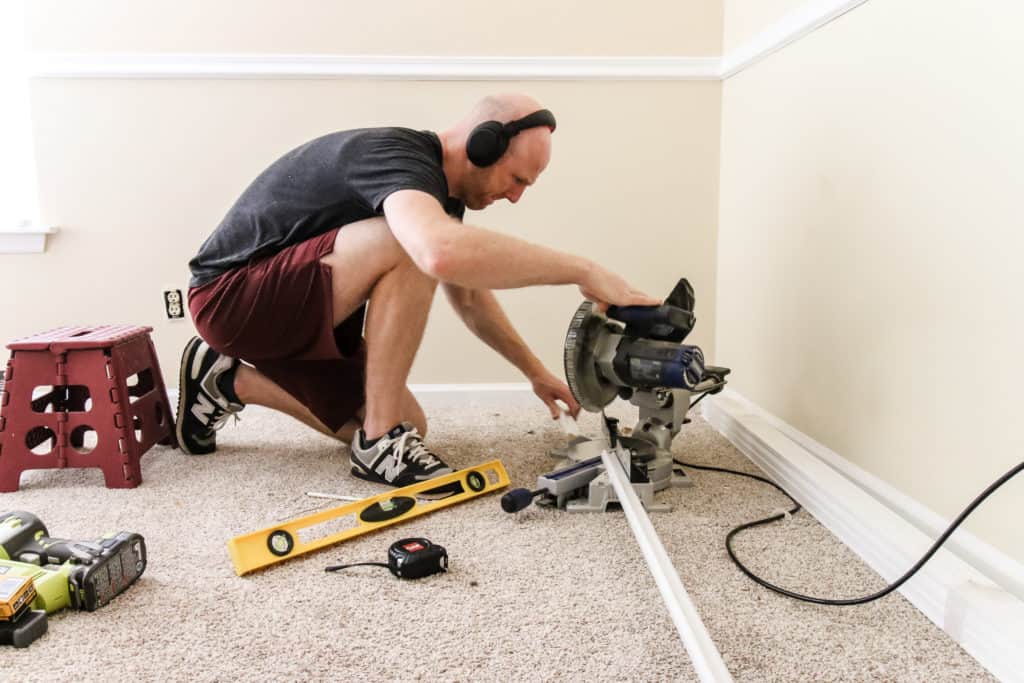


Use caulk to cover up any gaps where the moulding comes together and to cover your nail holes.
If your wall wasn’t already painted, use a paint sprayer (or traditional roller and brush) to paint your wall. We used our HomeRight paint sprayer to paint the wall and moulding all the same color.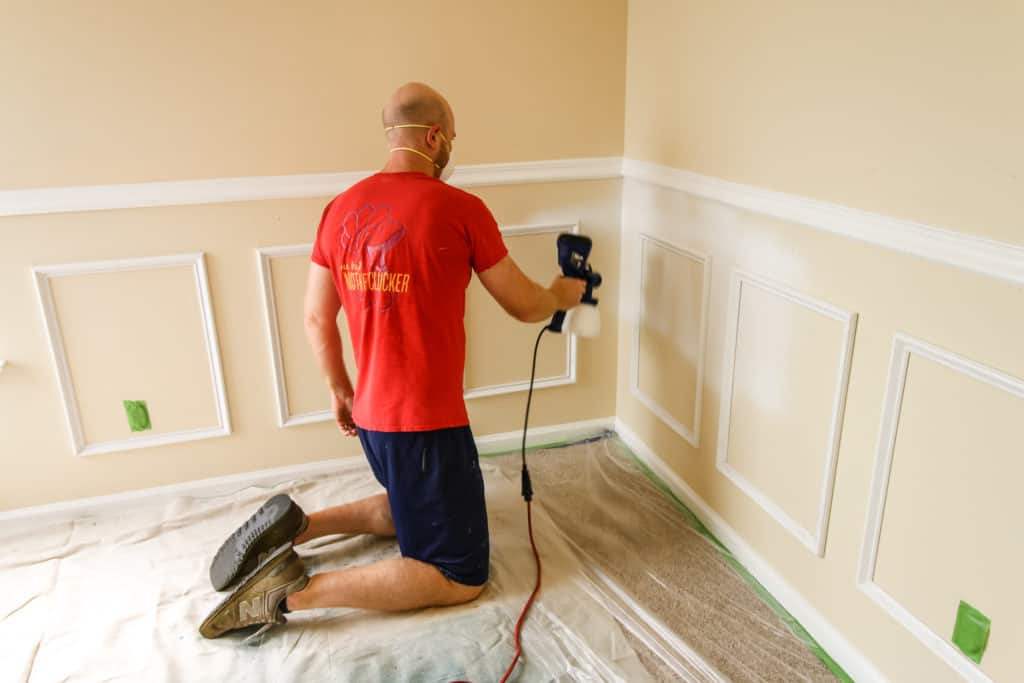
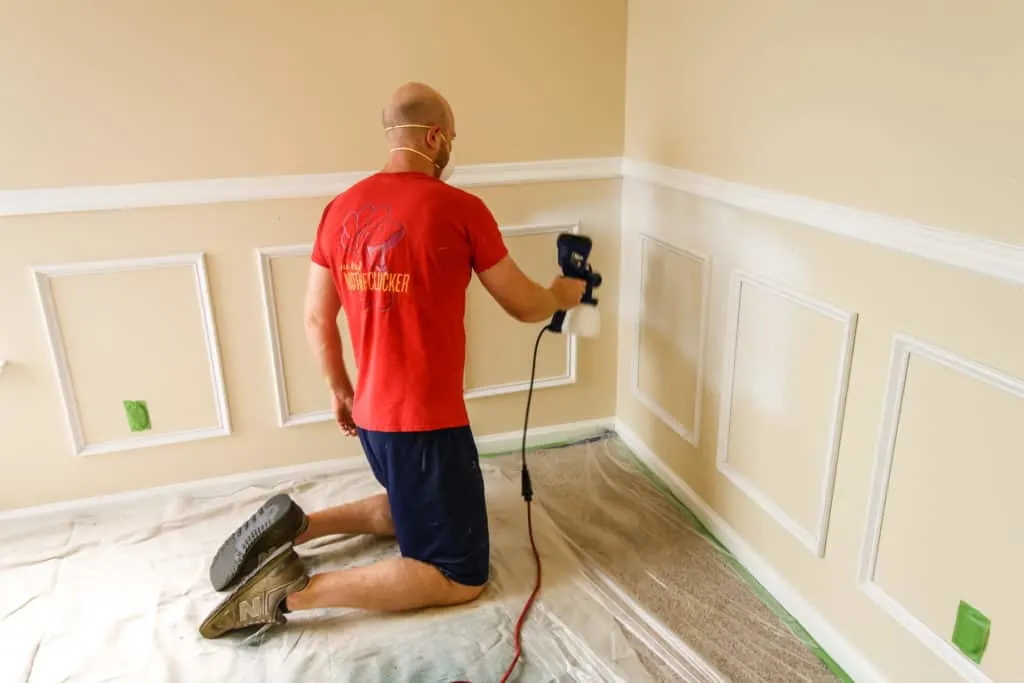

If you want to see how we did it in a video format, here’s the quick and easy video we made to show you.
Finished Elegance even comes with caulk that is color-matched to their moulding.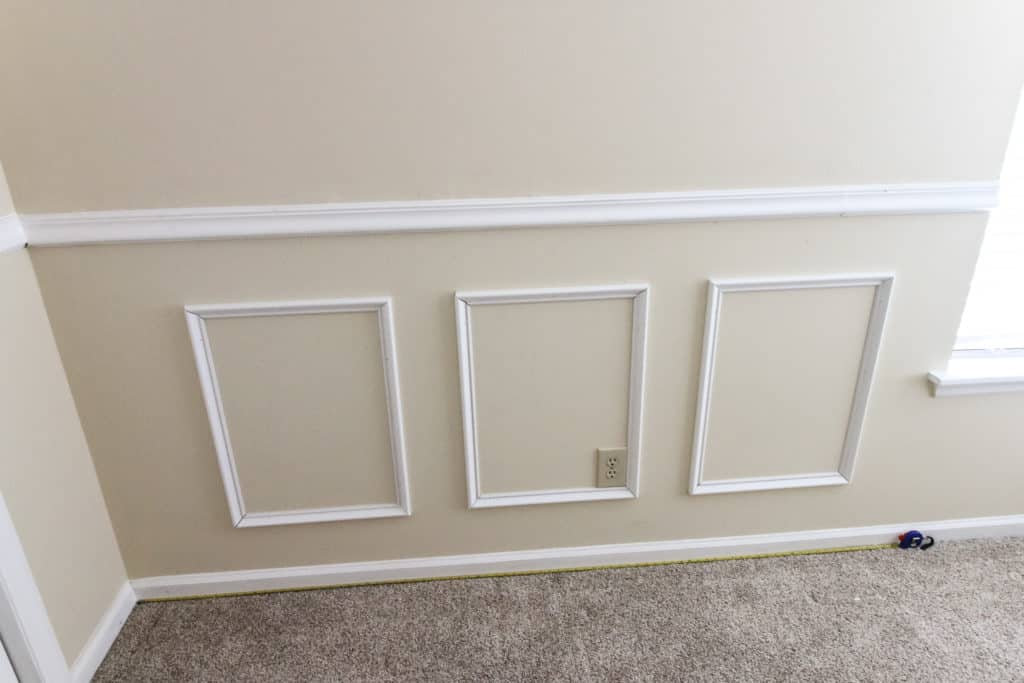


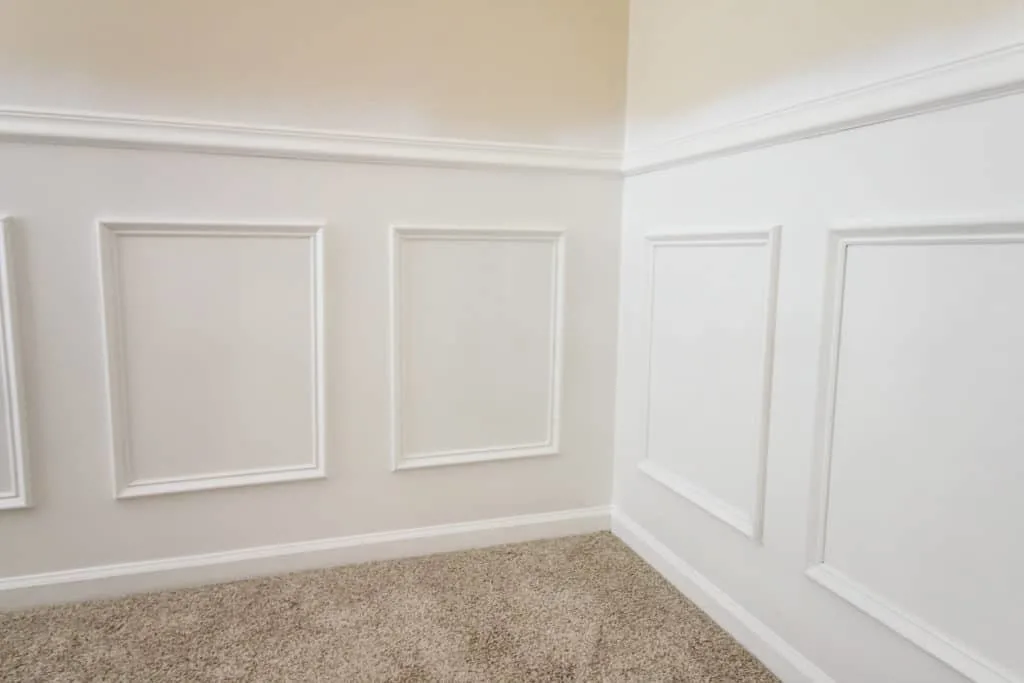
Installing DIY wainscoting in a room is one of the most simple ways to make a room look amazing and so much more finished than a standard fully-painted wall.
Using Finished Elegance by Woodgrain can actually make that process even more simple, especially if your wall is already painted.
There are lots of rooms that have chair railing already installed and have a white-painted lower wall. If you want to finish the job and make beautiful wainscoting, you can use Finished Elegance moulding products and their color matched caulk to finalize your look.
Be sure to click over and check out our Jungle Theme Nursery Reveal!
Click here to pin this project to your Pinterest boards!


Looking for something?
We’ve been doing this since 2012 so we have a LOT of blog posts!
Search stuff like: Ceiling Projects | DIY Plant Stands | Thrift Flips


Hey there, I’m Sean, the woodworking enthusiast and builder behind CharlestonCrafted.com! Since 2012, I’ve been sharing the magic of turning raw materials into beautiful creations. I love teaching others the art and satisfaction of woodworking and DIY. I try to inspire fellow crafters to make something extraordinary out of nothing at all.
Laura Brown
Wednesday 30th of September 2020
We'd love to do this in our dining room because we already have a chair rail. My hesitation is that we have orange peel texture on our walls. Do we need to cover that first and make it a flat texture before we proceed?
Sean
Wednesday 30th of September 2020
Honestly, I don't think so. If you attached the molding pieces to the wall over the orange peel with nails, you would then just go in and put caulk at the seam and that would fill any little gaps. I think it would look very smooth!
kk
Wednesday 26th of February 2020
What paint(Semi gloss or regular) did you use?
Morgan
Wednesday 26th of February 2020
Semi-gloss!
Cayla
Sunday 8th of December 2019
Love it! What size squares did you use?
Sean
Wednesday 11th of December 2019
They are 24"x18"!
Rae
Friday 15th of November 2019
What’s the name and model of your paint sprayer and nail gun? Thanks
Sean
Friday 15th of November 2019
Hey Rae, we use the HomeRight Super Finish Max Sprayer (https://amzn.to/2OgROKN) and the Ryobi AirStrike Brad nailer (https://amzn.to/33LKSfn) and both are great!