
Here’s how to replace wood balusters with iron and update stair railing without replacing it completely!
Want to update your staircase? Here is our tutorial on how to replace wooden balusters with iron the easy and cheap way!
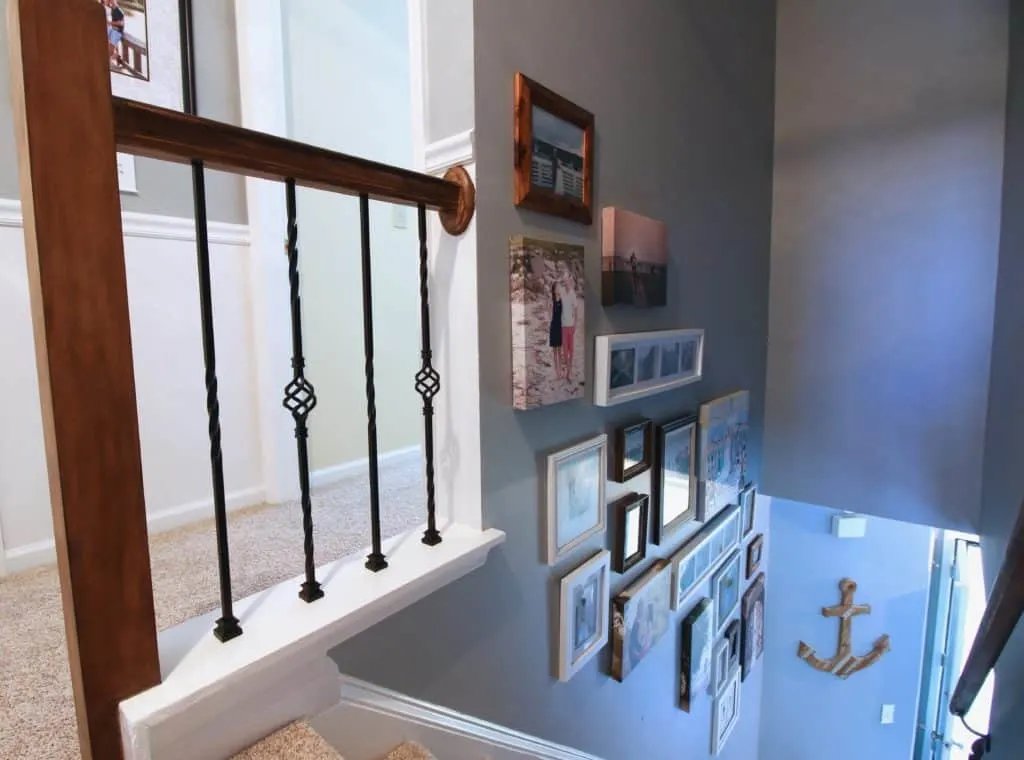
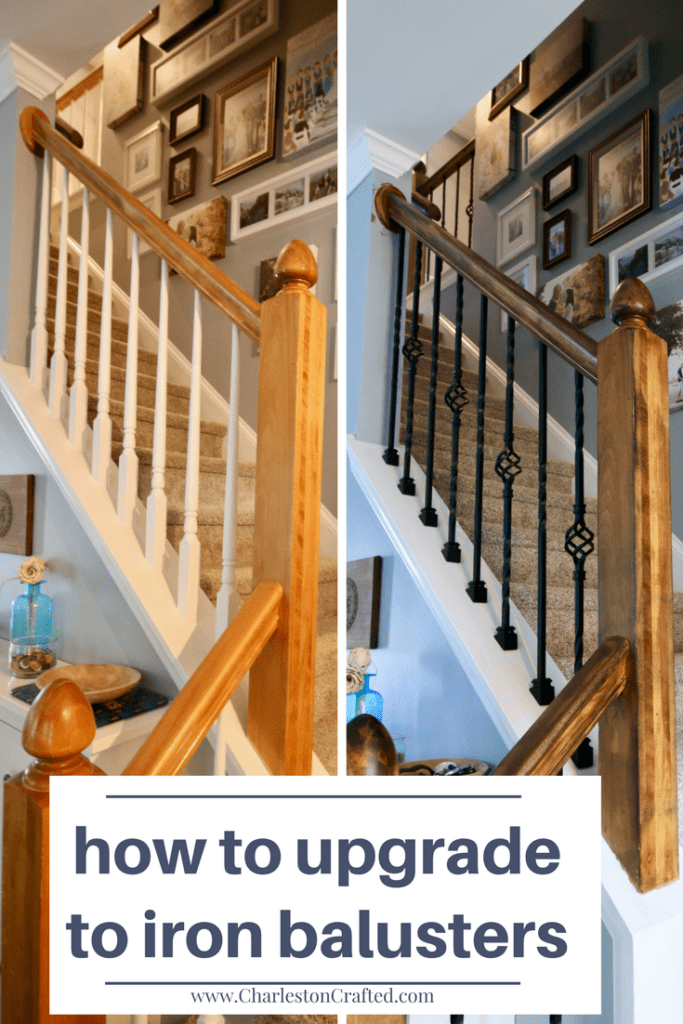
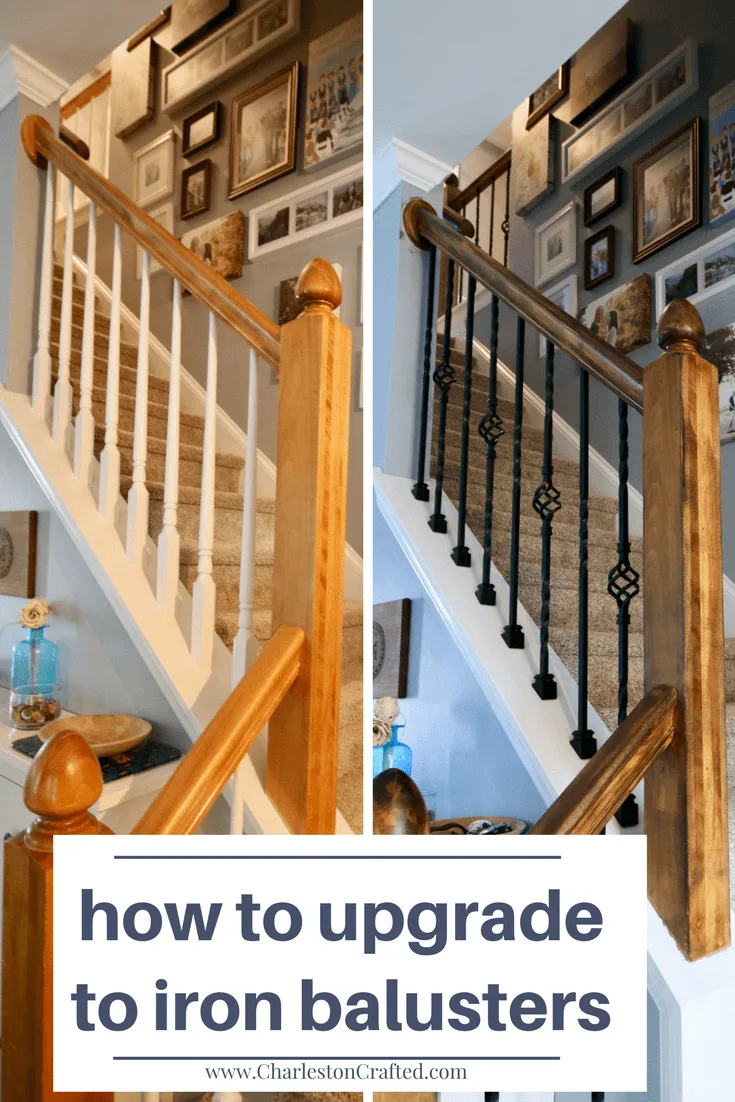
Talk about a transformation from ’90s to modern! Updating our railing and balusters has been one of the easiest and biggest transformations to move our house away from 1993 to 2017.
We updated our stairwell railings by sanding down the orange-tinted oak railings and staining them with Minwax Dark Walnut.
Then we replaced our stair spindles from white wood balusters to new iron ones and it’s a totally different room!
If you want to update your staircase railing, check out the full tutorial below on how to replace stair spindles with wrought iron!
If you missed our past updates, here they are:
Week 1: the design plan
Week 2: how to save $$$ on house paint
Bonus: our beadboard ceilings
See the final hallway makeover reveal!
Click here to sign up for our weekly DIY newsletter!
How to Replace Wooden Balusters with Iron
Click here to pin this project to pinterest!
Tools needed:

How to remove wooden spindles
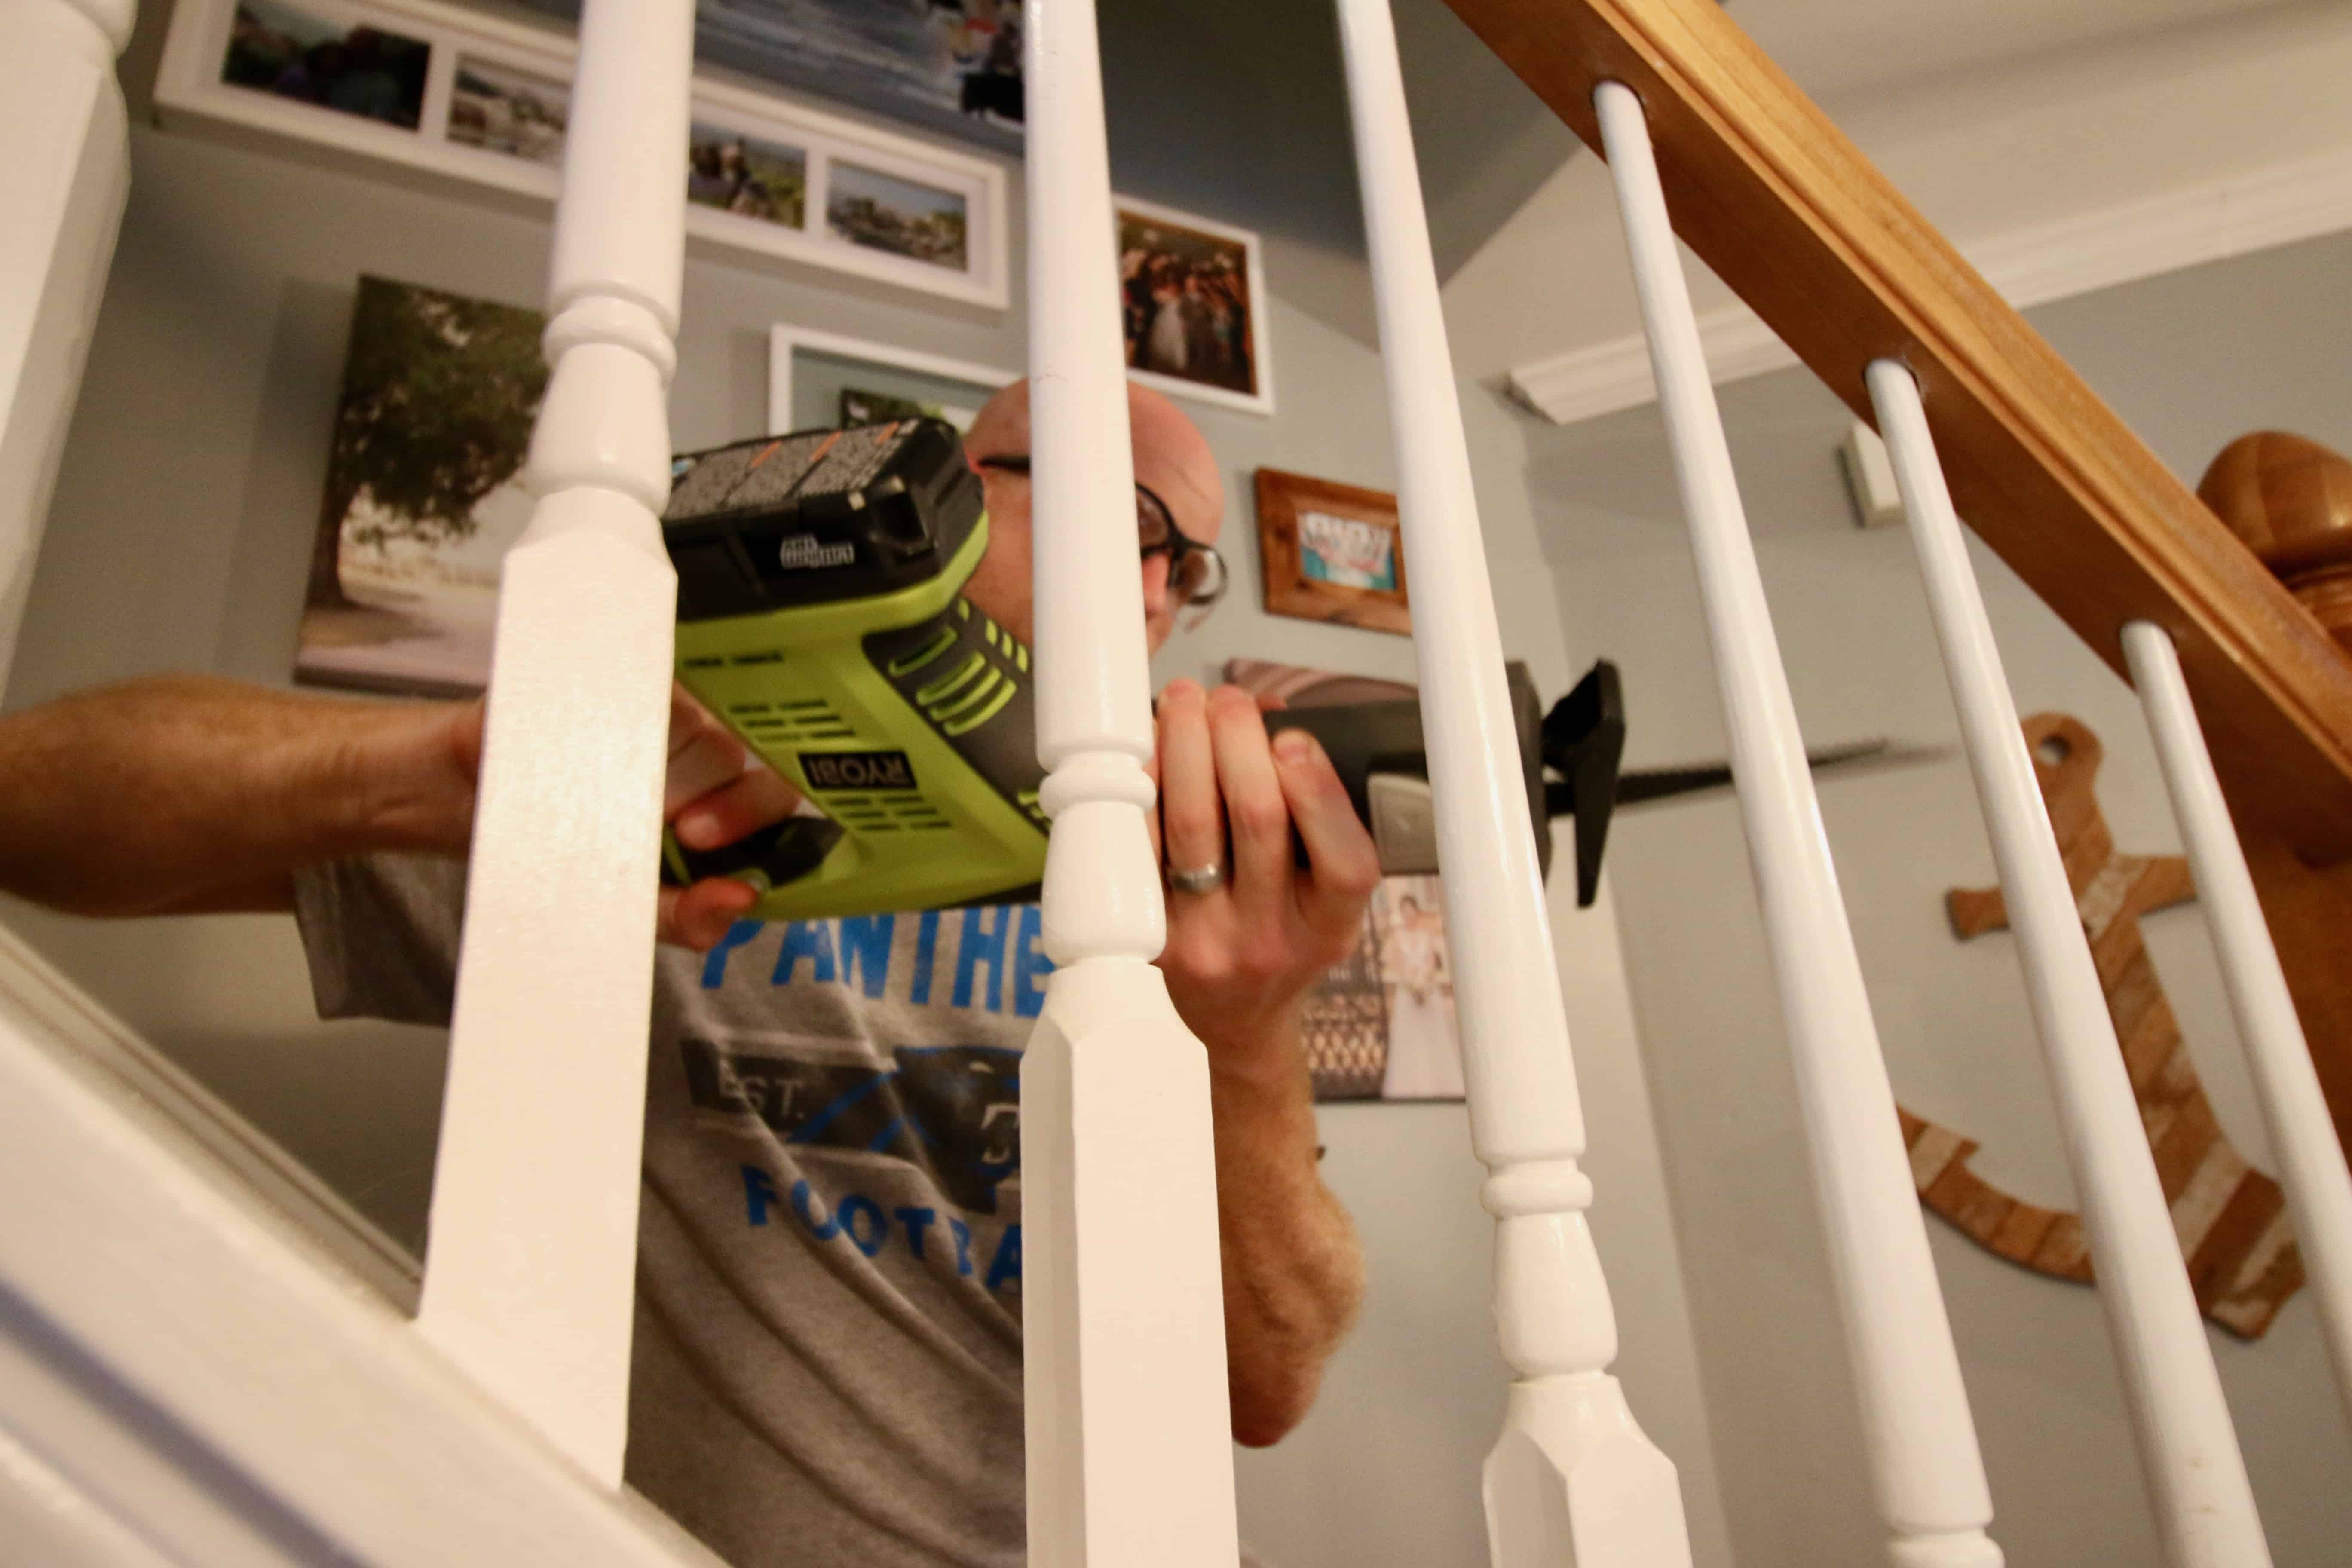
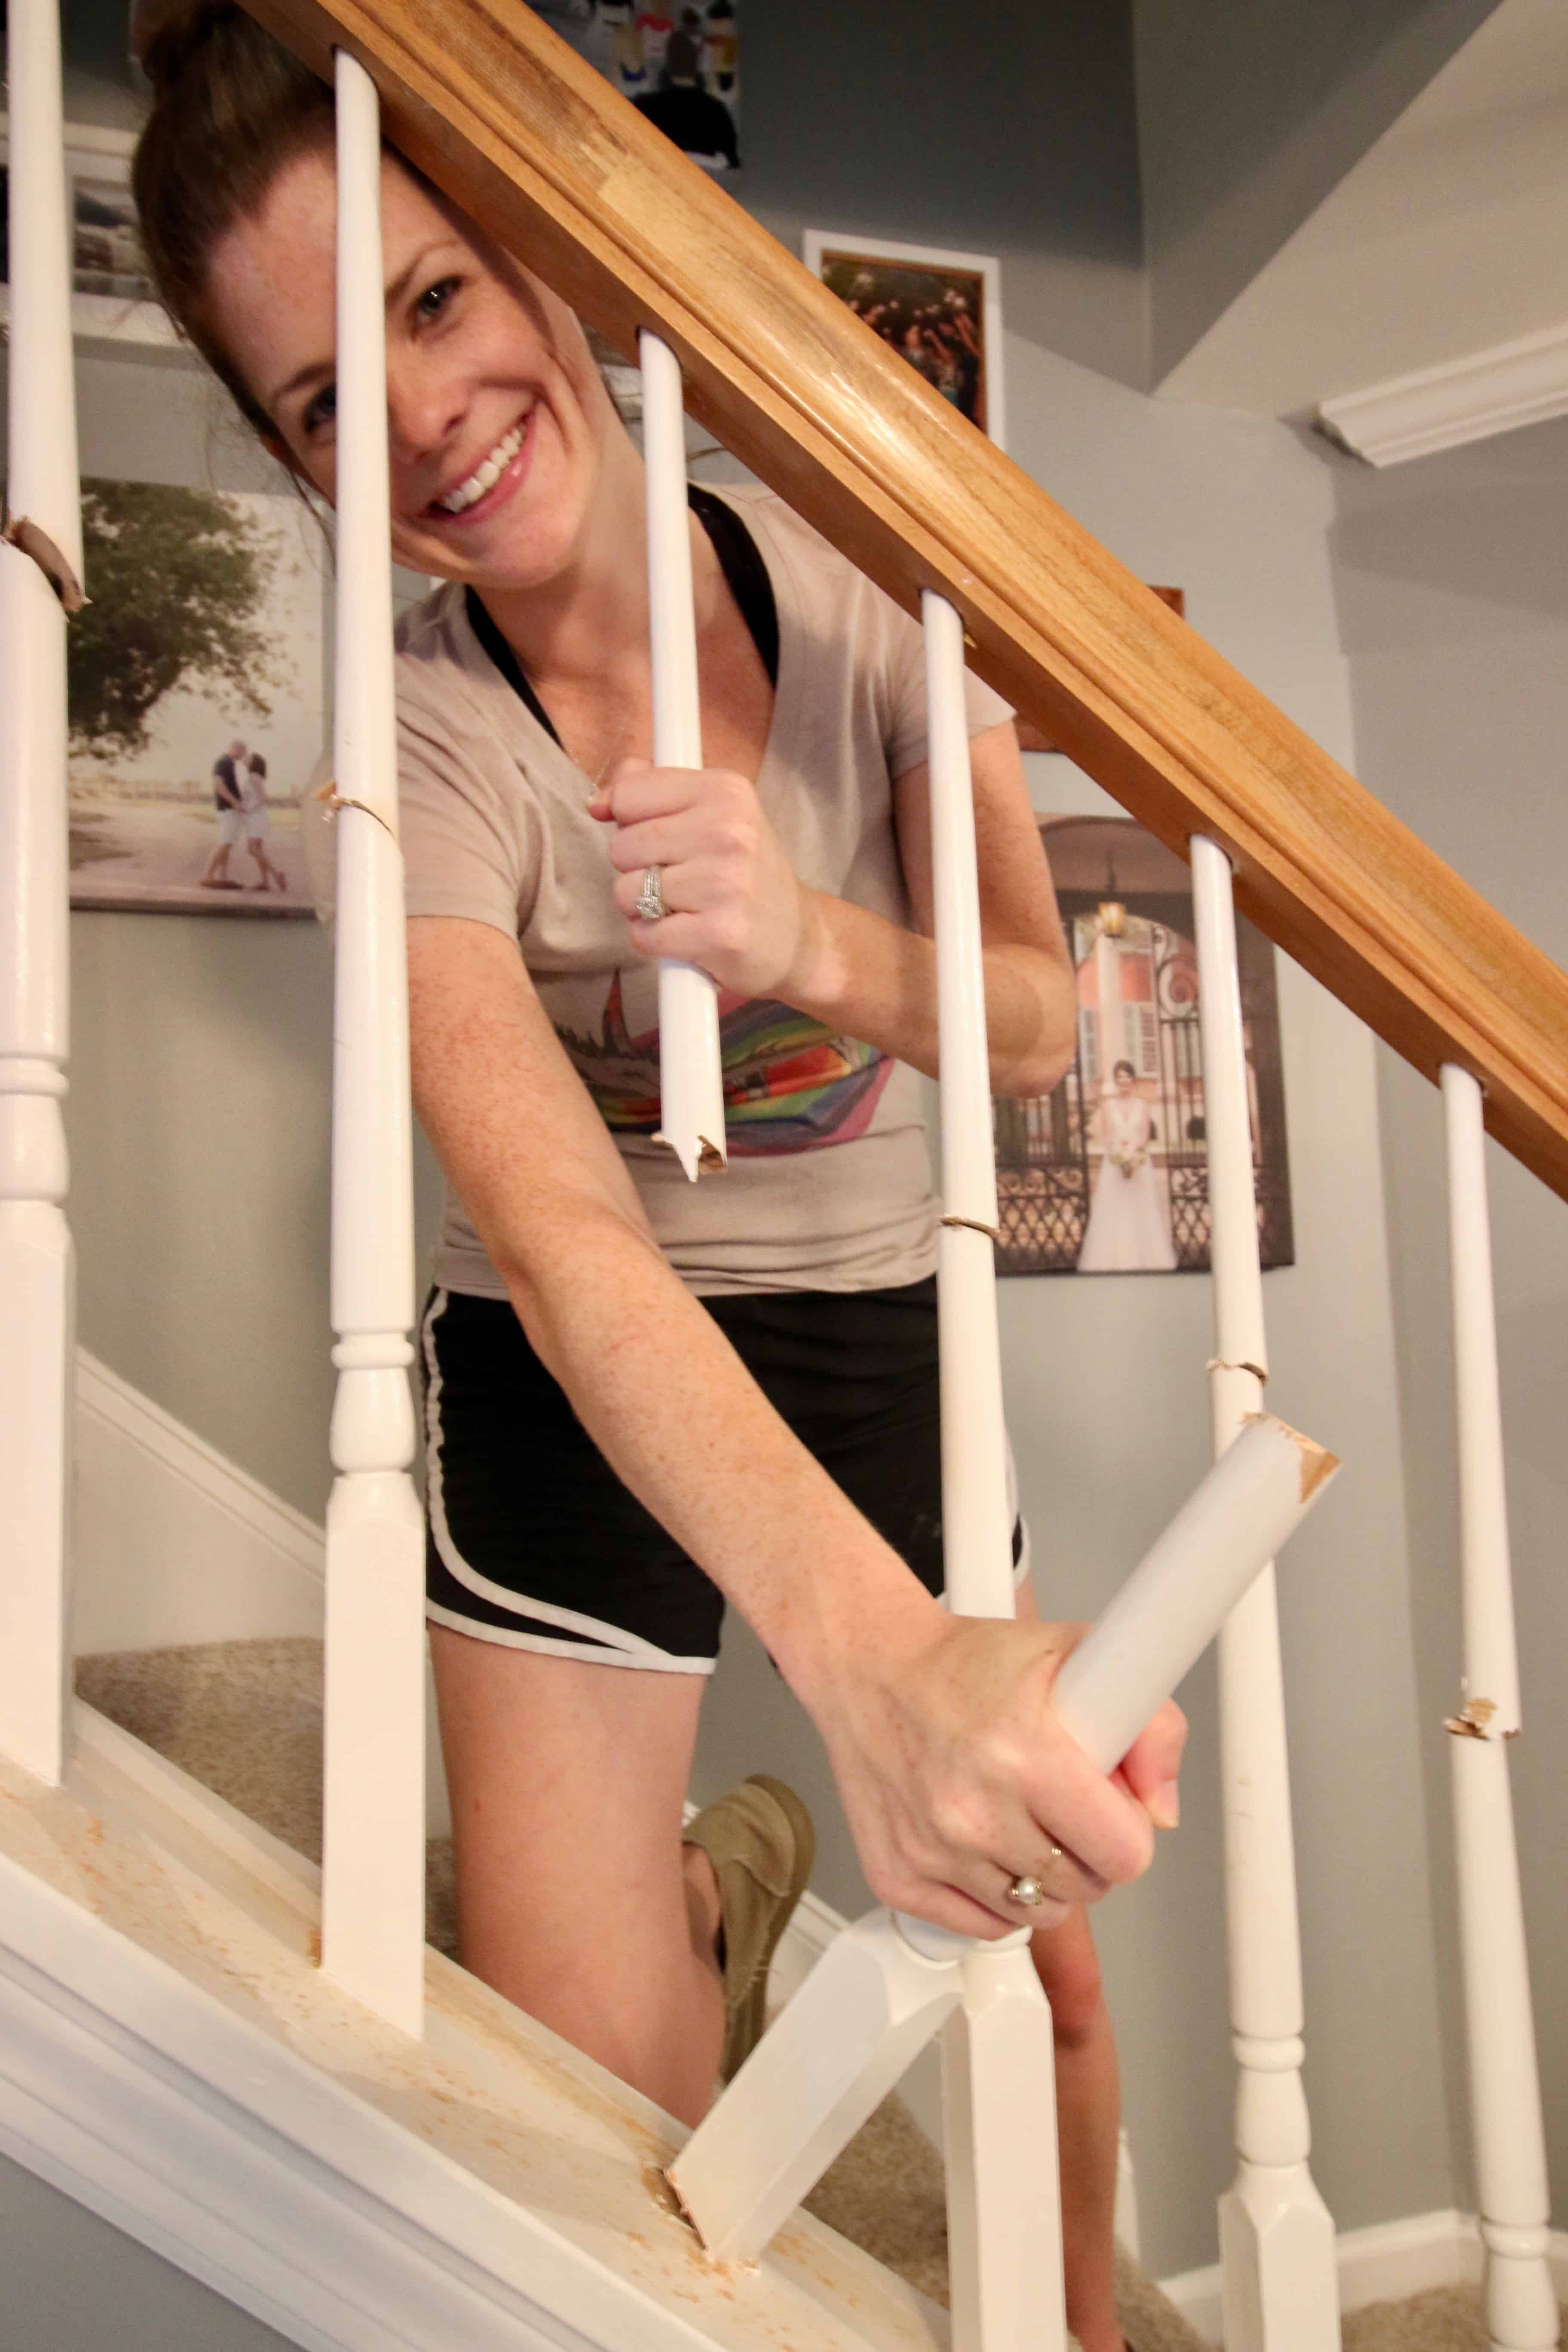
The first thing we did replacing our stair spindles was remove all of our old white wood balusters.
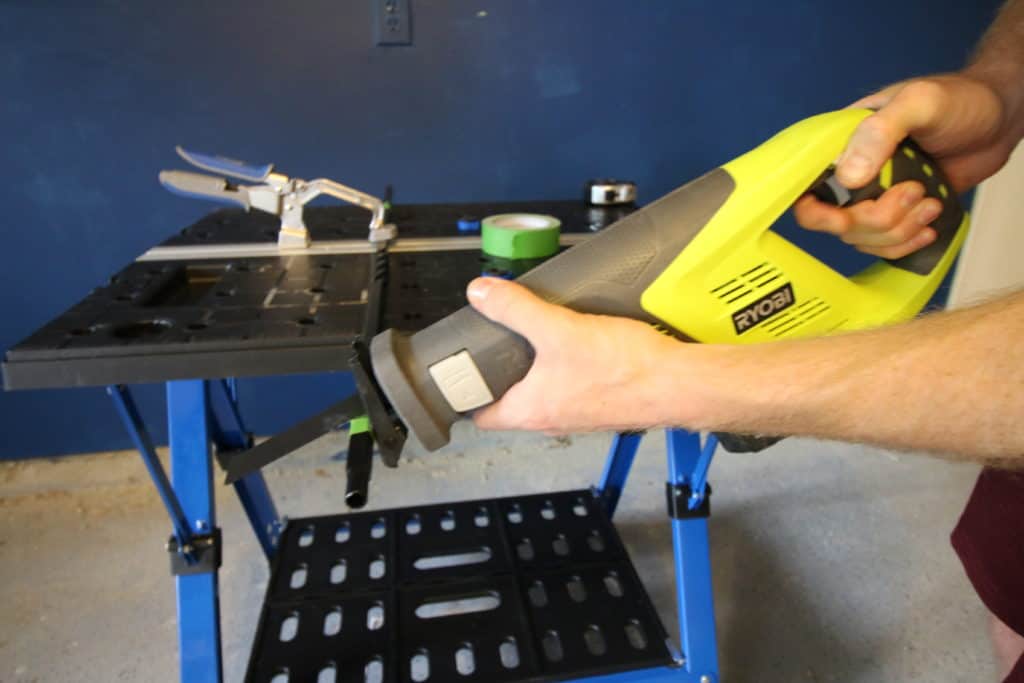
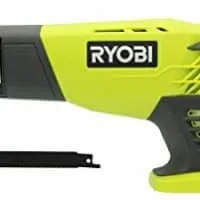
Using our awesome RYOBI One+ Cordless Reciprocating Saw, we cut an angled slice through each baluster and twisted them until they popped off.
The railing spindles were nailed in with a brad nailer, so we had to wiggle them until the nail came loose.
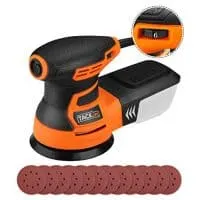
Then, we used an orbital sander to buff down the old orange-tinted oak finish on the railings.
We used three sander discs because of the amount of hidden gunk and sealant that was on these things and kept ruining the pads quickly.
We buffed them down all the way and then wiped everything with a damp rag.

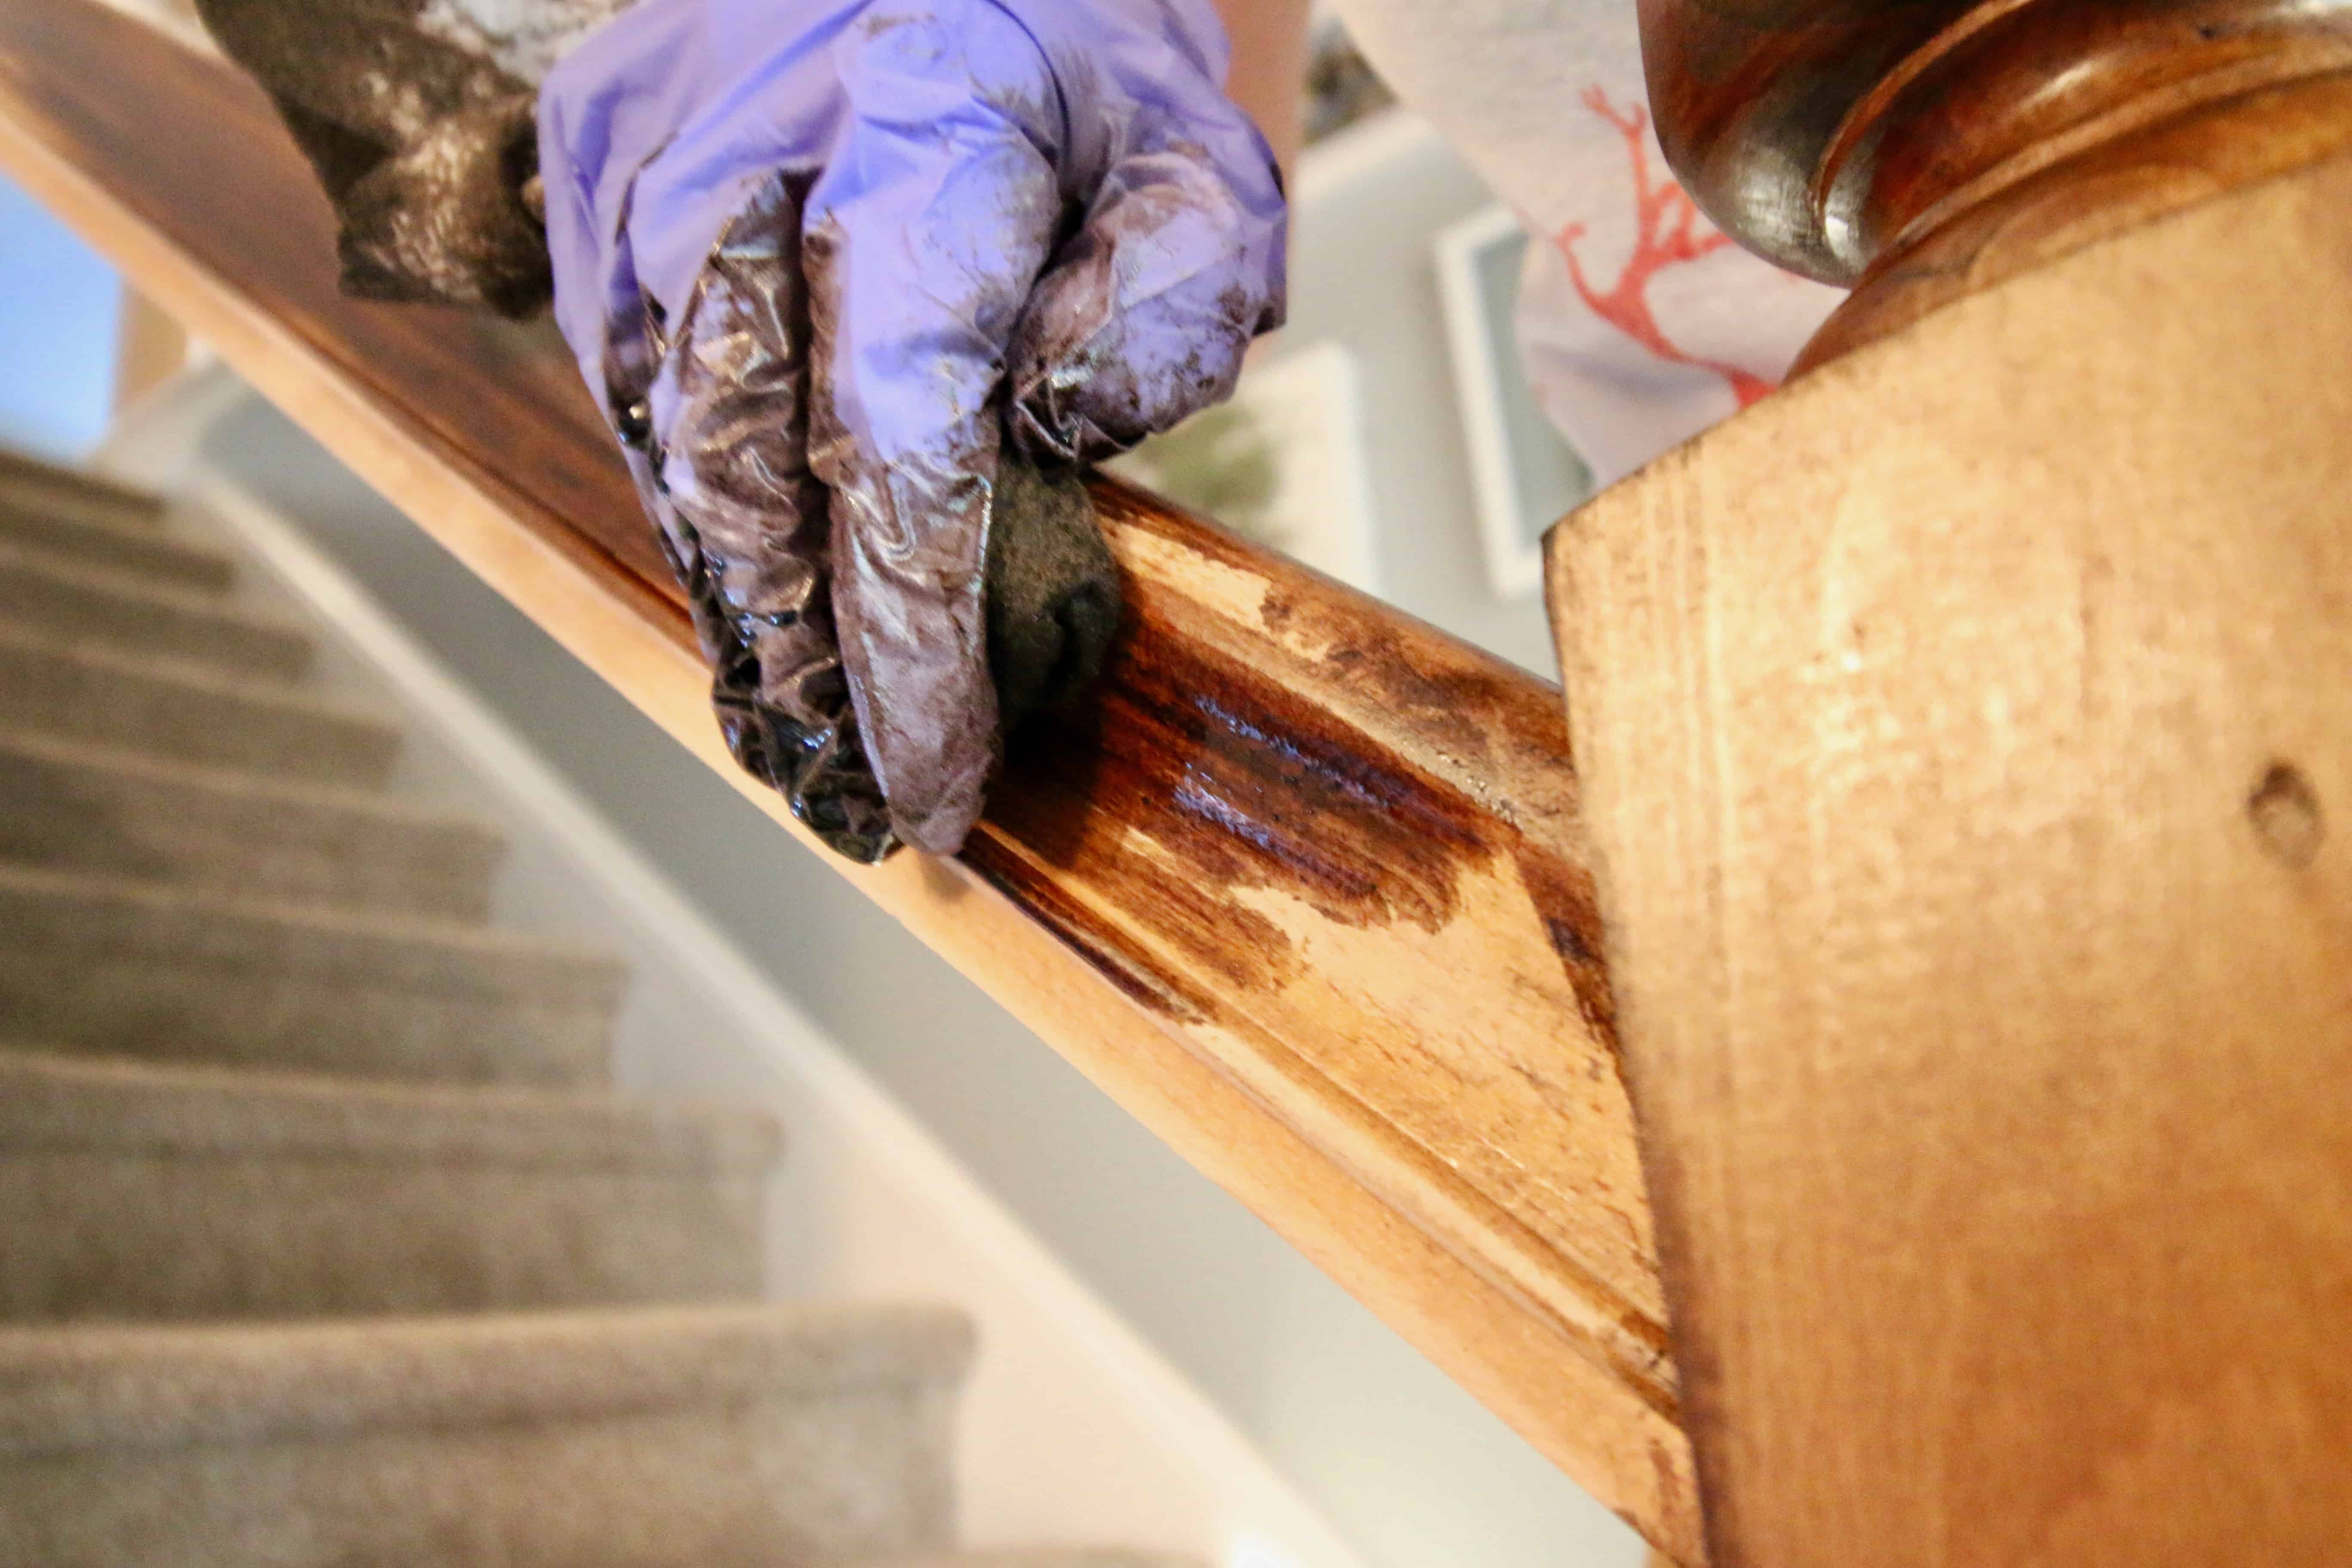
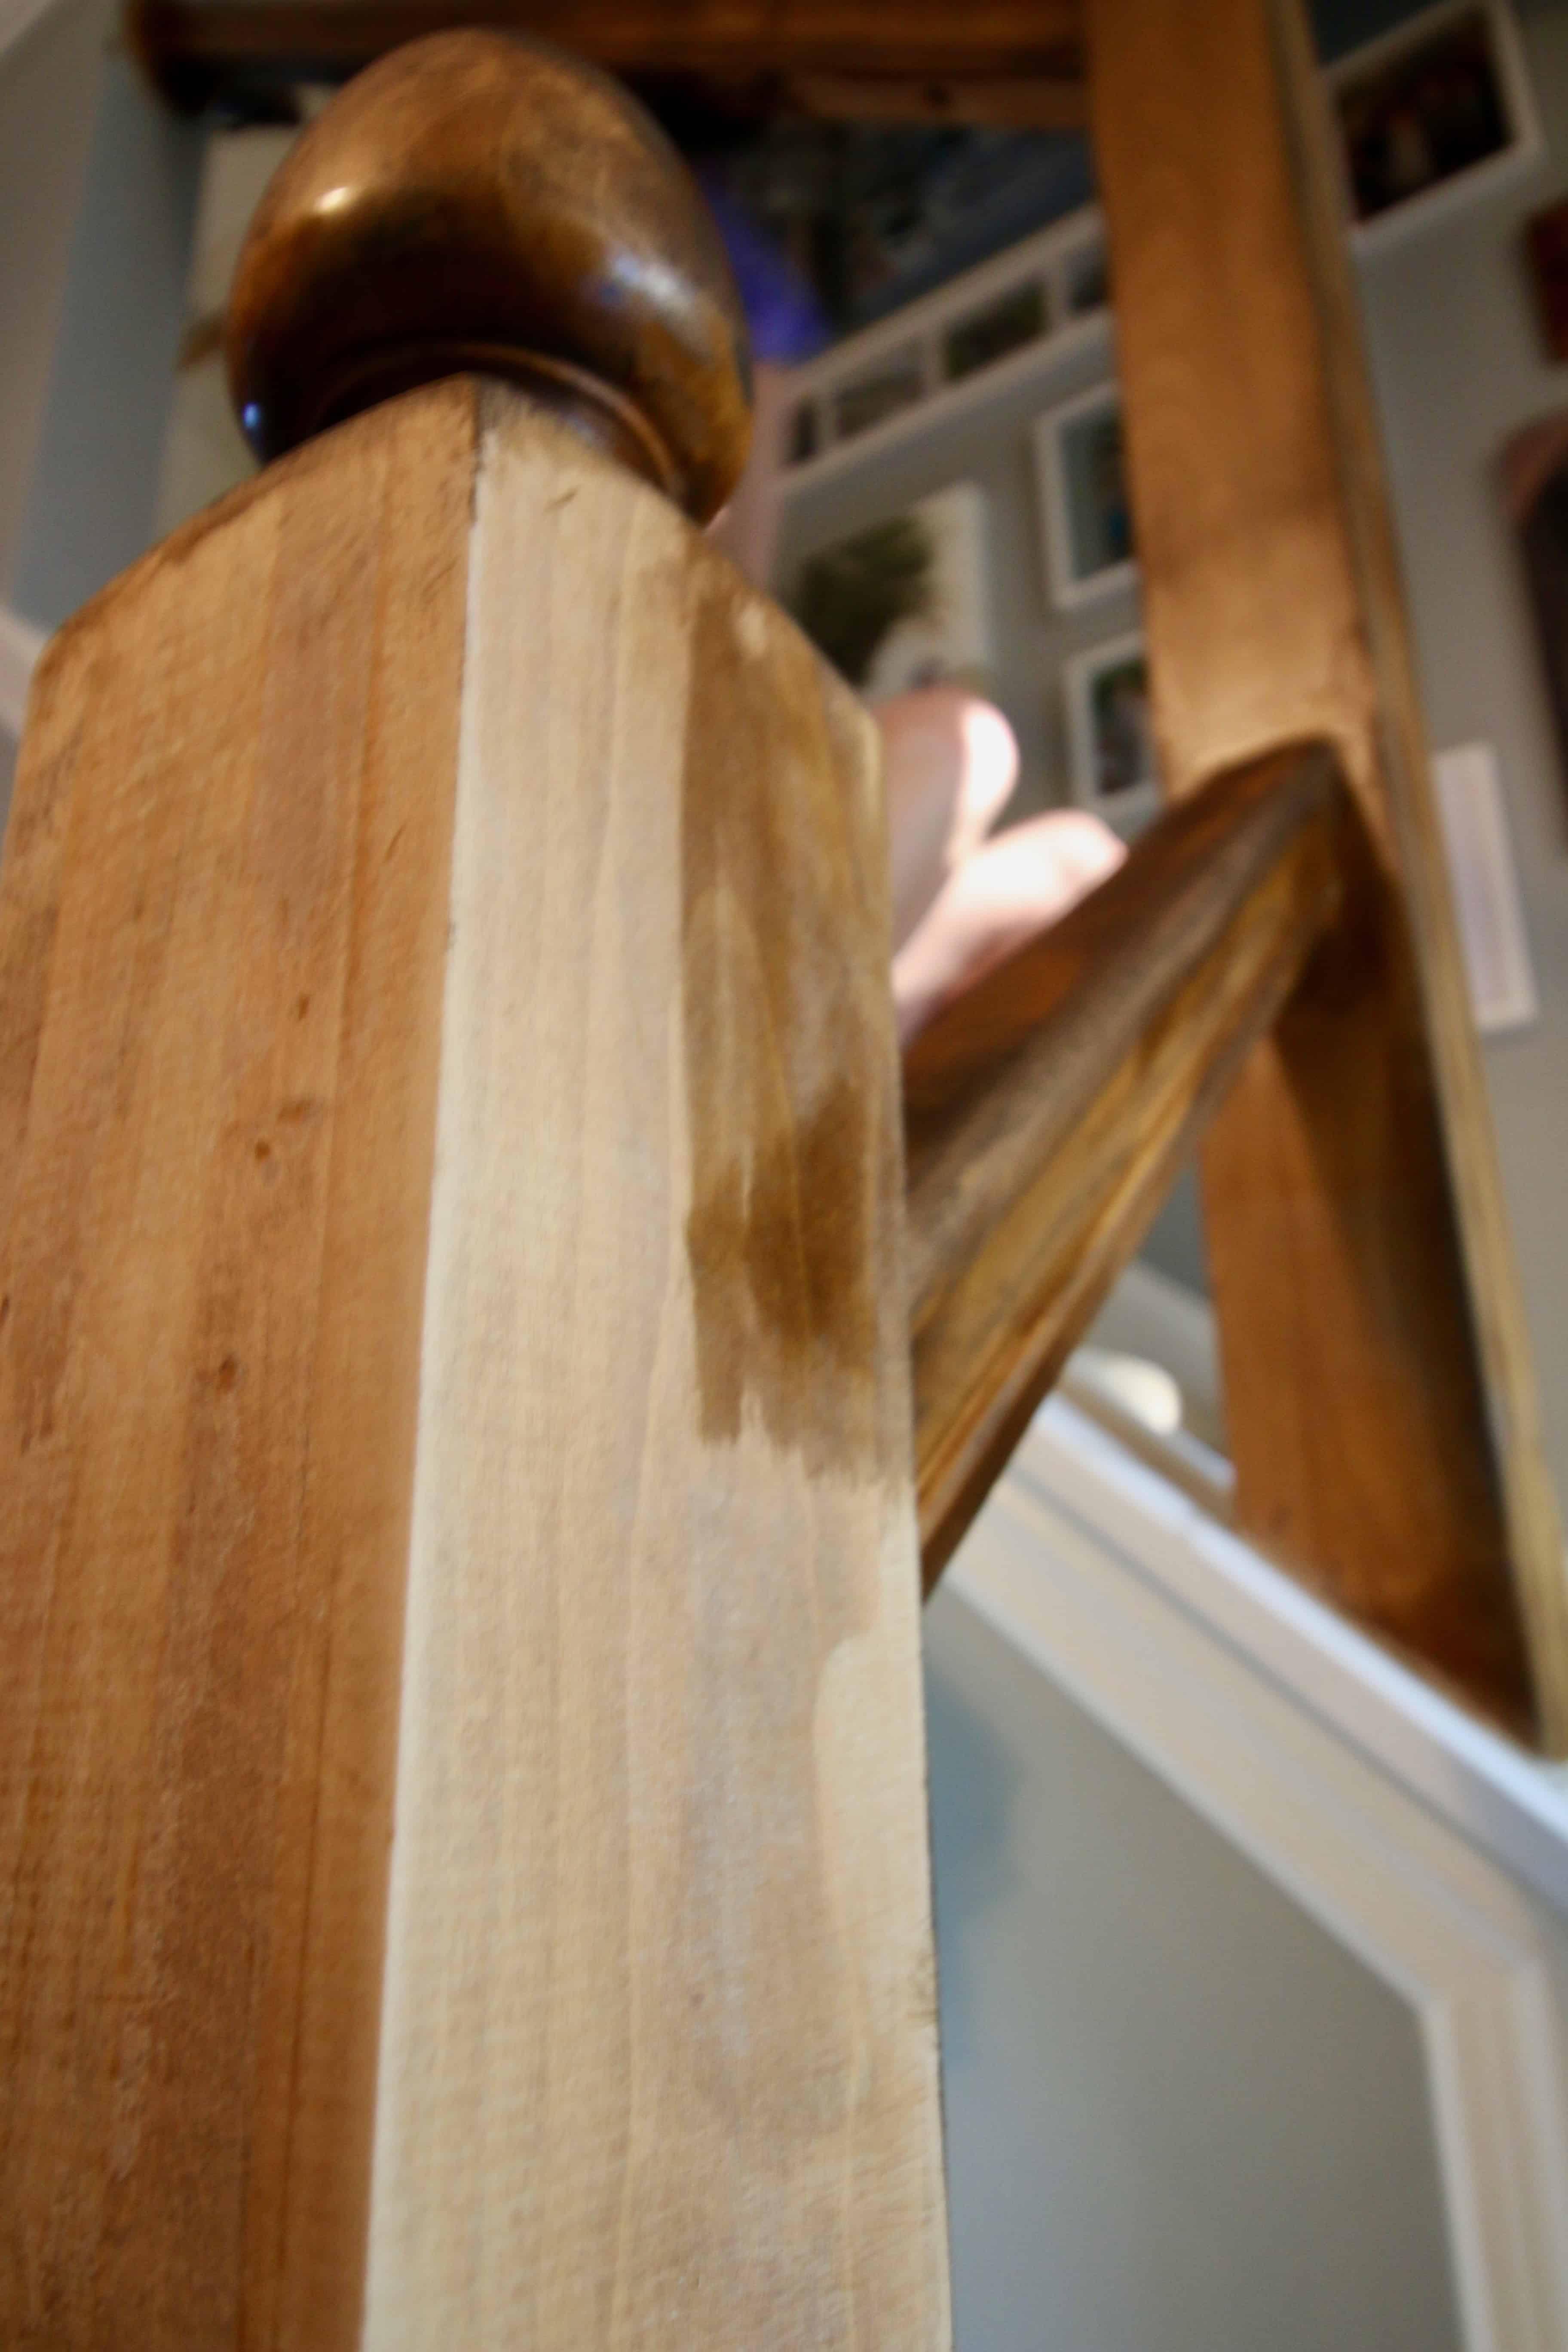
The next step was to stain and seal the railings.
Like we said above, we used Minwax Dark Walnut that we have used on a ton of other projects and is basically the same color as our floors downstairs.
Be sure to check out our Dark Walnut by Minwax wood stain review!
This keeps a cohesiveness through the space and looks elegant.
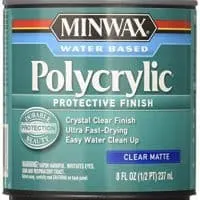
Then we put five coats of matte polycrylic on the whole thing to keep them from getting warn down by people holding the railings.
How to install iron spindles
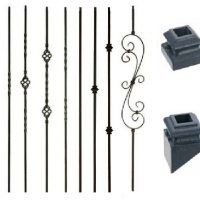
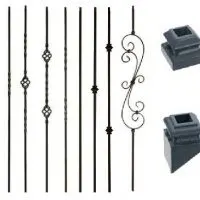
The last part of replacing stair spindles was that we added our new iron balusters. We ordered them on eBay for a great price.
There were tons of design options, but because the space was so small, we didn’t want to have anything too elaborate. There’s also tons of options on Amazon.
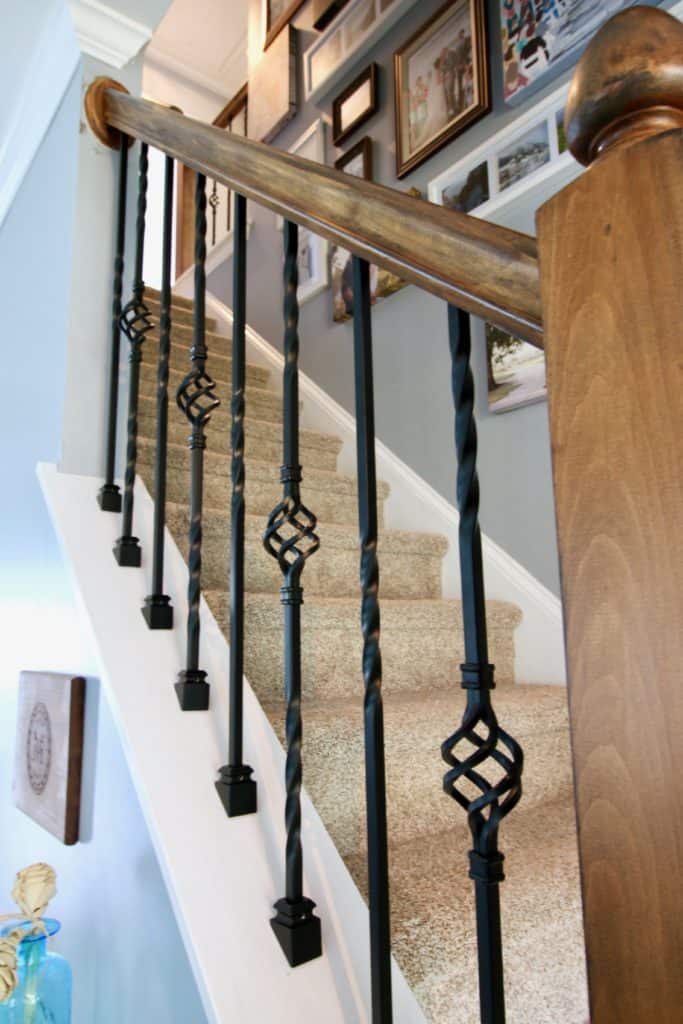
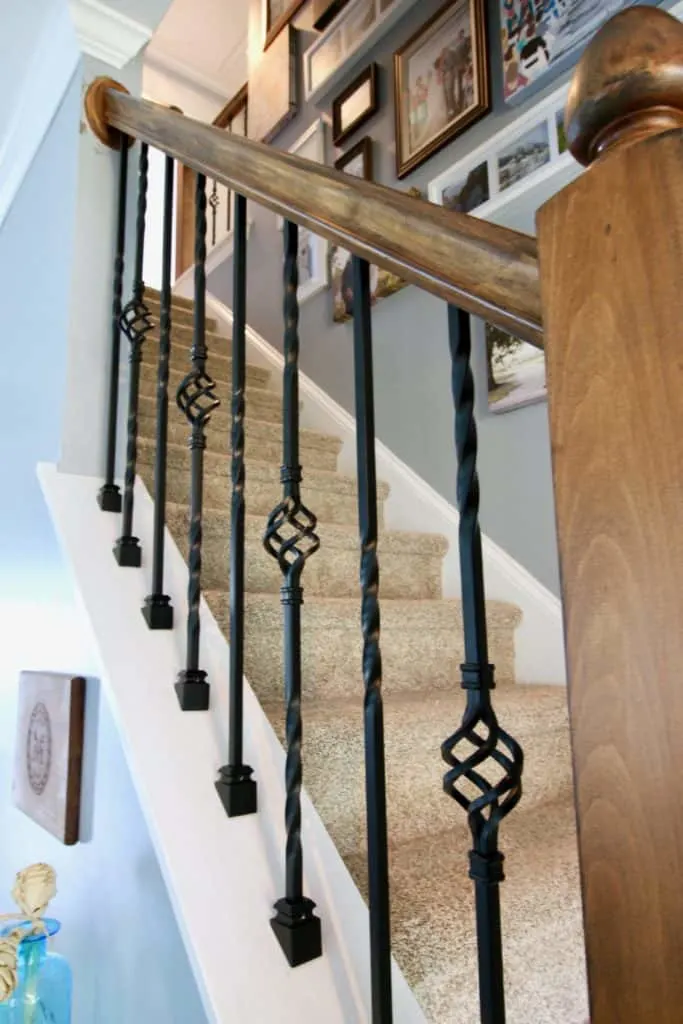
We opted to alternate two designs (a single swirly on one, a basket in between two swirlies on the other) that were fairly simple and wouldn’t be distracting, yet were also elegant.

To add your own iron balusters, you need to cut them to size. Make sure to measure how deep the hole is in the railing, then how far the distance is between the railing and the bottom.
Add those together and cut your balusters from the center of your design to be that length.
For us, it was 30 inches. This is so you can slide the baluster up into the hole at the top, then drop it down to the board at the bottom.
Wondering how to cut iron balusters? We used our RYOBI reciprocating saw to cut the balusters to length.
They were easy to cut using a fine toothed saw blade. We marked the cuts by putting some Frog Tape where the cut should be and then buzzed it down.


Two things to remember when adding the balusters.
First, make sure you put the shoe on before you insert the baluster into the railing or you’ll have to pull it back out.
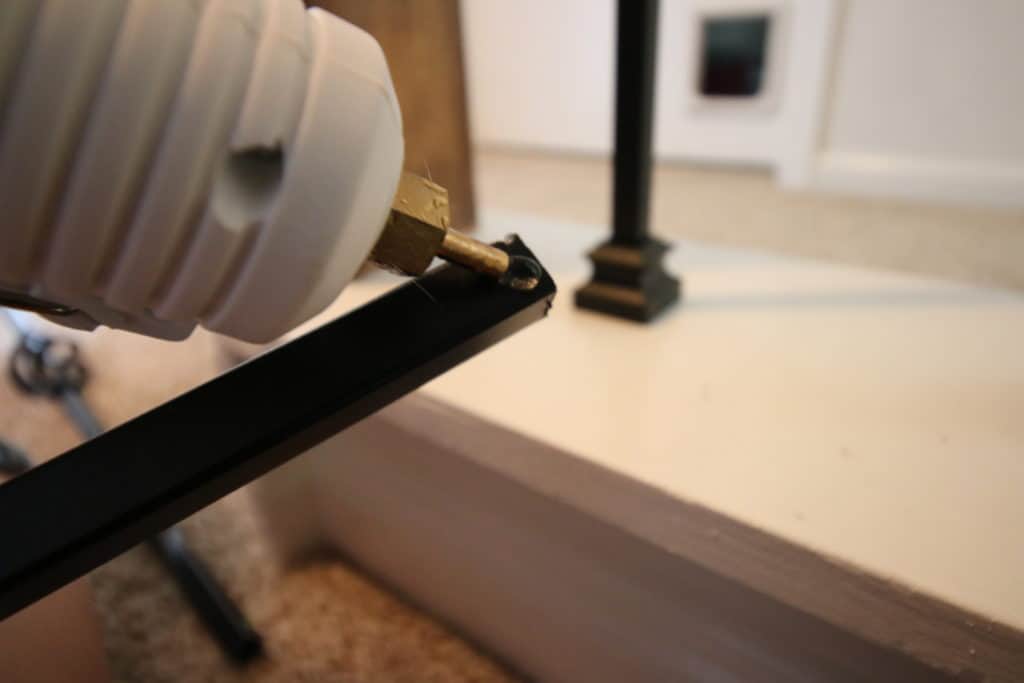
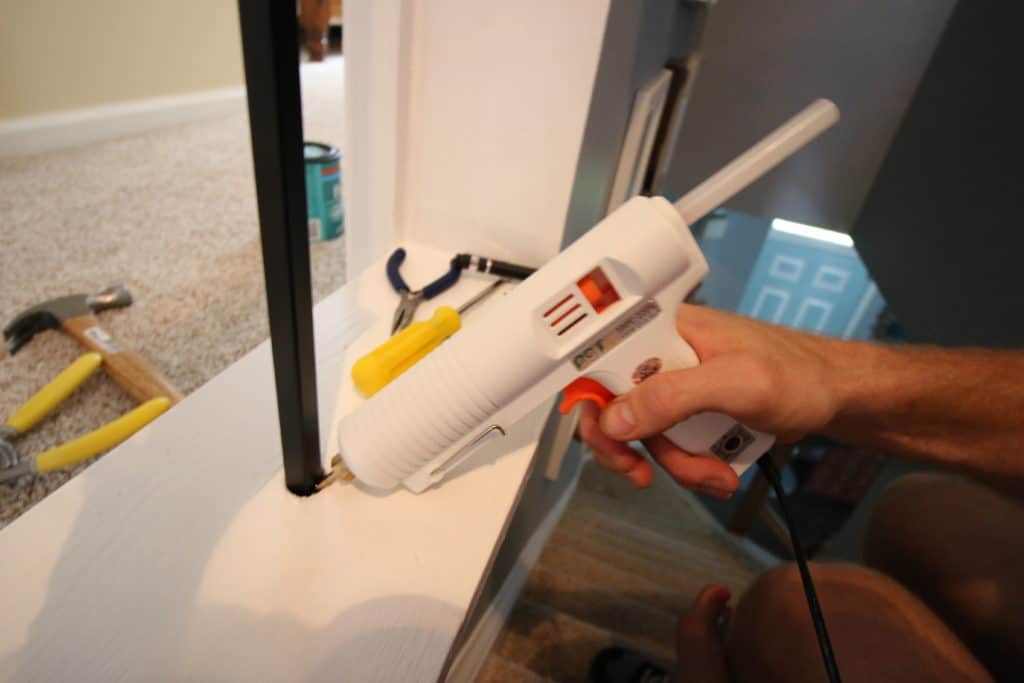
The other is to use hot glue to hold them in place.
When researching what kind of glue to use for iron balusters, most places say to use epoxy. But, that makes it VERY permanent and is unnecessary.
Put some hot glue onto the end of the baluster, then insert it into the railing hole and adjust it down.
The glue will dry quick so don’t mess around. Then put a little hot glue around the bottom of the railing and drop the shoe down to cover it up.

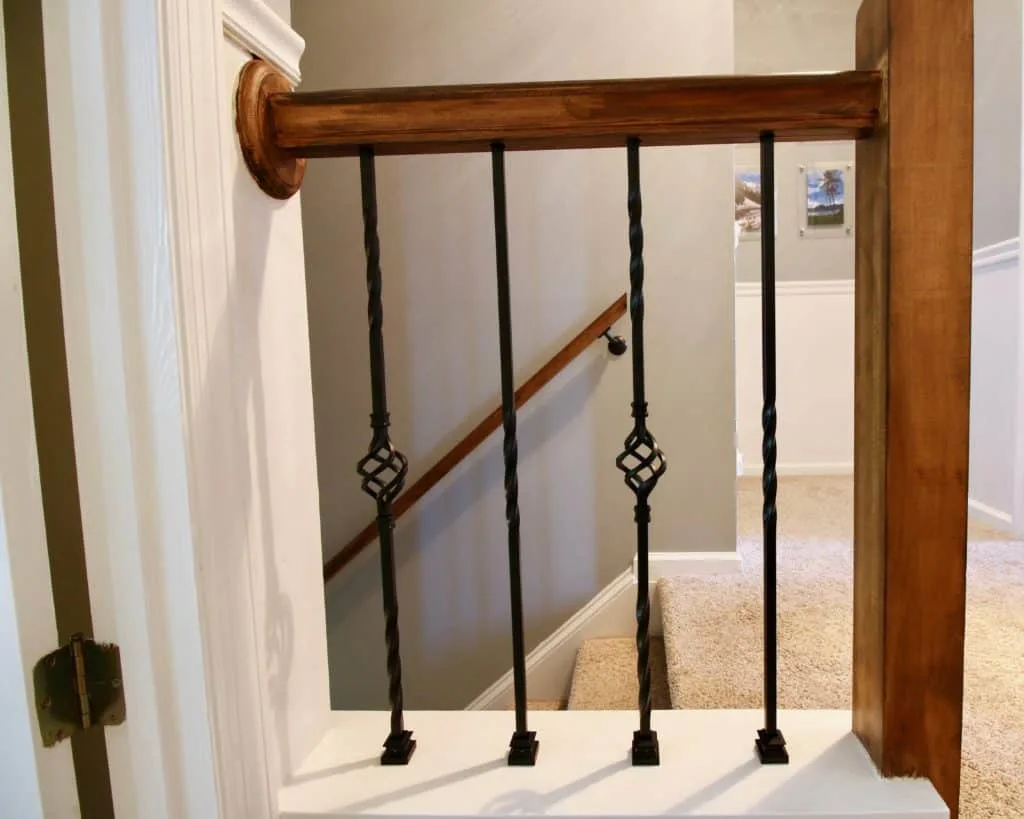

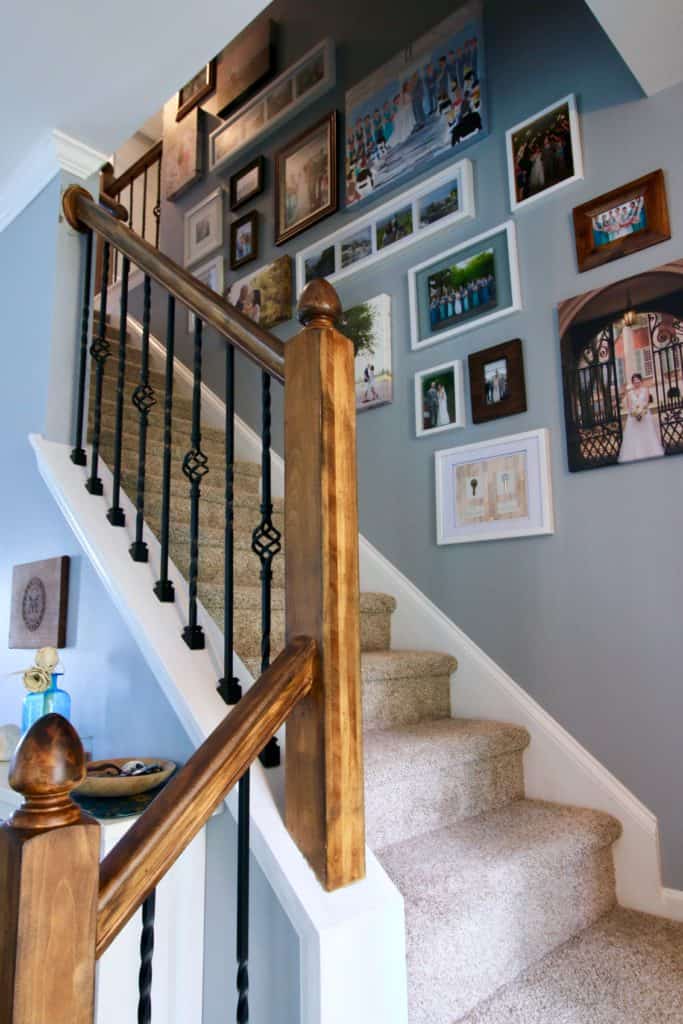

This is truly a transformation.
The project took a few days because there were several steps that required waiting (staining and sealing). But, it wasn’t difficult.
The cutting and removing of the old balusters took about an hour for our space.
Sanding took an hour and installation of the new balusters took about two hours total.
It was a lot quicker after the first few when we got in a rhythm.
Updating our railing and balusters made the space look incredibly different and so much more modern.
Wondering how much iron balusters cost? Here’s a cost breakdown:
Balusters – $16.66
2 x basket style @ $4.05 = $8.10
2 x single twist @ $2.30 = $4.60
4 x flat shoe @ $0.99 = $3.96
Other railing supplies (stain + sealant) had on hand
Iron balusters are also available at hardware stores like Lowes and Home Depot, but we found the best price on eBay.
**Note: this is just the cost for the railing and balusters at the top, since that hallway is what we are making over for the $100 Challenge.
We also updated the downstairs railings since we were already at it, but I didn’t include that in this total. I hope that makes sense!
We wrote a whole post on the cost of replacing wood balusters with iron!


Click here to pin this project to your pinterest board!
I am loving all of the updates on this challenge and next be sure to check out the final reveal!

How to replace wood balusters with iron
Bored with your wooden staircase railing? Here is how to DIY upgrade your spindles with iron balusters!
Materials
- New iron balusters
- Hot glue or epoxy
- Stain
- Polycrylic
- Brush
Tools
- Reciprocating saw
- Orbital sander
Instructions
- Use reciprocating saw to cut wooden balusters in half.
- Pull out of each end and discard.
- Sand railing and stain or paint. Coat with poly to seal. Allow to dry.
- Measure the height for each spindle.
- Use reciprocating saw to trim iron spindles to height.
- Stick spindle up into top railing.
- Add glue or epoxy into lower hole.
- Stick spindle in that hole.
- Allow to dry, taping if necessary.
Notes
Each spindle might be a different length. Measure each.
Recommended Products
As an Amazon Associate and member of other affiliate programs, I earn from qualifying purchases.


Before you go…
Are you planning a full staircase makeover? You don’t want to miss our step by step tutorials on how to replace a handrail bracket and how to paint stair risers!


Looking for something?
We’ve been doing this since 2012 so we have a LOT of blog posts!
Search stuff like: Ceiling Projects | DIY Plant Stands | Thrift Flips


Hey there, I’m Sean, the woodworking enthusiast and builder behind CharlestonCrafted.com! Since 2012, I’ve been sharing the magic of turning raw materials into beautiful creations. I love teaching others the art and satisfaction of woodworking and DIY. I try to inspire fellow crafters to make something extraordinary out of nothing at all.
Indre
Tuesday 24th of August 2021
Looked perfect before, I really hate seeing people using resources to replace perfectly functioning things just because they're bored :( I think repainting would have done it better and more professional than GLUEING parts of the stairs (unsure how it affects safety).
Morgan
Saturday 28th of August 2021
It was functional before, but that doesn't mean it looked perfect to us. We chose to update those railings for a modern look. You don't need to keep a house looking exactly how it looked the day it was built just because it's functional. To each their own!
Kelley Besl
Tuesday 6th of April 2021
Want to replace mine too! But I'm afraid there are no holes on the bottom cap to drop the baluster into. It didn't look like your (on the angle) had holes. How did you do the angled balusters?
Morgan
Wednesday 7th of April 2021
So we started by just gluing them, but a toddler changed that eventually. We ended up drilling very shallow holes for them to sit in and putting the glue in there to stabilize.
Robyne
Saturday 31st of October 2020
About to try this. Did you just use glue to hold it in place? The top hole is so much bigger than the baluster.
Sean
Sunday 1st of November 2020
We used hot glue and then later went back and replaced with 2 part epoxy. Epoxy is very strong. Here is exactly what we used - https://amzn.to/2JsCPPp
Josue Verona
Sunday 23rd of February 2020
Did you need to remove the handrail portion or the newels before sanding and staining?
Sean
Monday 24th of February 2020
Nope. We sanded in place. If you have any intricate details or curved features, you'll need to just hand sand with flexible paper to get into the grooves.
Gm
Thursday 13th of February 2020
Hello. I’m interested in doing this project. By code, my spindles need to be no more than 4” apart. If I take out my balusters and replace them with the thinner metal, they are greater than 4” apart. How hard is the process of drilling new shaving holes in the railing and base trim?
Sean
Thursday 13th of February 2020
If your balusters are that much larger and you'd need closer spindles, the problem is going to be the holes you already have in there. It is going to be difficult to drill holes that are properly spaced out among the holes you'll already have in place. Seems to me like they would overlap and would offer no support. Your best bet might be to fill all the holes entirely then start over with new holes. New holes aren't necessarily hard, you just need to ensure that they are completely lined up on top and bottom.