
We were recently pretty excited to see that our local Habitat for Humanity ReStore was having a DIY contest! The contest was called Shopped and for $25, you get a bag of mystery ingredients from the ReStore. You have to use at least one of the items in a DIY. The items will be judged based on creativity and usefulness. The winner gets $300 to spend at the ReStore!
Since we love a good DIY and can’t resist a little friendly competition, we had to enter. We stopped by the ReStore one Saturday and picked up our bag of supplies. Here is what is contained:
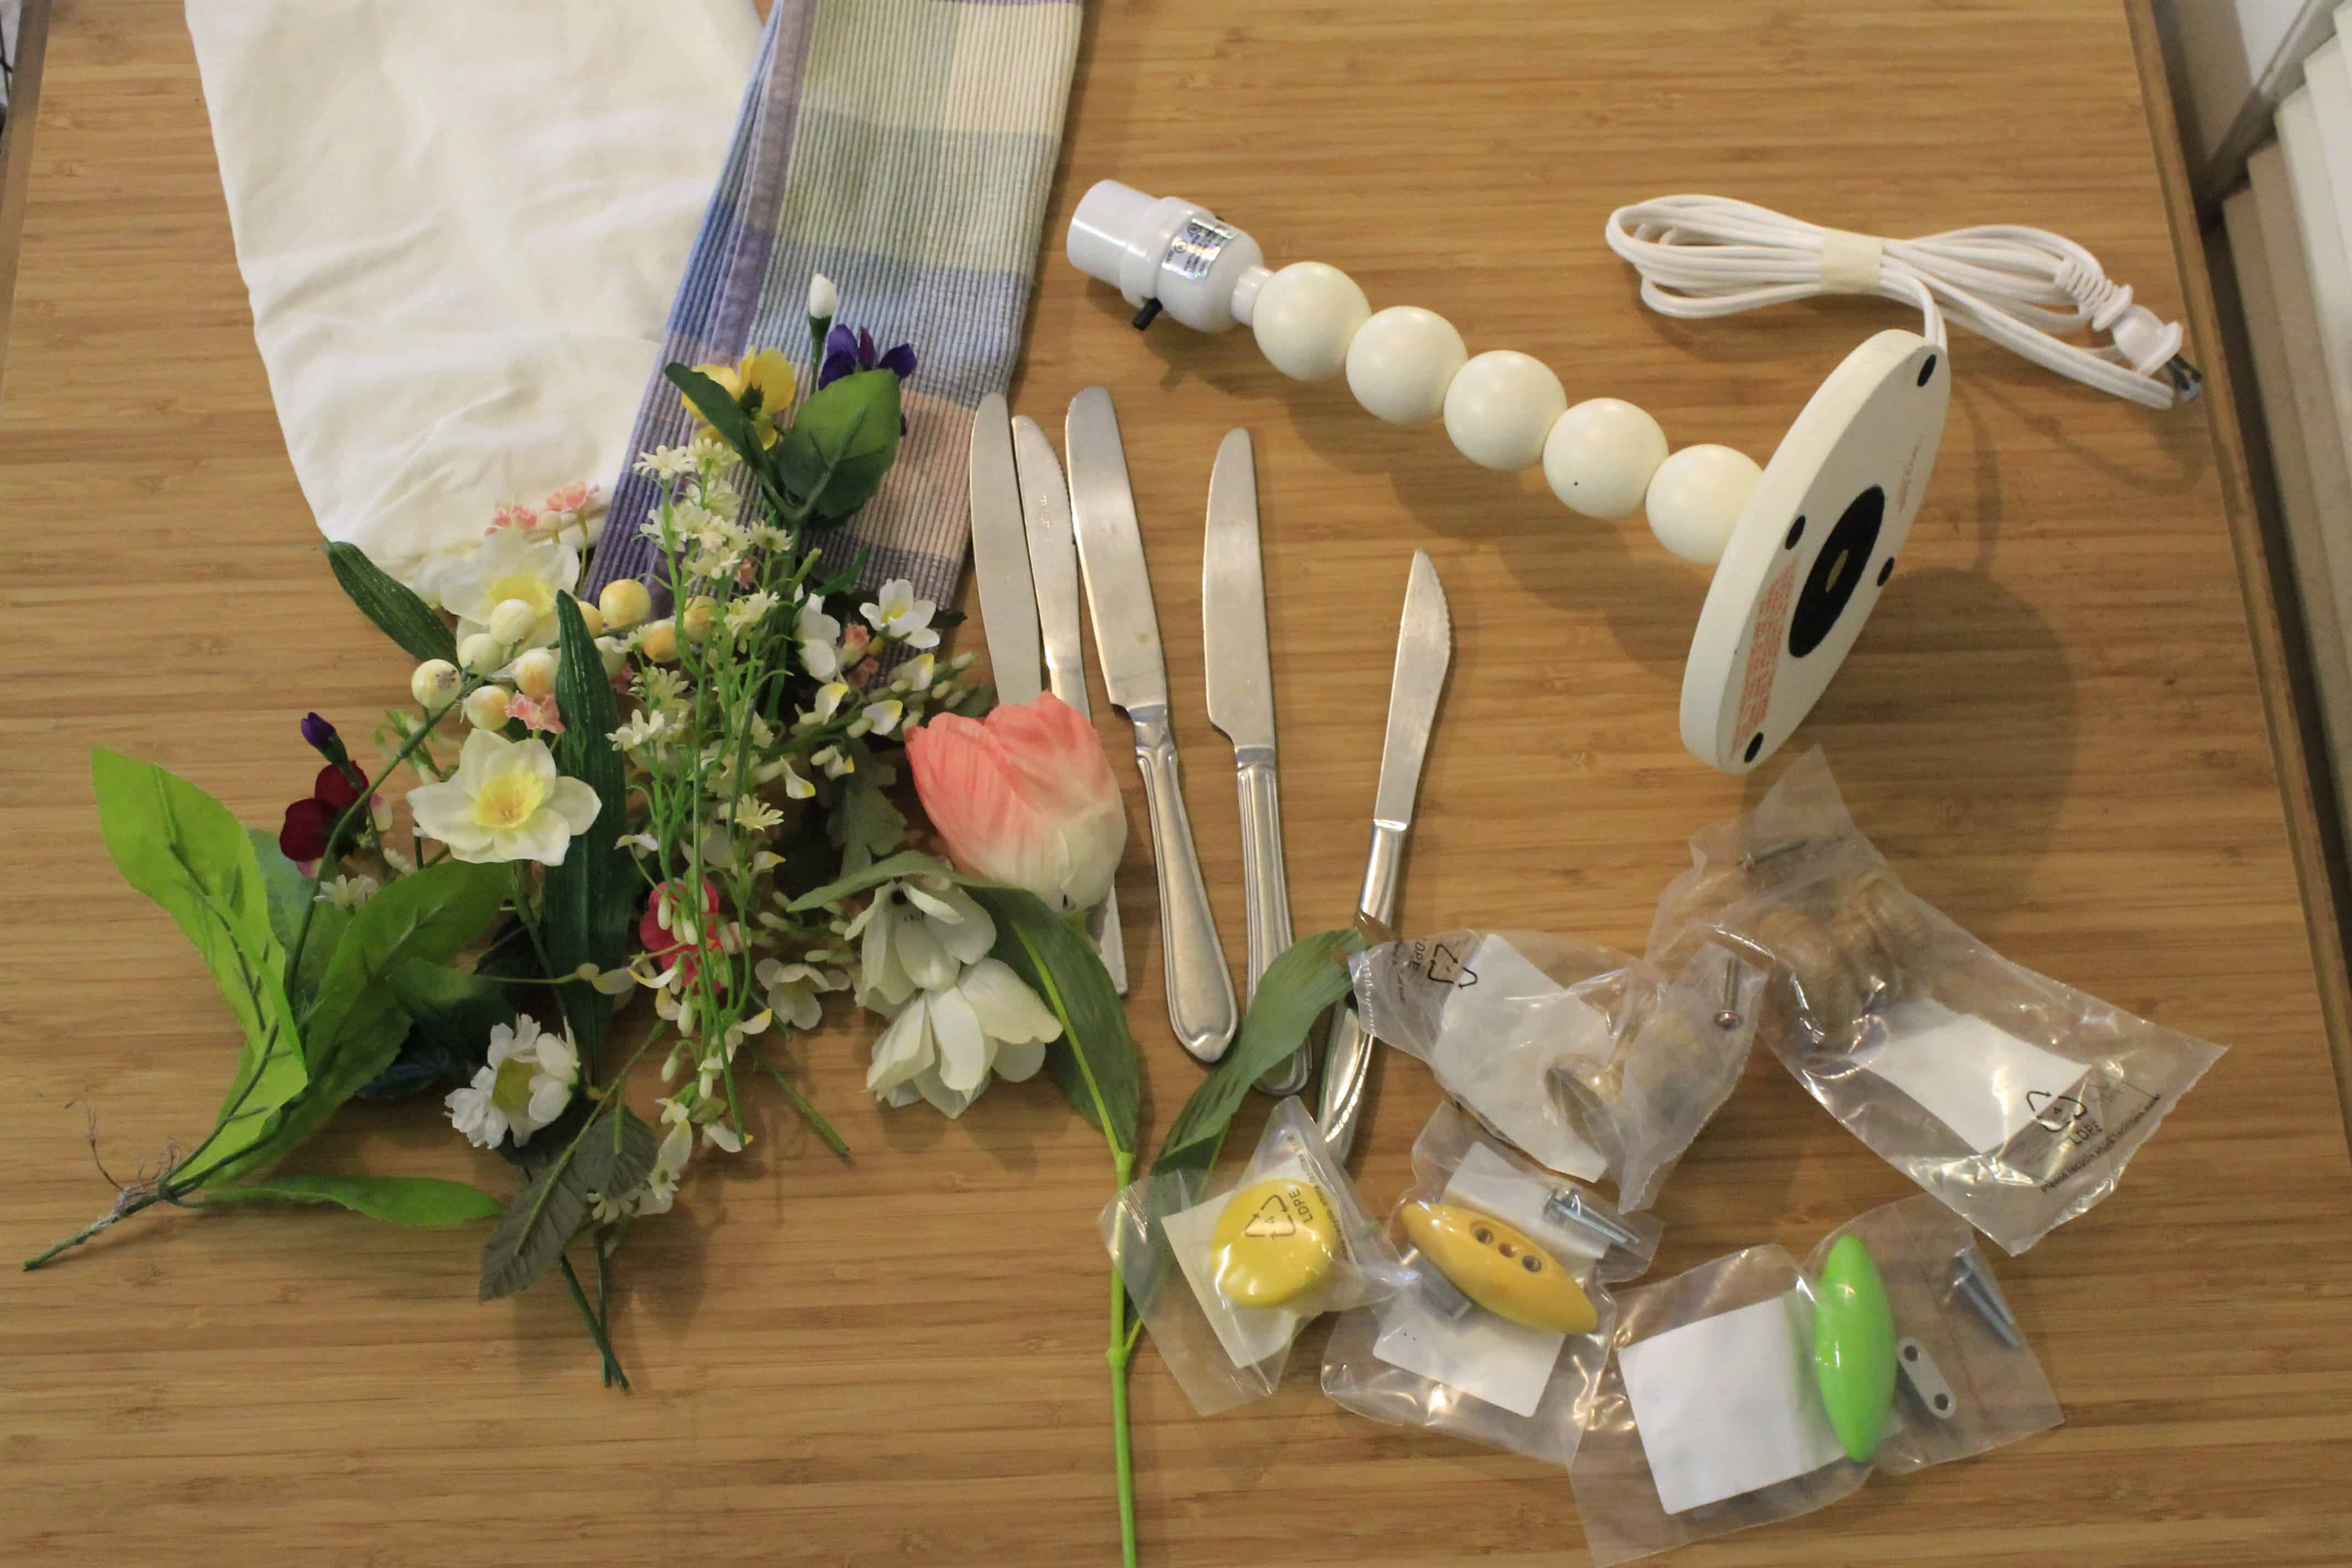
- One wooden lamp
- One pillow case
- A plaid table cloth
- Five silver knives
- Faux silk flowers
- A variety of knobs
Now, I’m not gonna harp on this but I feel like I have to say it – we were very disappointed in the contents of our bag. I get that this was a fundraiser, but it really felt like they had picked the cheapest, crappiest stuff to give us. I don’t know what we expected, but a stained pillow case, rusty knives, and faded silk flowers were not it. I think that this could have been even more fun if we had gotten larger, or more unique items.
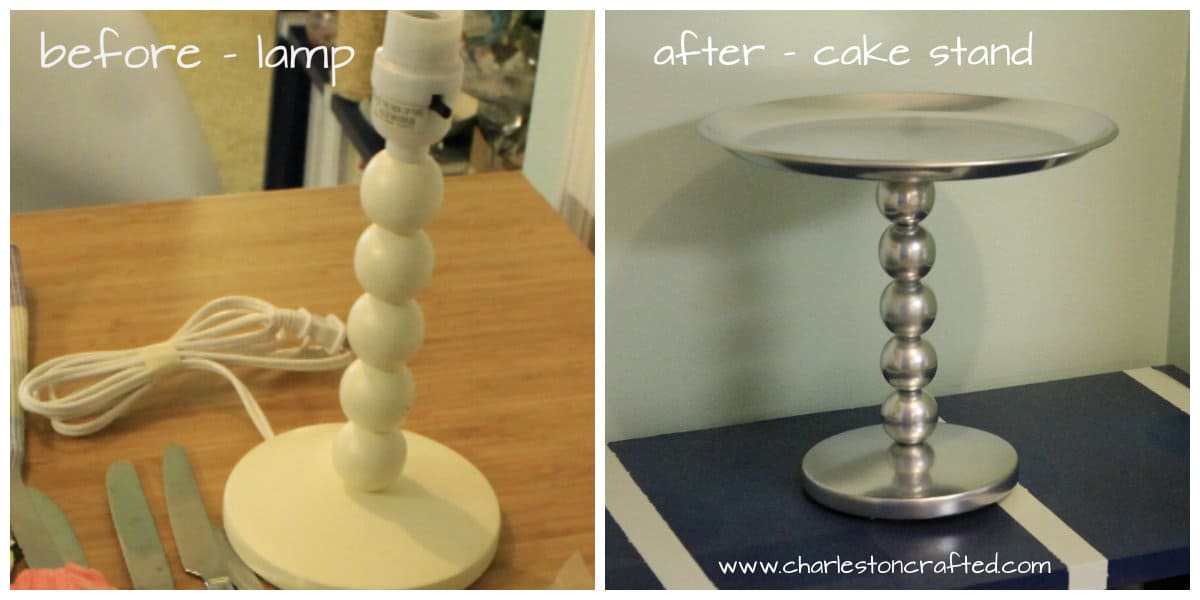
Enough of that. A quick examination lead us to the conclusion that the lamp was the best thing we had to work with. The flowers and plaid place mat and knives aren’t really our style and wouldn’t be practical in our home. So we decided to think about it and try to come up with an idea (other than just making the lamp into another lamp!) We thought about it for weeks, until two nights before the due date. Oh yes, procrastination at it’s worst.
I was caught up on the idea of making it into some sort of candle holder, but a check of the project submission page showed me that someone else had already done that! Sean suggested that we make a cake plate instead. But, oh yeah – we procrastinated so long that Sean was actually on a work trip and had to advise me via speaker phone and text message all the way from DC!
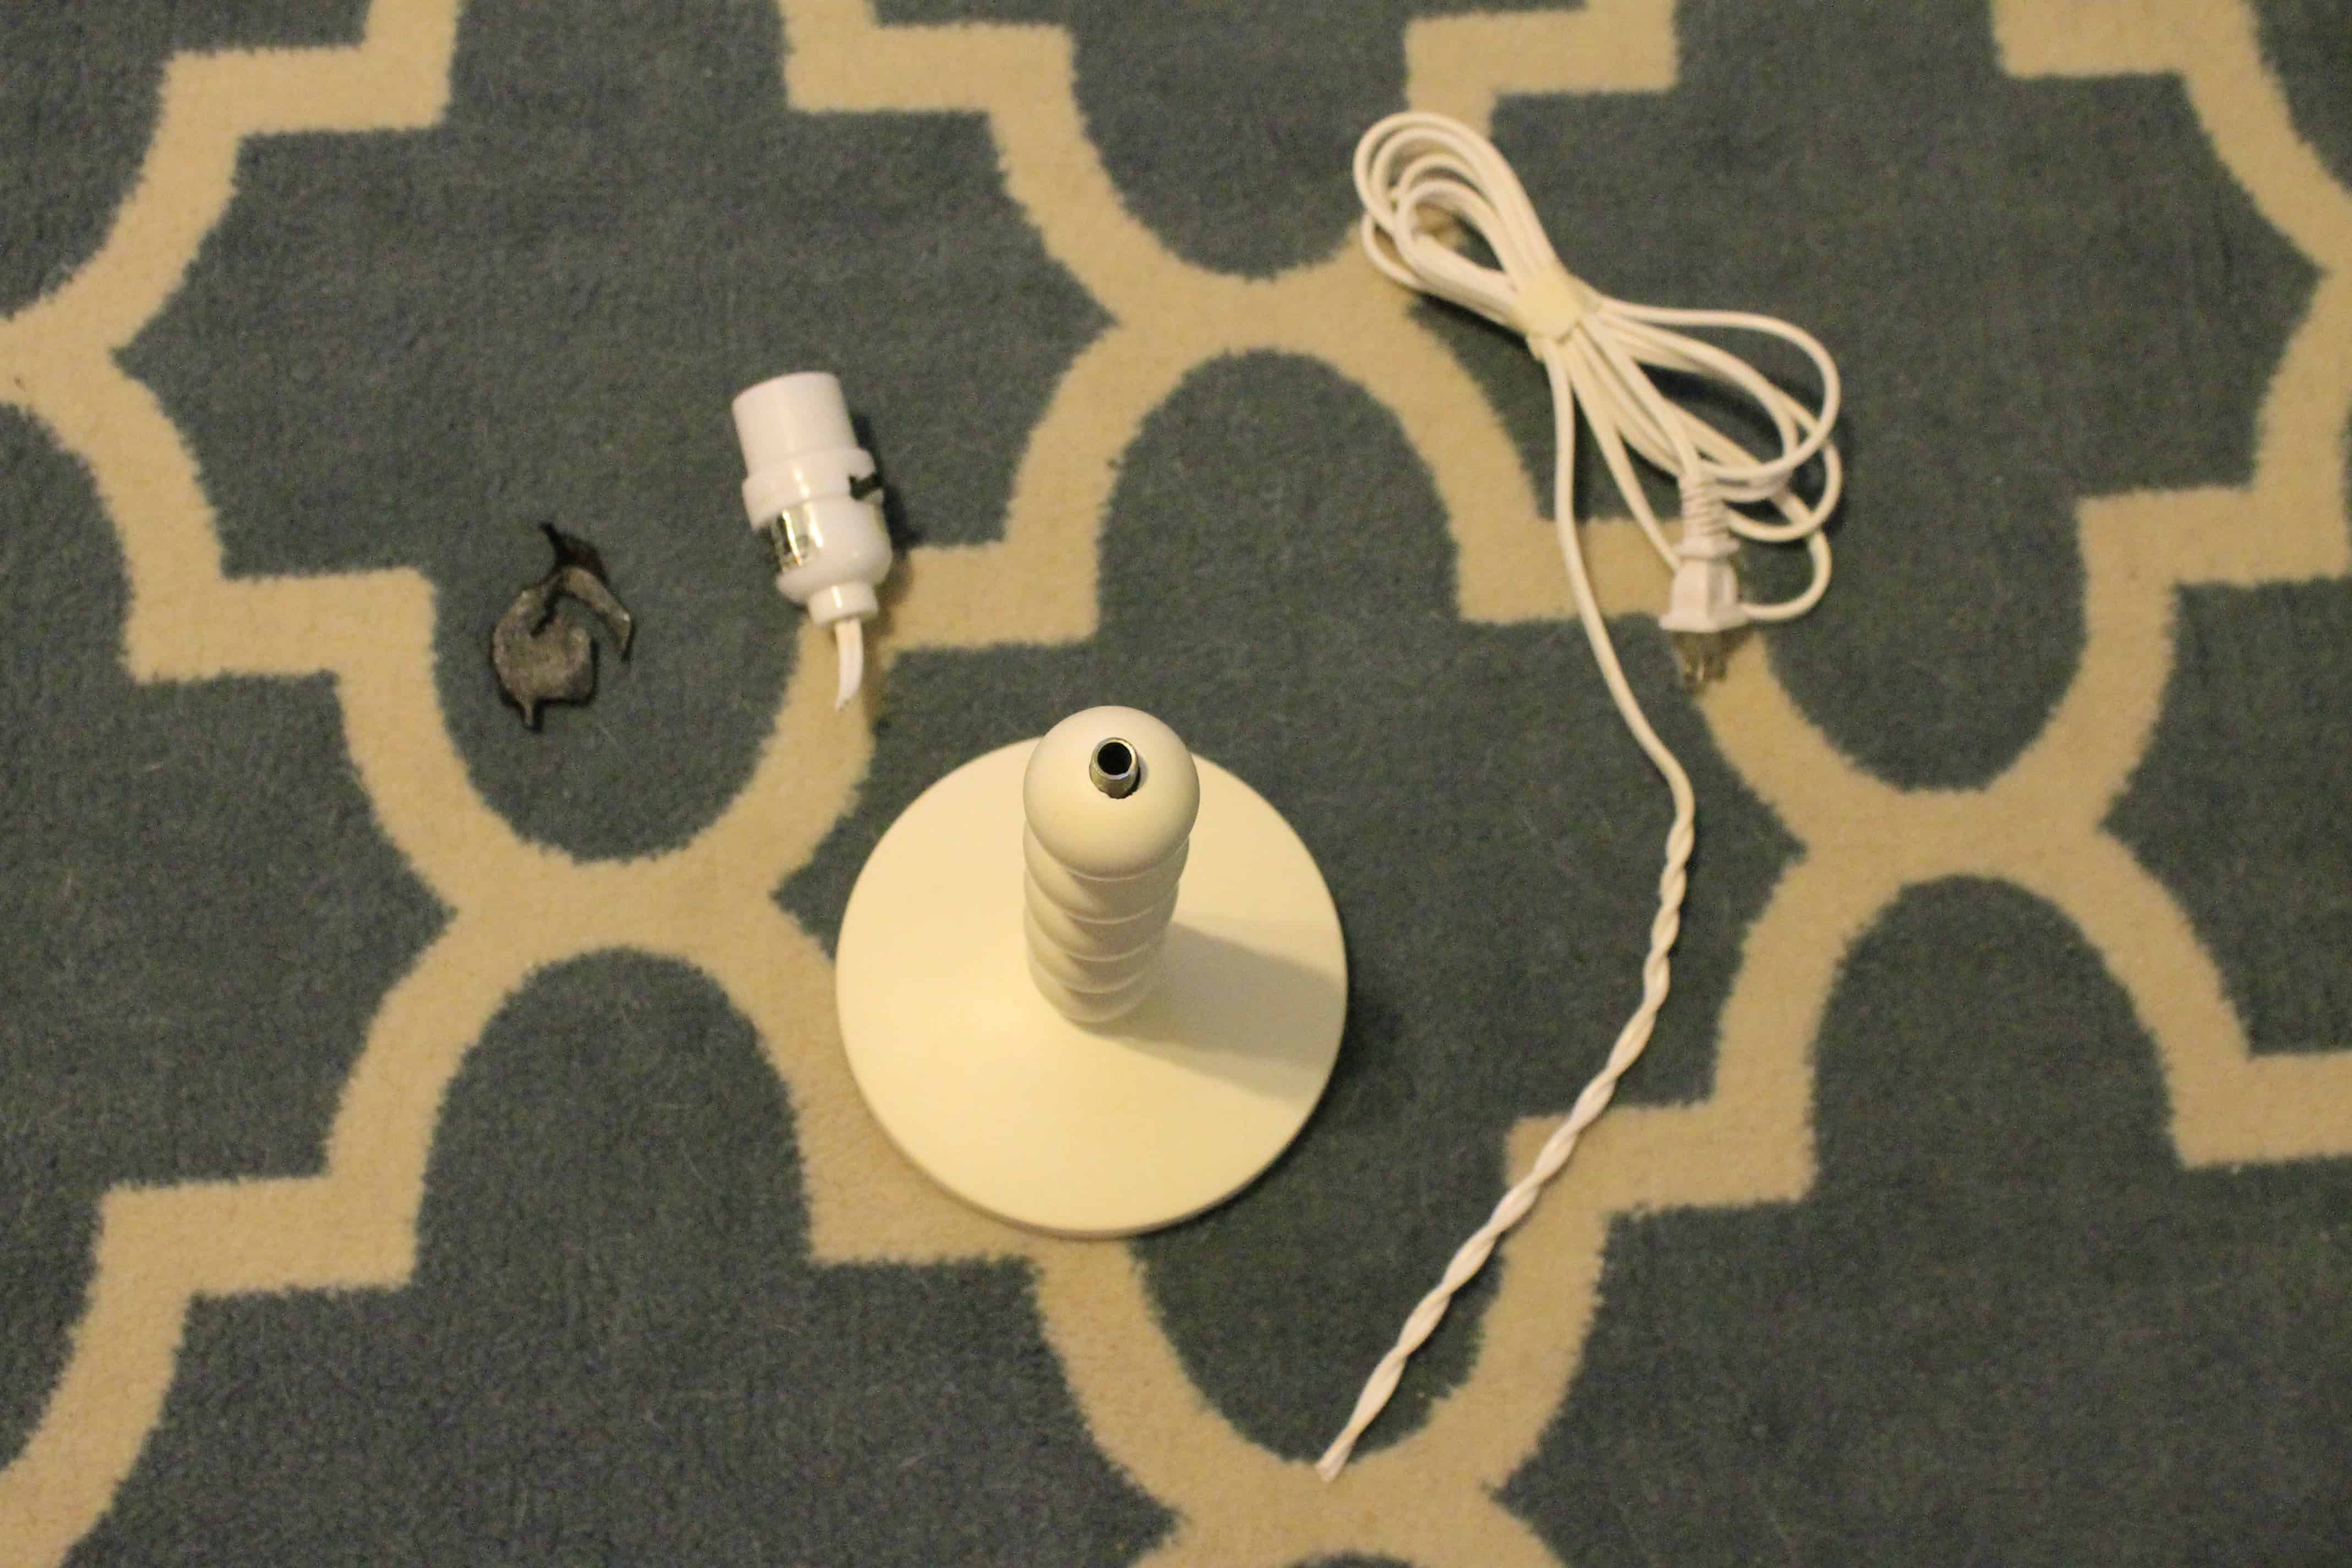
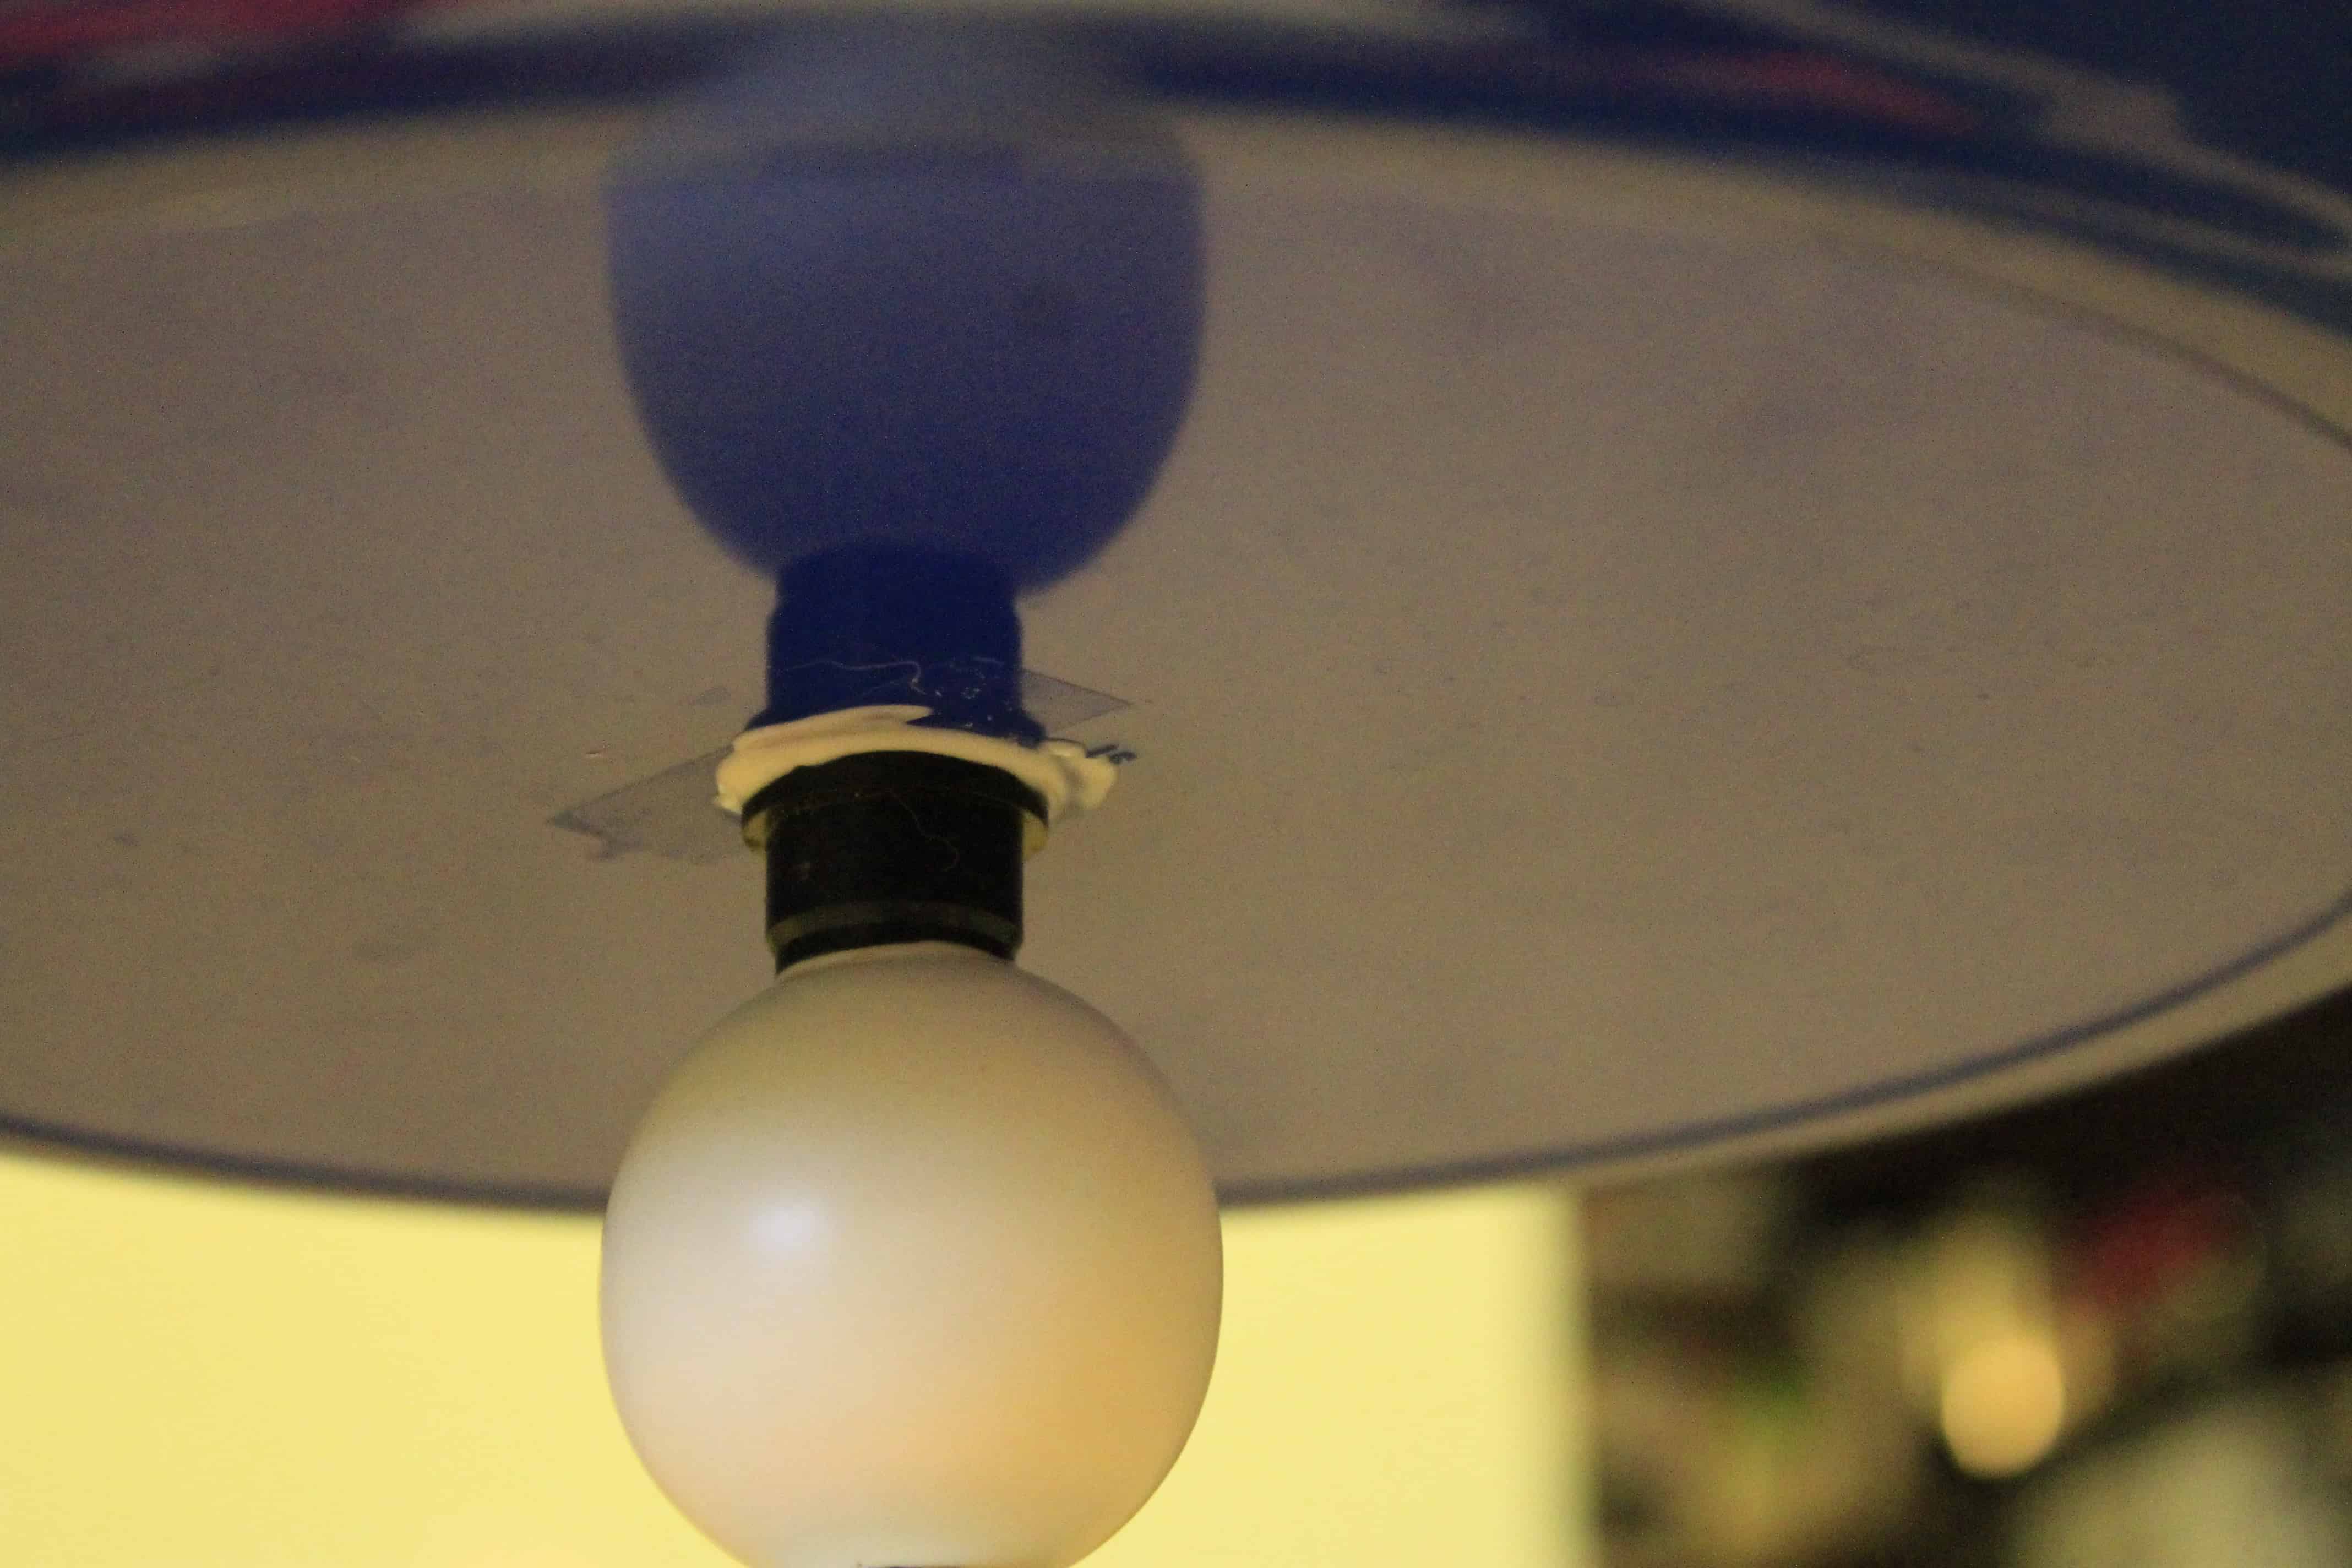
I started by removing the actual lamp parts (socket & cord) from the lamp. I unscrewed the socket, cut the cord, and pulled it out. I used pliers to get a good grip but it pulled out easily.

Then I needed to find something to use for the plate. I kind of didn’t want to sink much more cash into this (we already spent $25 on the entry fee) so I dug deep in our cabinet and found this plastic plate. It’s actually pretty thick and sturdy, so I knew it would work.
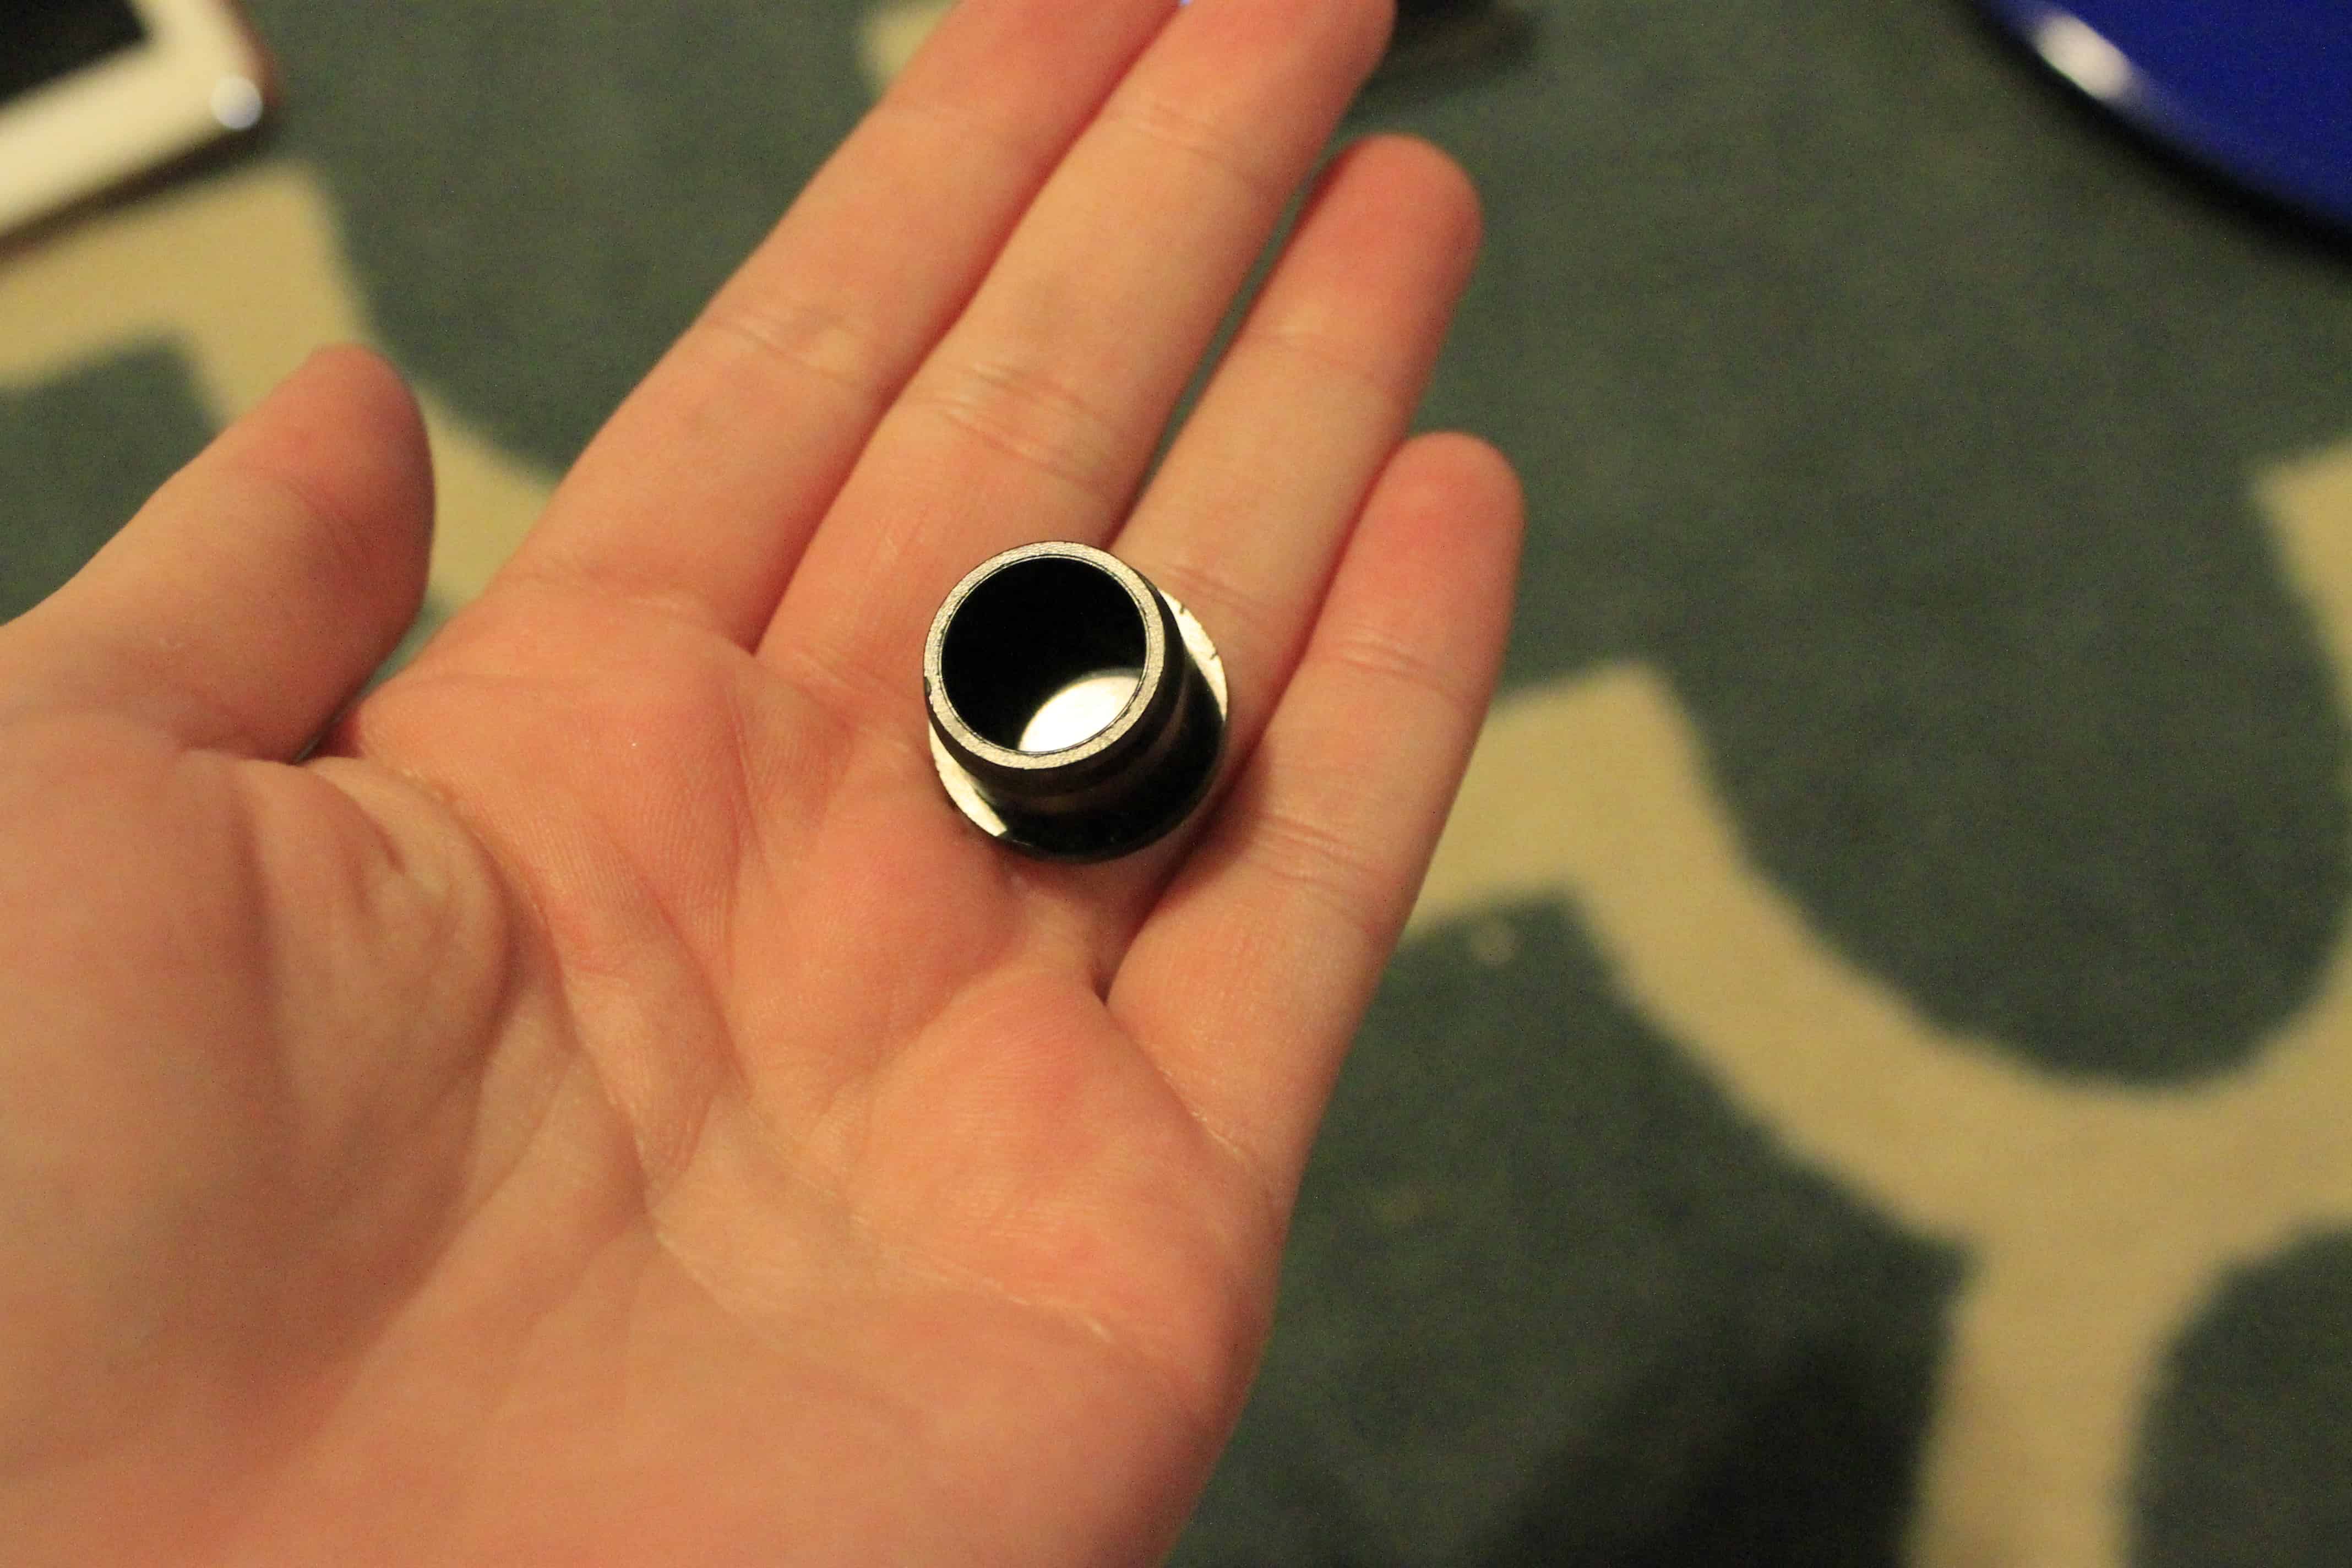
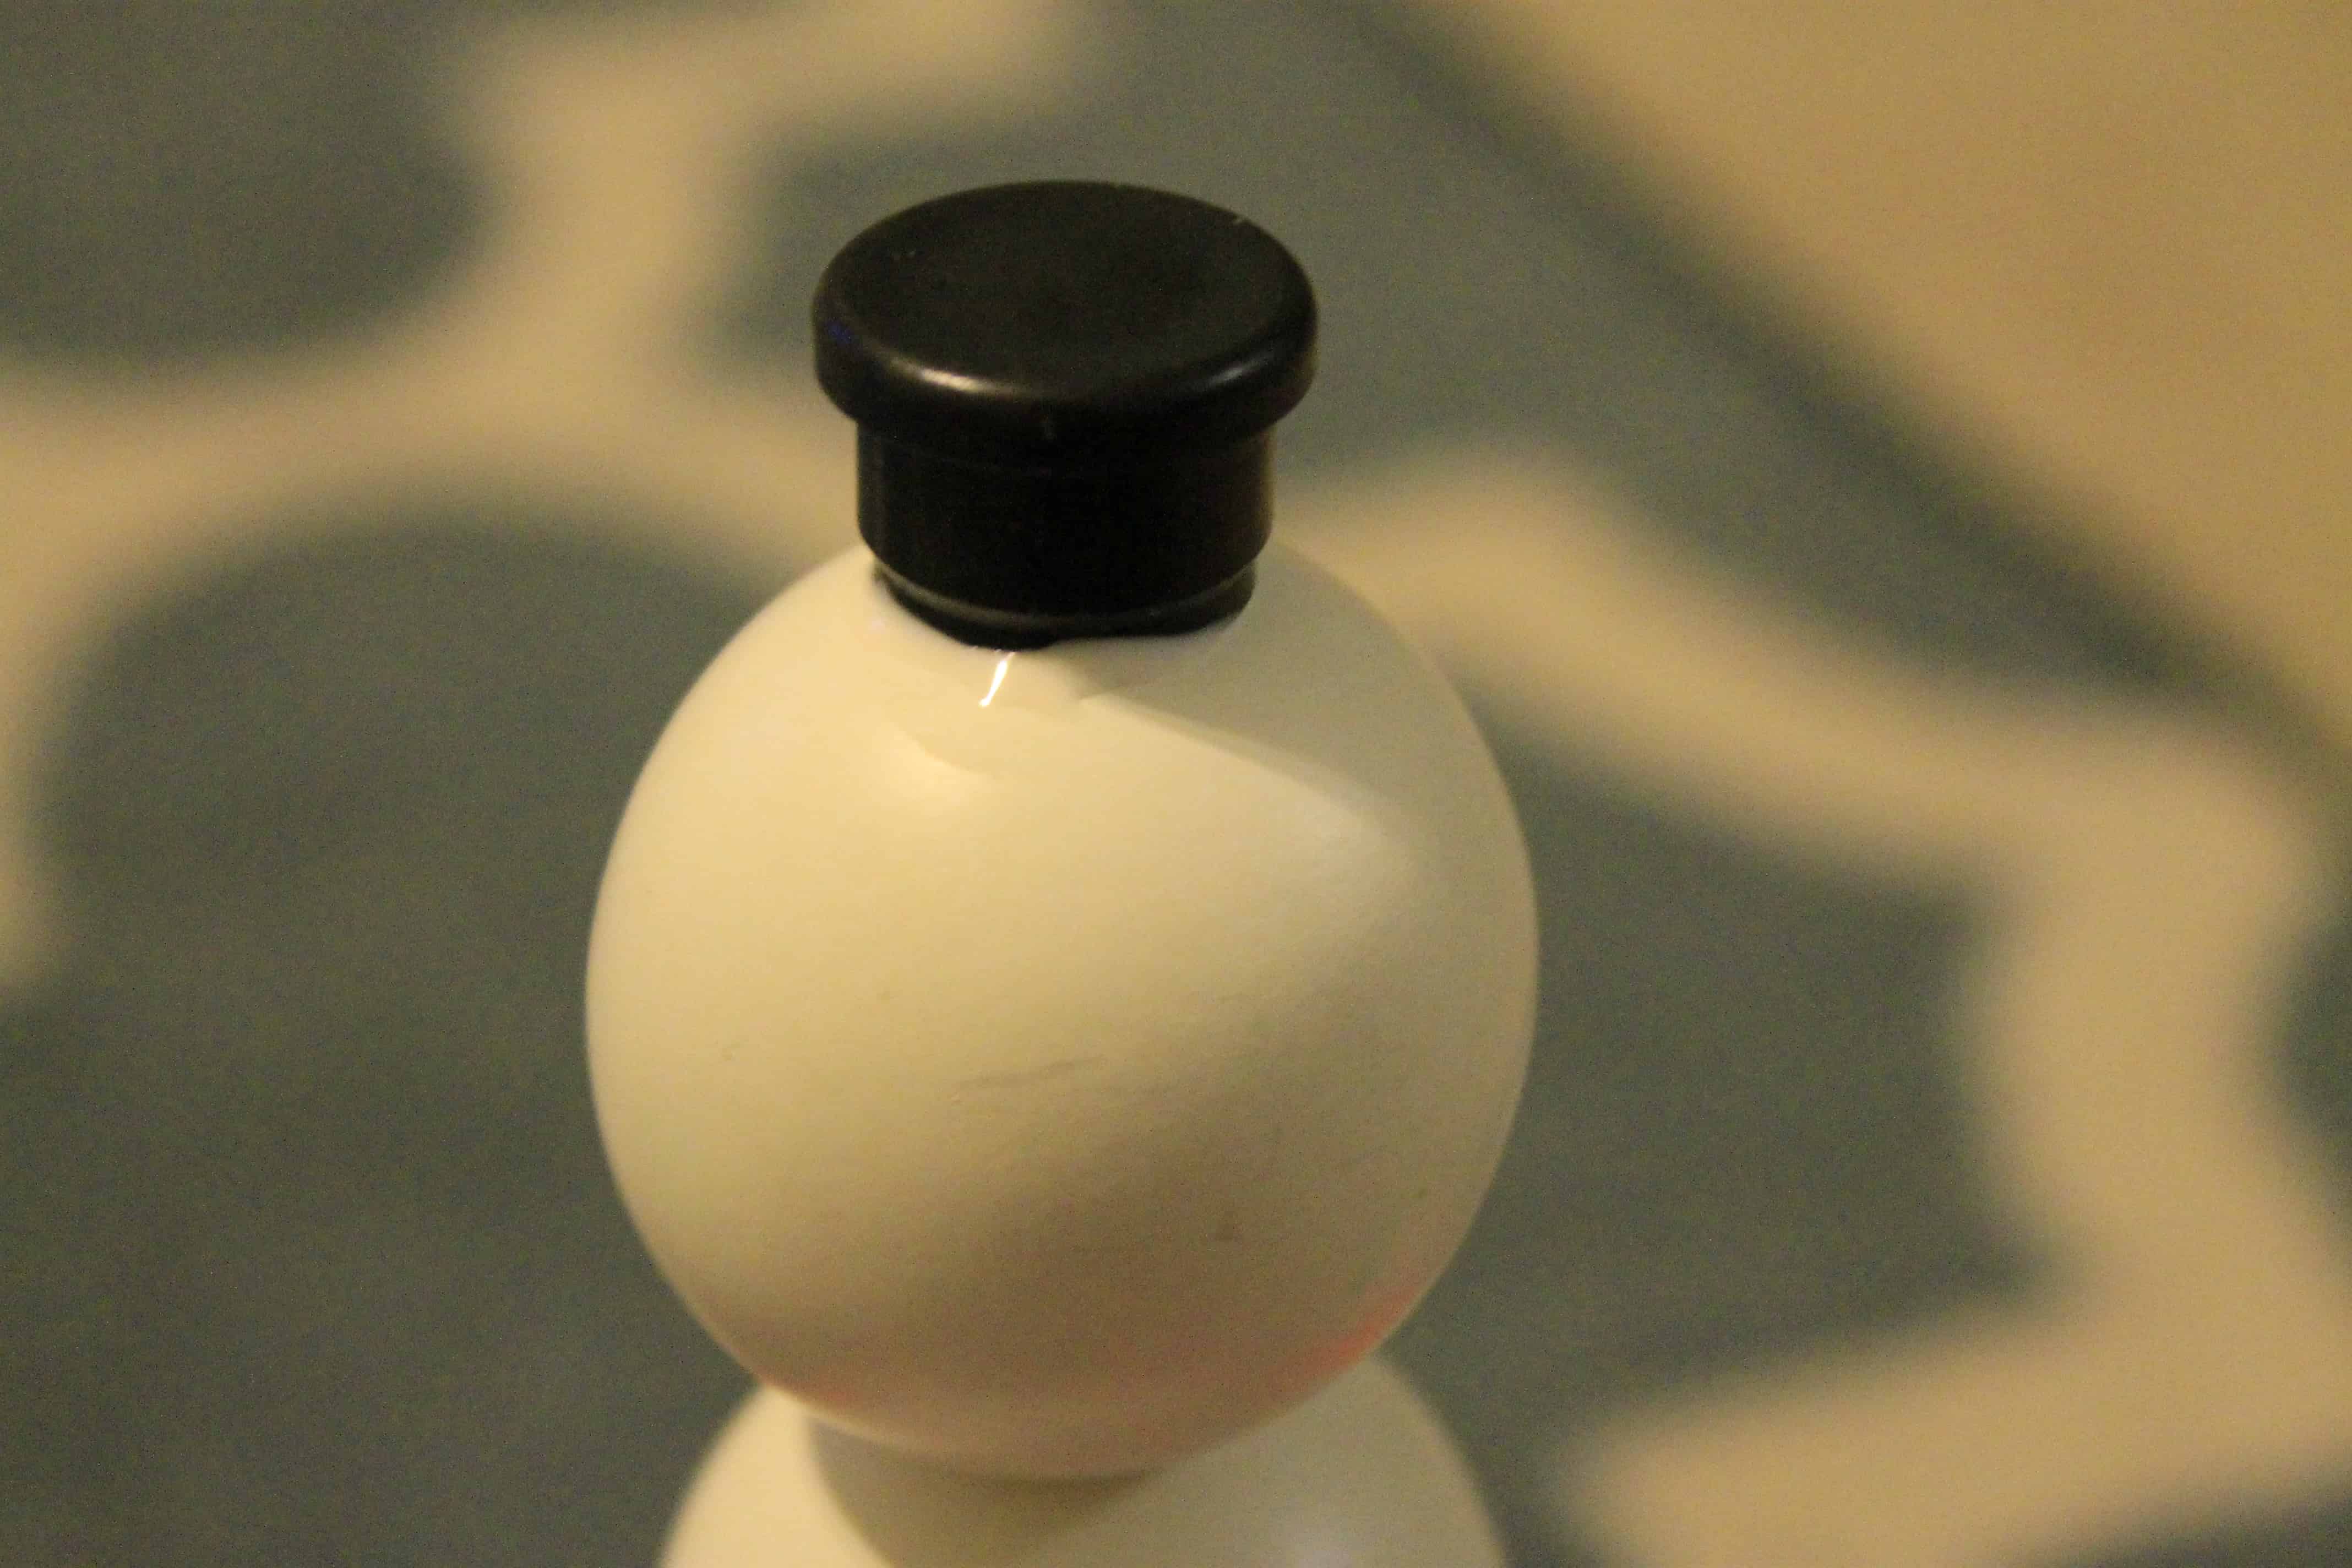
The top of the lamp had a bit of exposed bolt (about 1/2 an inch) so the plate wouldn’t sit very sturdily. I lugged out Sean’s tool box and dug around looking for nuts to add. We had plenty, but none were the right size. However, I did find this plastic cap thing. I have no clue what it’s from. I hoard every left over piece when we assemble furniture, so it’s probably Ikea. Sean gave me the OK to use it, so I glued it in place on top of the lamp.
I let that cure for an hour, then glued the plate on top. I used a Q-tip to wipe off any excess glue that leaked out.
I let that dry for about 24 hours, as I had to go to bed and work.
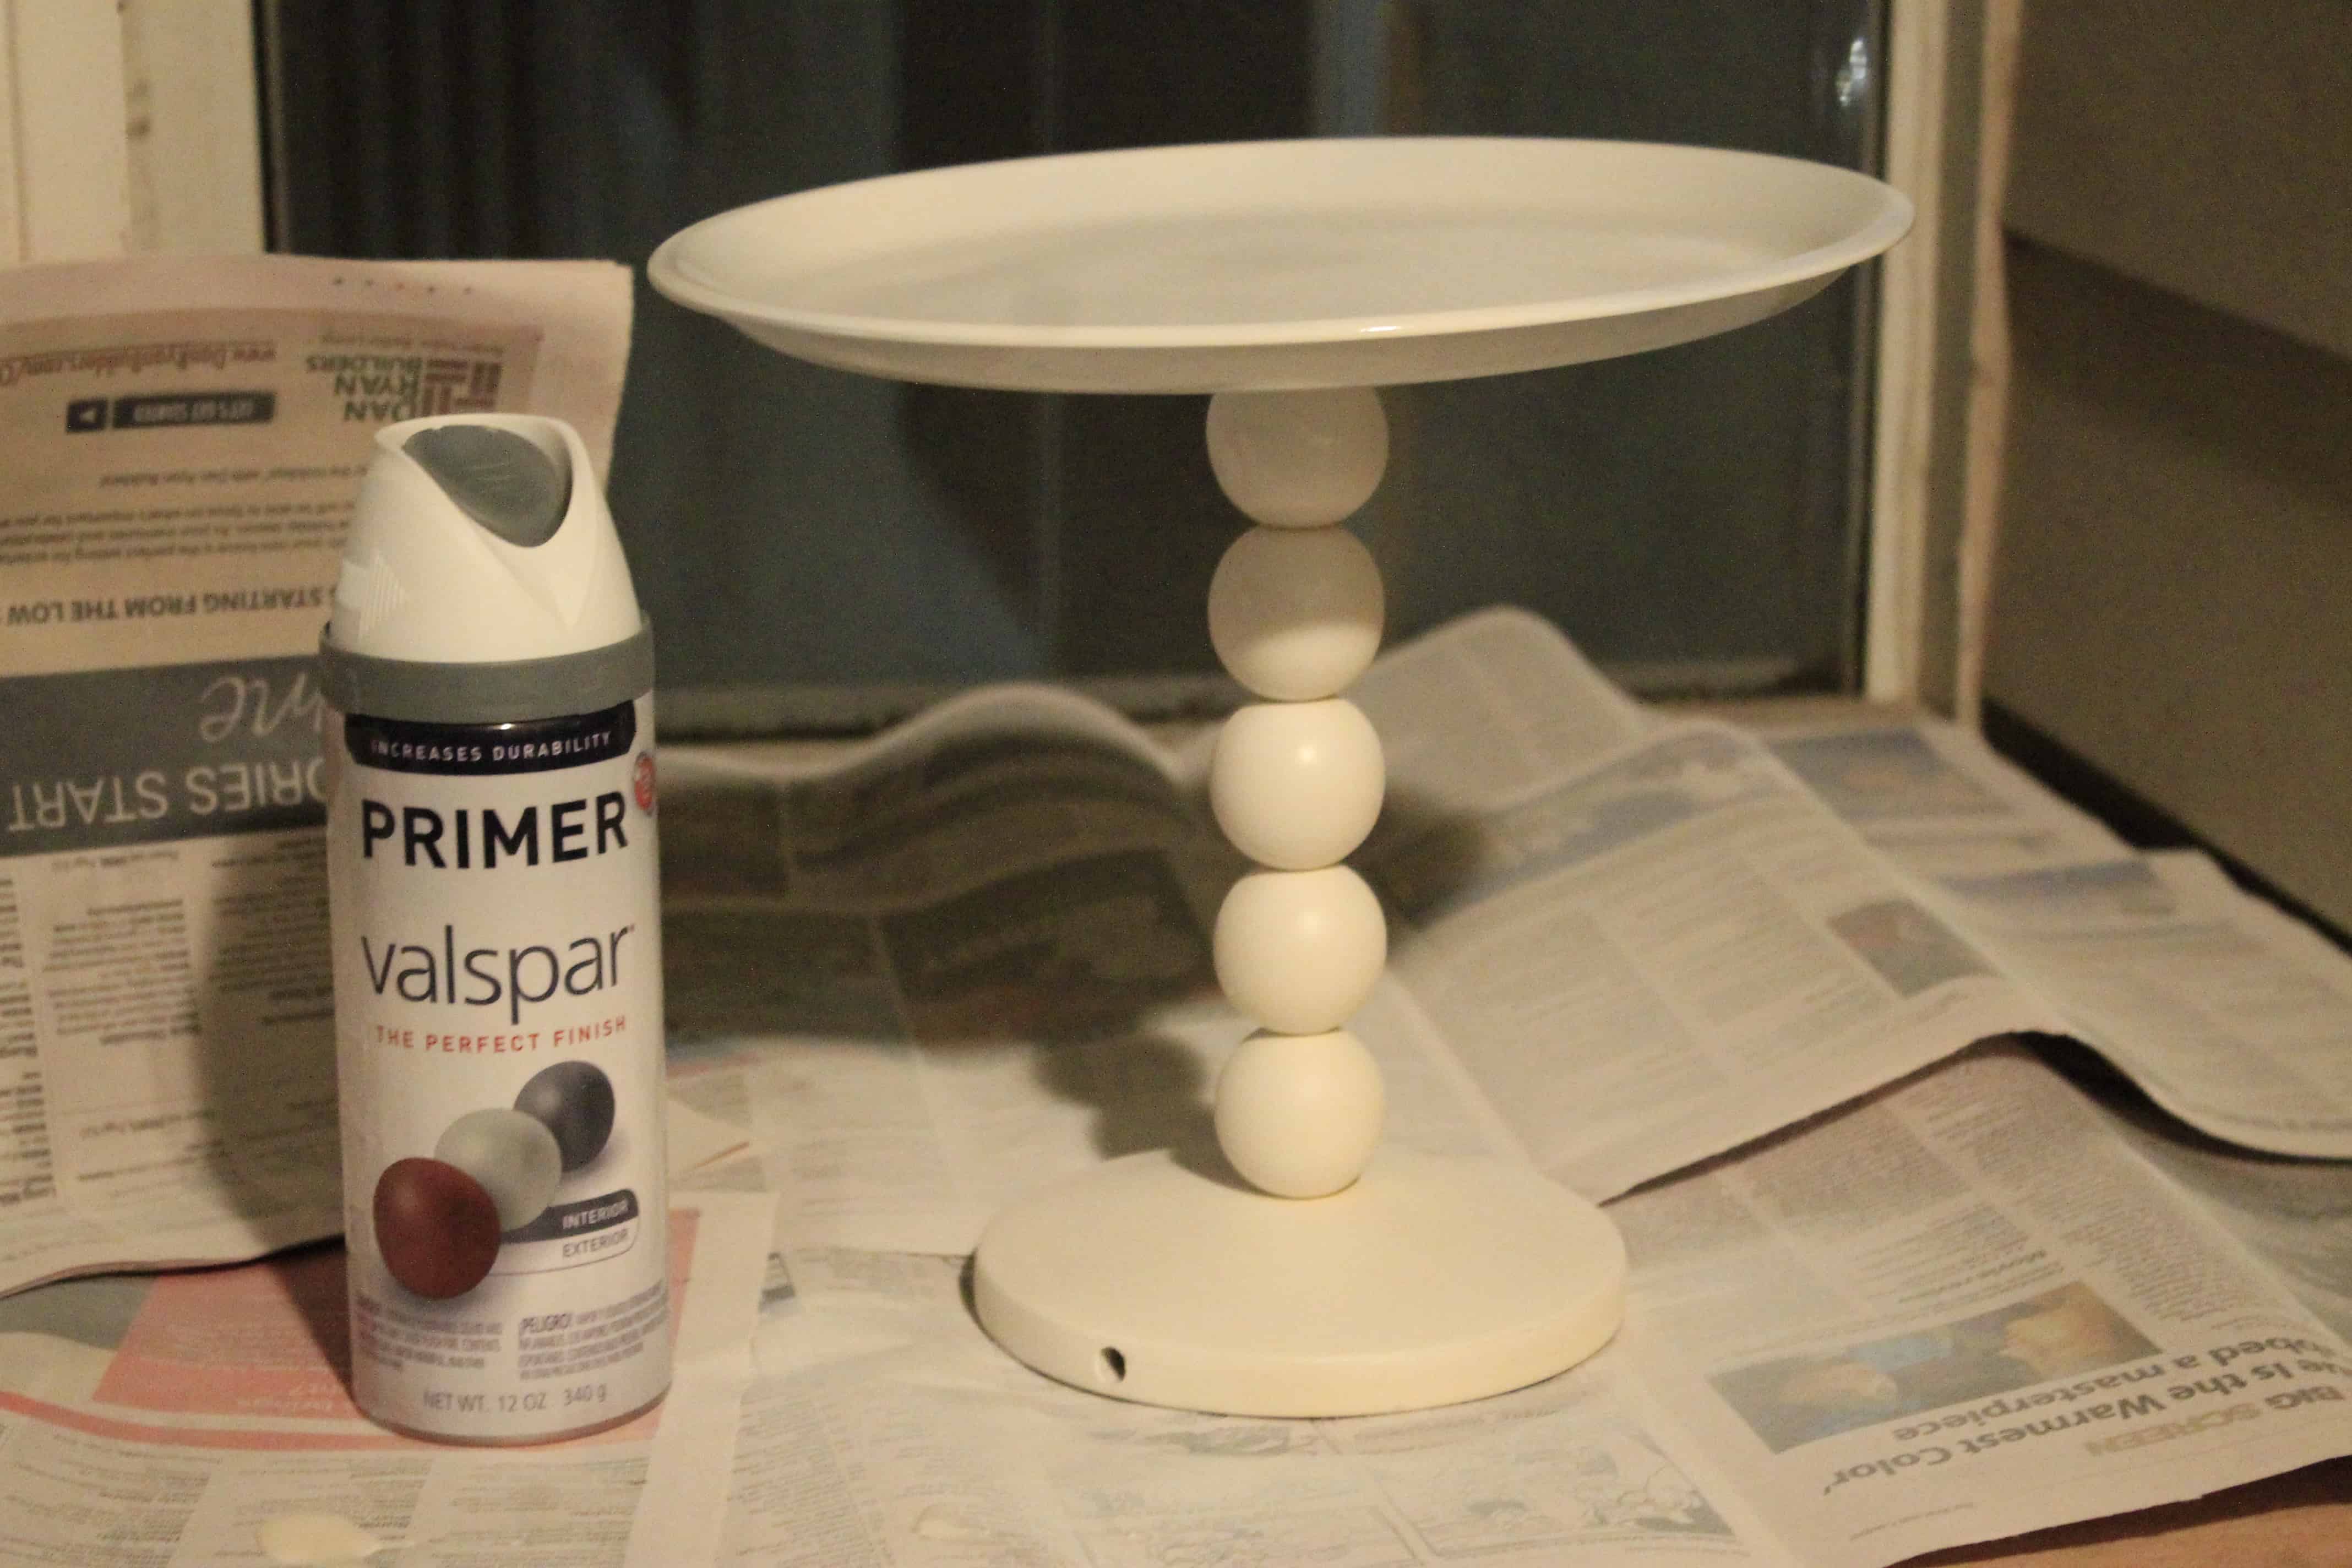
The next day was paint day. I gave it a couple of coats of spray primer (I’ve learned my lesson from not using primer in the past!) and three thin coats of Krylon Chrome.
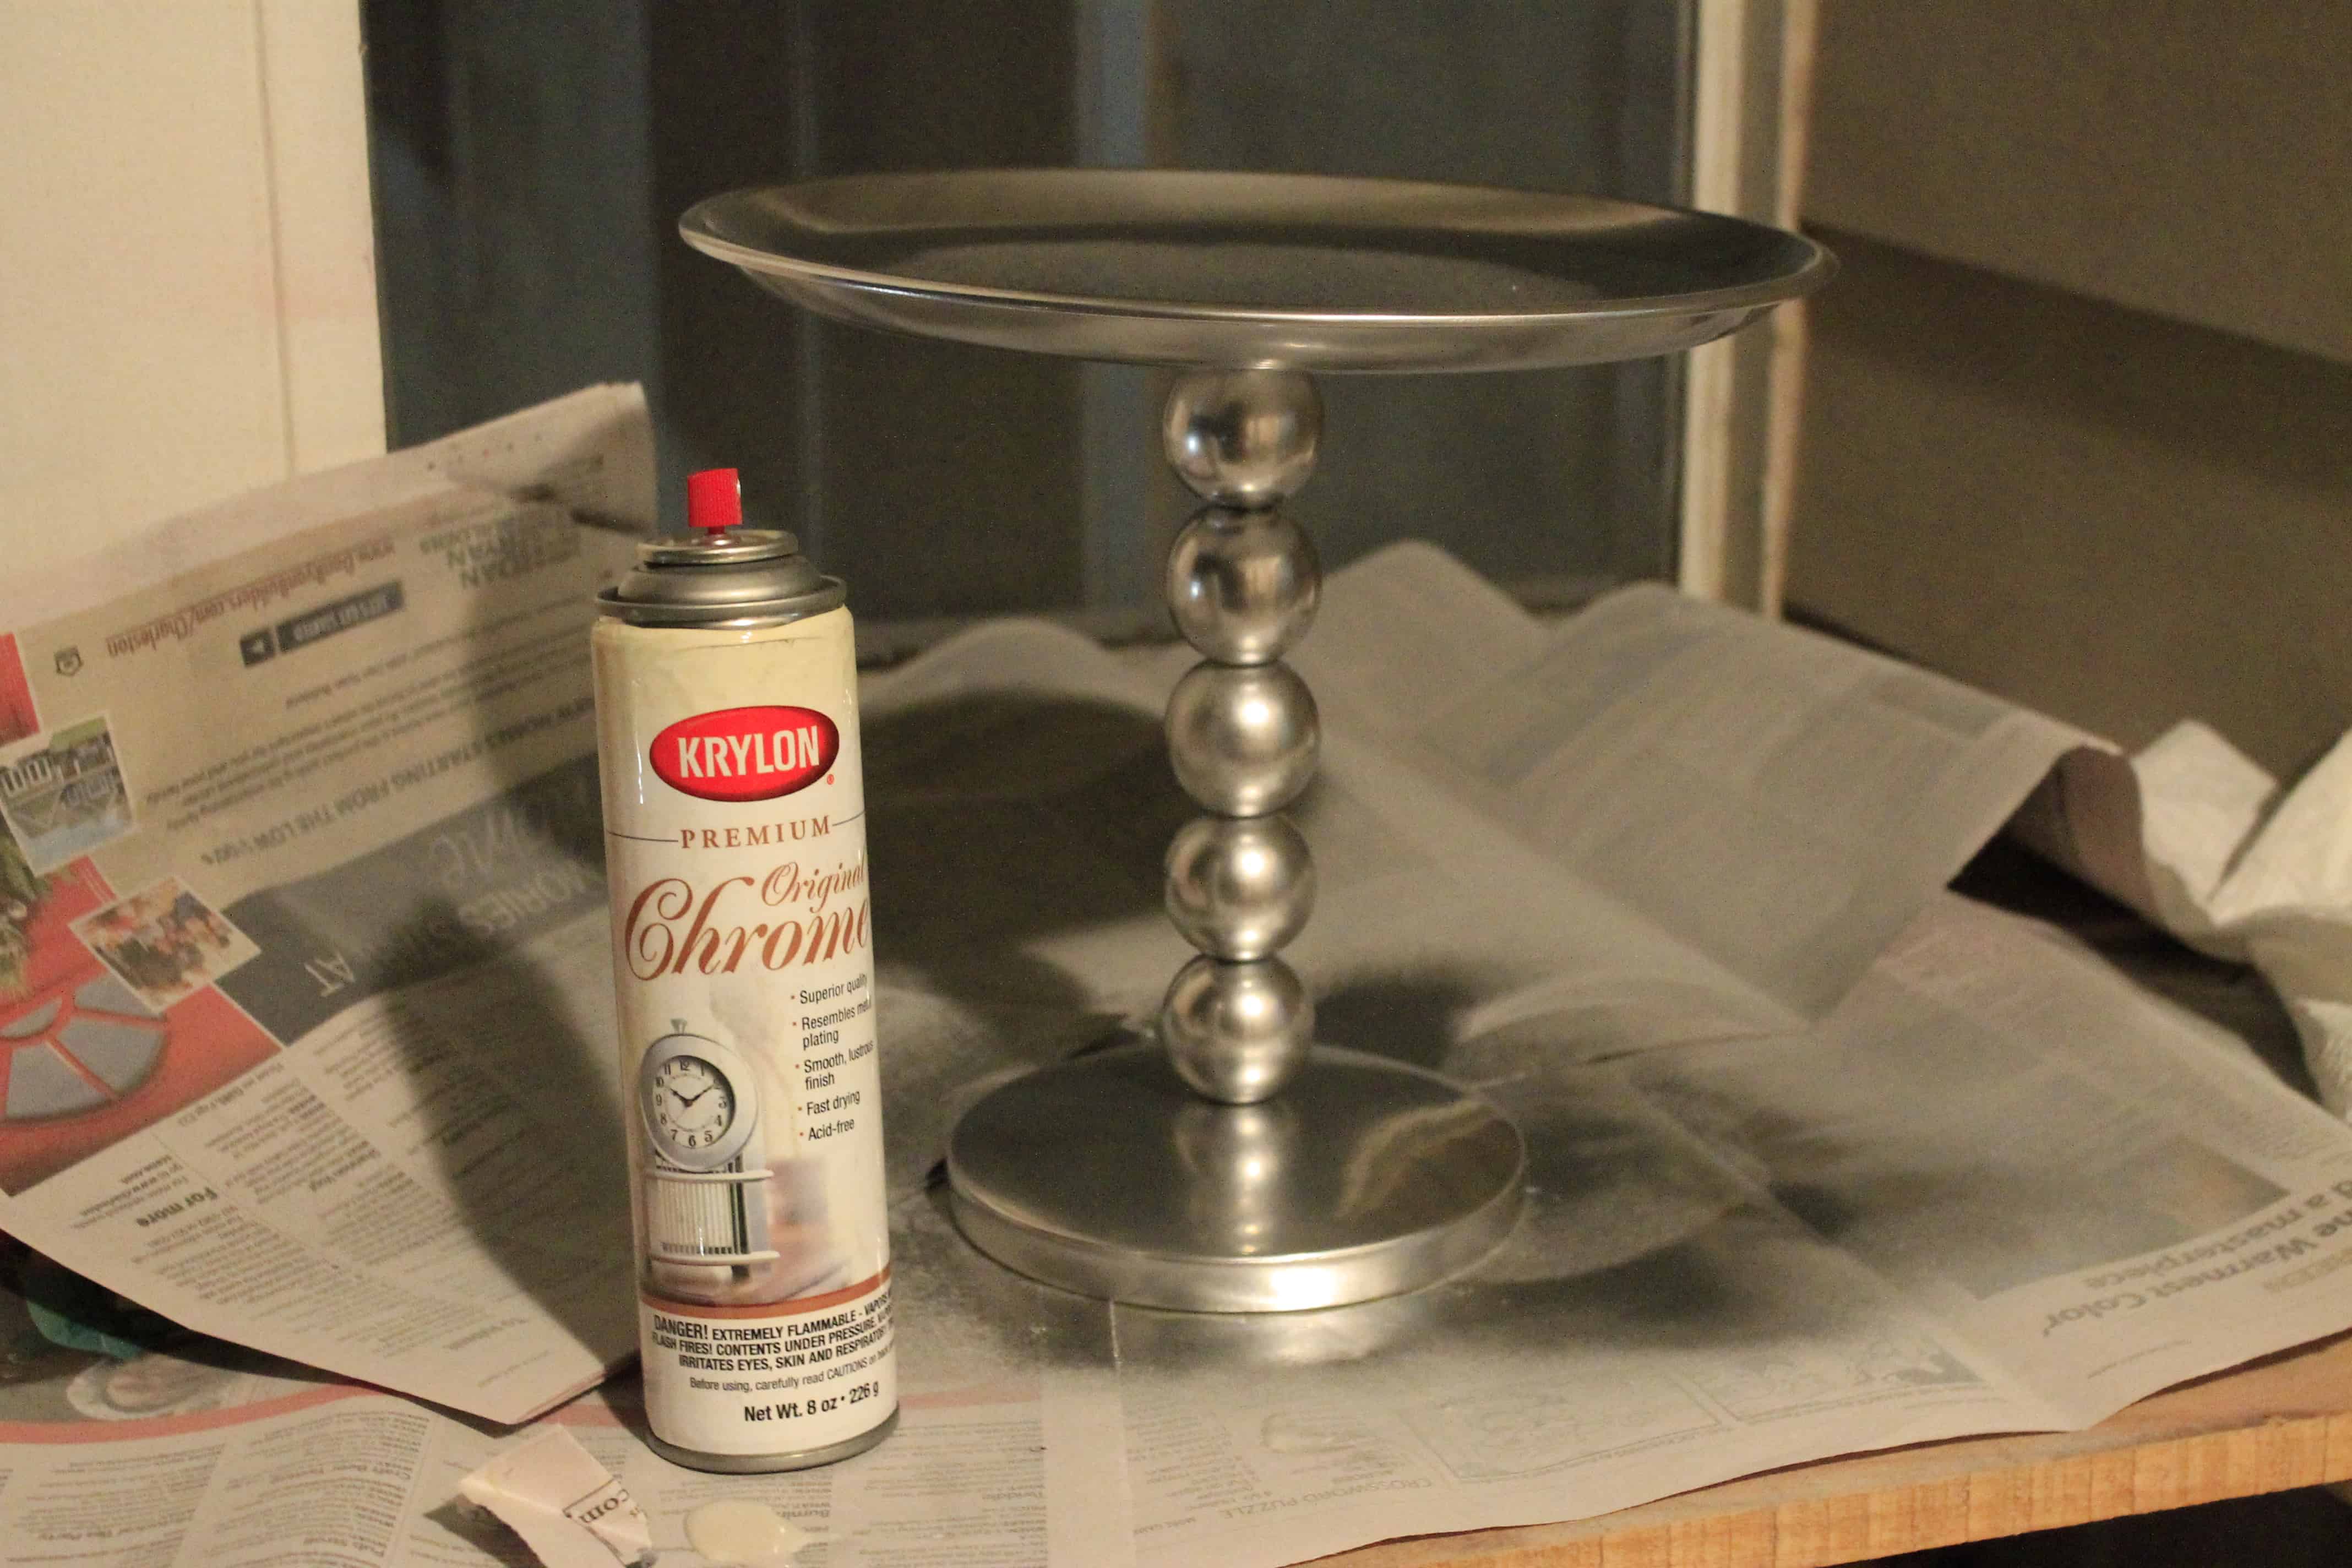
I let it dry for the recommended 2 hours prior to handling. I purchased a round mirror at Michaels to go on top, but decided that it looked better without it!

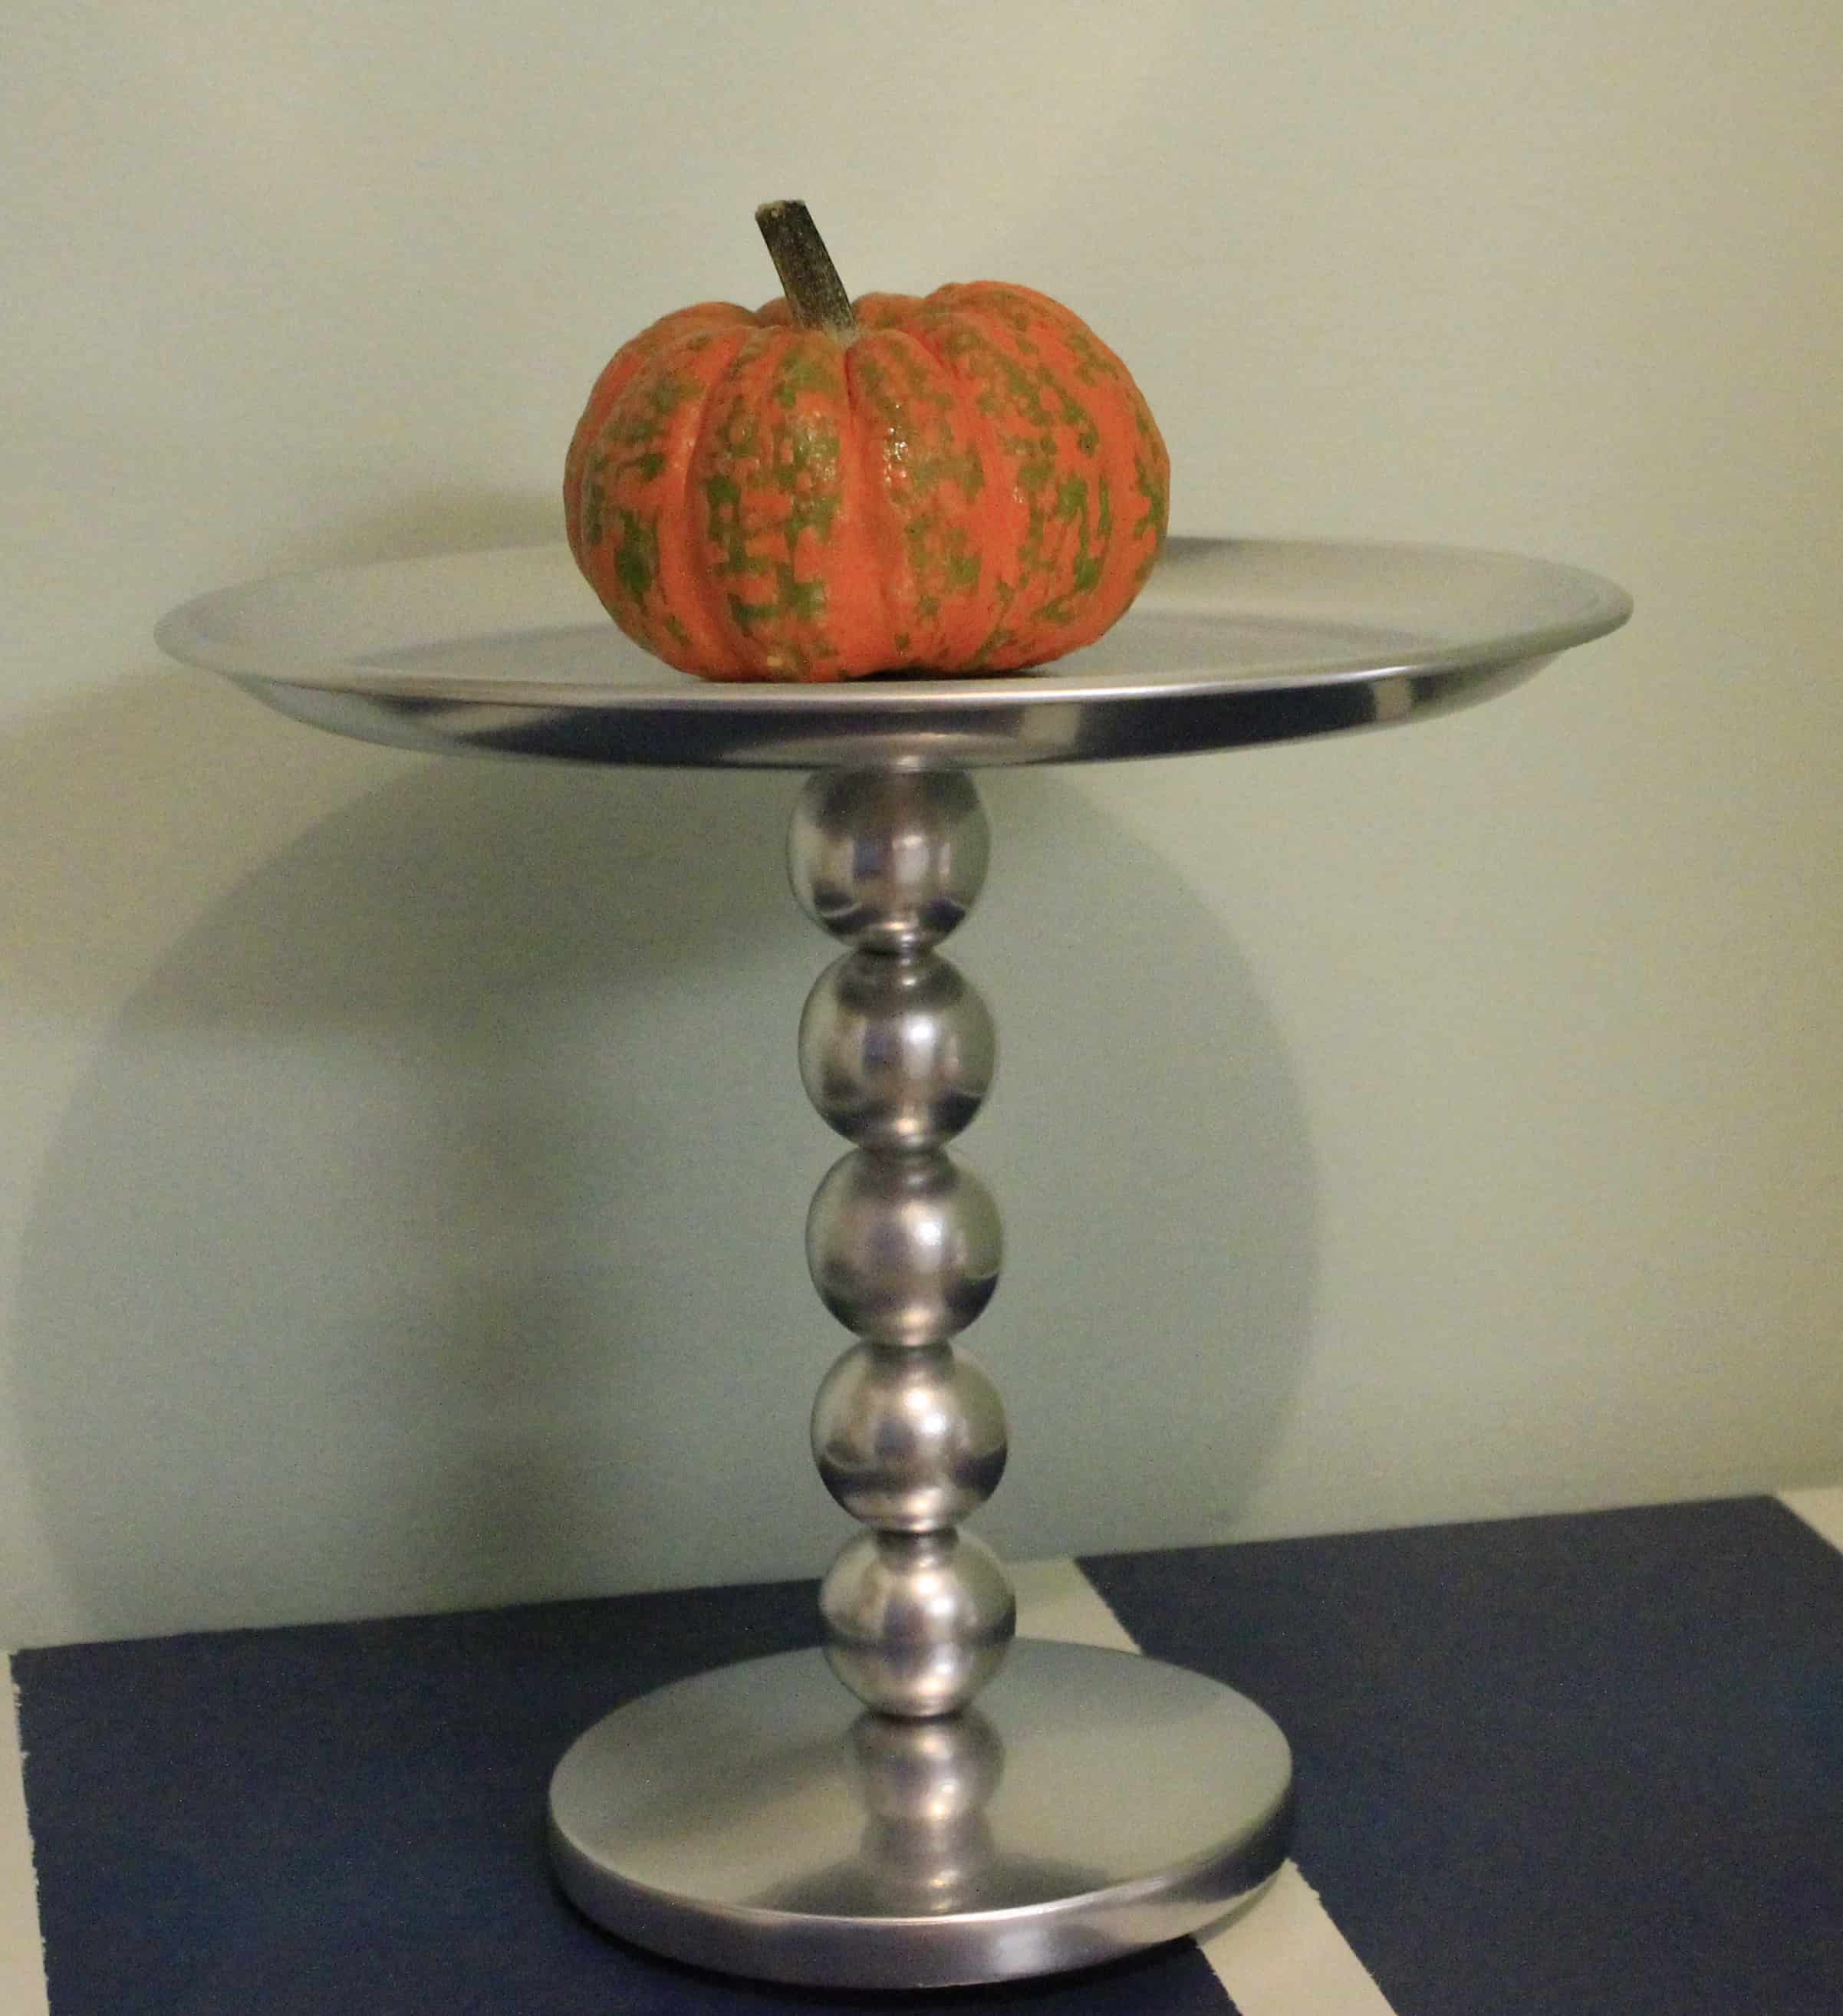
See – if I had planned in advance, I would have had cupcakes to display on here. So lazy, so last minute! 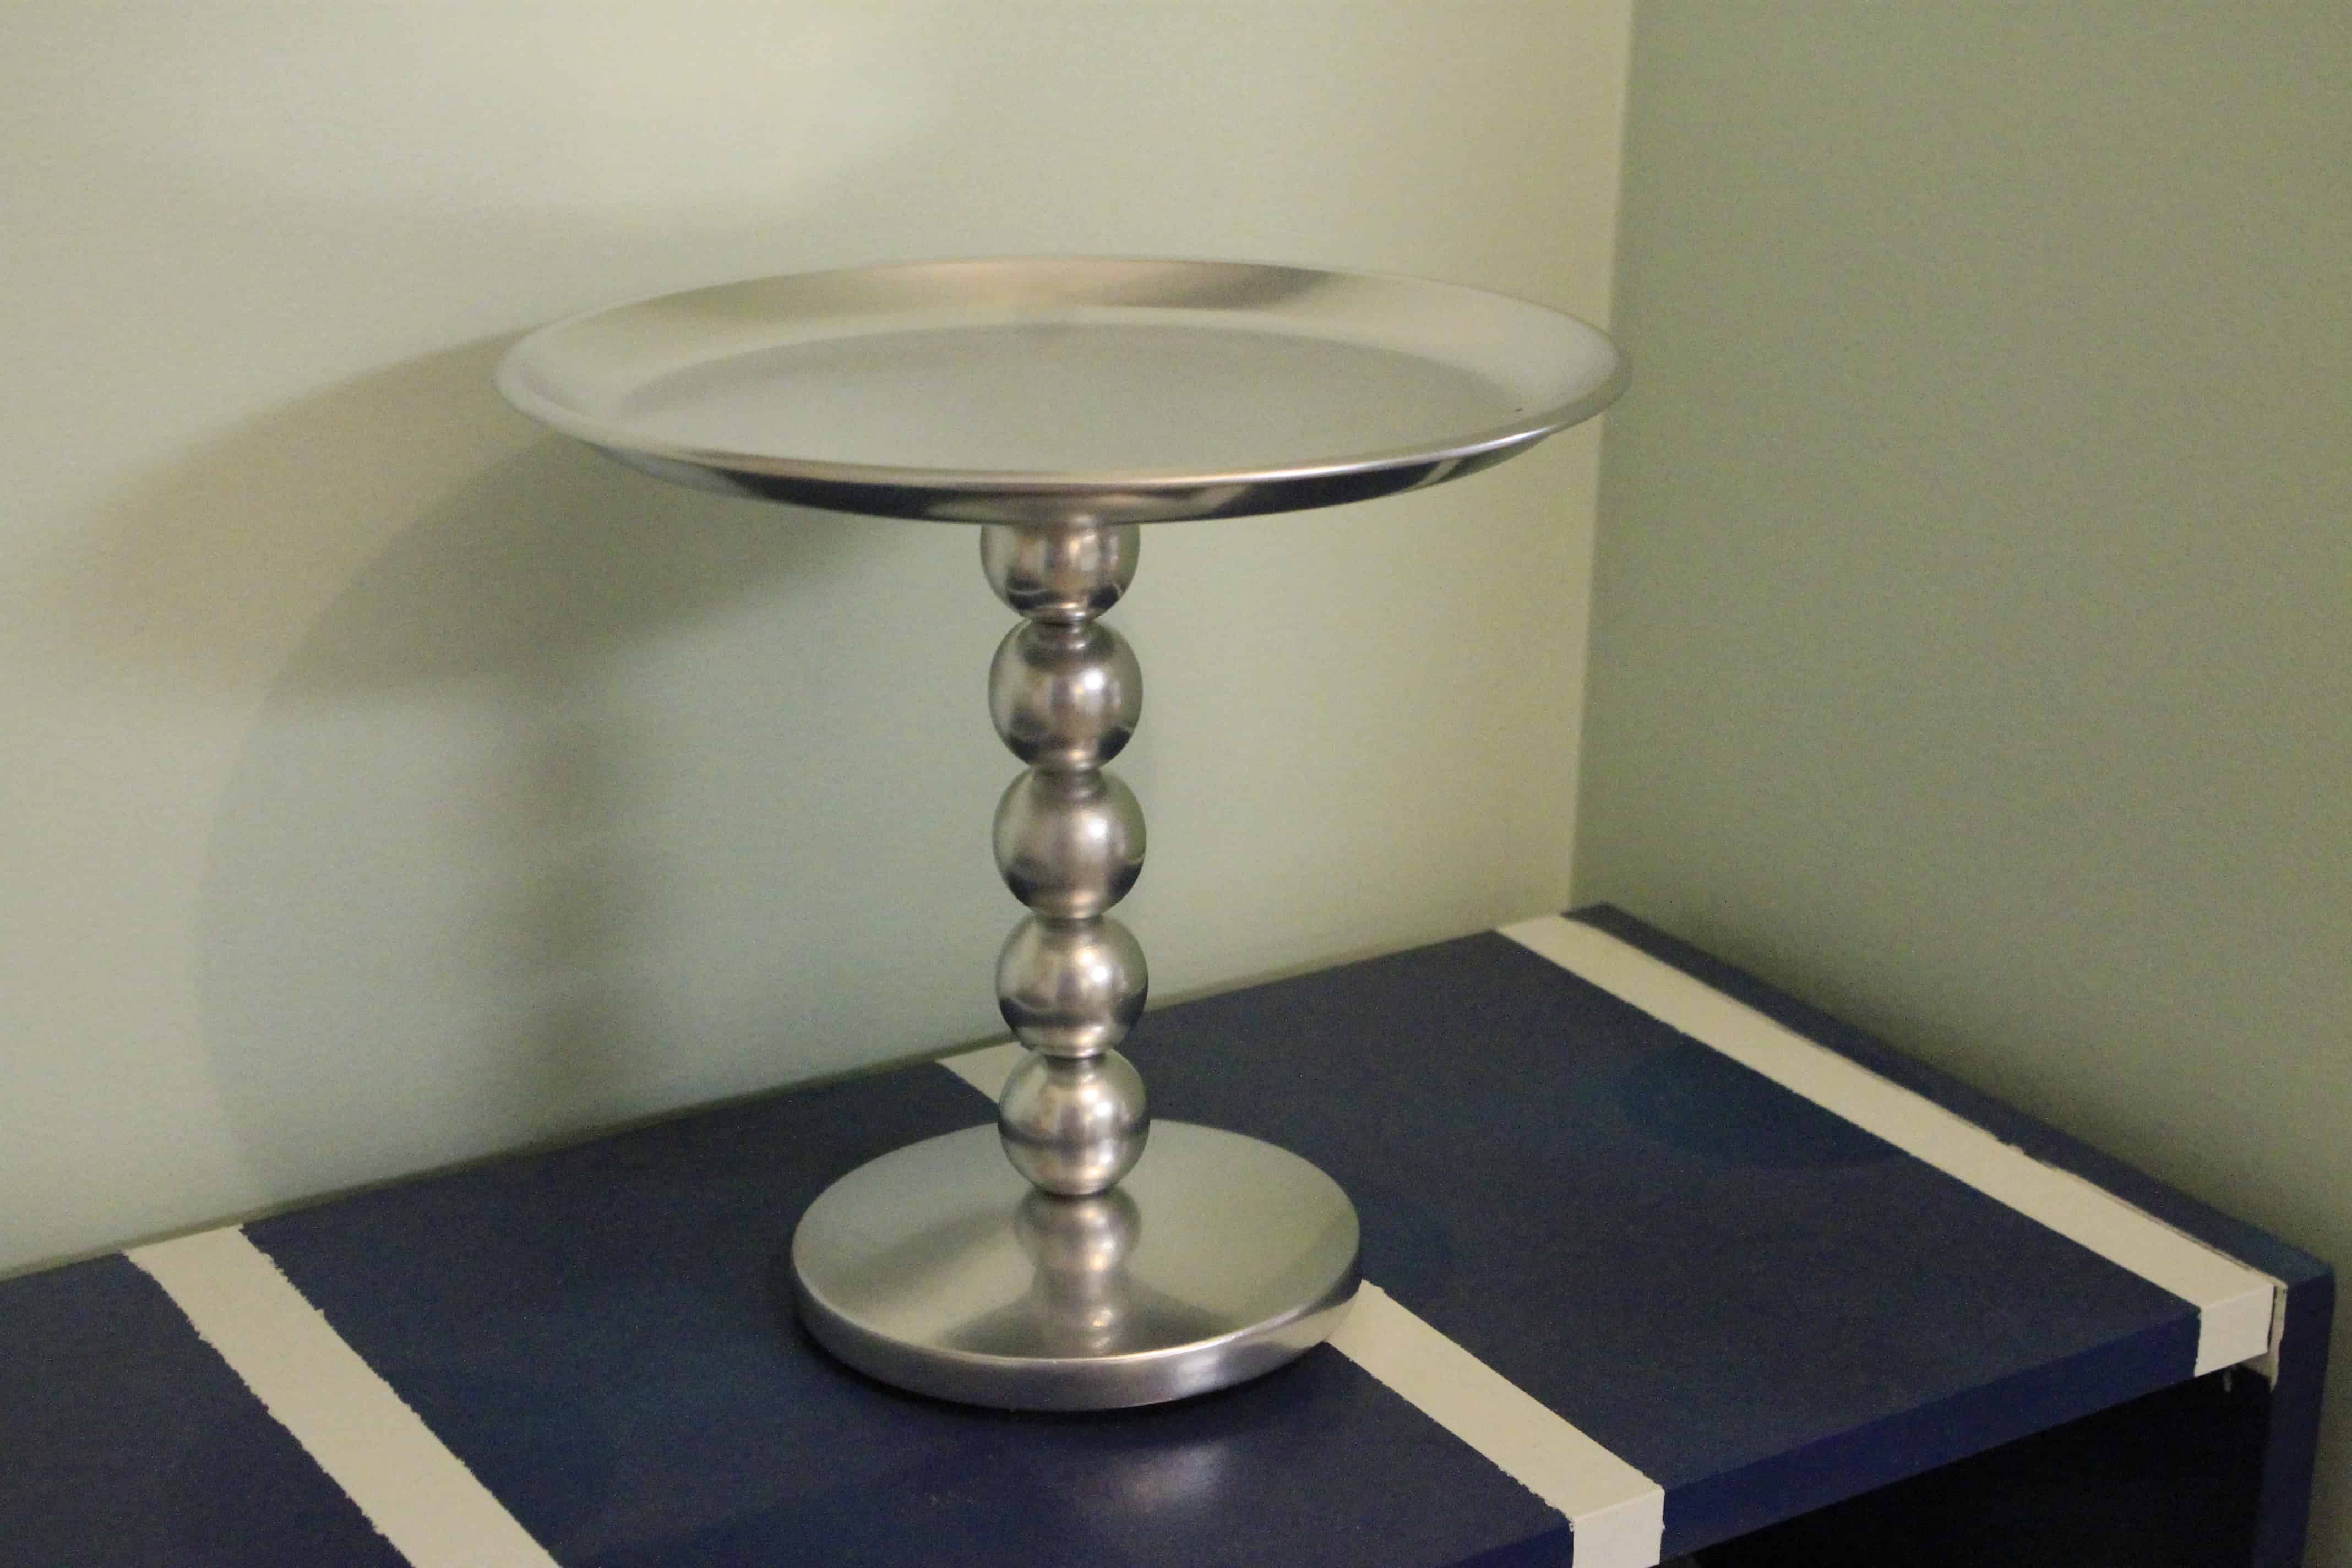
What would you have made with these items?!
  |
|||
| |
|
|
|


Hello, I’m Morgan, half of the creative force behind CharlestonCrafted.com! With a passion for DIY that dates back to 2012, I’ve transformed three homes and now I’m dedicated to helping others craft their dream spaces. Let’s turn your house into a home together!
TST #40 and DIY Wool Curtains with Grommets - For My Love Of
Thursday 6th of November 2014
[…] got such great personalities that shine through their posts. You really ought to check out their lamp turned cake stand adventure. They’ll be checking out your hashtagged finds, featuring their favorites on their blog, and […]
Corinna - For My Love Of
Tuesday 4th of November 2014
How creative! You did a great job pulling it together with your own two hands!
CharlestonCrafted
Tuesday 4th of November 2014
Thanks! It was fun to repurpose!