
I am all for holiday décor, but I don’t have a lot of space to display or store knick knacks or extra decor. Therefore, it is much more practical for me to decorate for Christmas in areas that I keep decorated all year long, just in a more wintery, Christmasy way.
Check out my other no sew projects:
No sew envelope style pillow covers
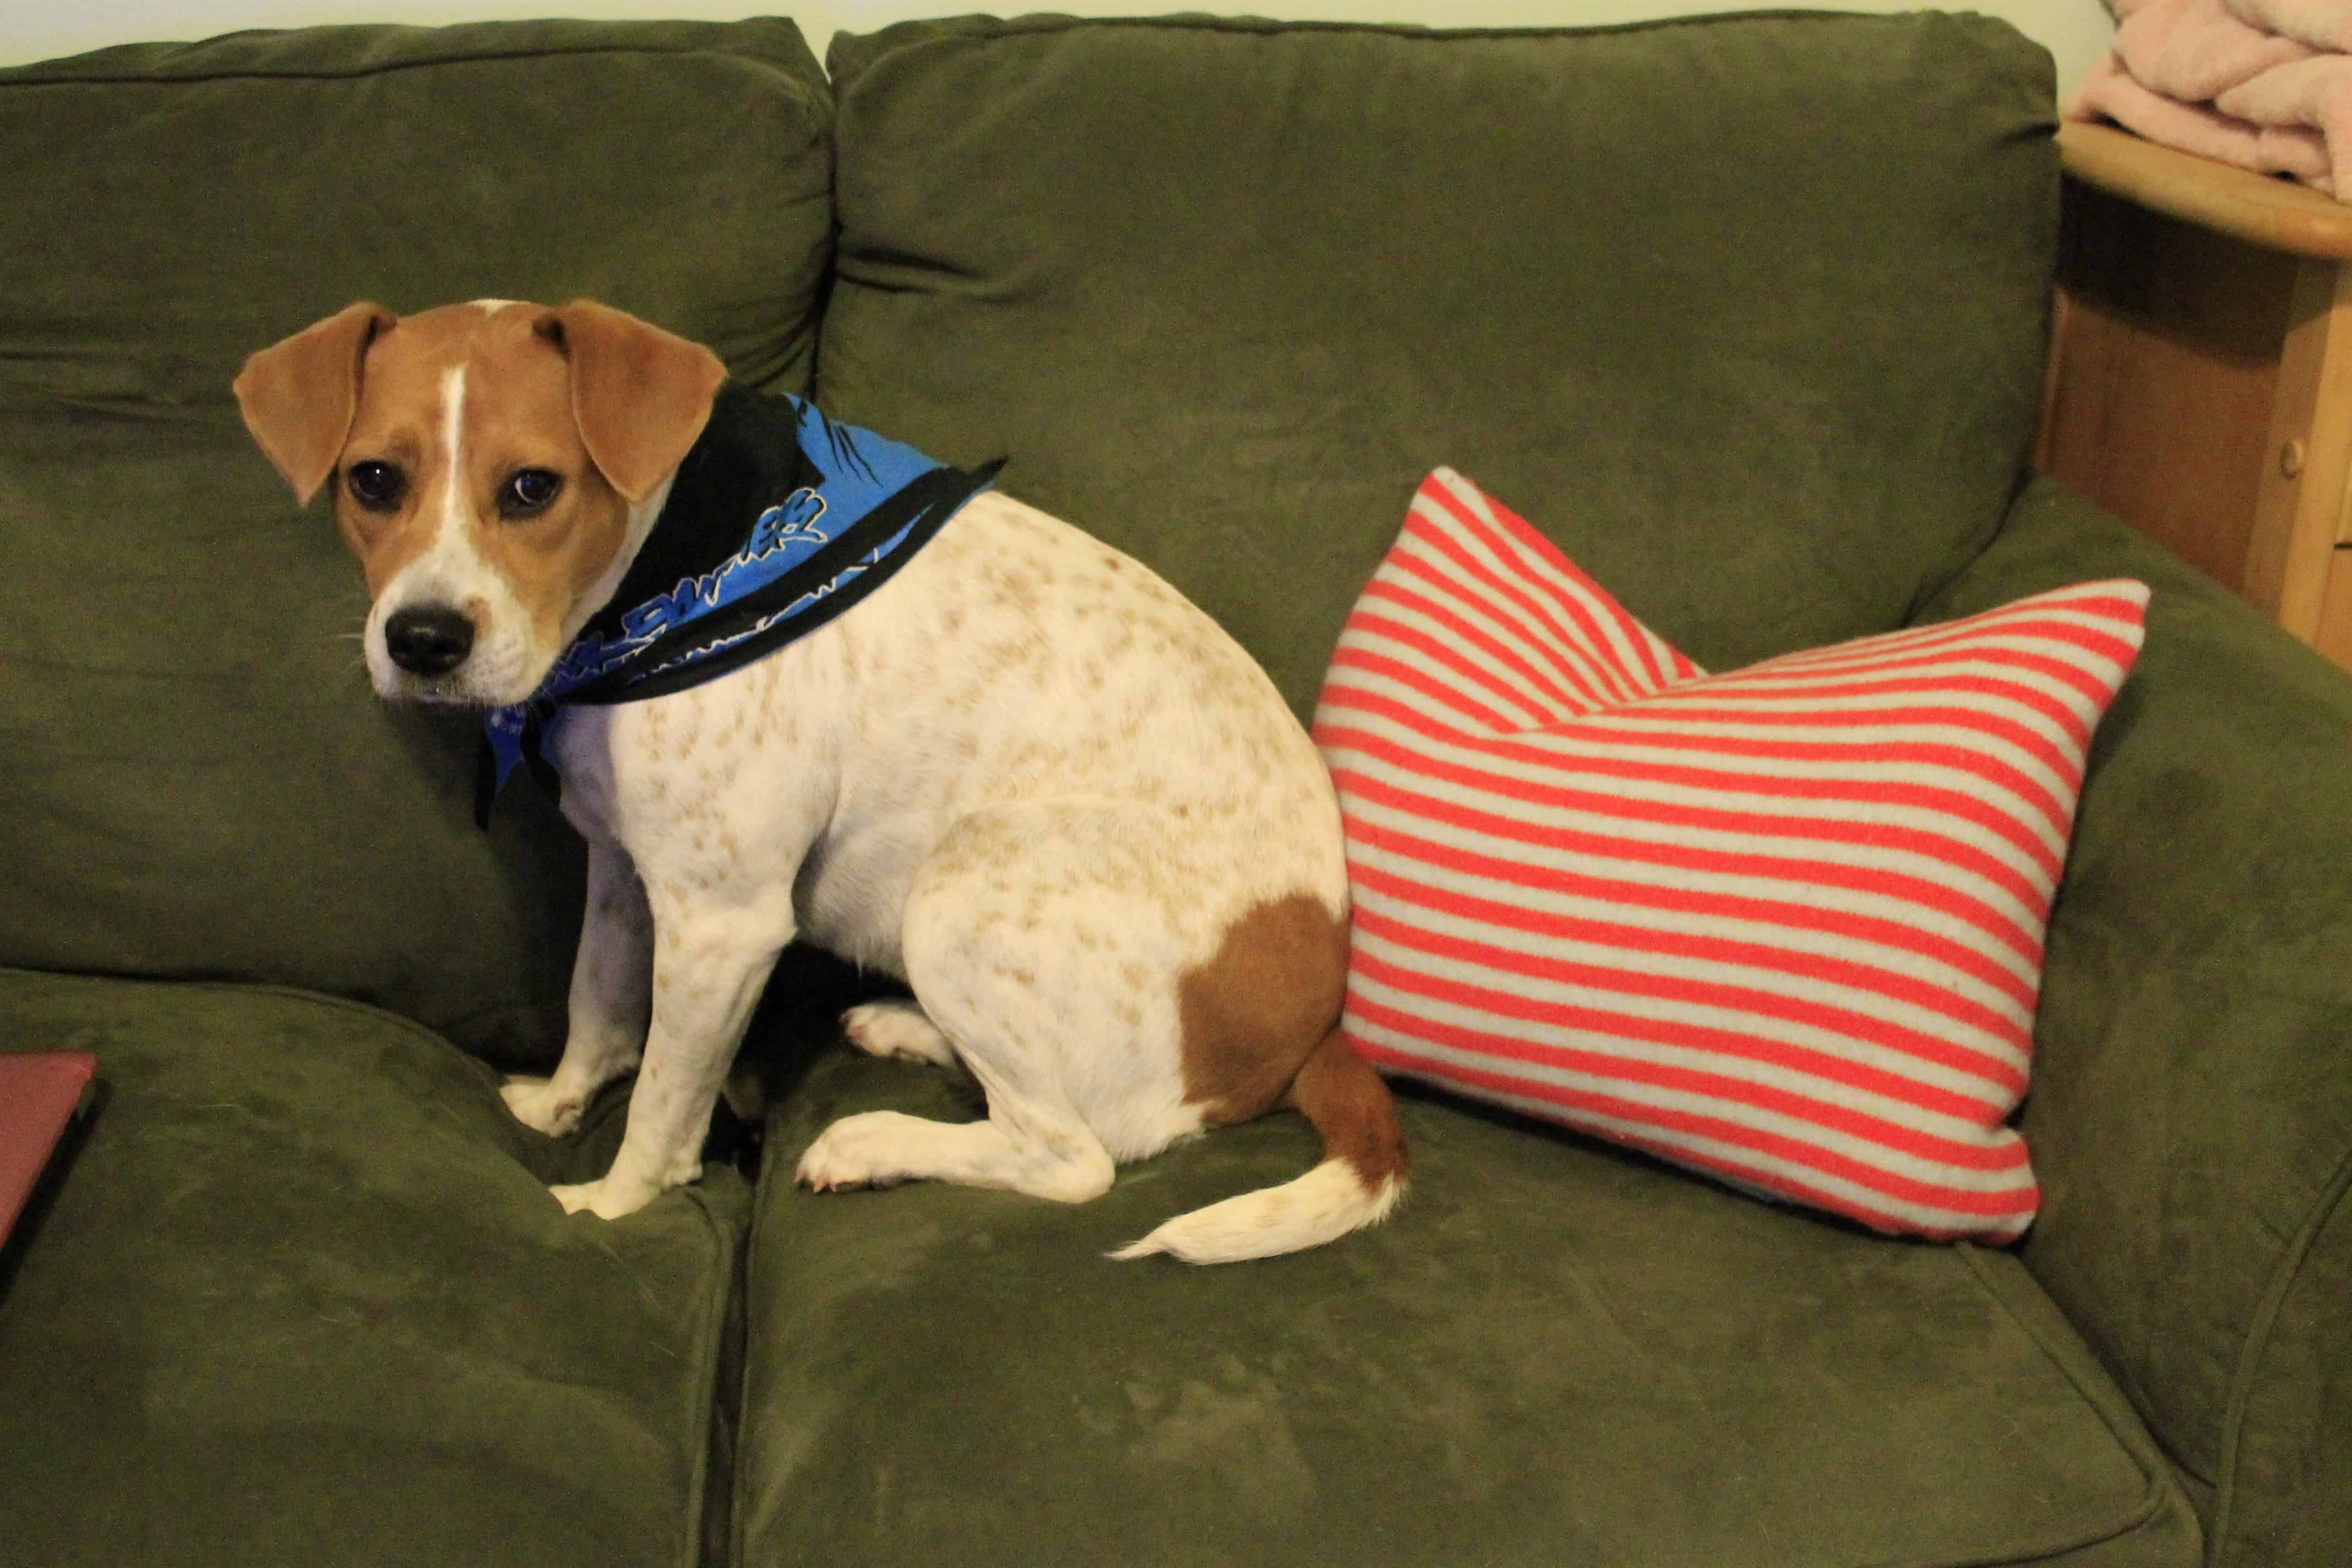
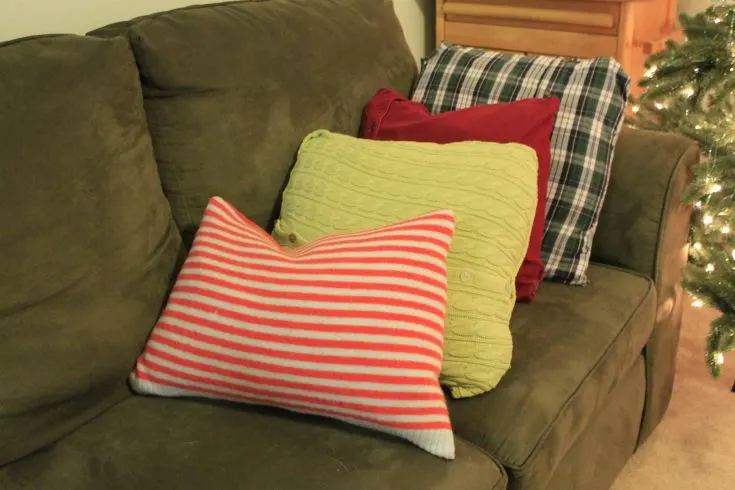
So, I decided to cover the throw pillows that we use on our couch and make them feel more wintery.
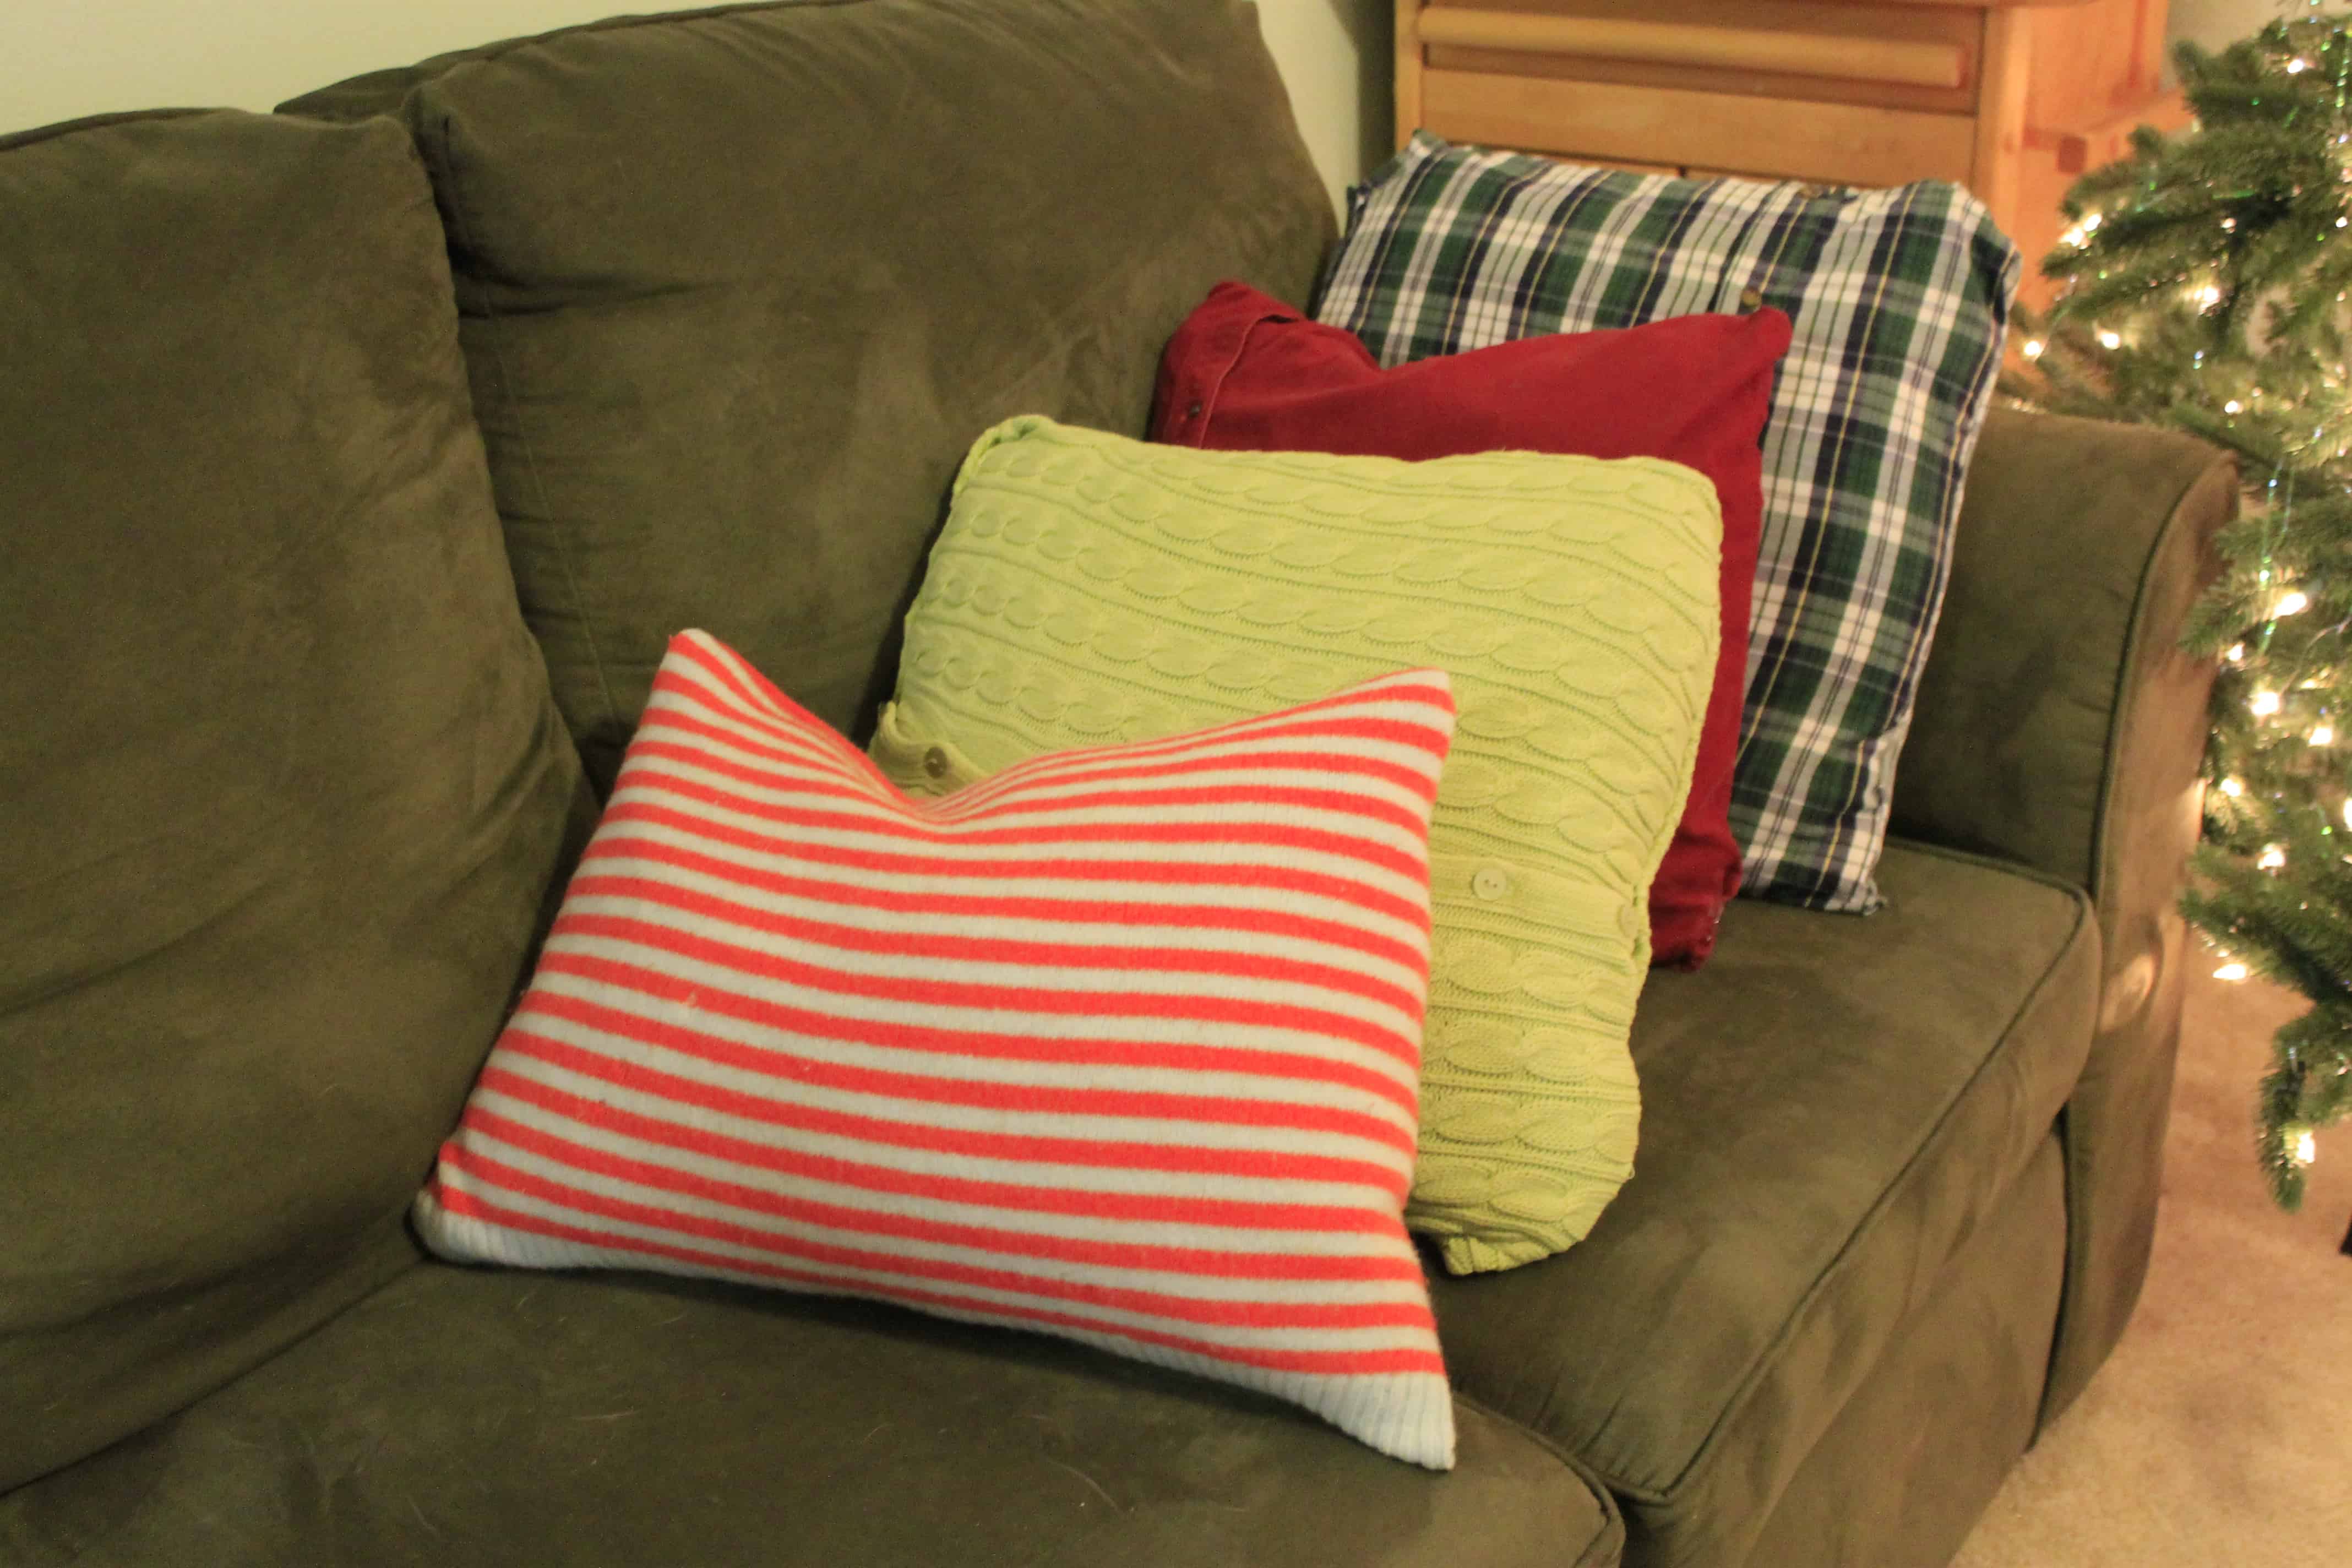
Easy No Sew Sweater Christmas Pillow Covers
Where to get sweaters to turn into pillows
I went to Goodwill and picked up a variety of sweaters and Christmas colored shirts. I really like the plaid, personally.
What sweaters to pick to make into pillows
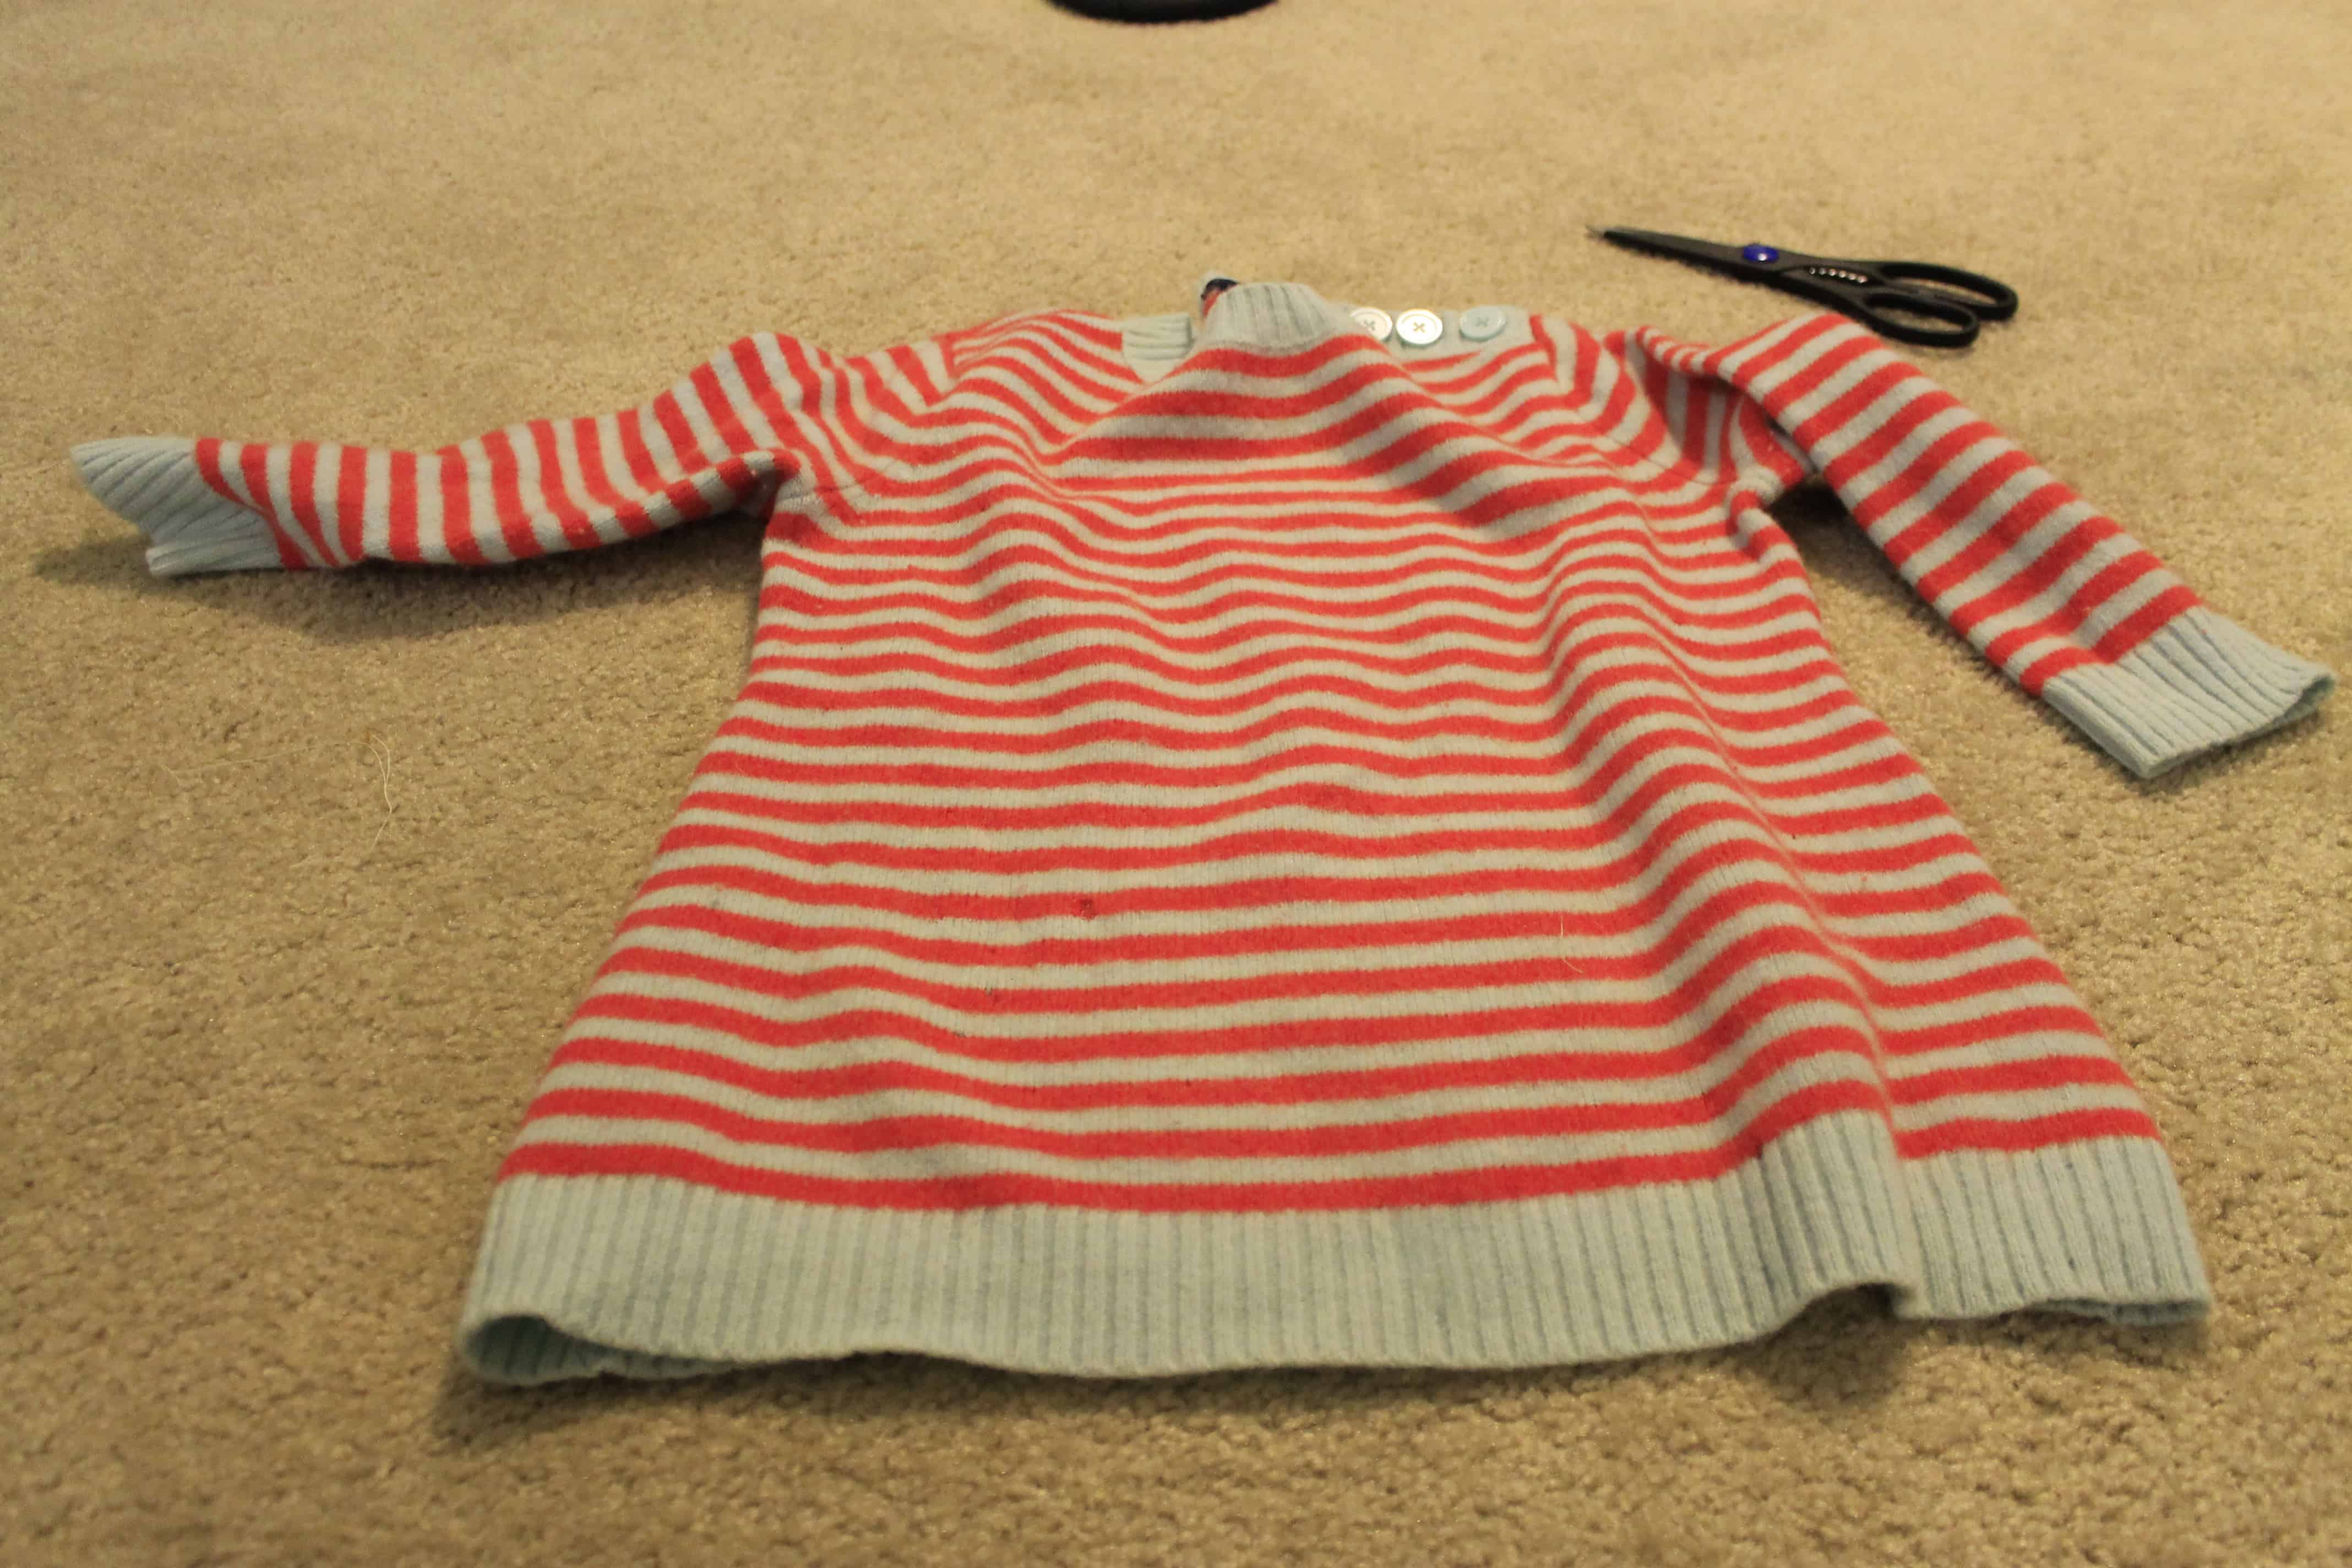
As far as picking shirts, I recommend something with some stretch to it. Also, it is much easier to do this project if the length from the bottom of the armpit to the end of the shirt is as tall as your pillow. Otherwise, you will have to worry about closing off the armpits. The torso of the shirt gives you a nice natural “tube” of fabric.
You also want to make sure that the pillow fits nicely widthwise in your shirt’s tube. I found a ladies large or mens small to be best. Any bigger and you will have to do a third seam (which is easy just another step). Also, avoid V-necks. They often lead to not-enough-fabric syndrome.
How to make a sweater into a pillow
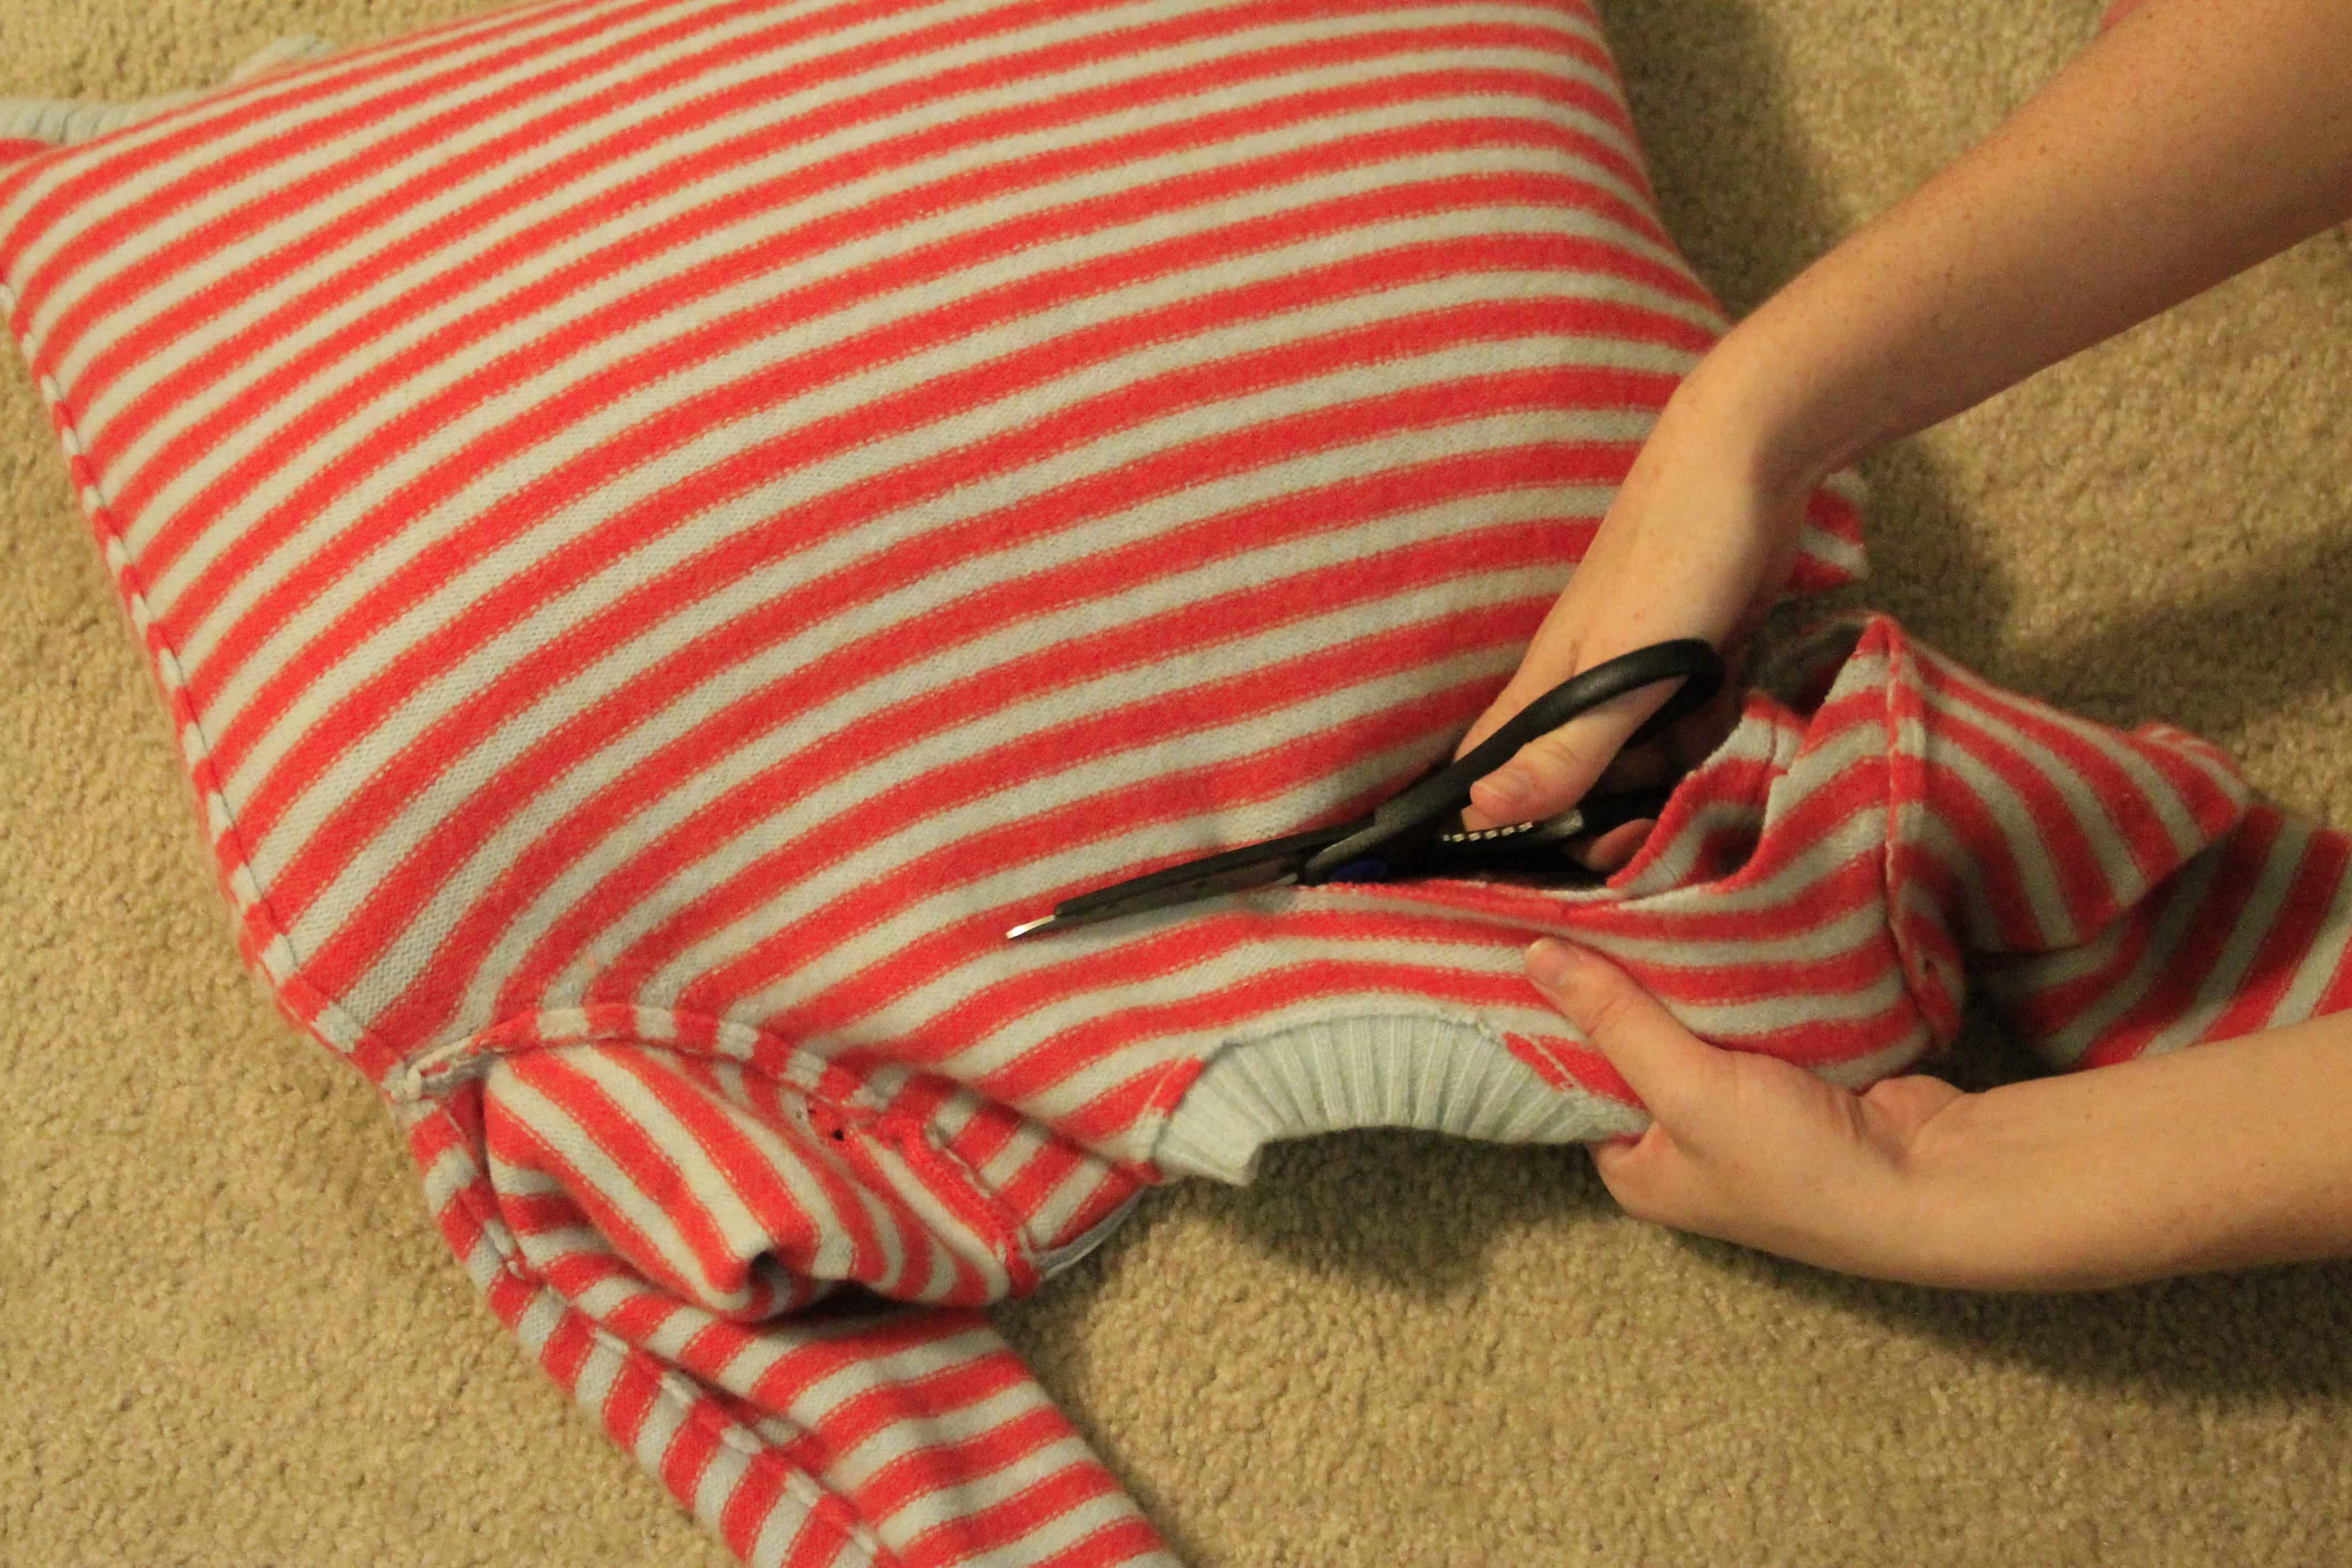
Turn the sweater inside out. Insert your pillow into the shirt. Cut off excess fabric at the top.
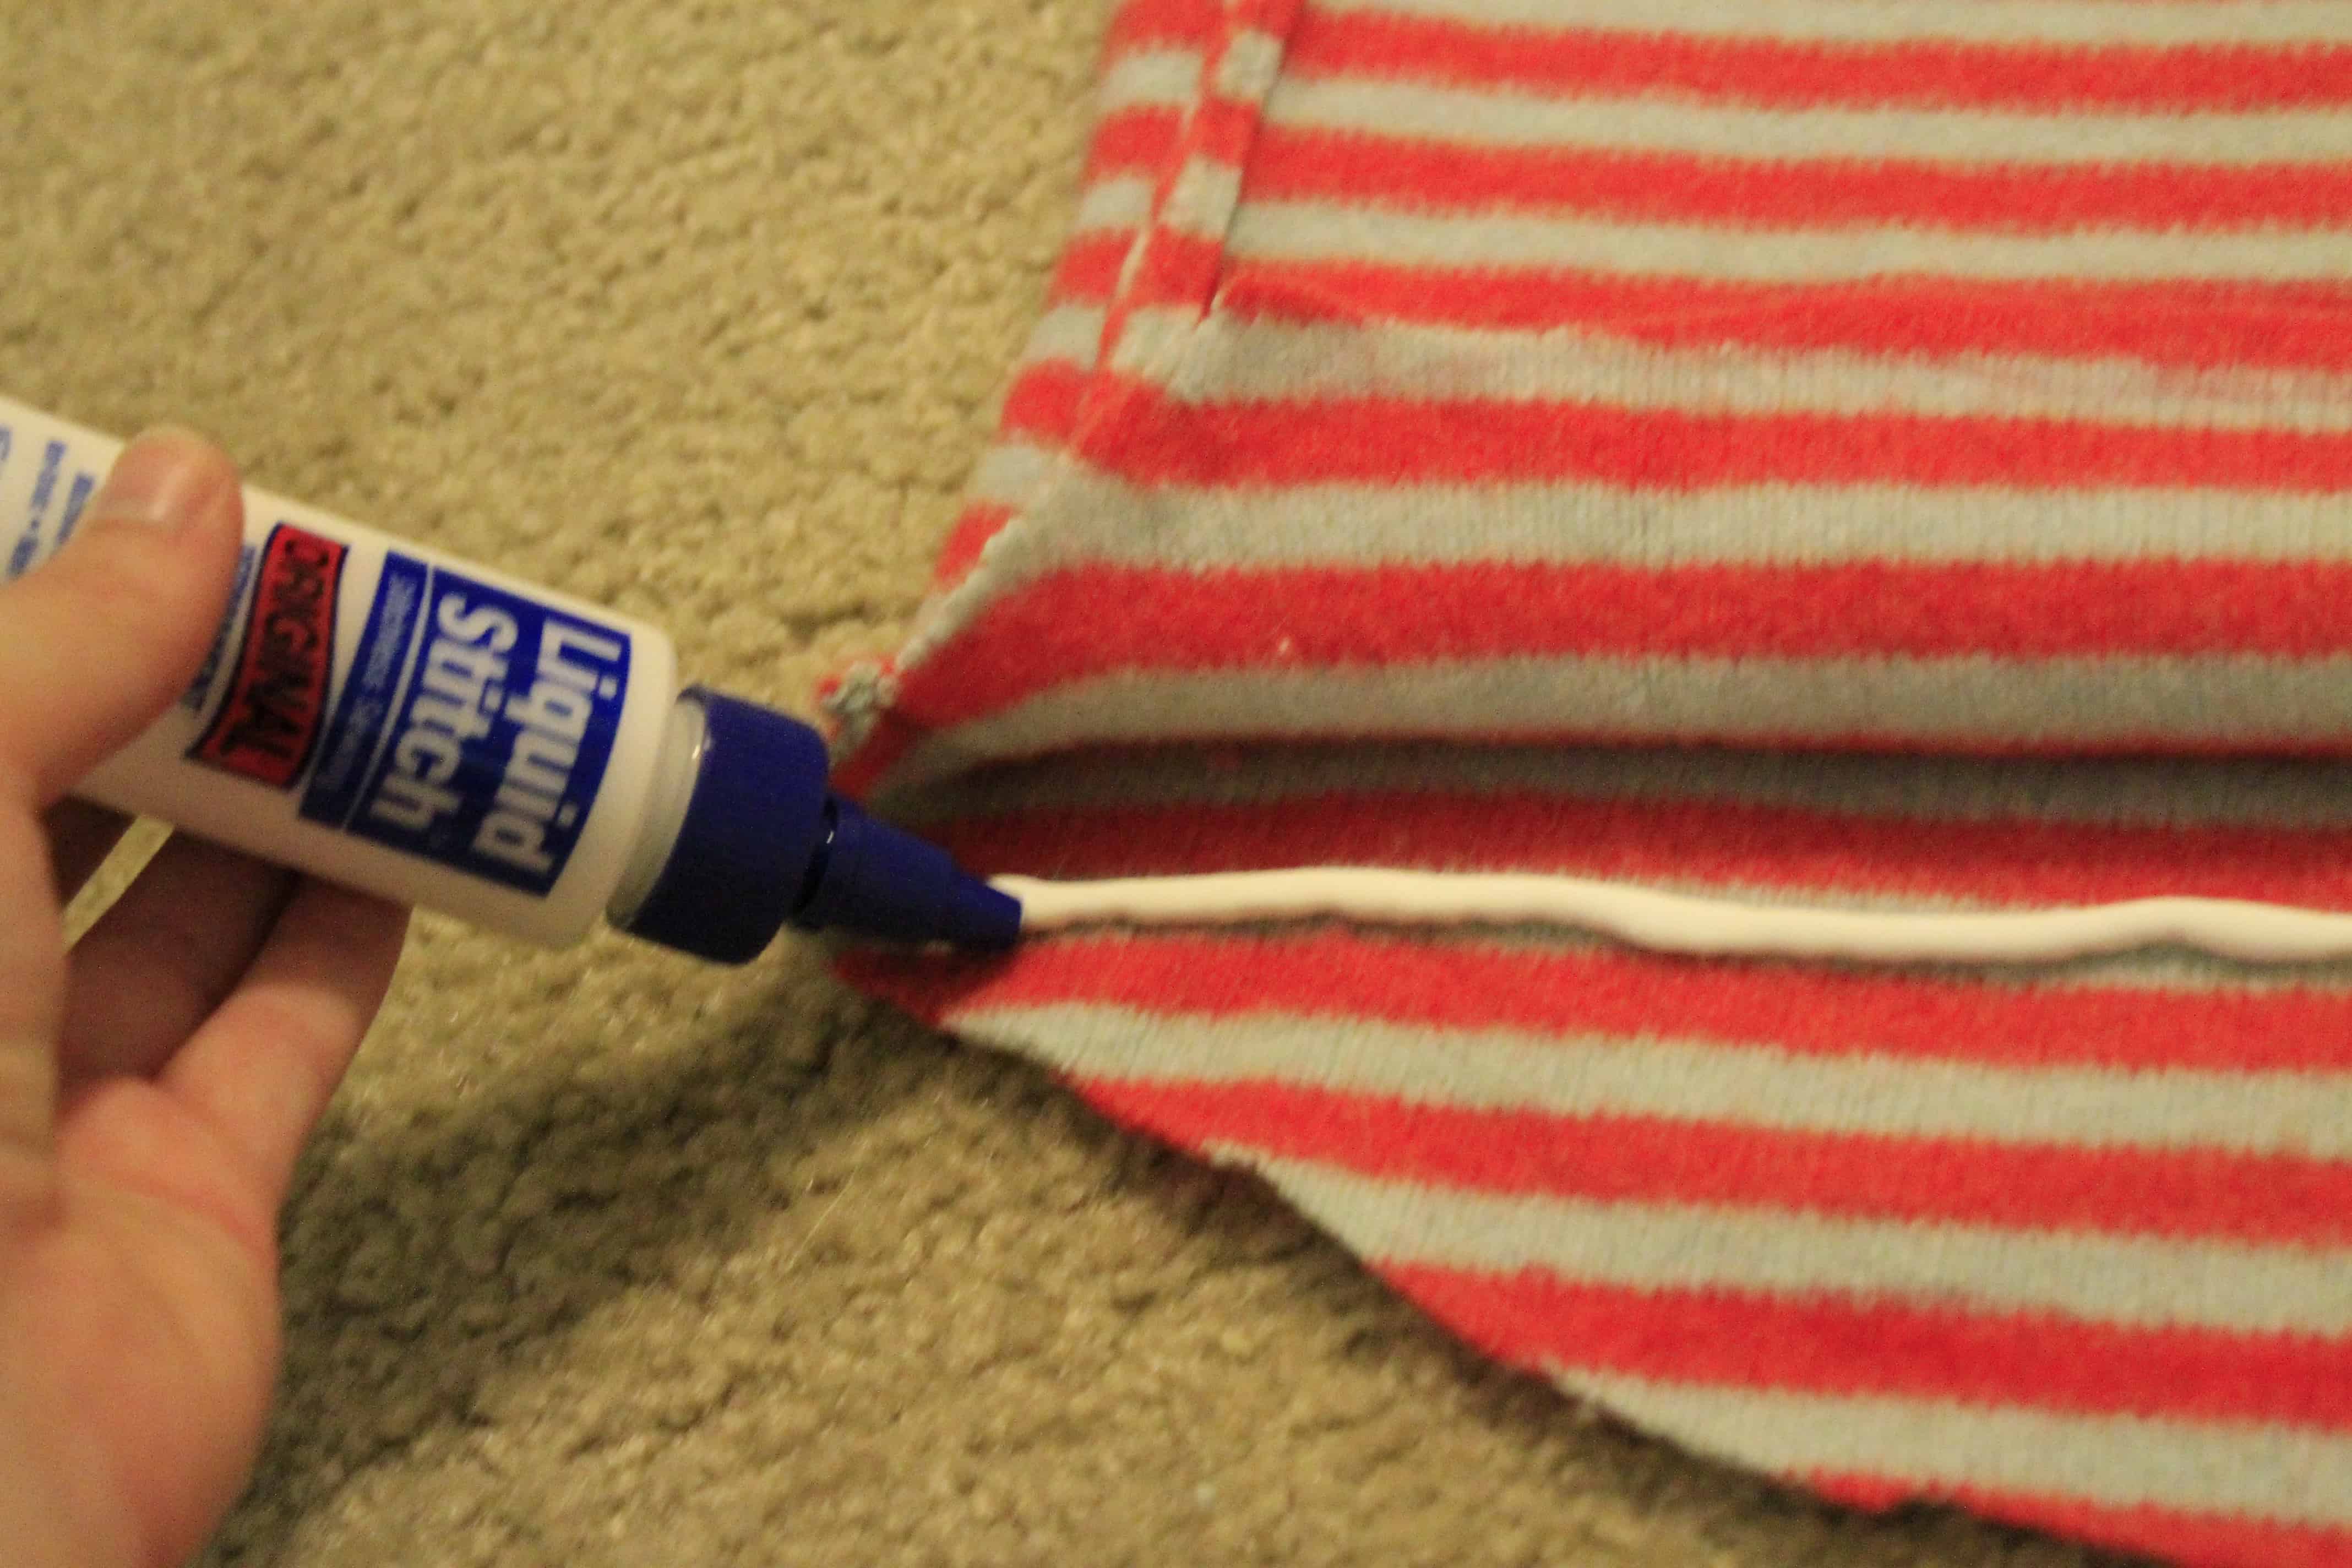
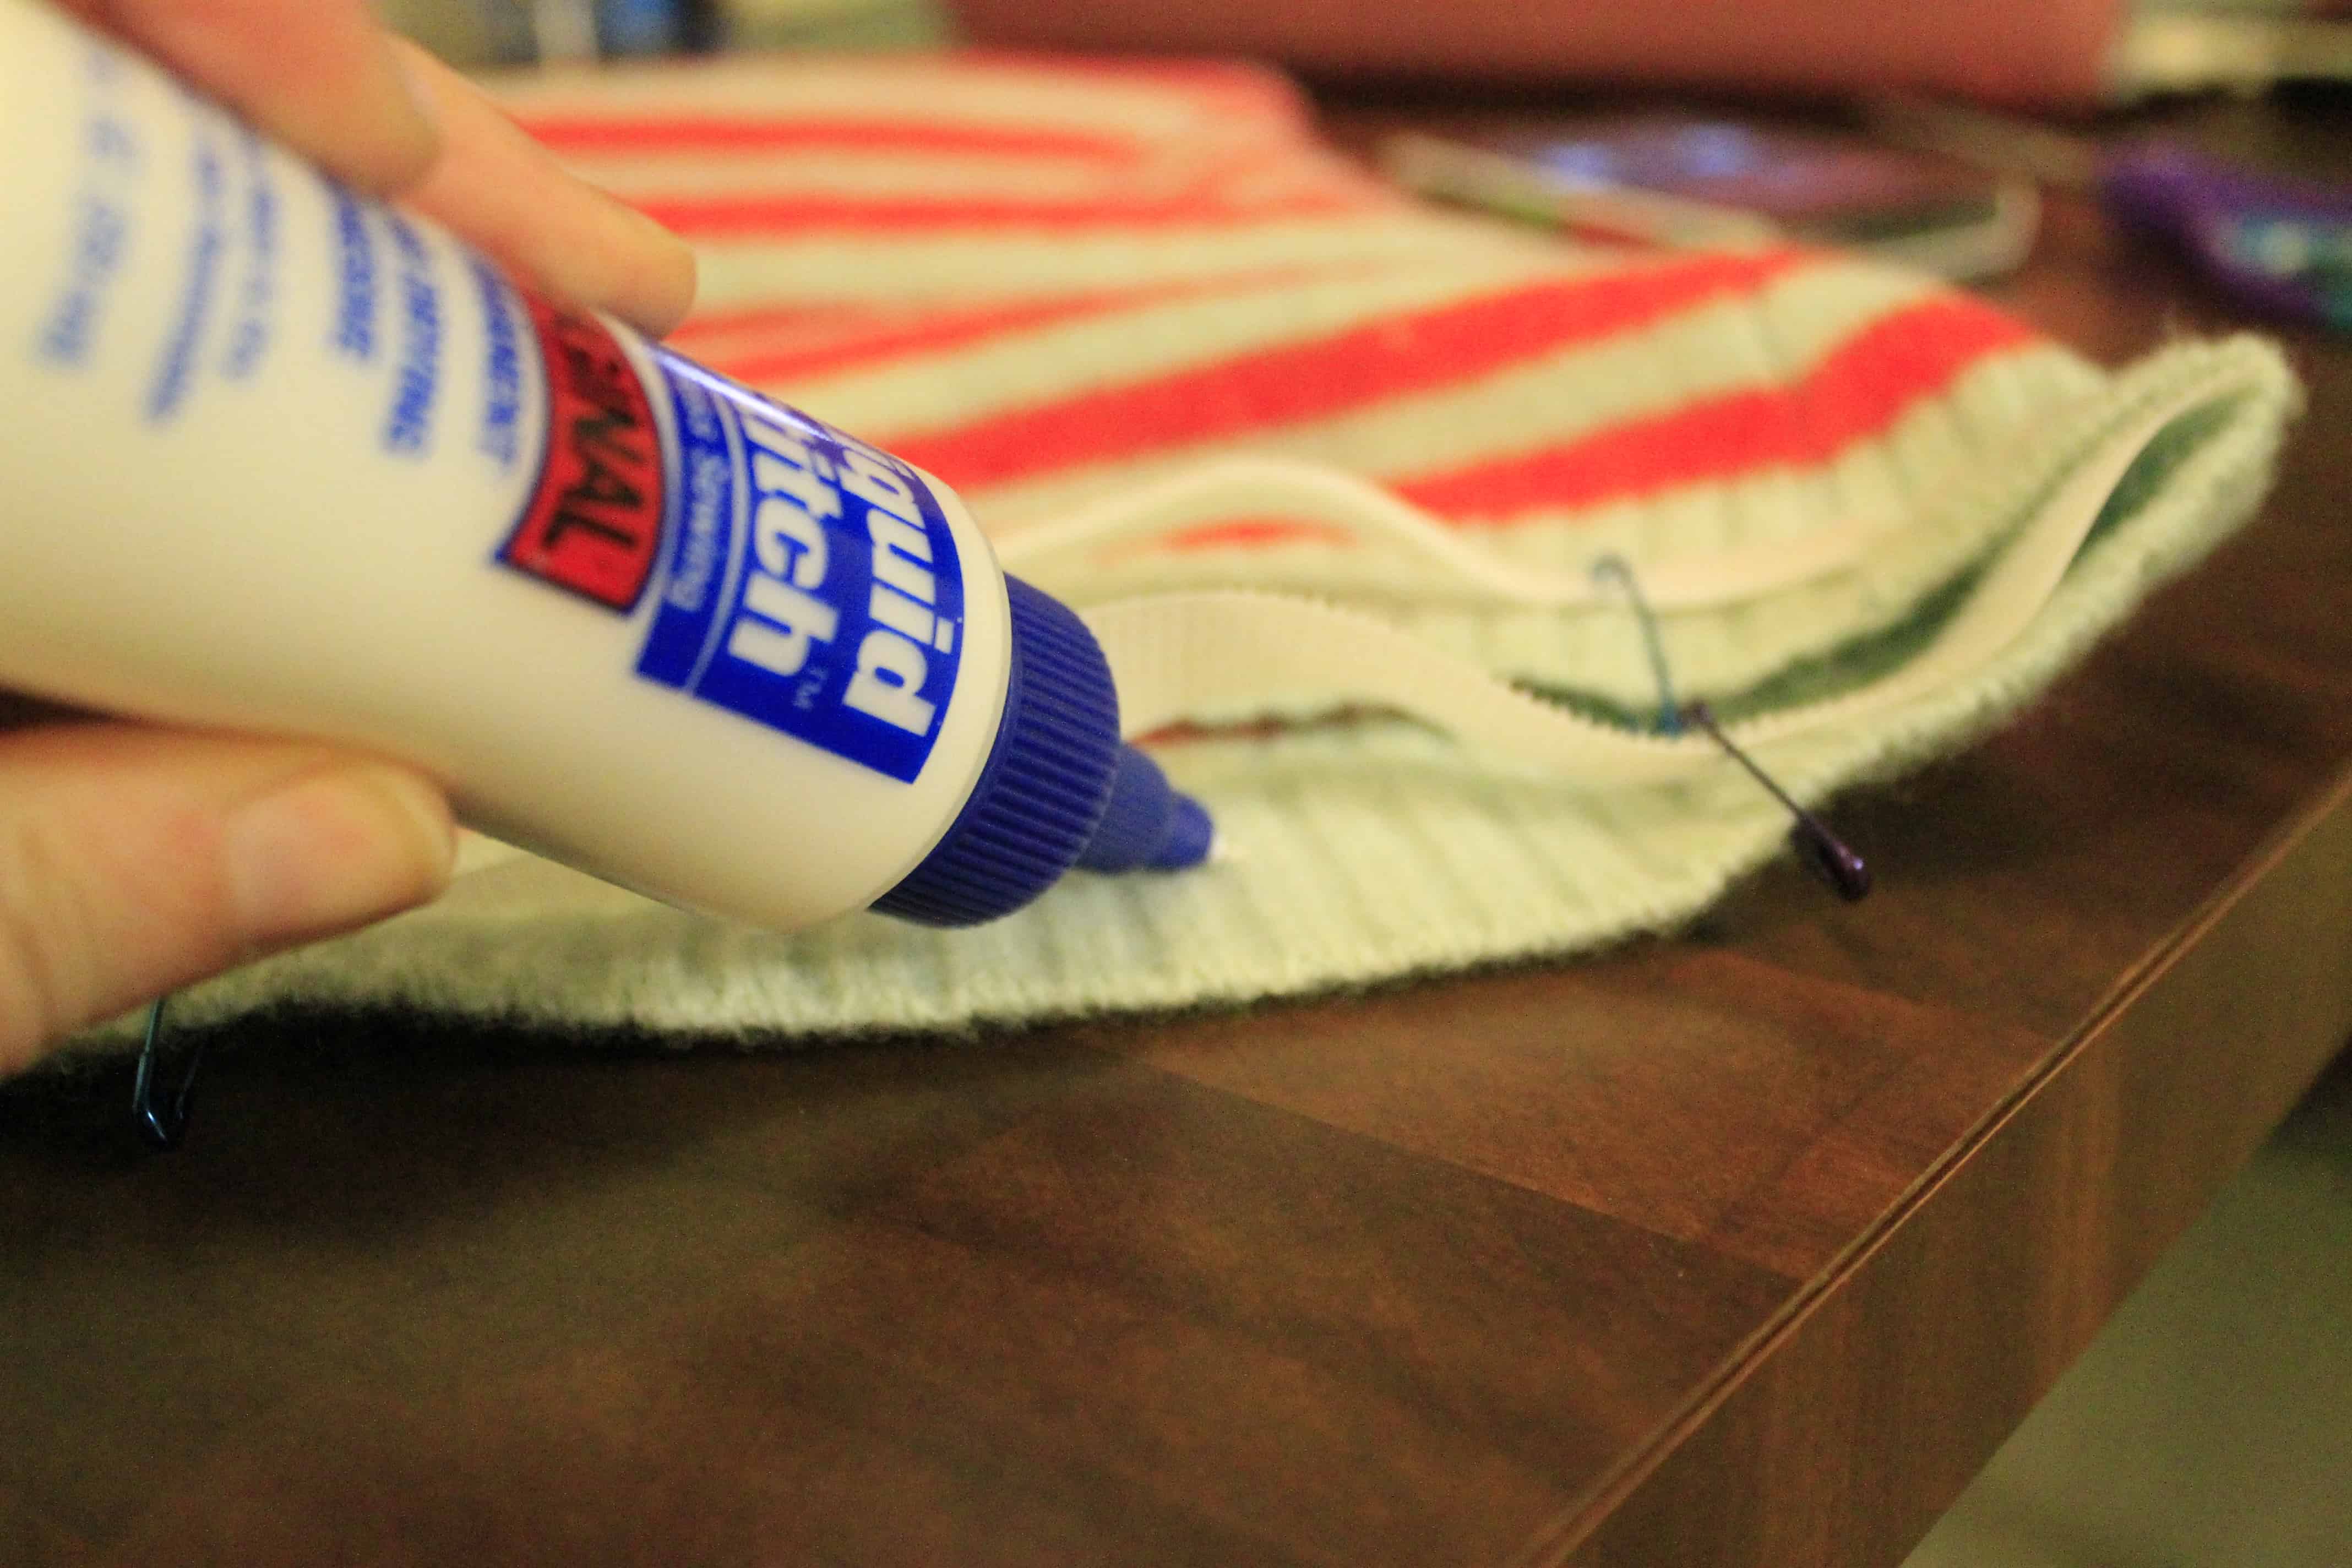
Use fabric glue to glue the top seam closed. You can use books or paper clips to hold this together as it dries.
Read your glue’s directions – Mine suggests 24 hours of dry time.
Since the pillow will be straining at the case (you want it to be tight) I find it best to adhere to the instructions on your glue.
Then, measure for the bottom seam of your pillow here. This is where the project forks in 2 directions:
If your shirt has buttons:
Proceed exactly as you did on the top. Trim the excess, glue the seam, and clip it closed to dry.
Once it is dry, unbutton the buttons (carefully, inside out), flip the pillow case right side out, and re-case the pillow.
If your shirt does not have buttons (and you want a removable case):
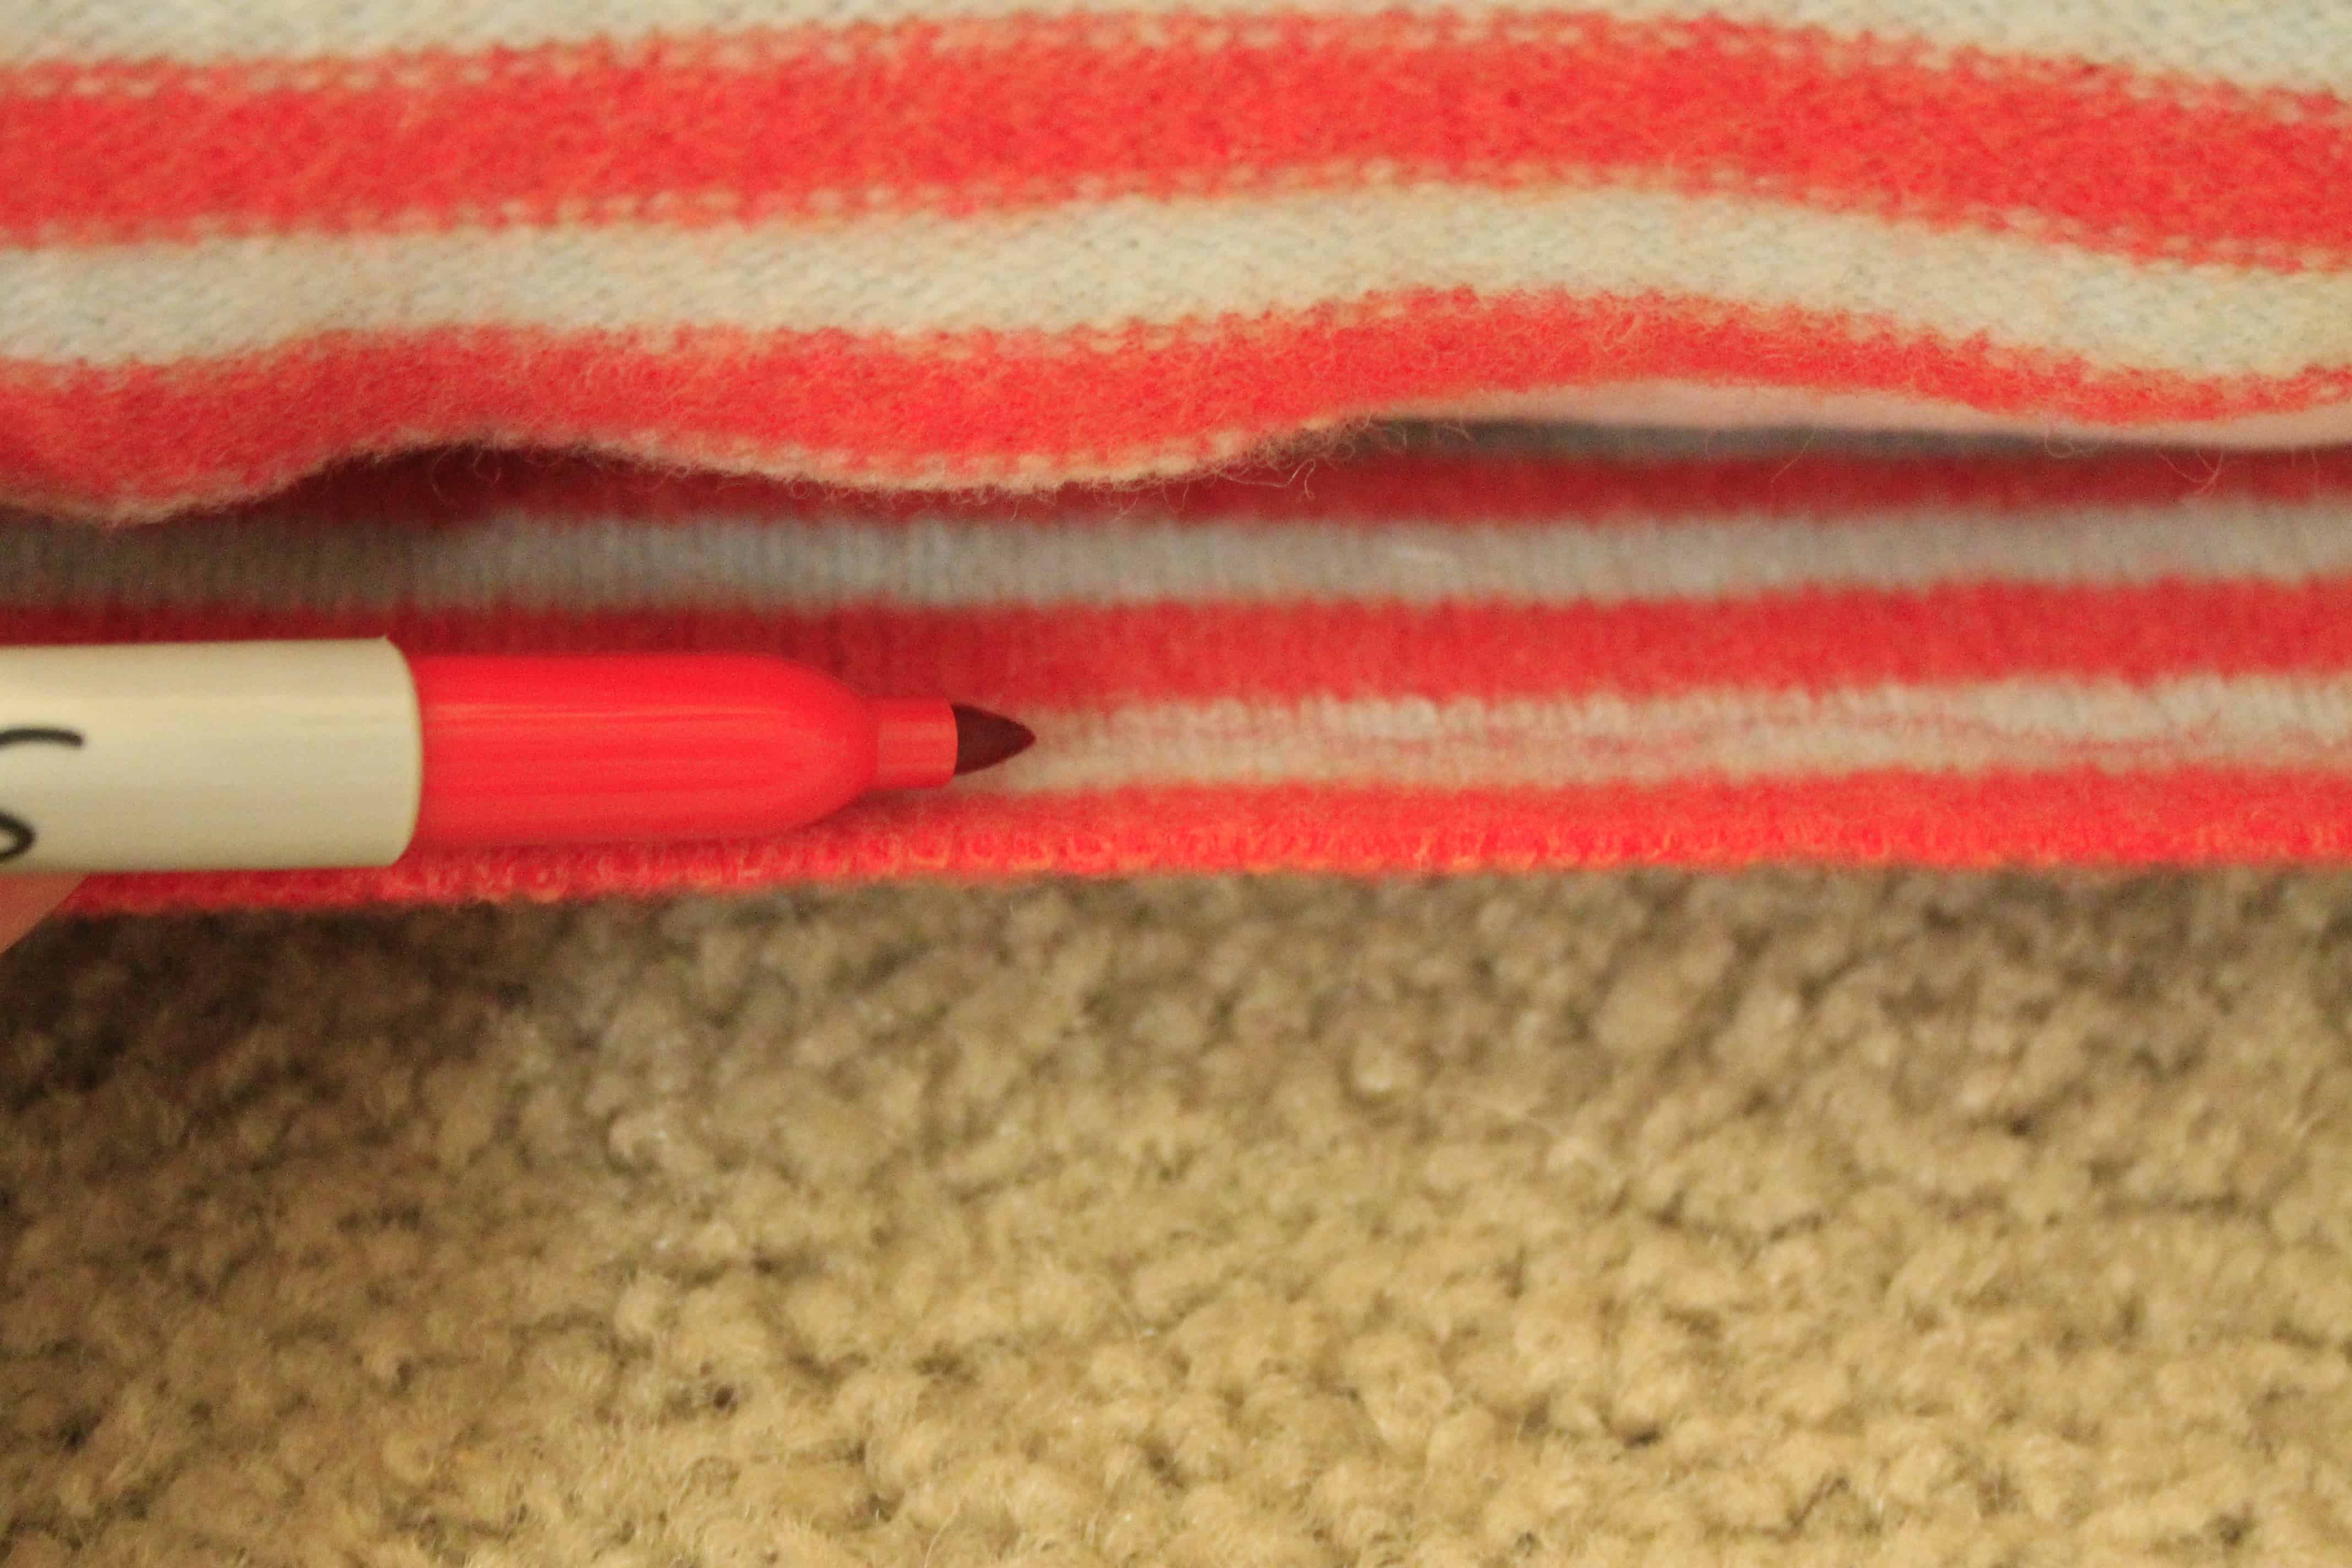
Measure where you want to attach the bottom hem on the pillow case. Mark it with a pen or marker.
Remove the pillow.
Attach Velcro (get the sticky kind or use more glue) where you drew the lines. Allow to dry according to directions, I suggest putting something heavy on top to ensure a solid connection.
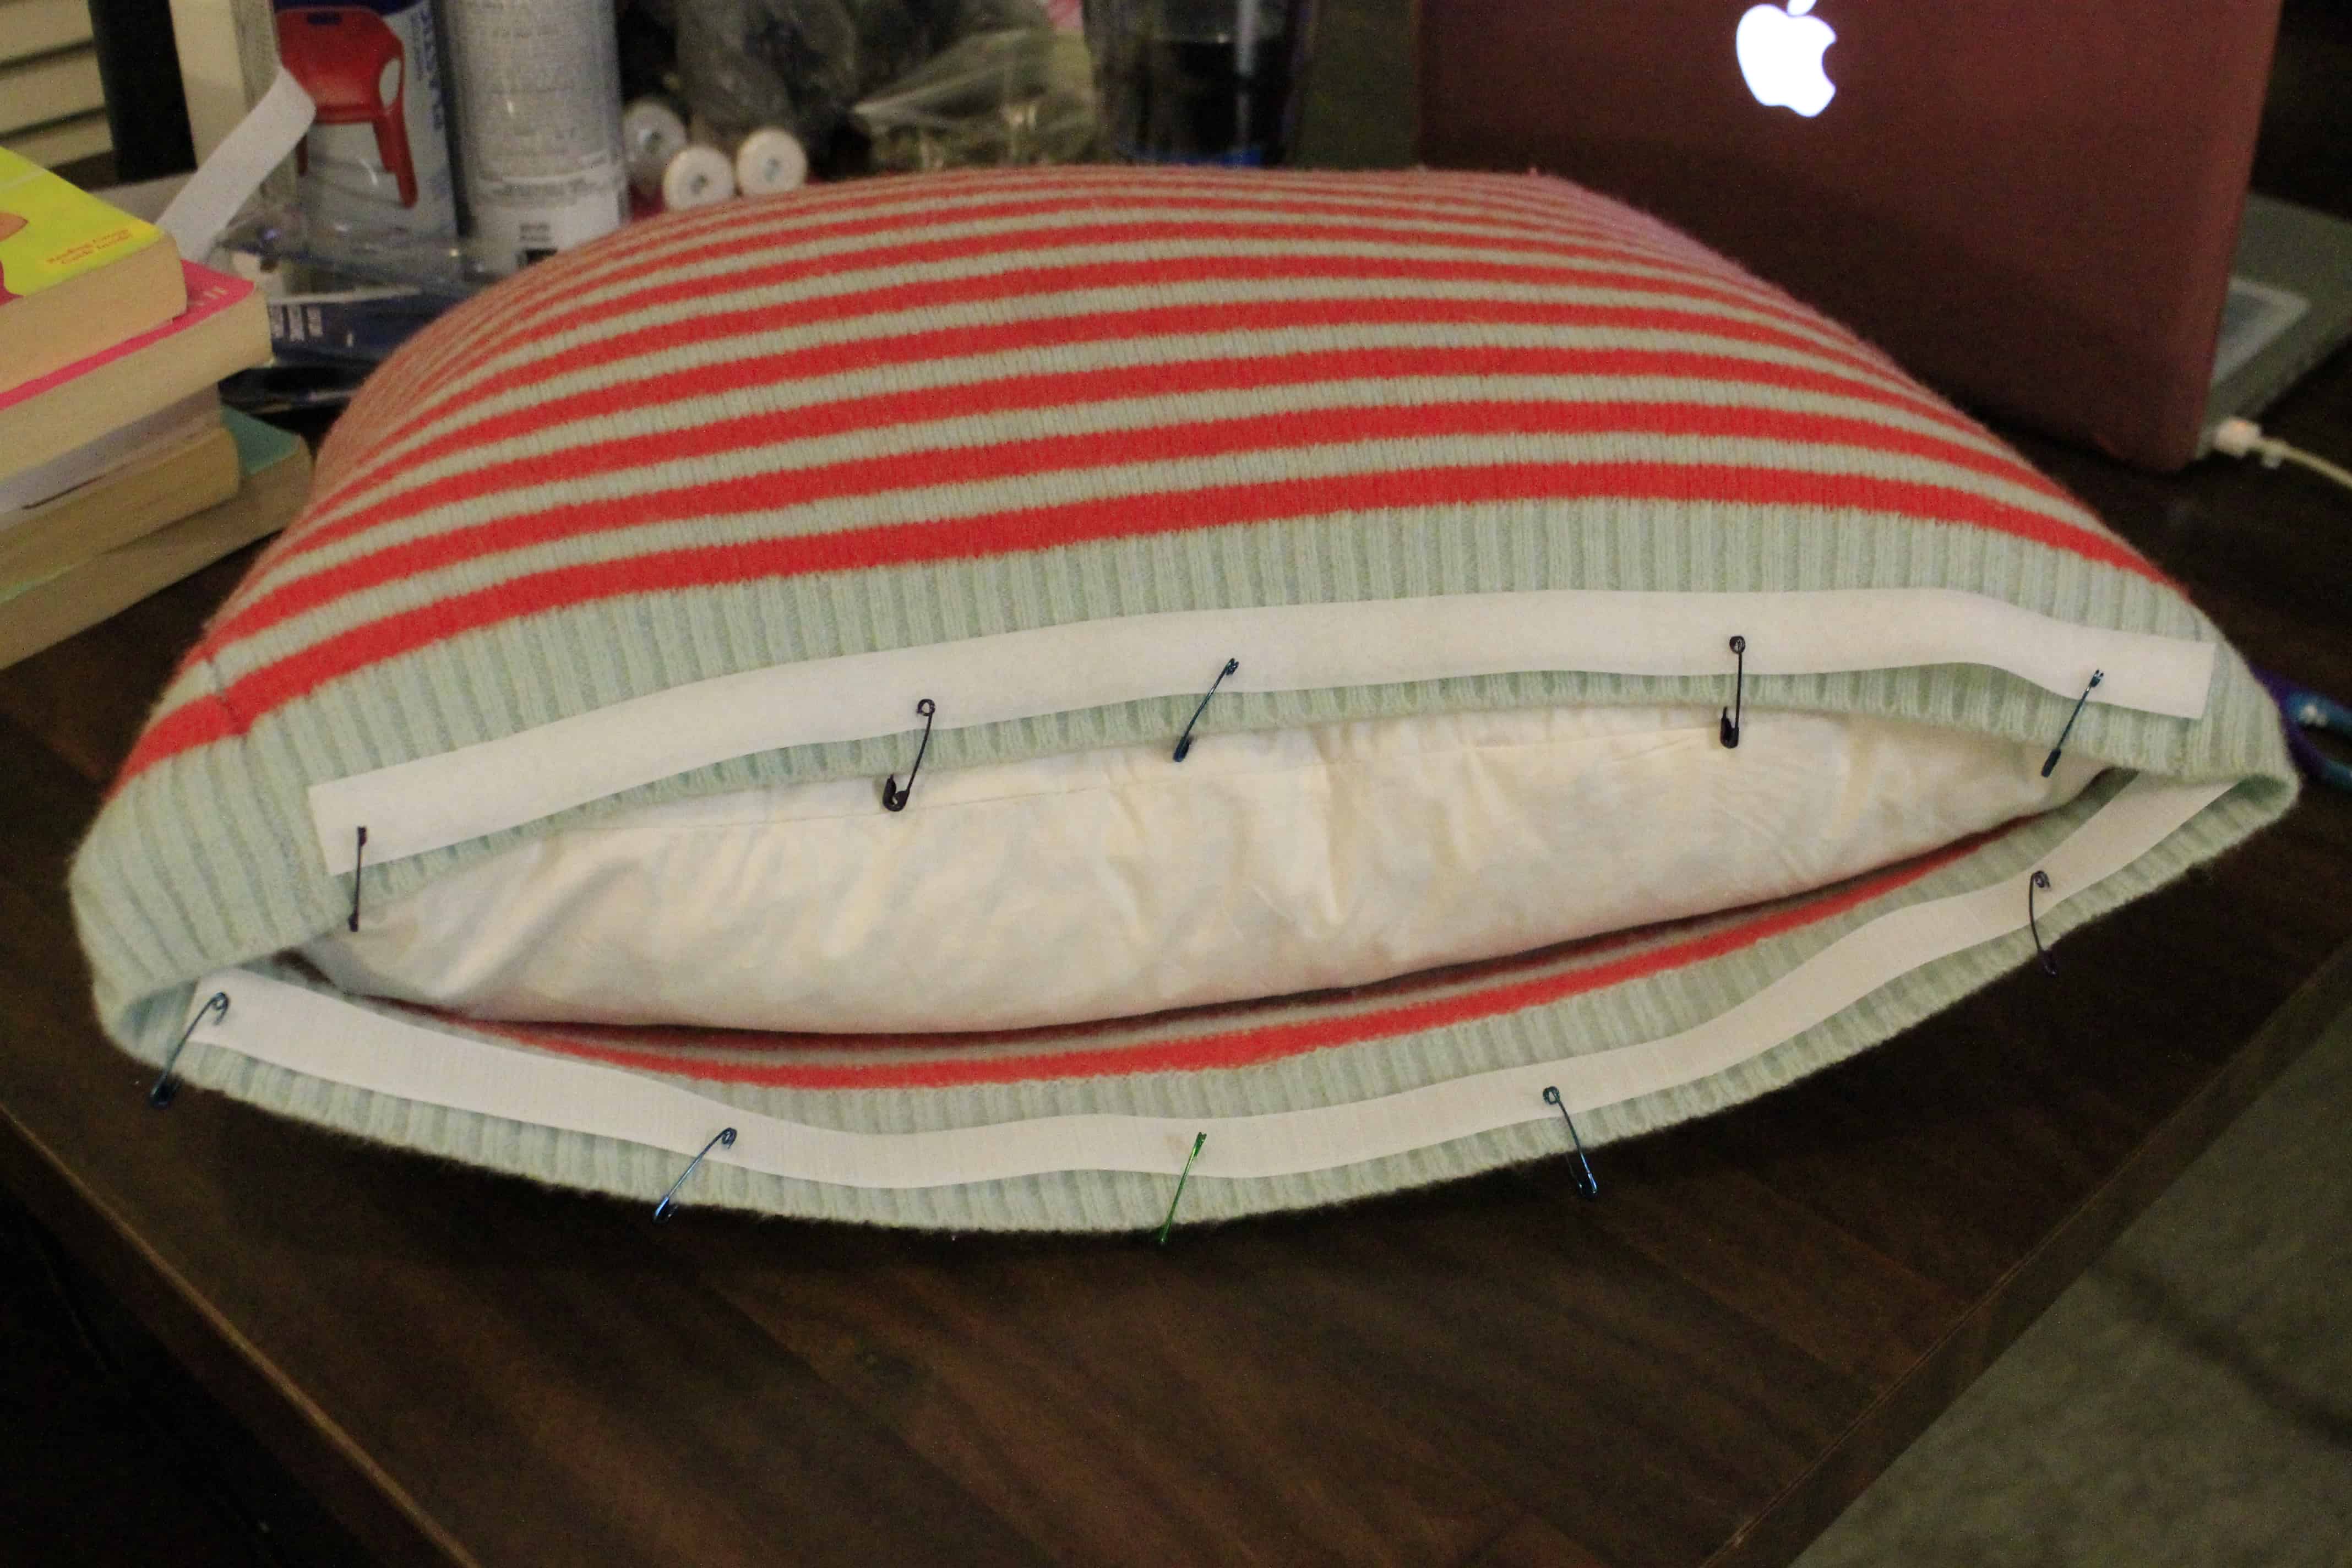
Turn the pillow case right side out, Replace pillow and Velcro closed.
Now, as with anything no-sew, it’s not as tight a hold as needle and thread. I usually use hem tape, but didn’t think it would iron well through thick sweaters. Use plenty of glue and let it dry very well.
If it does not hold, apply more glue and clamp that spot with a paperclip or something similar for 24 hours or until it is 100 percent dry.
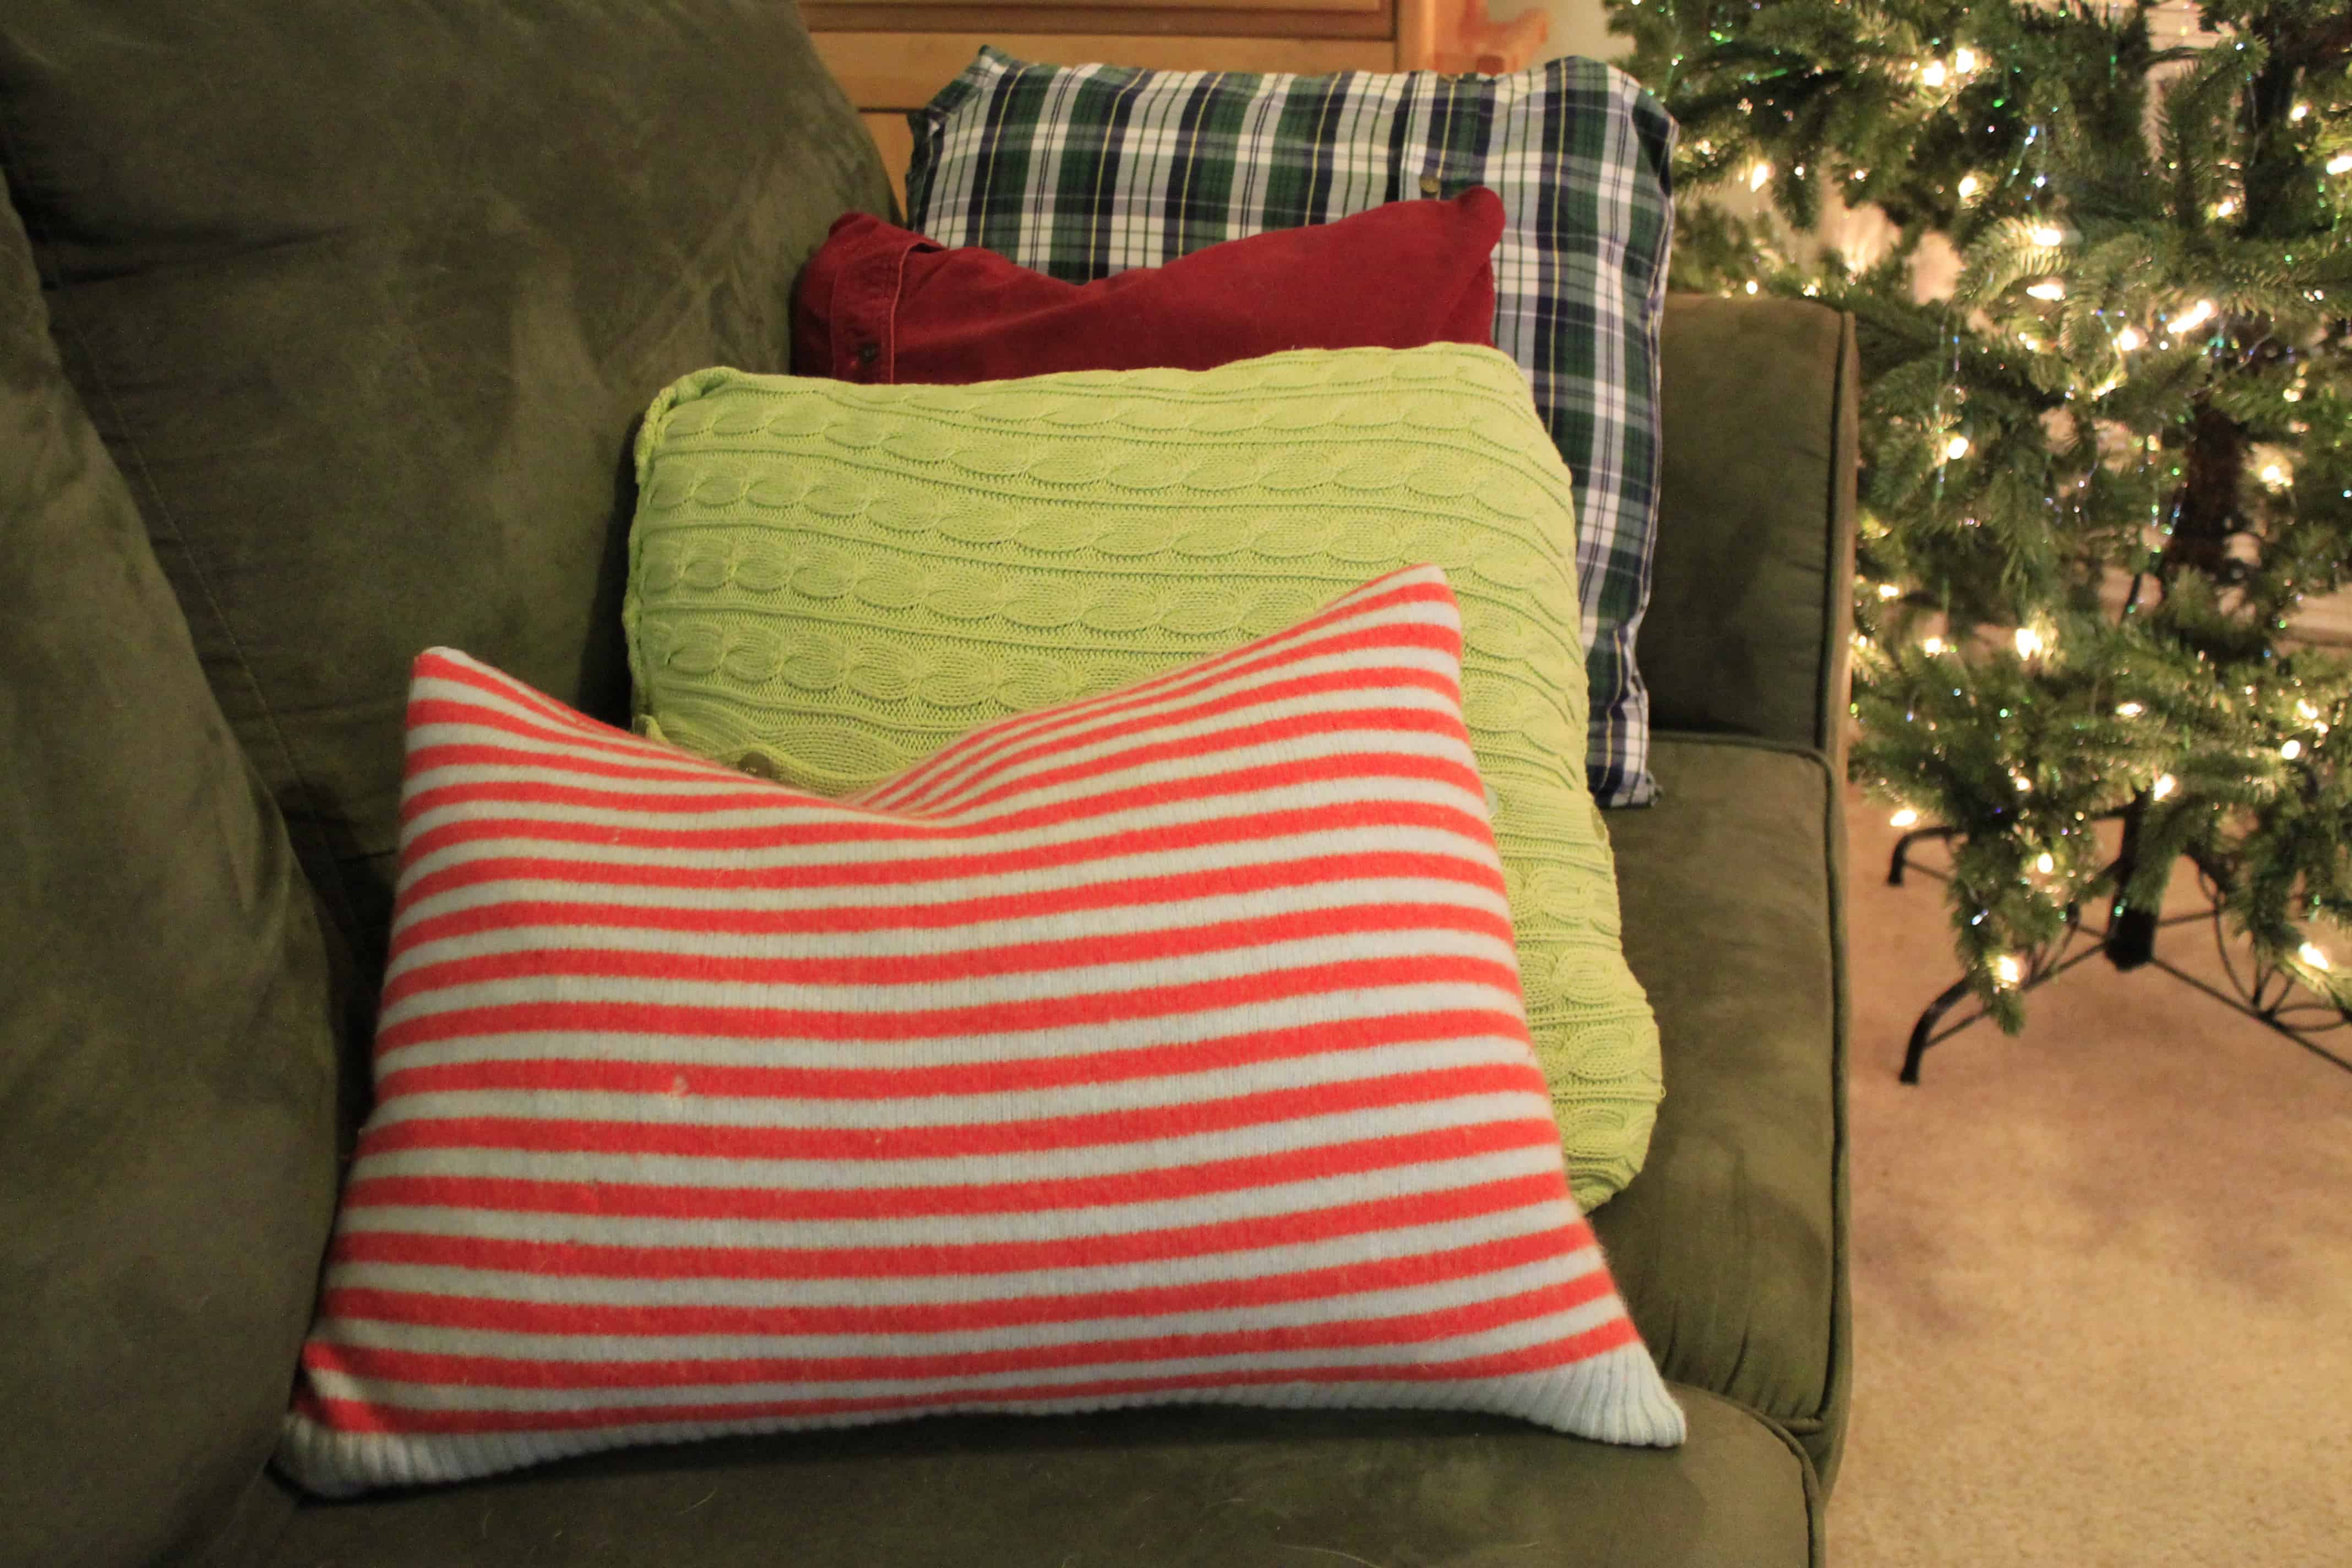
I love how they jazz up the couch. I also love that I don’t have to store 8 wintery pillows for the rest of the year. Ain’t nobody got space for that.

How to make no sew sweater pillows
Sweater pillows are a great way to add wintery texture to your home decor. Here is how to DIY make them - no sew!
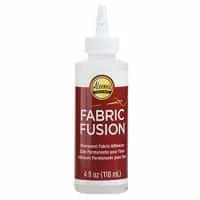
Materials
- Pillow form
- Sweater
- No sew fabric glue
- Strip velcro (adhesive is great or you will attach with your glue)
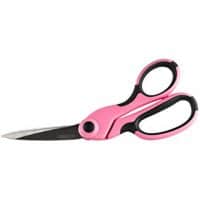
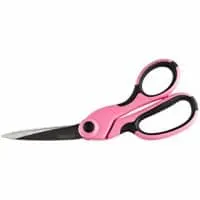
Tools
- Scissors
- Pins or clips
Instructions
- Turn sweater inside out.
- Insert pillow form into sweater. Trim excess fabric.
- Use fabric glue to glue top seam closed. Pin or apply weight (like a book) and allow to dry according to glue's instructions (24 hours)
- Use a pen or pencil to mark the bottom of the pillow -where you want to adhere it. Turn right side out.
- Attach velcro along the line you drew. Allow to dry.
- Insert pillow and velcro closed.
Notes
Select sweaters that:
- Are in good condition (check for holes)
- Have a bit of stretch to them
- Length from armpit to hem is at least as tall as pillow
Recommended Products
As an Amazon Associate and member of other affiliate programs, I earn from qualifying purchases.

How do you jazz up your couch for Christmas?


Looking for something?
We’ve been doing this since 2012 so we have a LOT of blog posts!
Search stuff like: Ceiling Projects | DIY Plant Stands | Thrift Flips


Hello, I’m Morgan, half of the creative force behind CharlestonCrafted.com! With a passion for DIY that dates back to 2012, I’ve transformed three homes and now I’m dedicated to helping others craft their dream spaces. Let’s turn your house into a home together!