
Happy Halloweek, y’all! I’m excited to bring you Halloween projects all week! If you want to see a couple of our favorites from last year, be sure to click over & check out our scary monster wreath & eyeball picture frames! We will be back every day this week with a new Halloween inspired project for you!
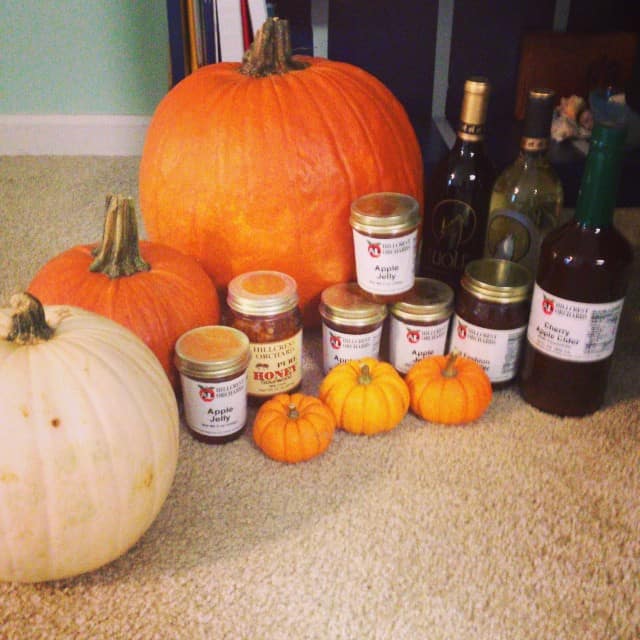
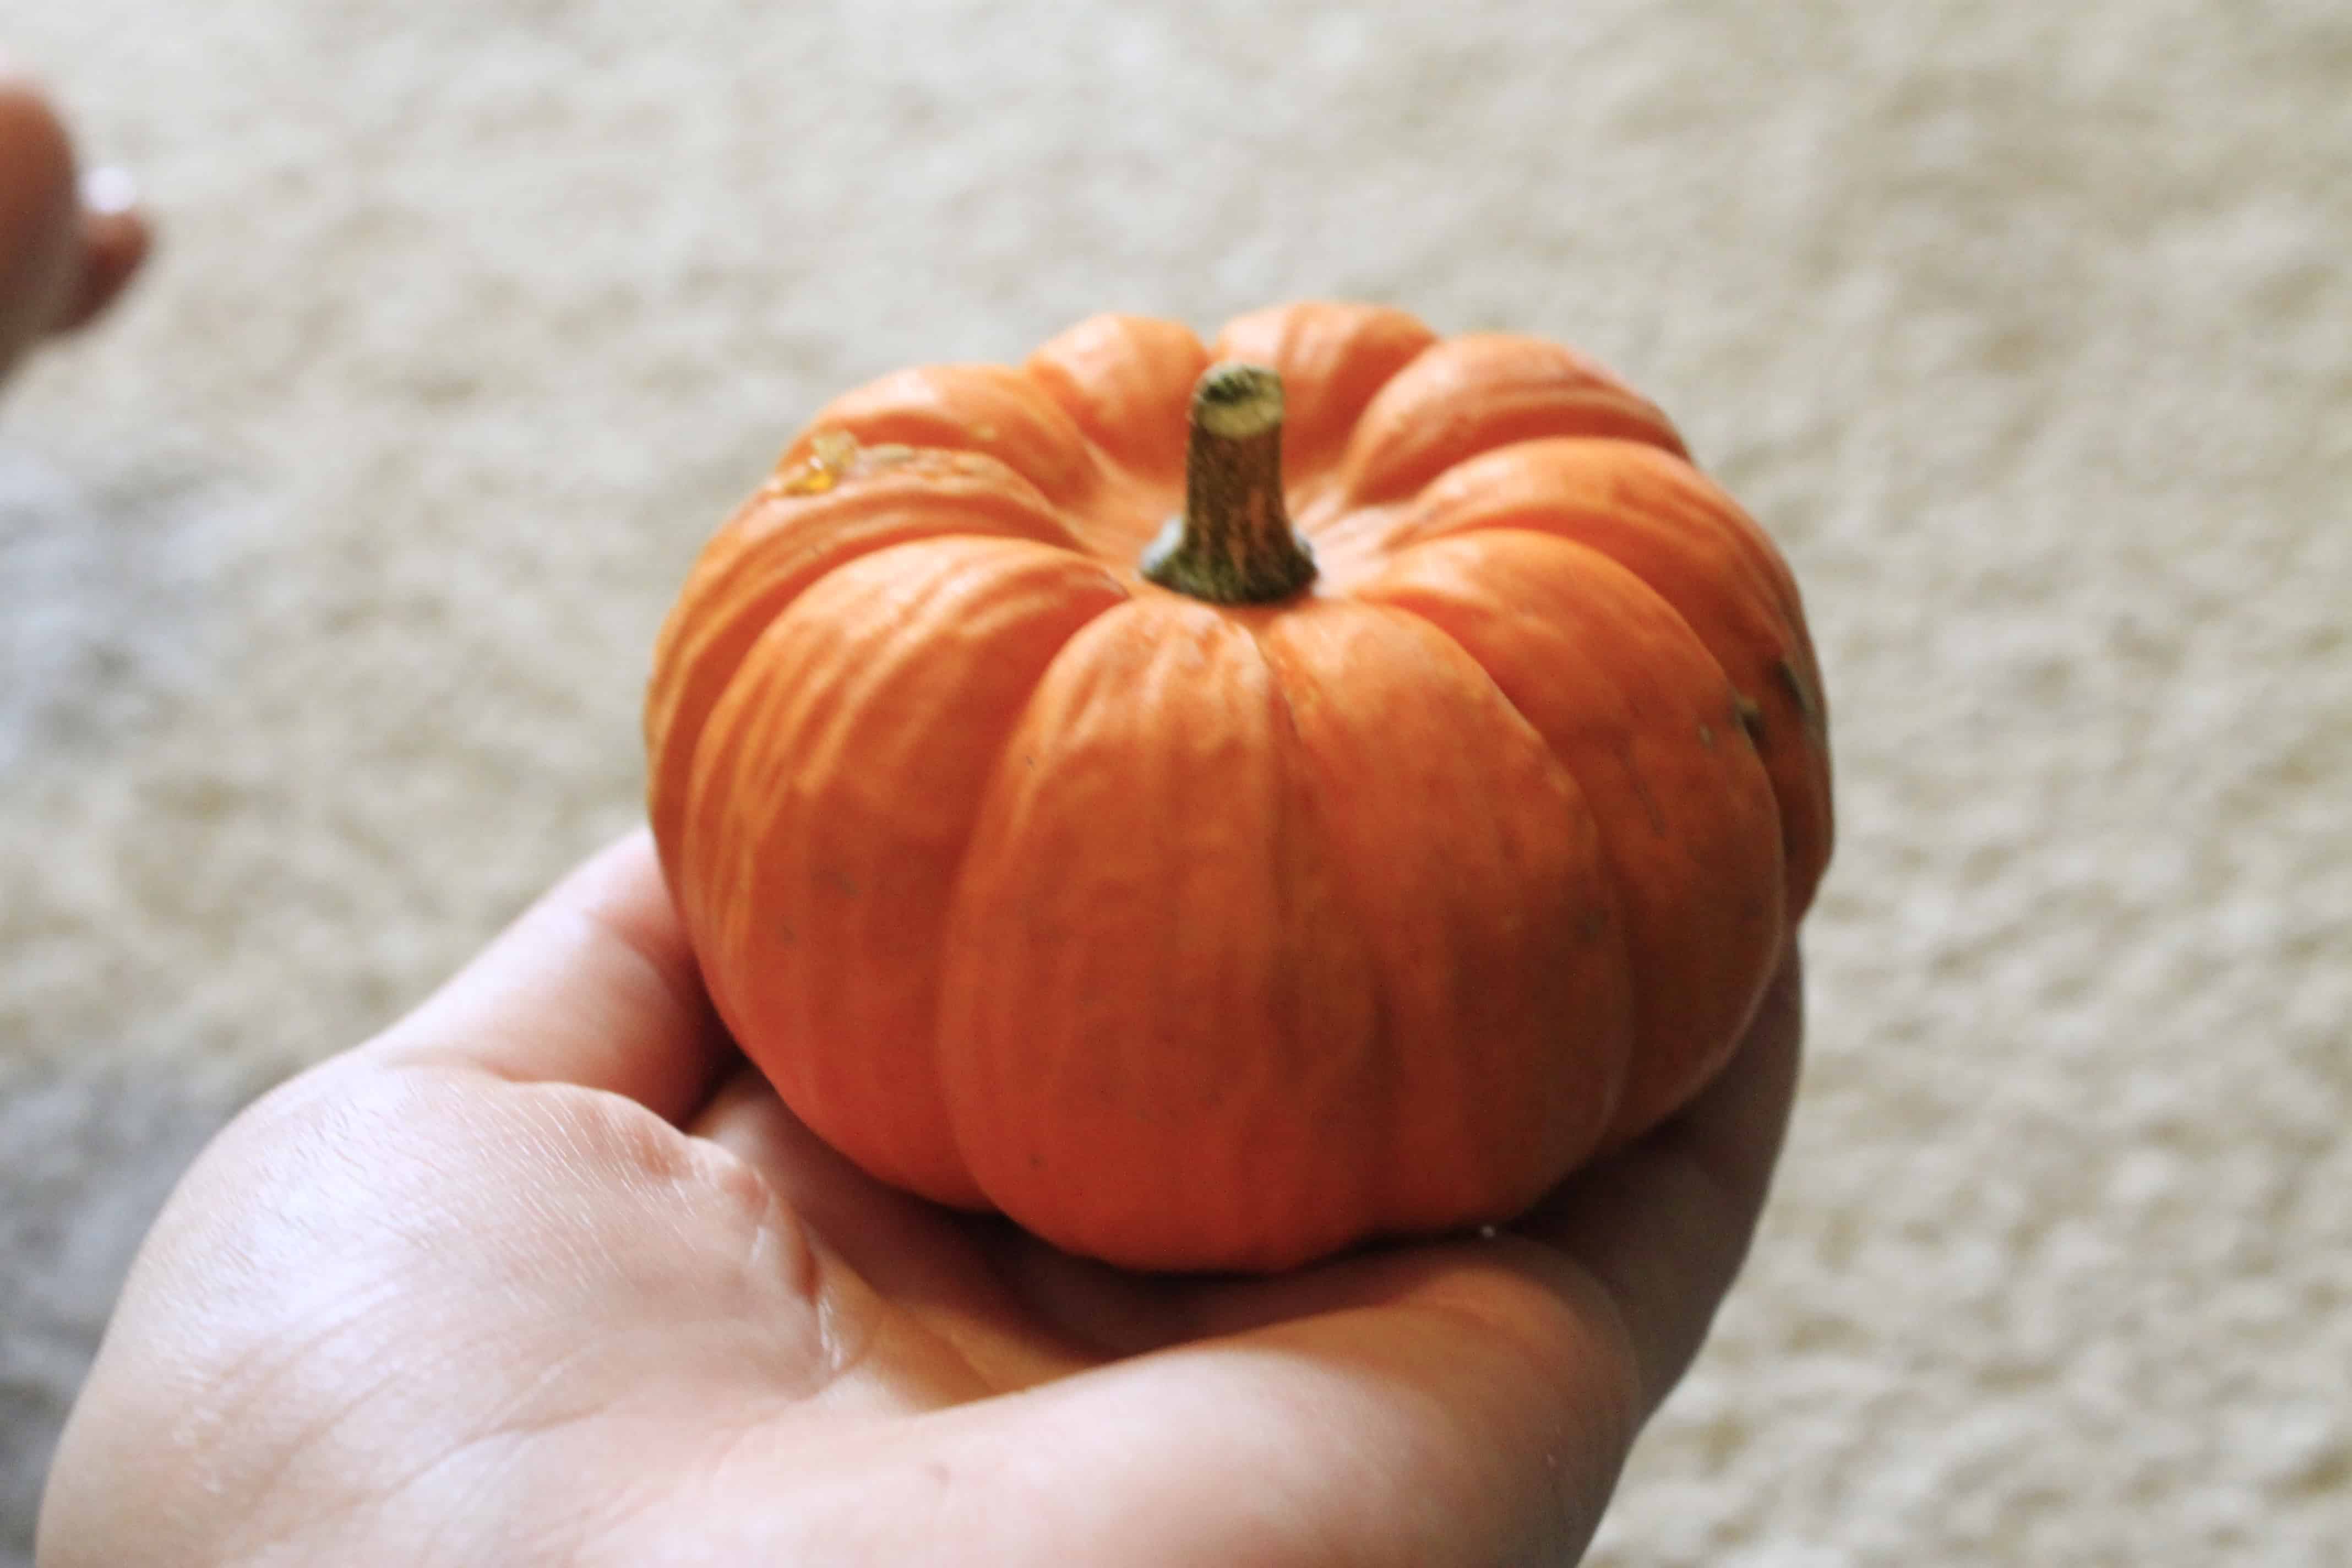
One of the most iconic Halloween decor items is definitely the pumpkin. We picked up a bunch of them on our trip to Georgia earlier this month, and I was excited to do some exciting things with them.
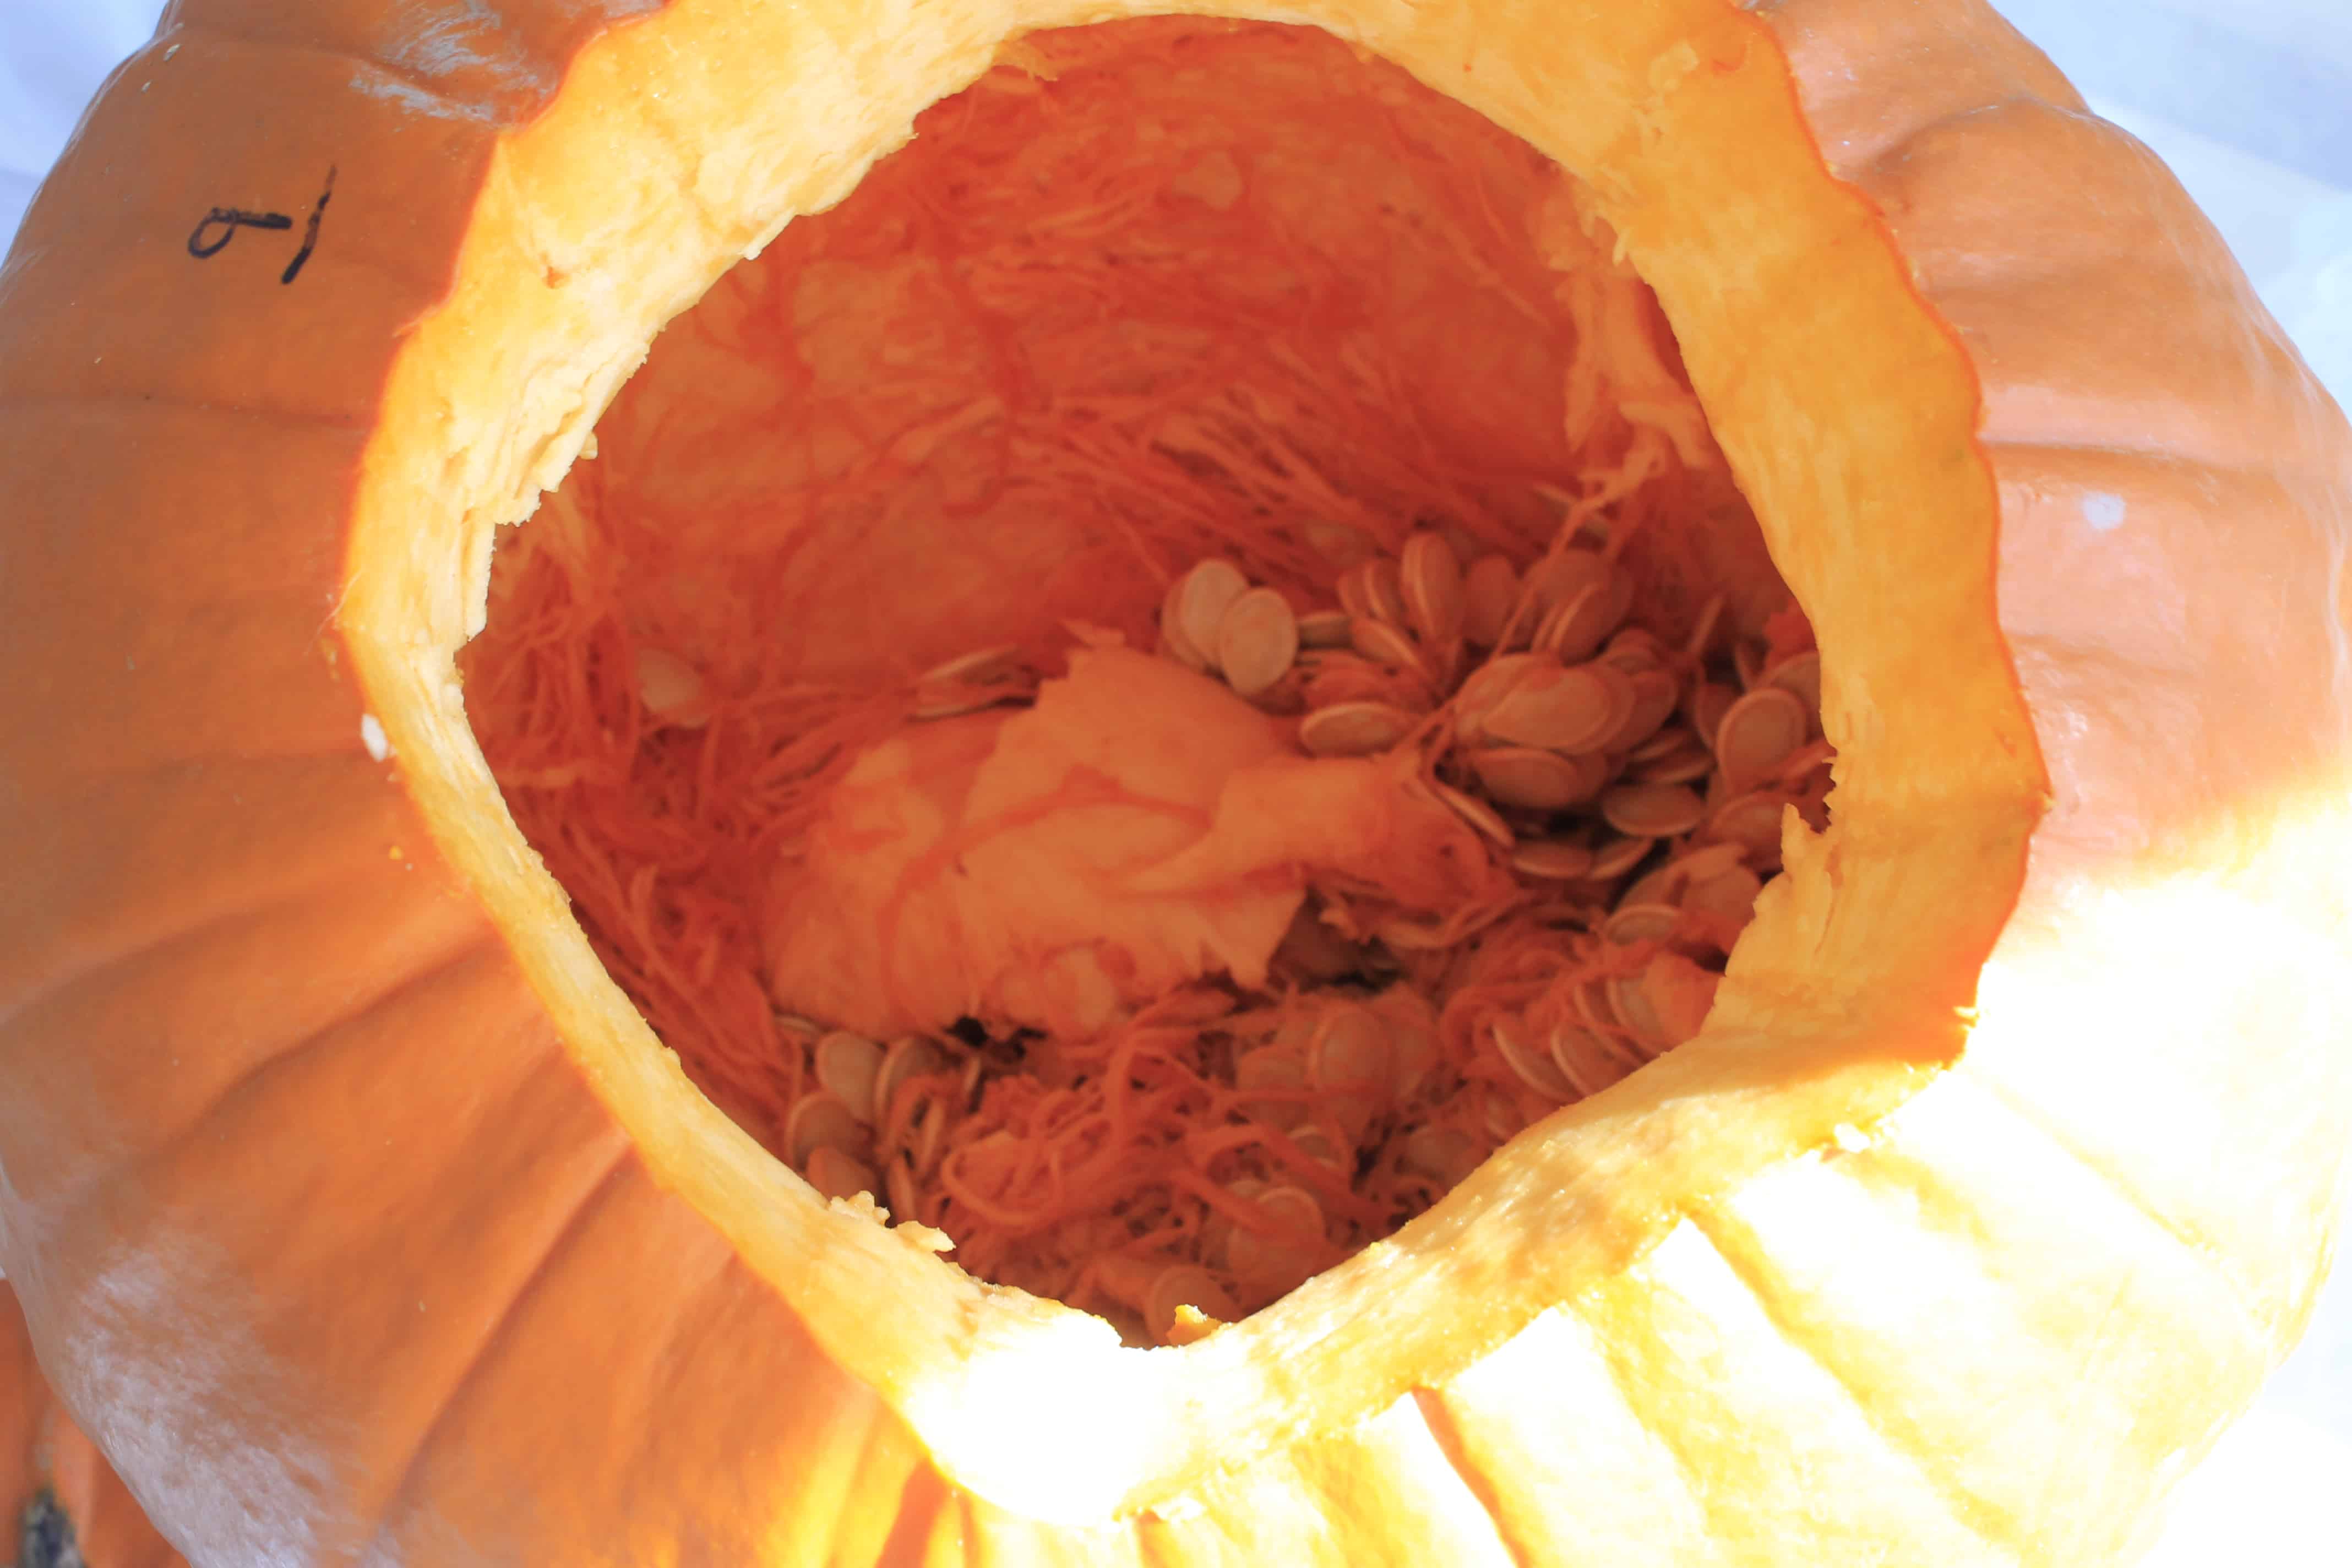
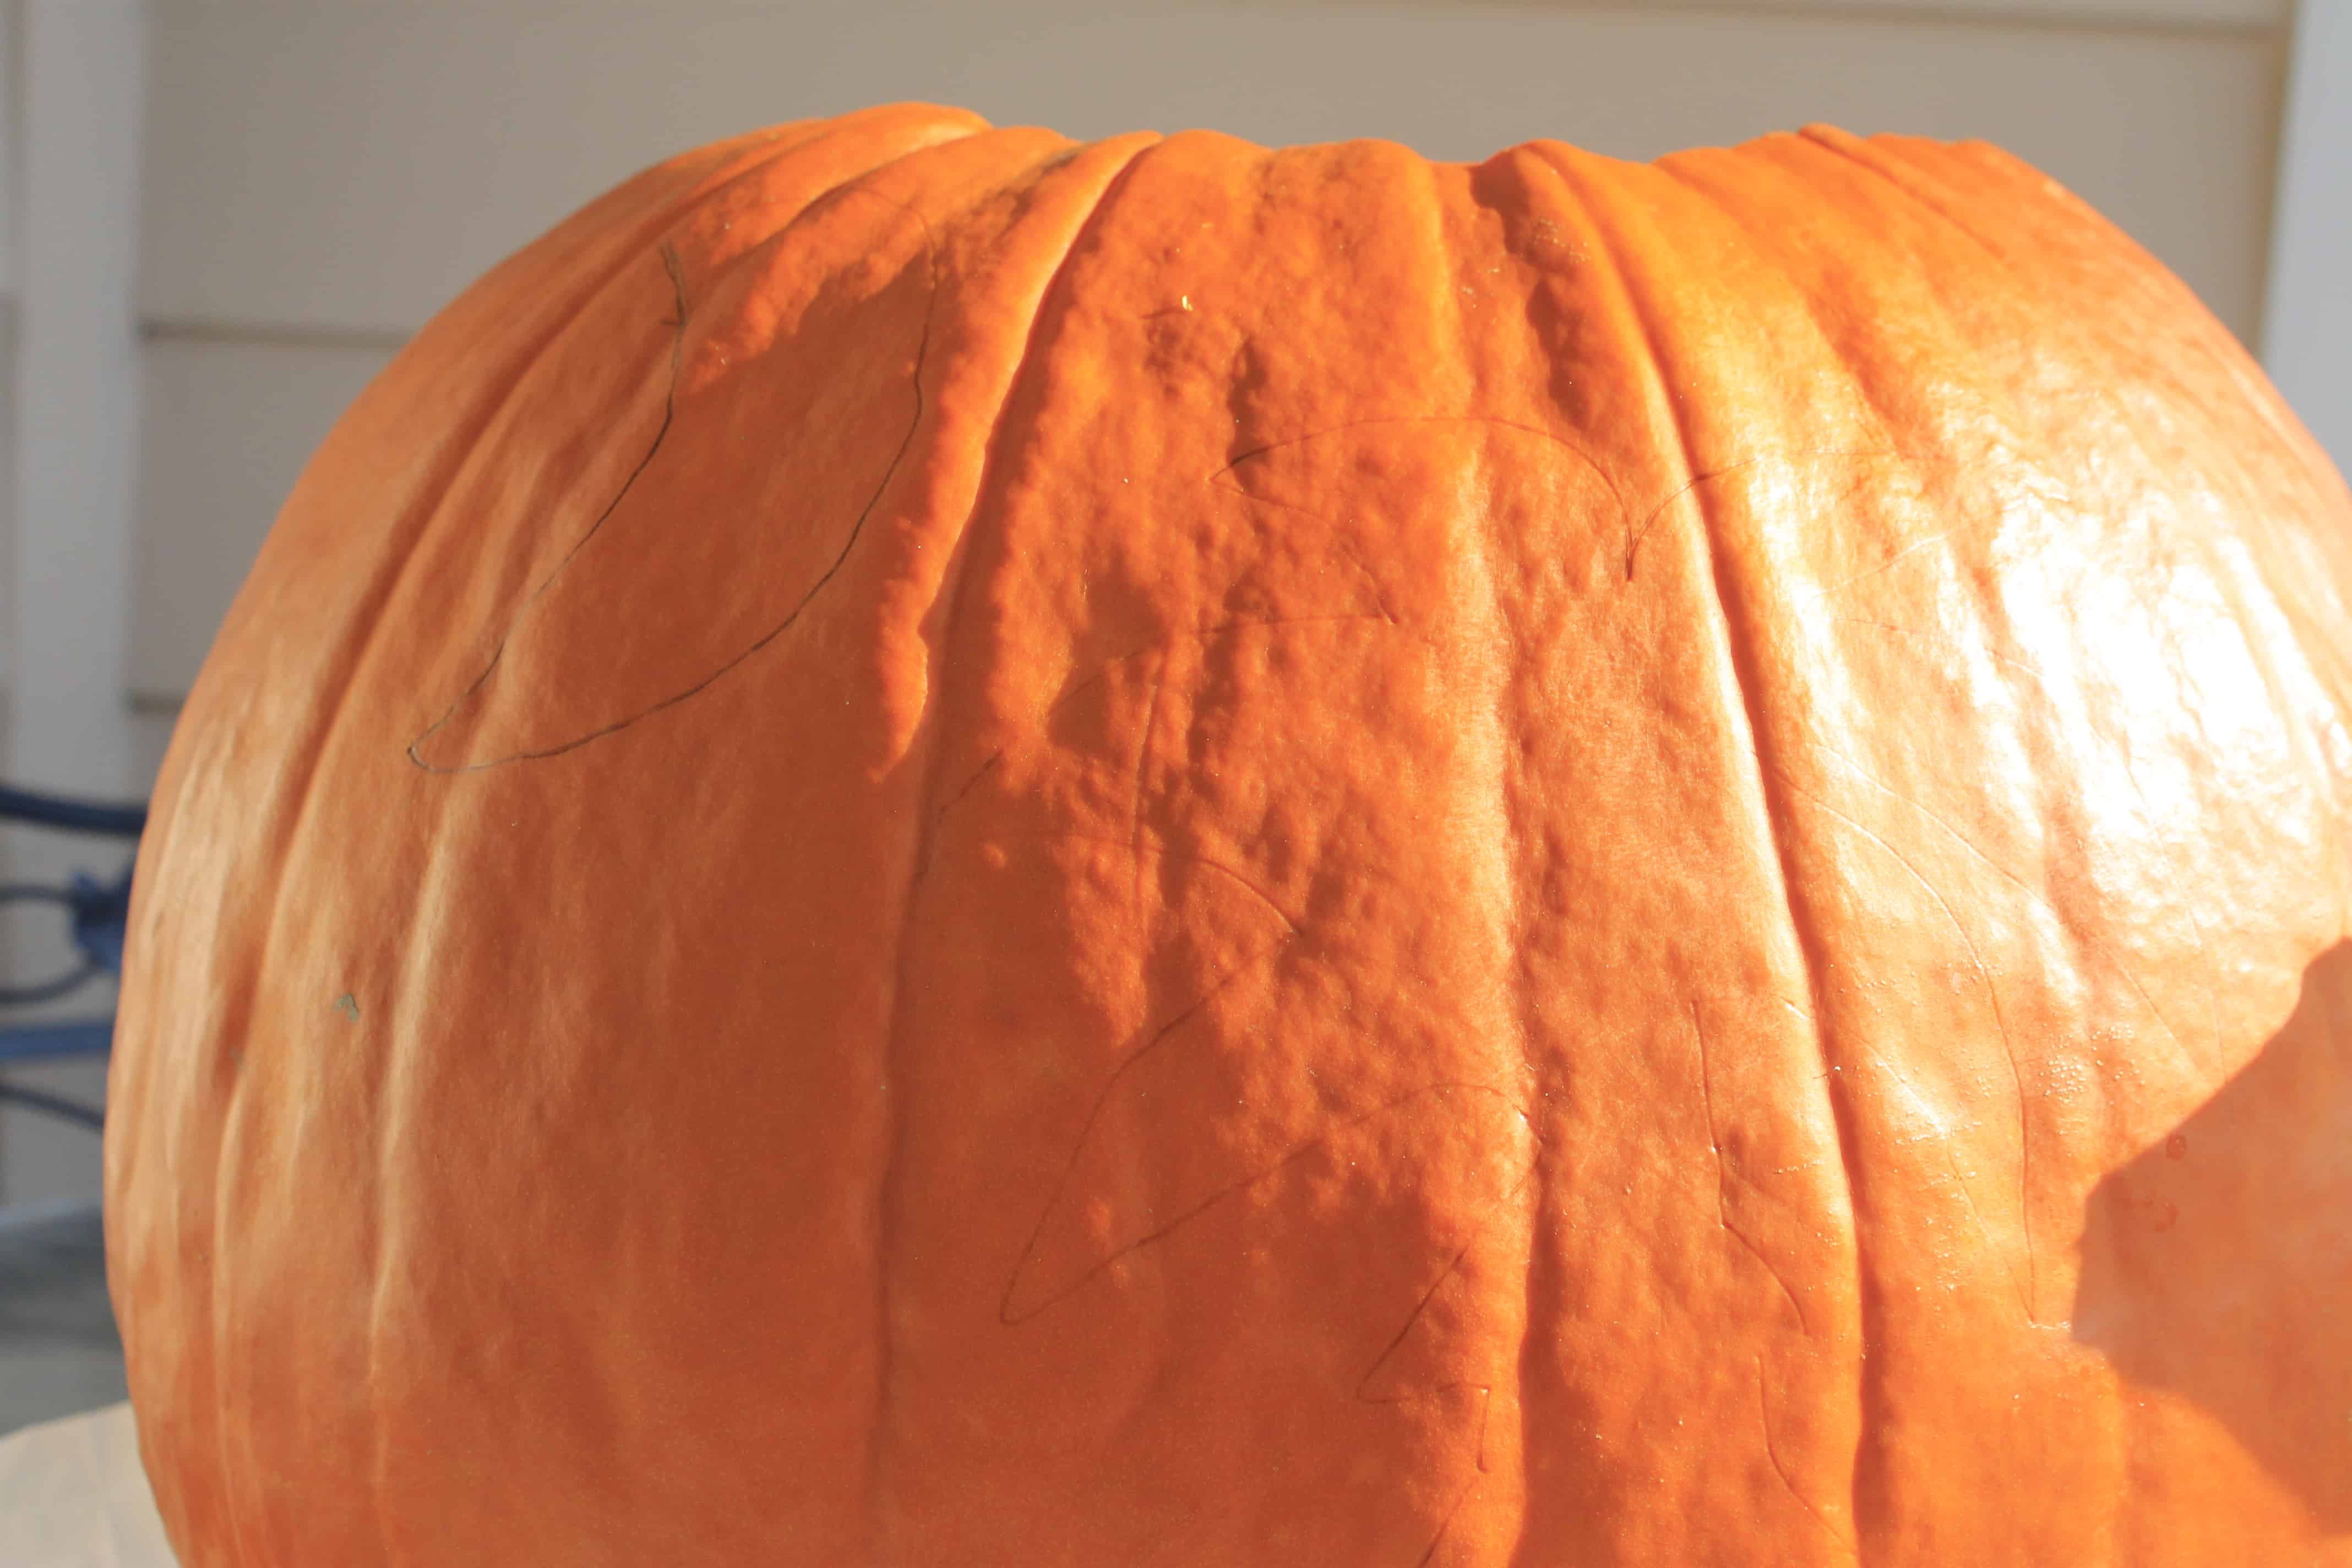
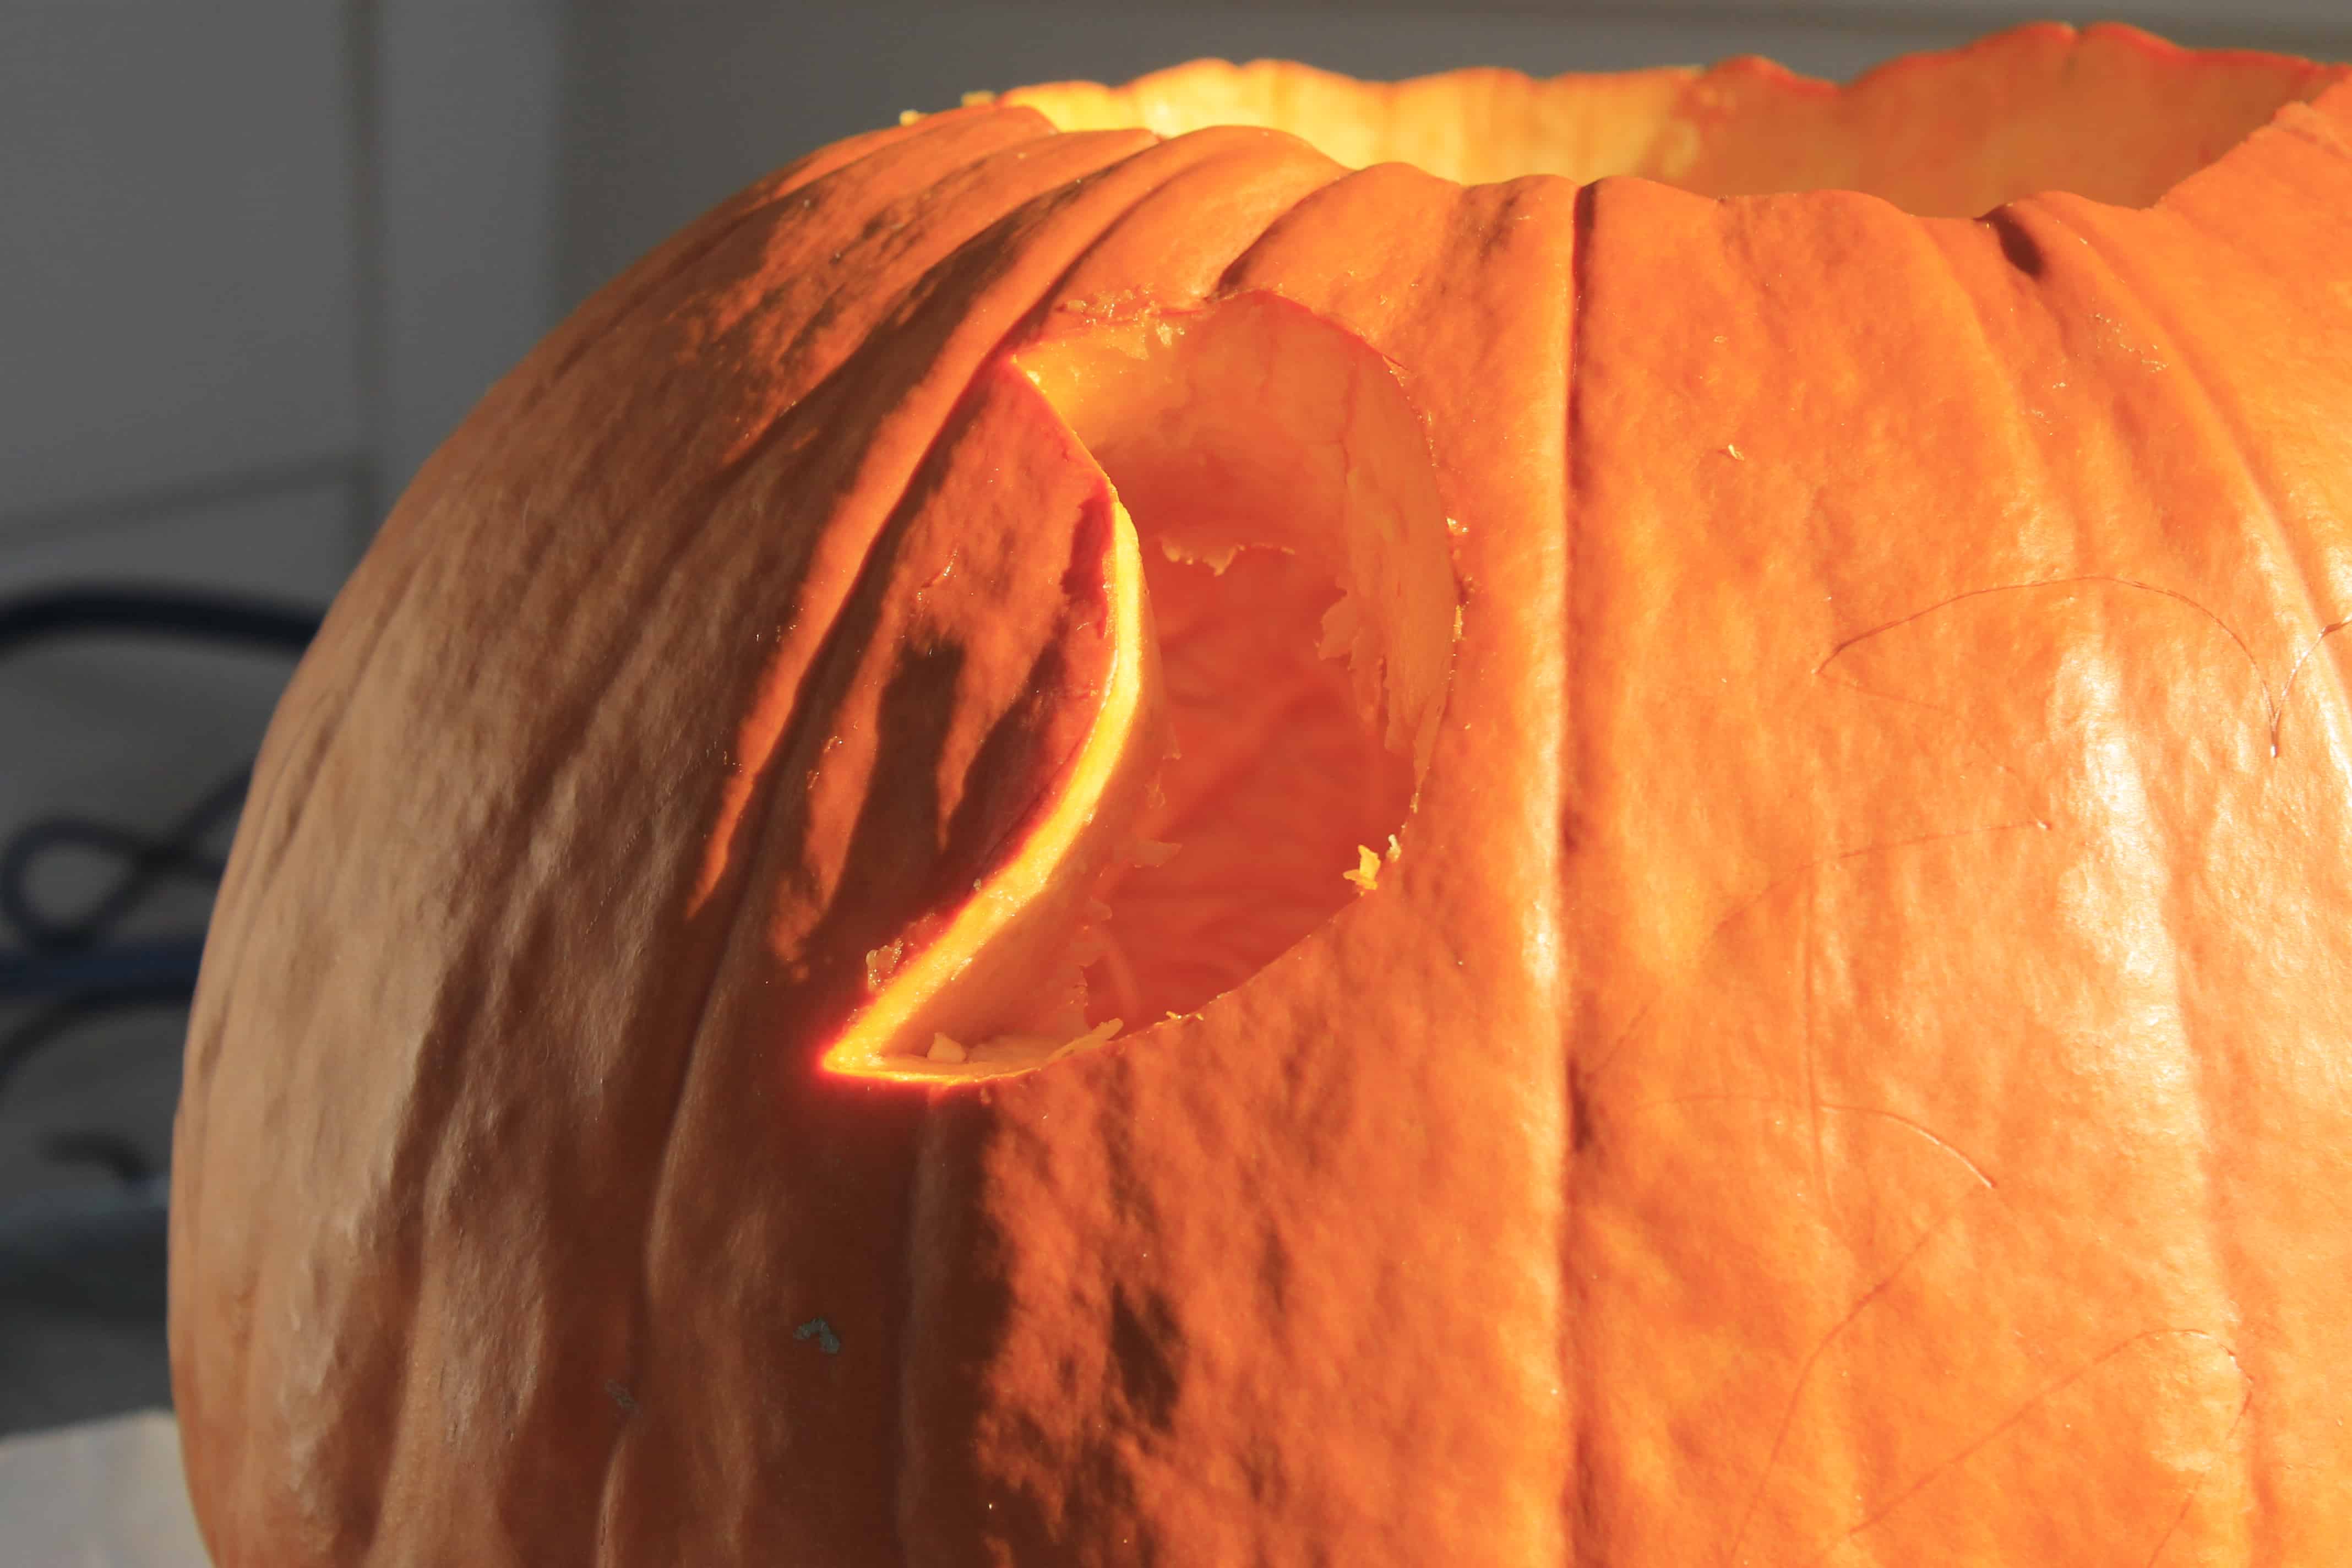
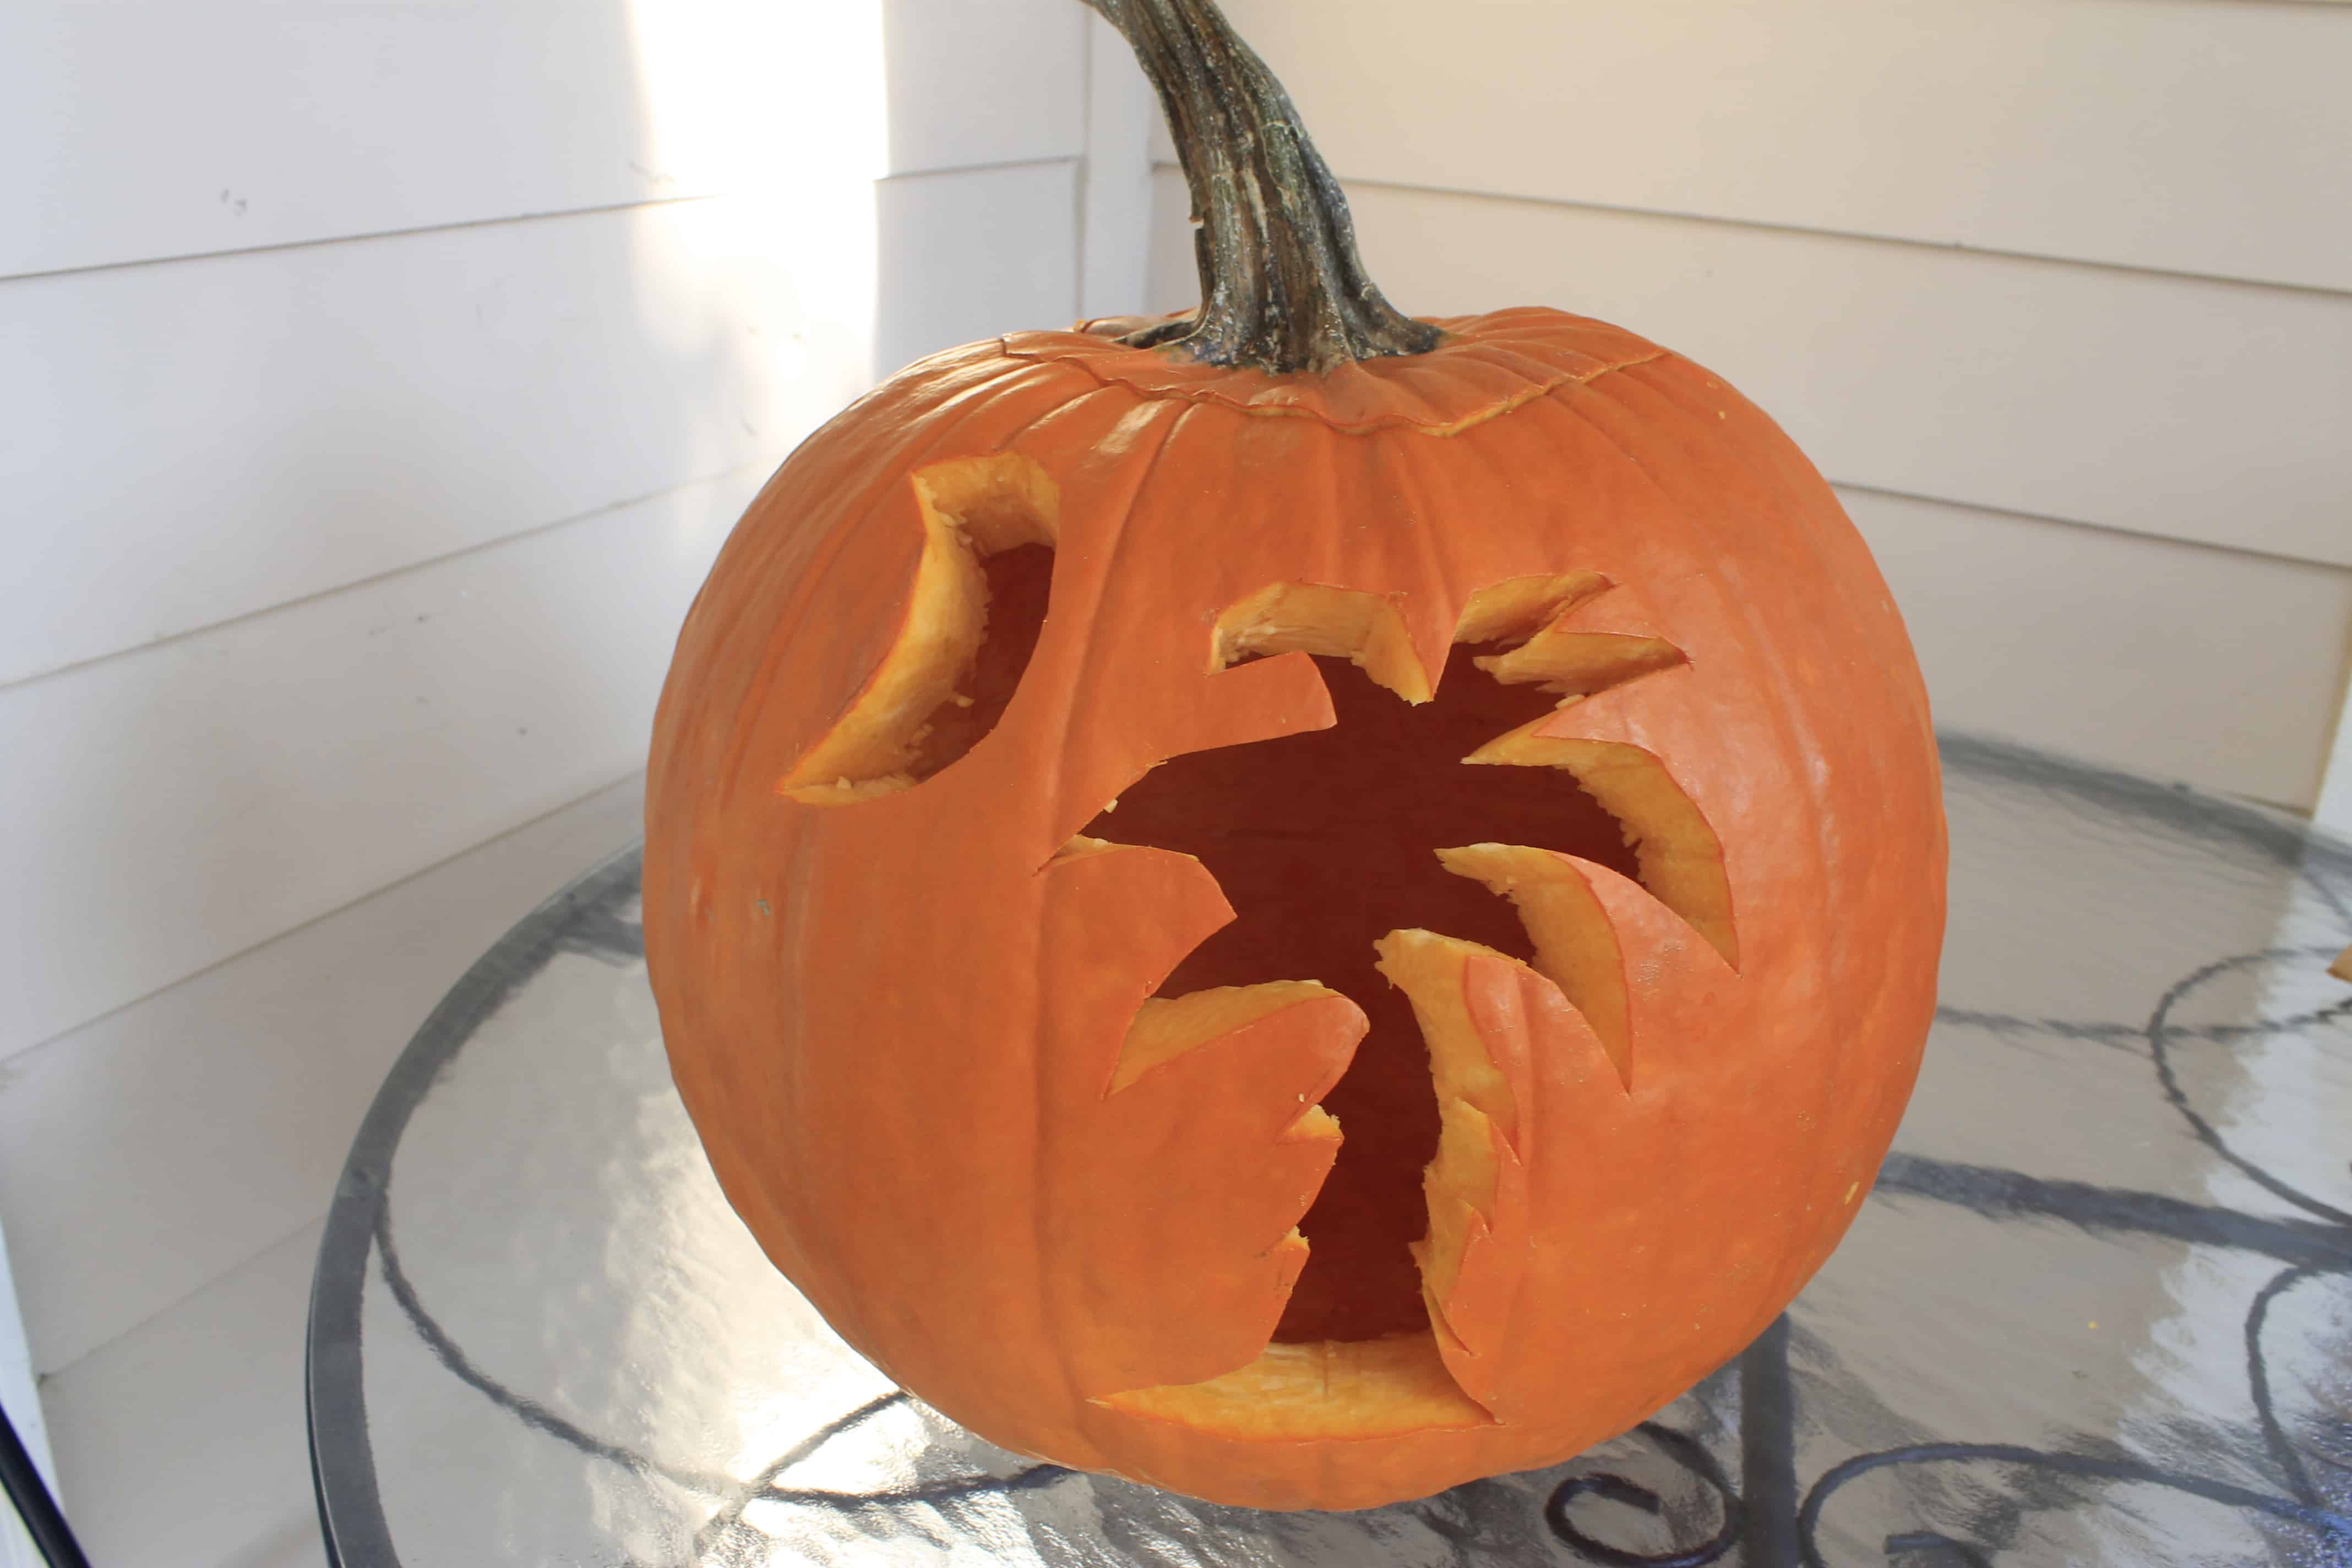
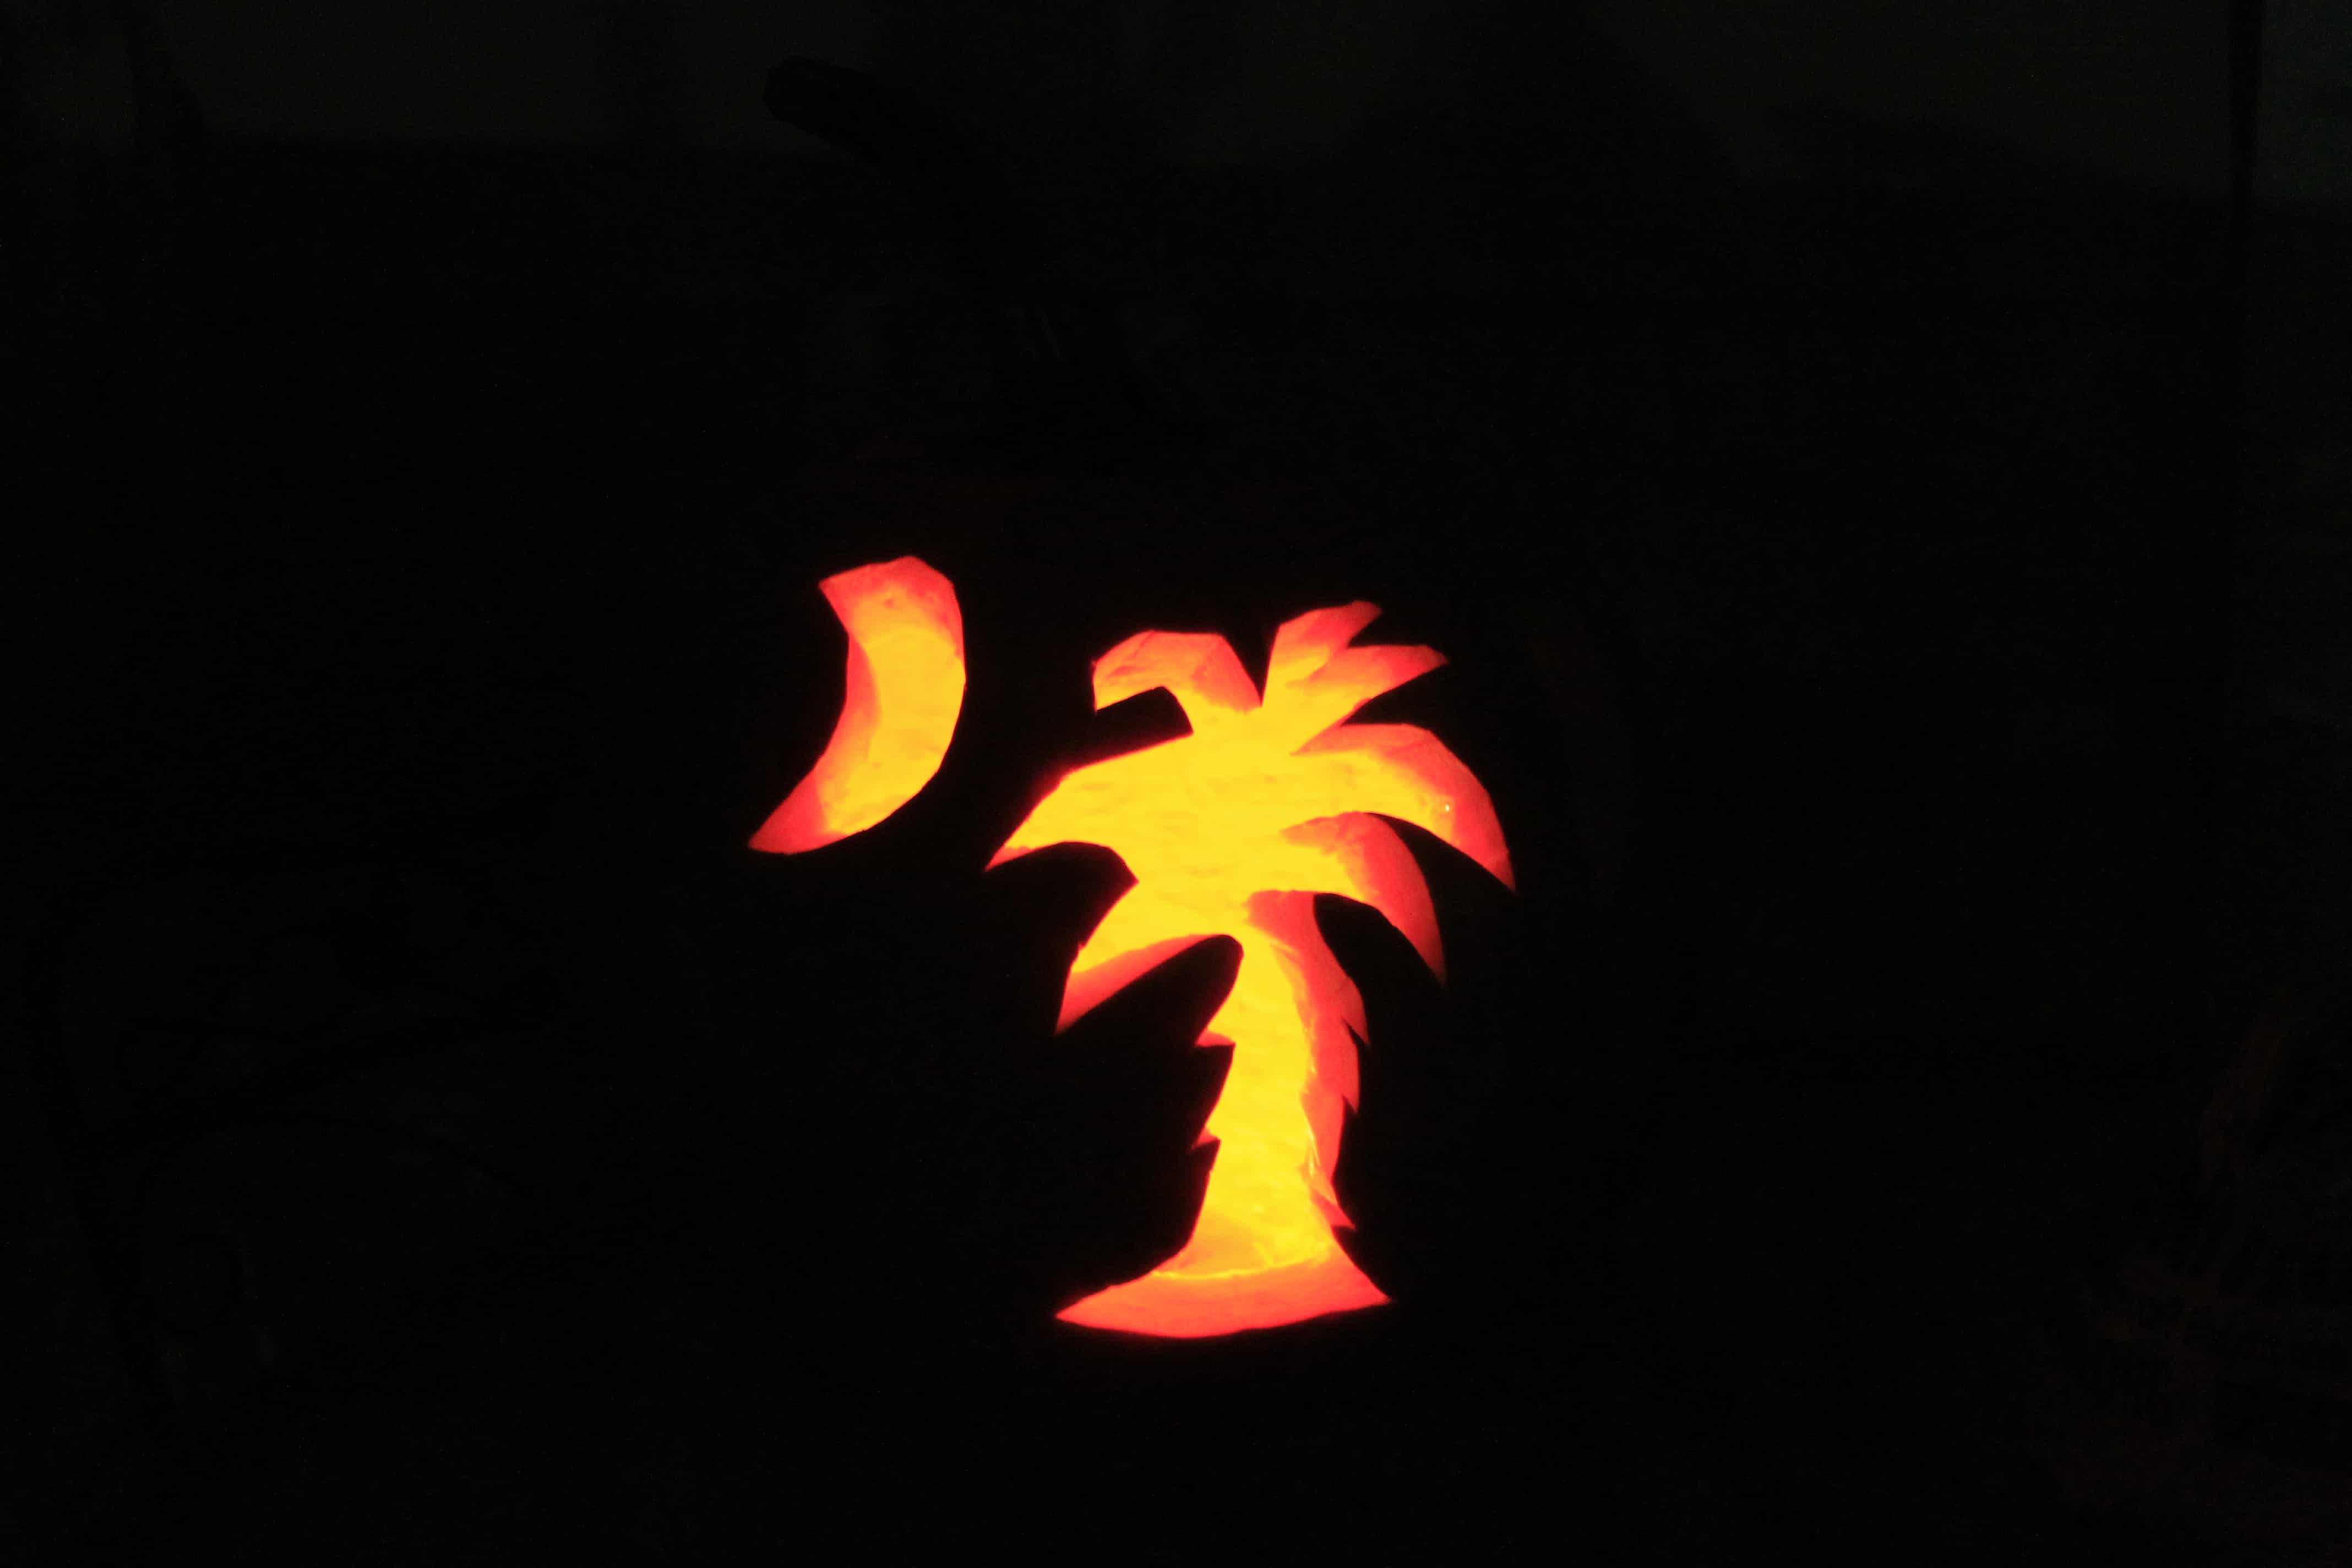
1) Carve them! First off, we carved our big pumpkin like everyone does. We wanted something cool, but easy, because last year we had some problems with more intricate designs. So, we decided to embrace our current state and carve the state flag of South Carolina! We started out with cutting off the top and scooping out the insides.
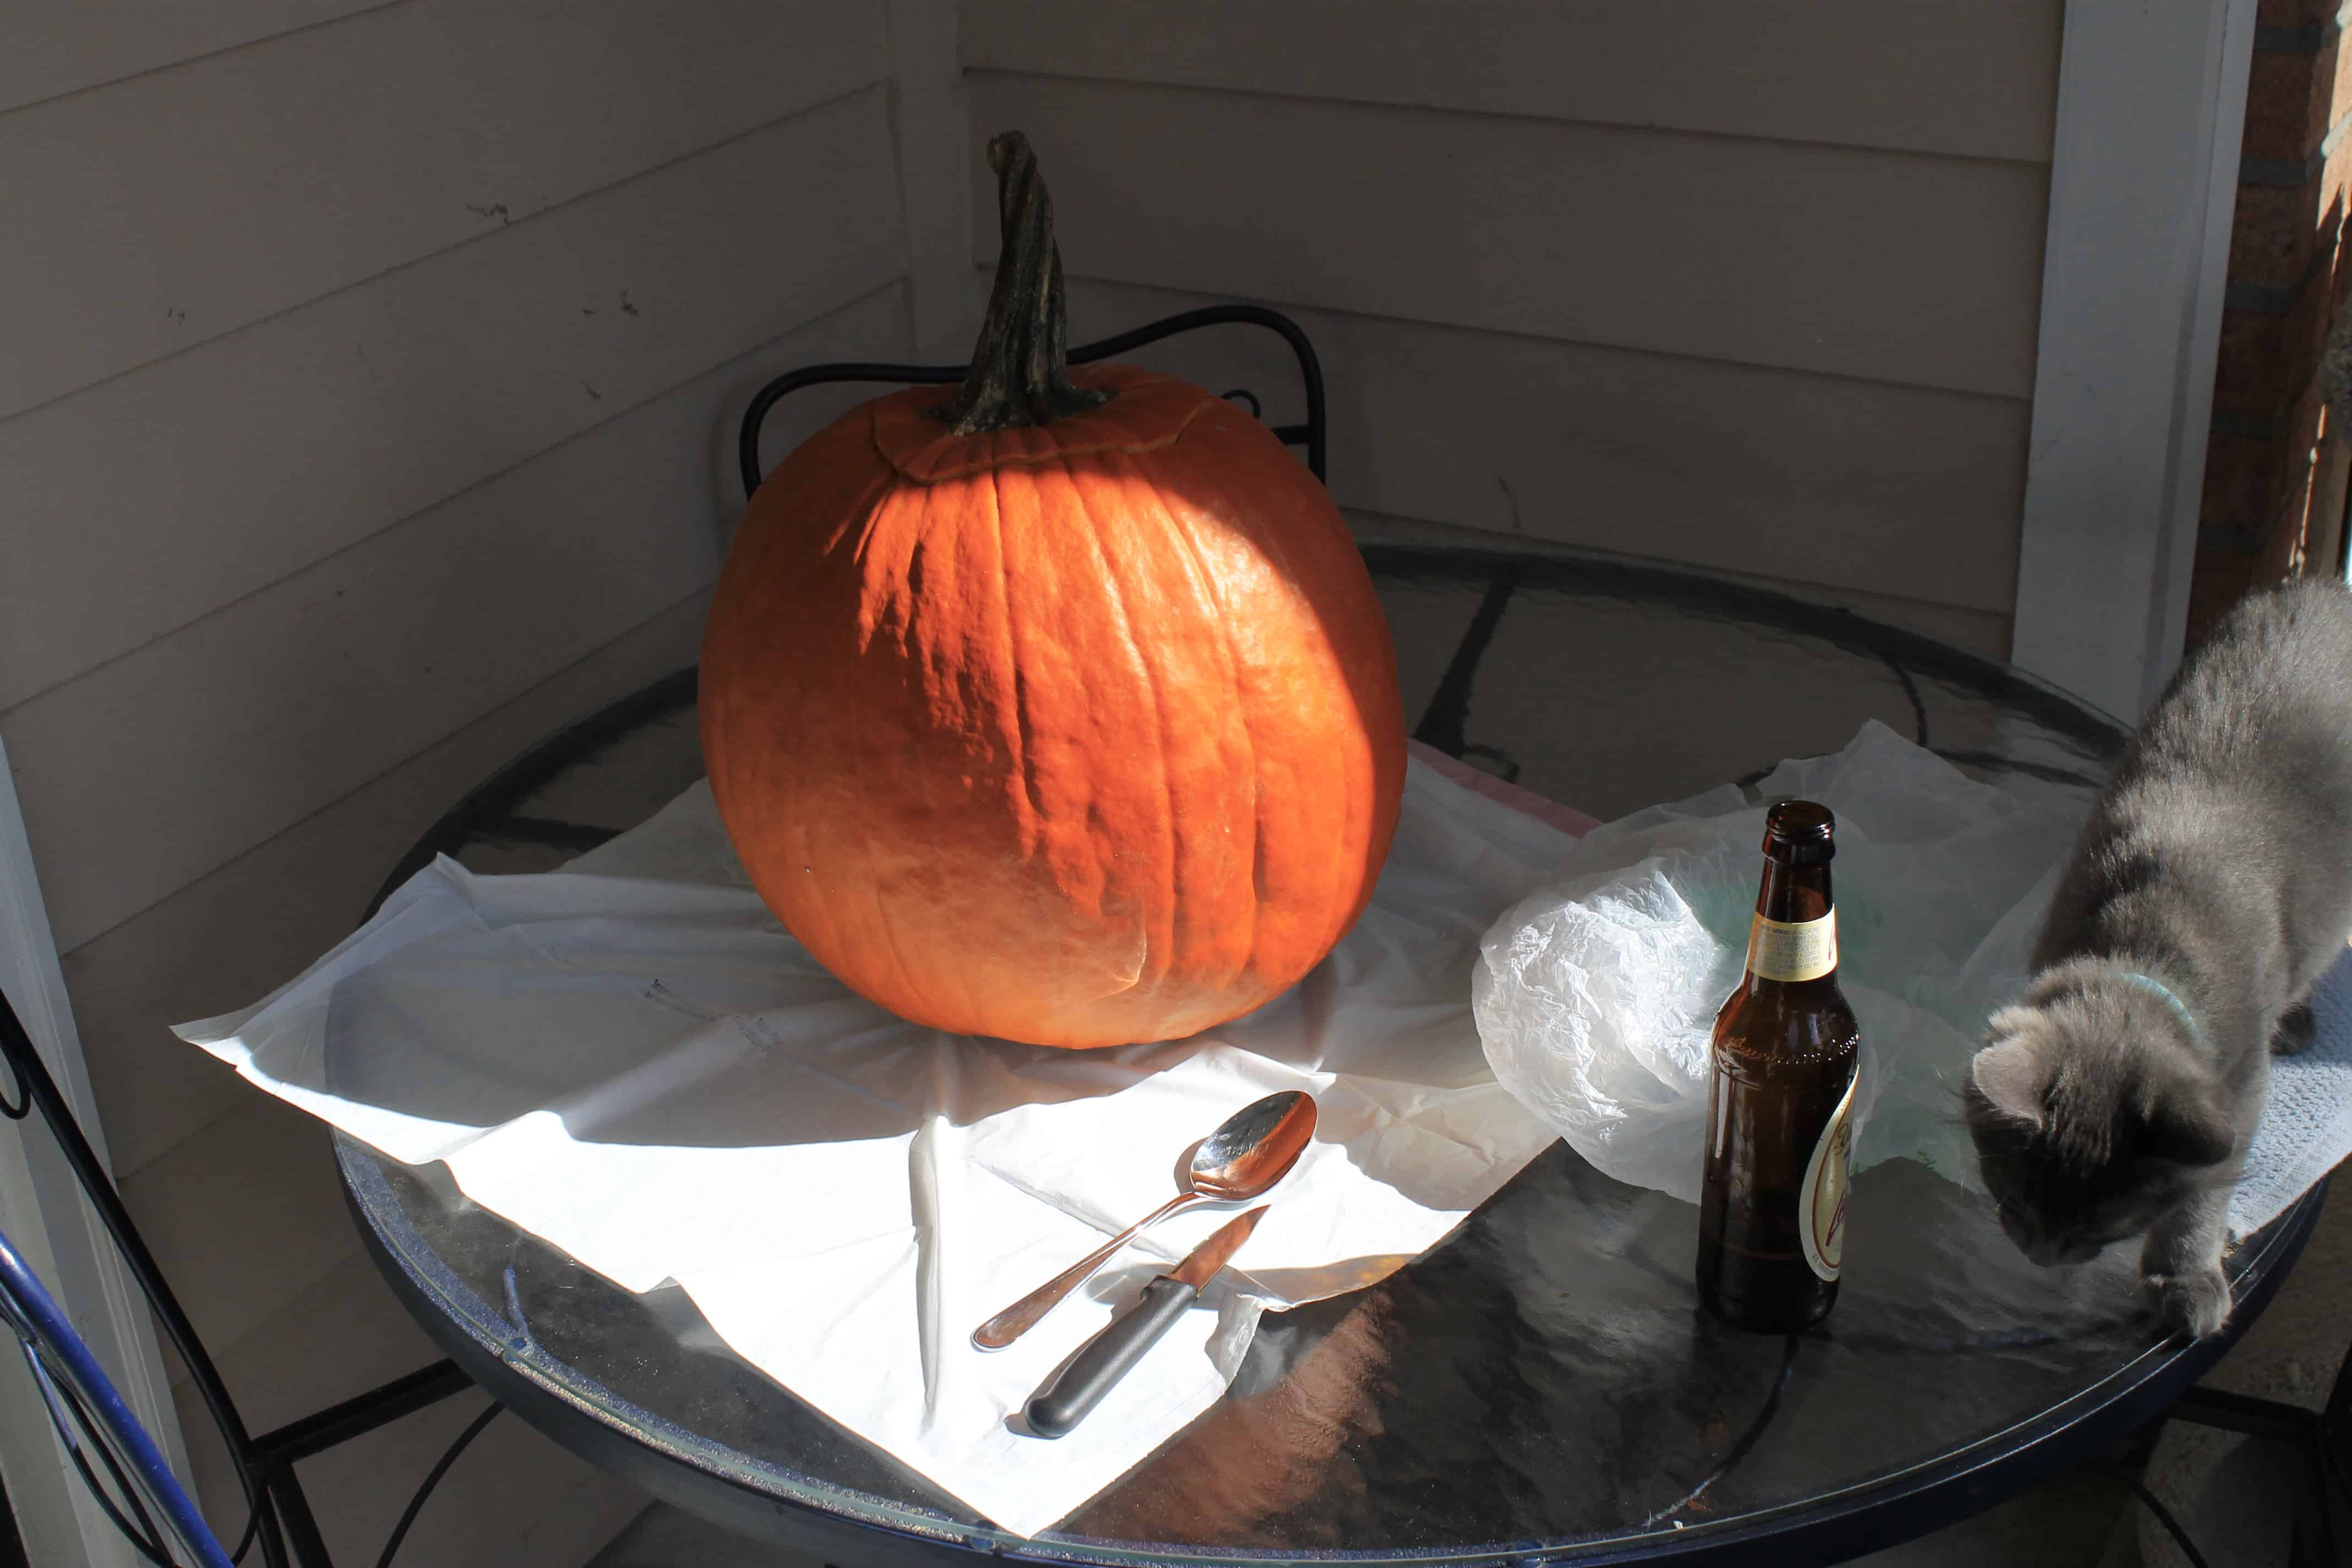
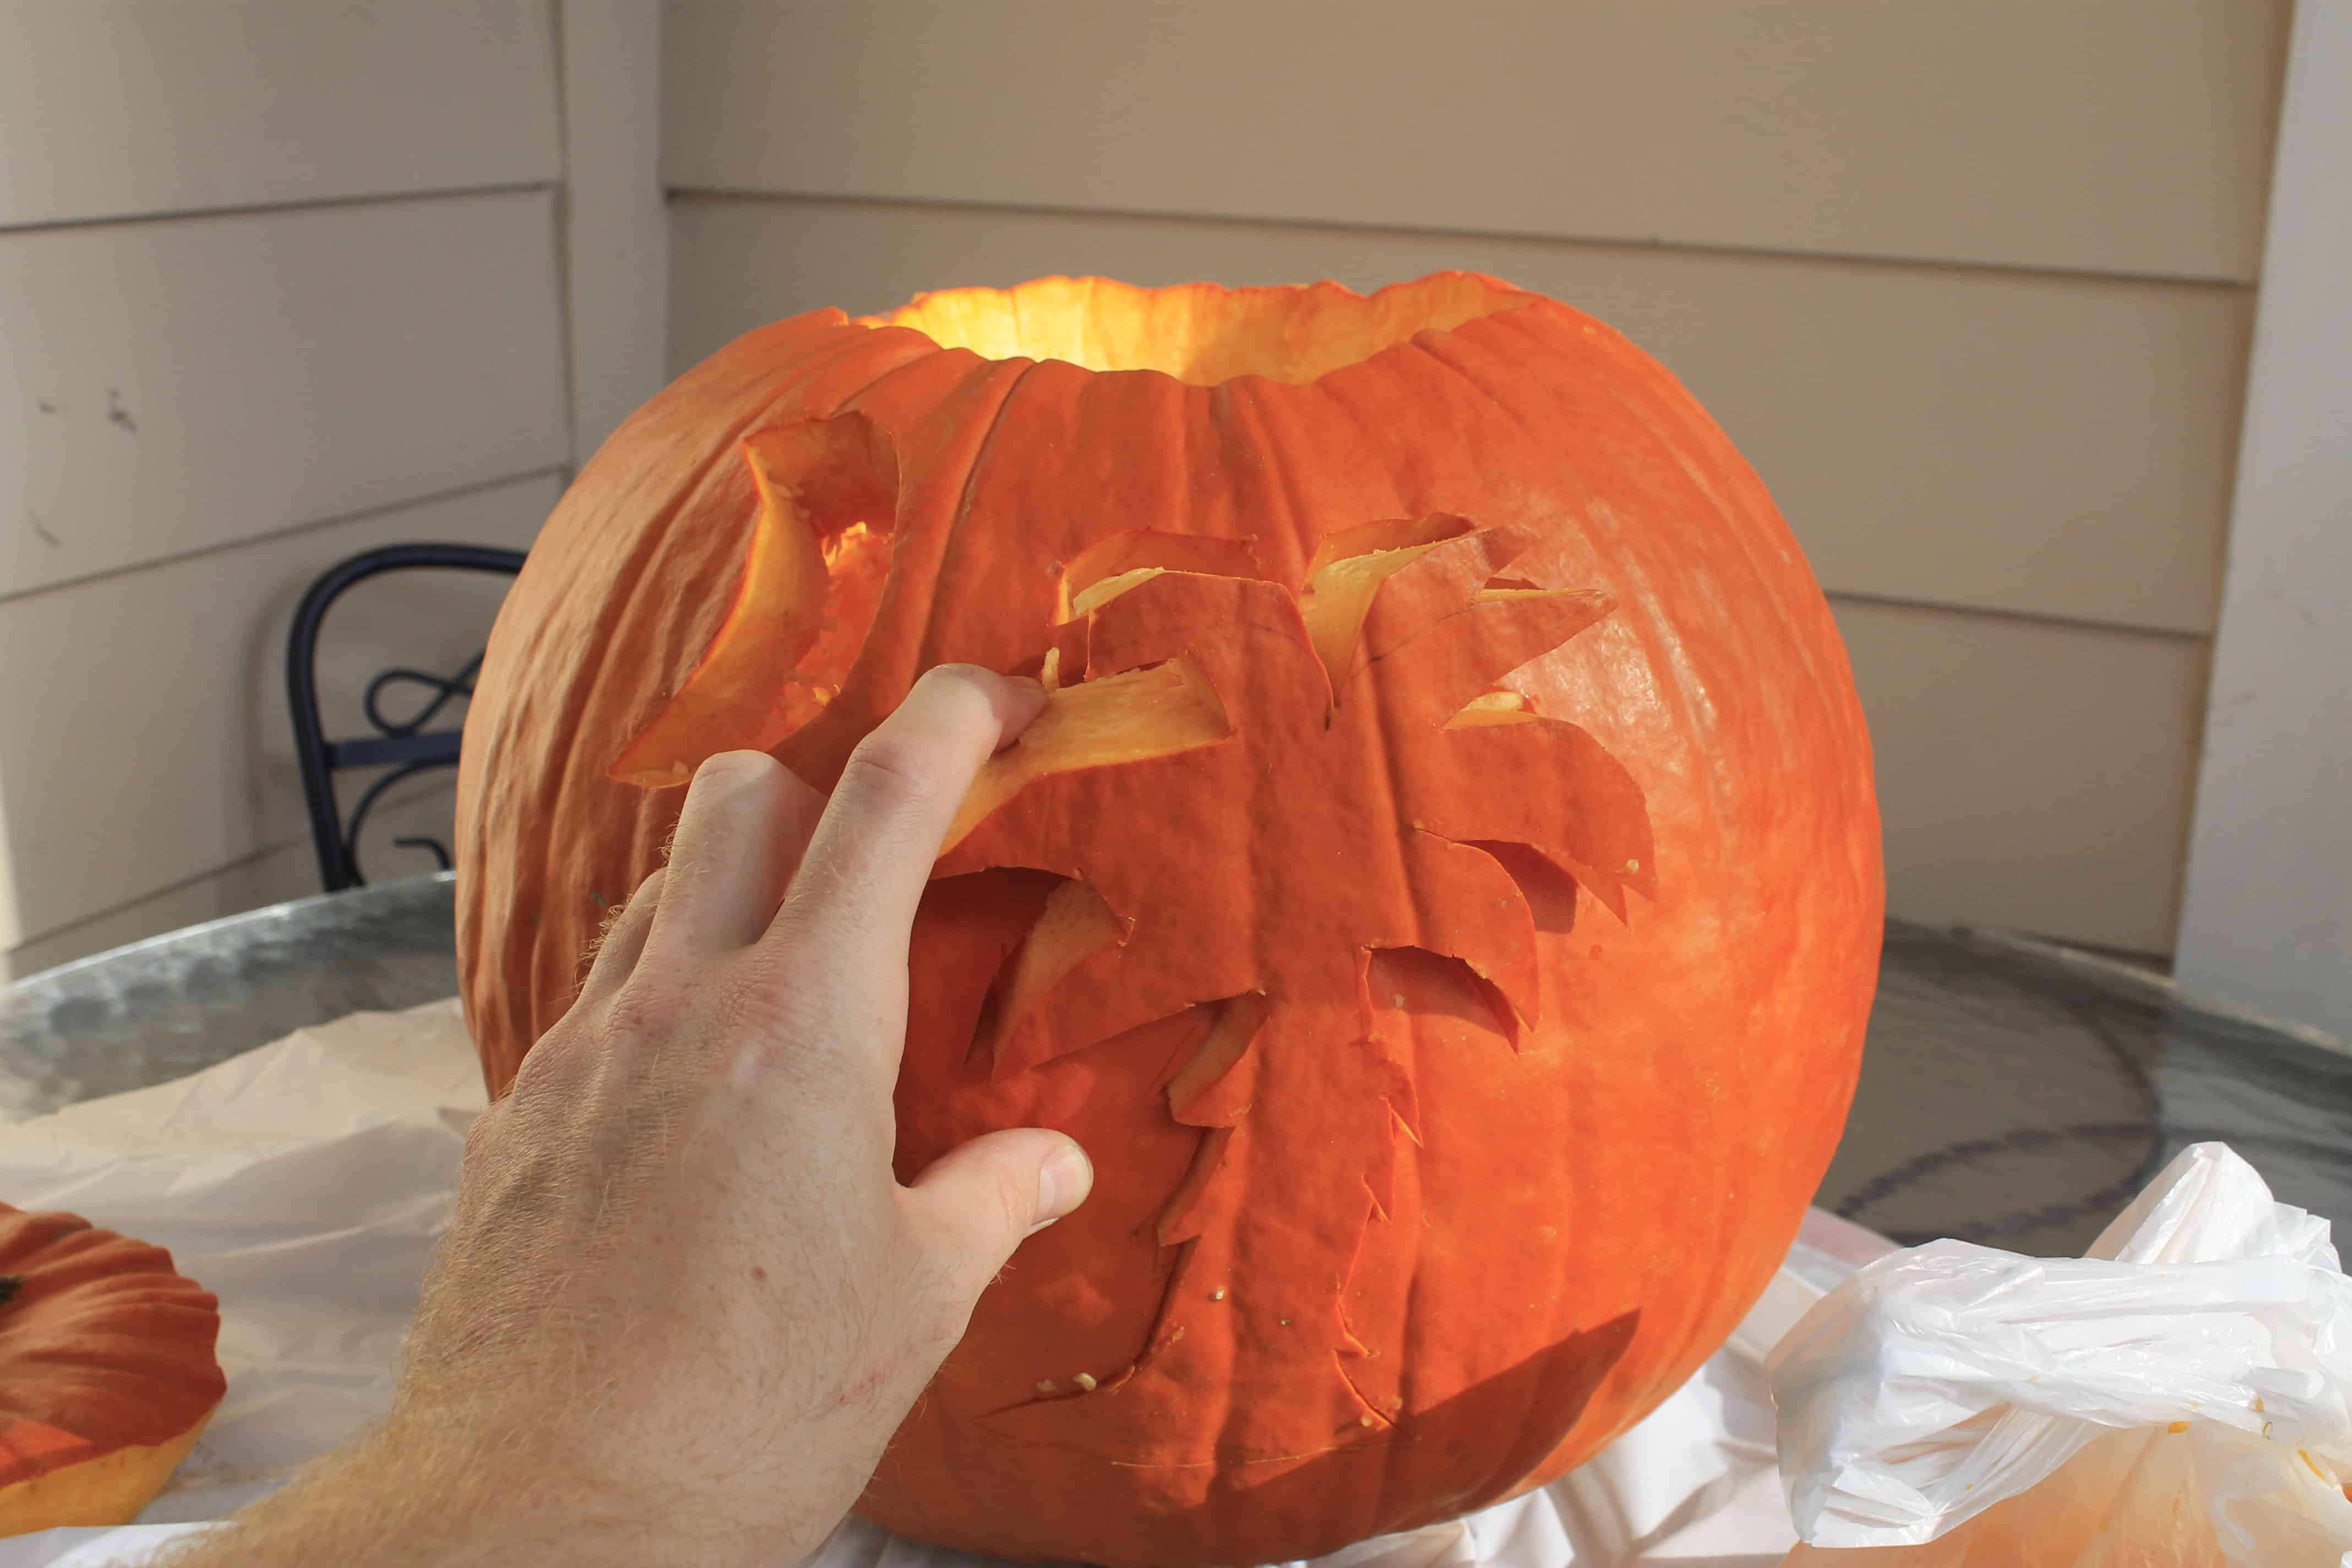
Then, we drew the design and started cutting!
In the end it turned out great!

That was the traditional way to decorate a pumpkin, but let’s get into some more unique ways. How about decorating the outside of the pumpkin.
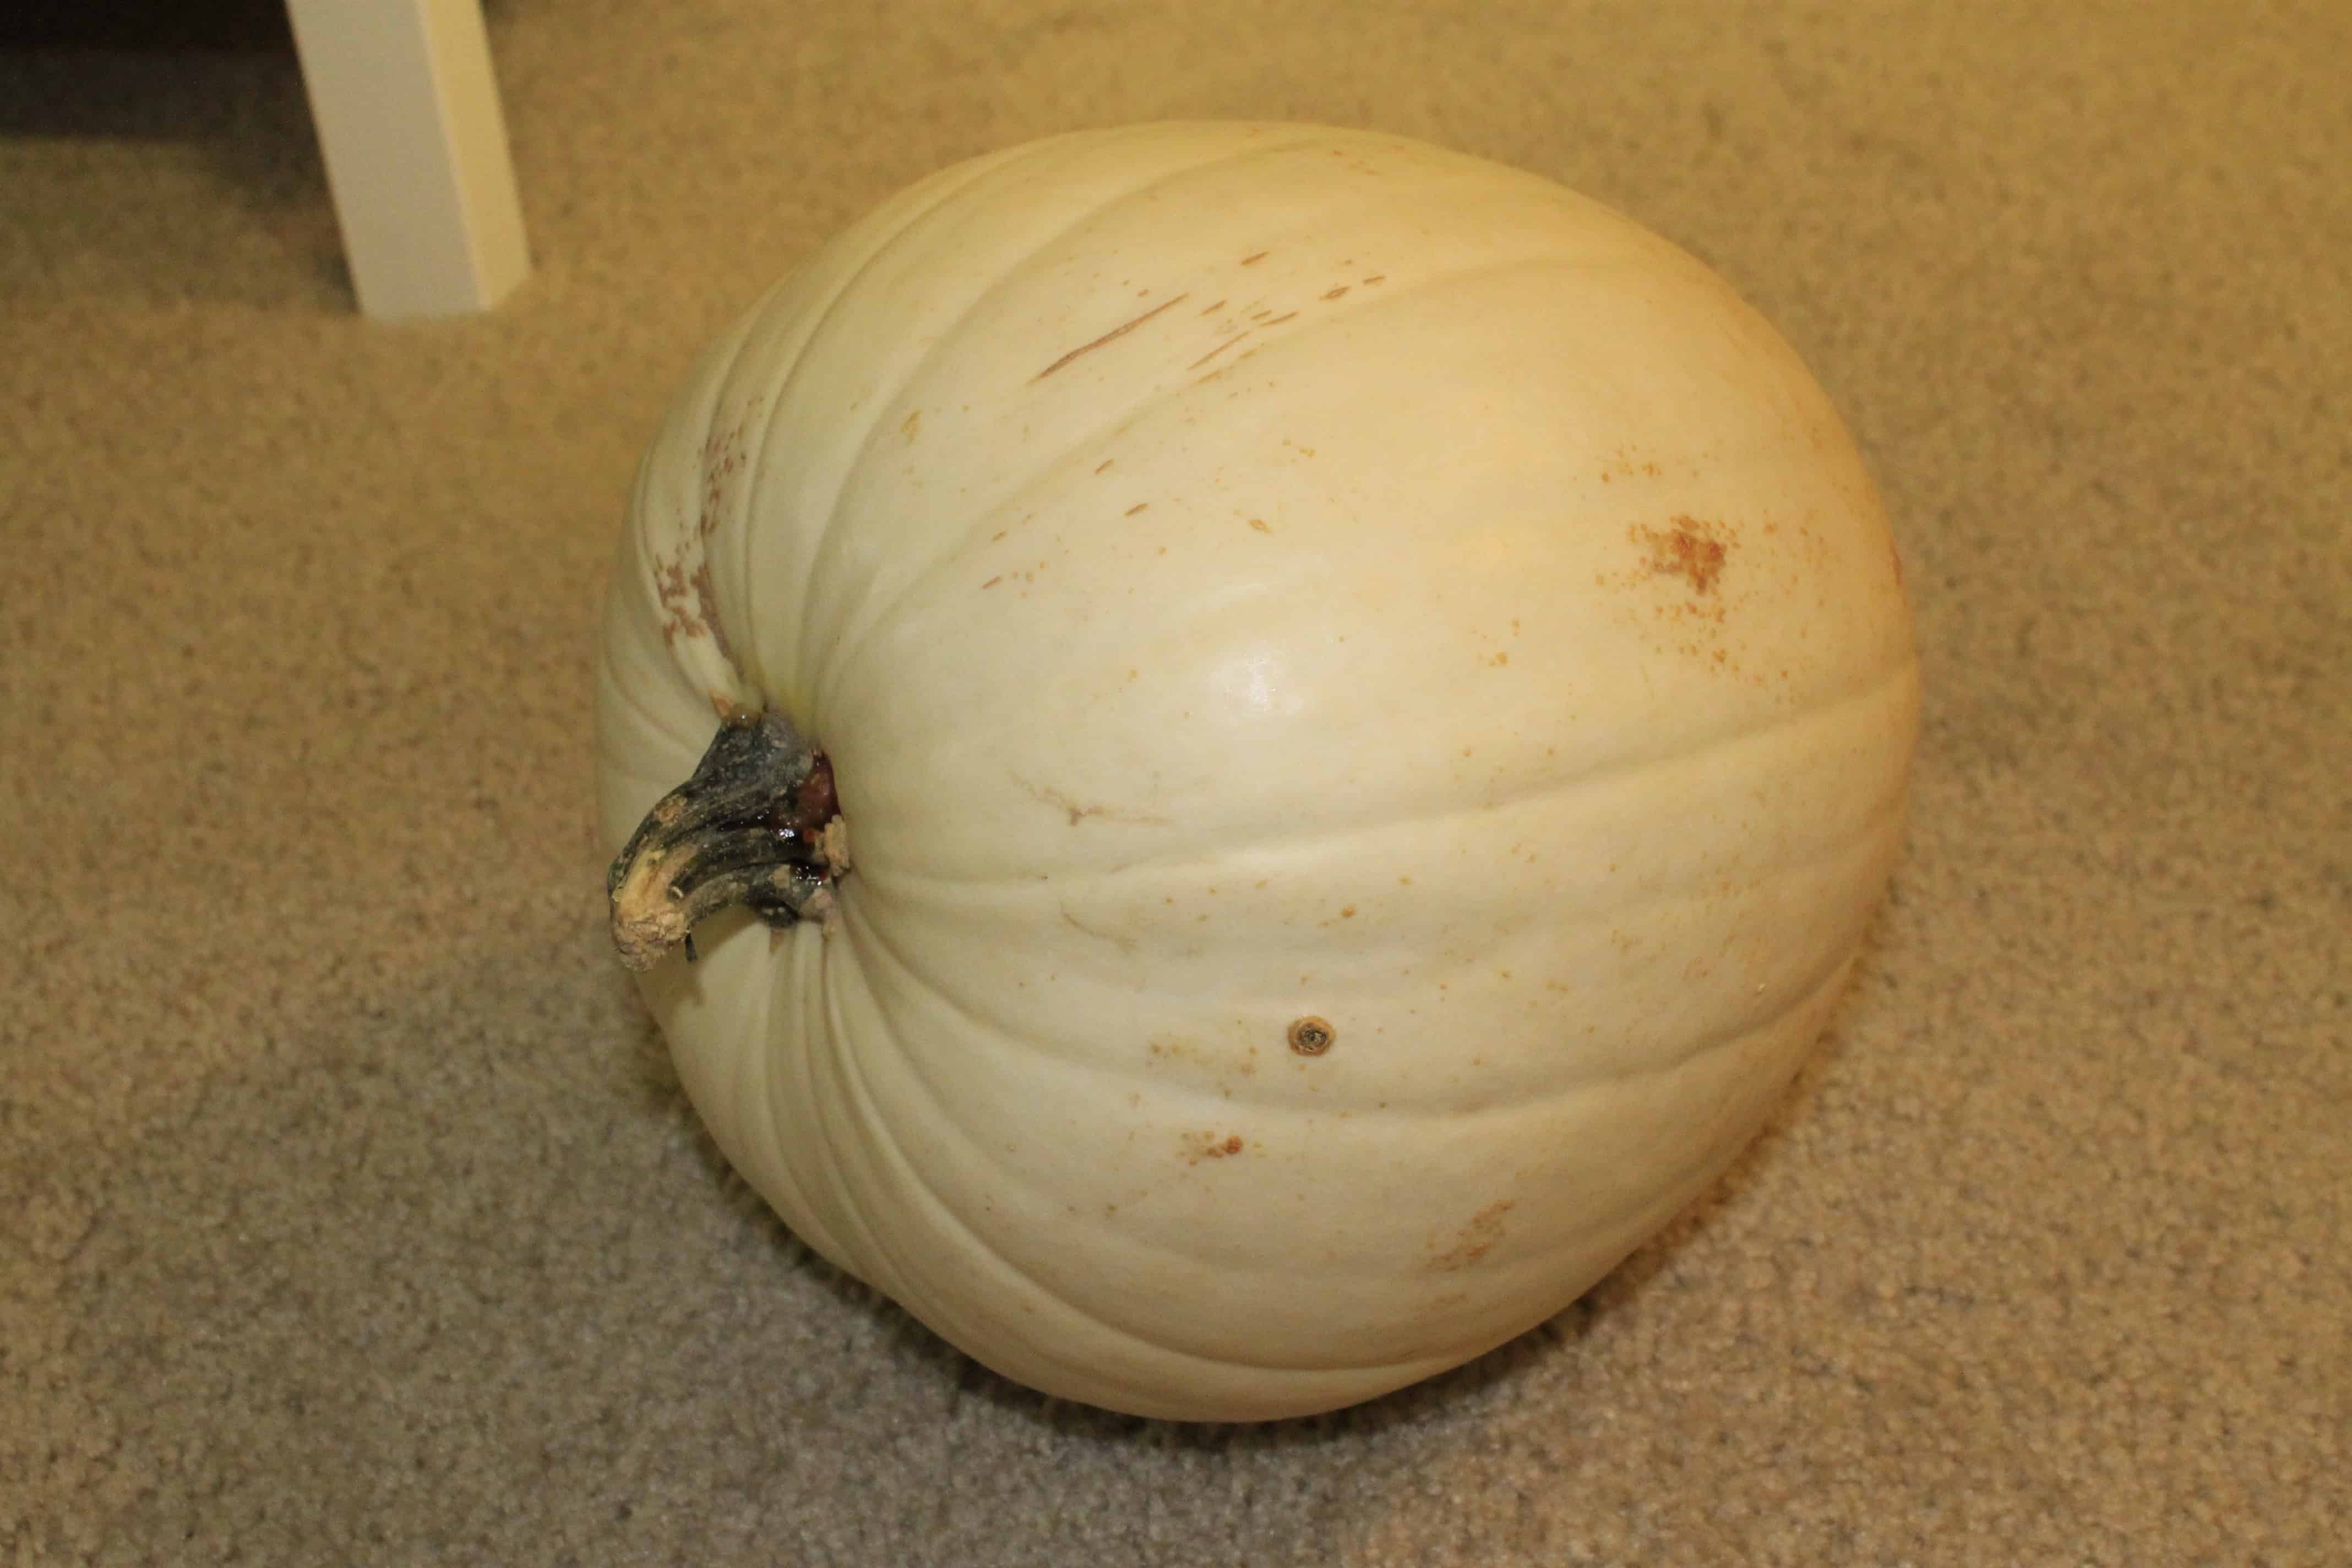
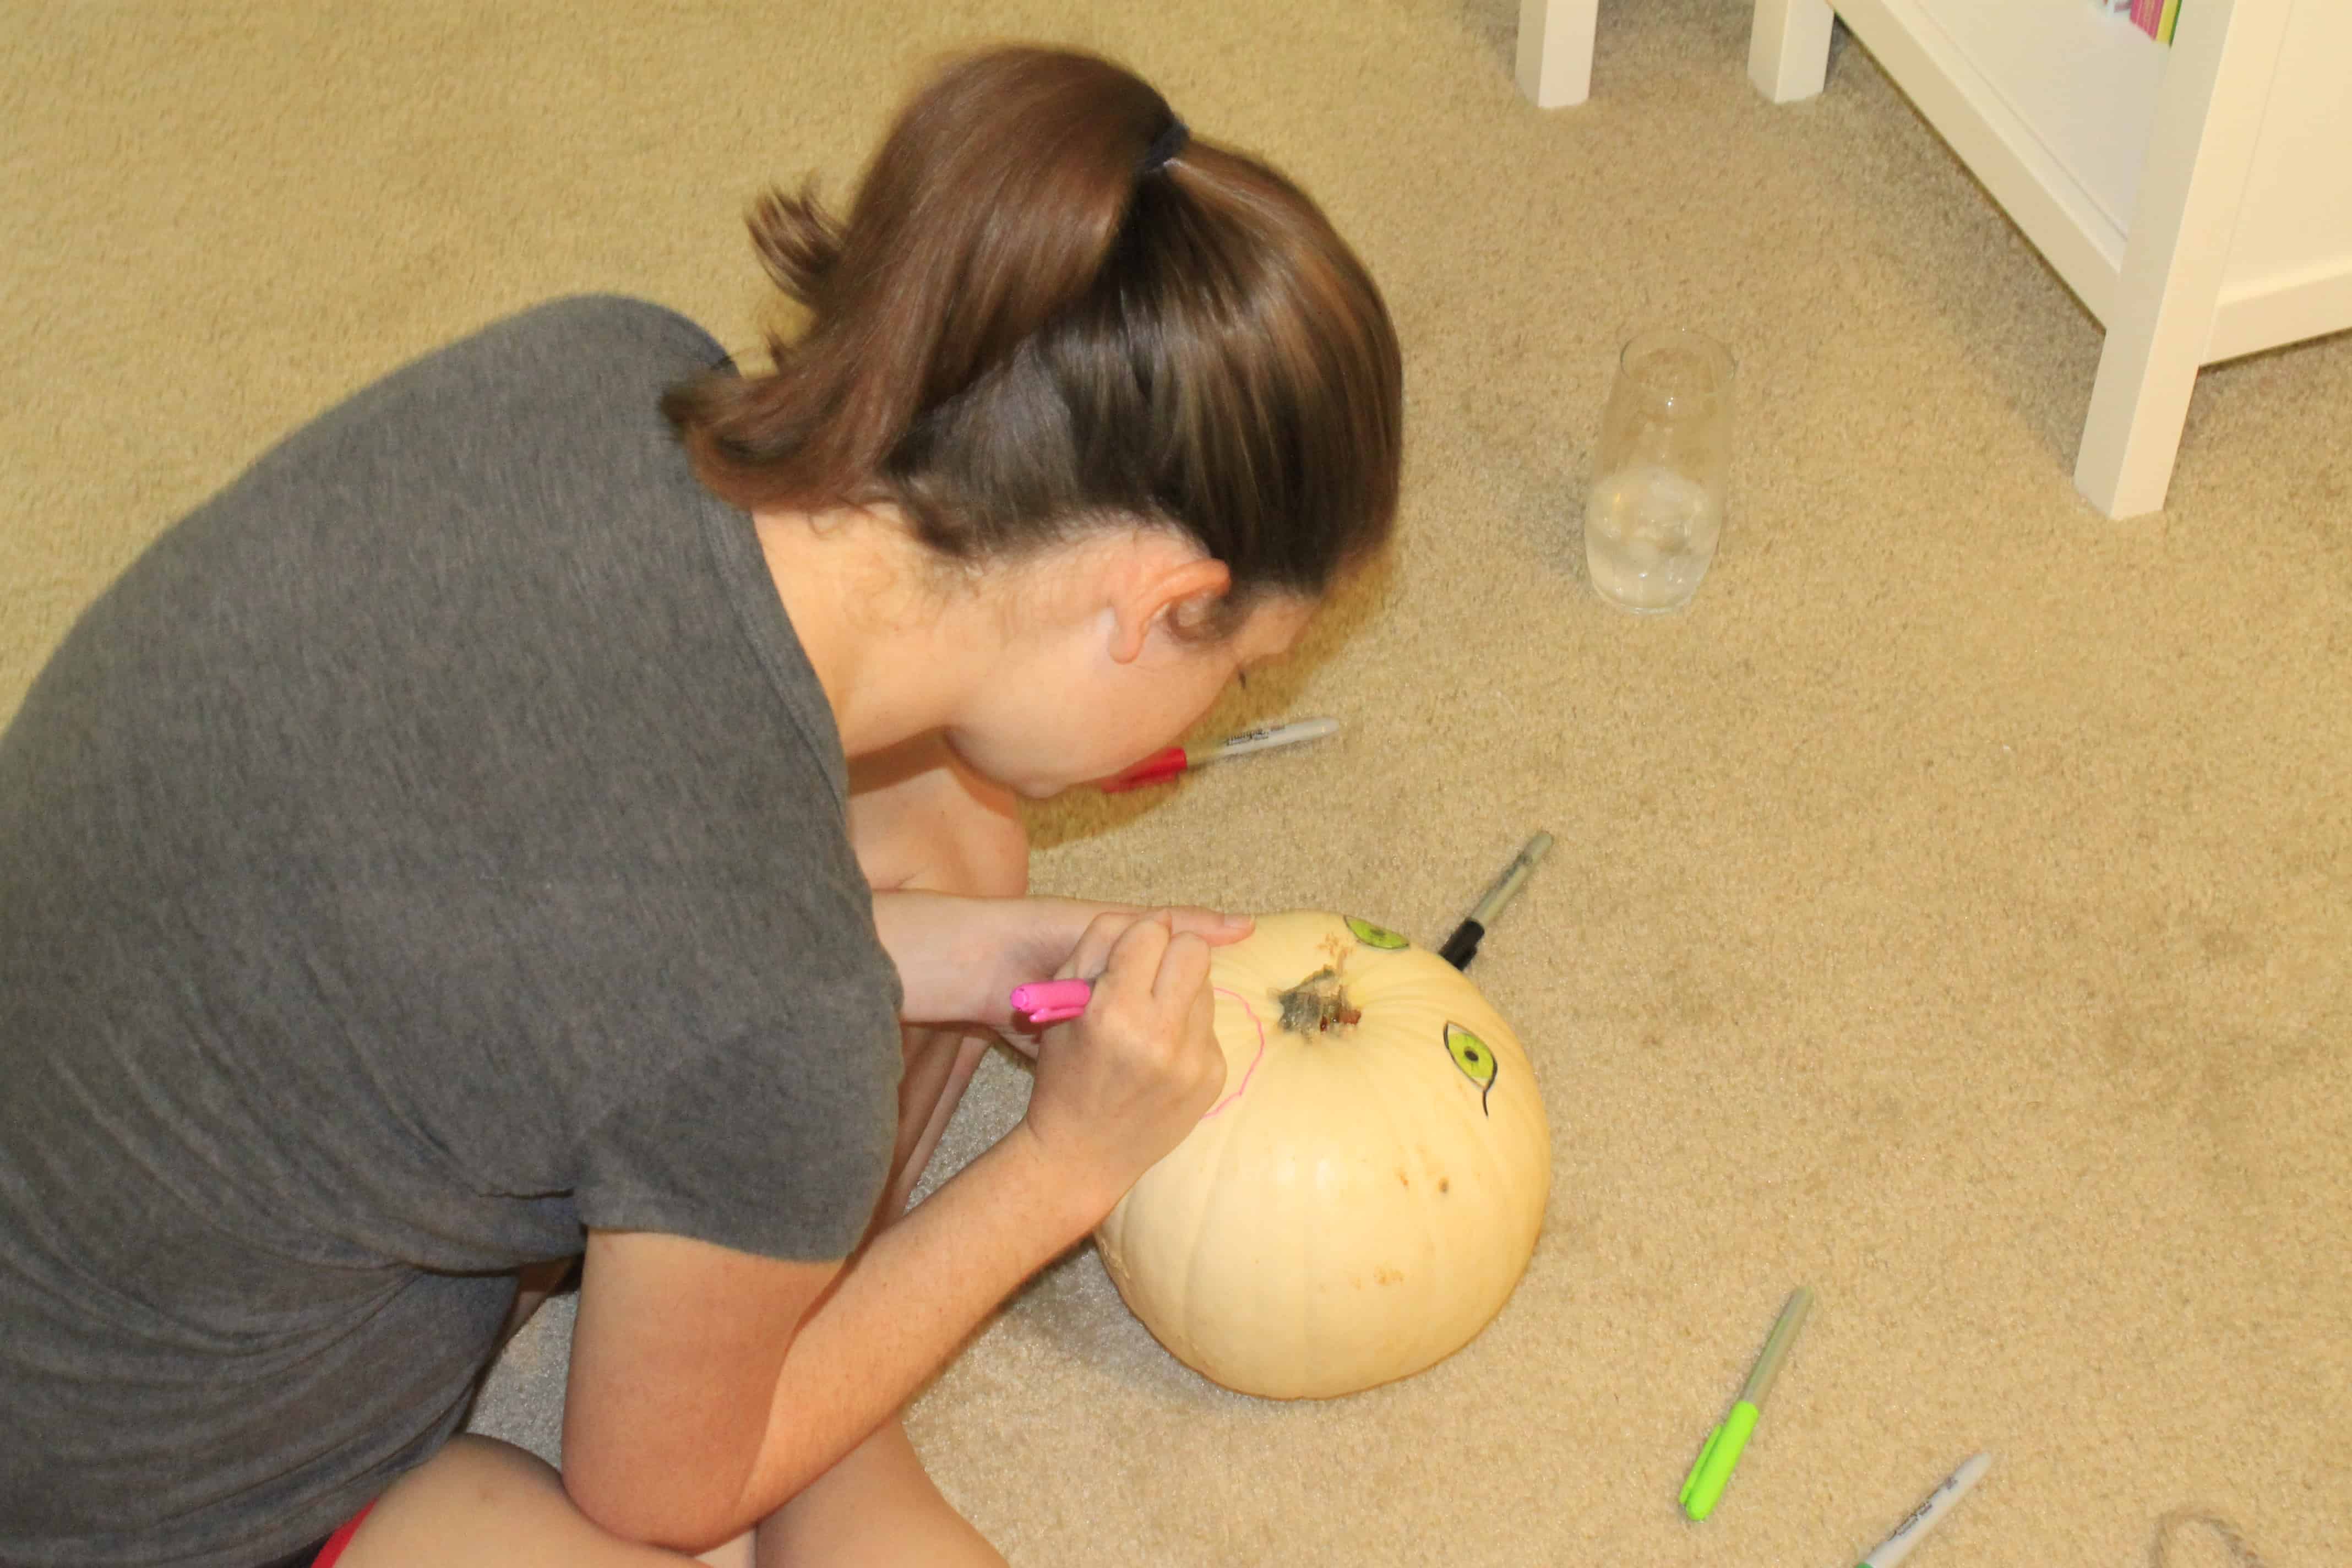
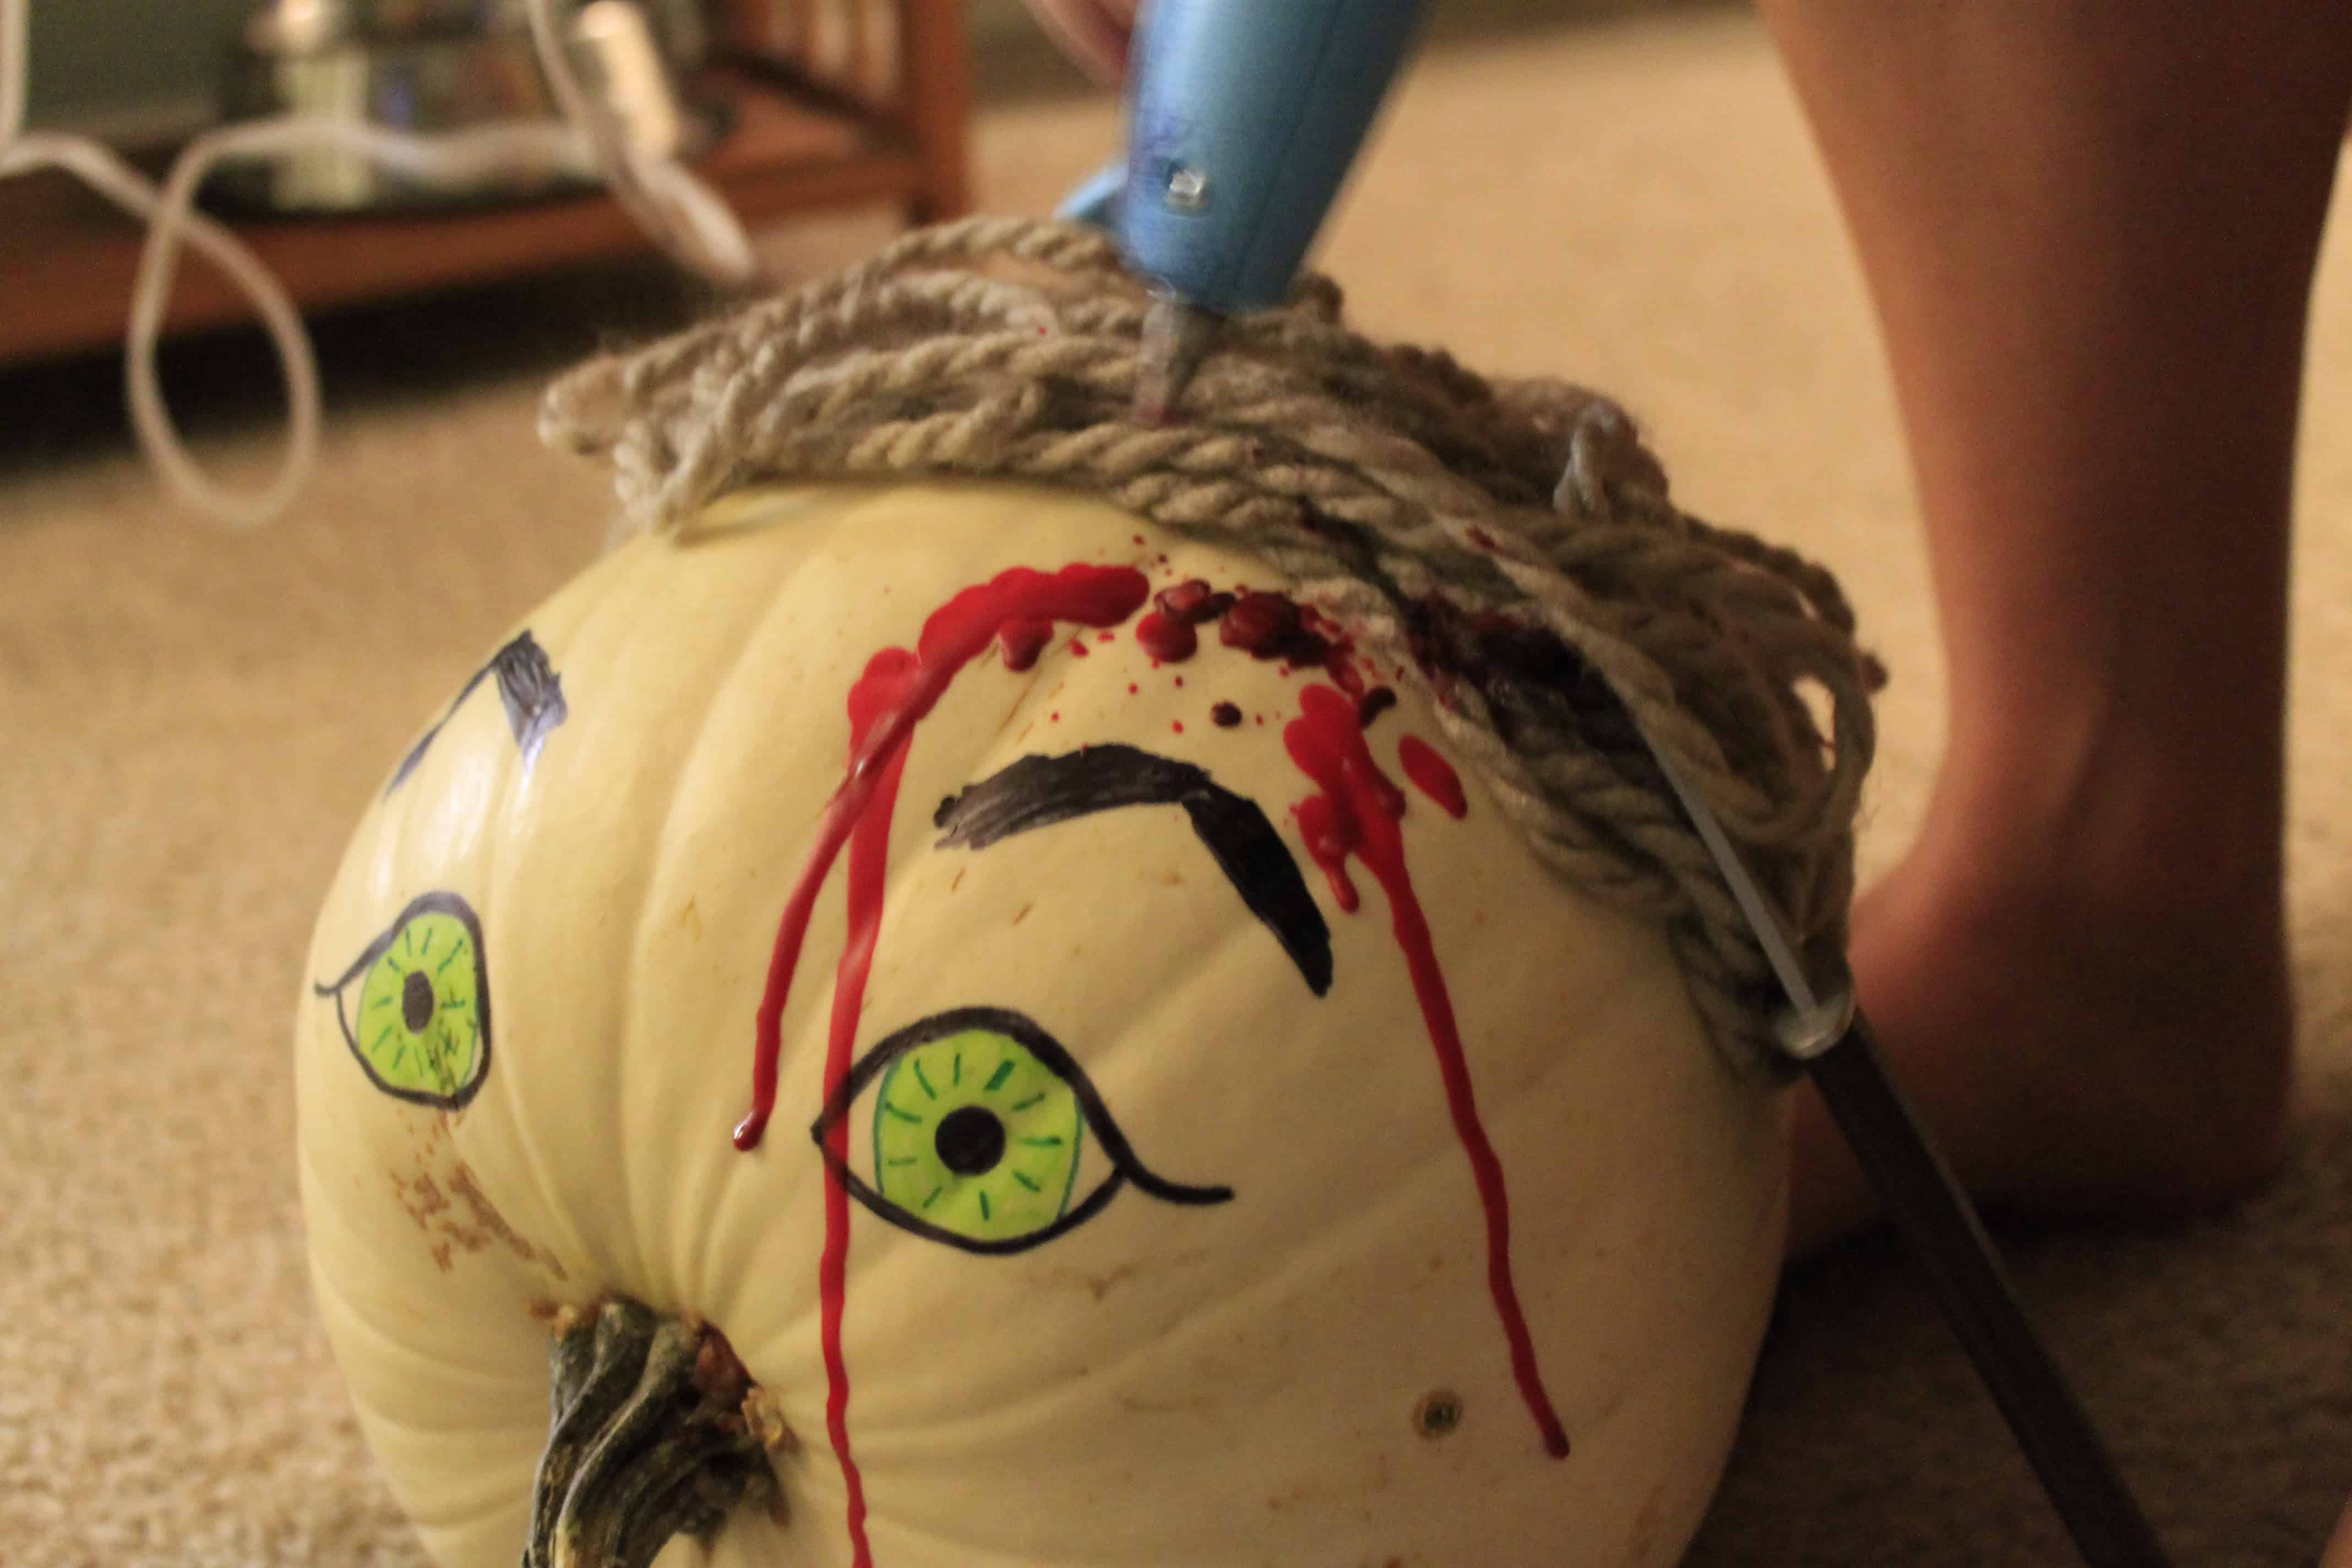
2) Kill Them! First, we picked up an albino pumpkin at the pumpkin patch and wanted to make a design. Using the stem as a nose, I drew a face using colored sharpies.

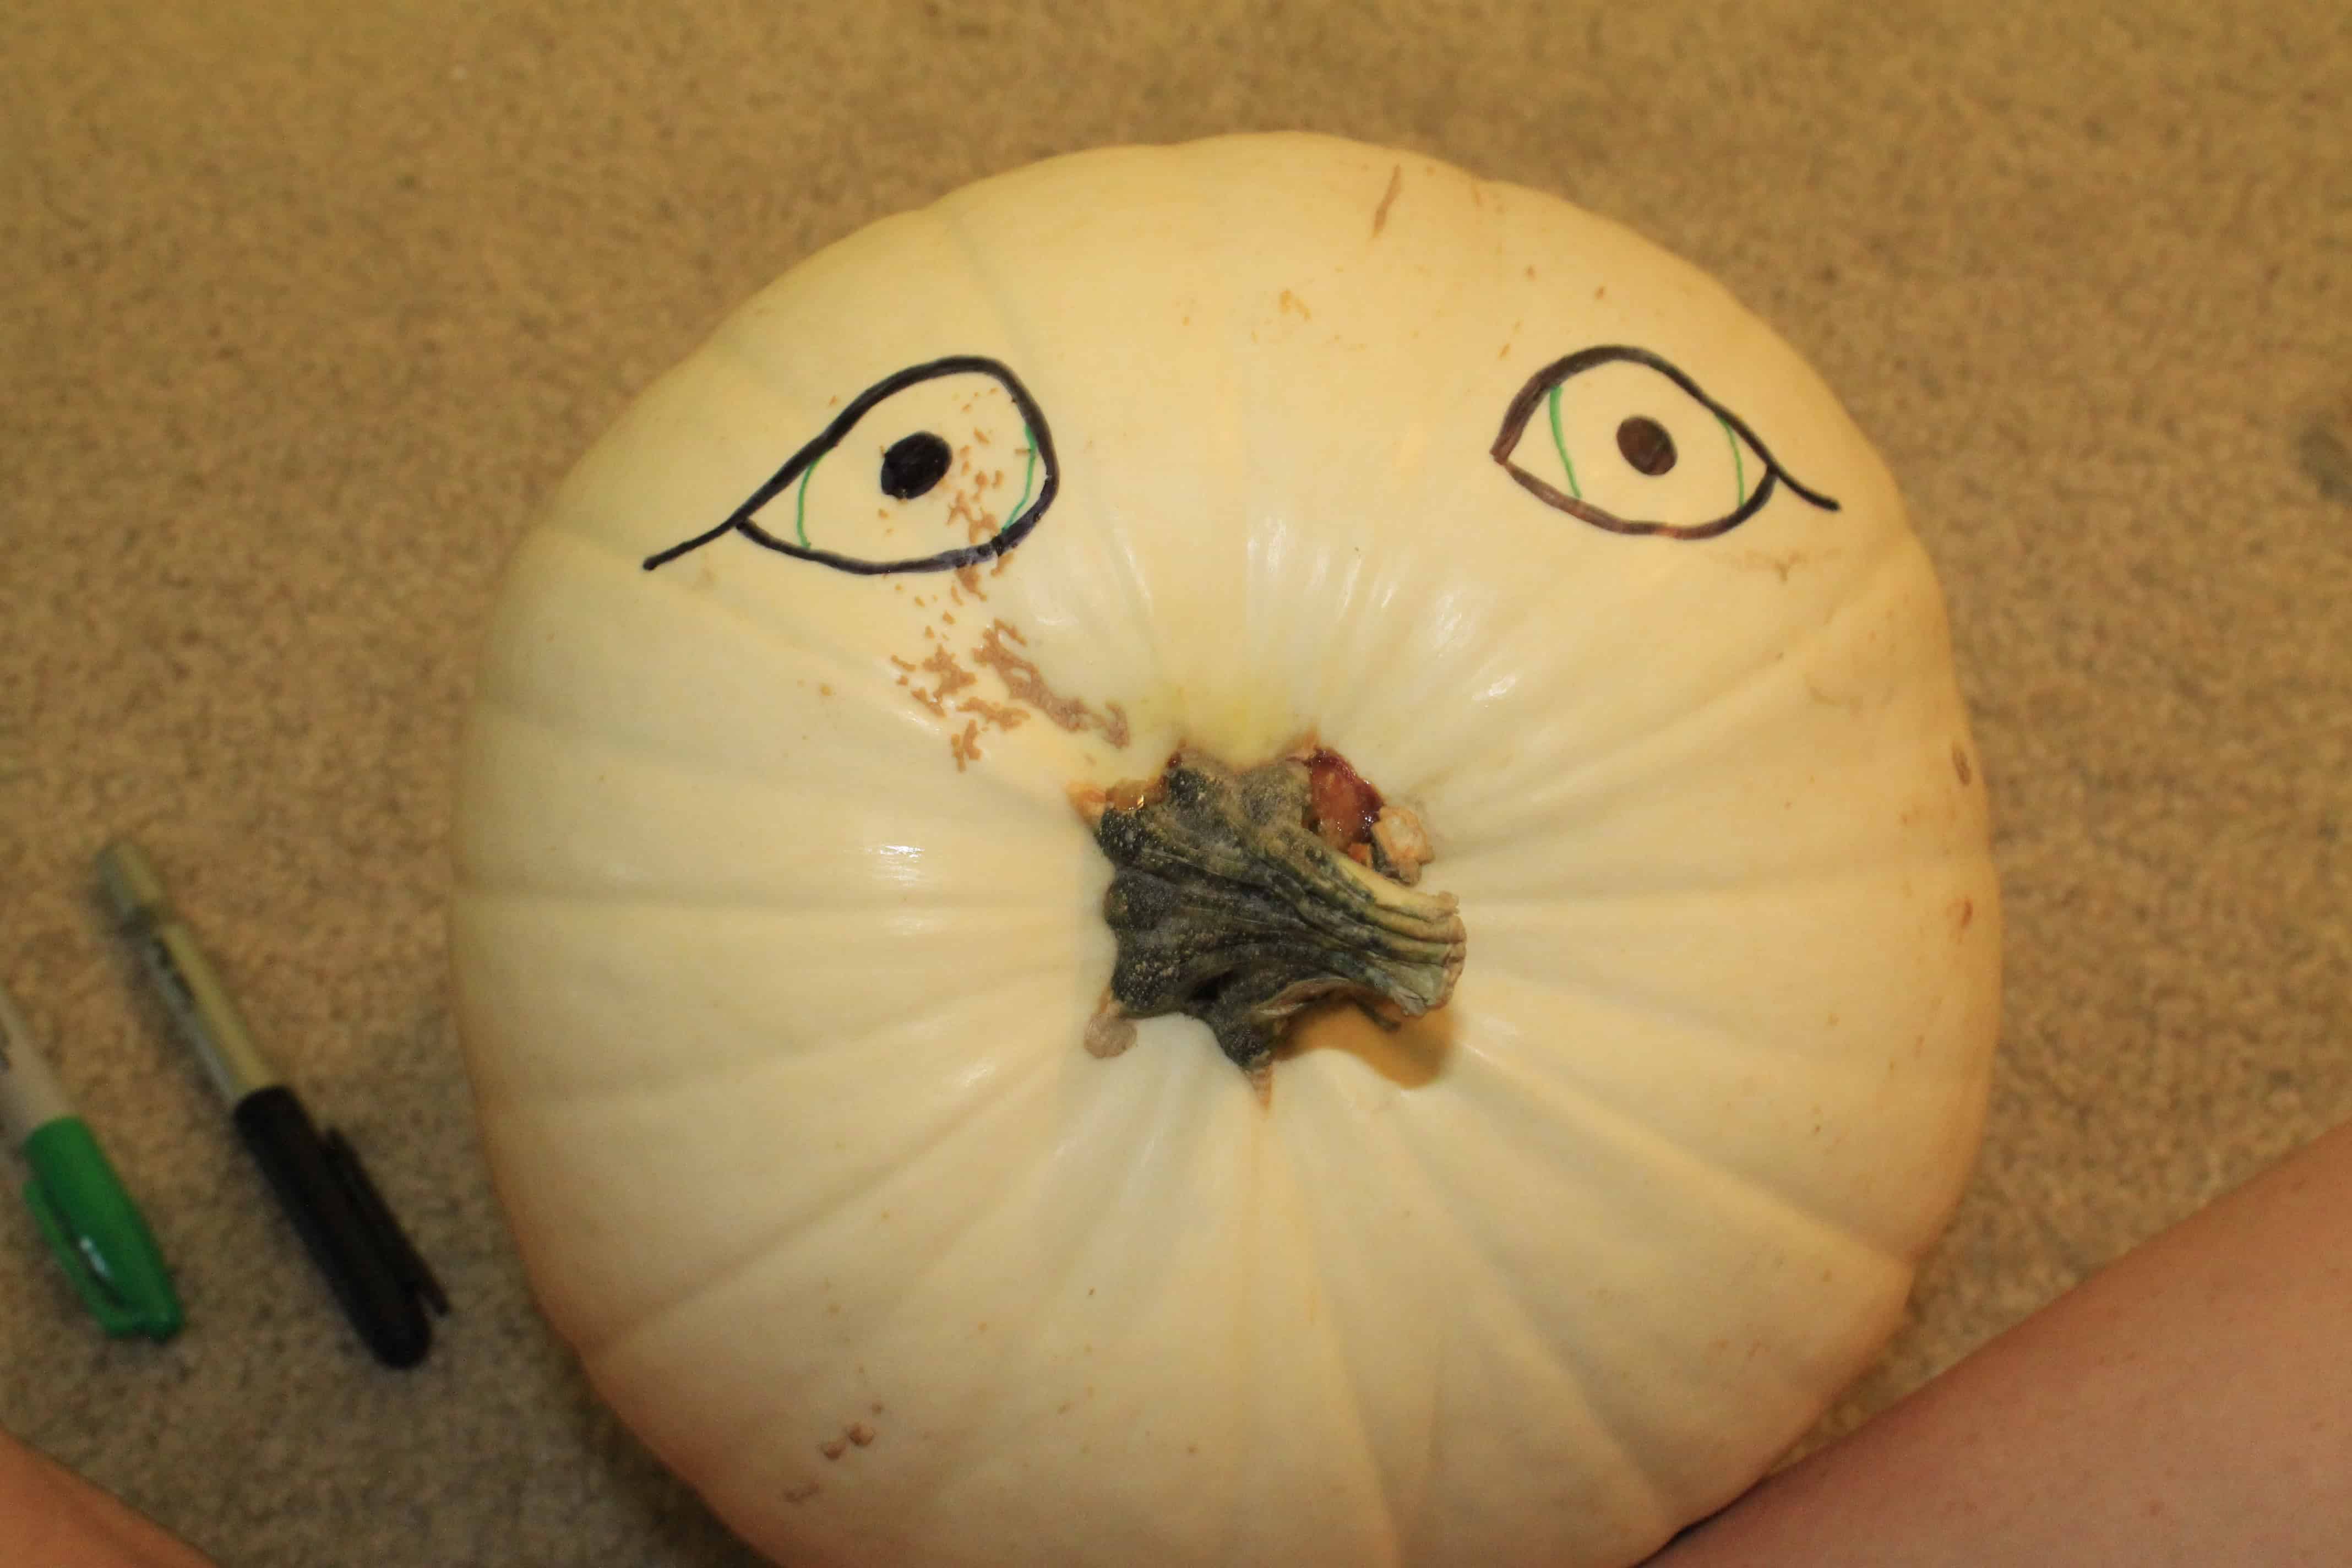

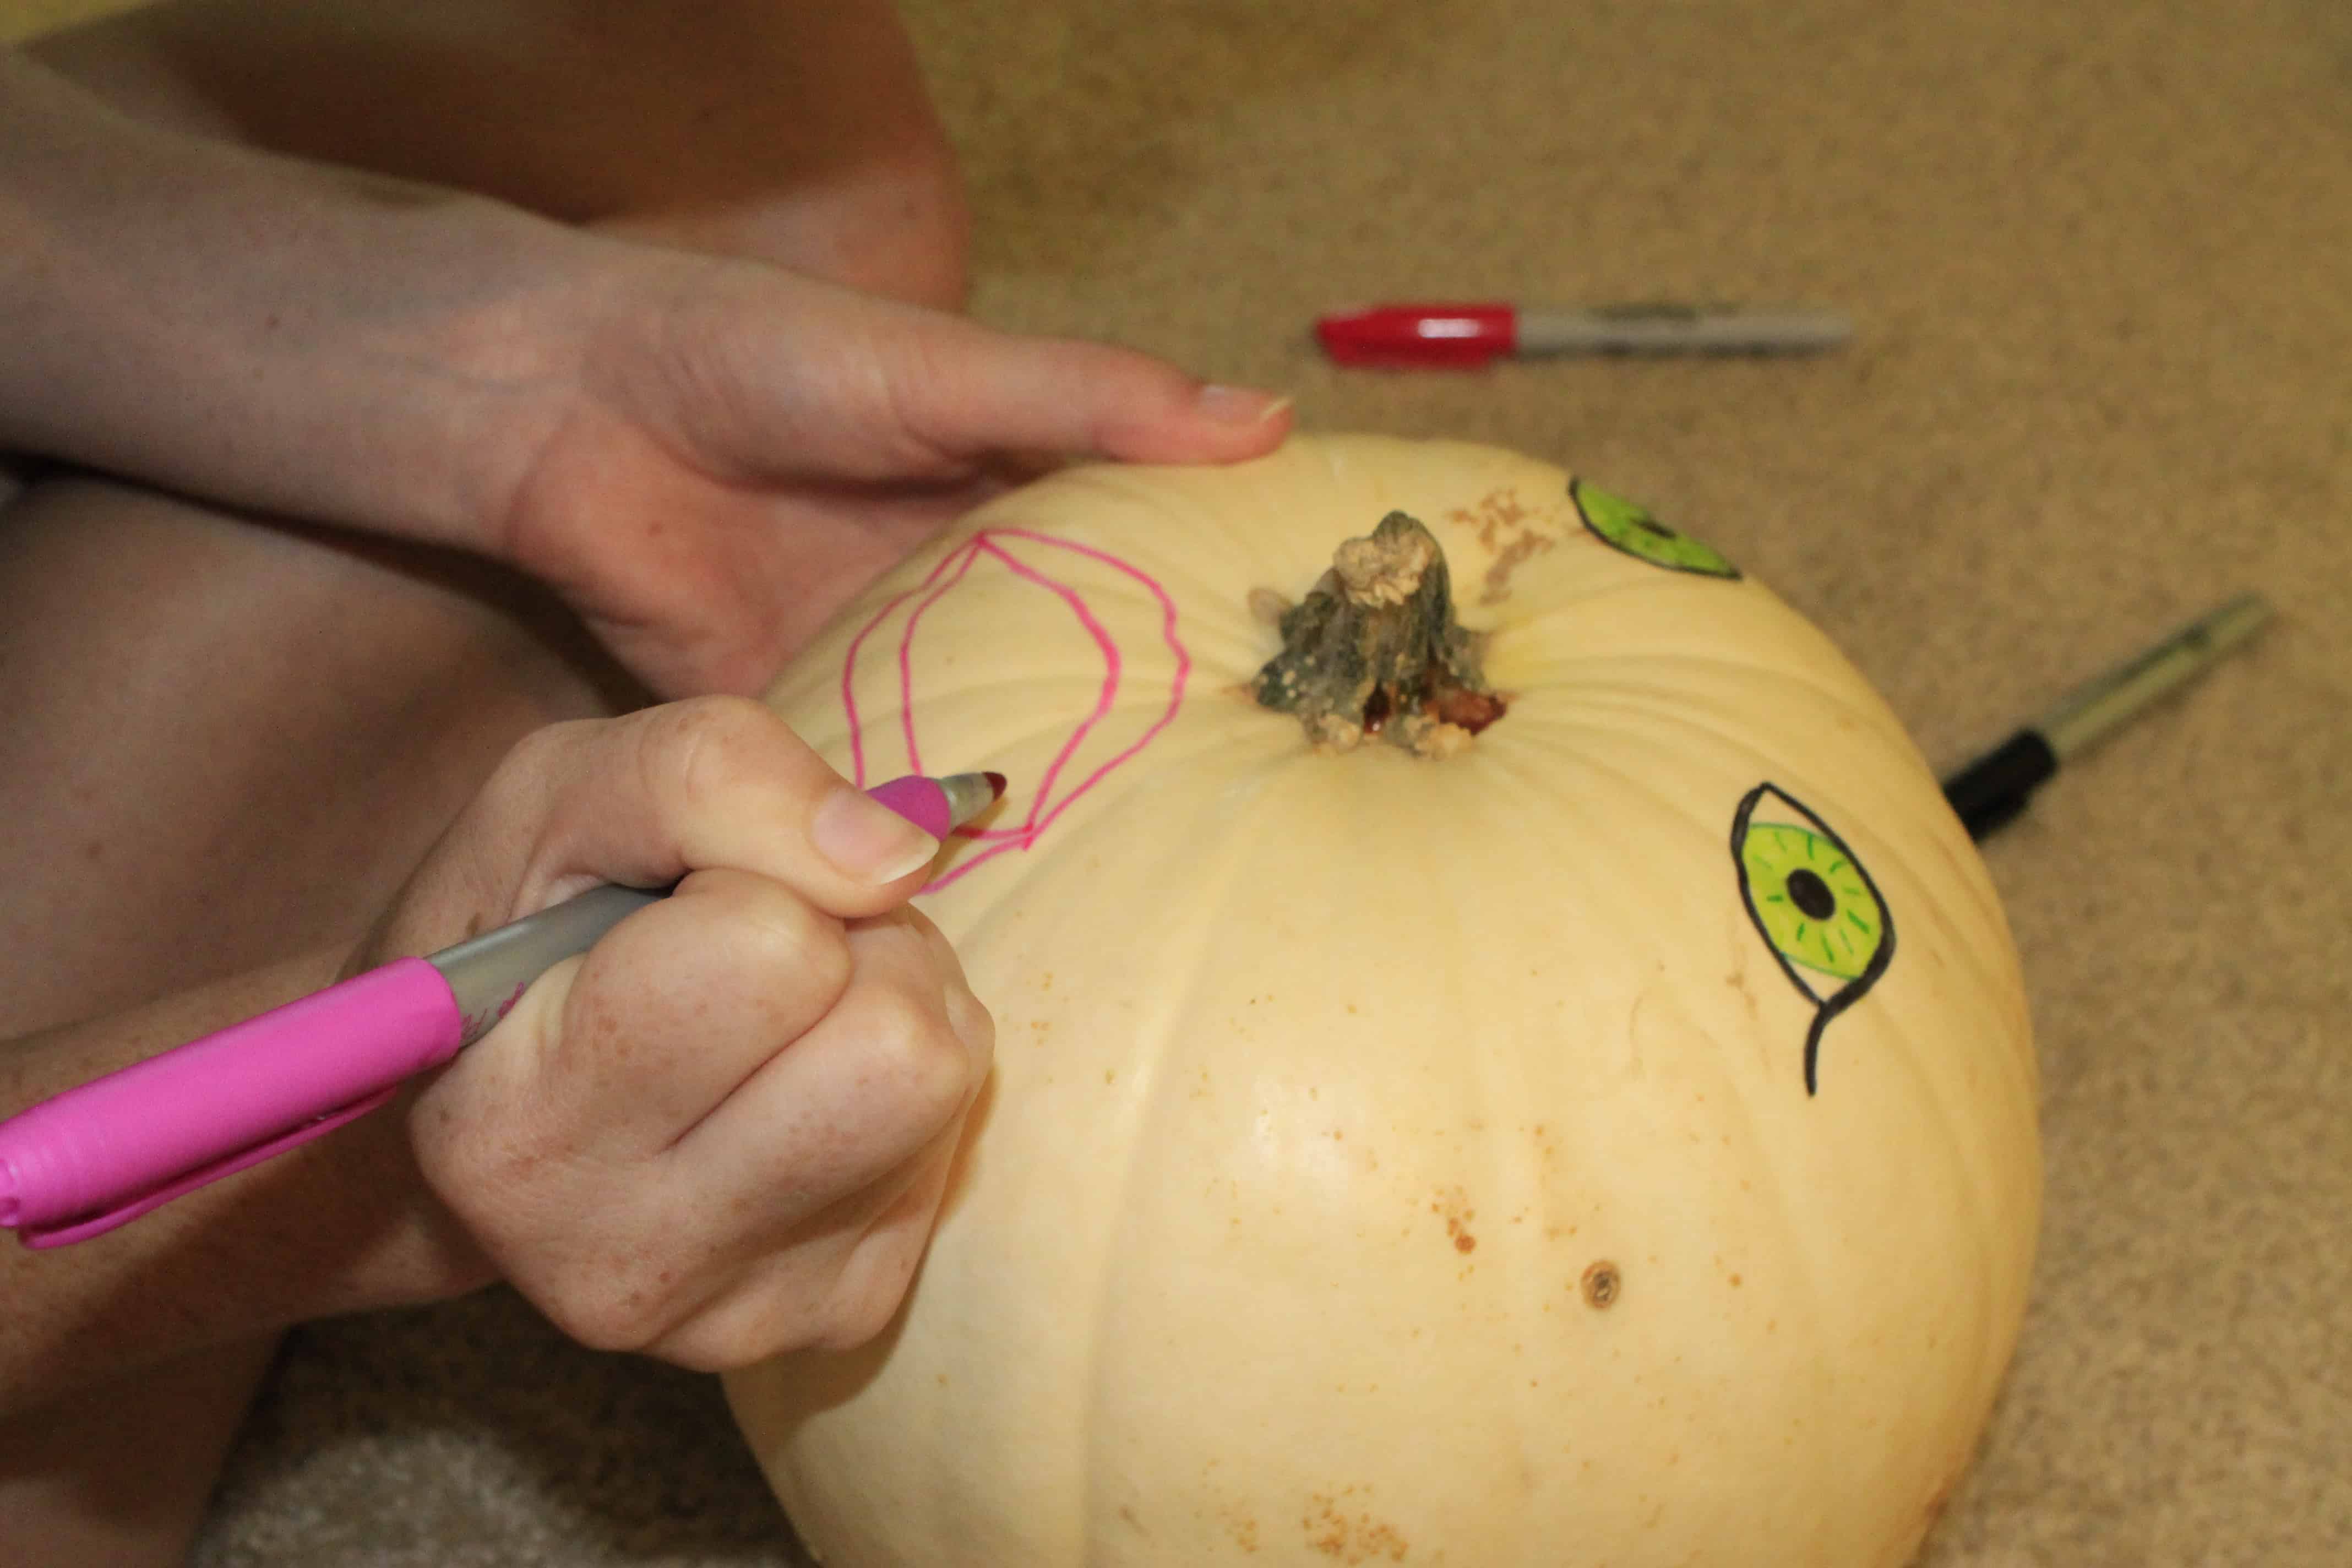
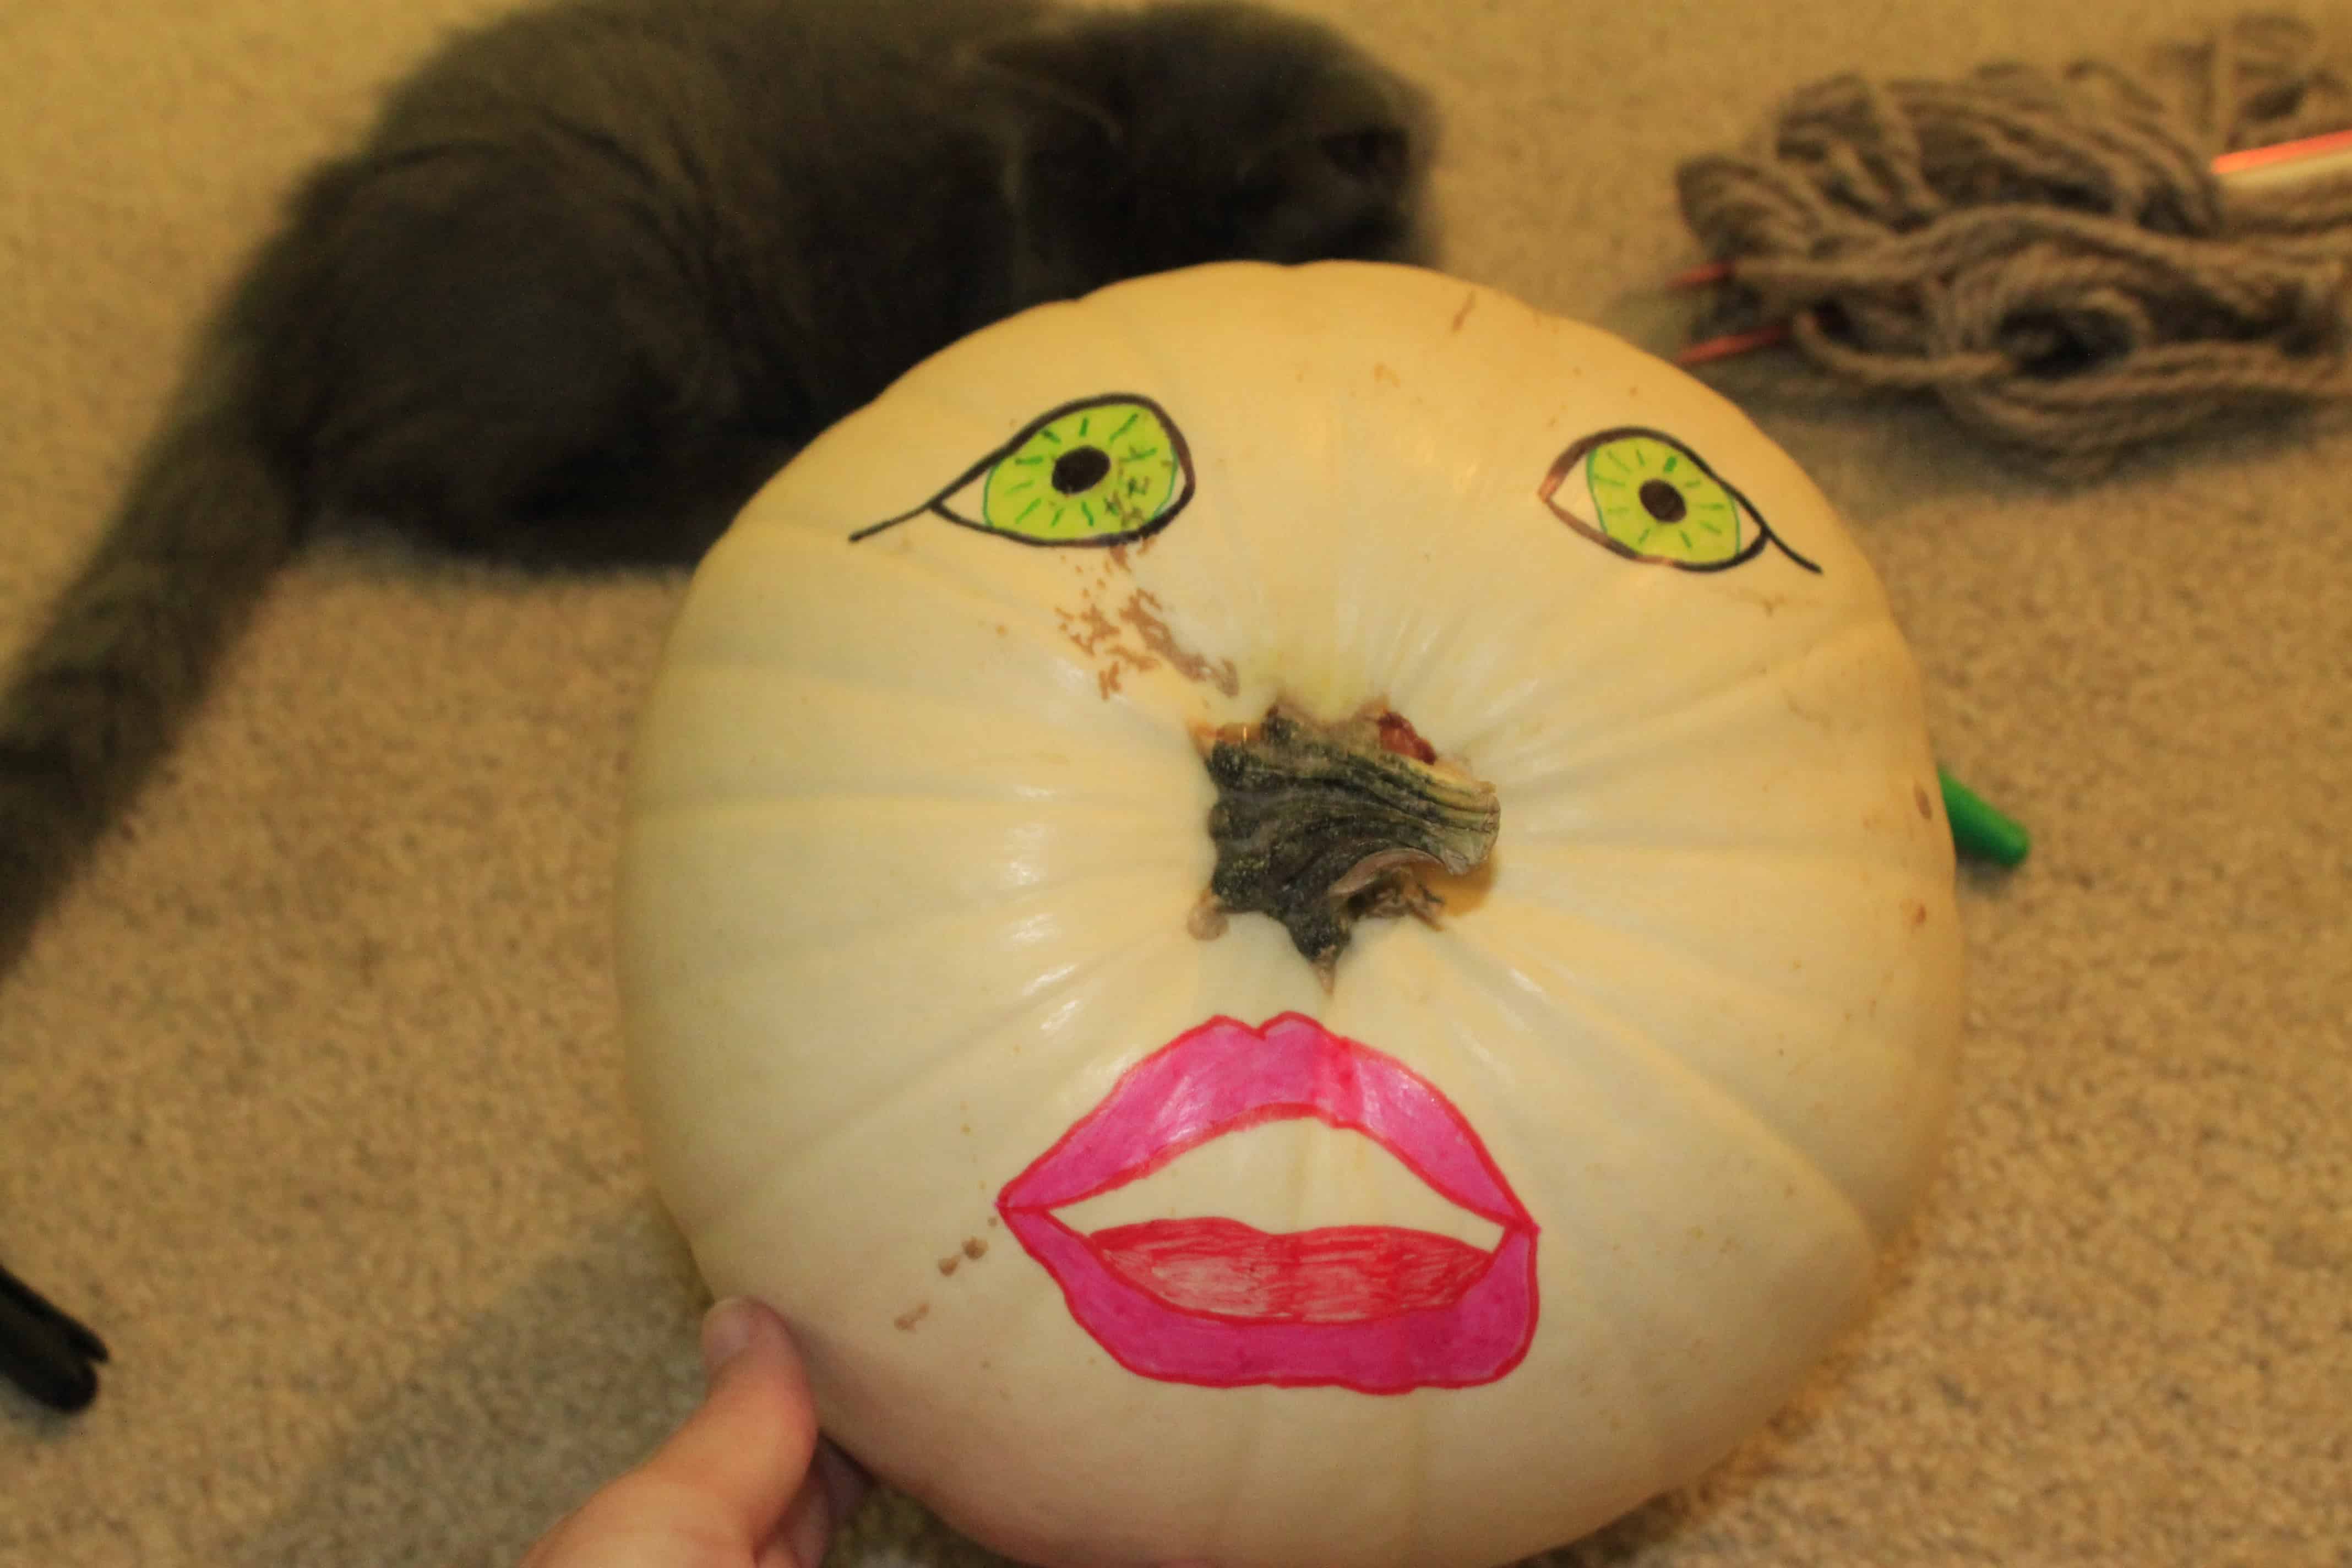
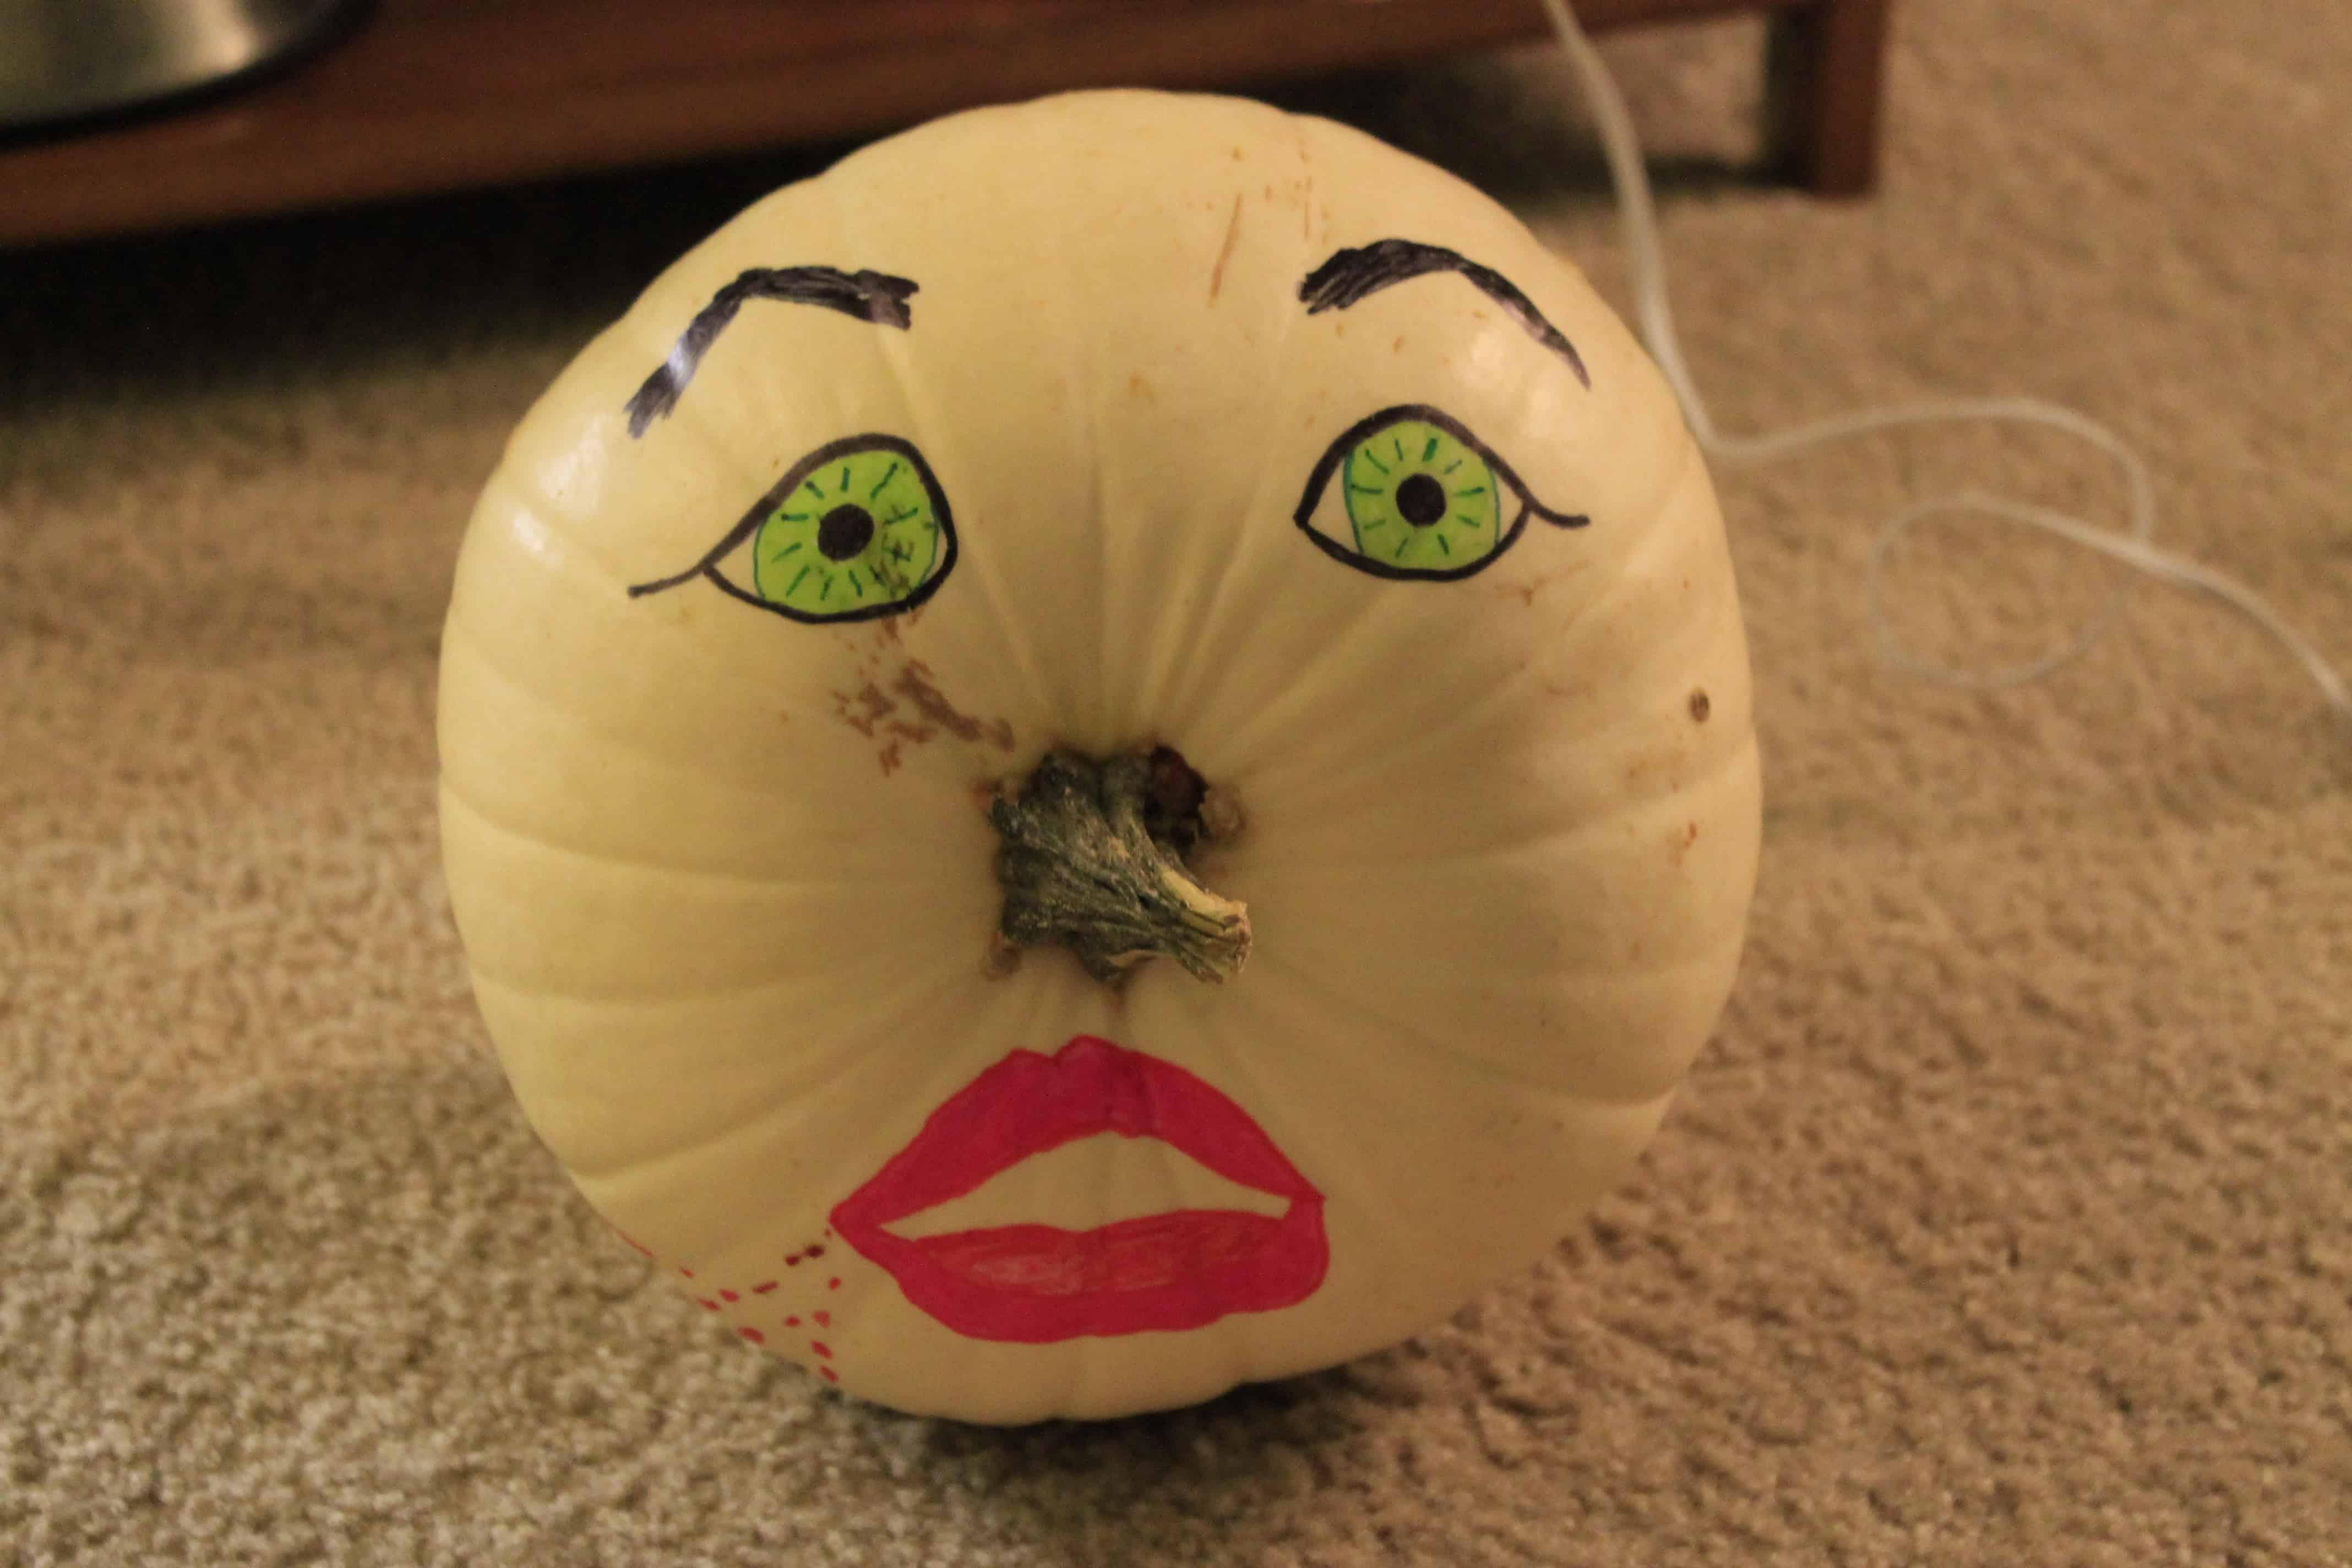
Does he look scared?? He should be.
Then, to make our little guy a little more human, I added some yarn hair.
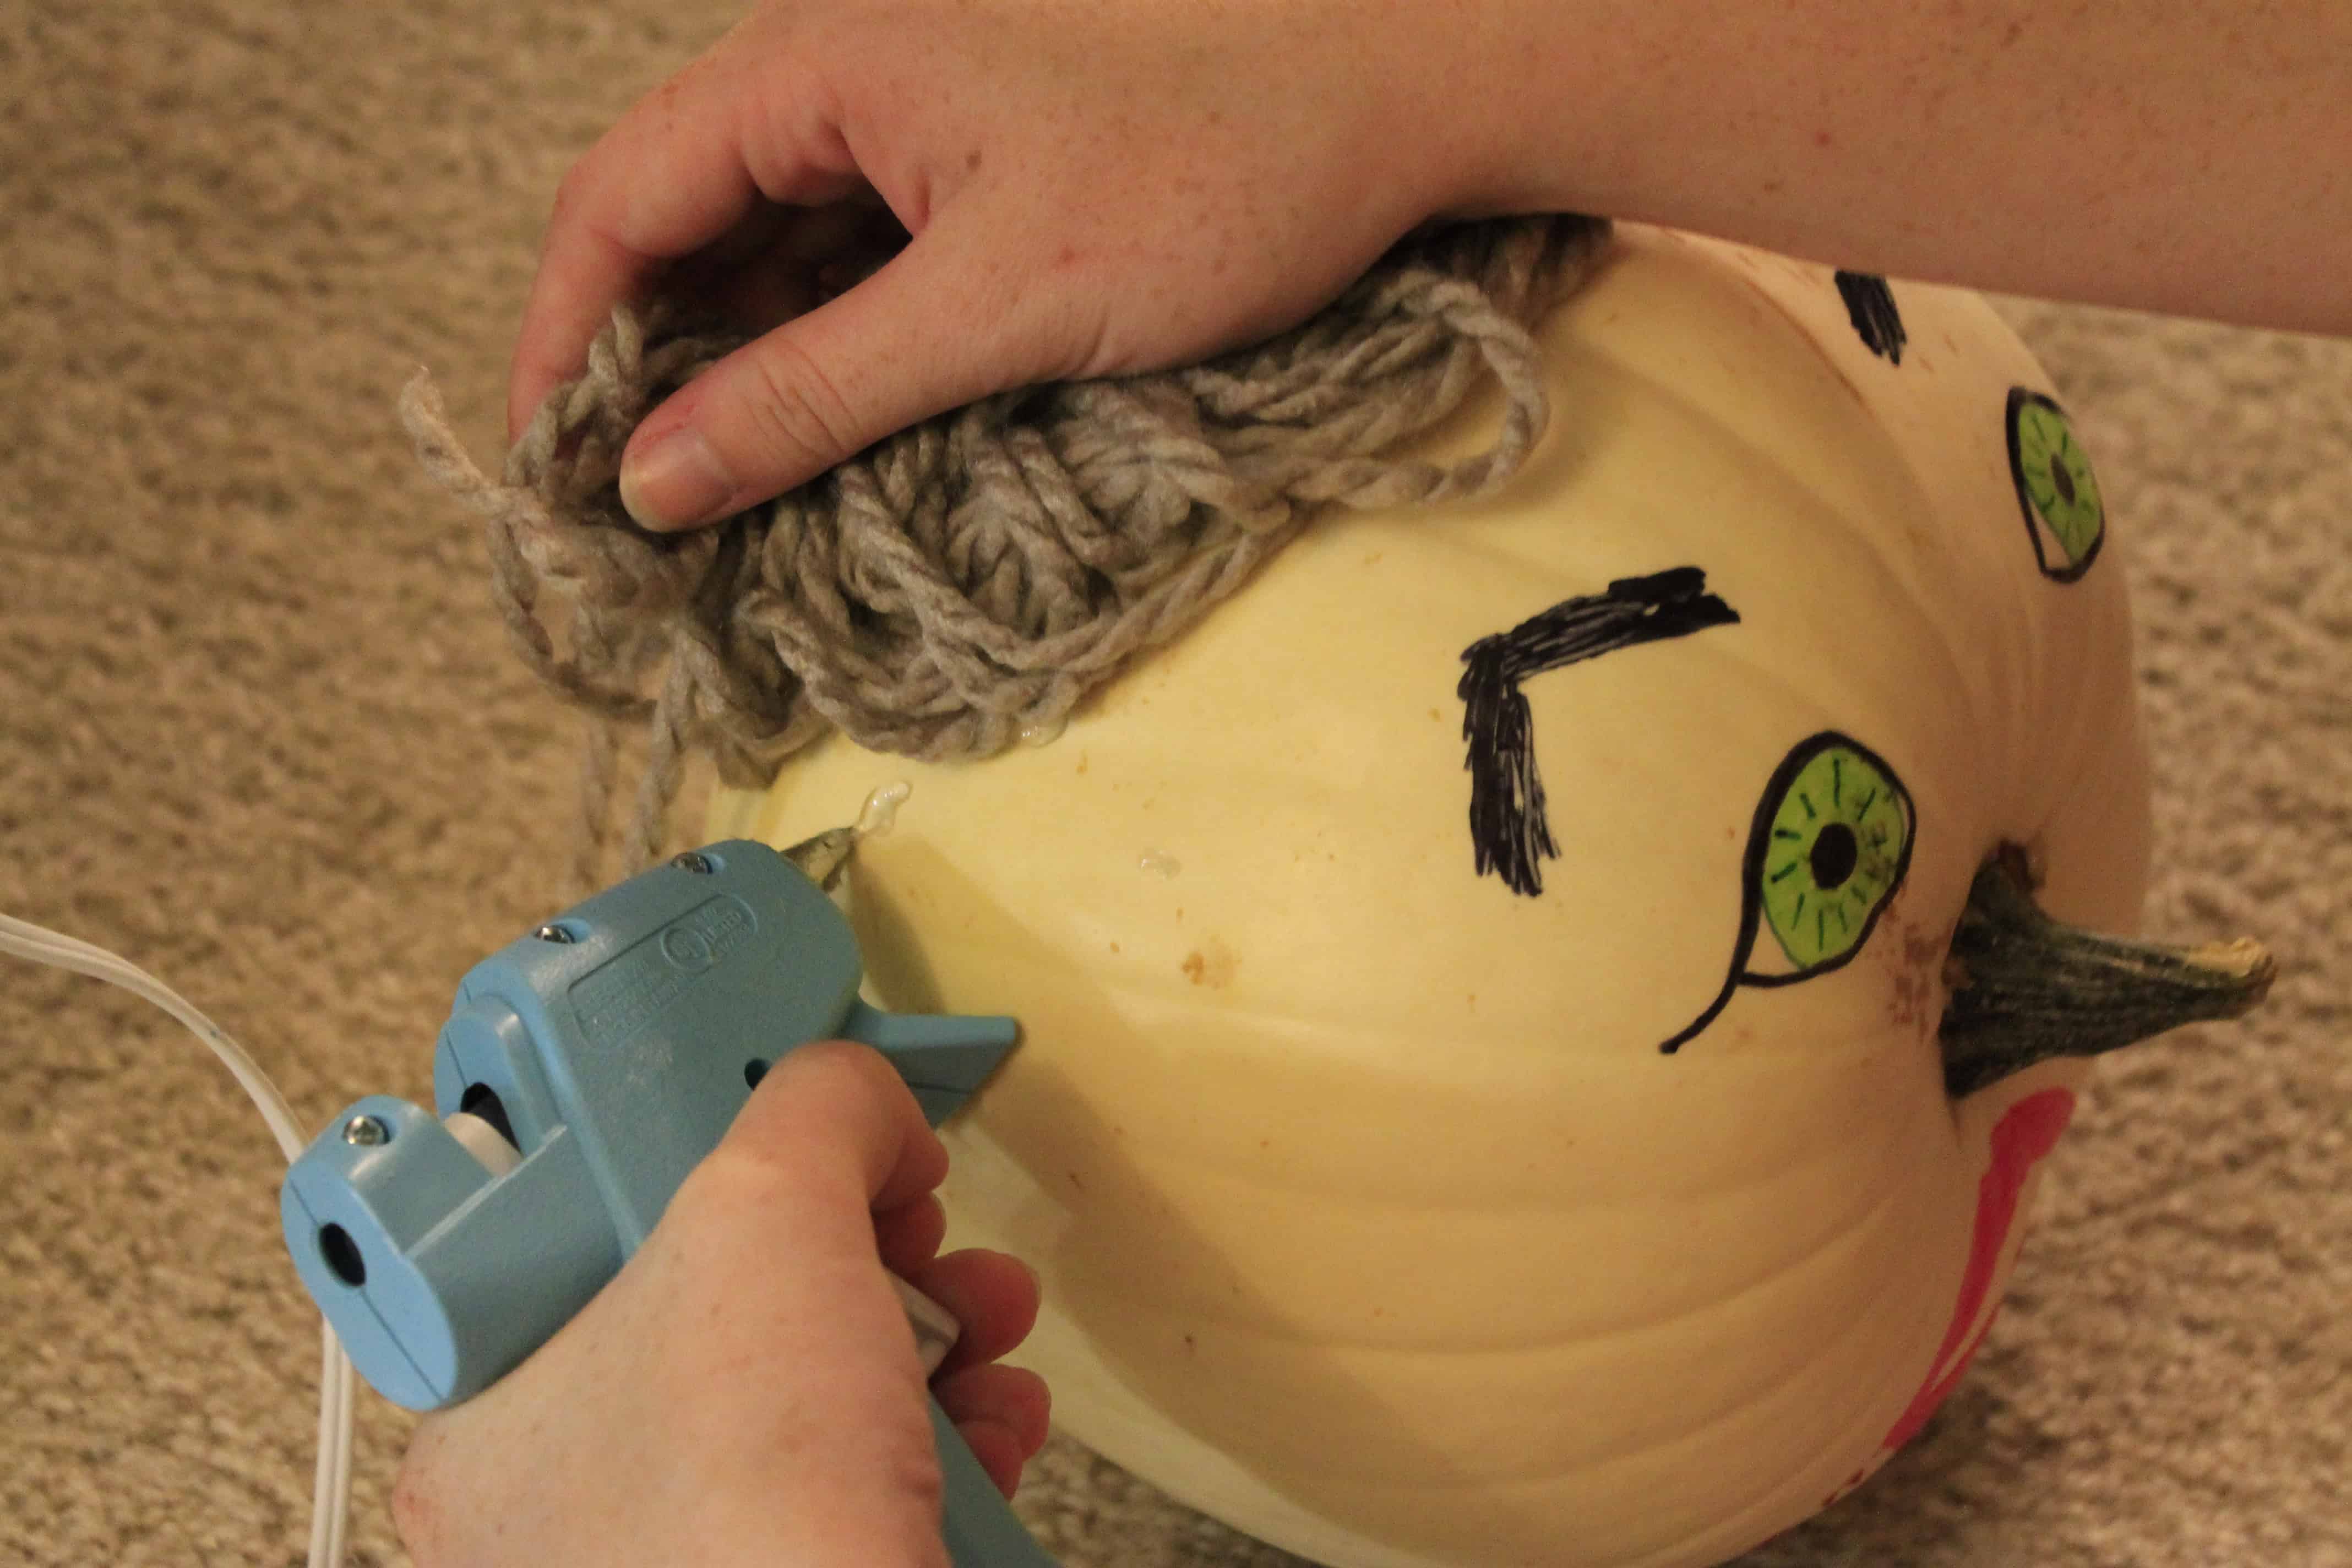
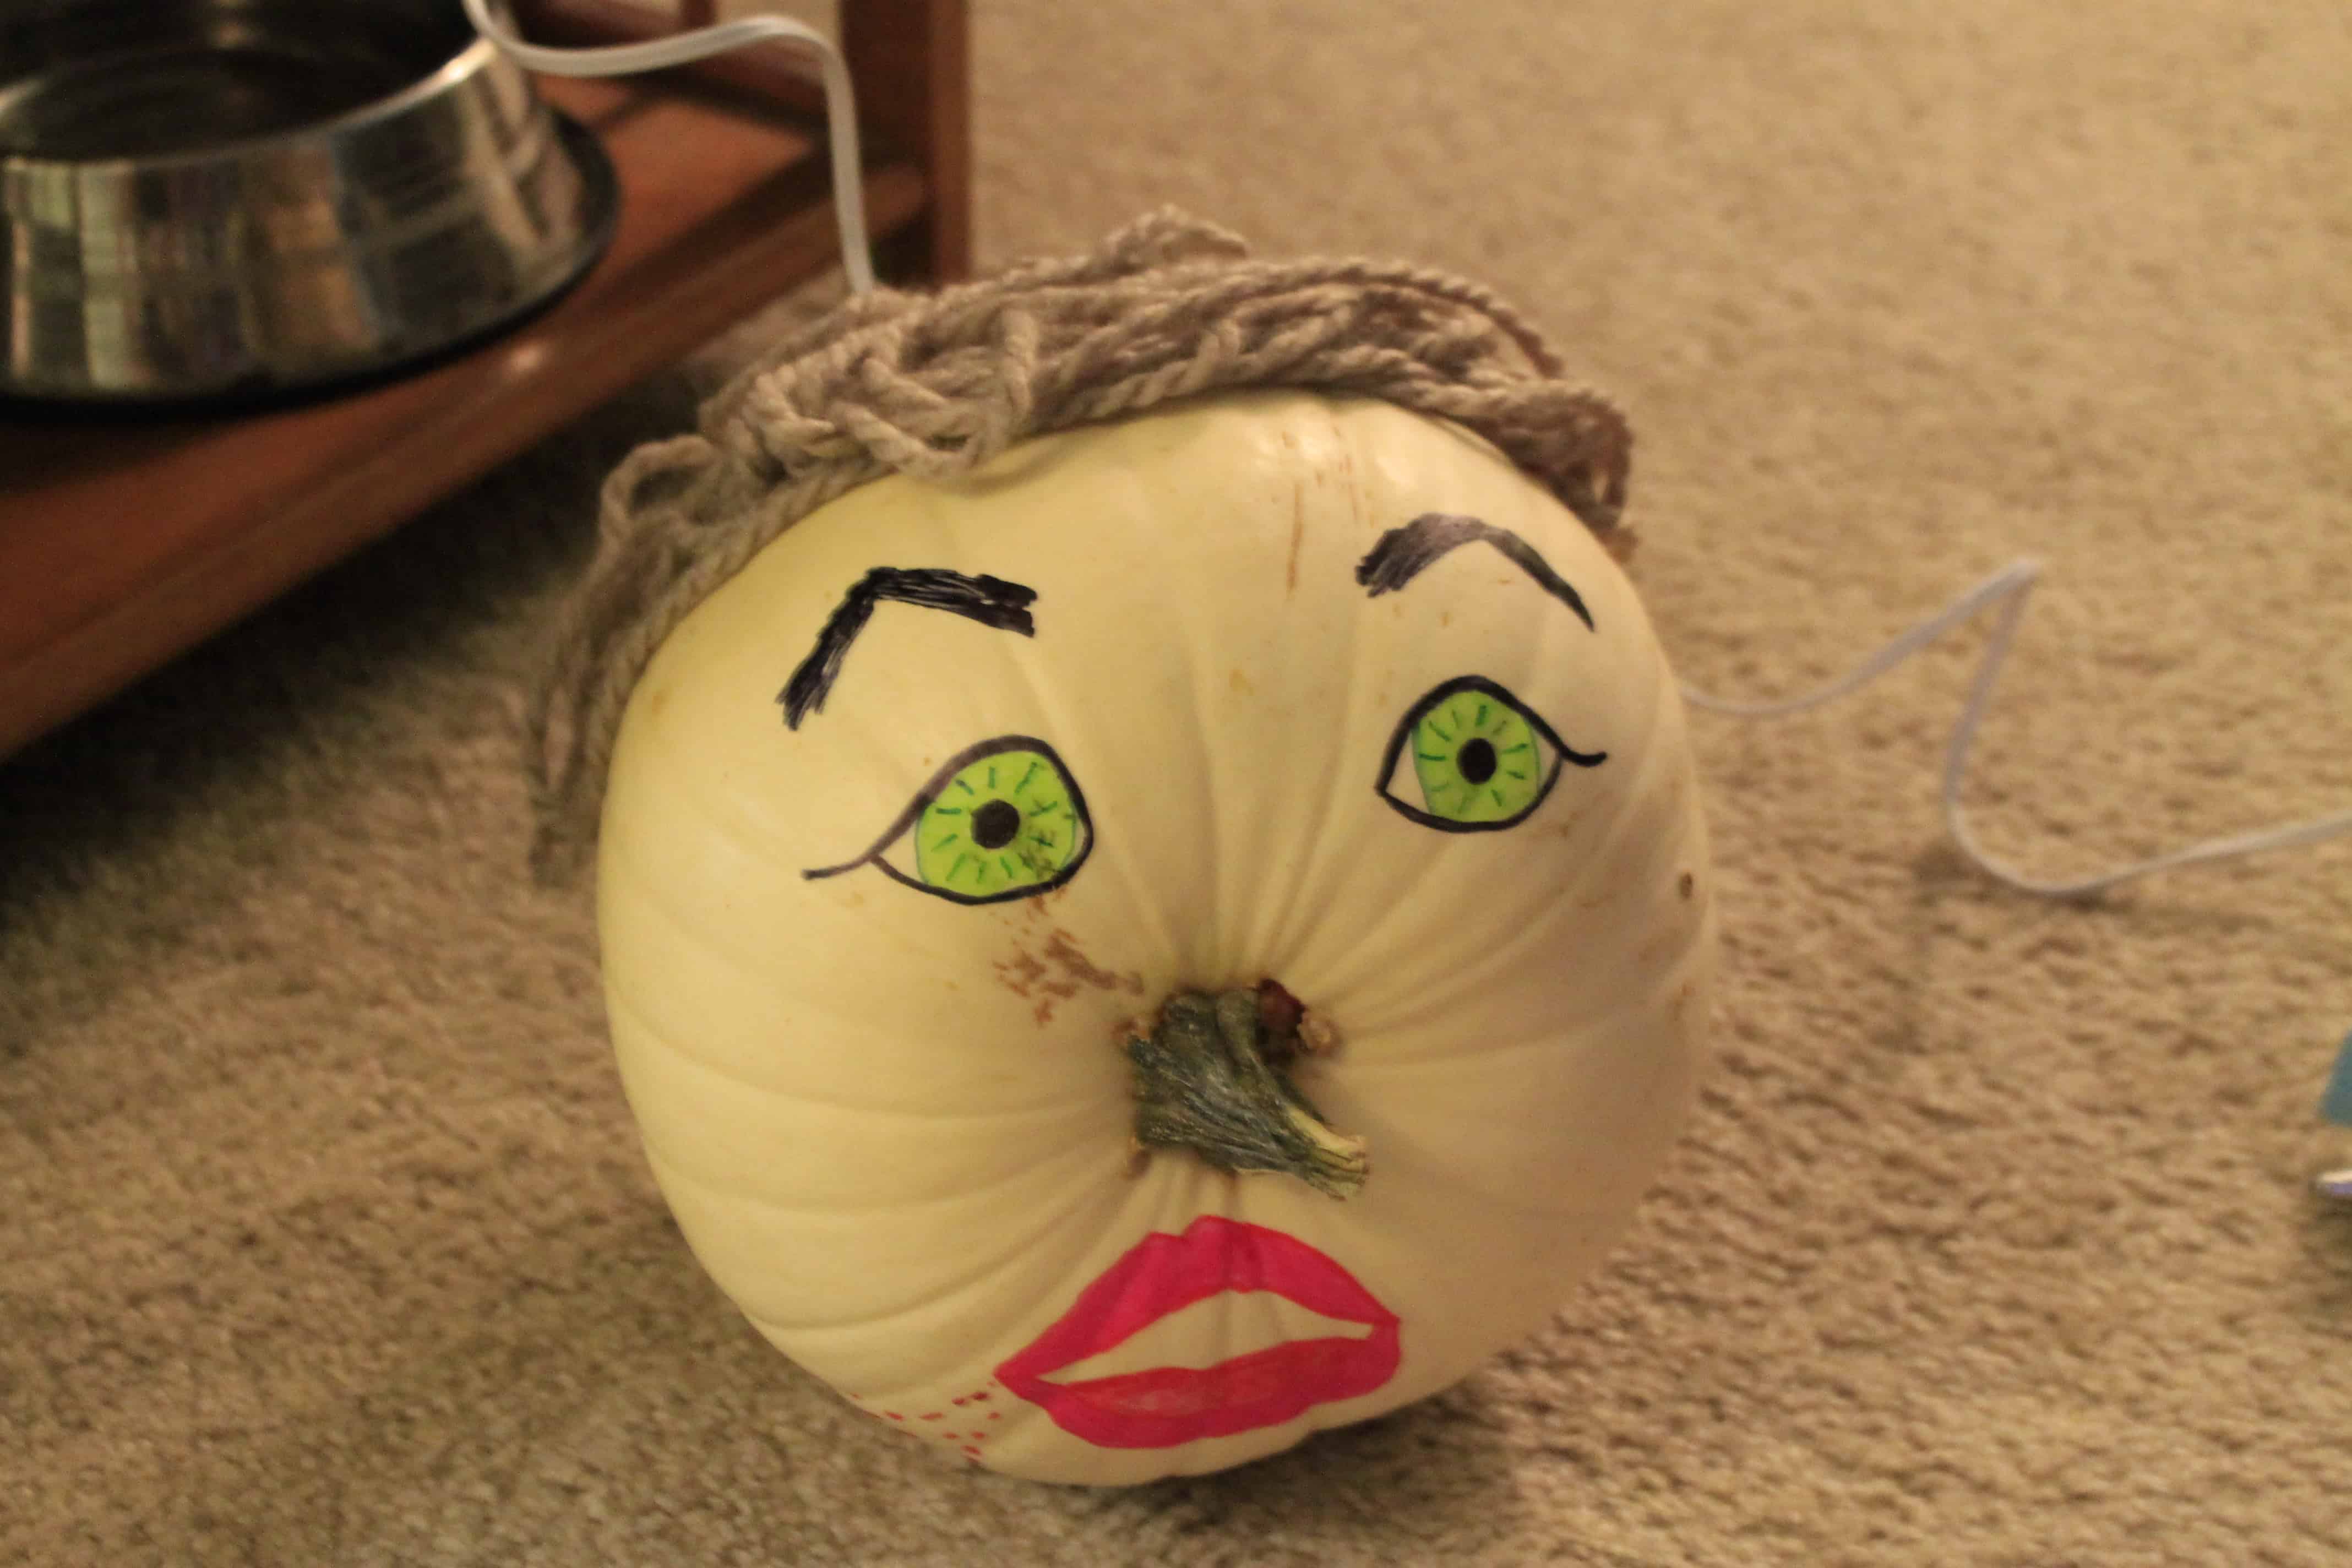
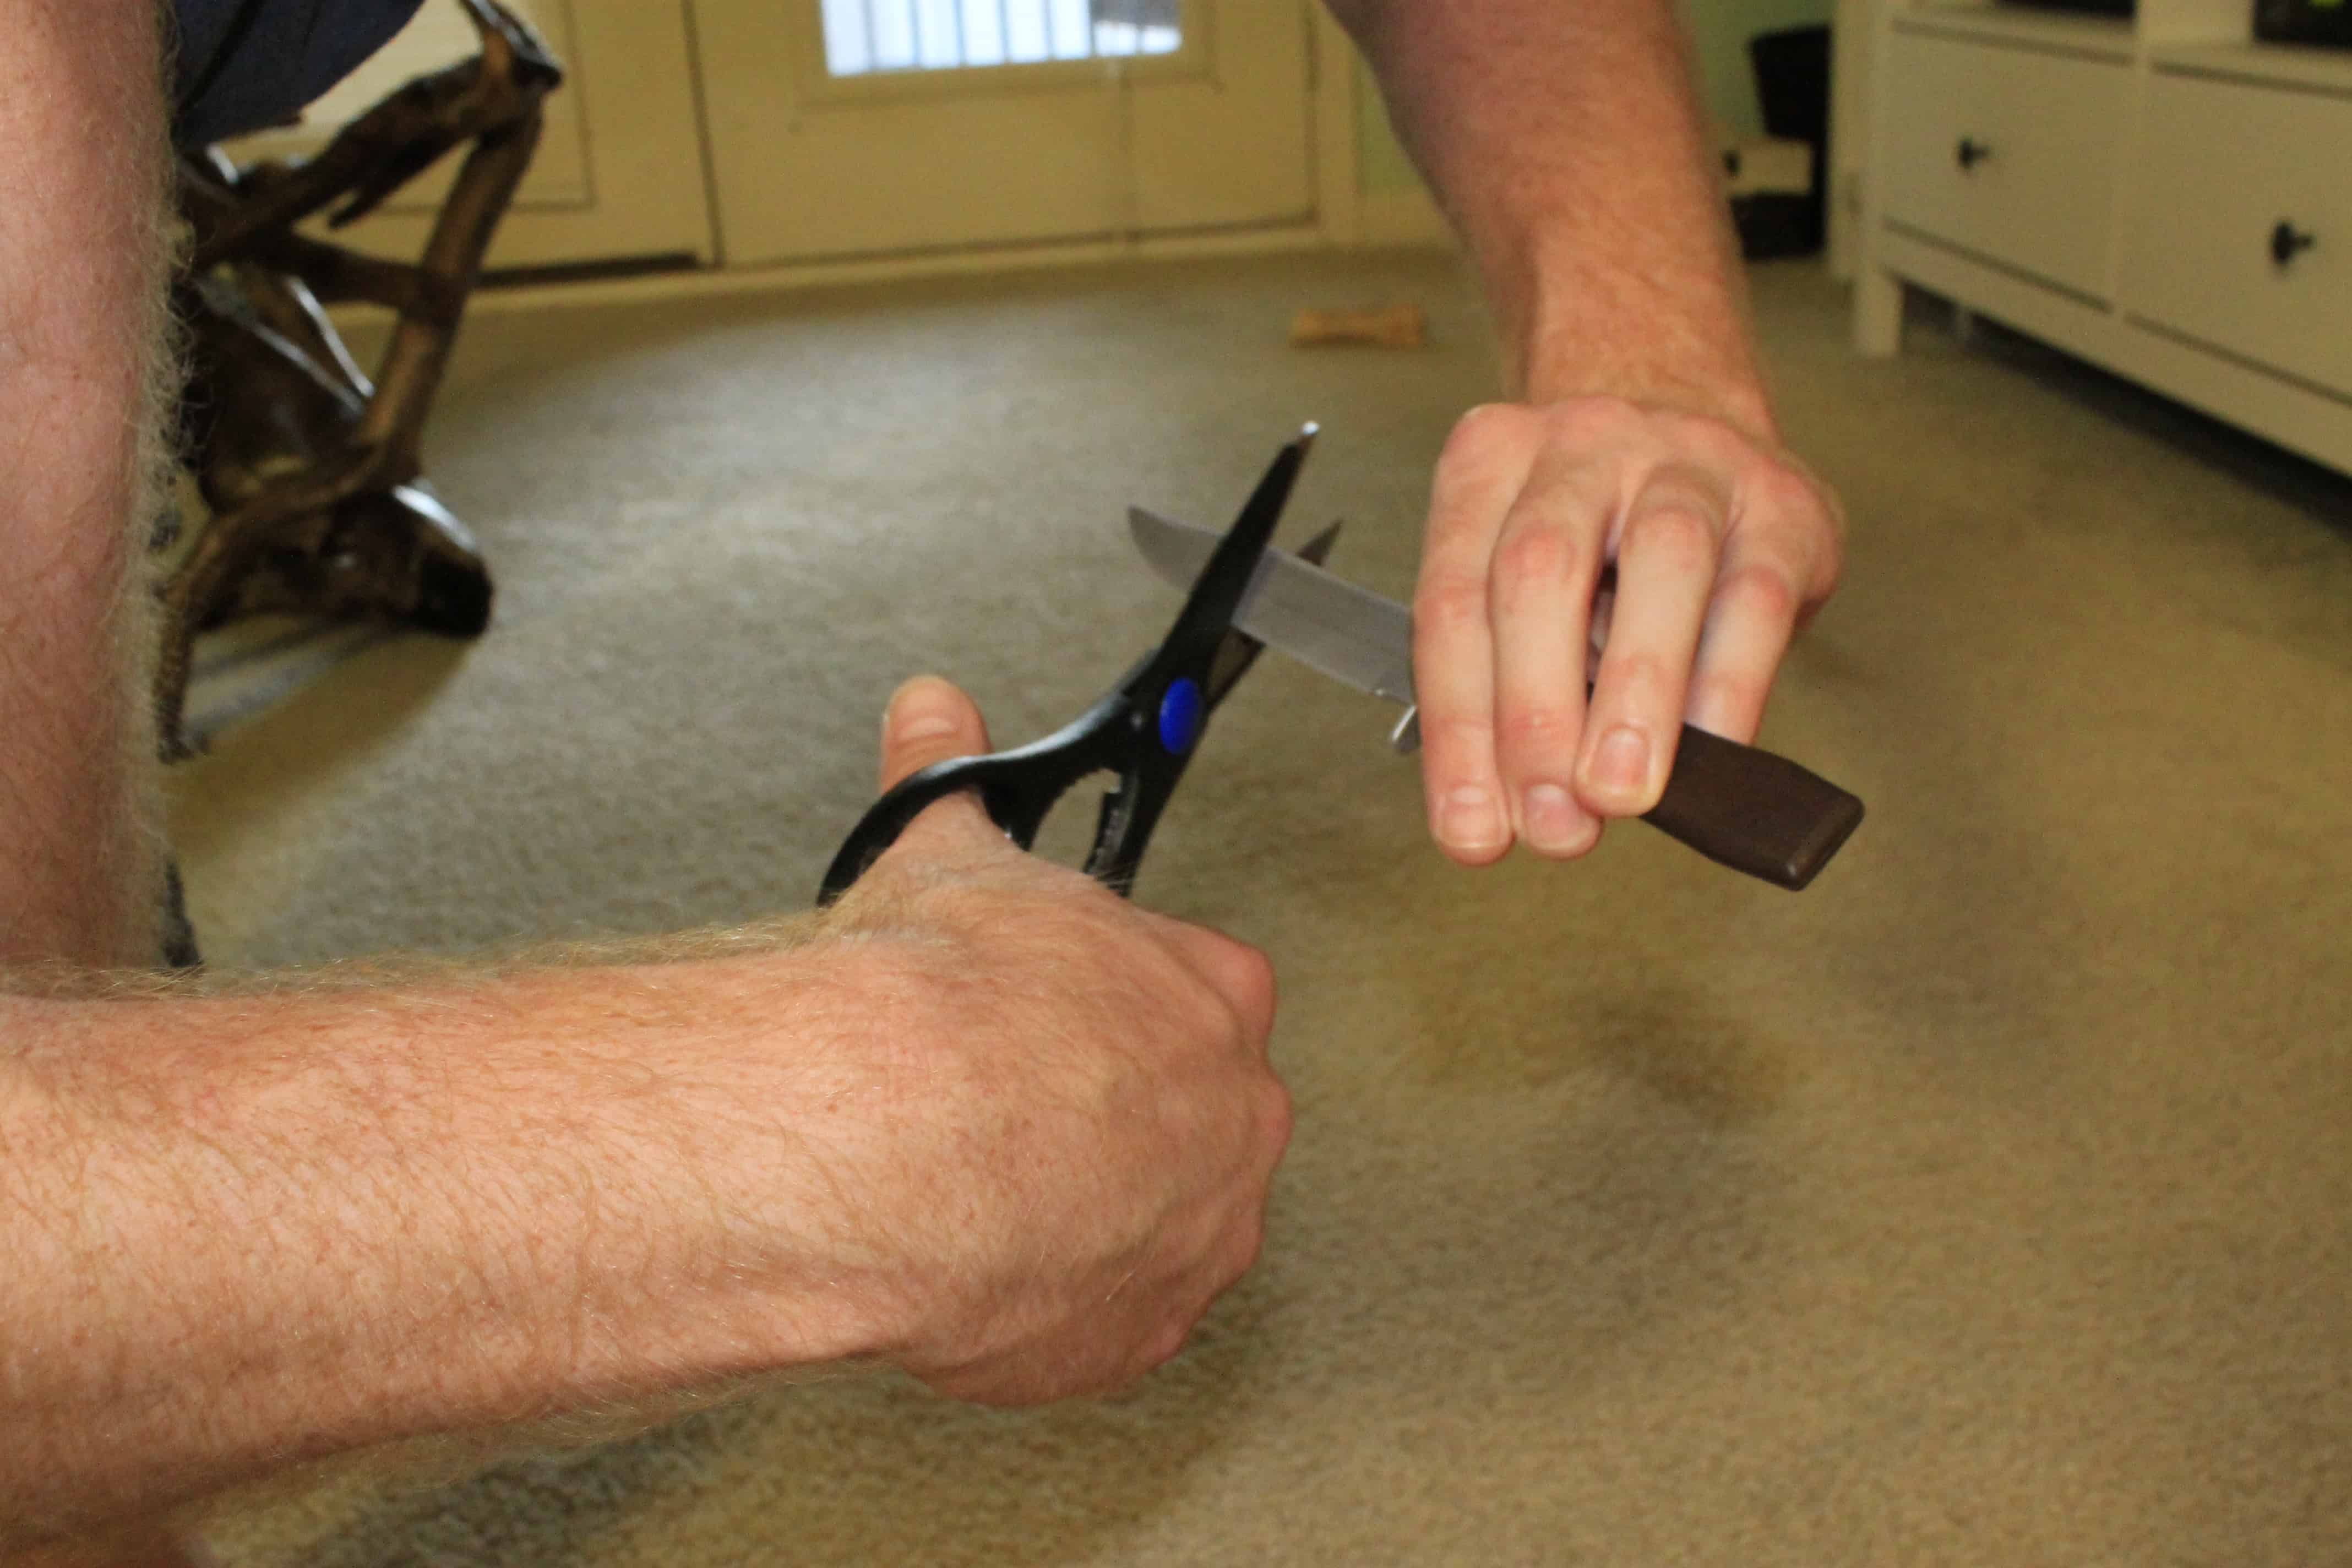
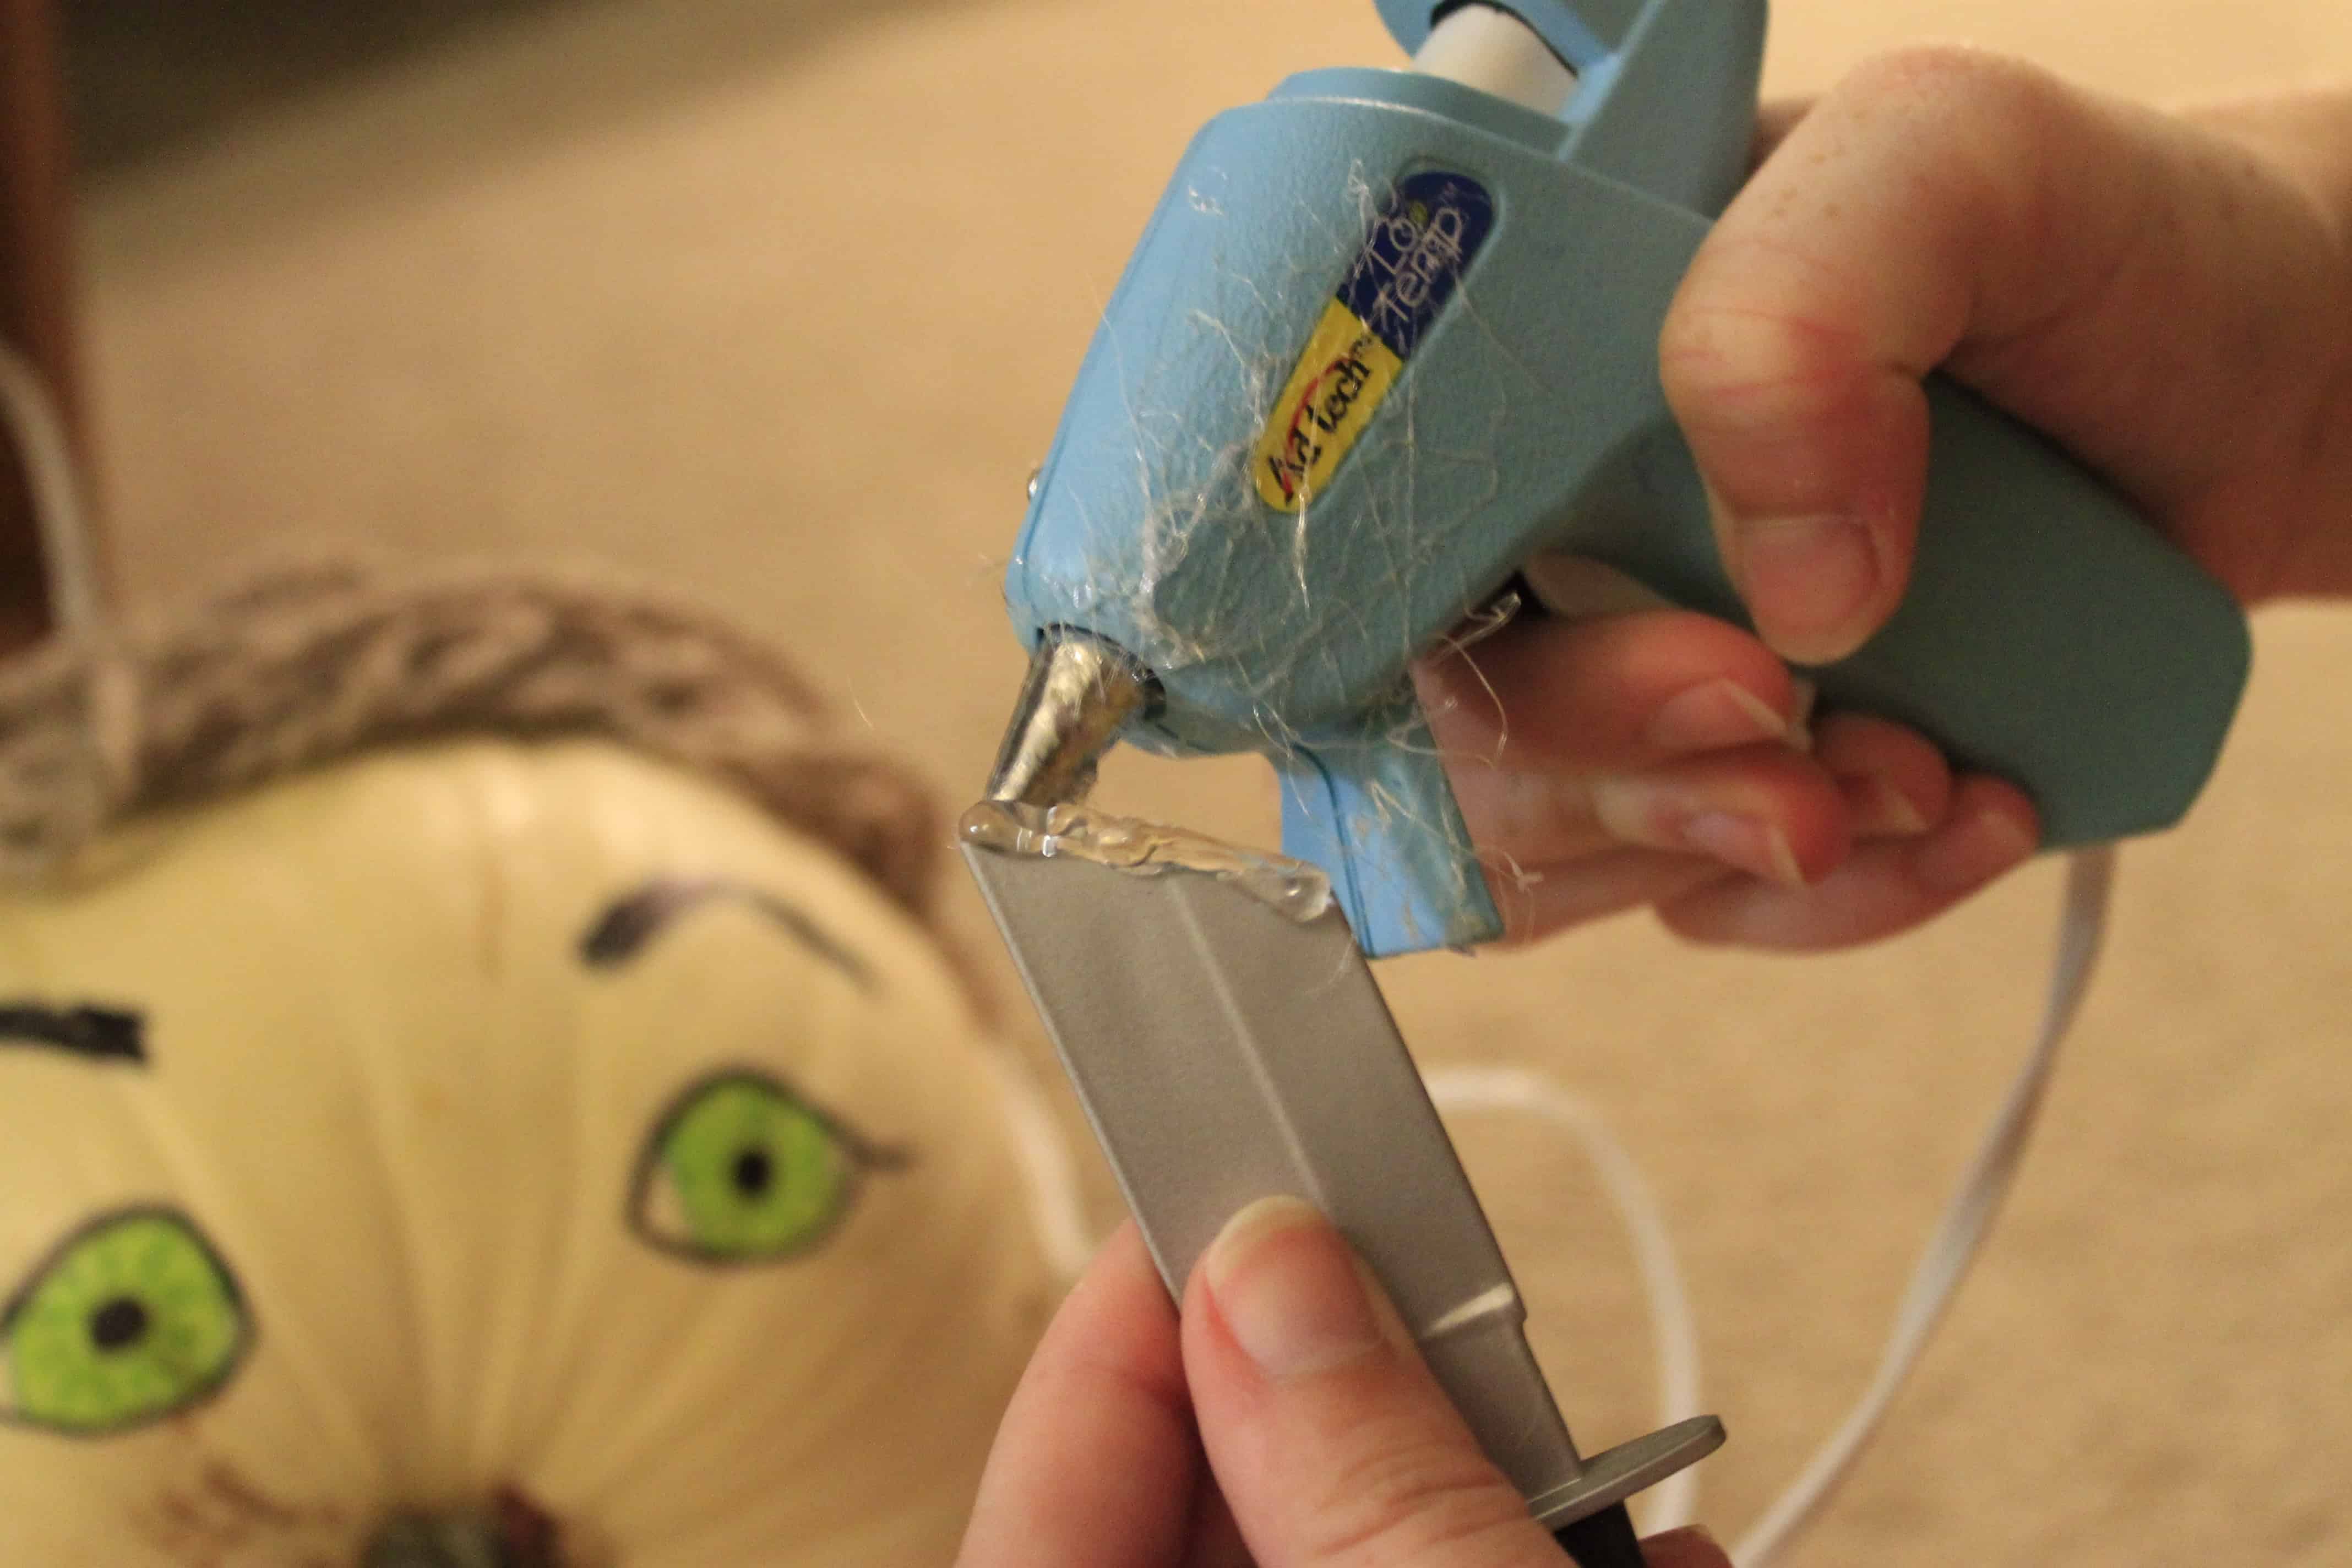
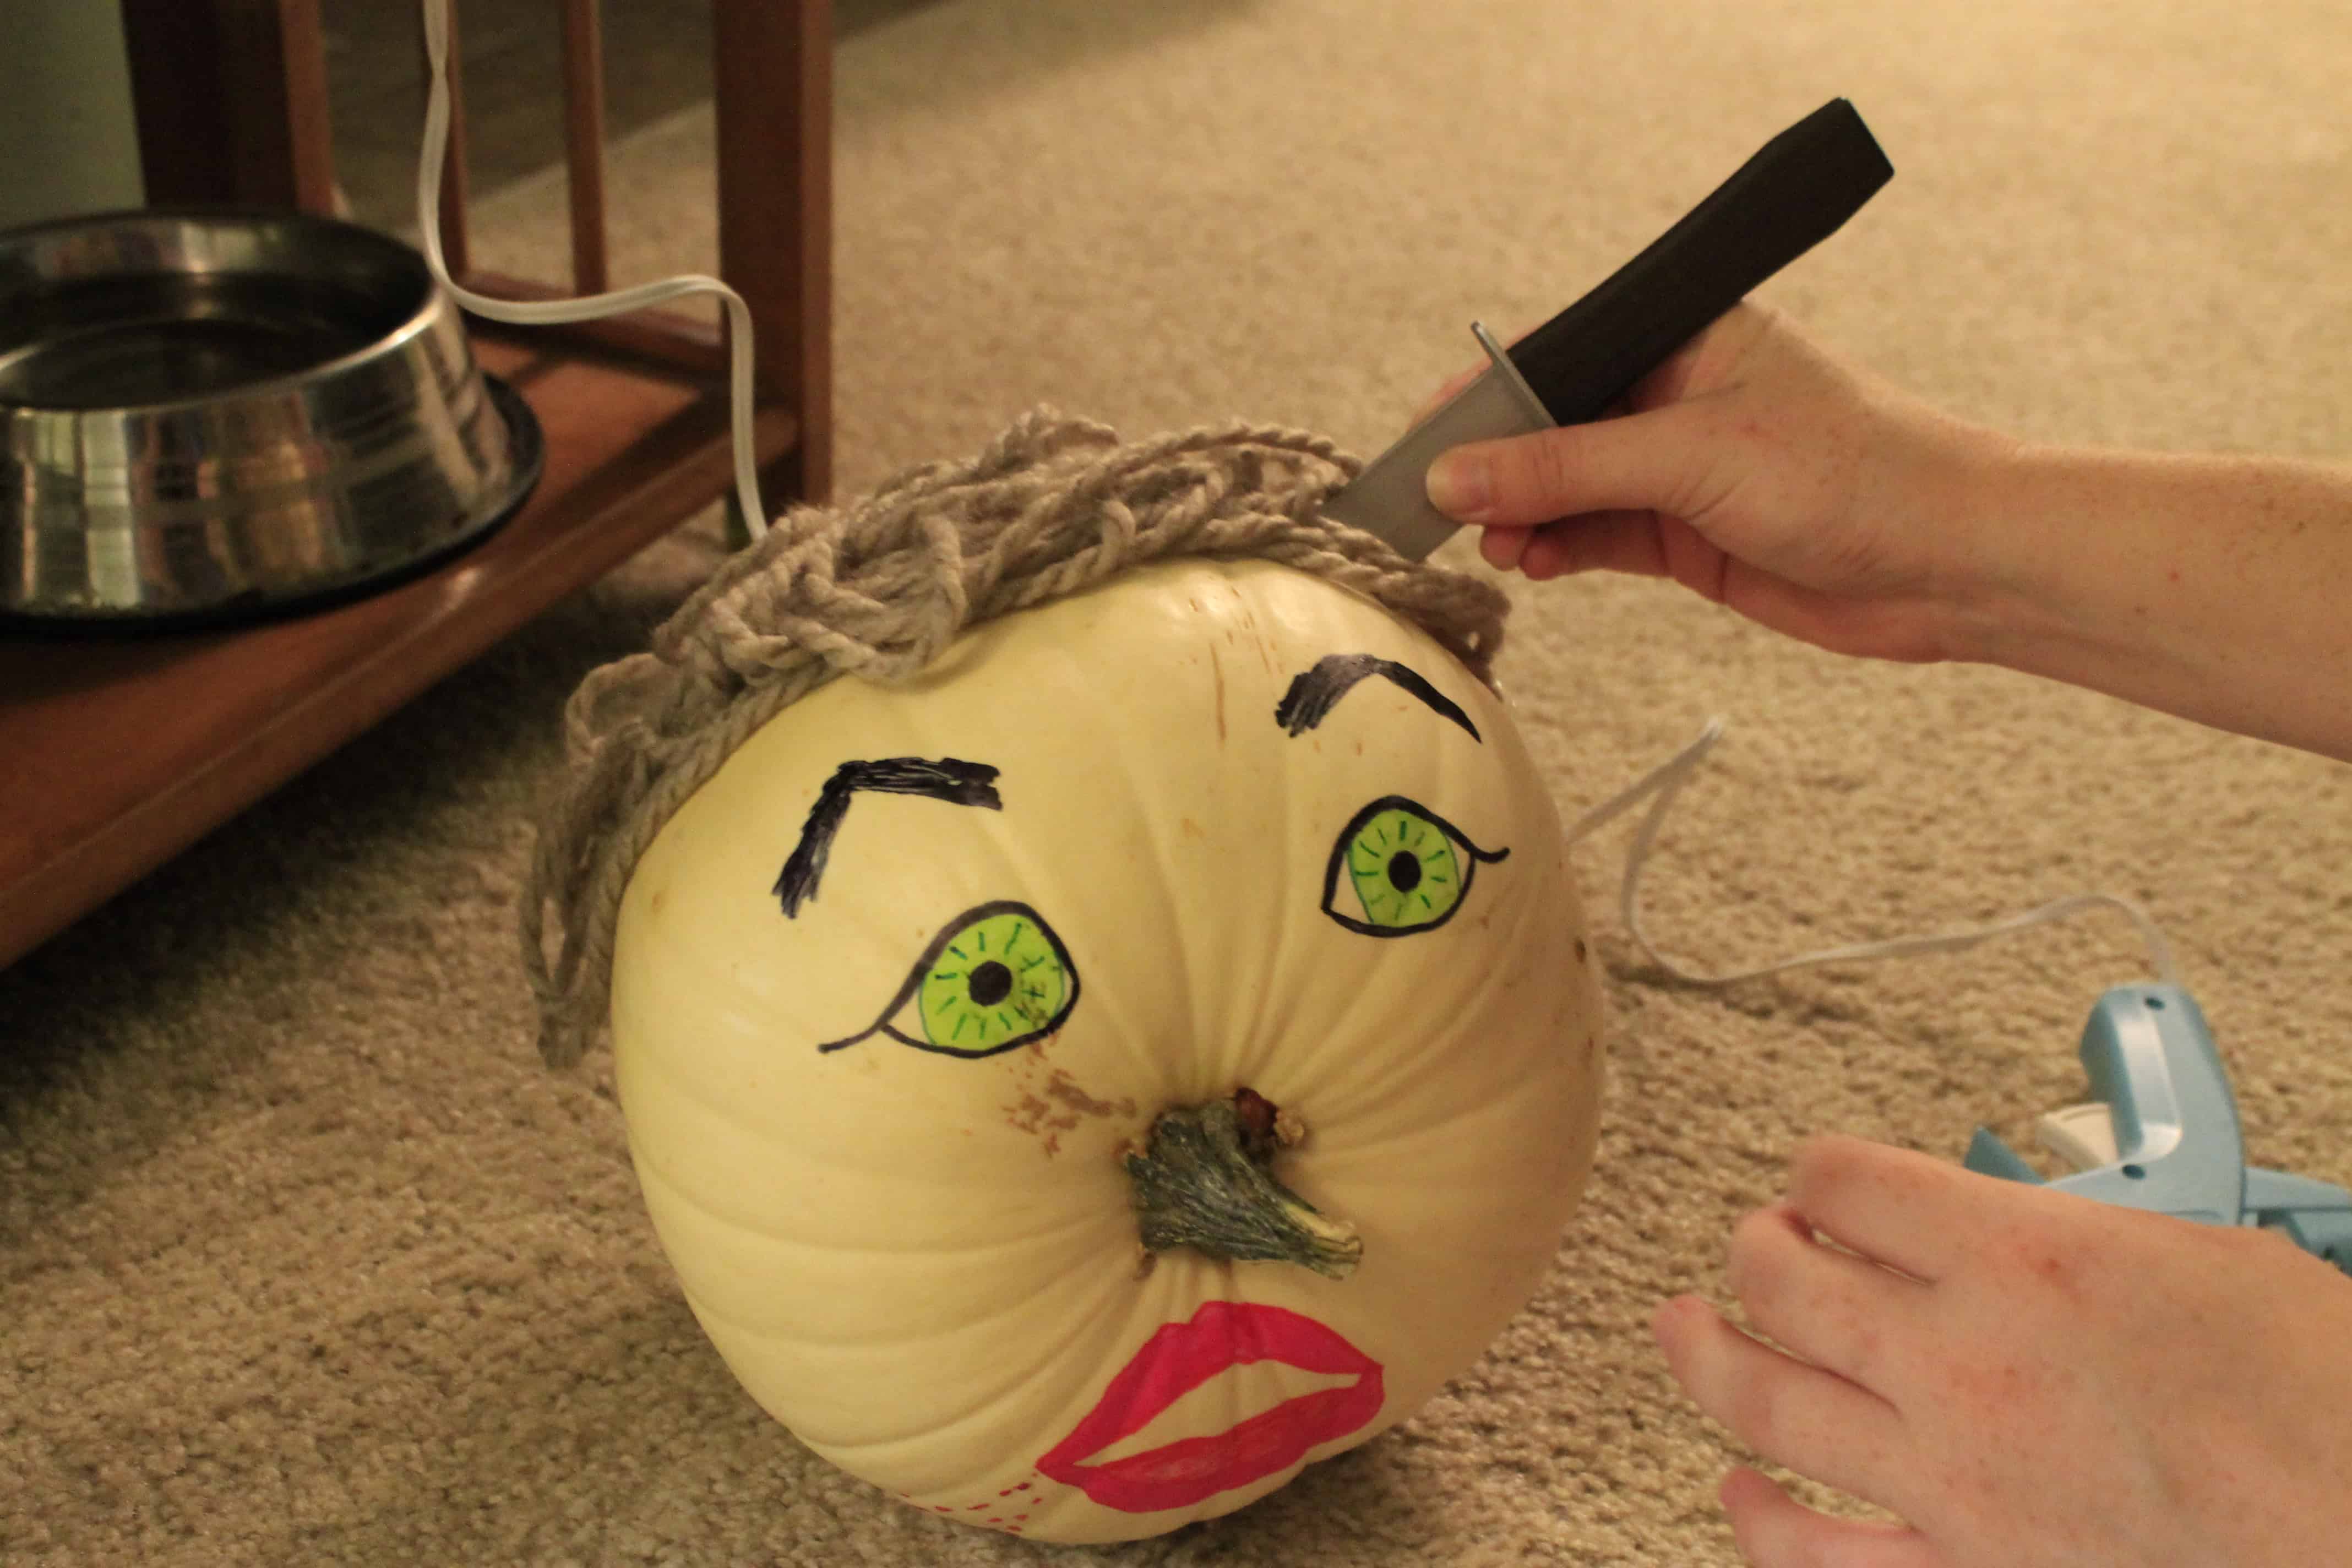
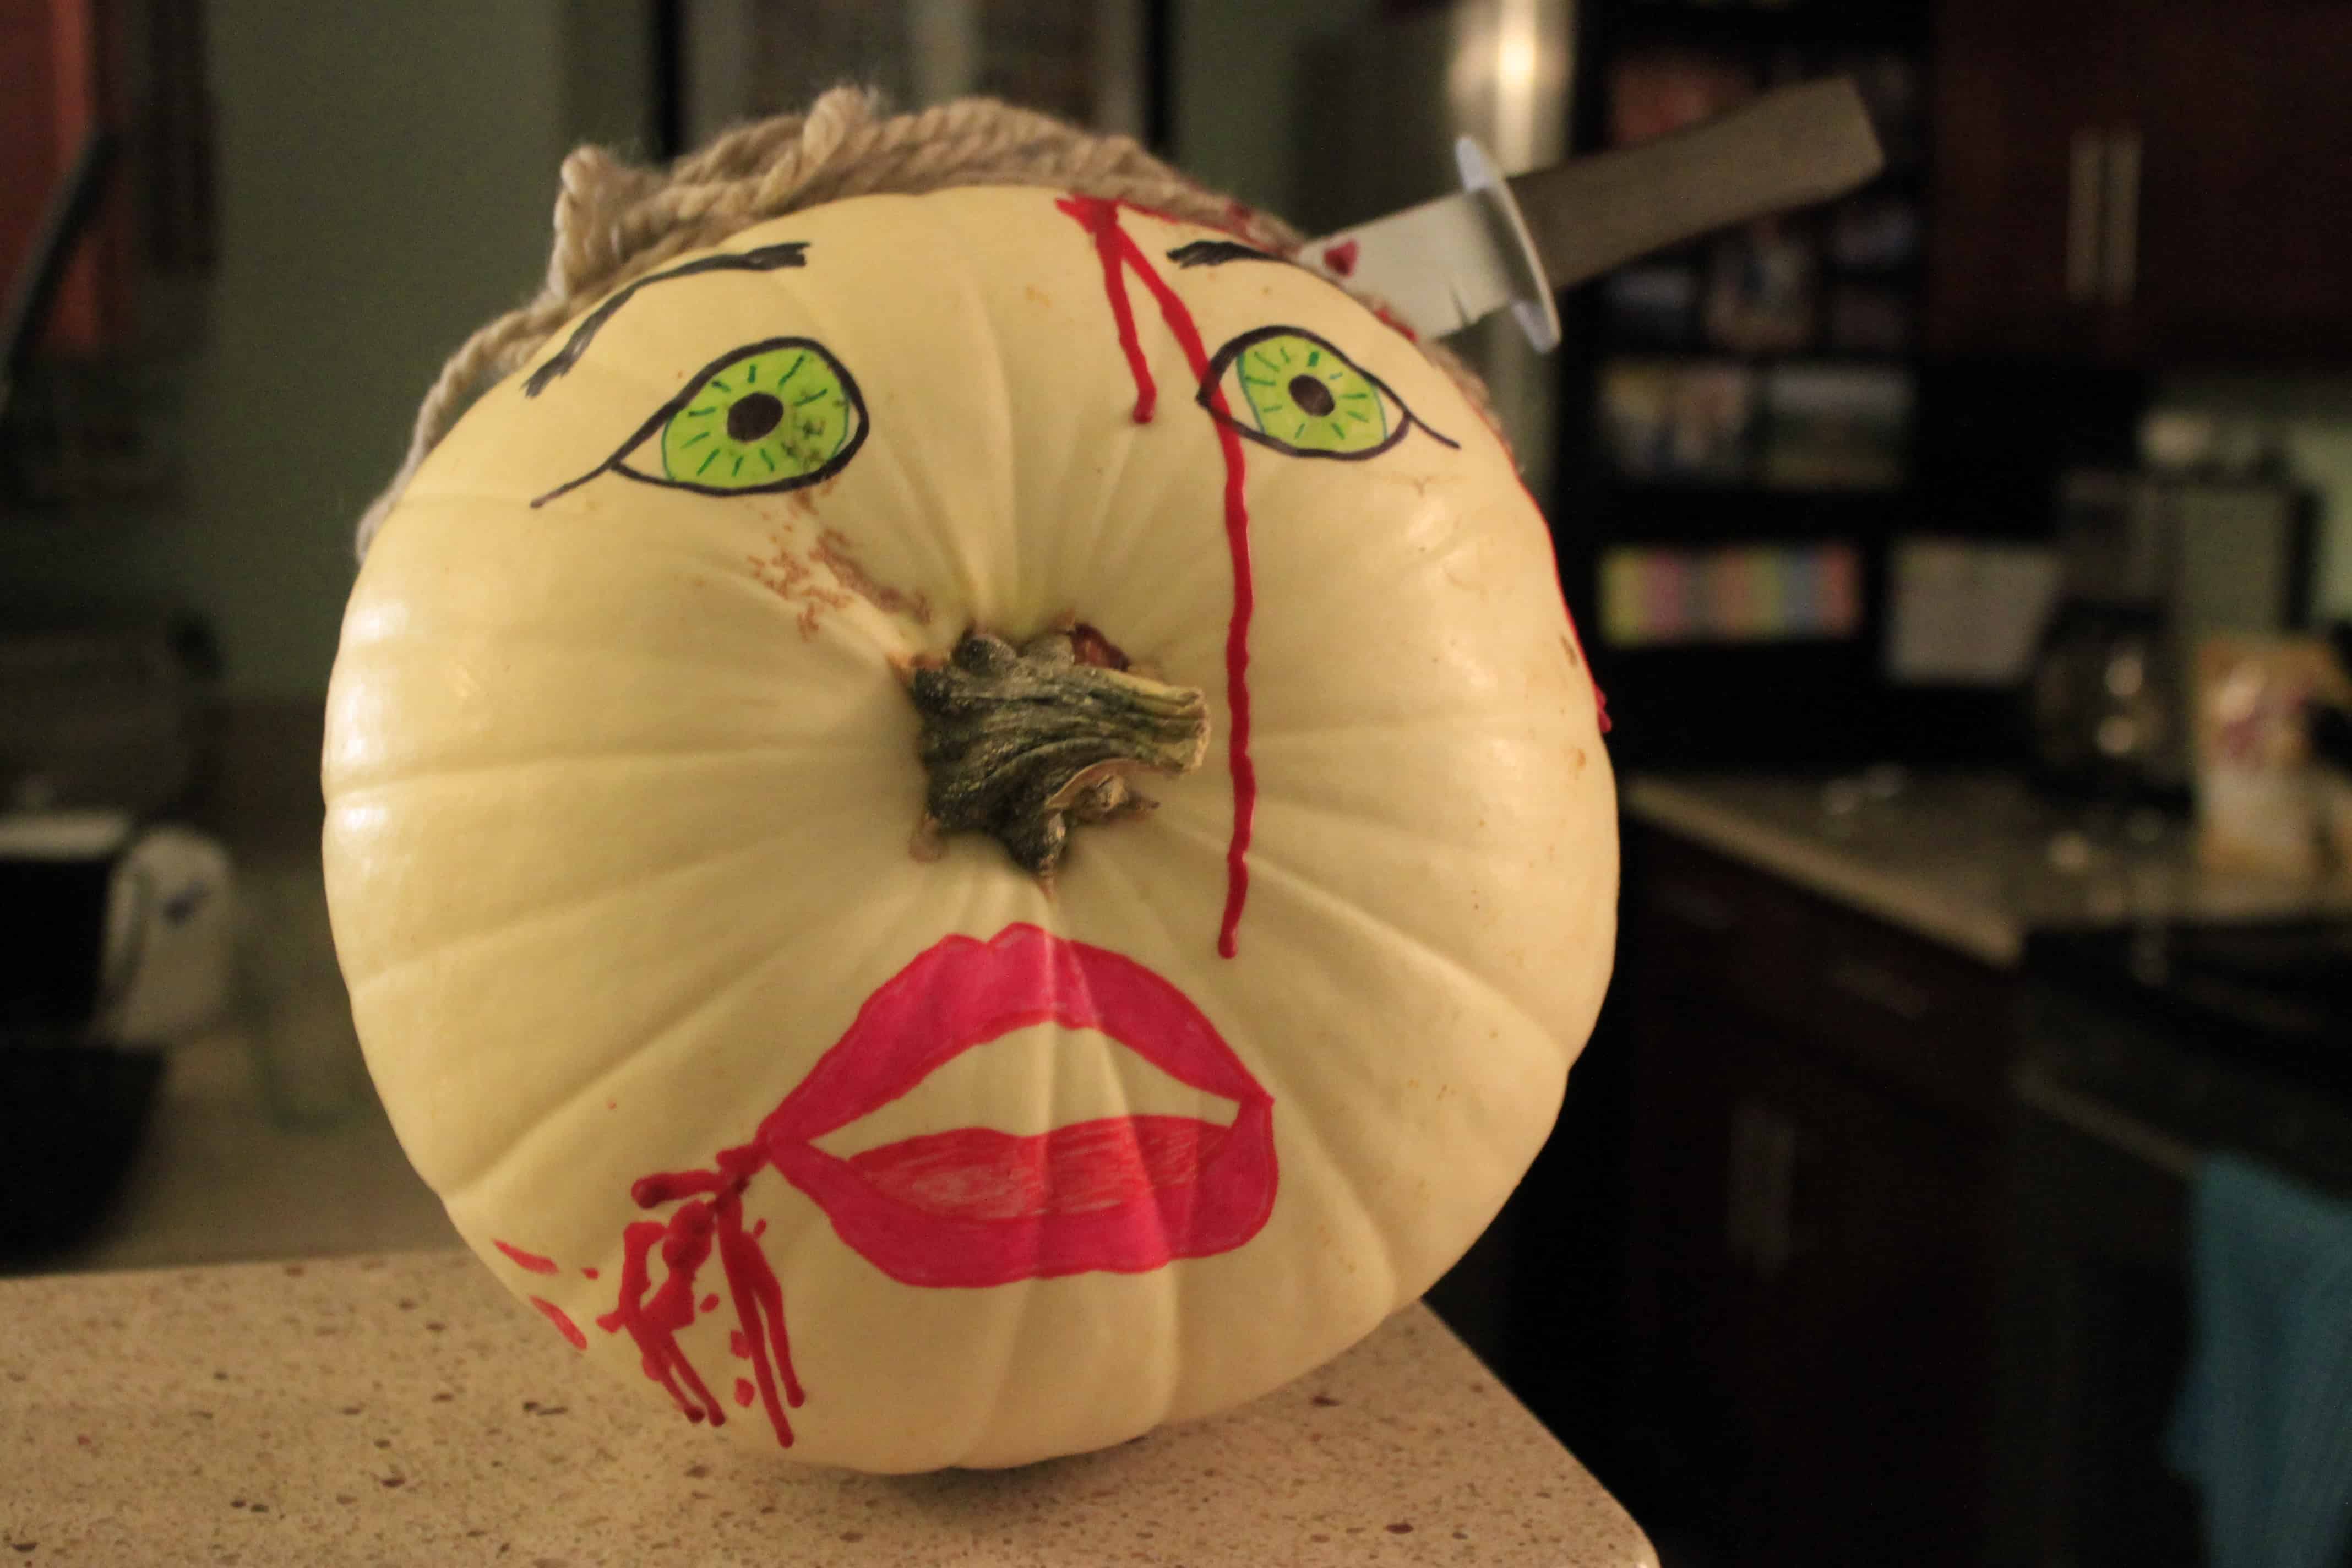
Finally, to added a spooky, gory aspect (because I can’t just let anything be cute on halloween), Sean bought a plastic knife at the dollar store and cut the blade in half and we stabbed him in the head!

I added melted crayon for blood like on the wreath we showed you earlier.

Isn’t he scary? Poor guy, never stood a chance.
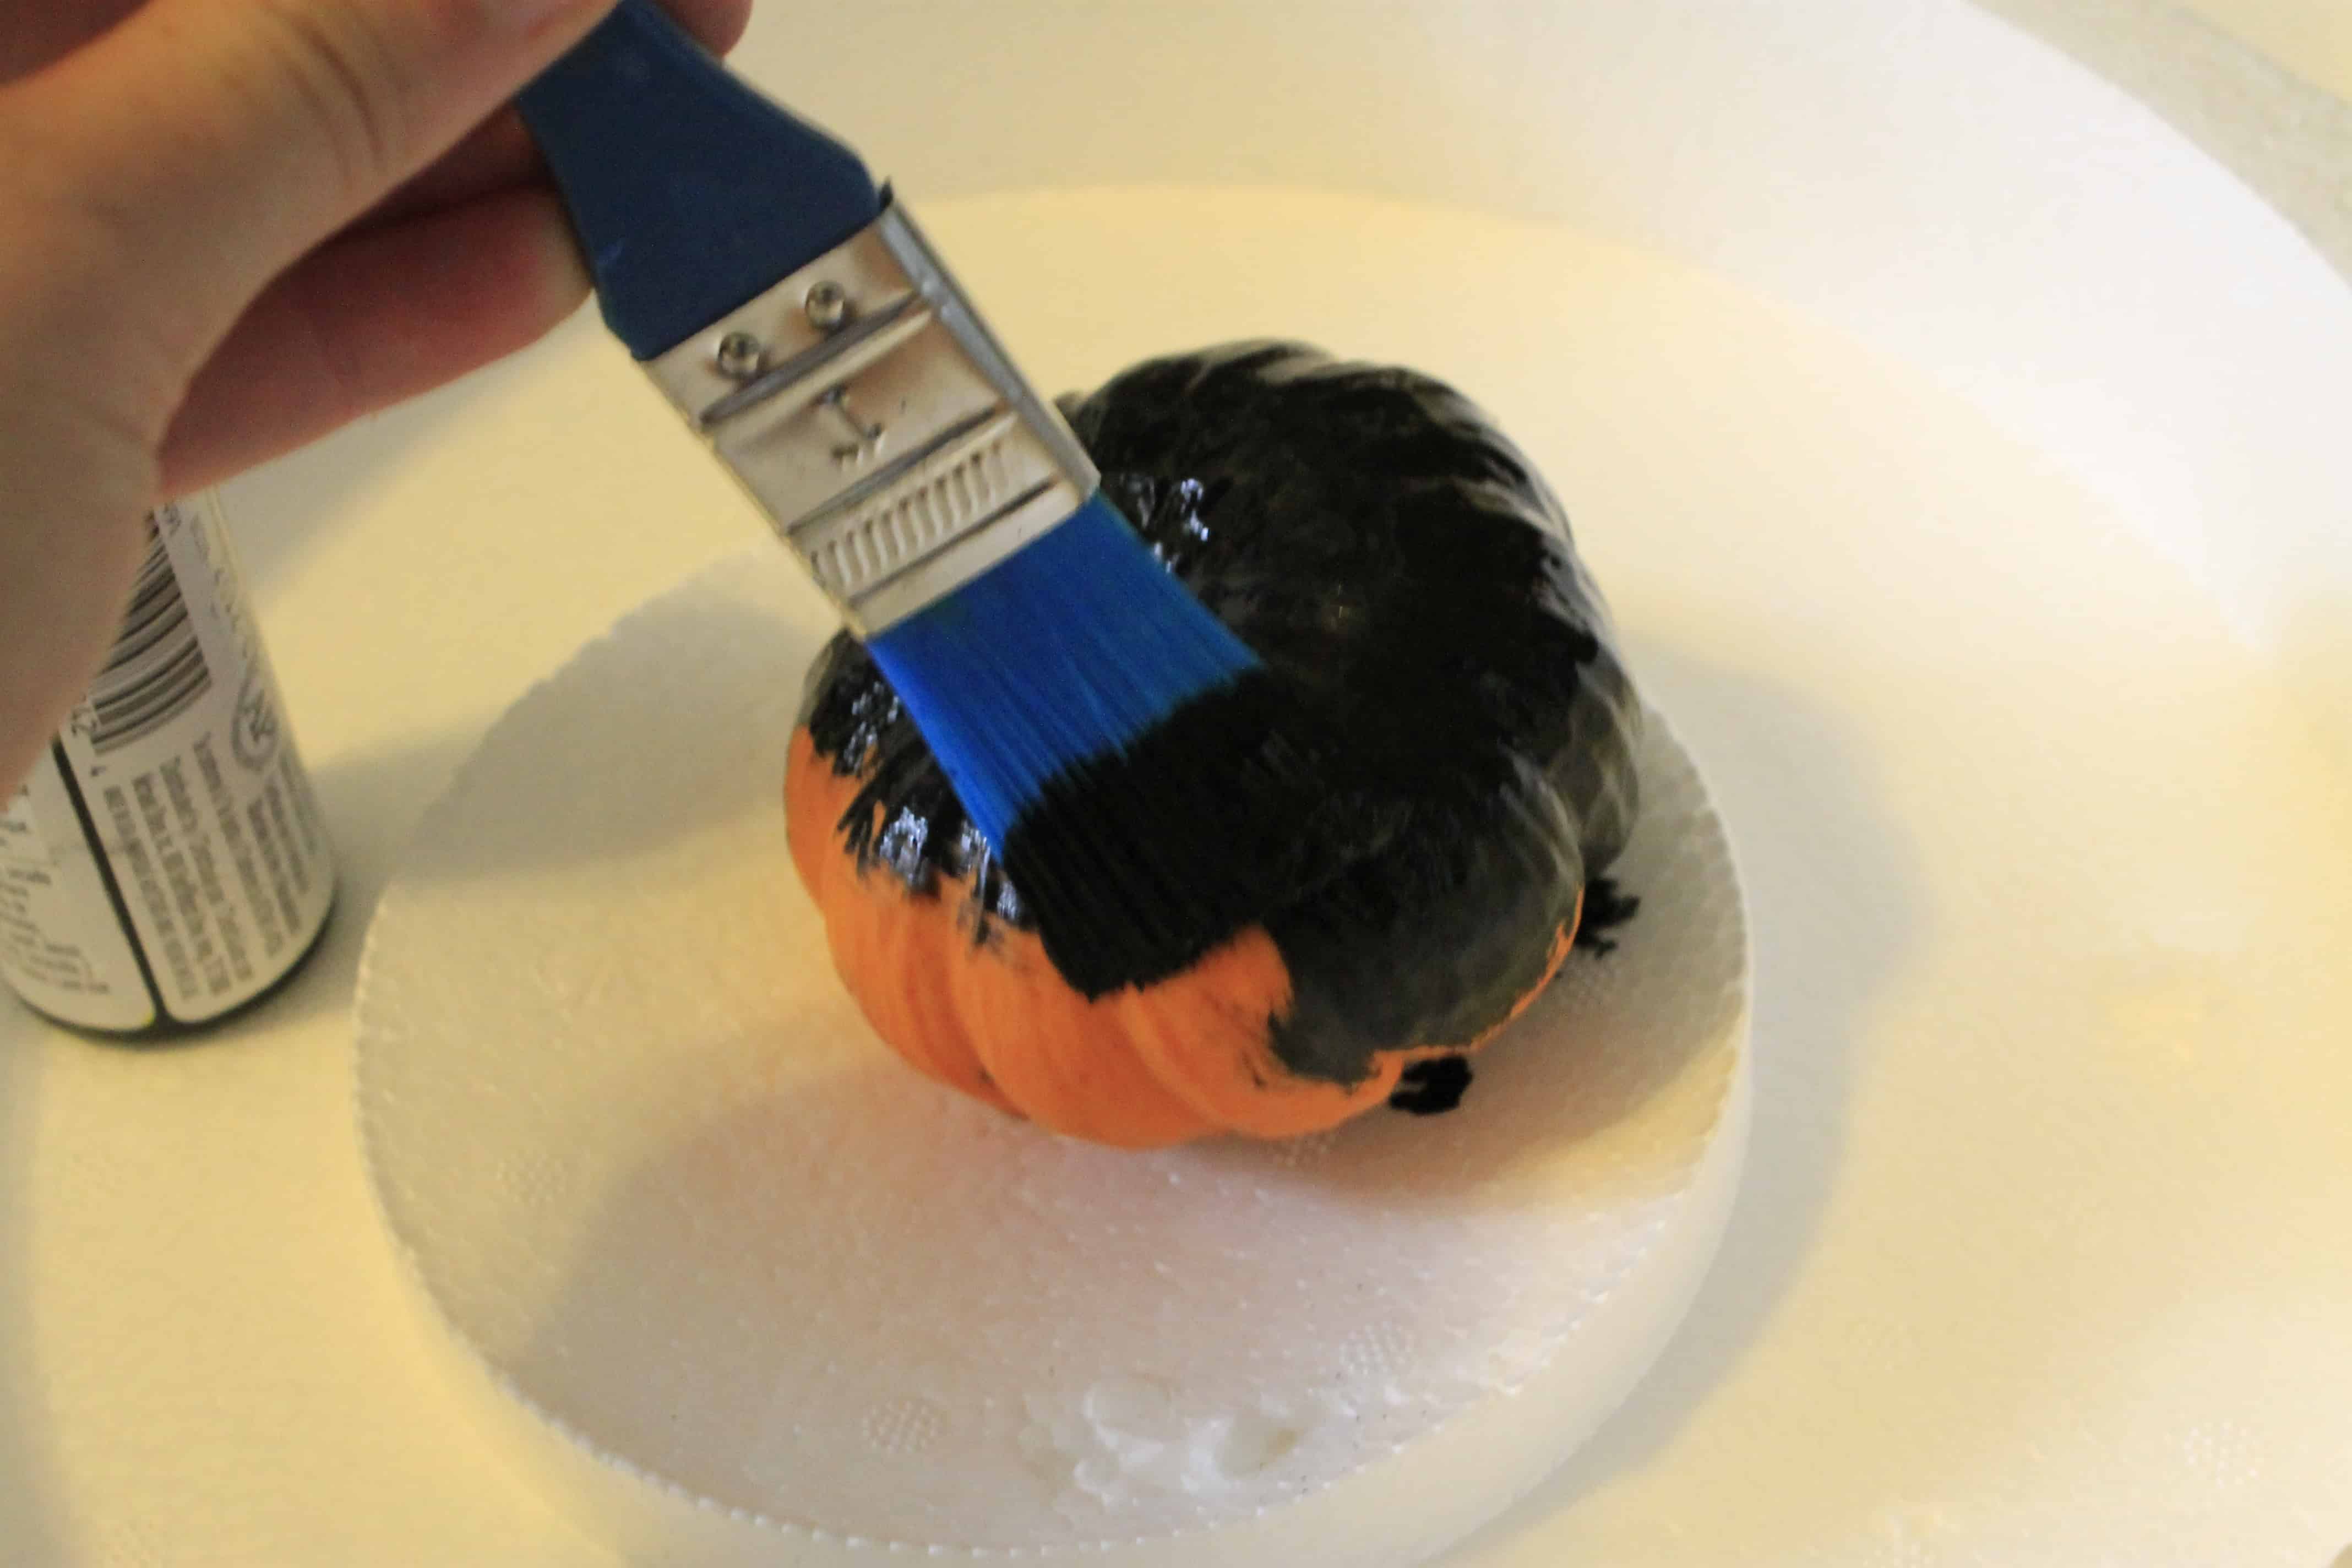
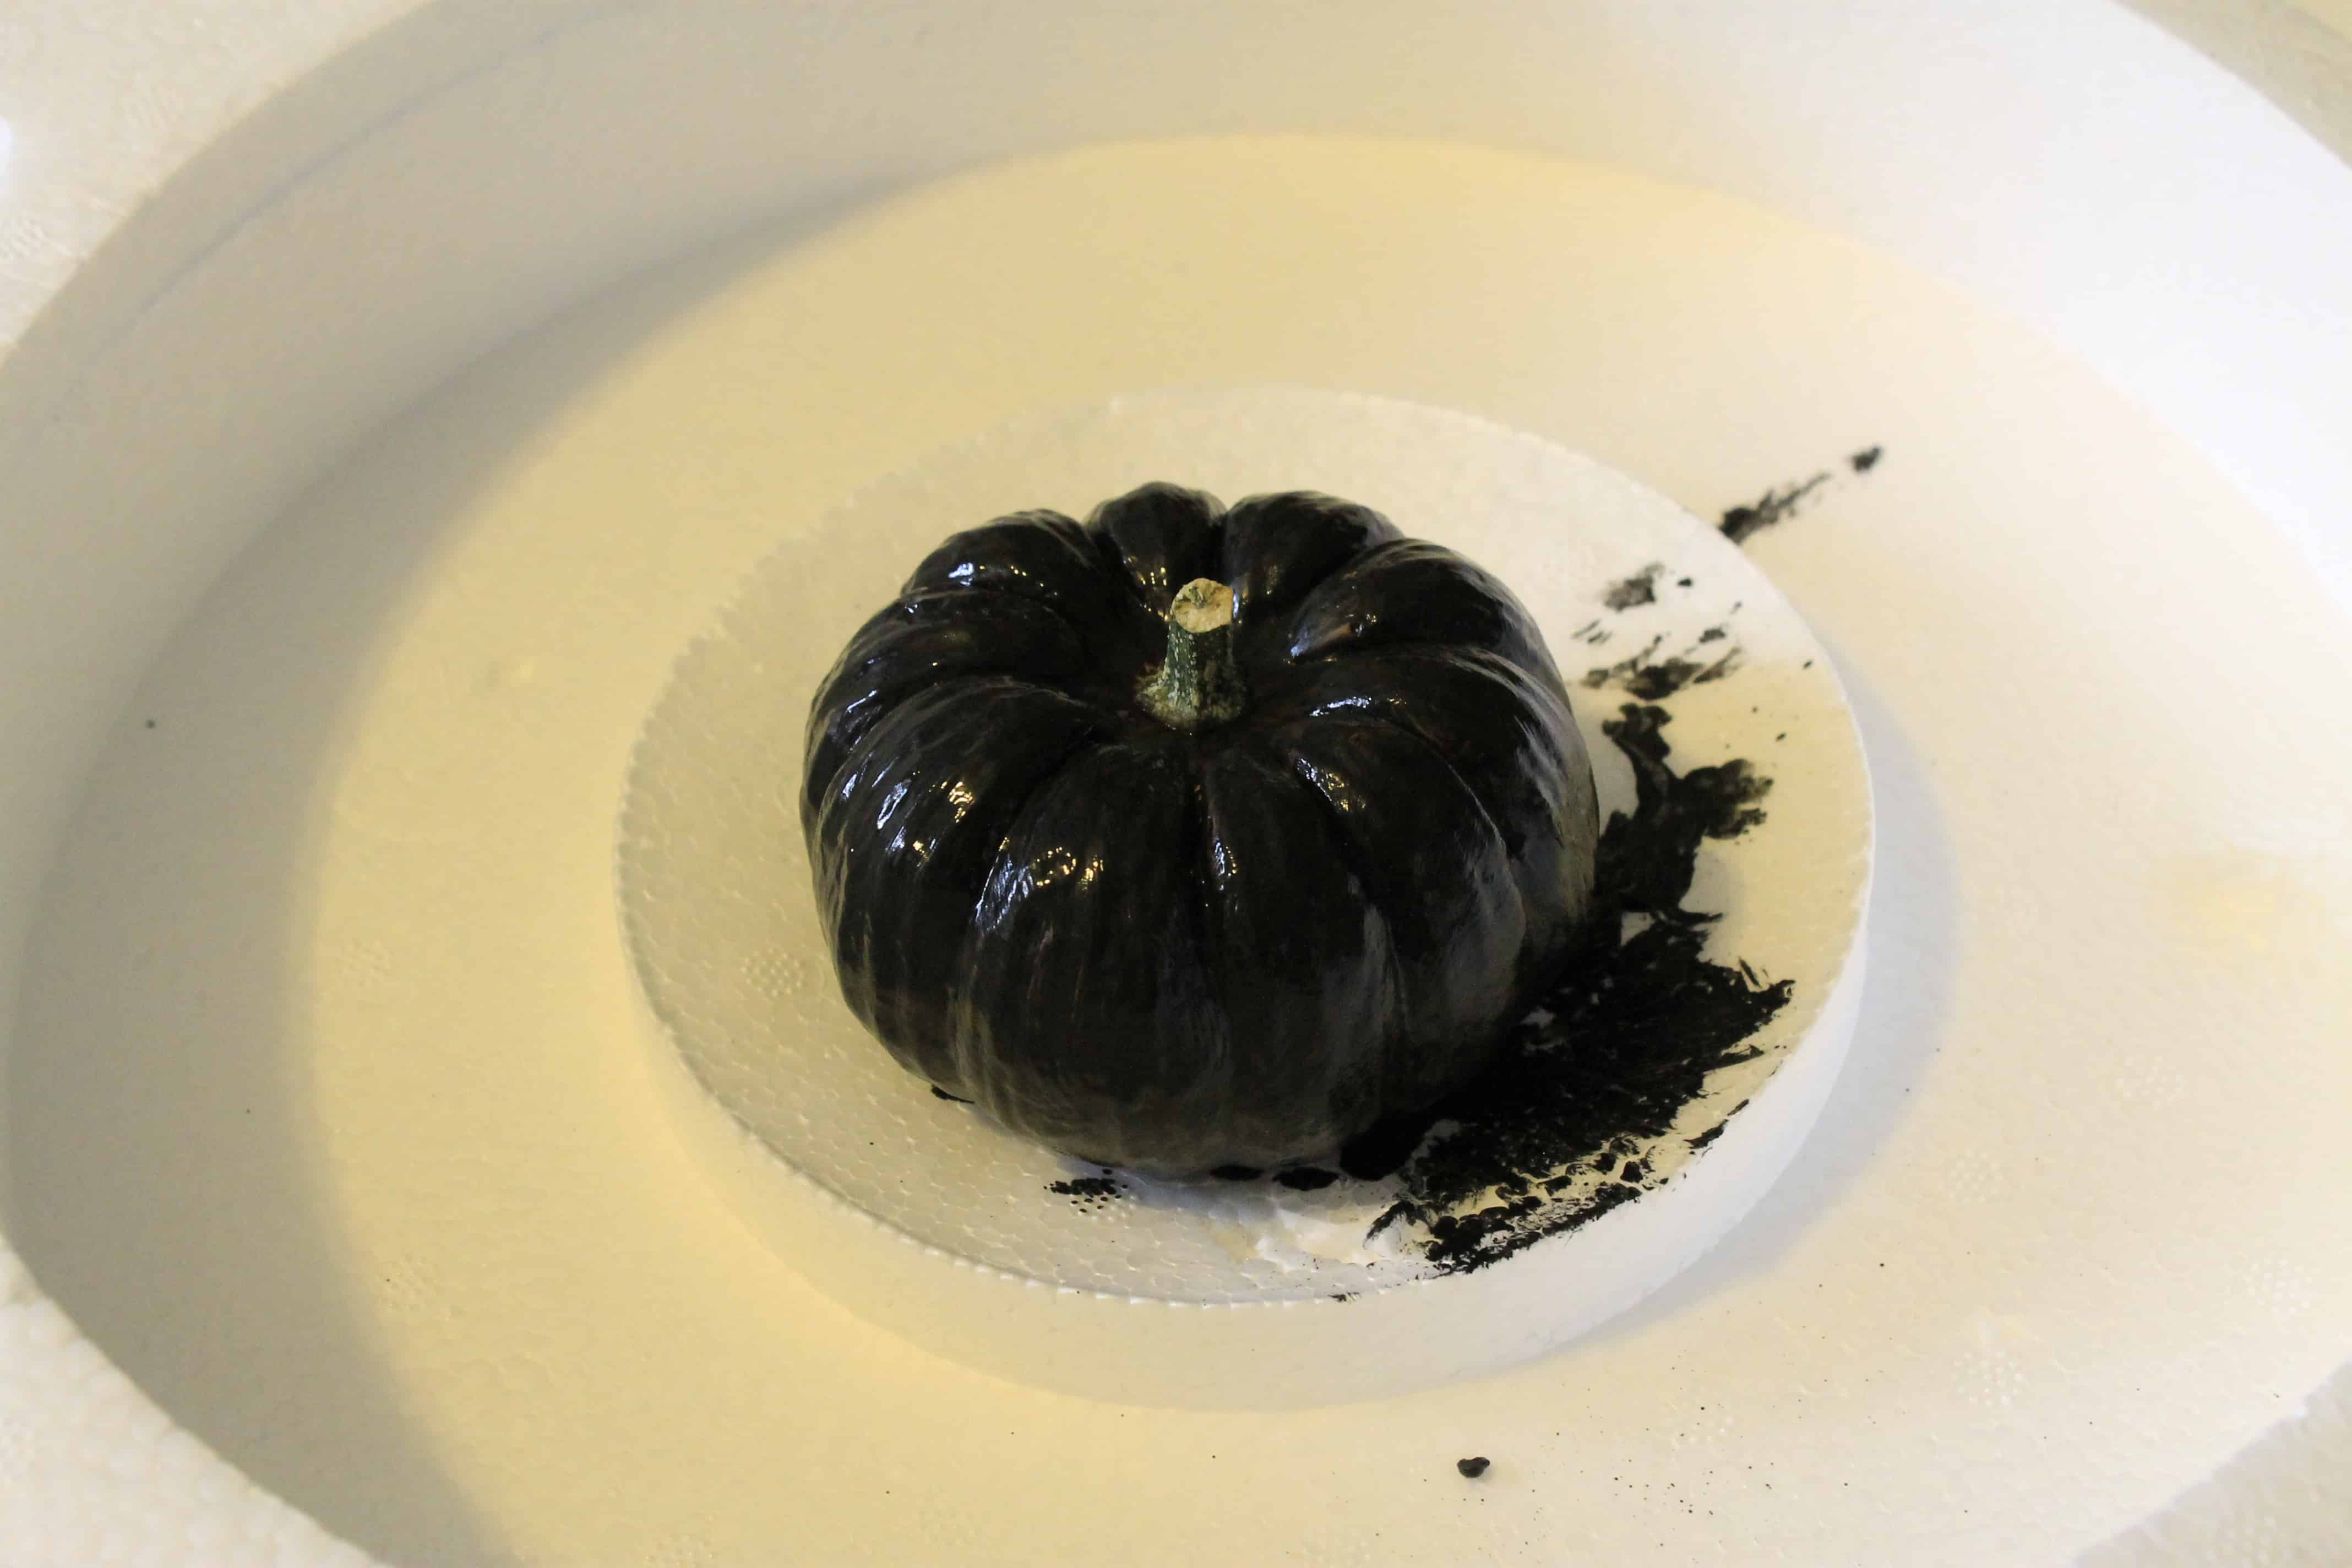
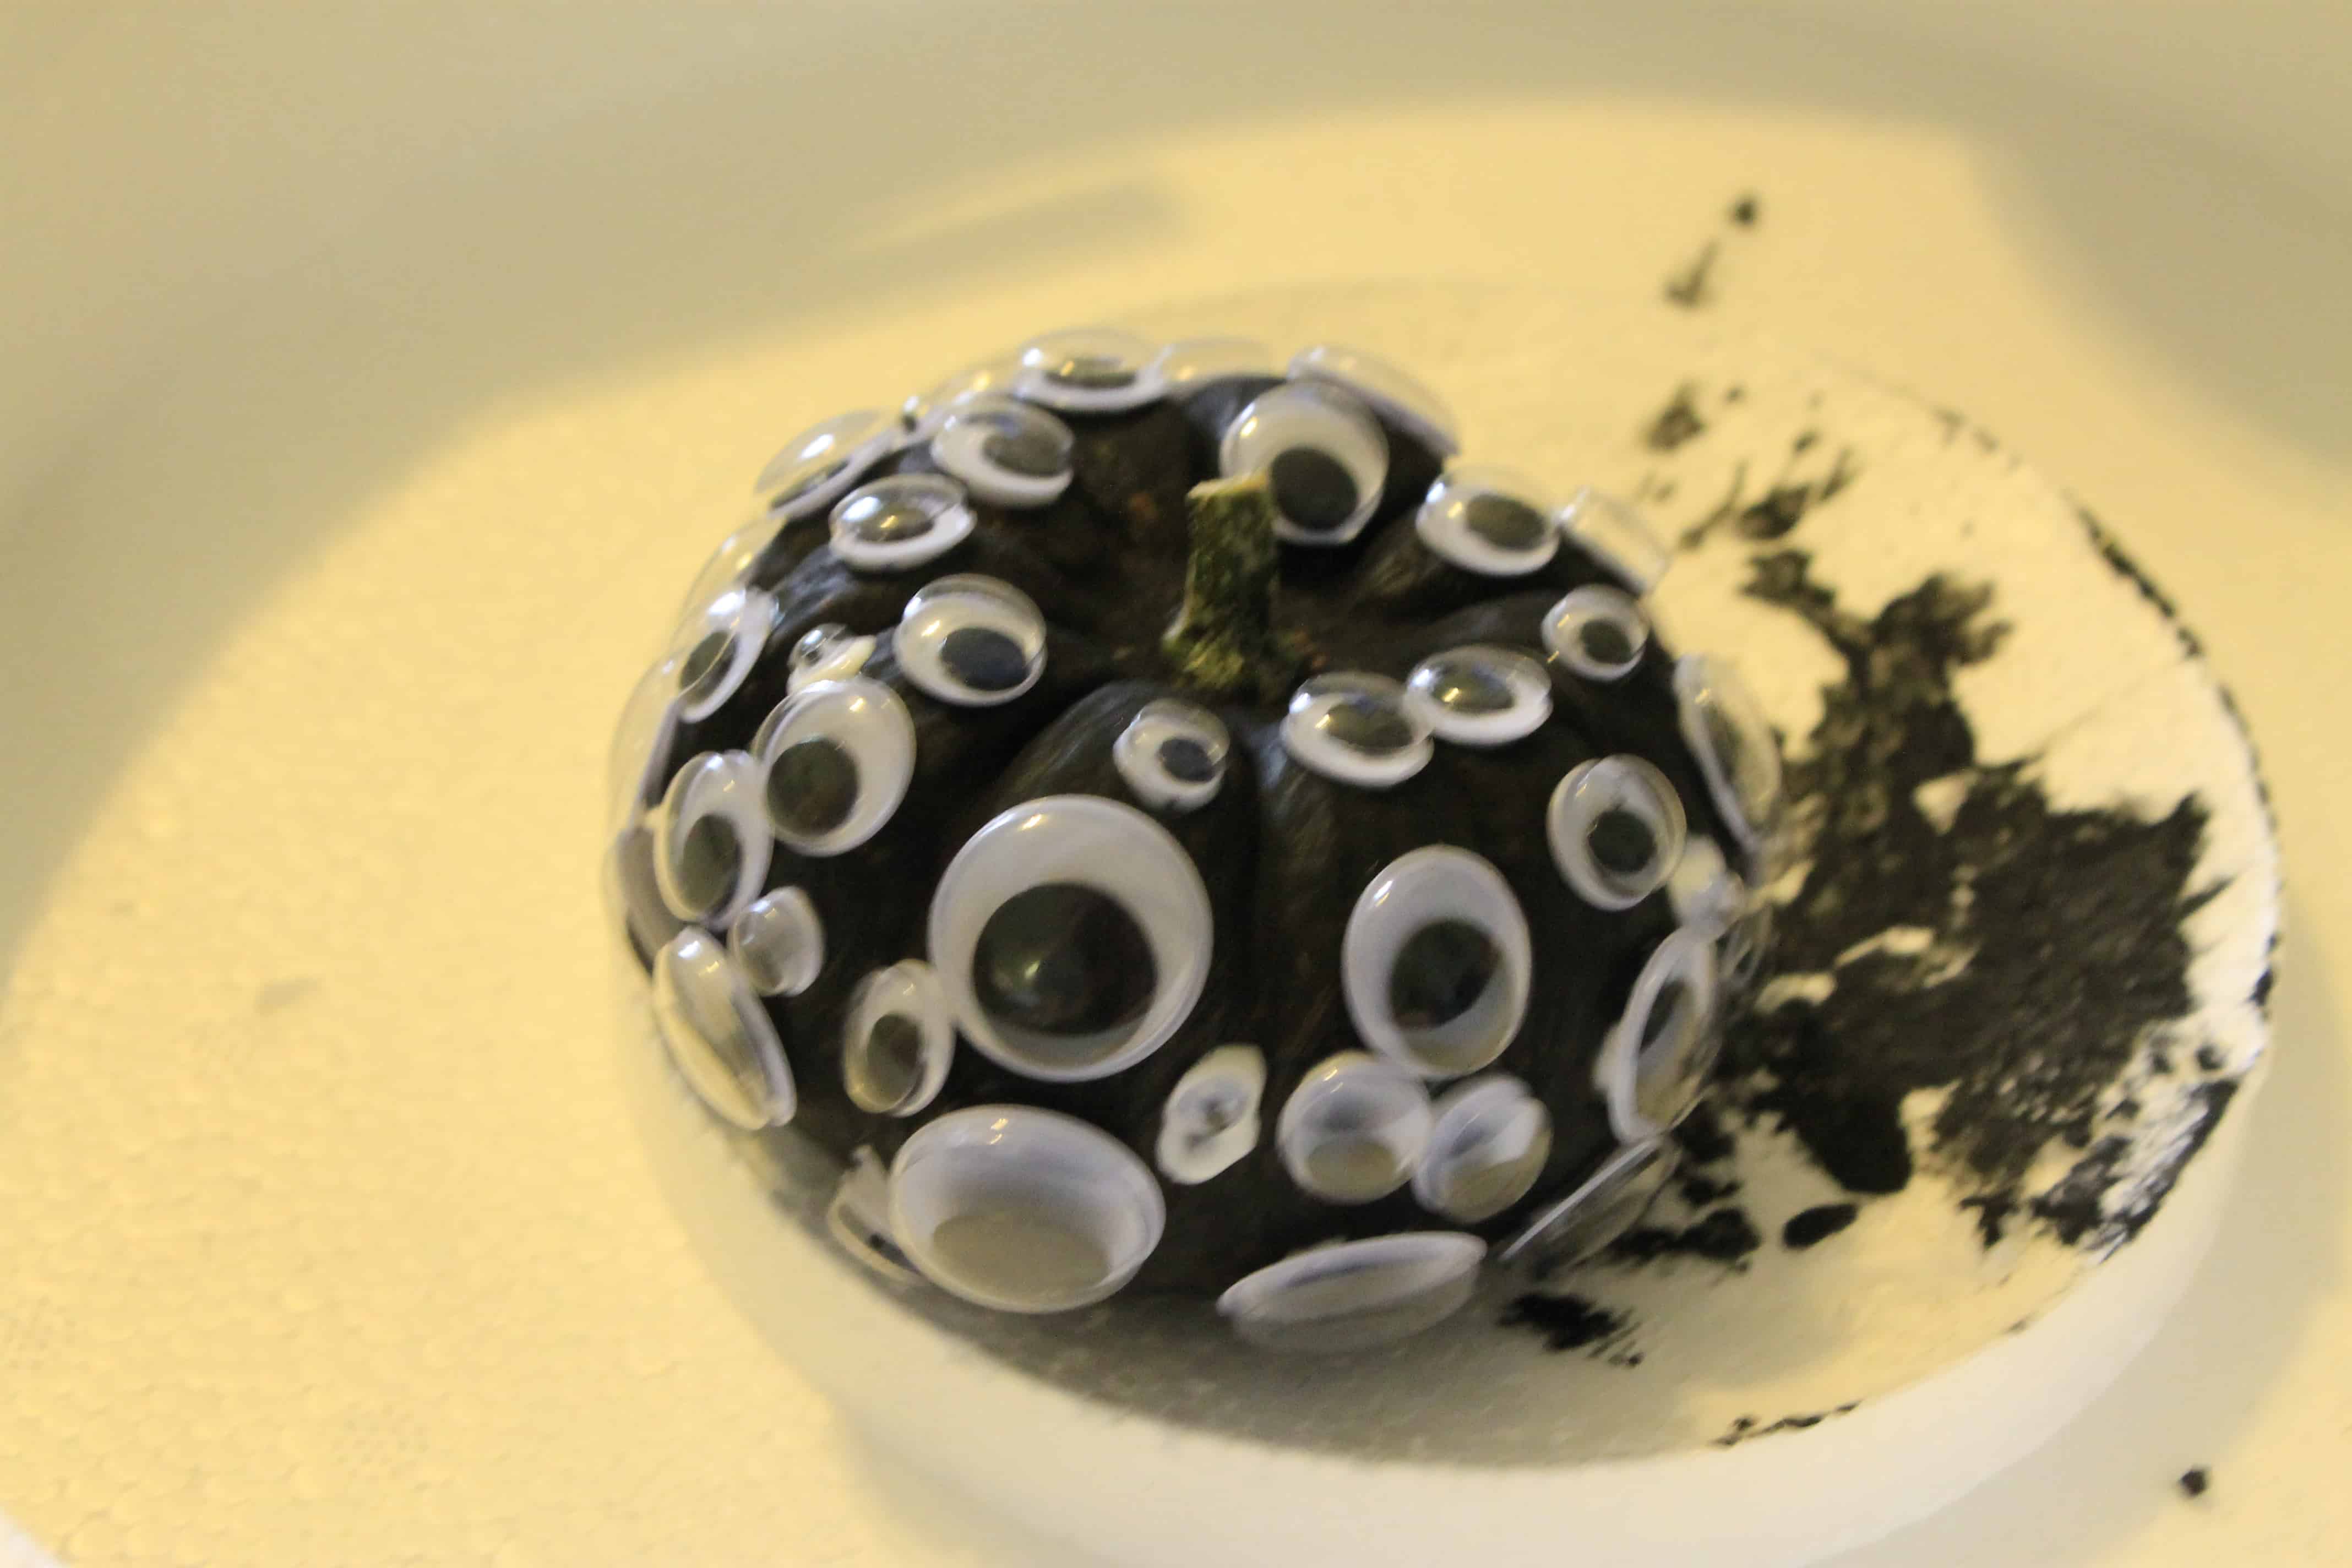
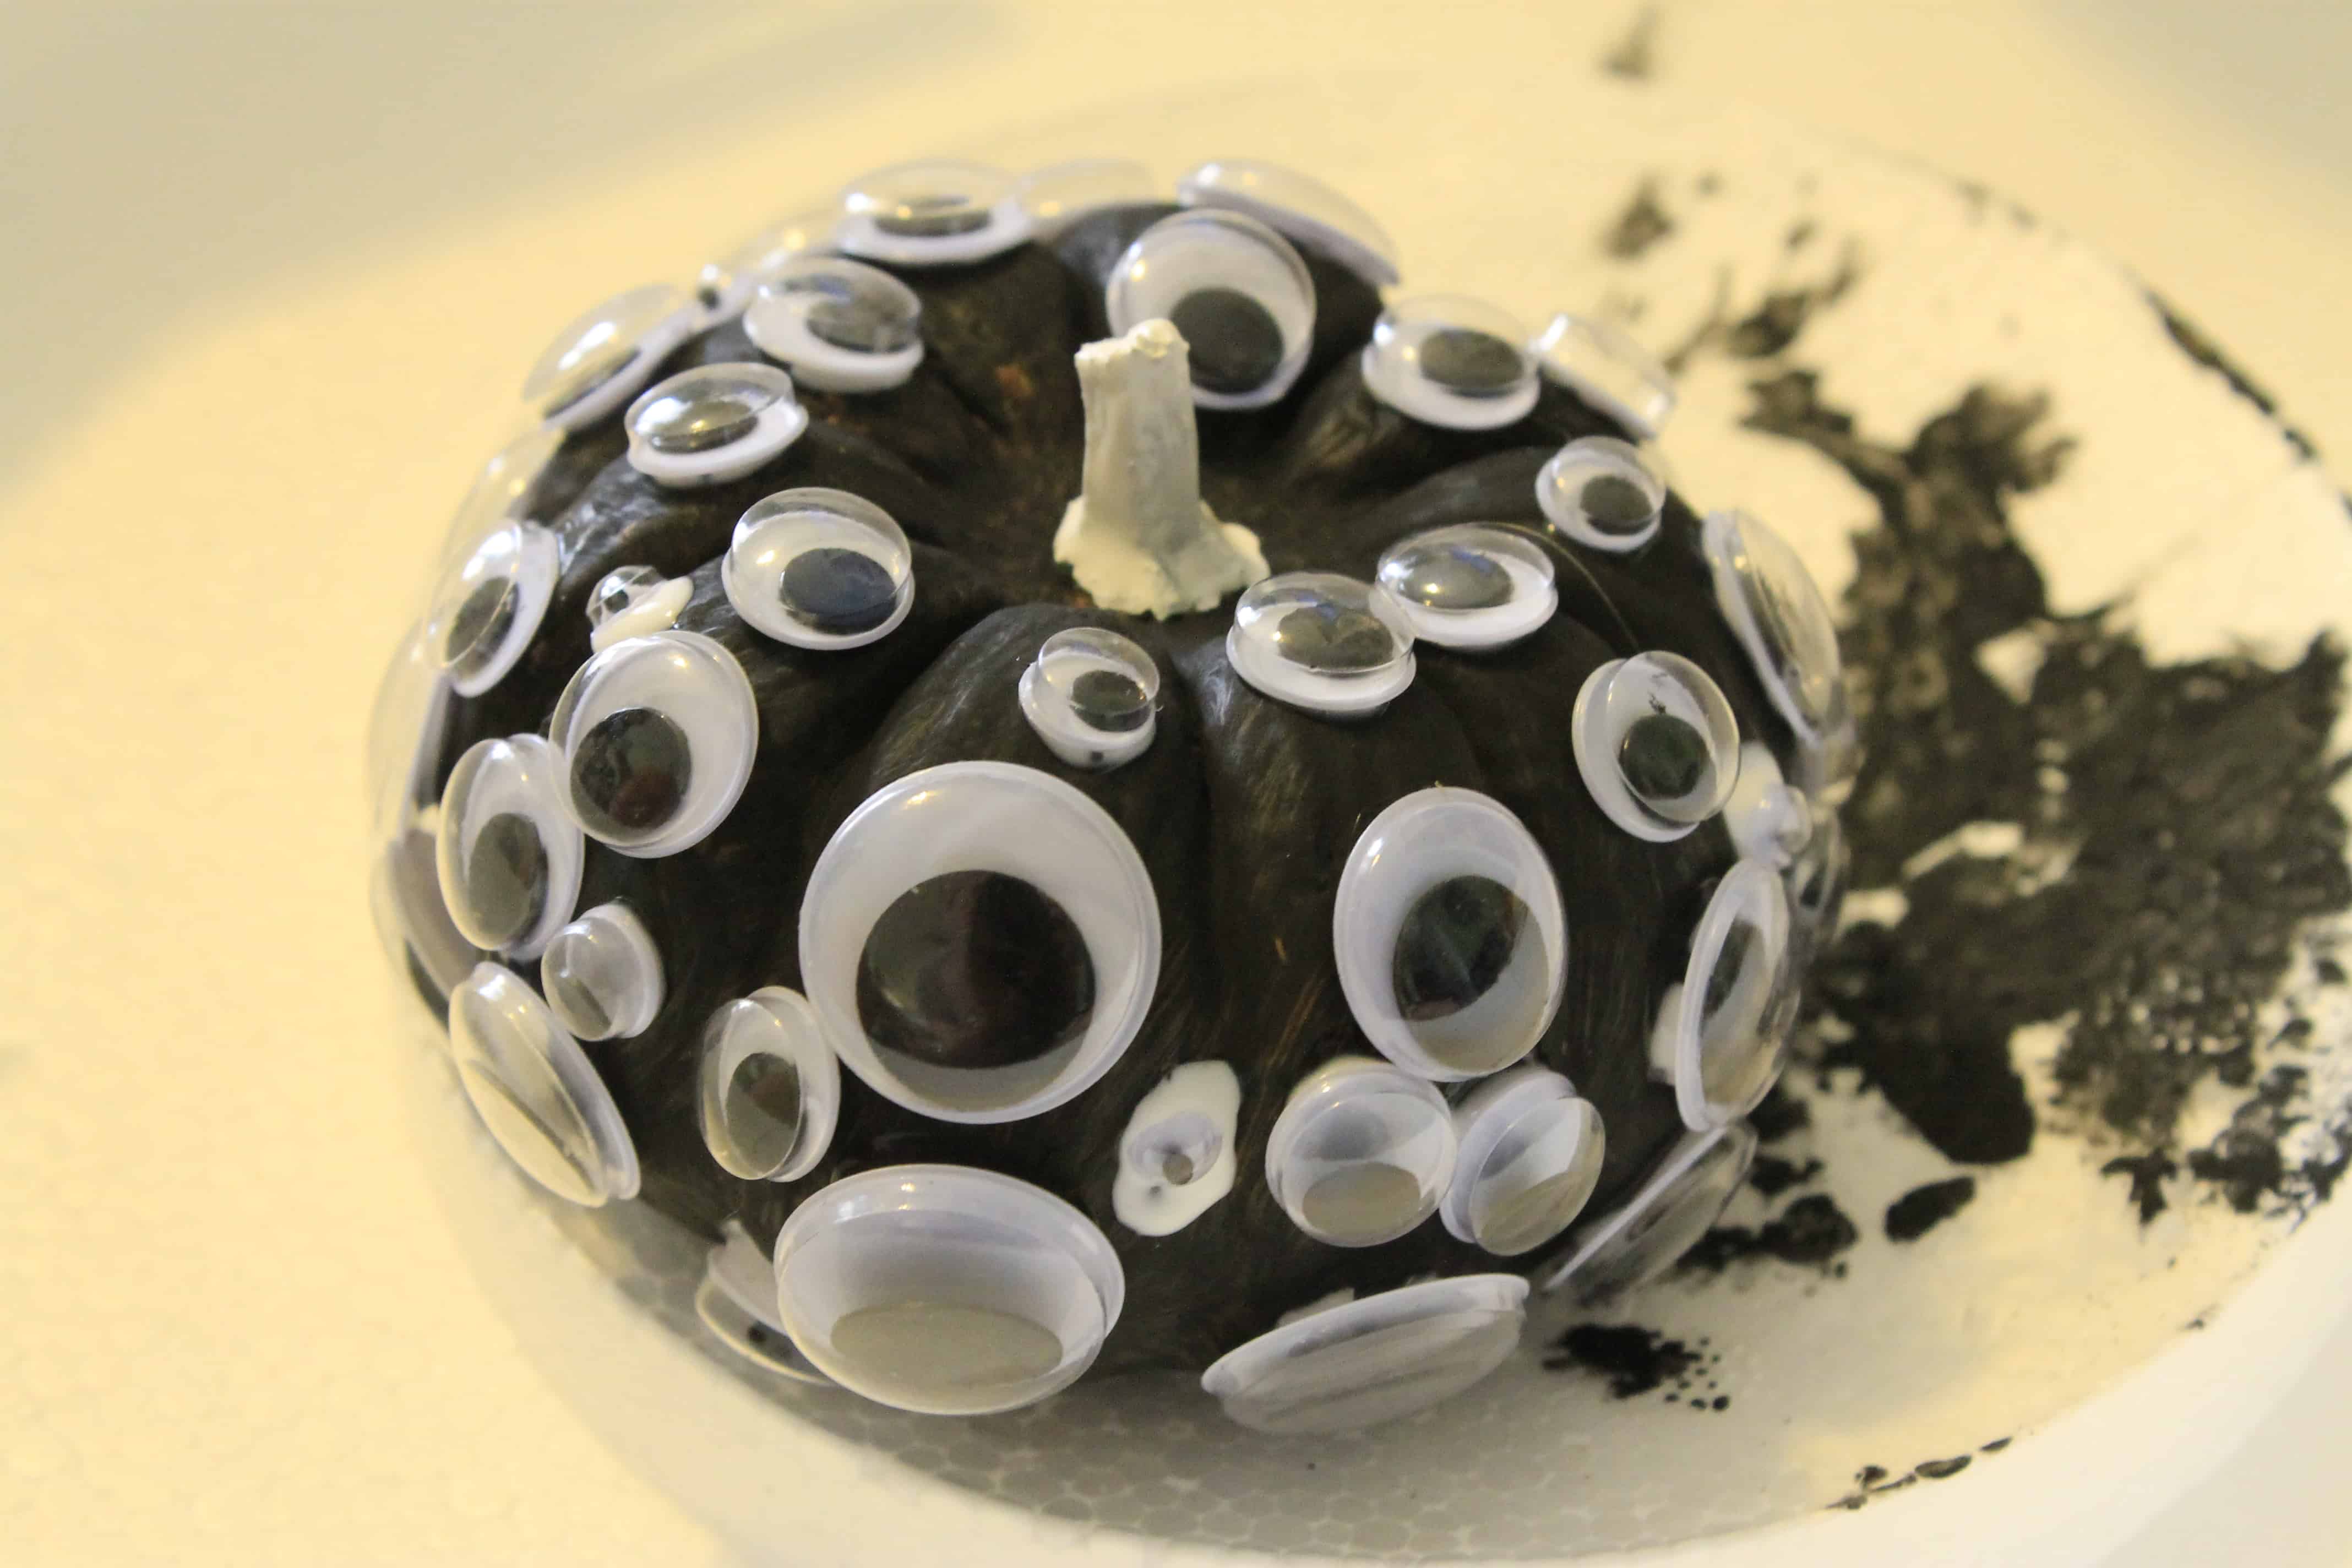
3) Eye them! I decided to cover one mini pumpkin with googly eyes to match my creepy halloween eyeball frame from last year.
First, I decided to cover it with black paint. I just used plain craft paint.
Then, I just used tacky glue to attach googly eyes to the pumpkin. I made vertical rows along the ridges of the pumpkin.
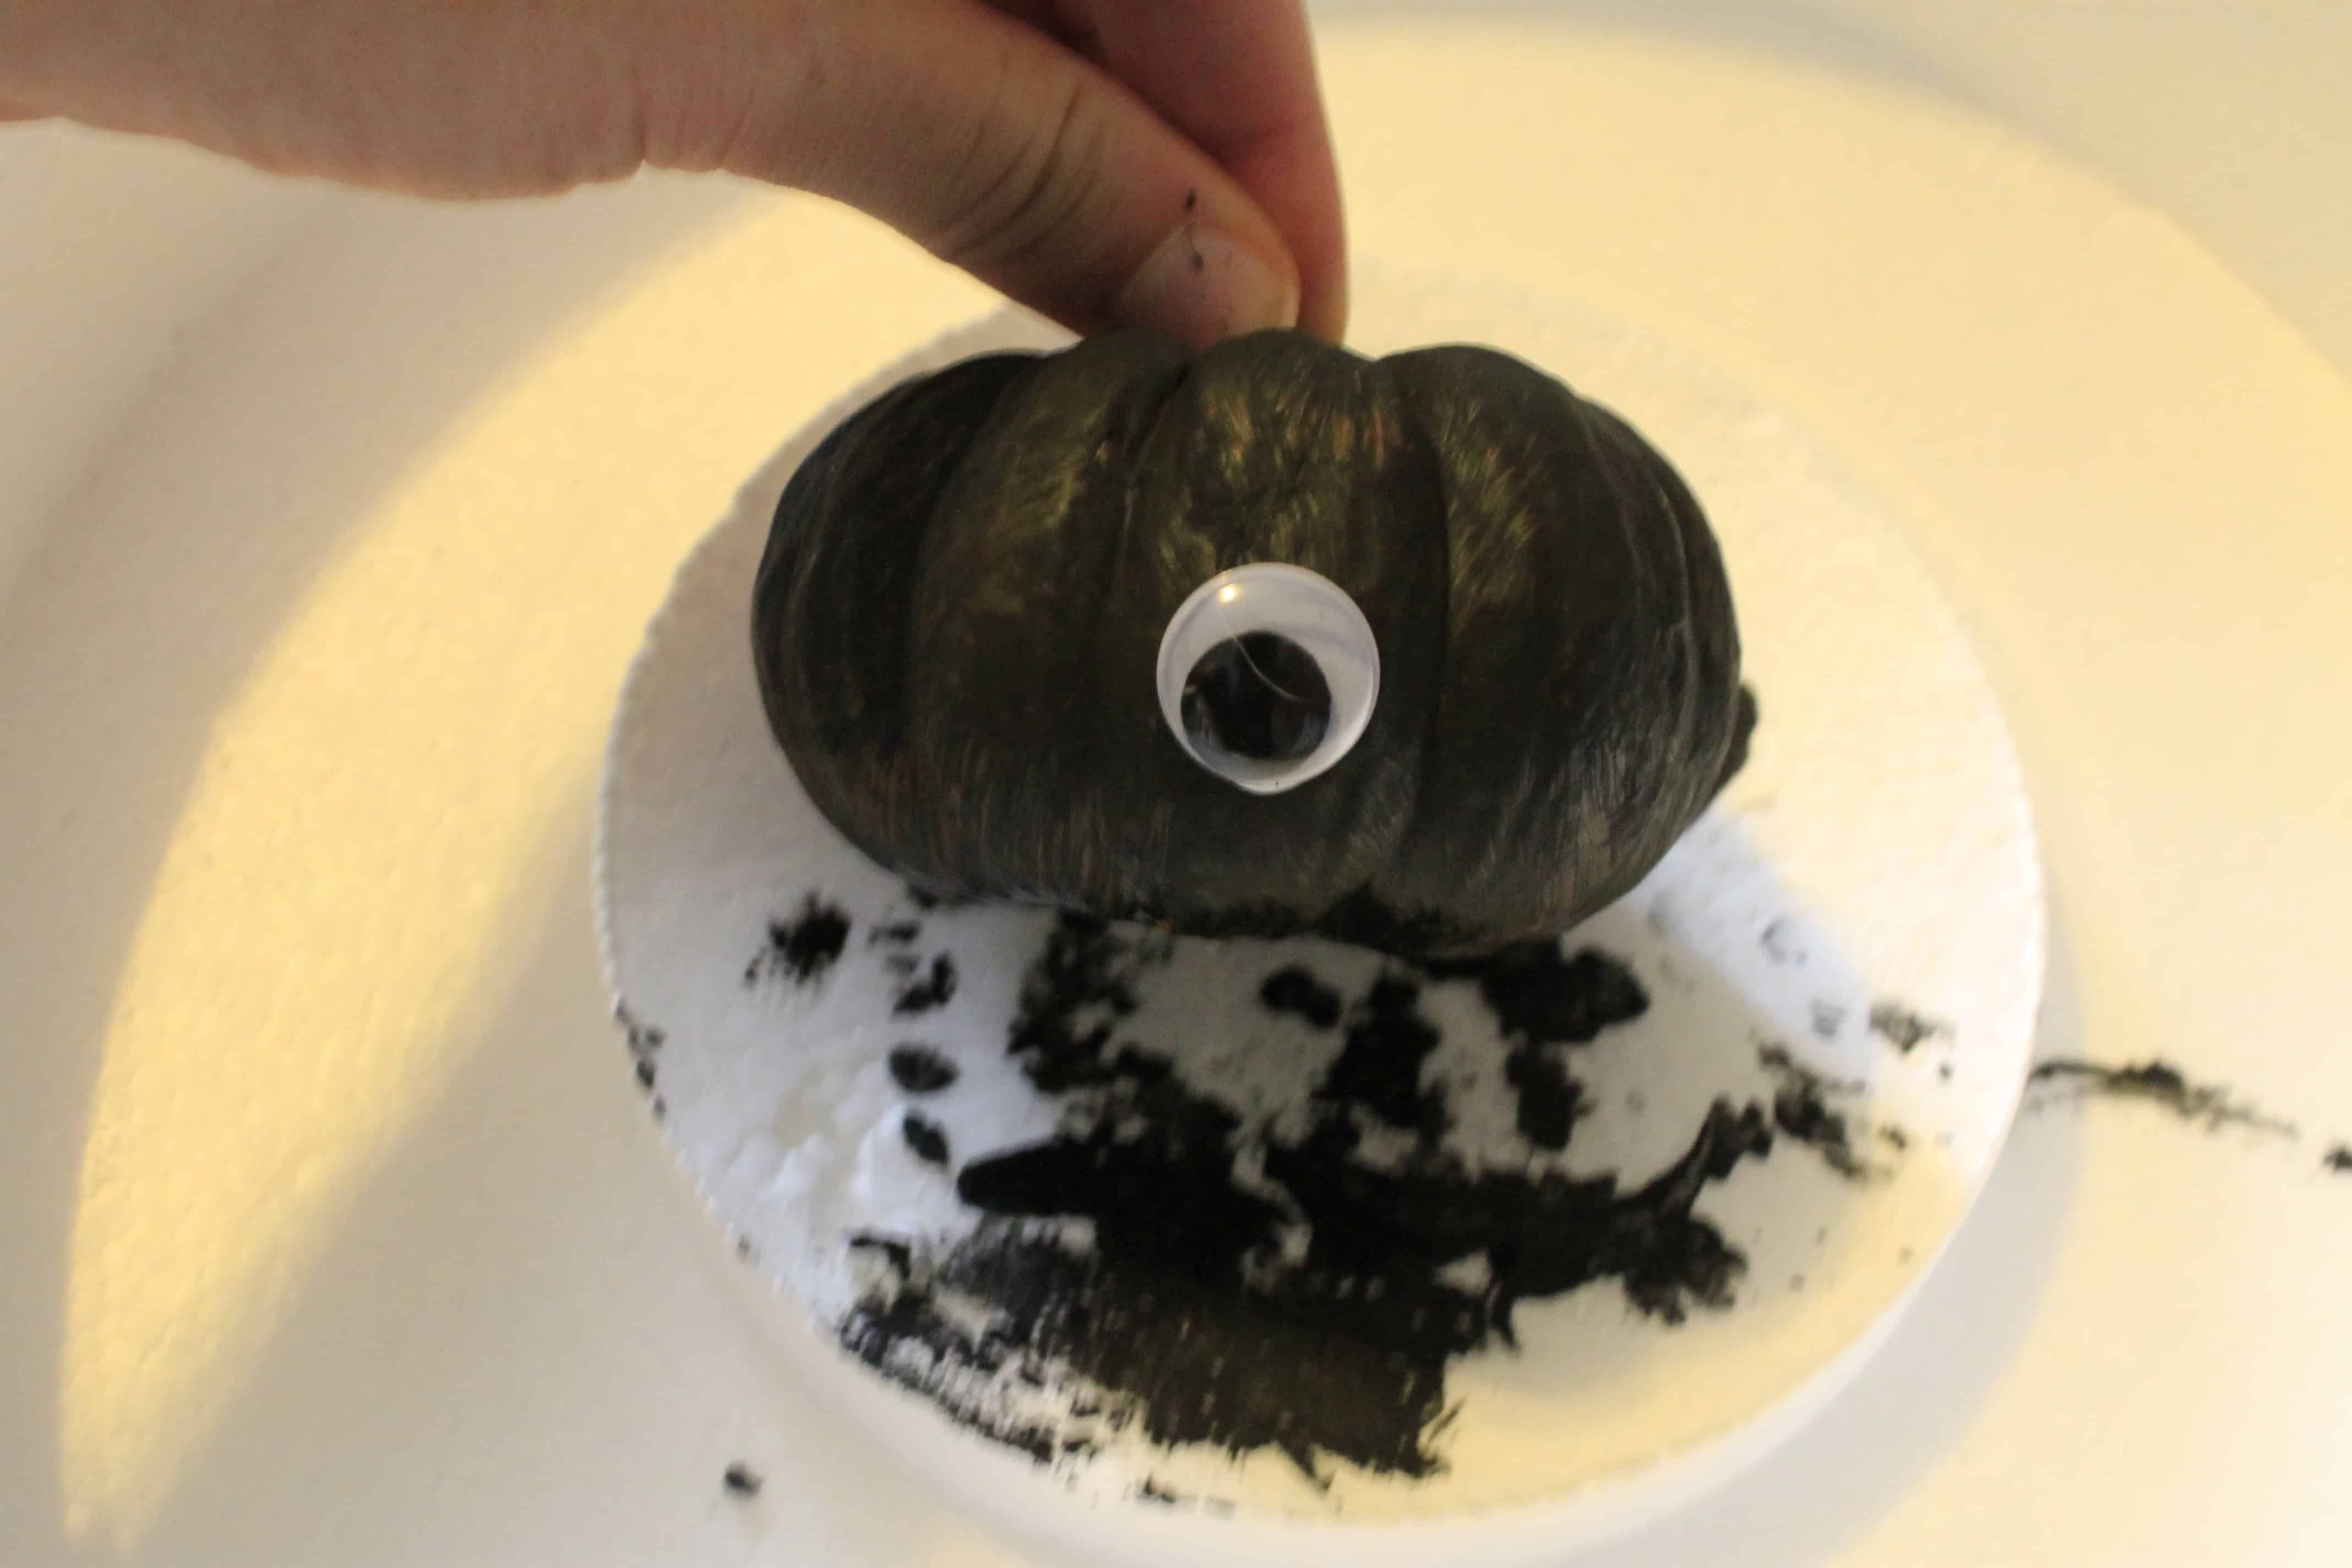
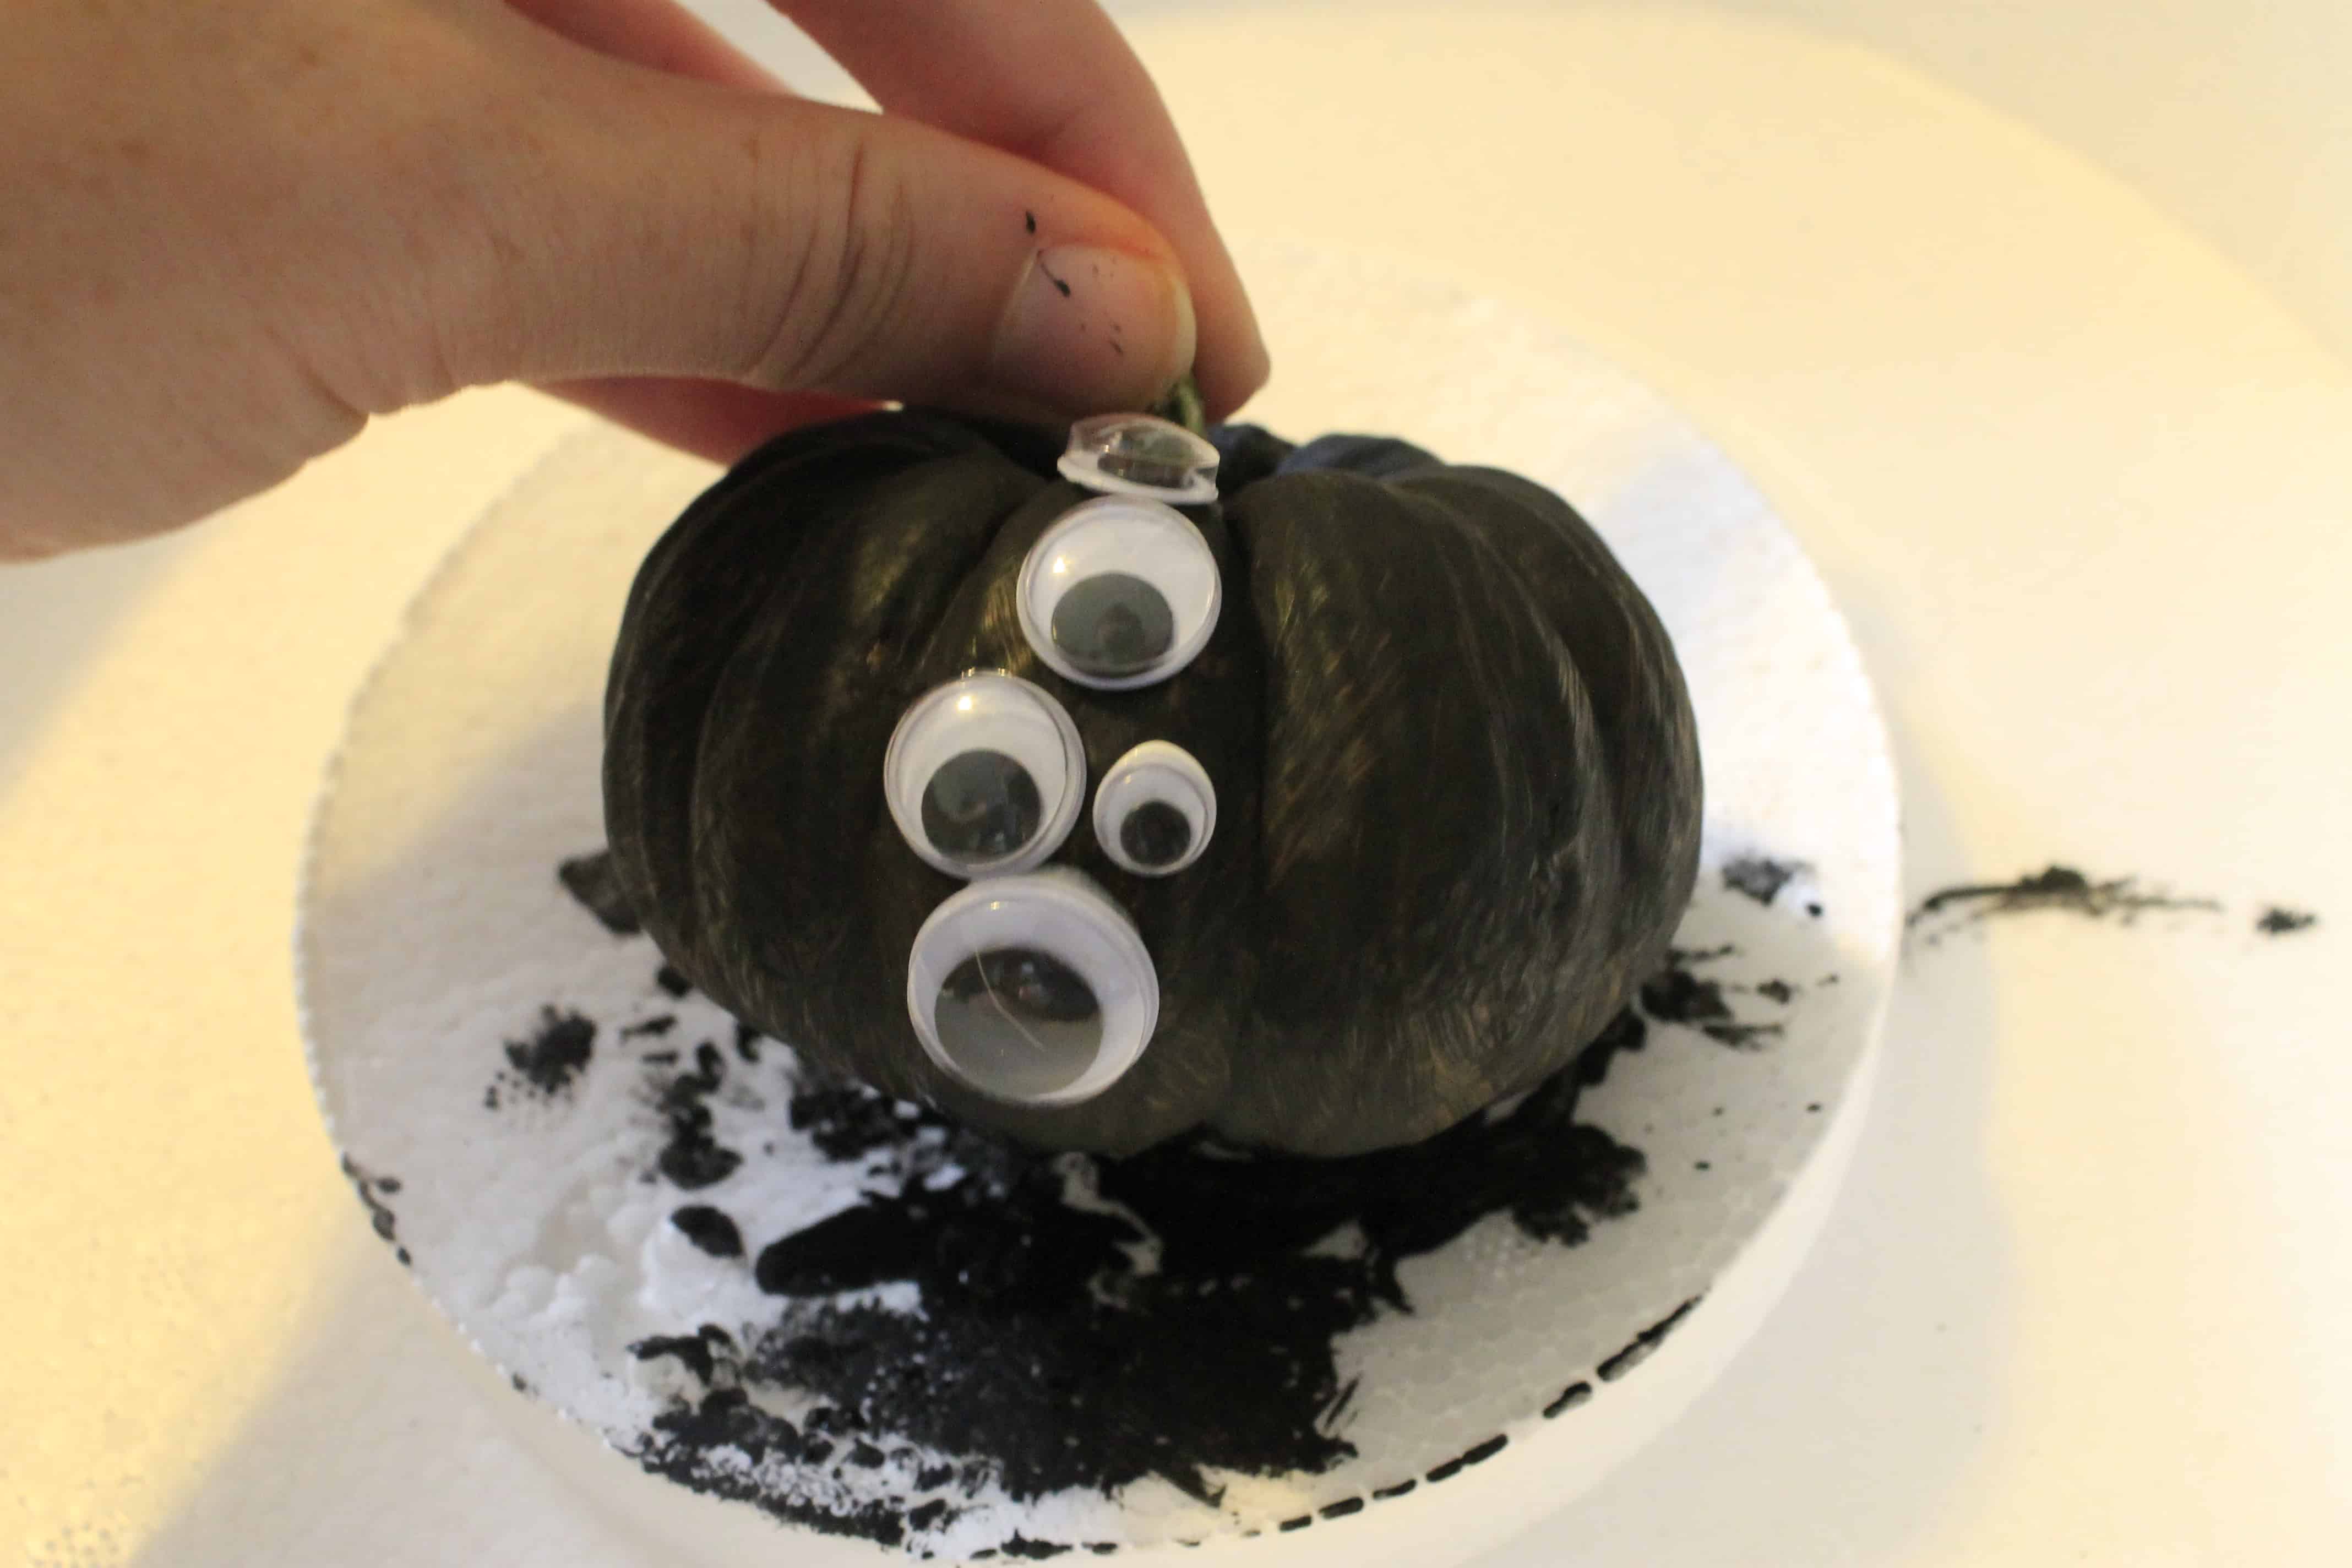
I had to stop every few inches to let it dry, because my fingers kept moving the wet glued ones.

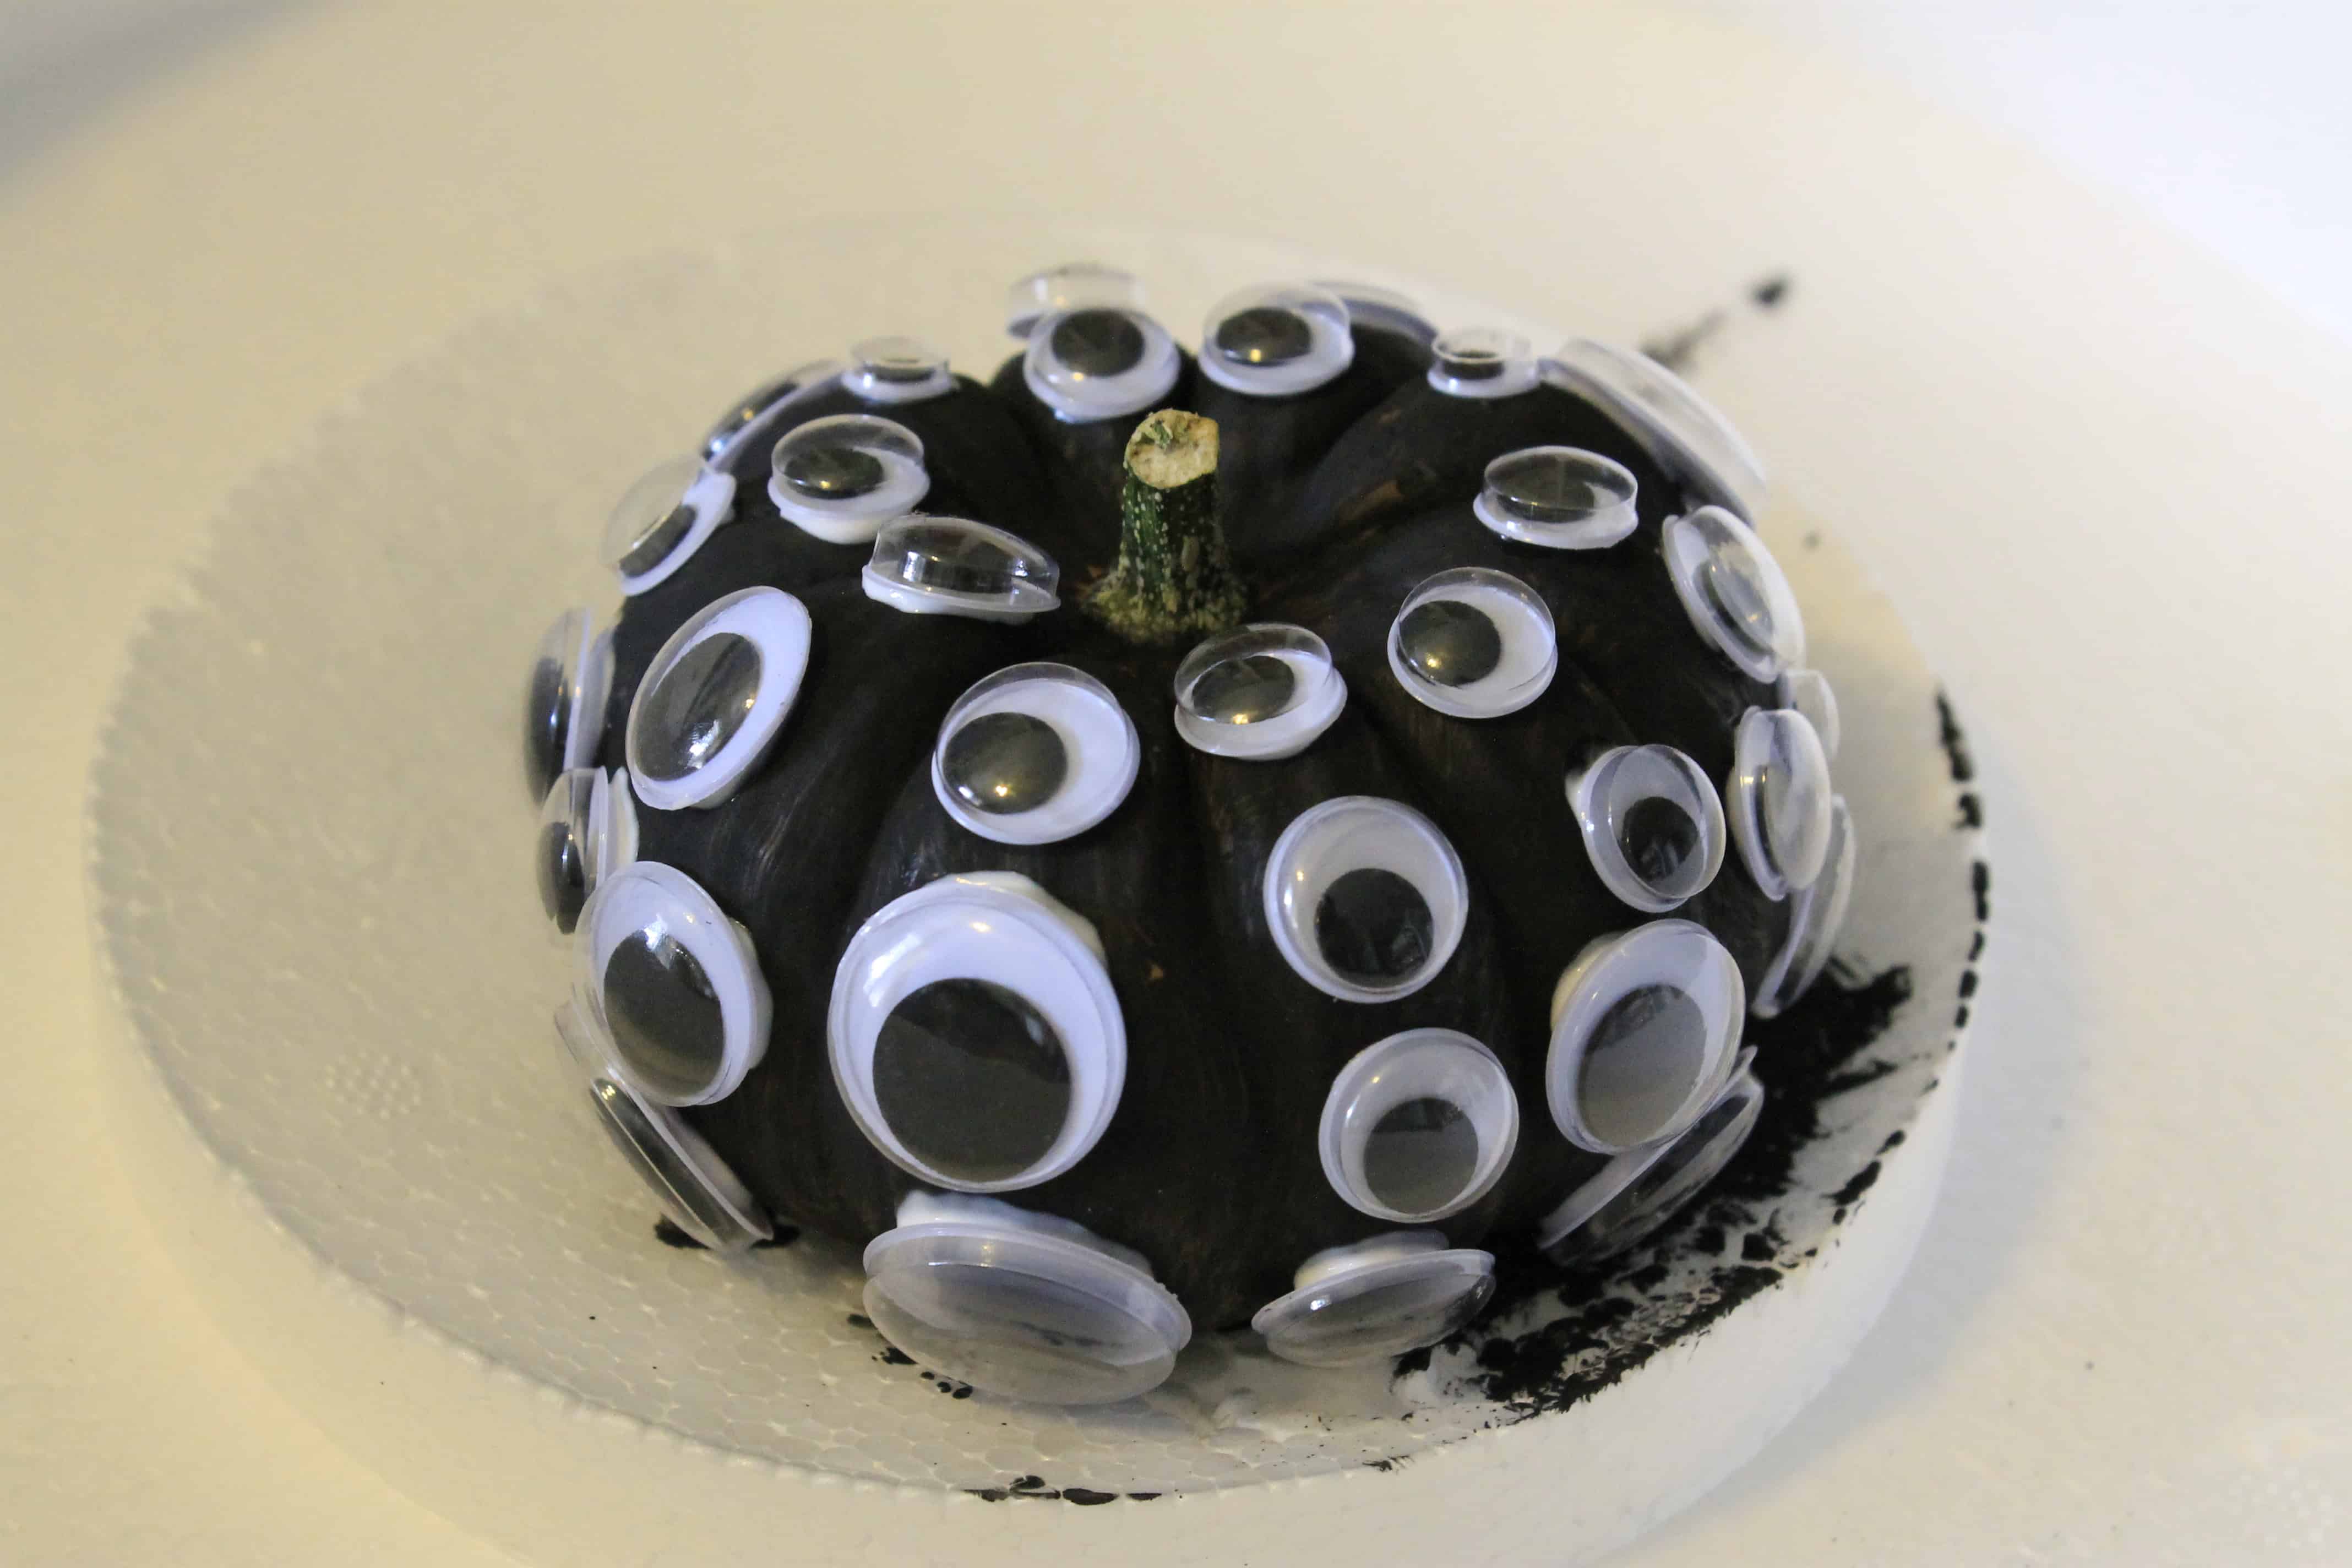
In the end, I added some small eyes where there were gaps.
I decided that it didn’t look complete, so I painted the stem white! How cute is it now!
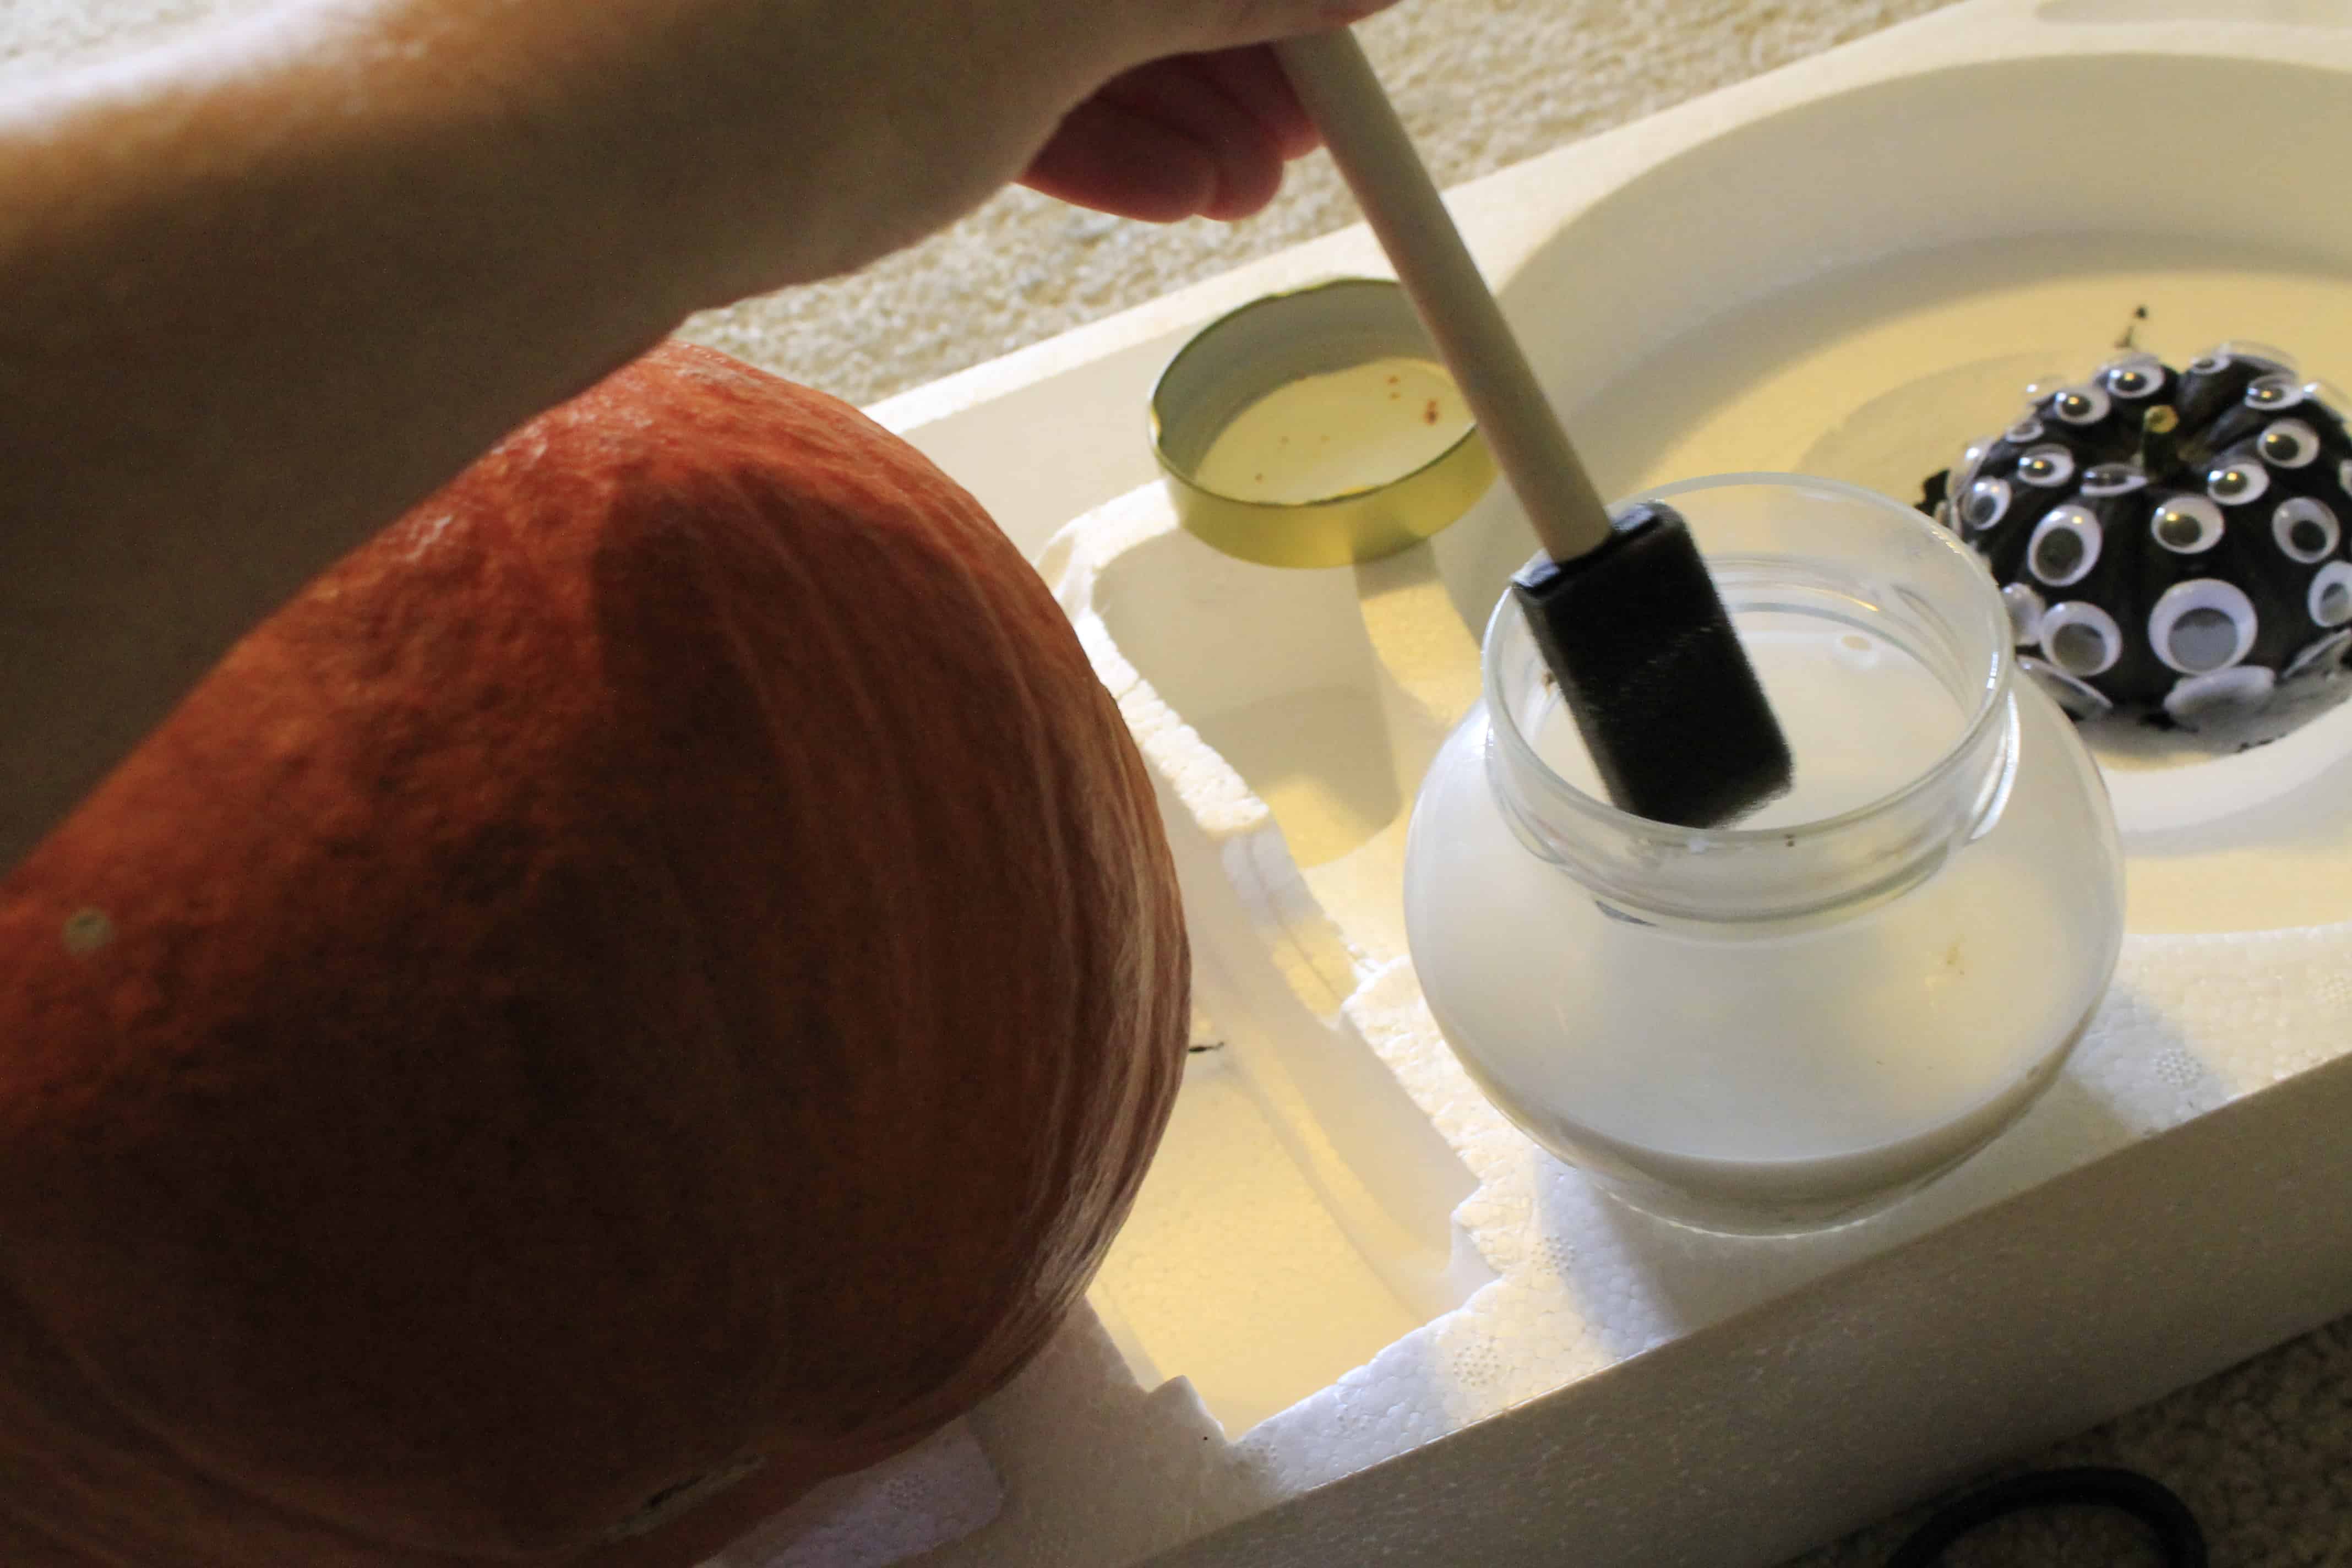
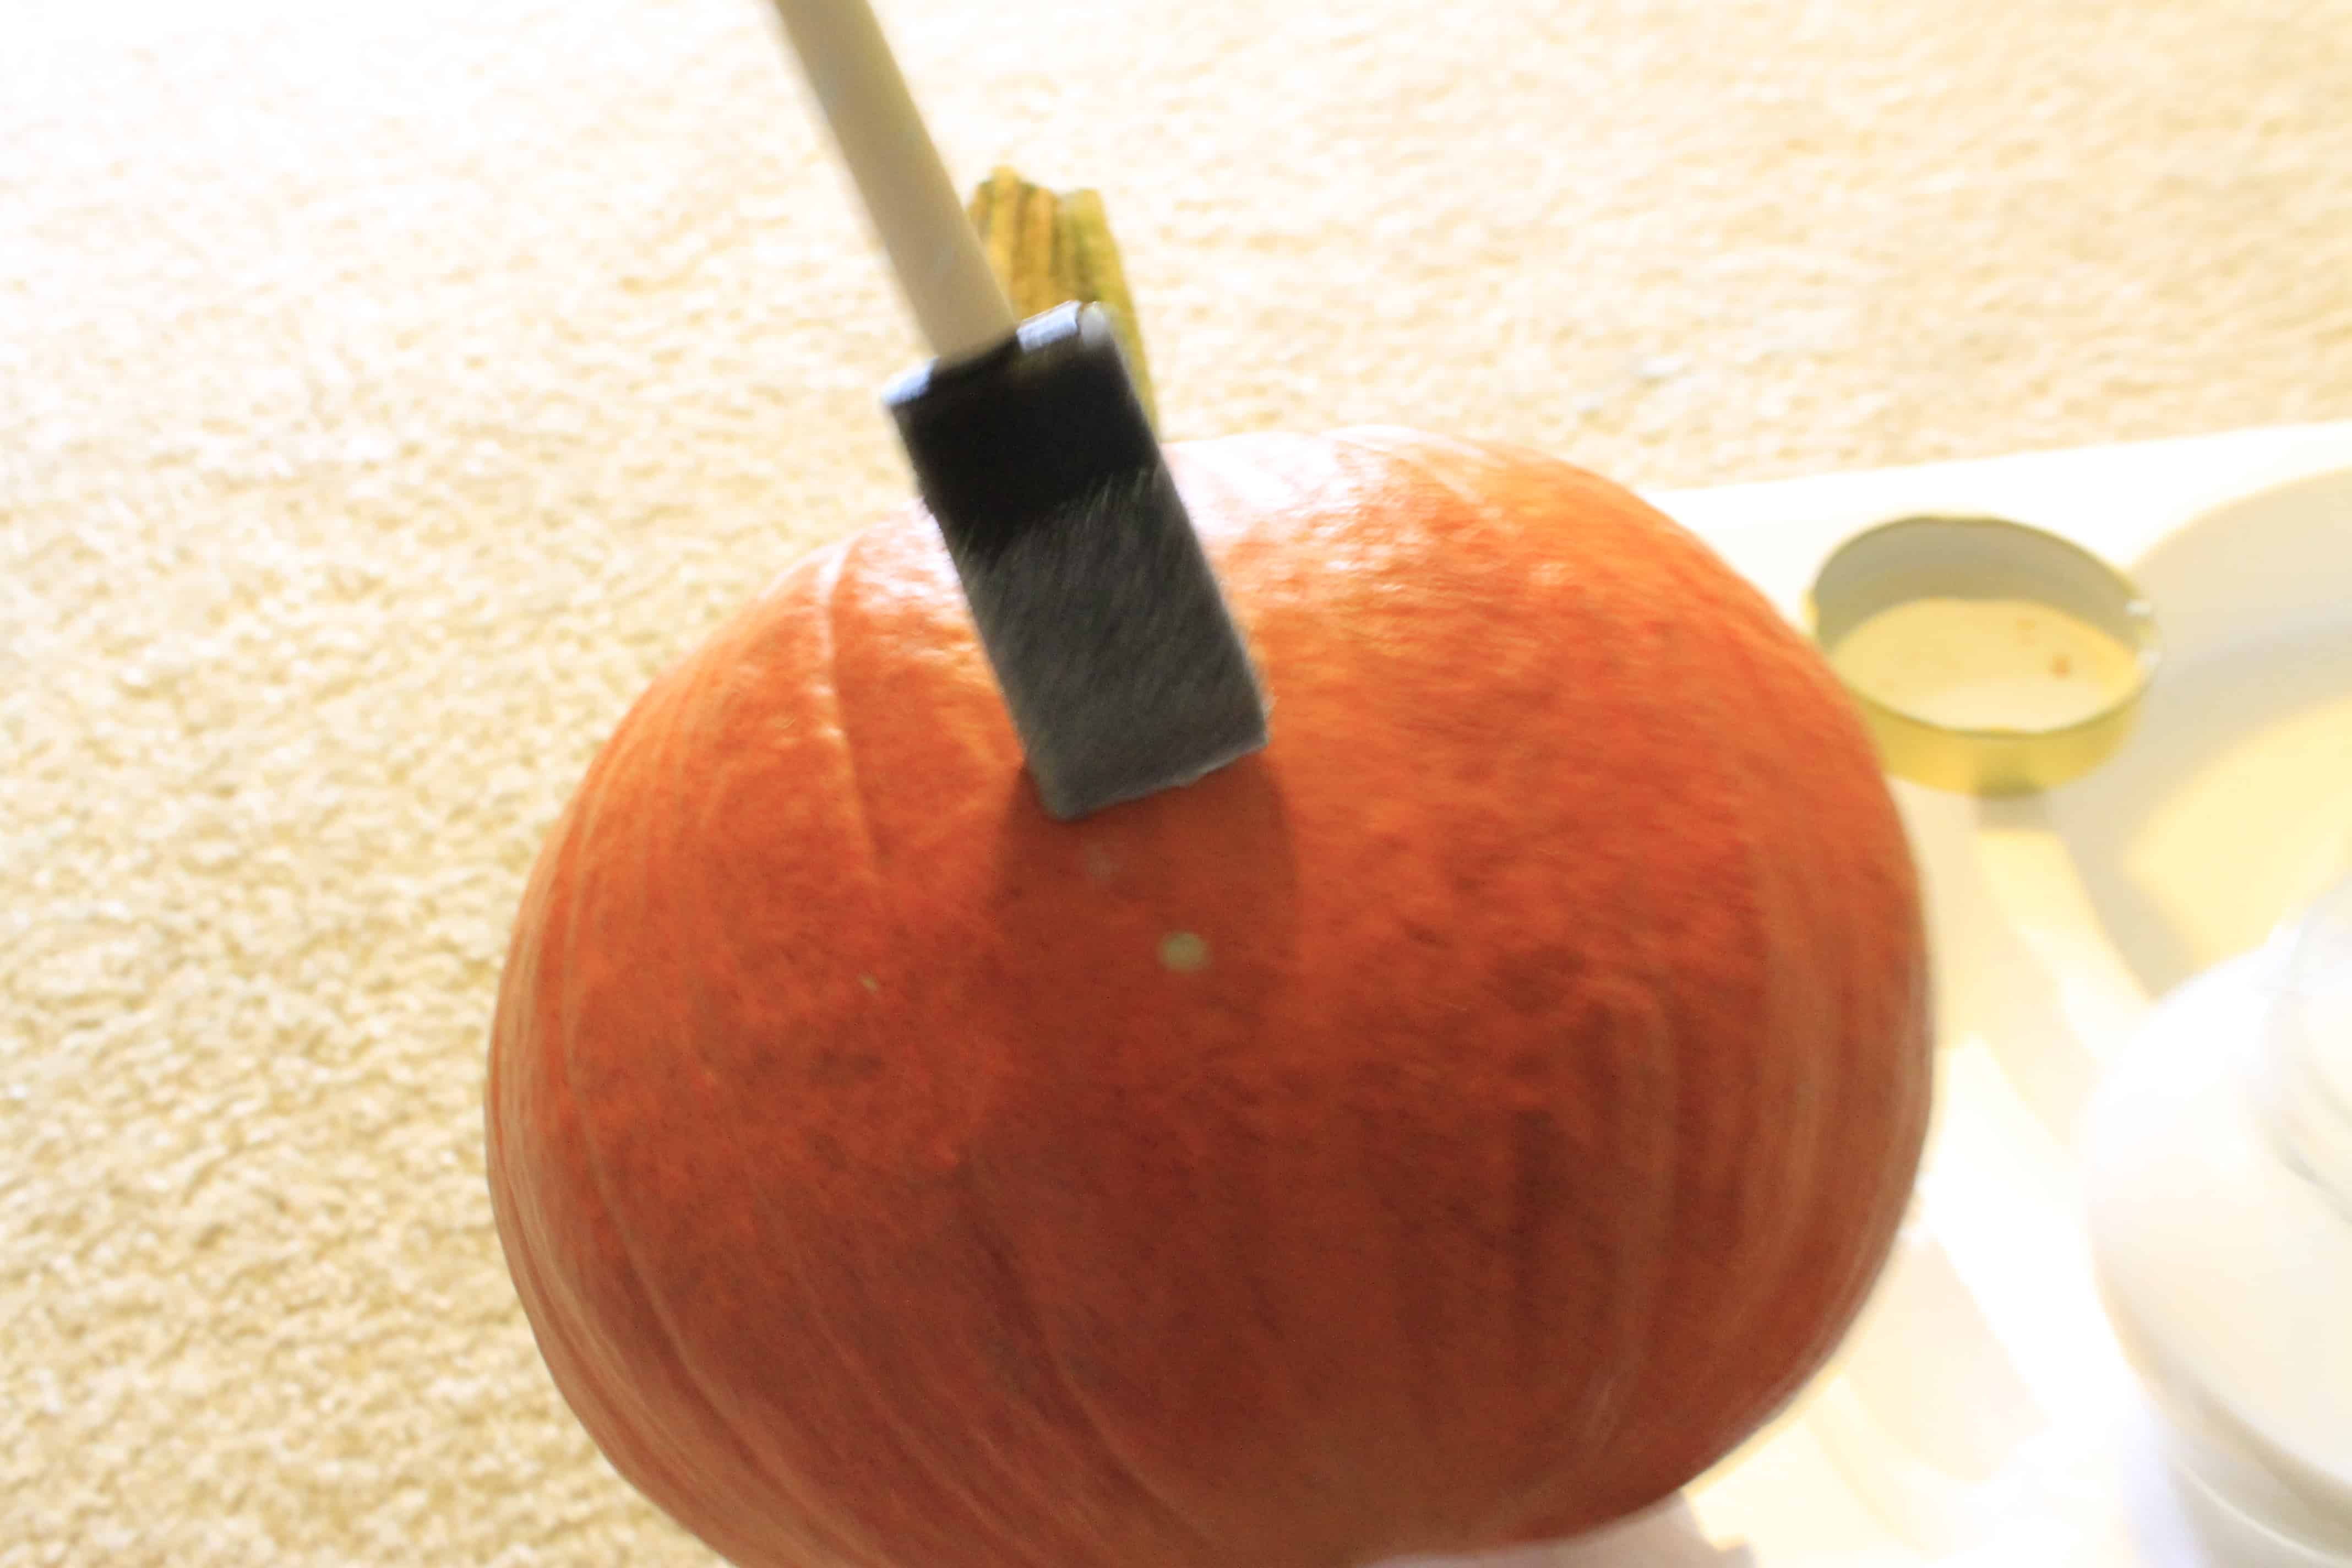
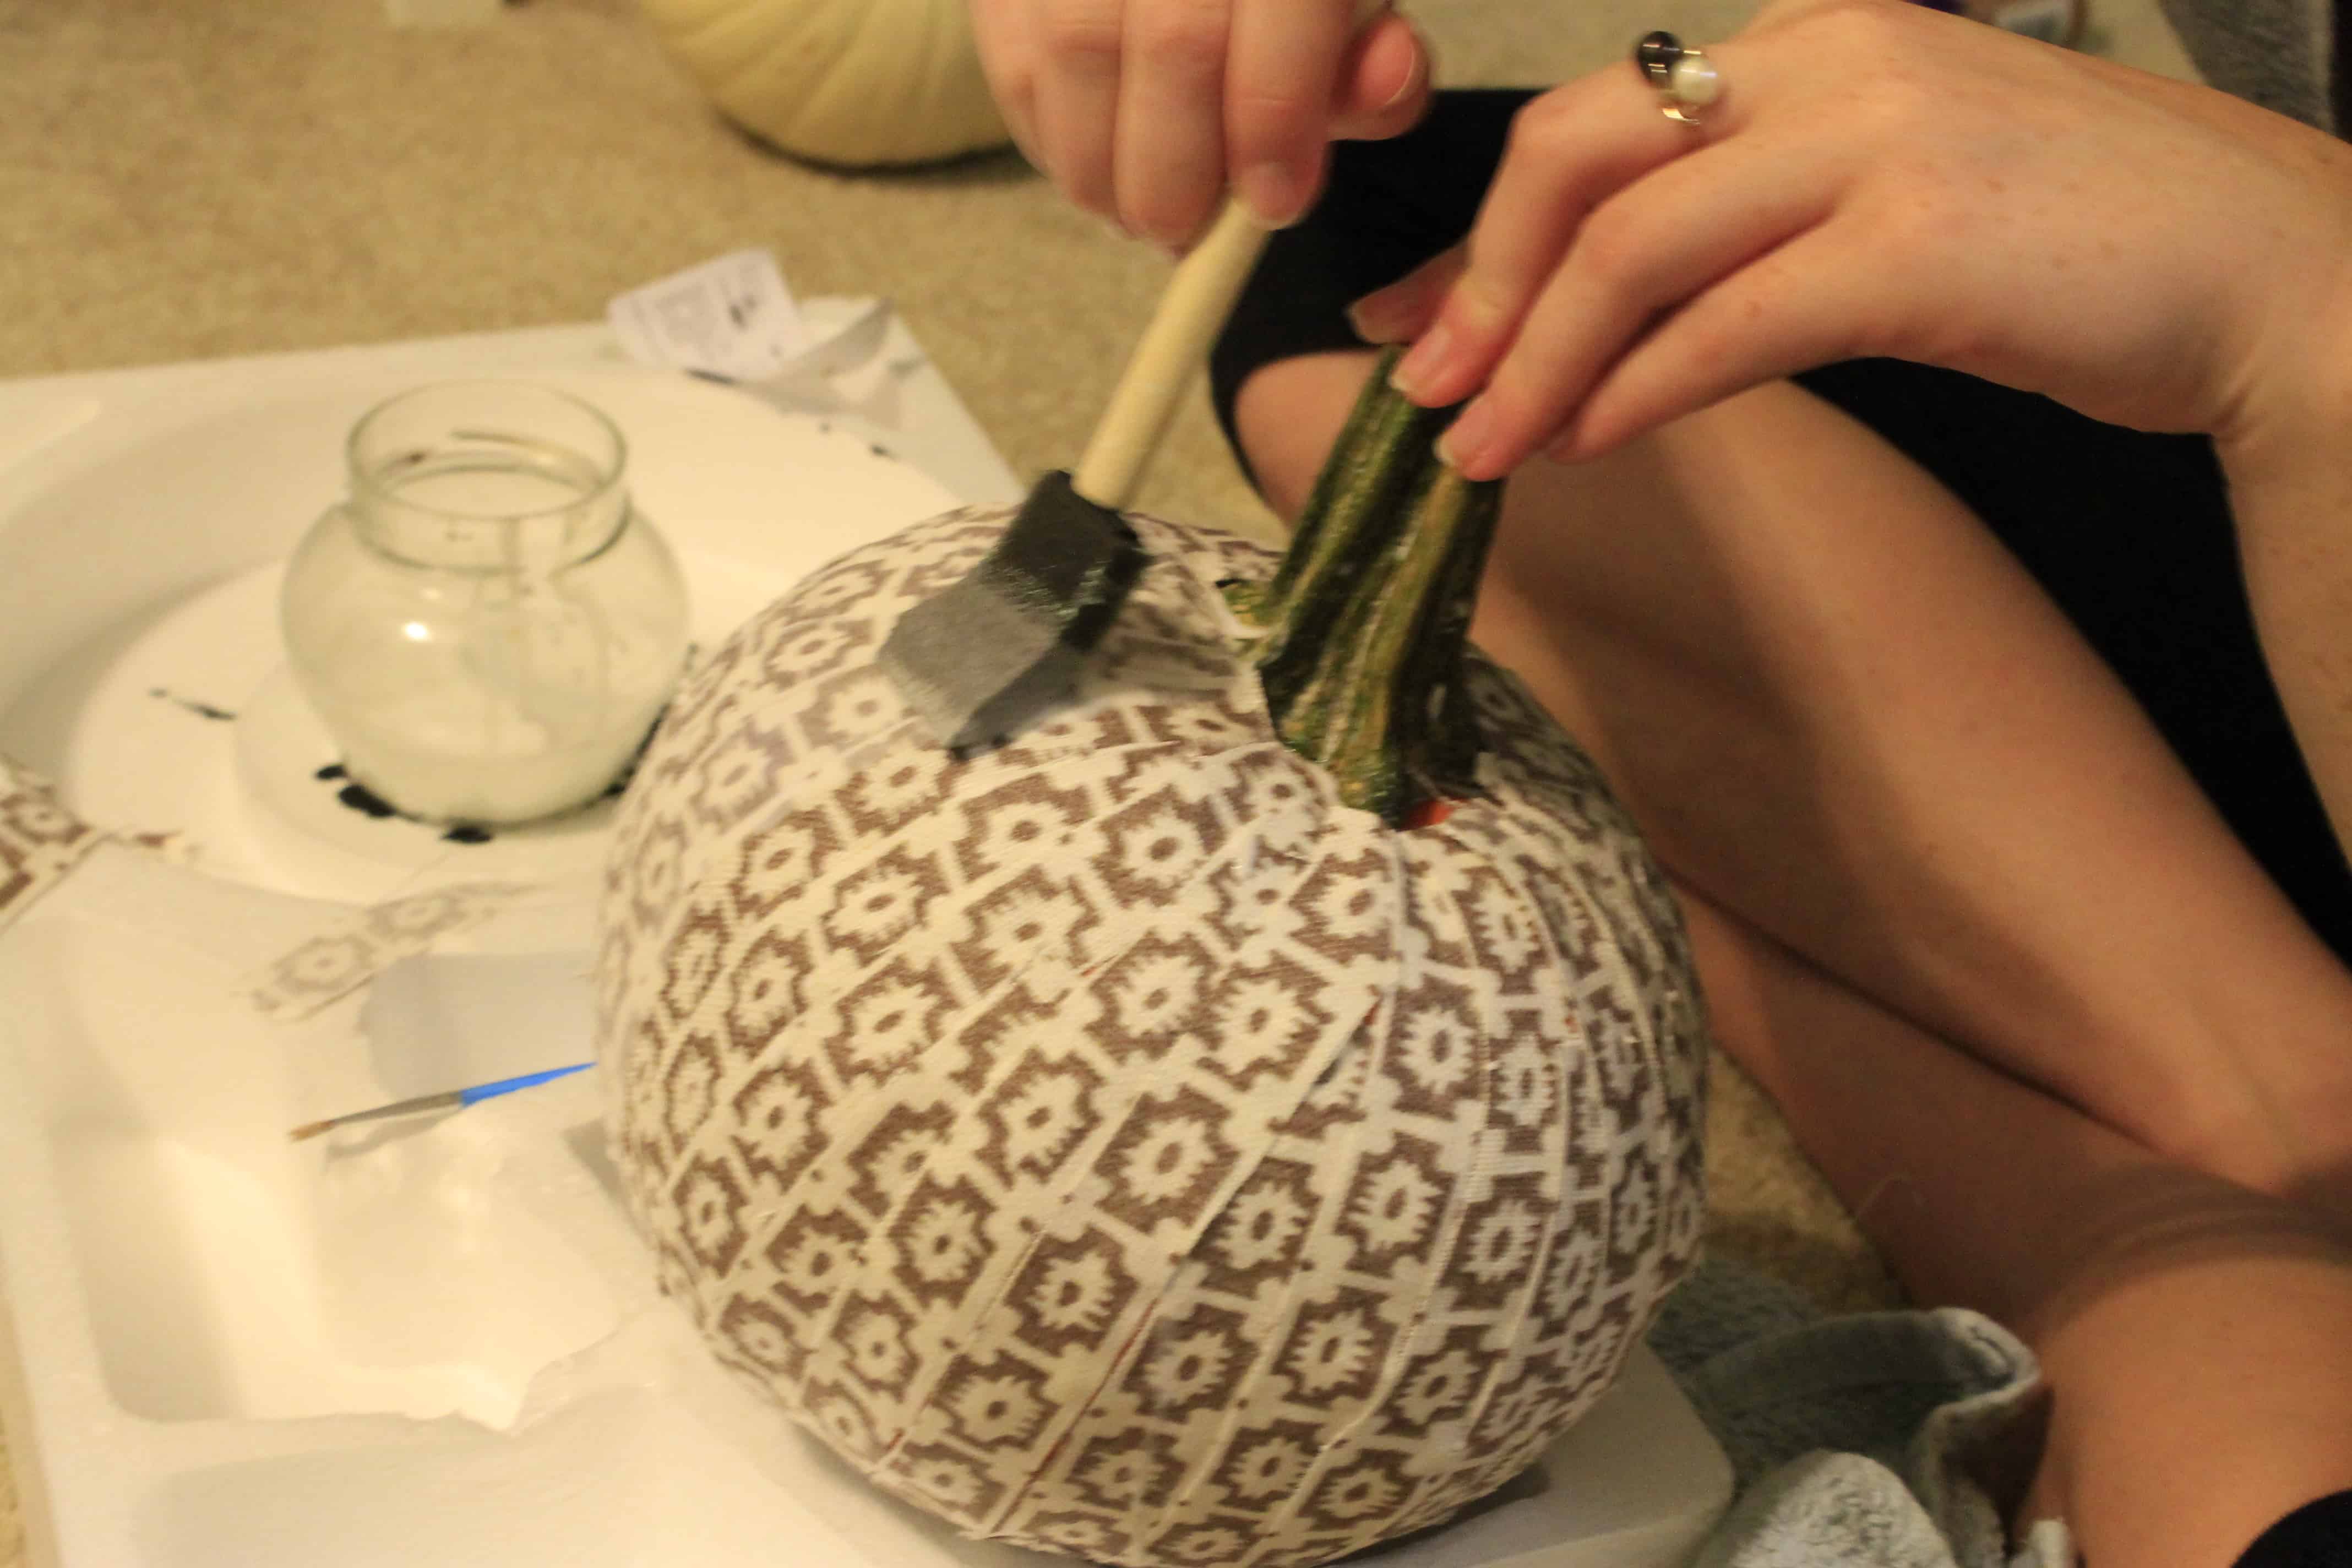
4) Wrap Them! Next, I took a medium-sized pumpkin and wanted to cover it in fabric. I found a fall pattern and cut it into strips about one inch wide.
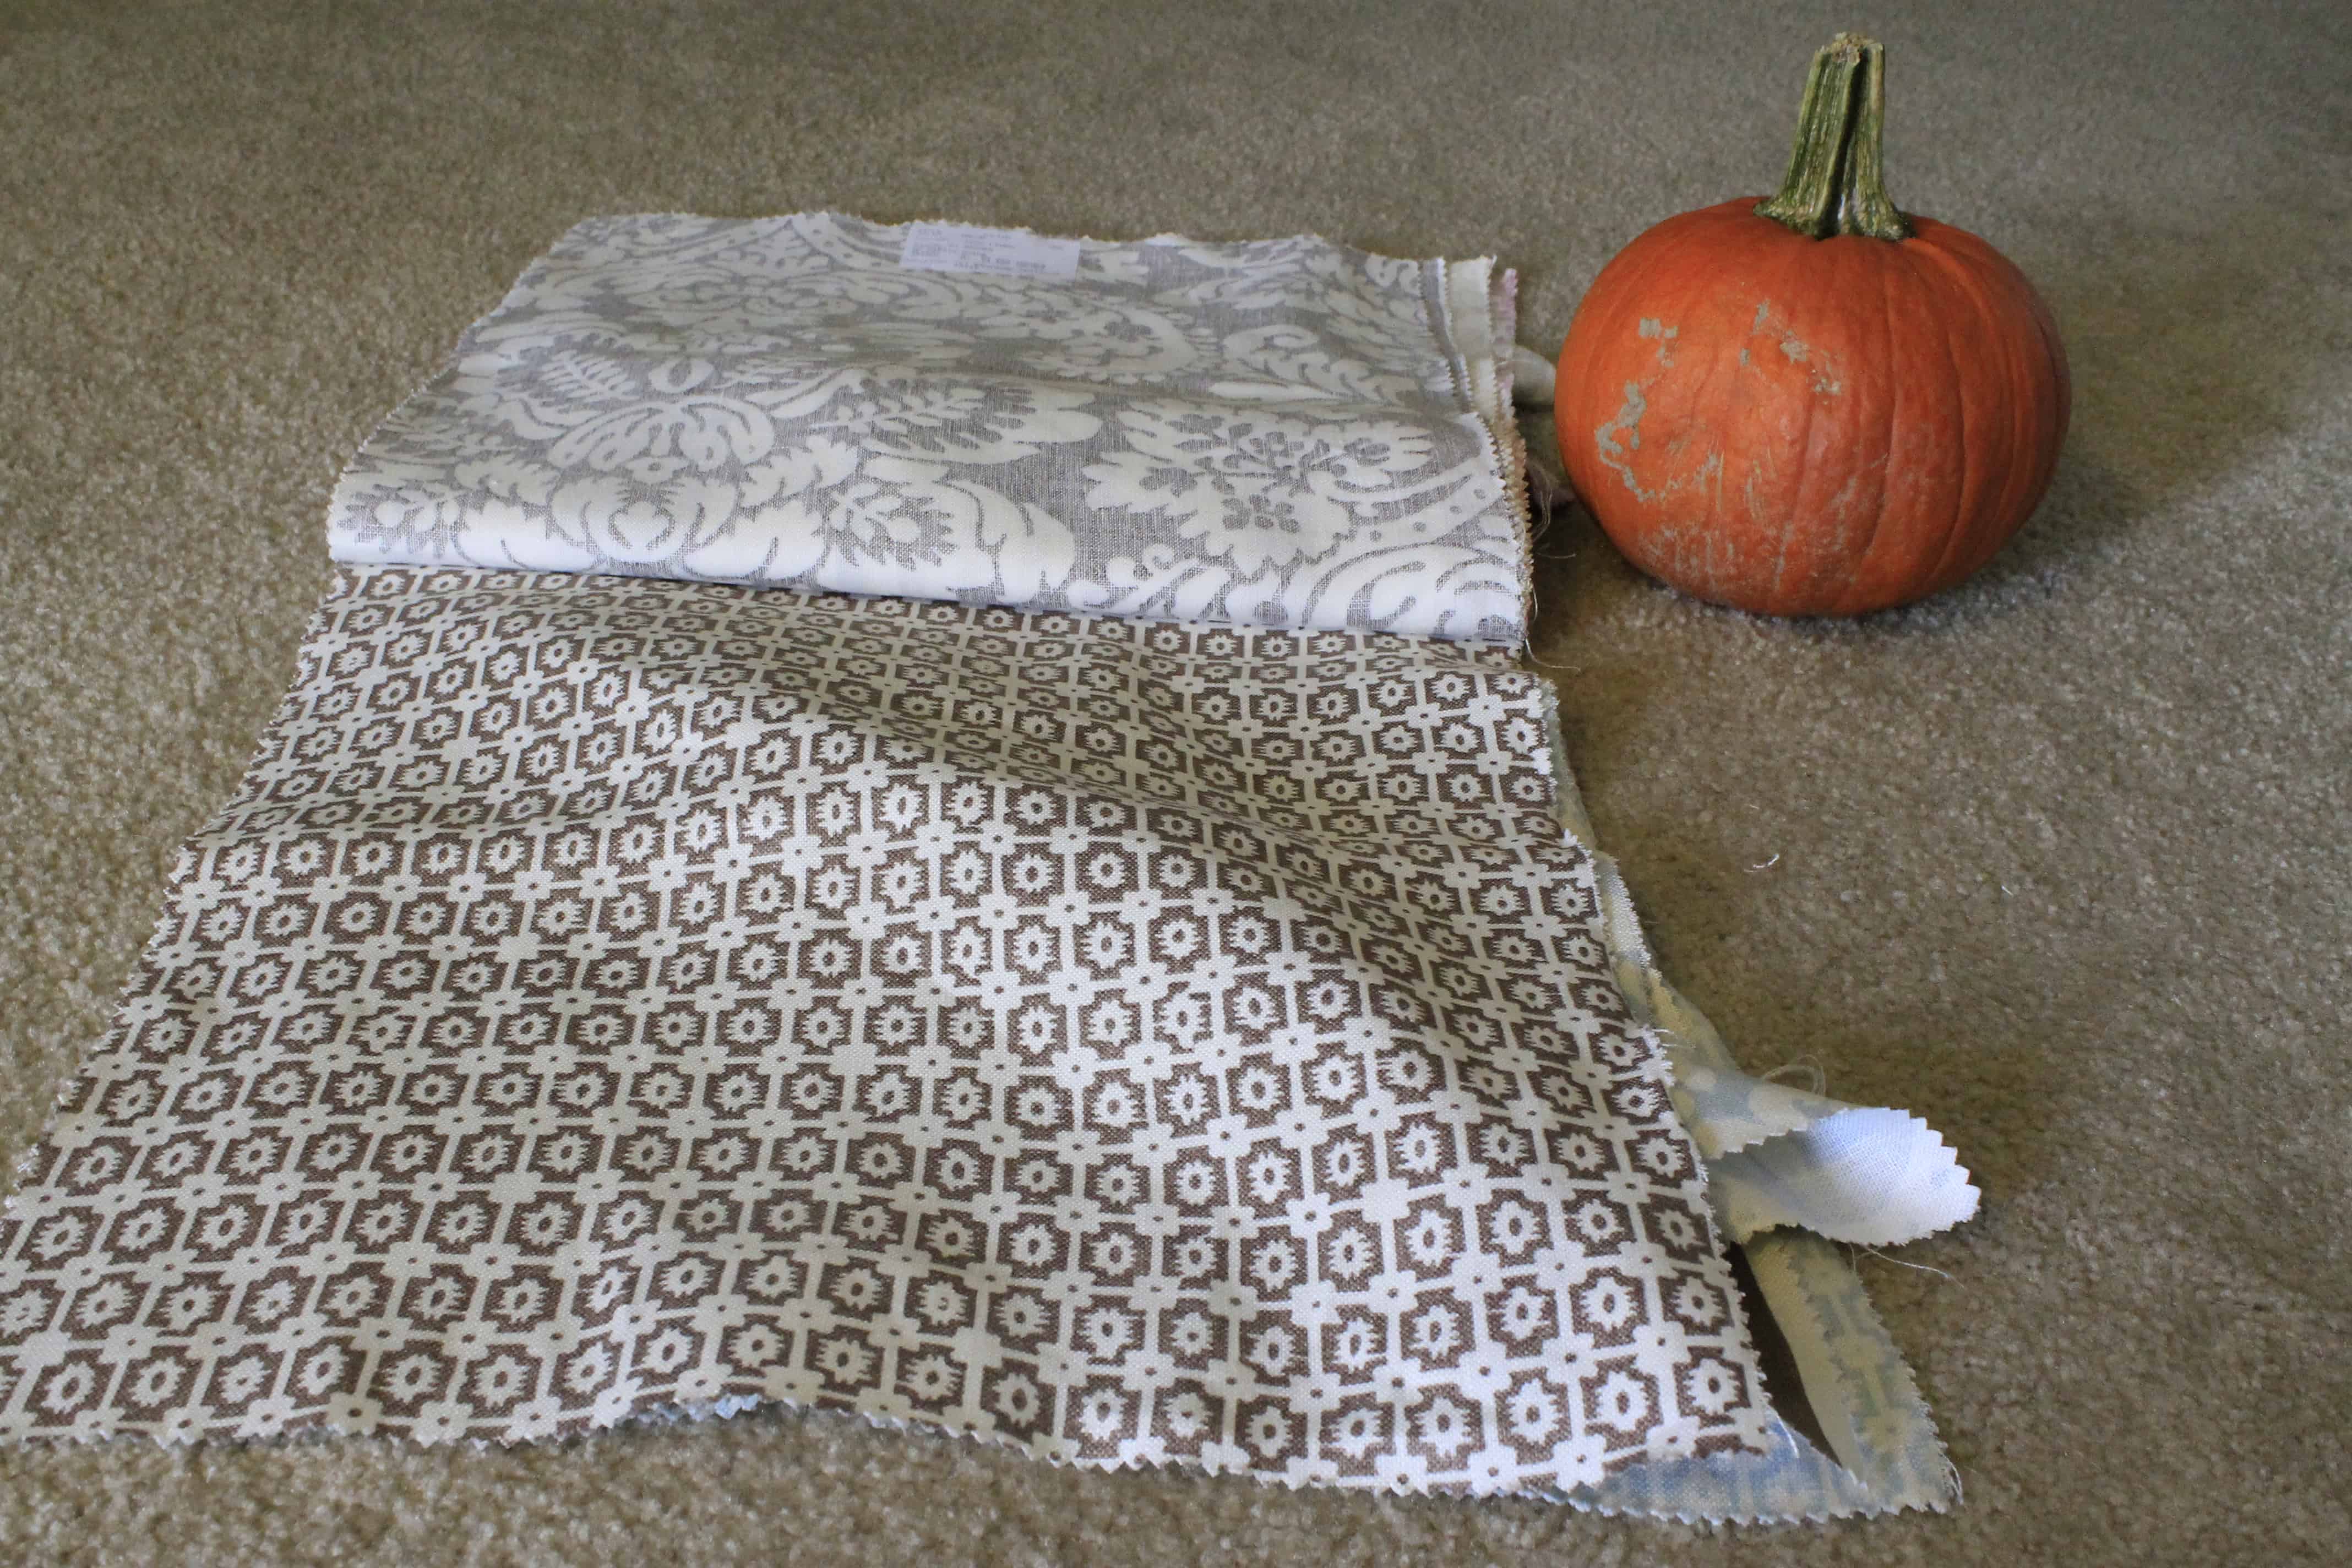
I painted on a thin layer of modge podge, then smoothed on a strip.
I tried to layer the strips slightly.
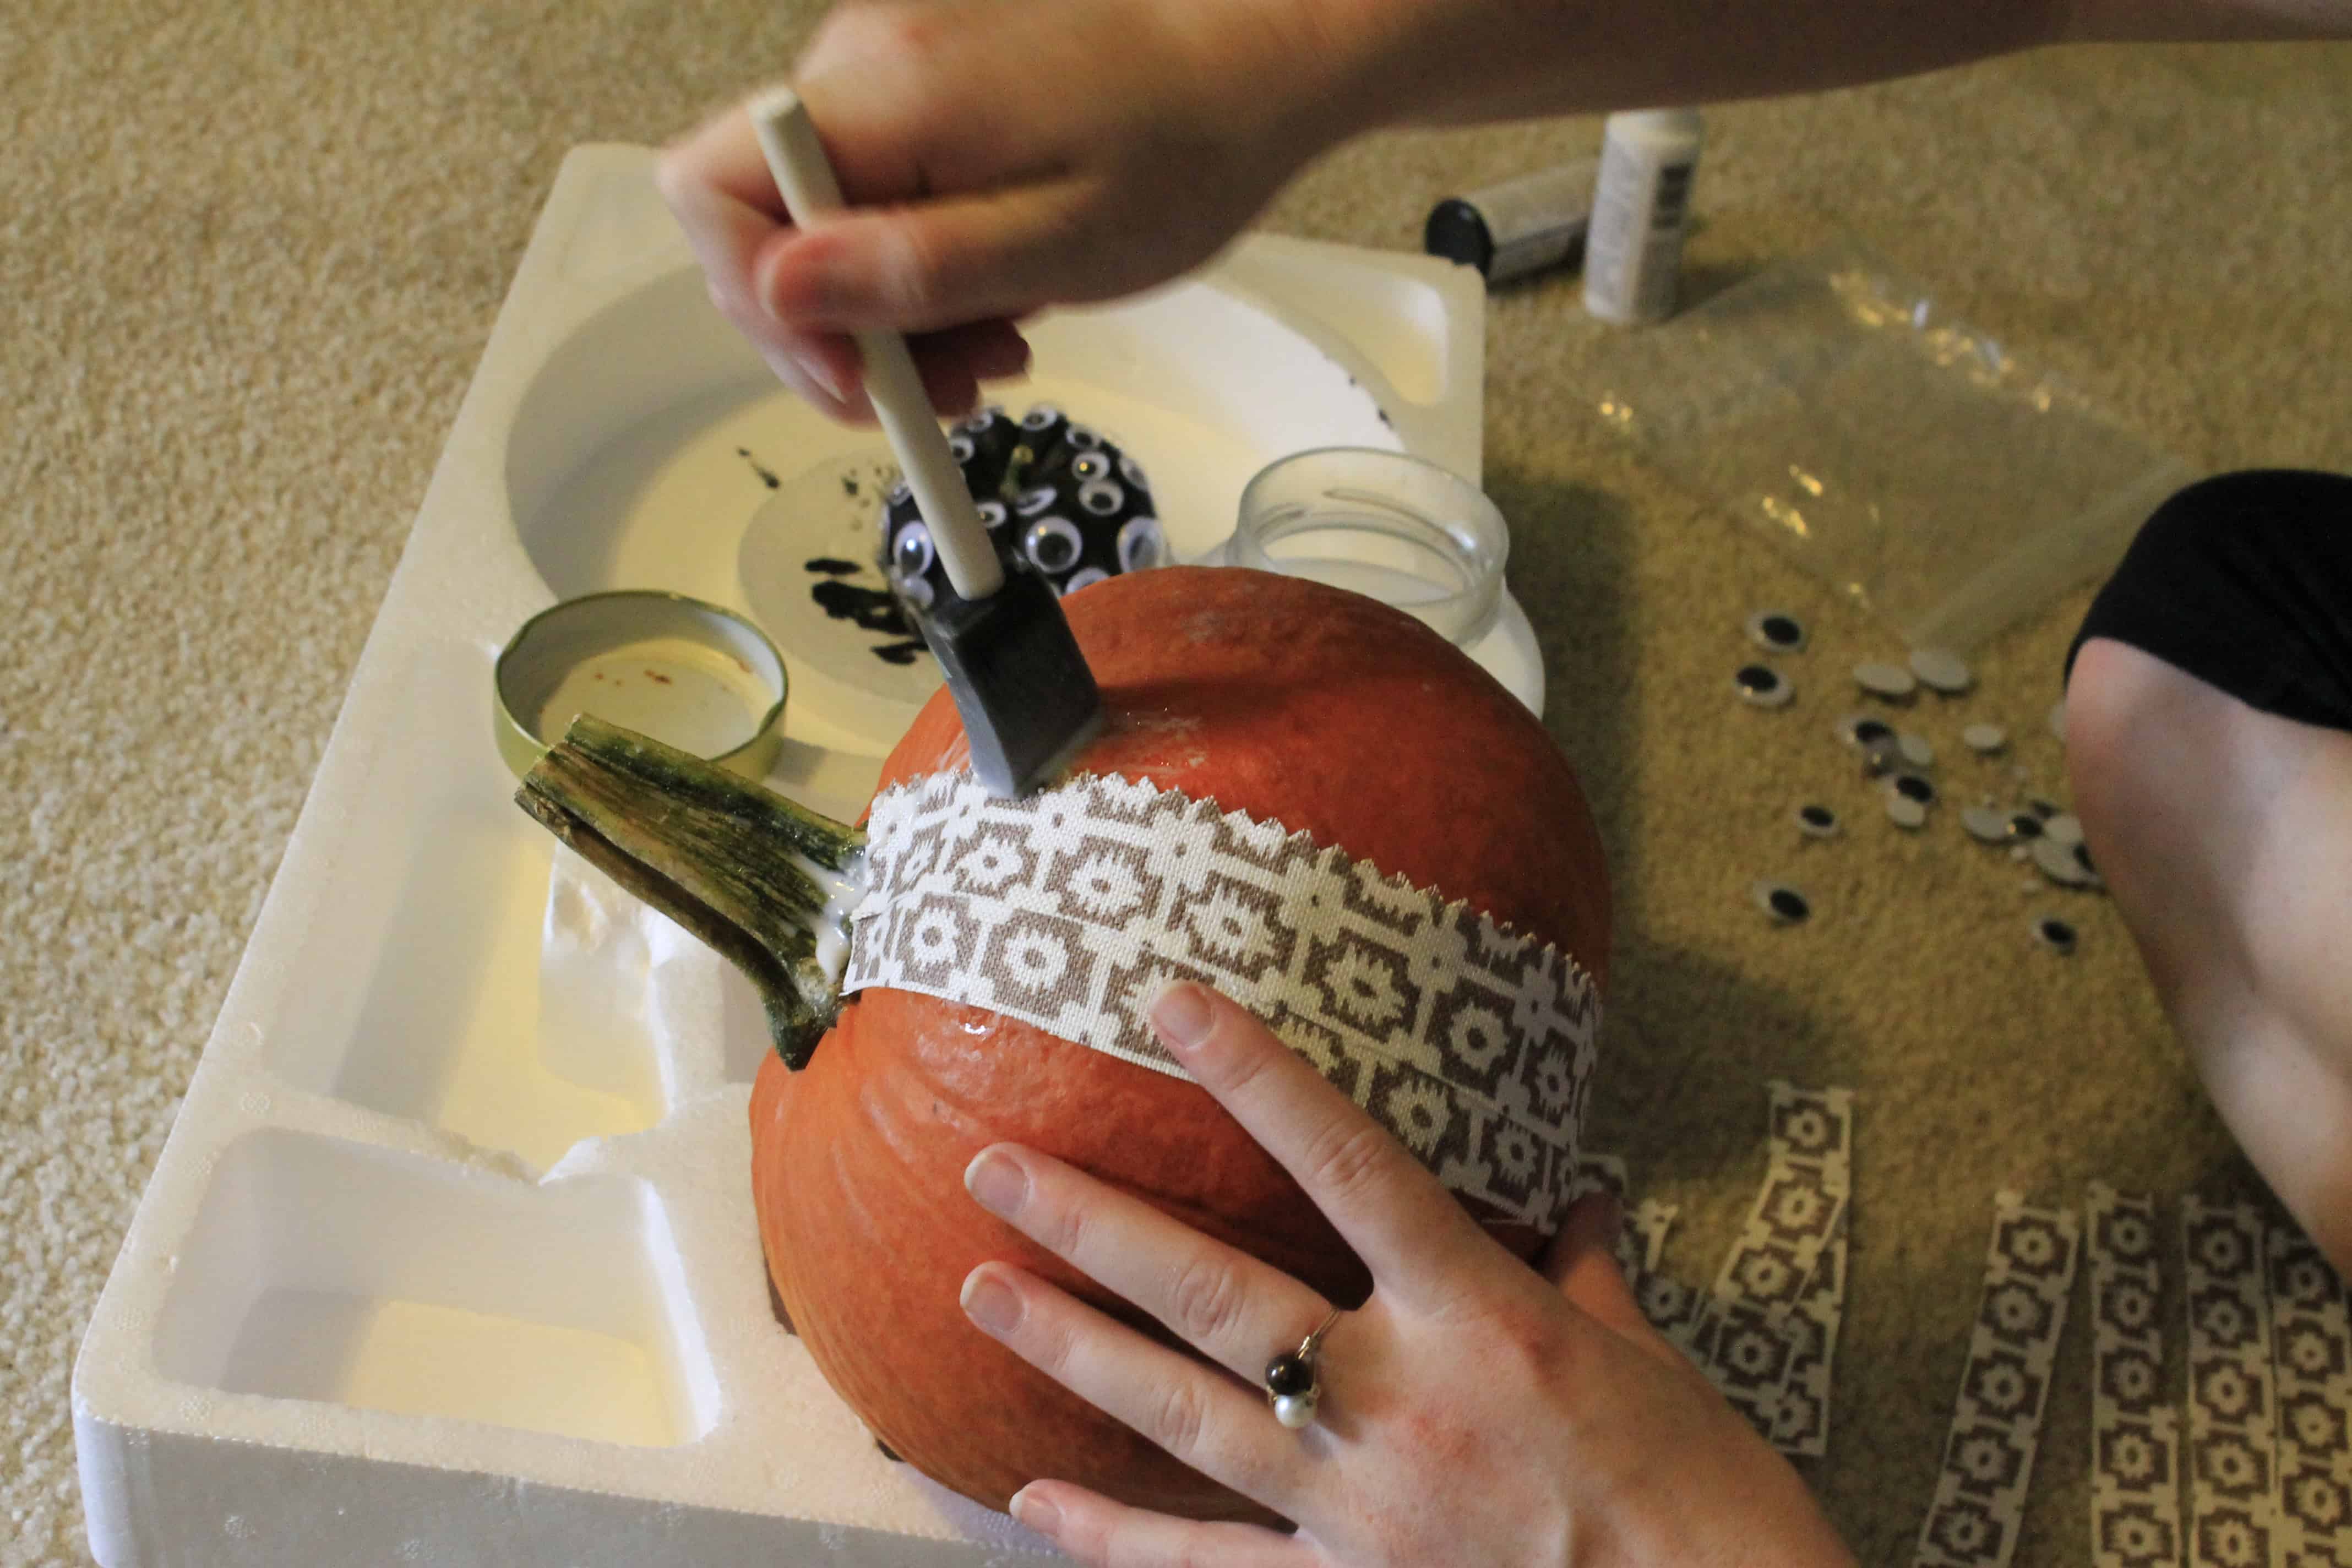
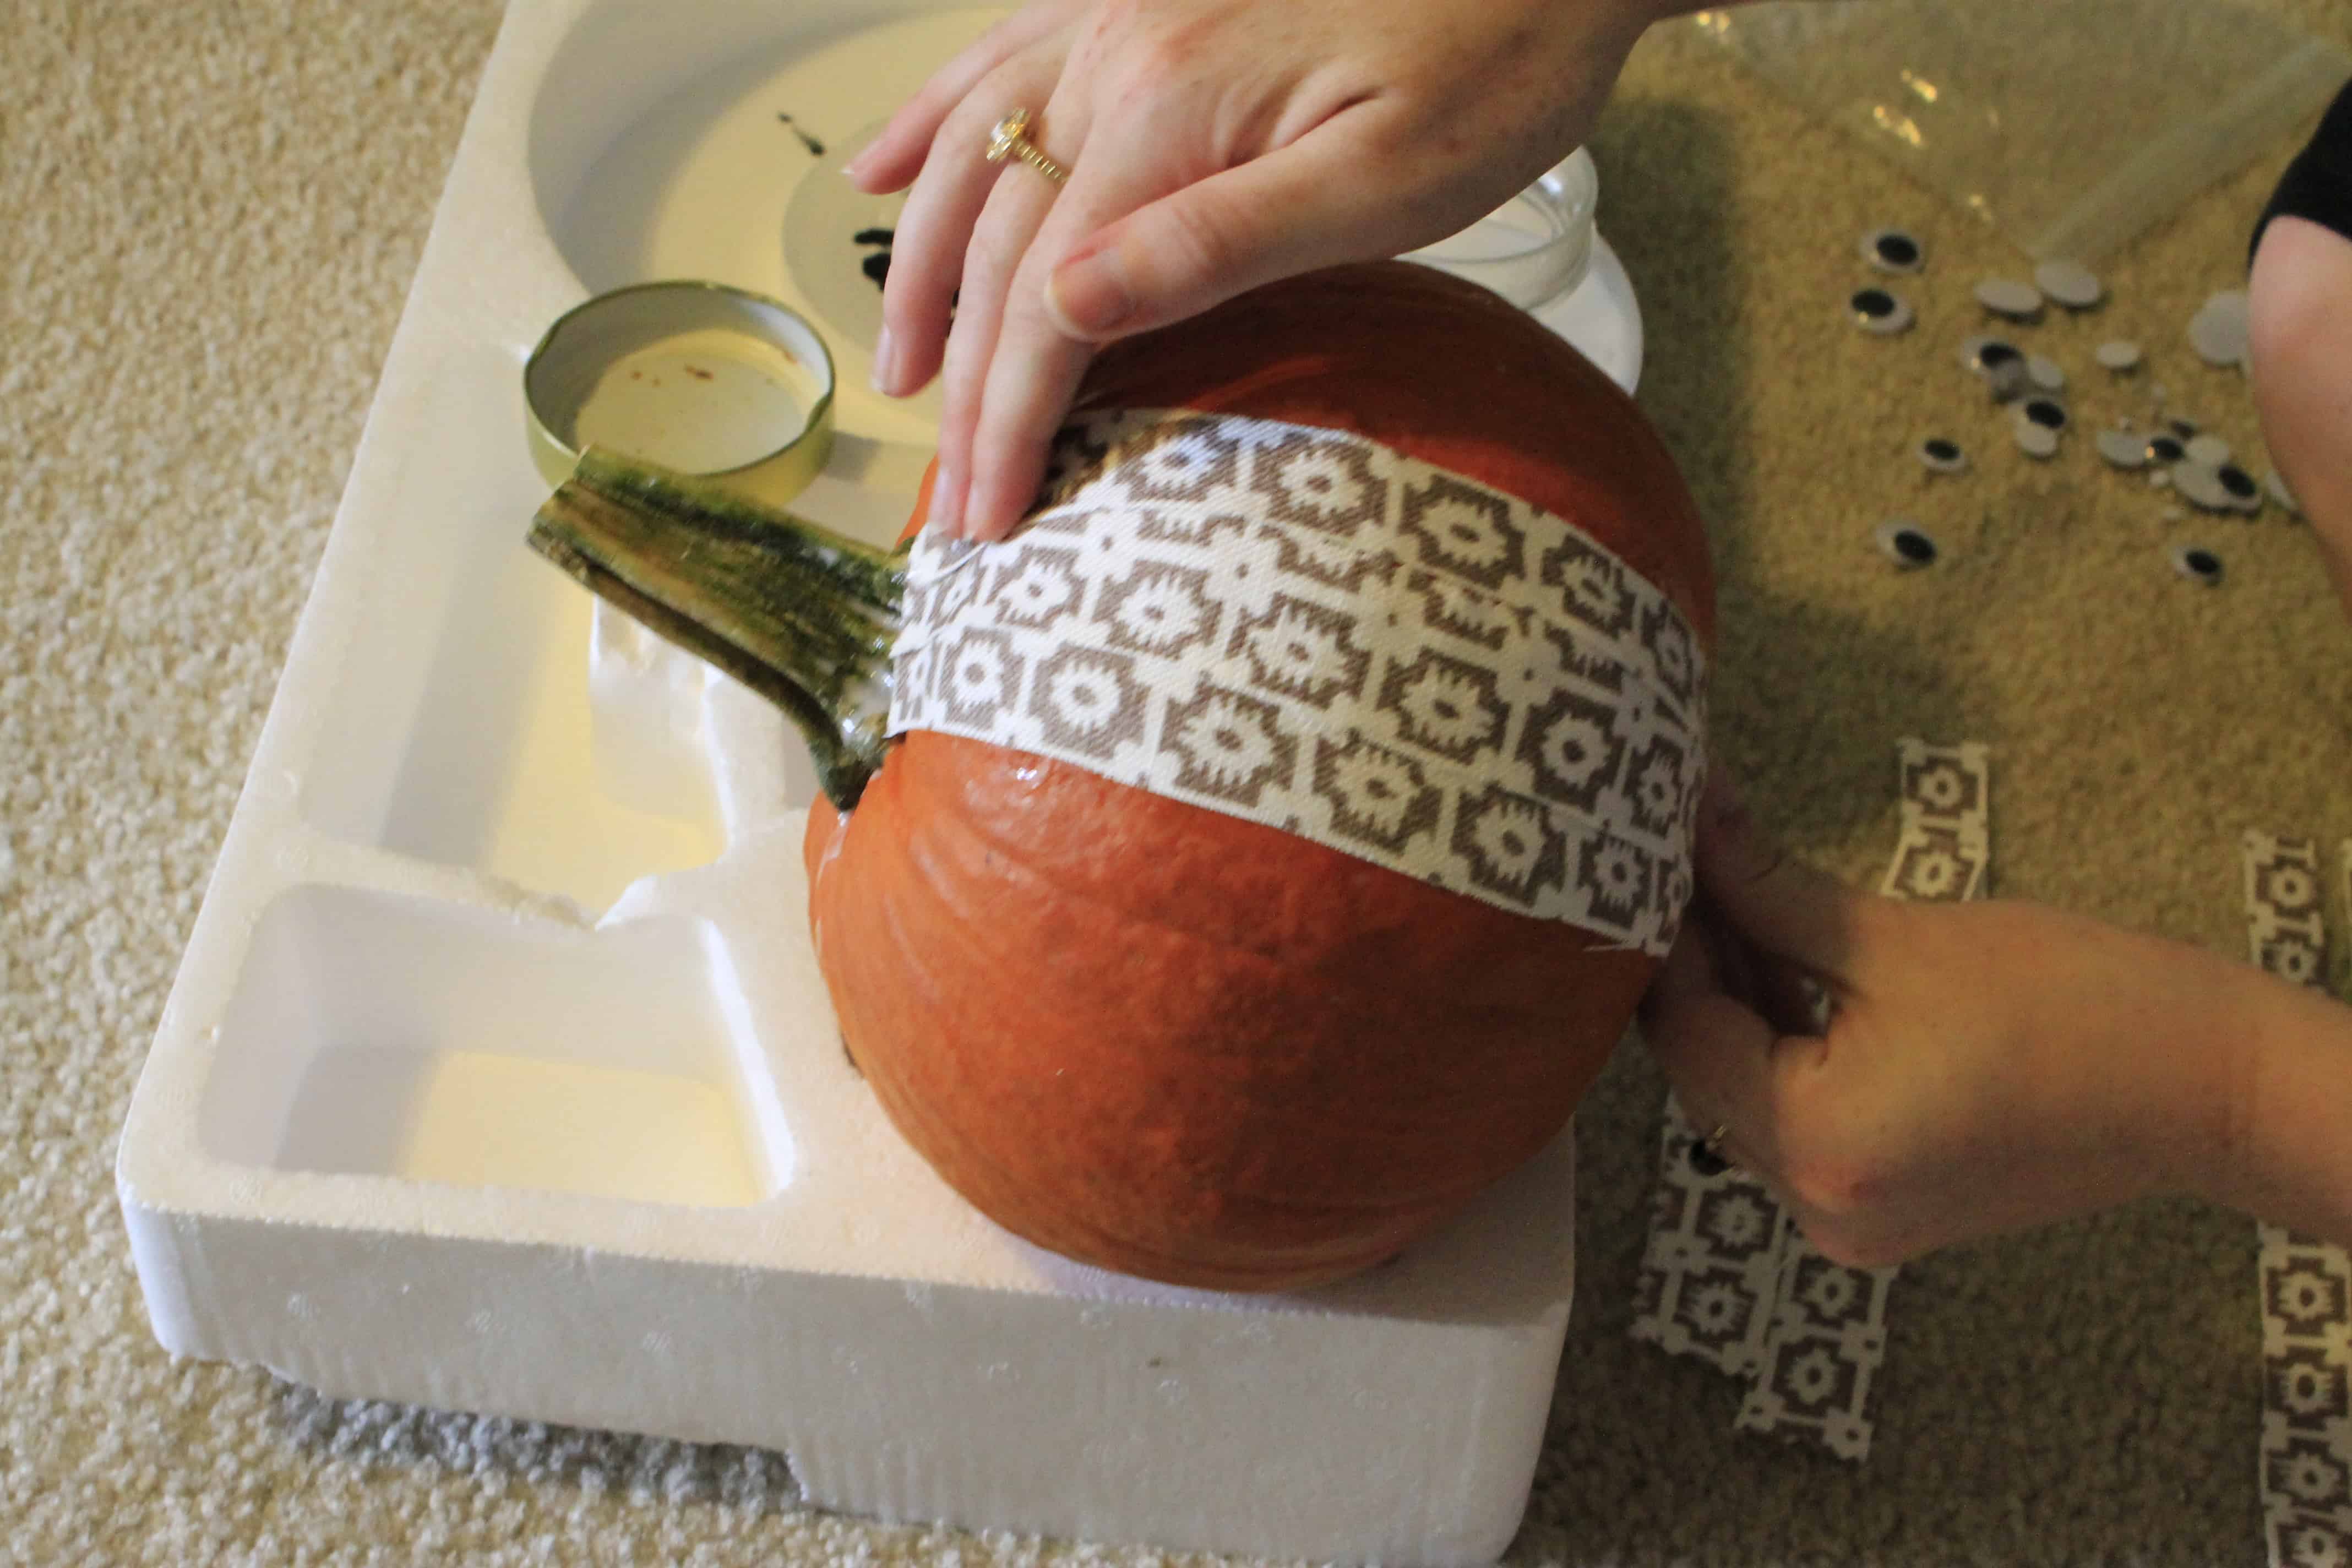
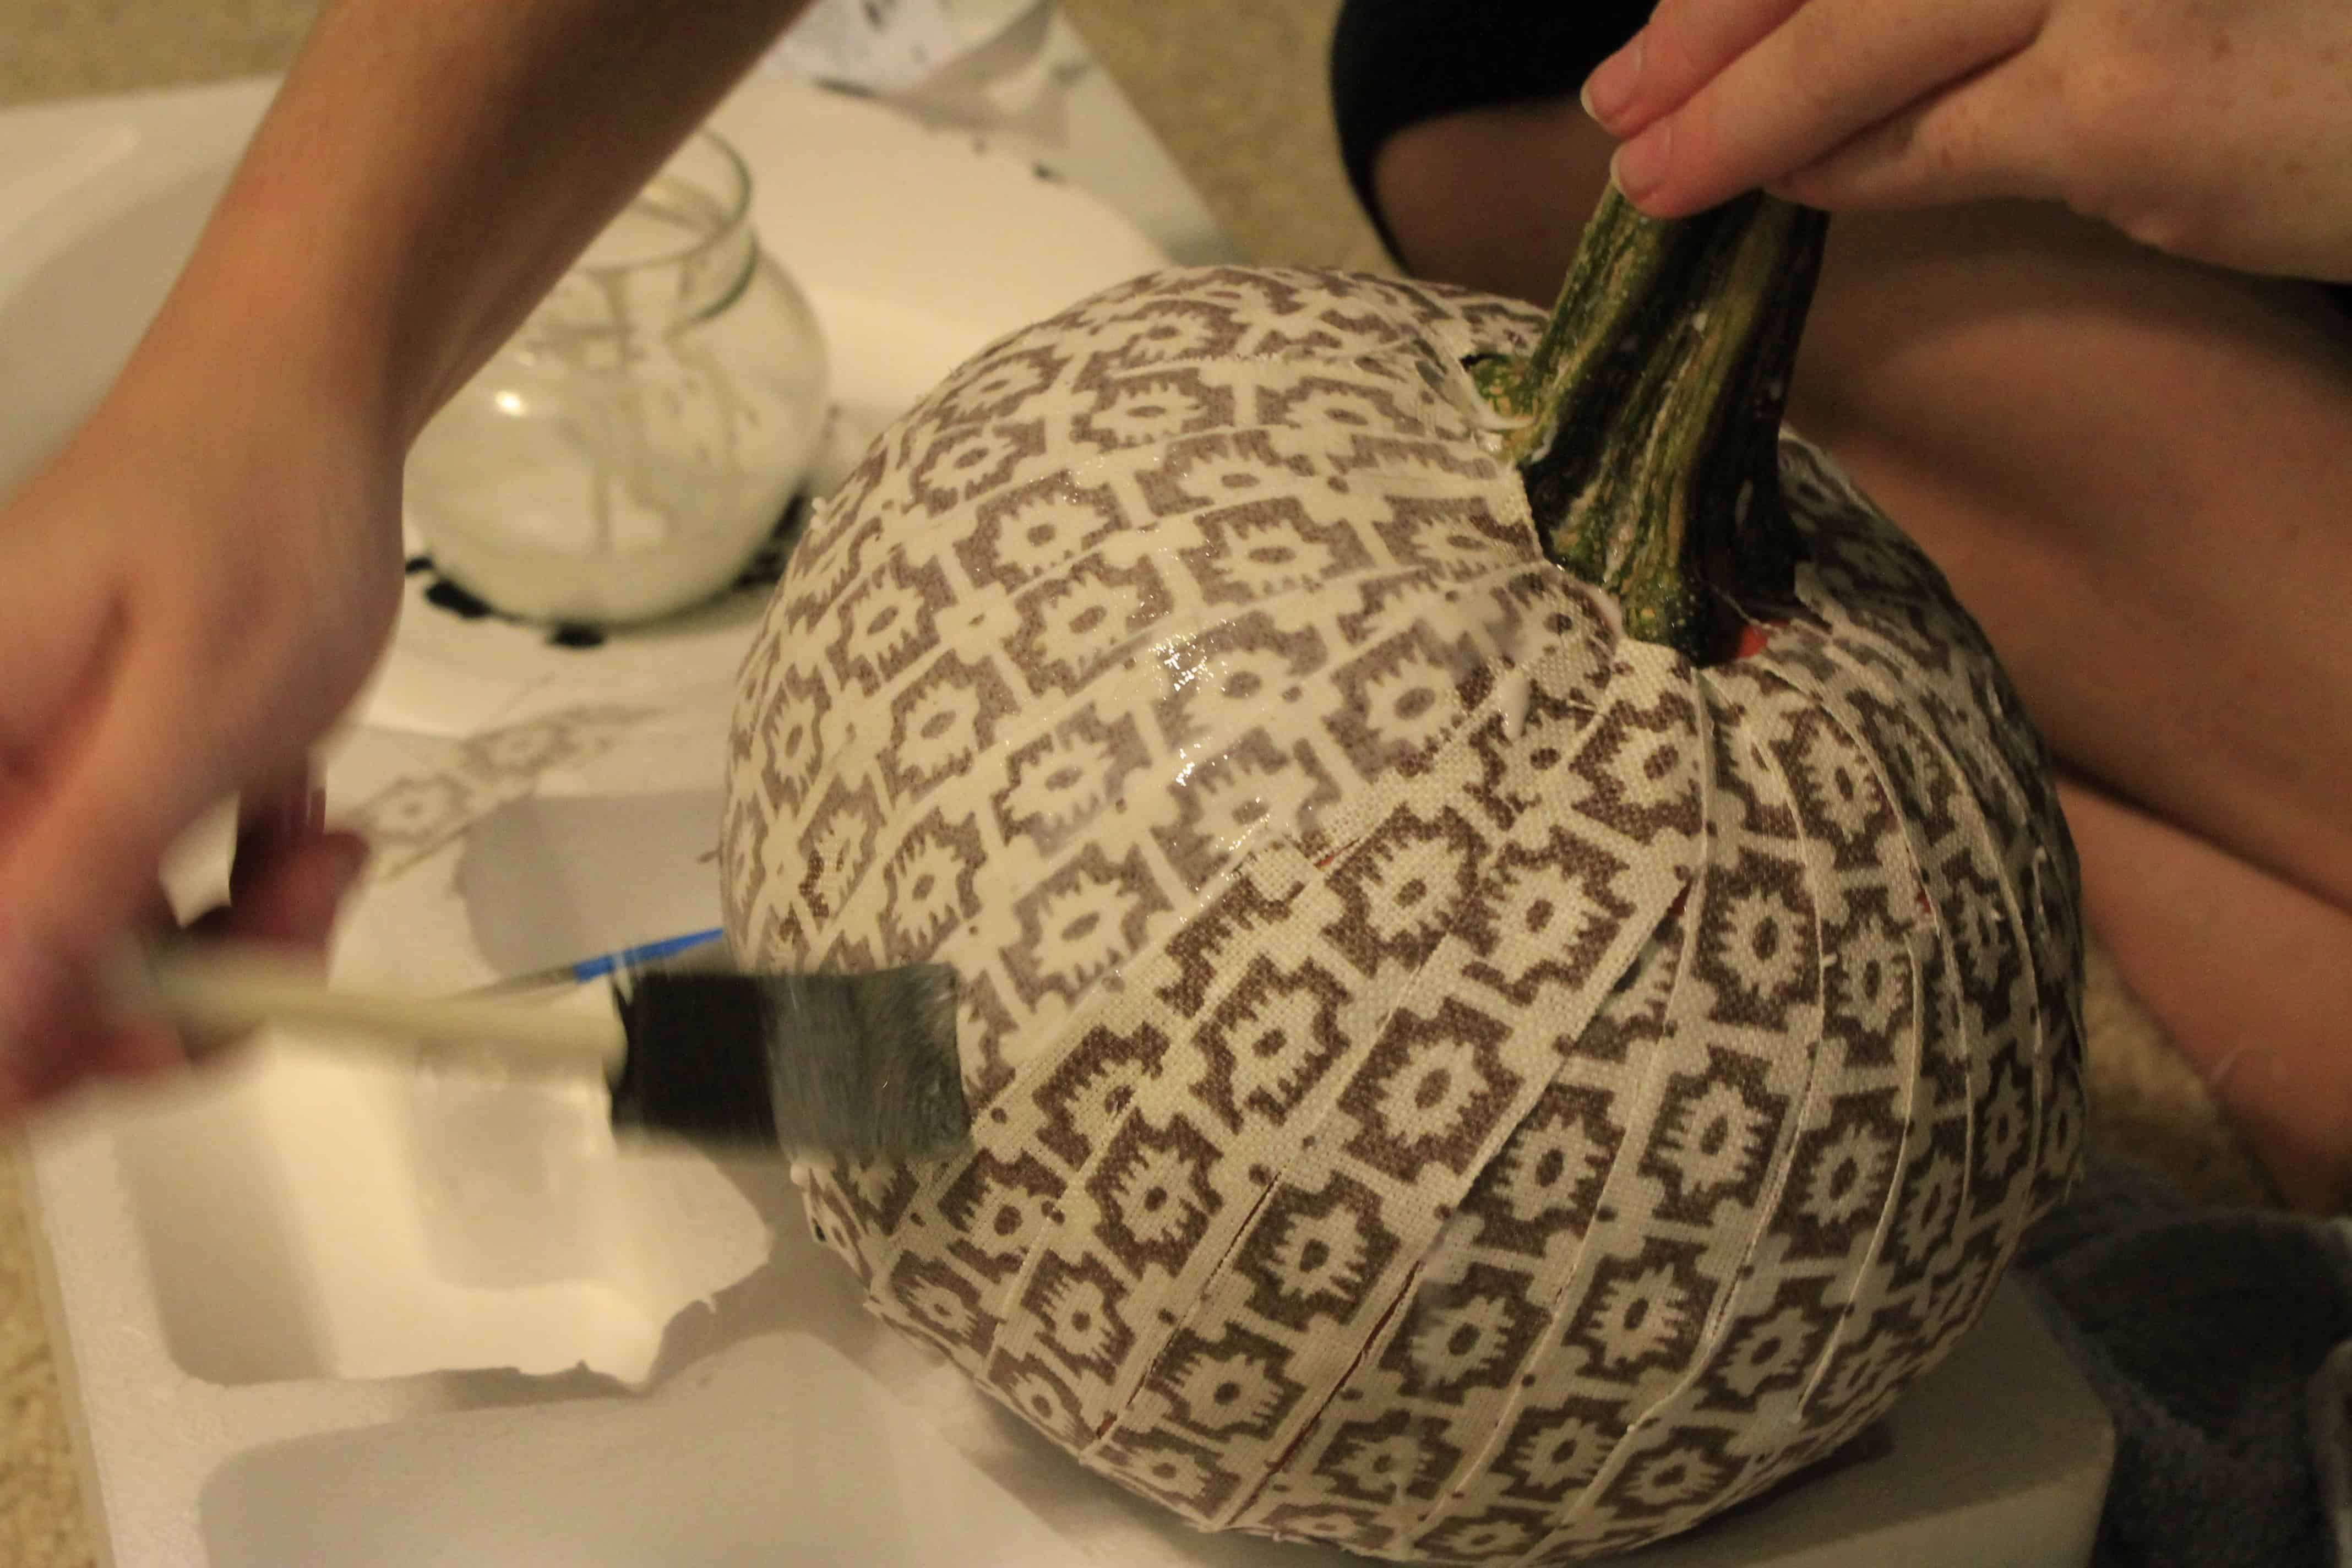
I worked my way around the pumpkin, pausing periodically to let the modge podge dry.

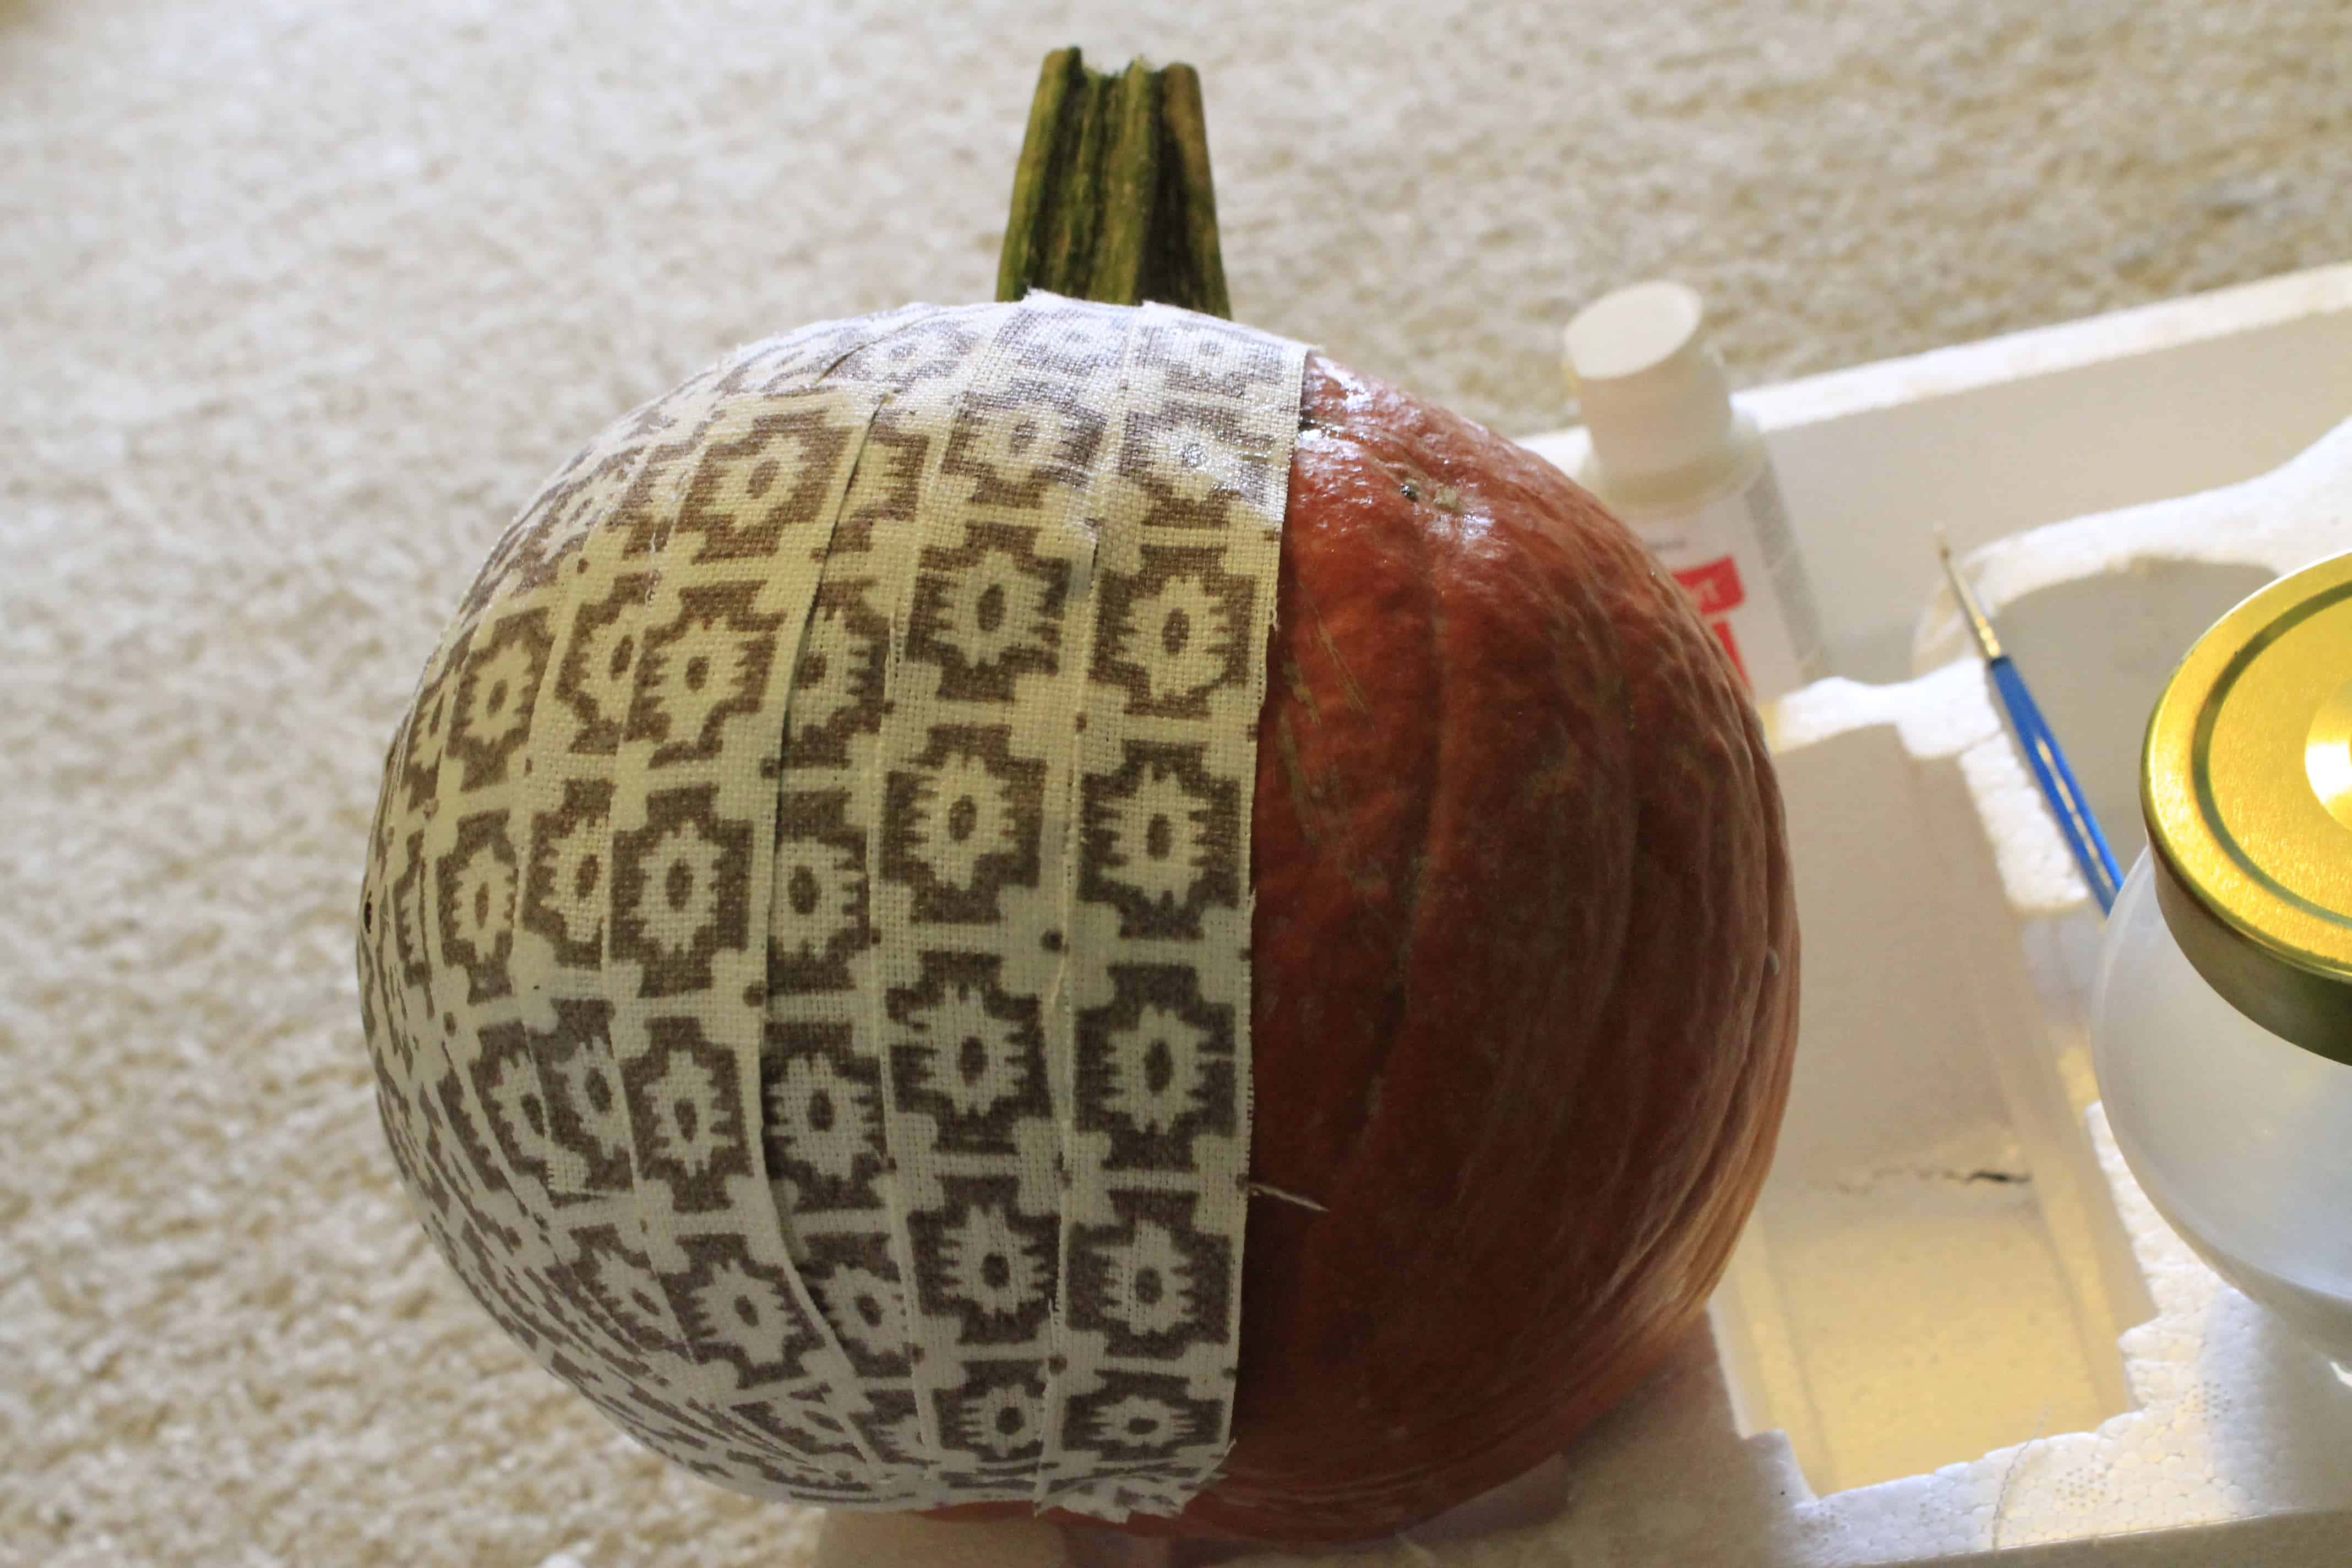
Finally, I coated the entire thing with a layer of modge podge to secure the strips.
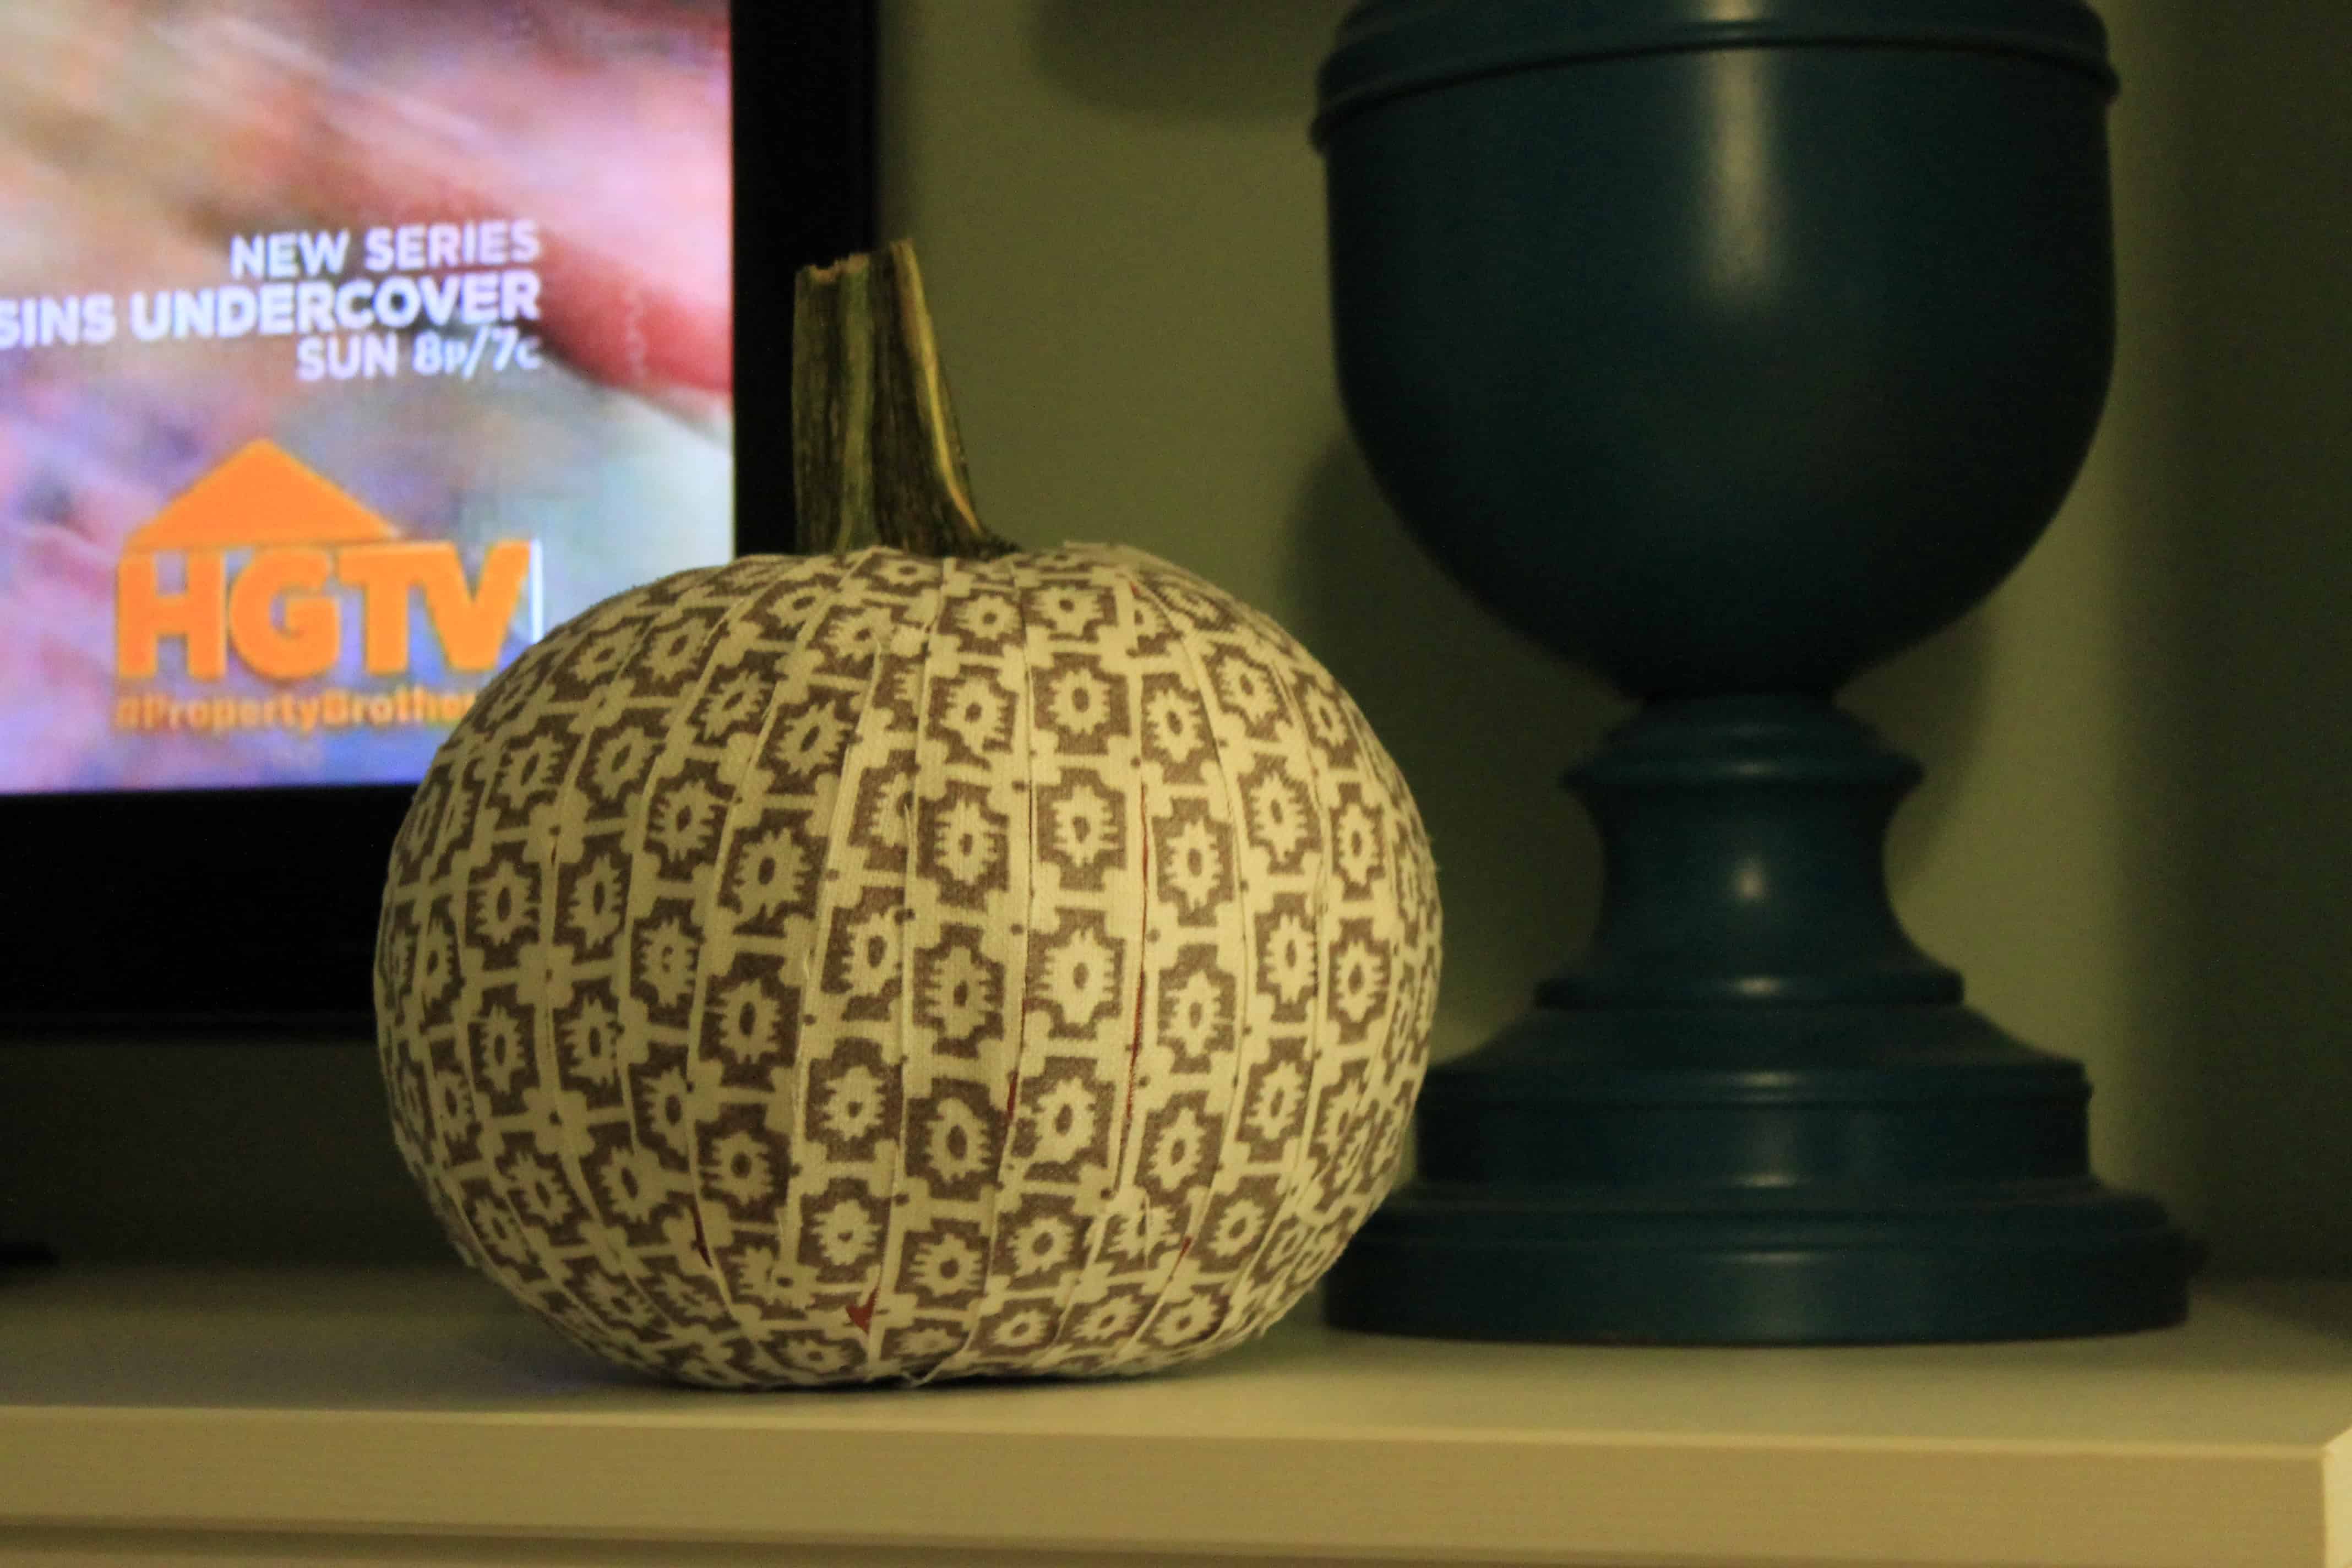
I LOVE how this turned out & kind of wish I had done it on a fake pumpkin so I could use it next year!
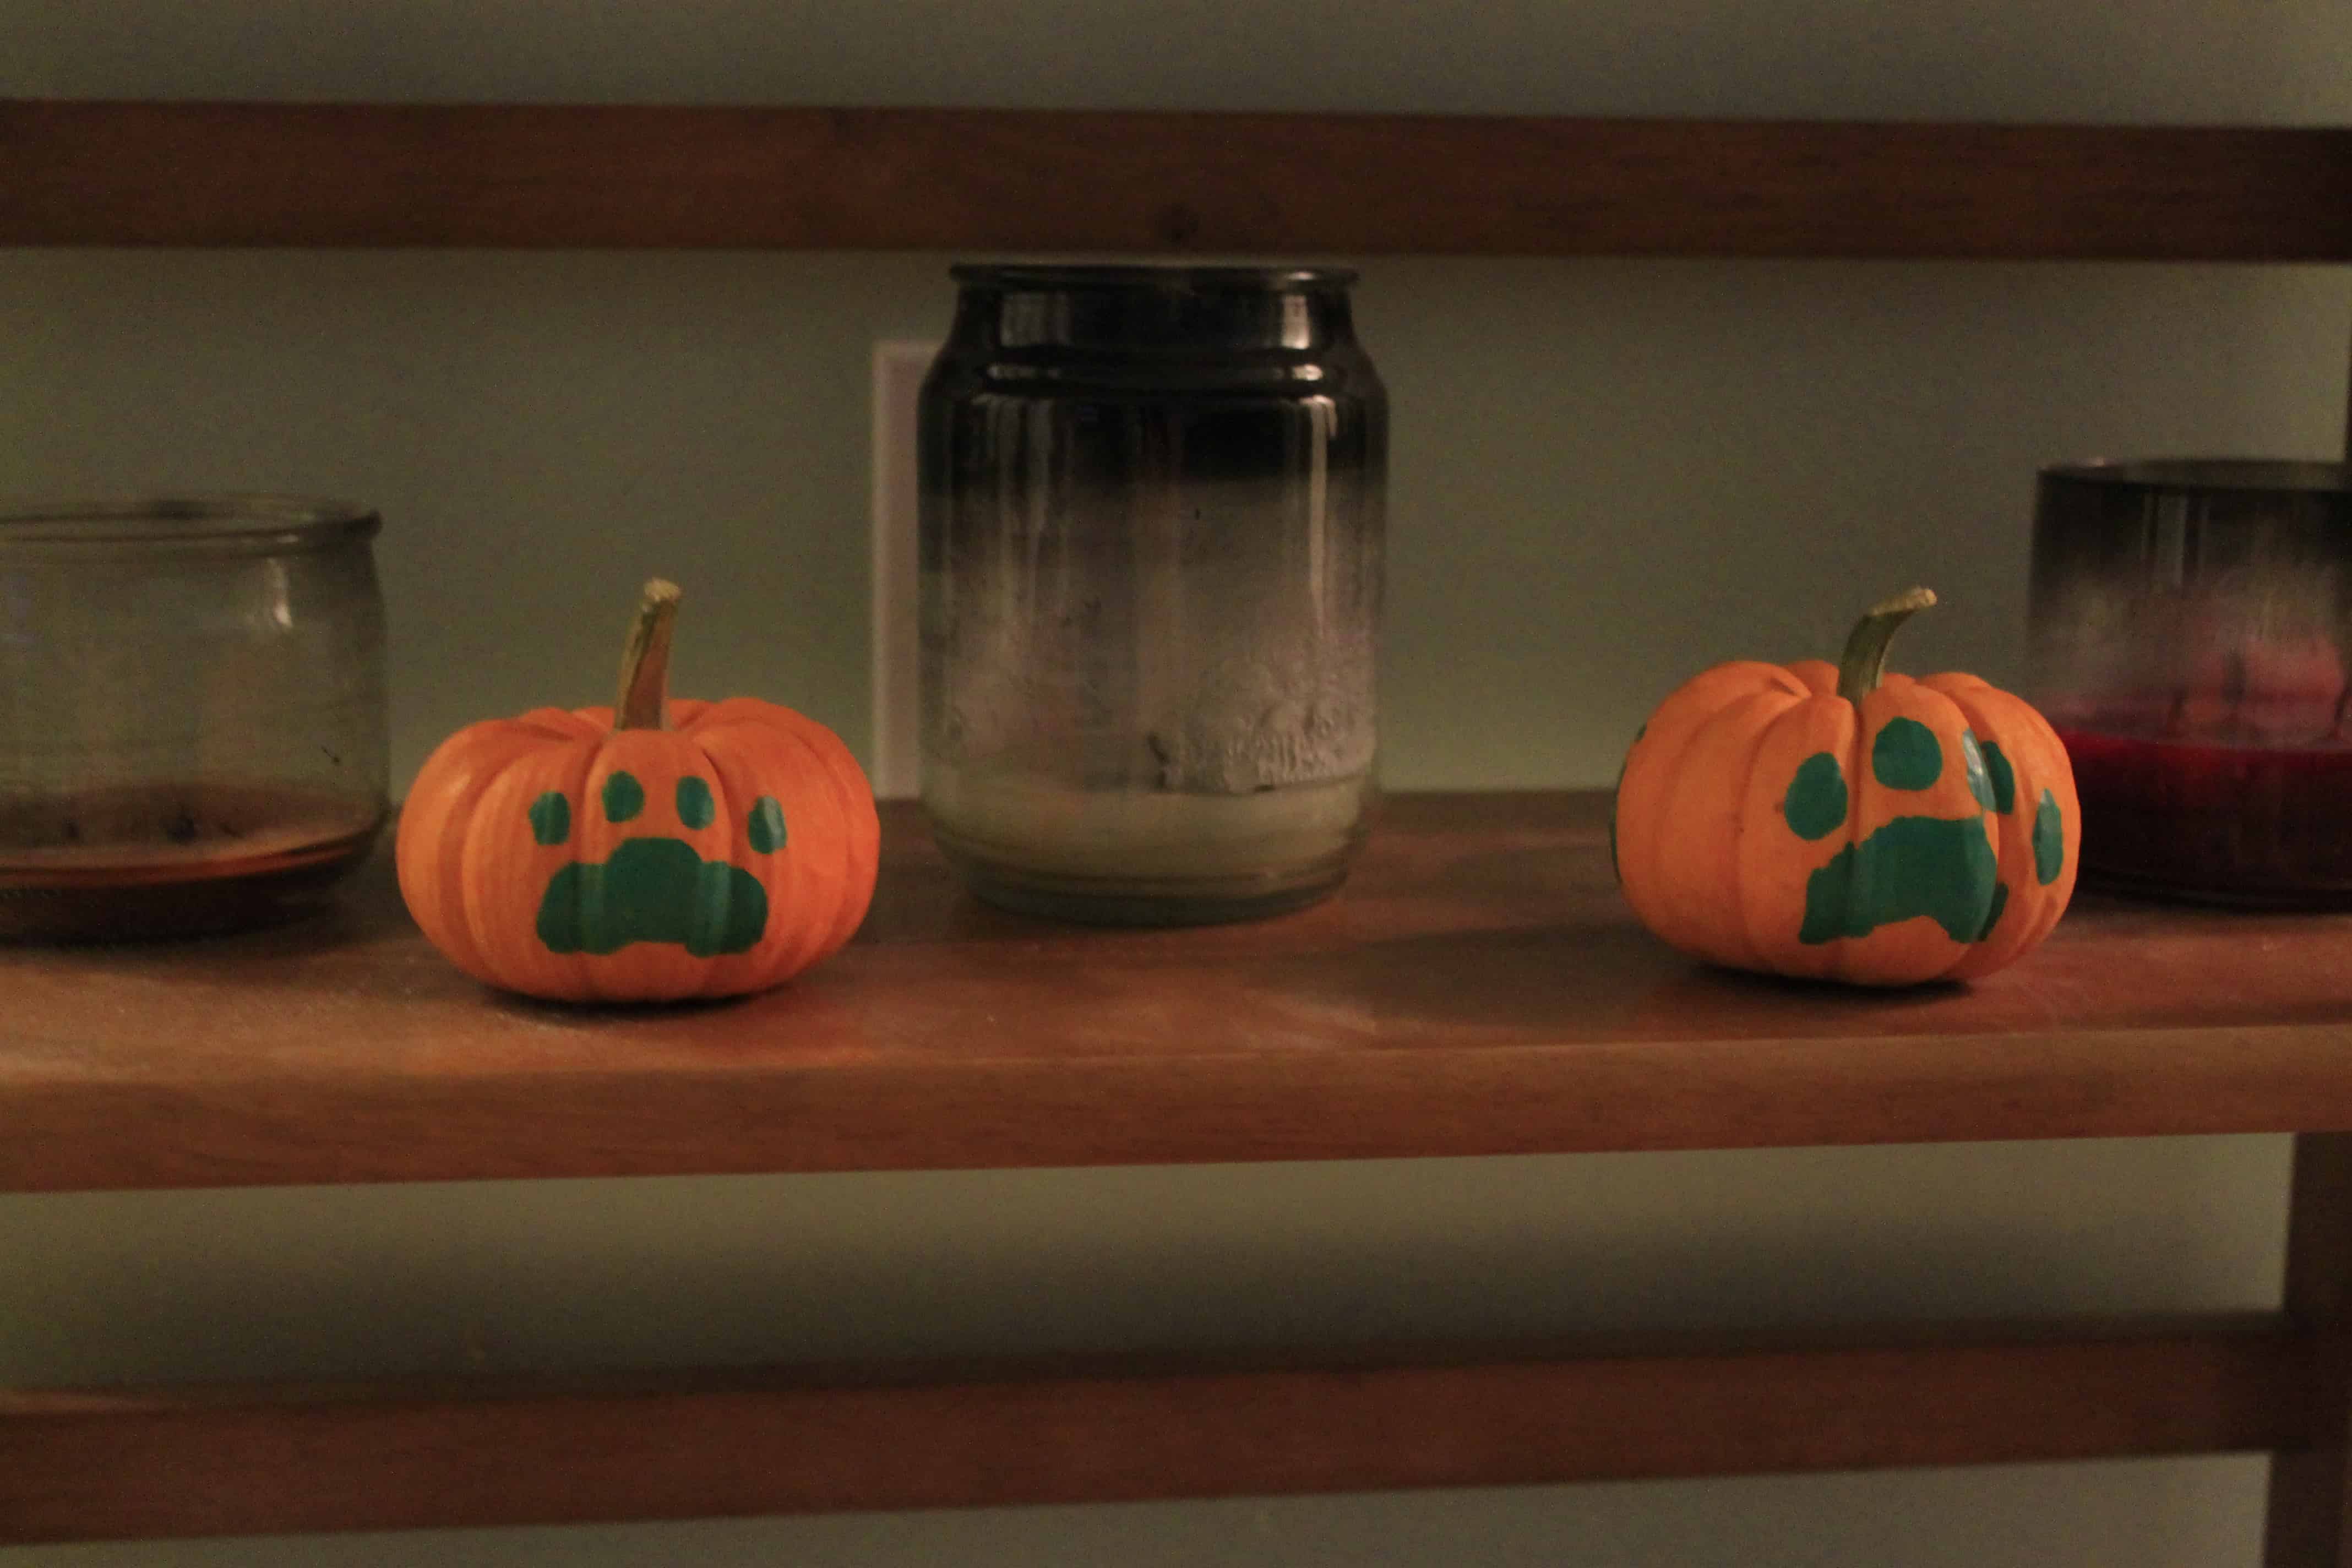
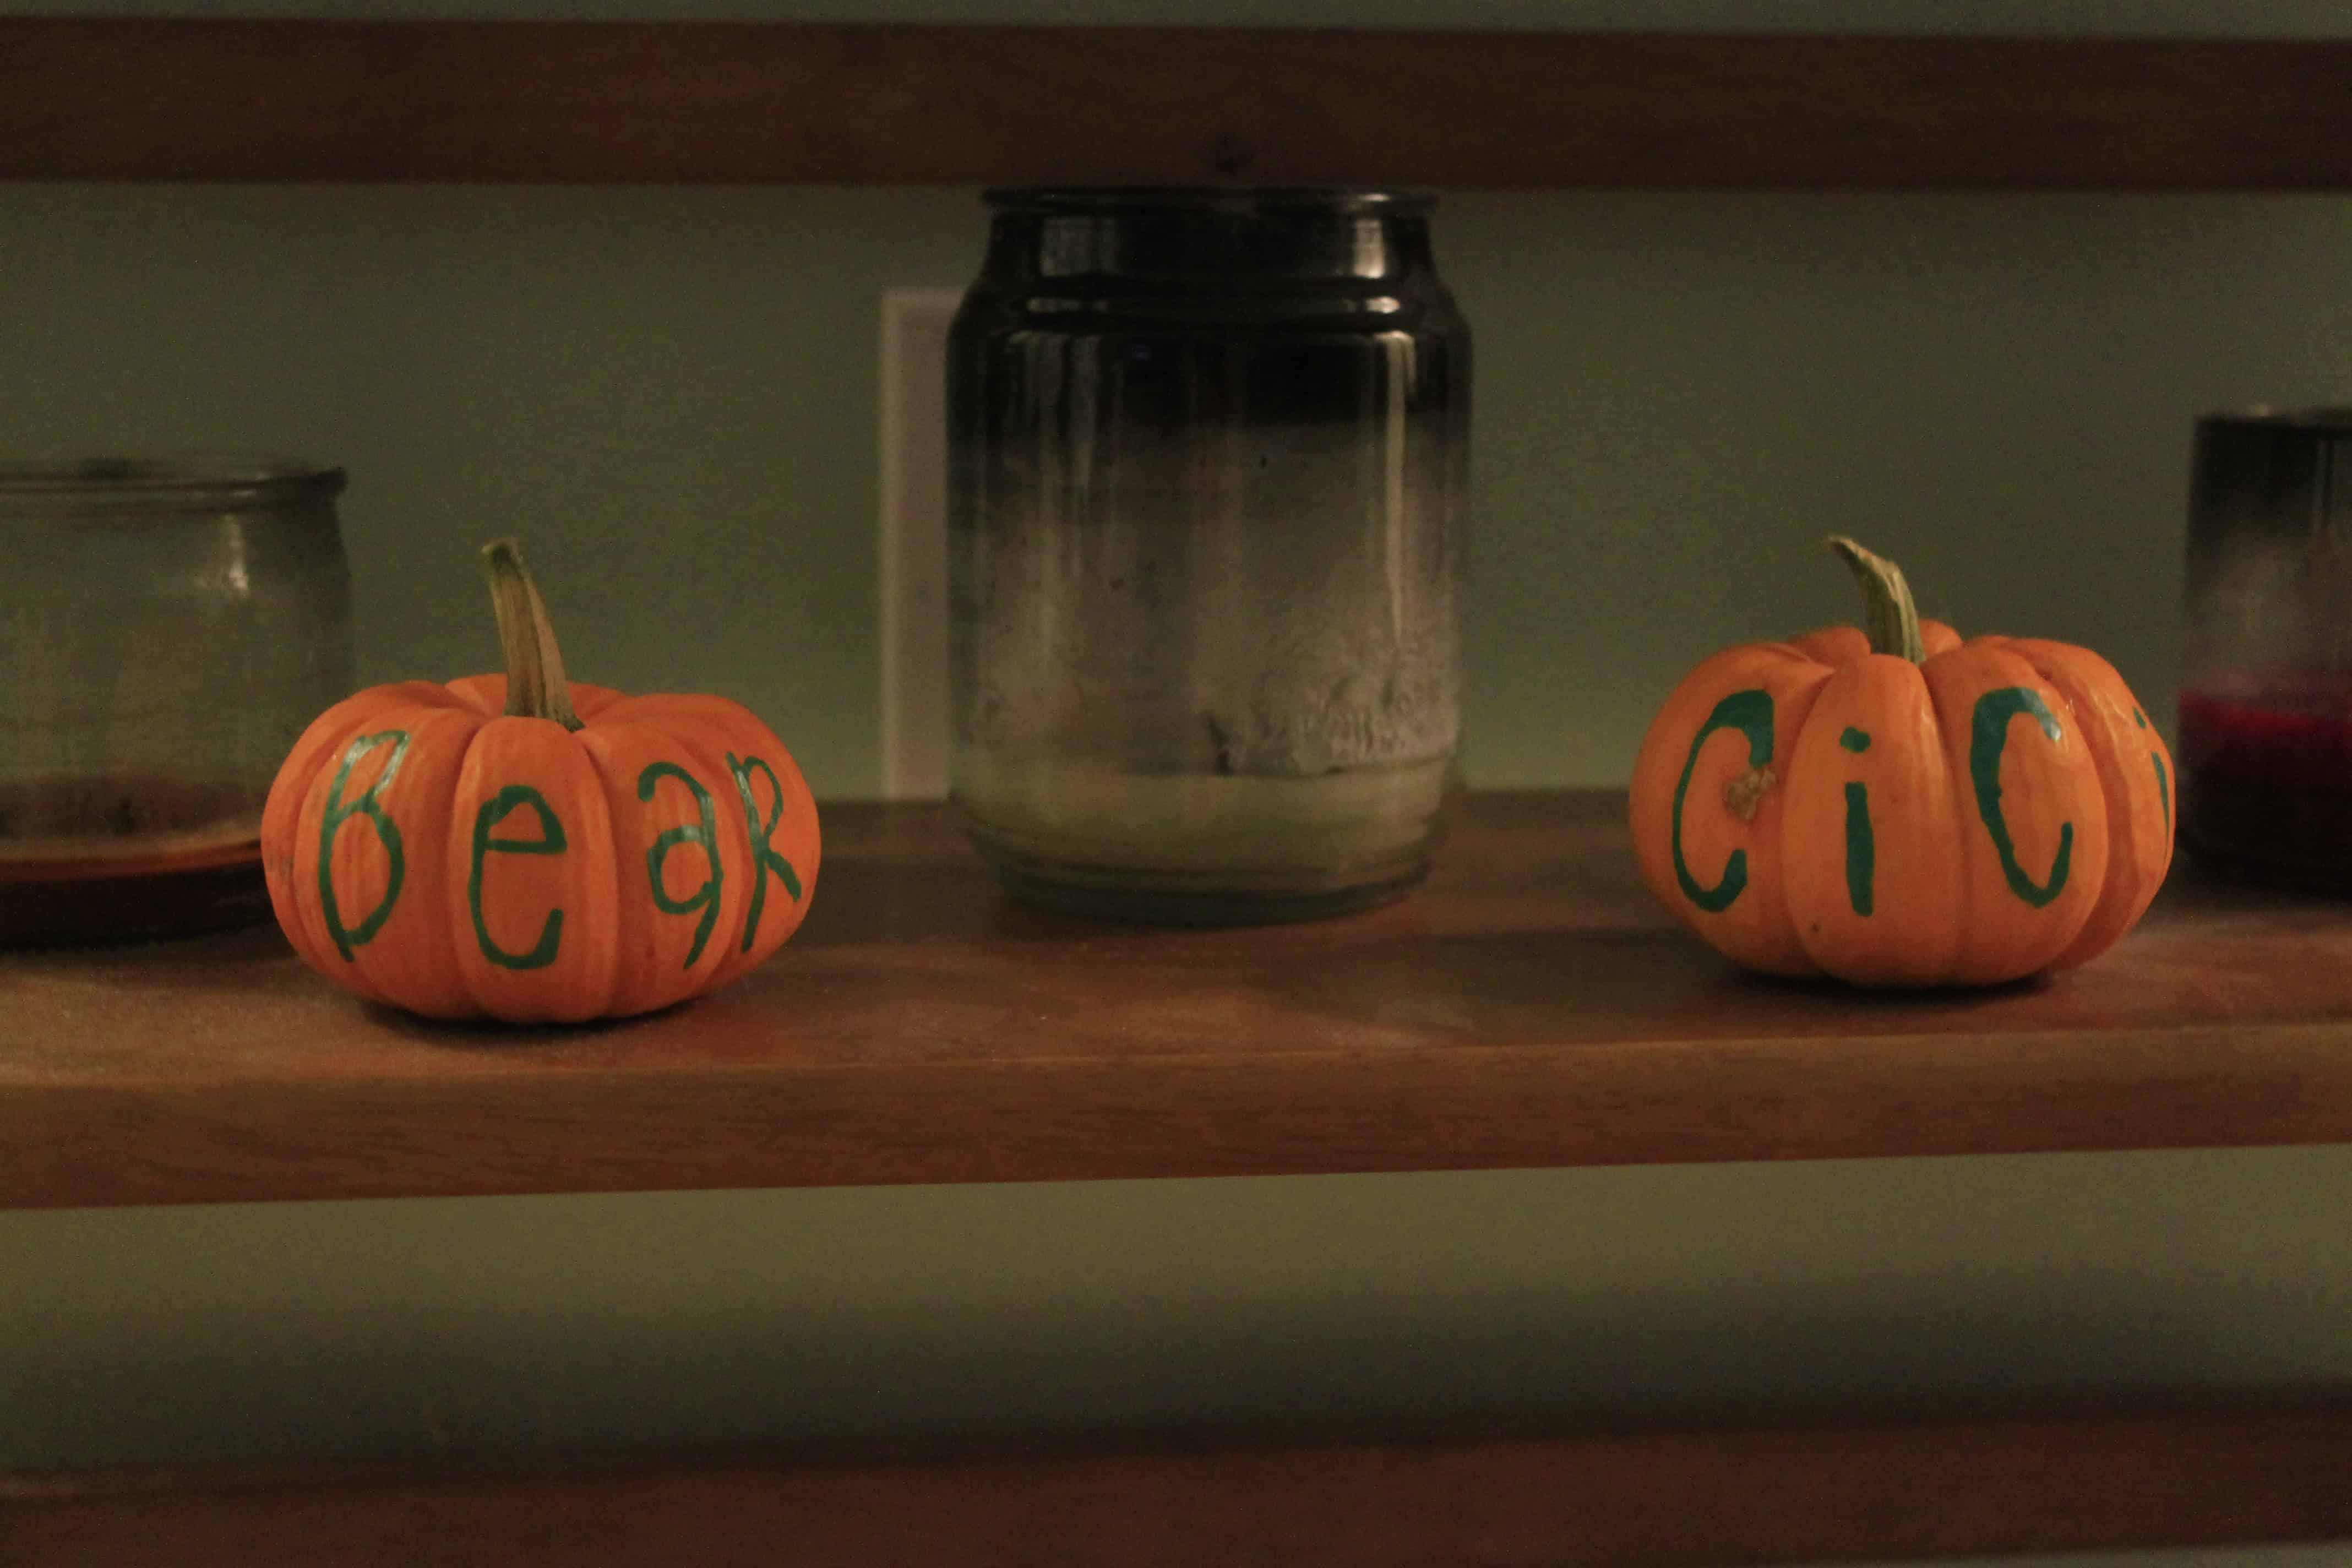
5) Draw On Them! Finally, we took the last two little pumpkins we had and dedicated them to our furry friends by drawing their paws and names on there.
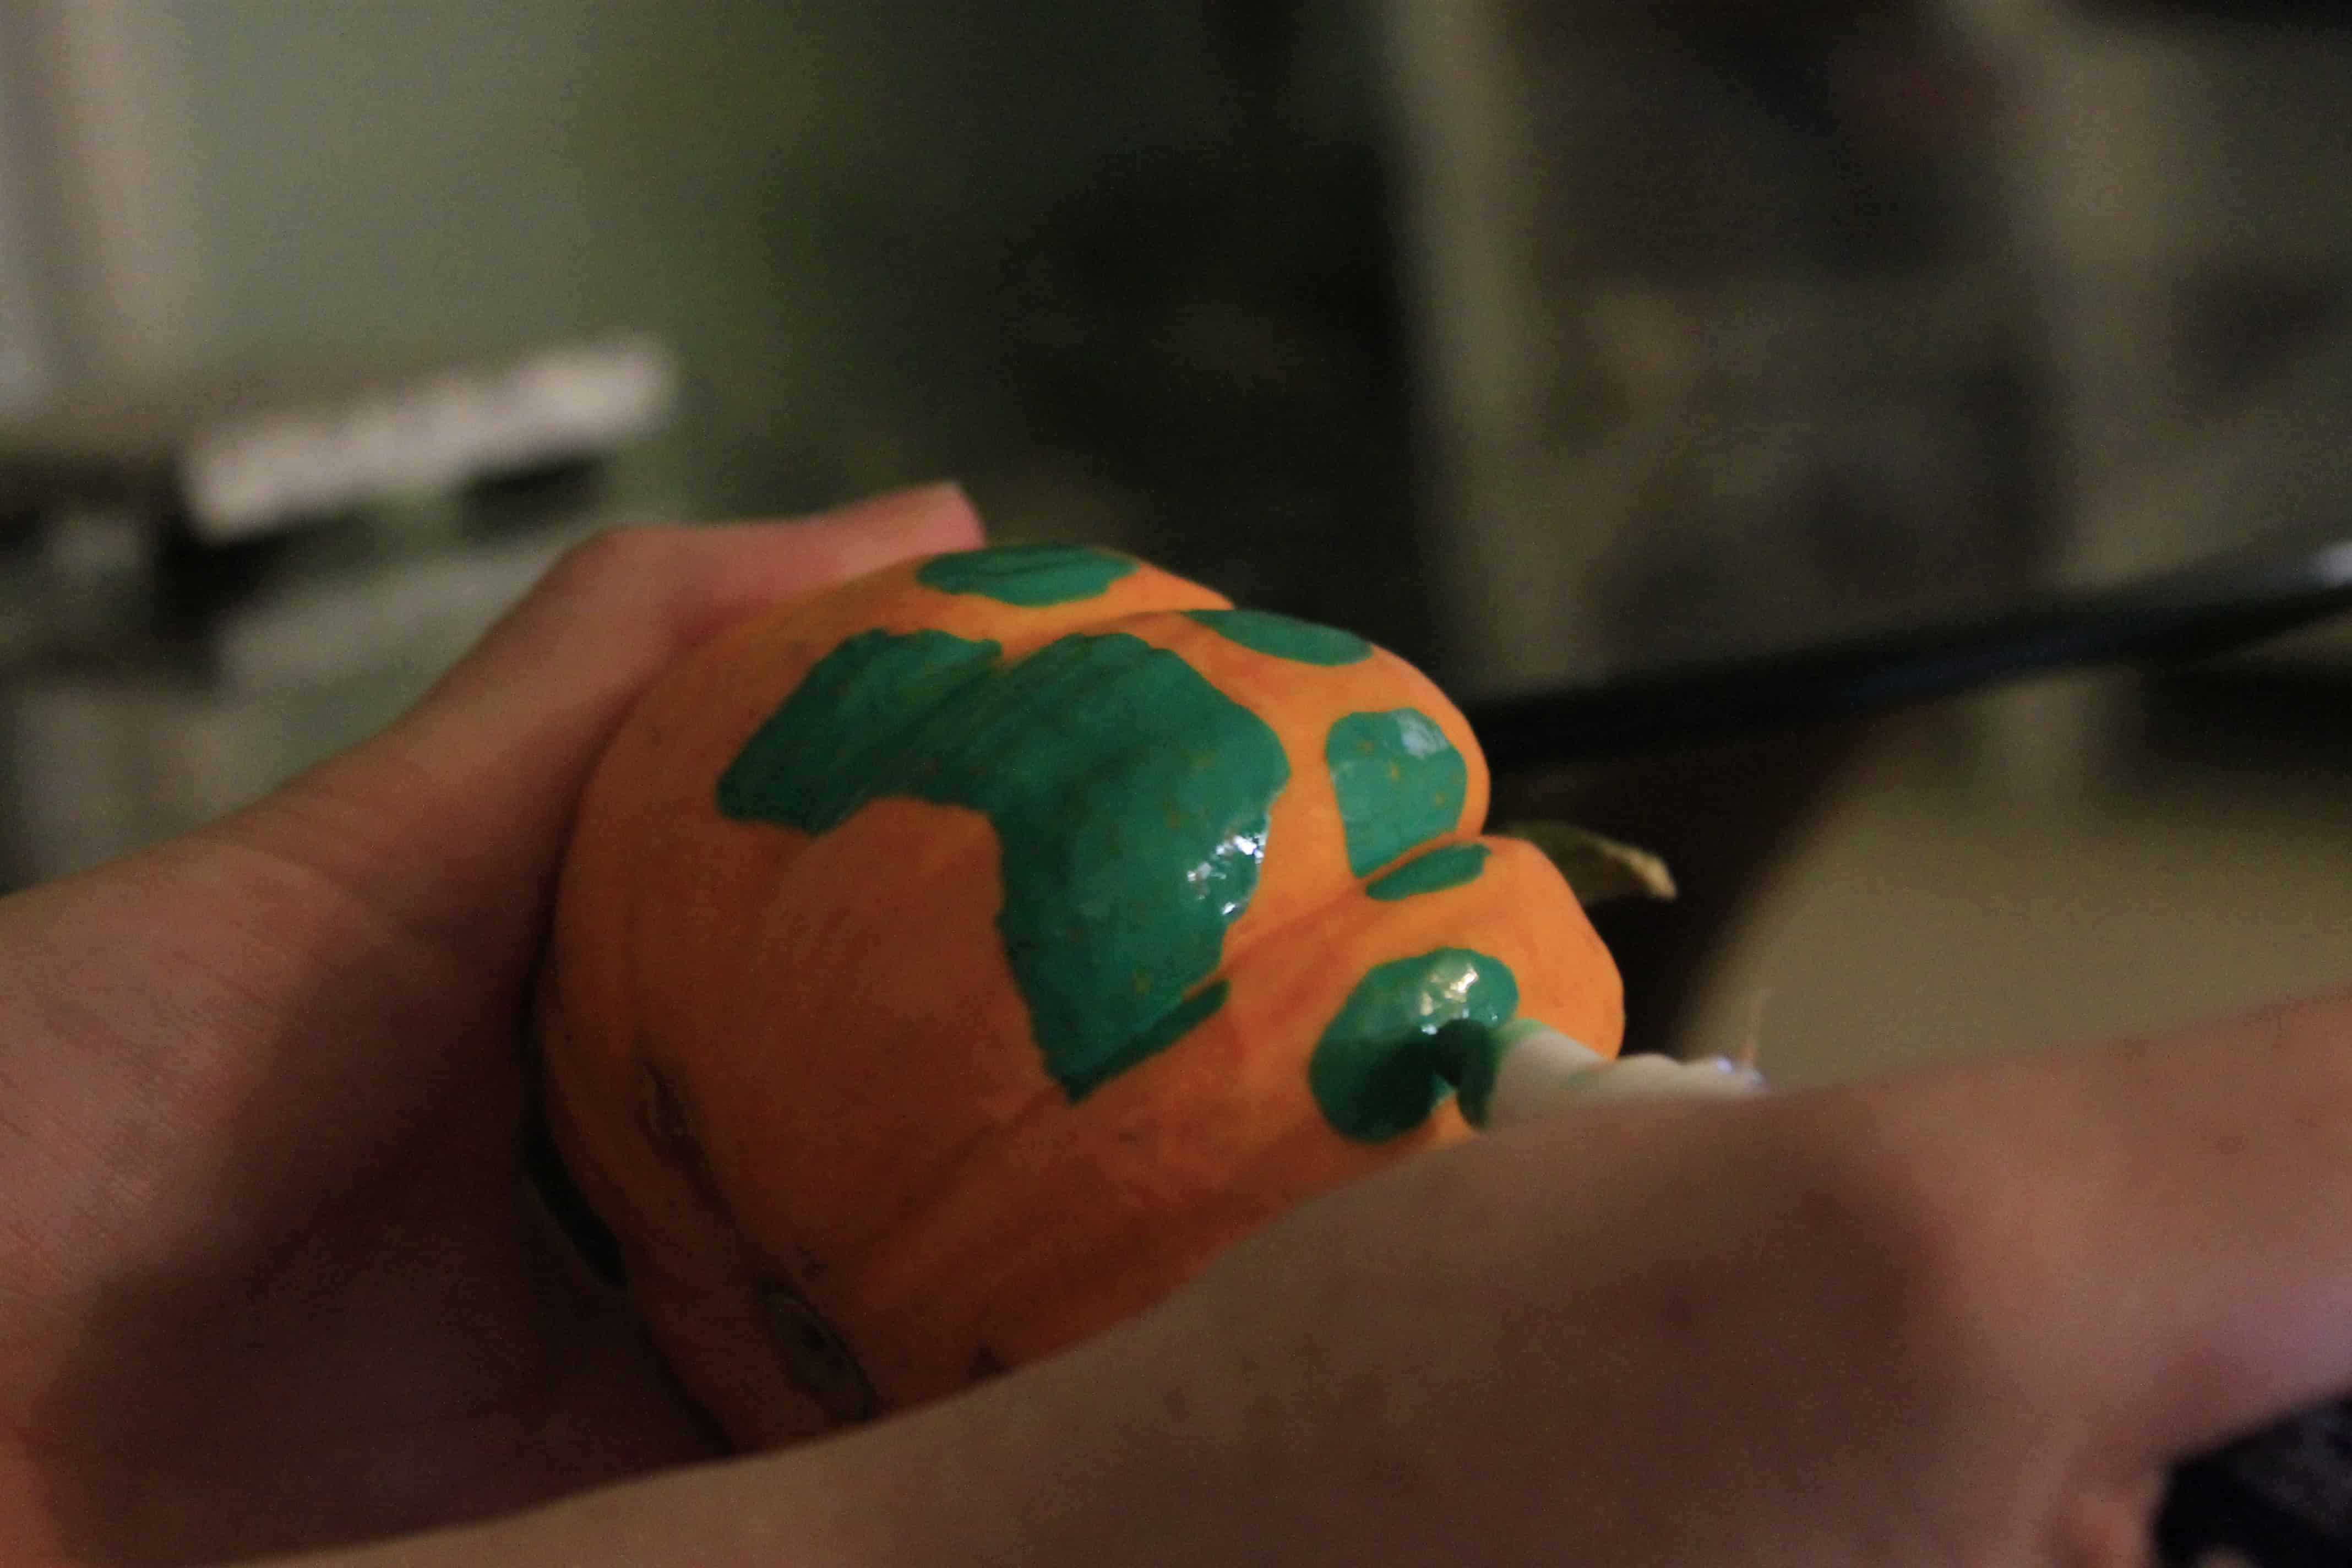
I wanted to put paint on their paws and actually let the animals do it themselves, but Sean complained about the mess it would inevitably make.
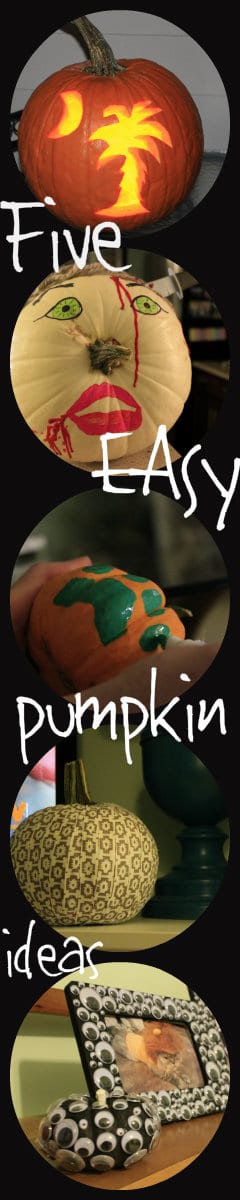
So that’s it! Five cool ways to decorate your pumpkins this Halloween with different designs!
How are you decorating your pumpkins this year?
  | |||
| | | | |


Hello, I’m Morgan, half of the creative force behind CharlestonCrafted.com! With a passion for DIY that dates back to 2012, I’ve transformed three homes and now I’m dedicated to helping others craft their dream spaces. Let’s turn your house into a home together!
Sunday Sharing: Race Day Edition | Life in Pink
Sunday 20th of October 2013
[…] I’m late to the pumpkin party, here’s some cute ways to decorate your pumpkins. I picked up some mini pumpkins but they grew mold before I did anything with them. Pumpkin buying […]