
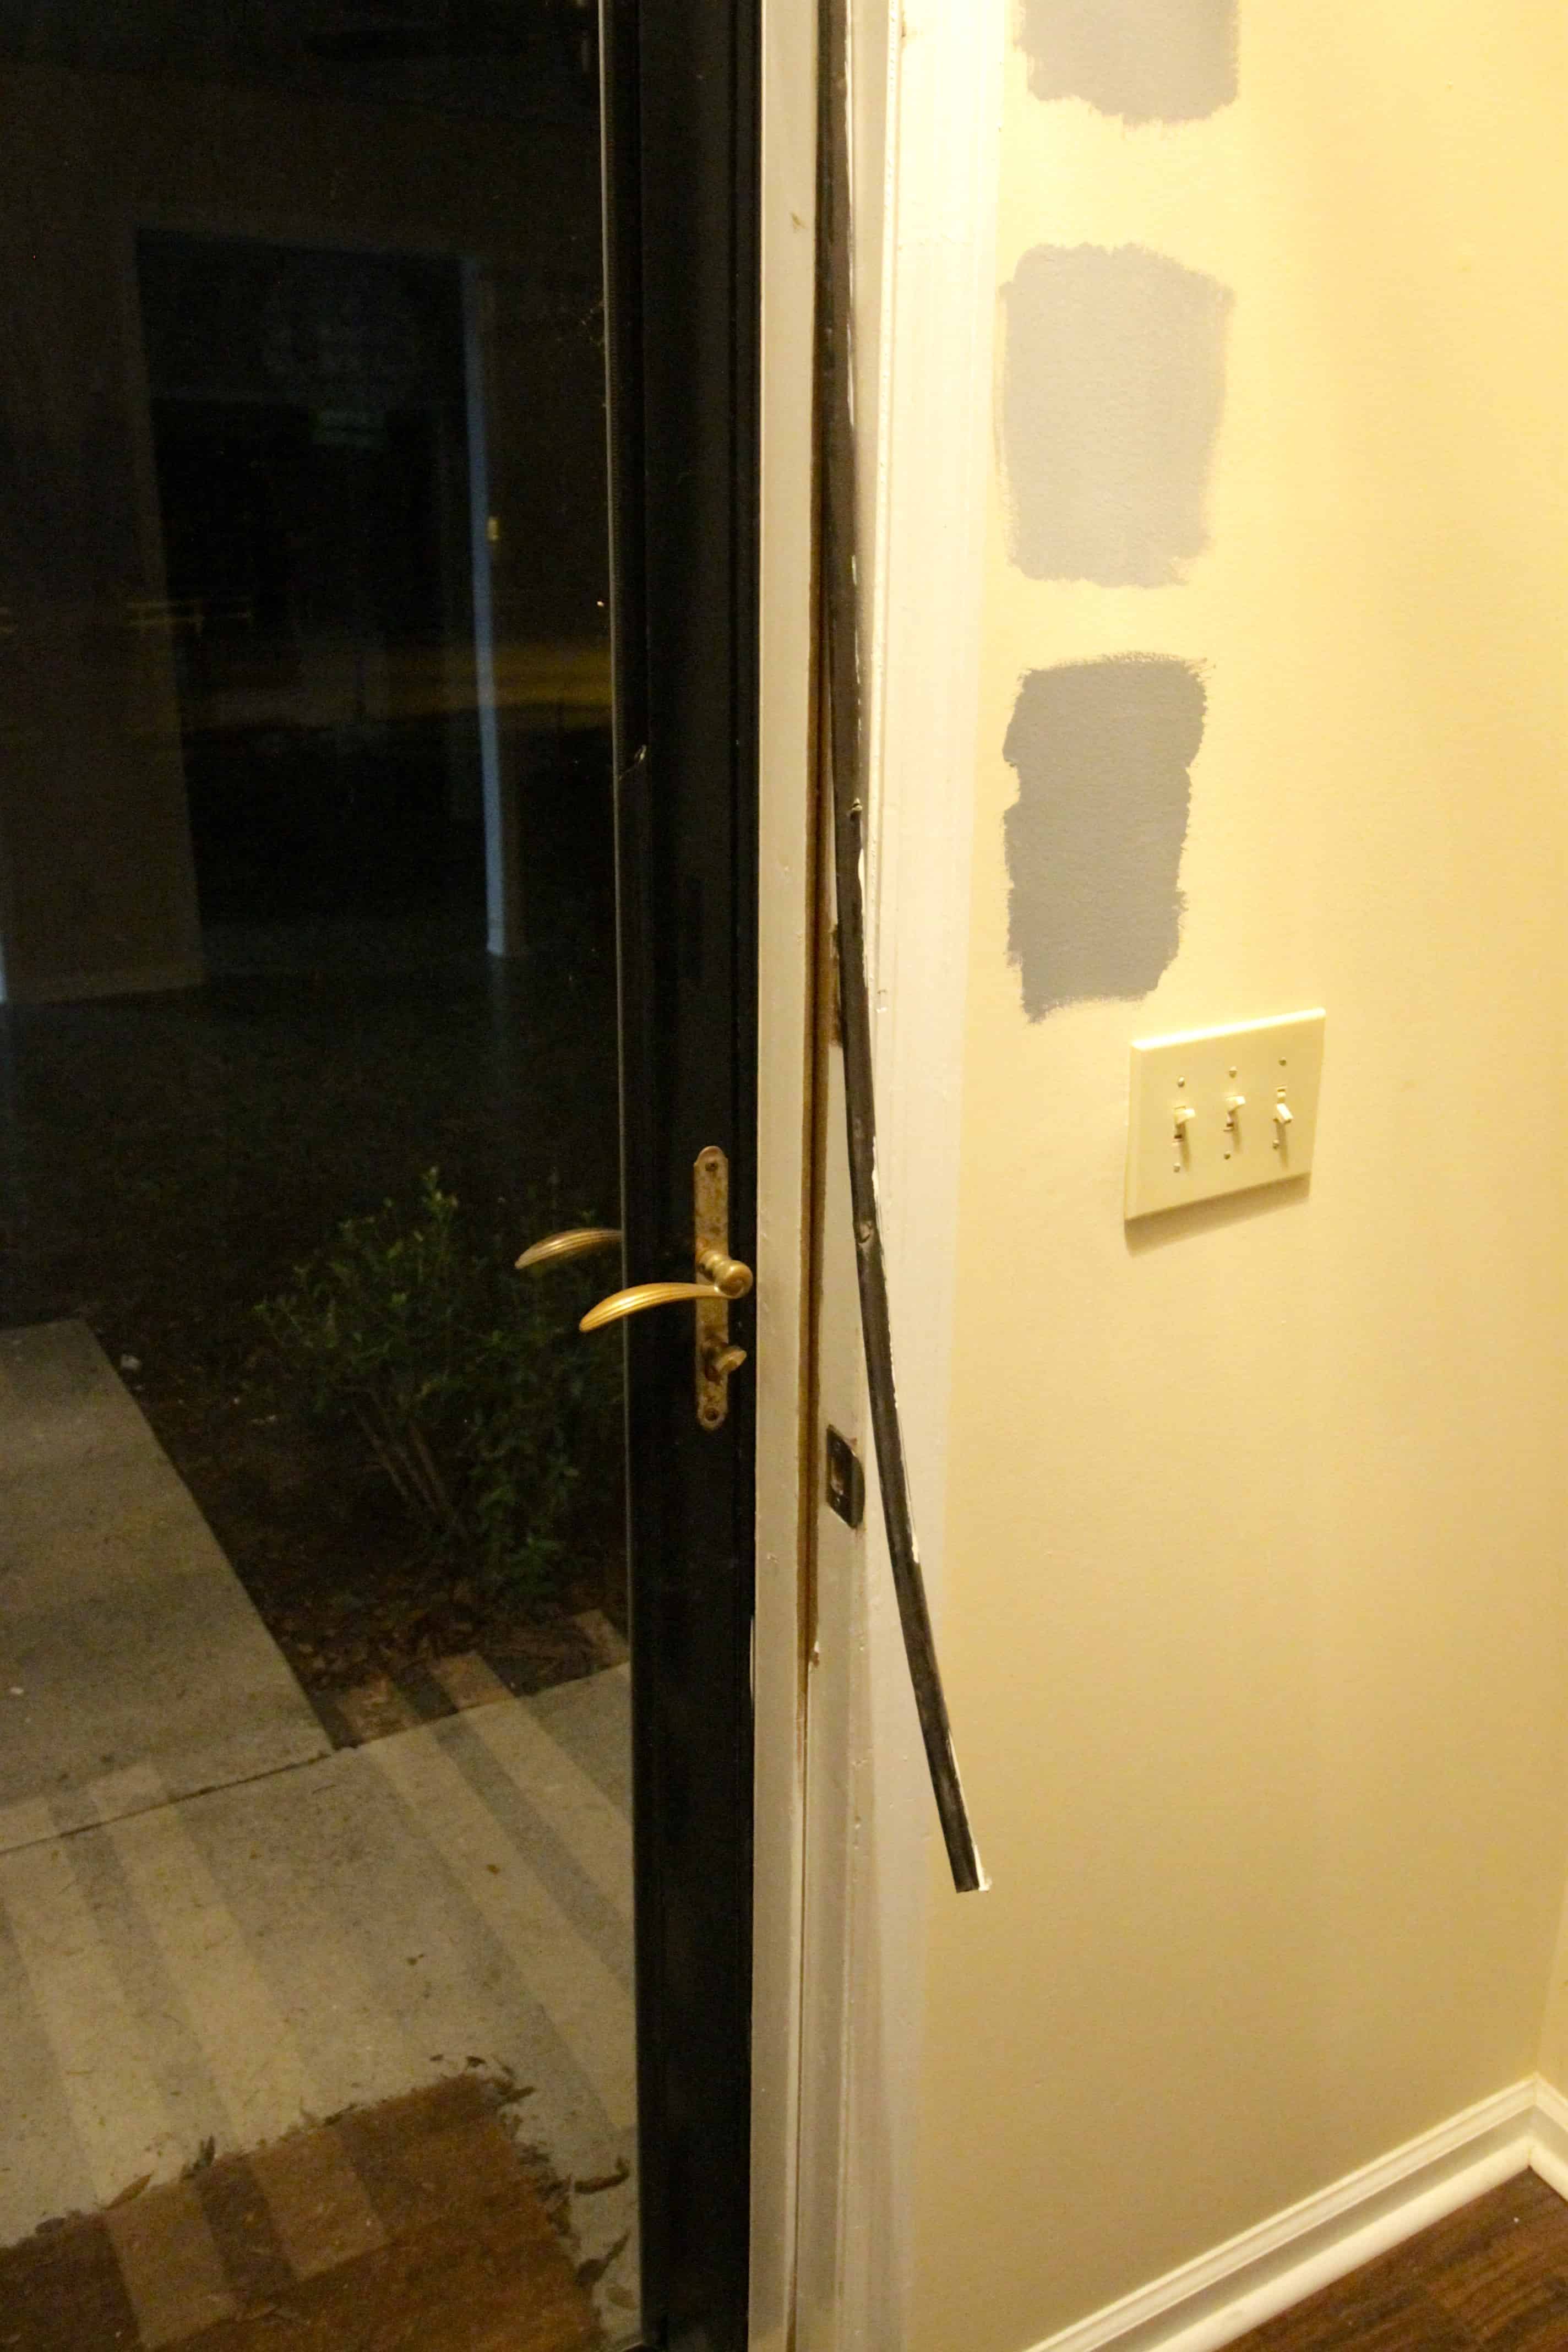
How’s that for a catching title? I hate to disappoint you, but no, I didn’t put this gorgeous piece of man-body out for the world to see. Instead, I pulled out the weather stripping around our front door that was broken and missing in places and replaced it with new weather stripping.
I honestly didn’t know how weather stripping worked. I didn’t know if it had to be glued on, stapled on, wished on, or anything in between. Well, apparently it’s just a universal thing that you slide into place. Amazing. Why aren’t other things that simple.
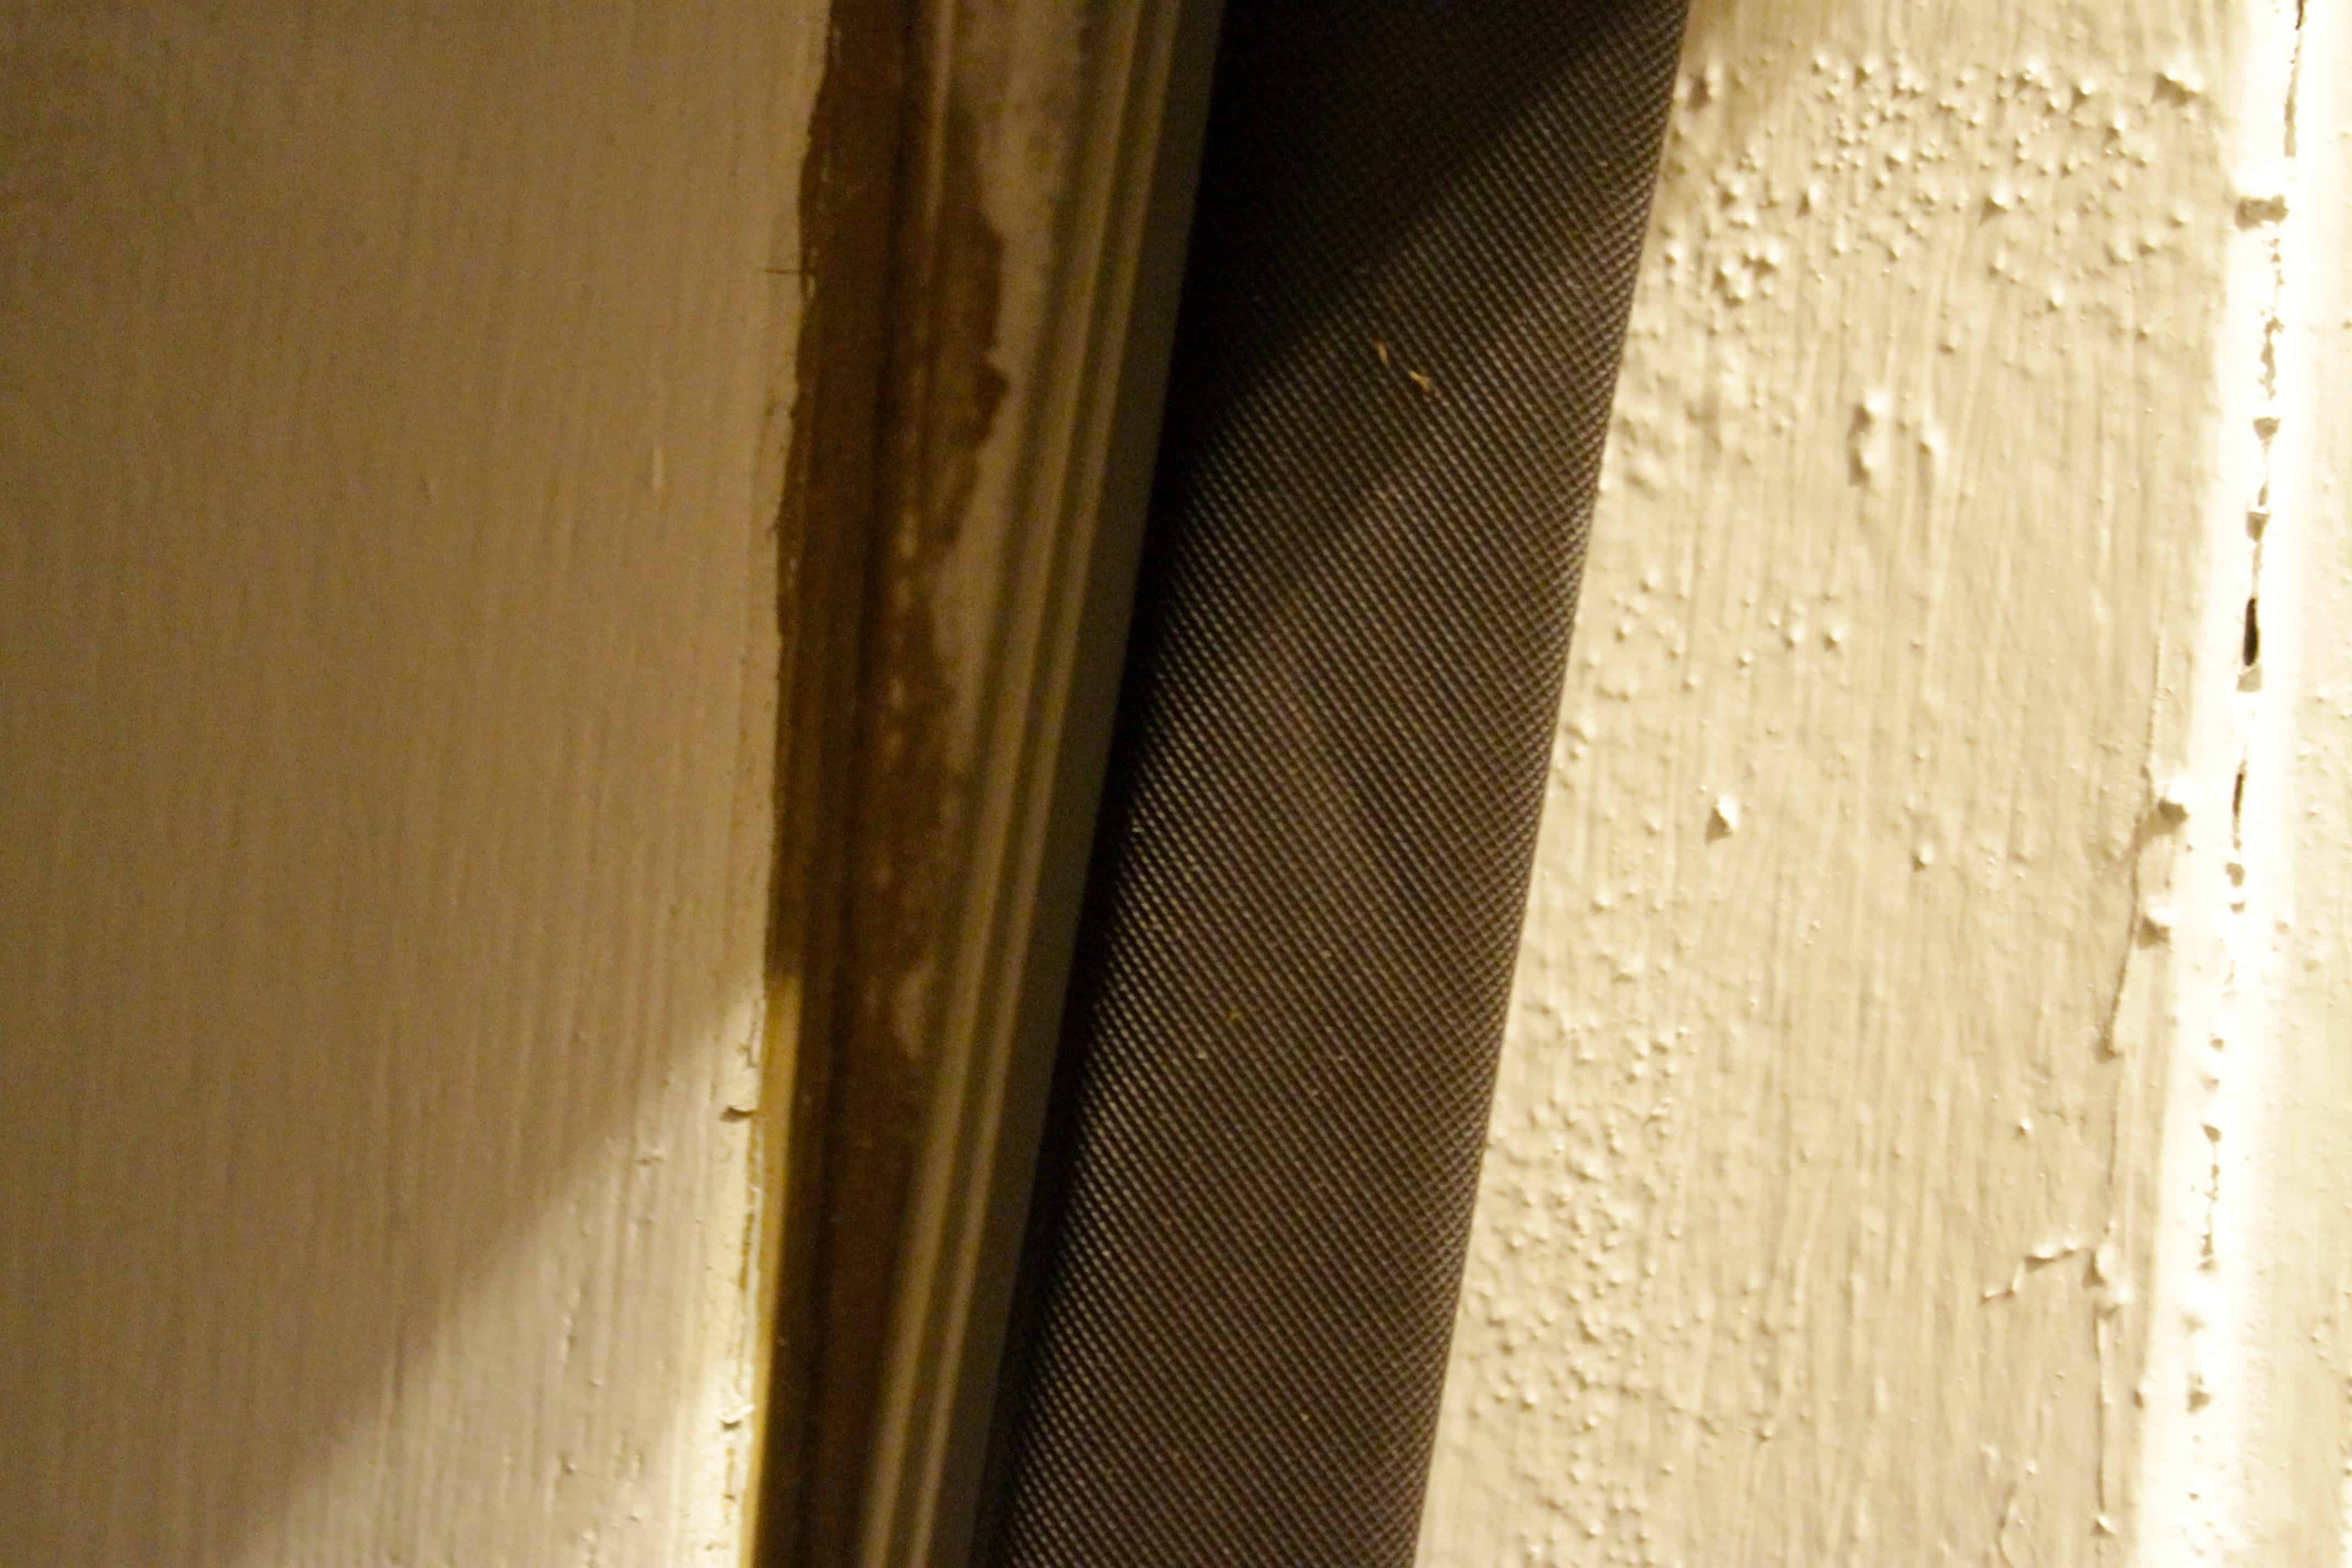
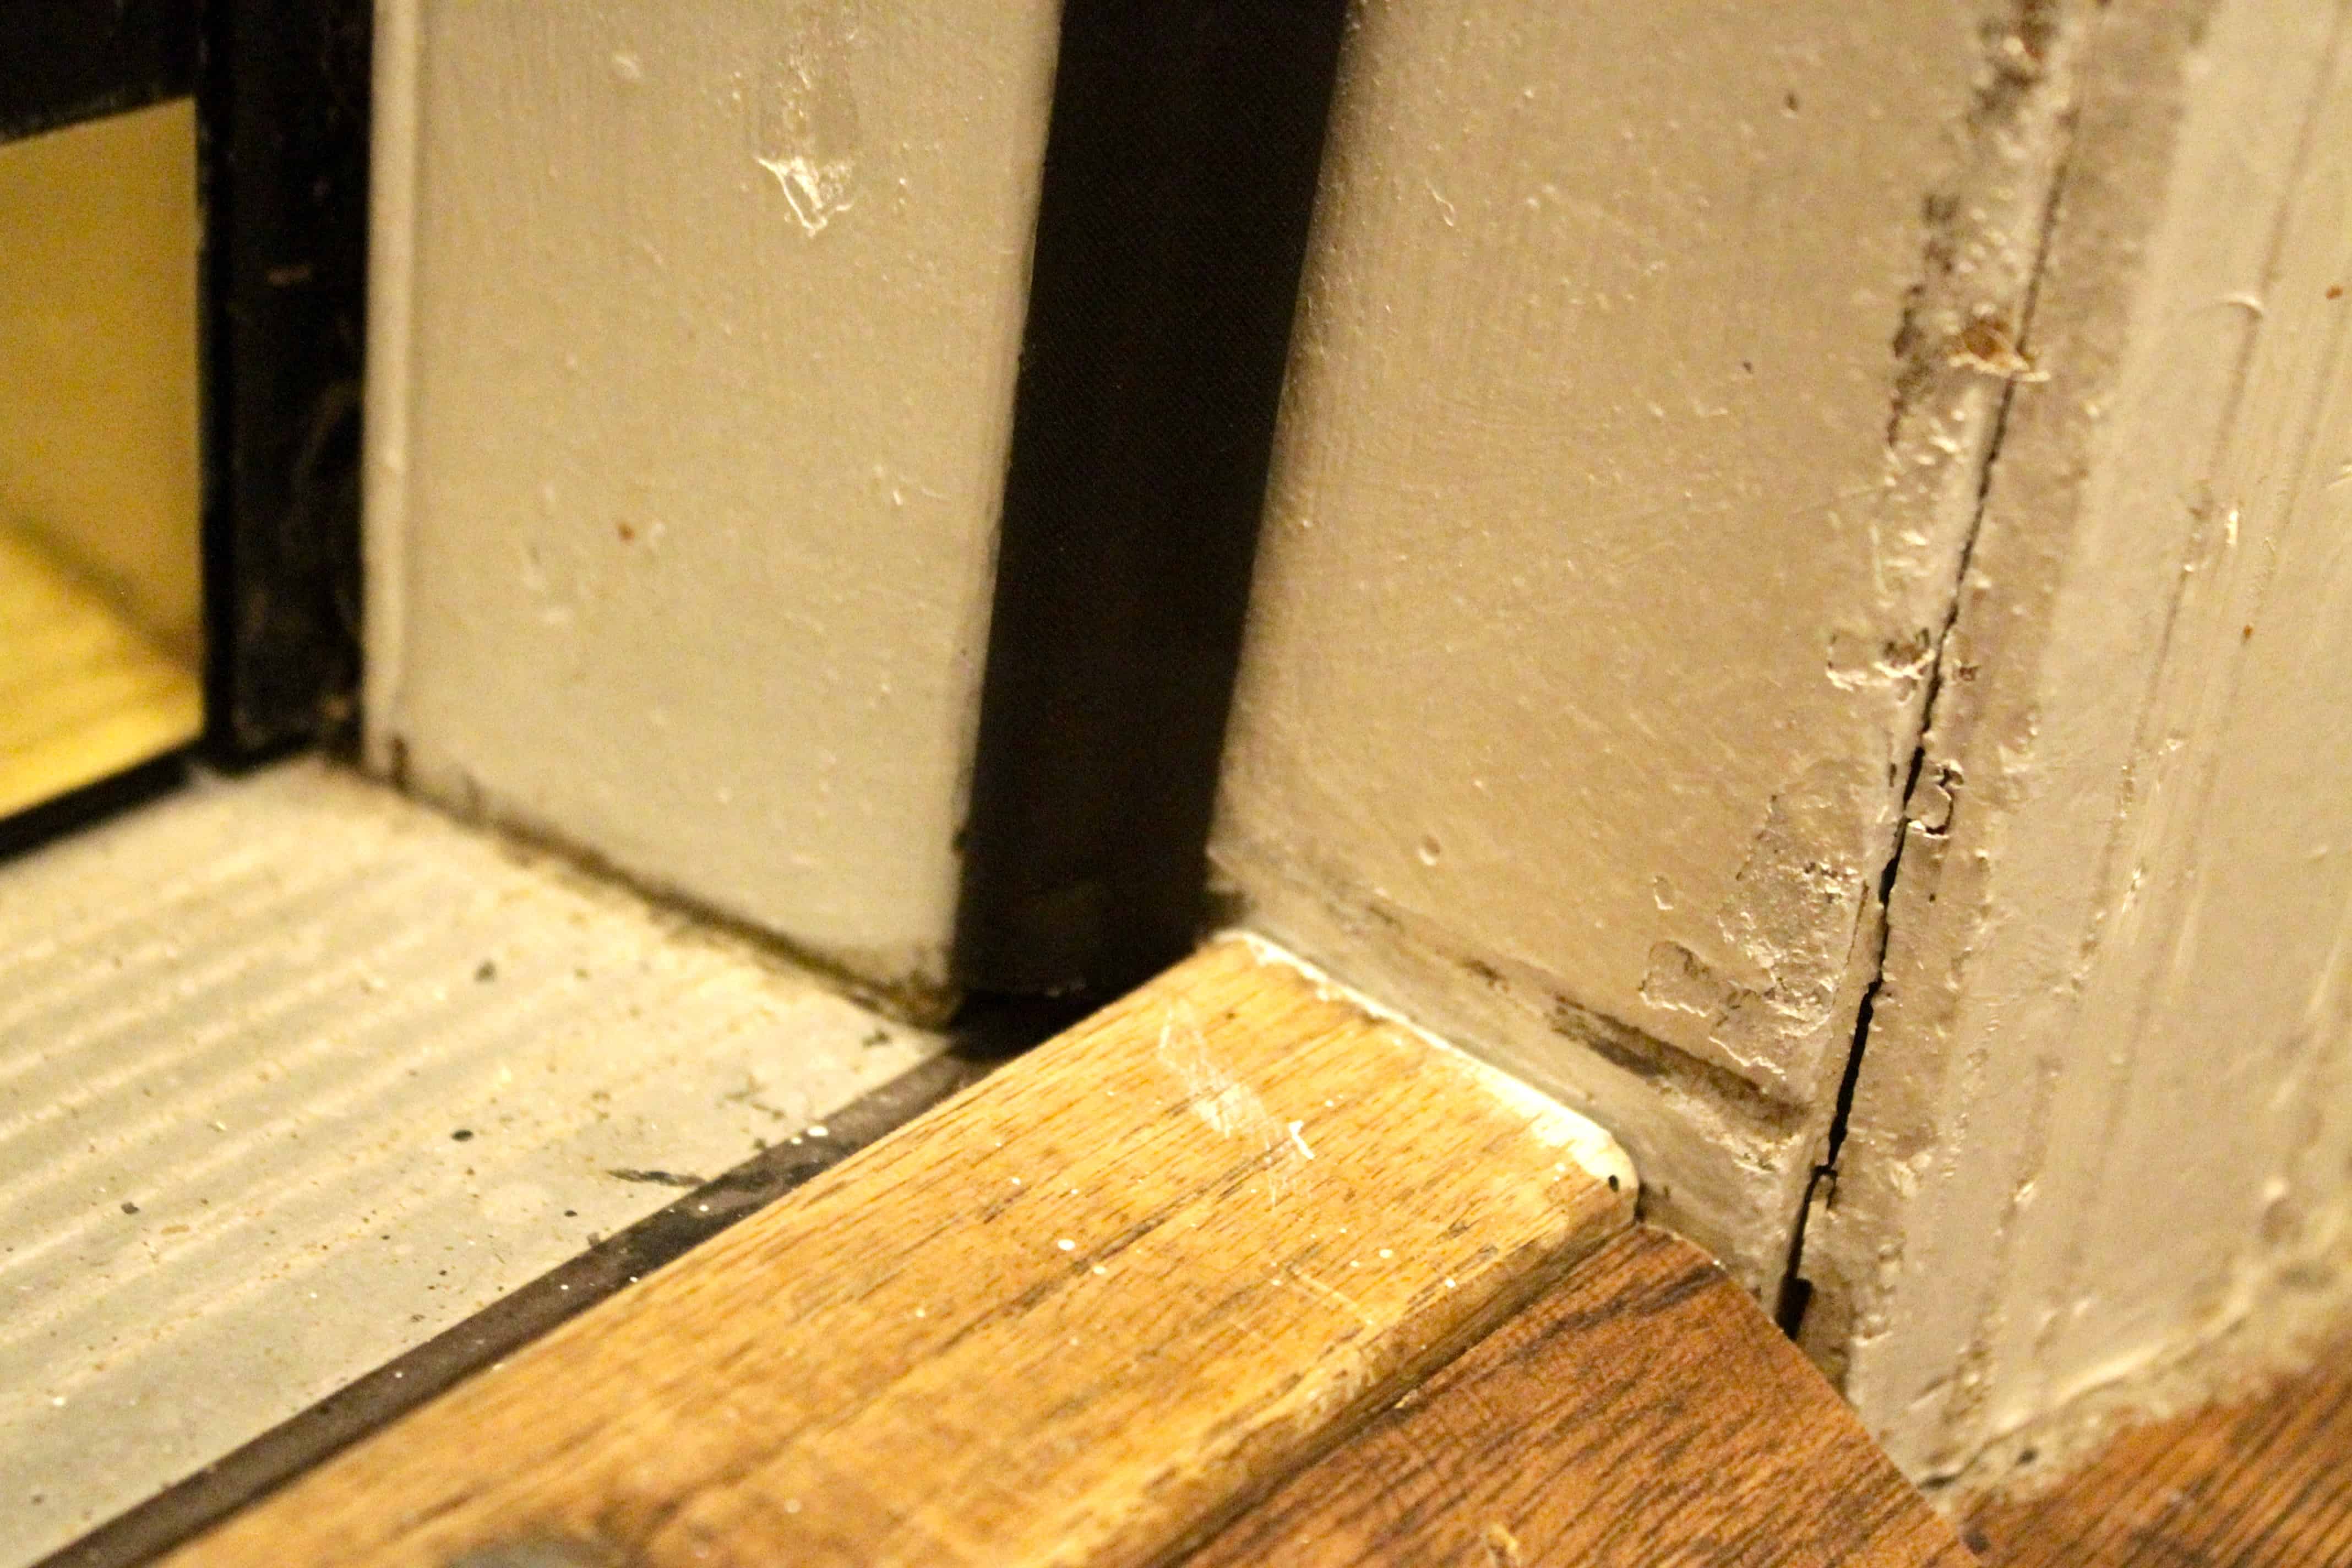
First, literally just grab your defective weather stripping and pull it out. It will give slight resistance, and then pull.

Then, take your new weather stripping and line it up at the top, sliding it into place. Then just work your way down.
When you get to the end, if your piece is a little too long, just grab a regular pair of scissors and snip of the needed amount. Ta-friggin-da.
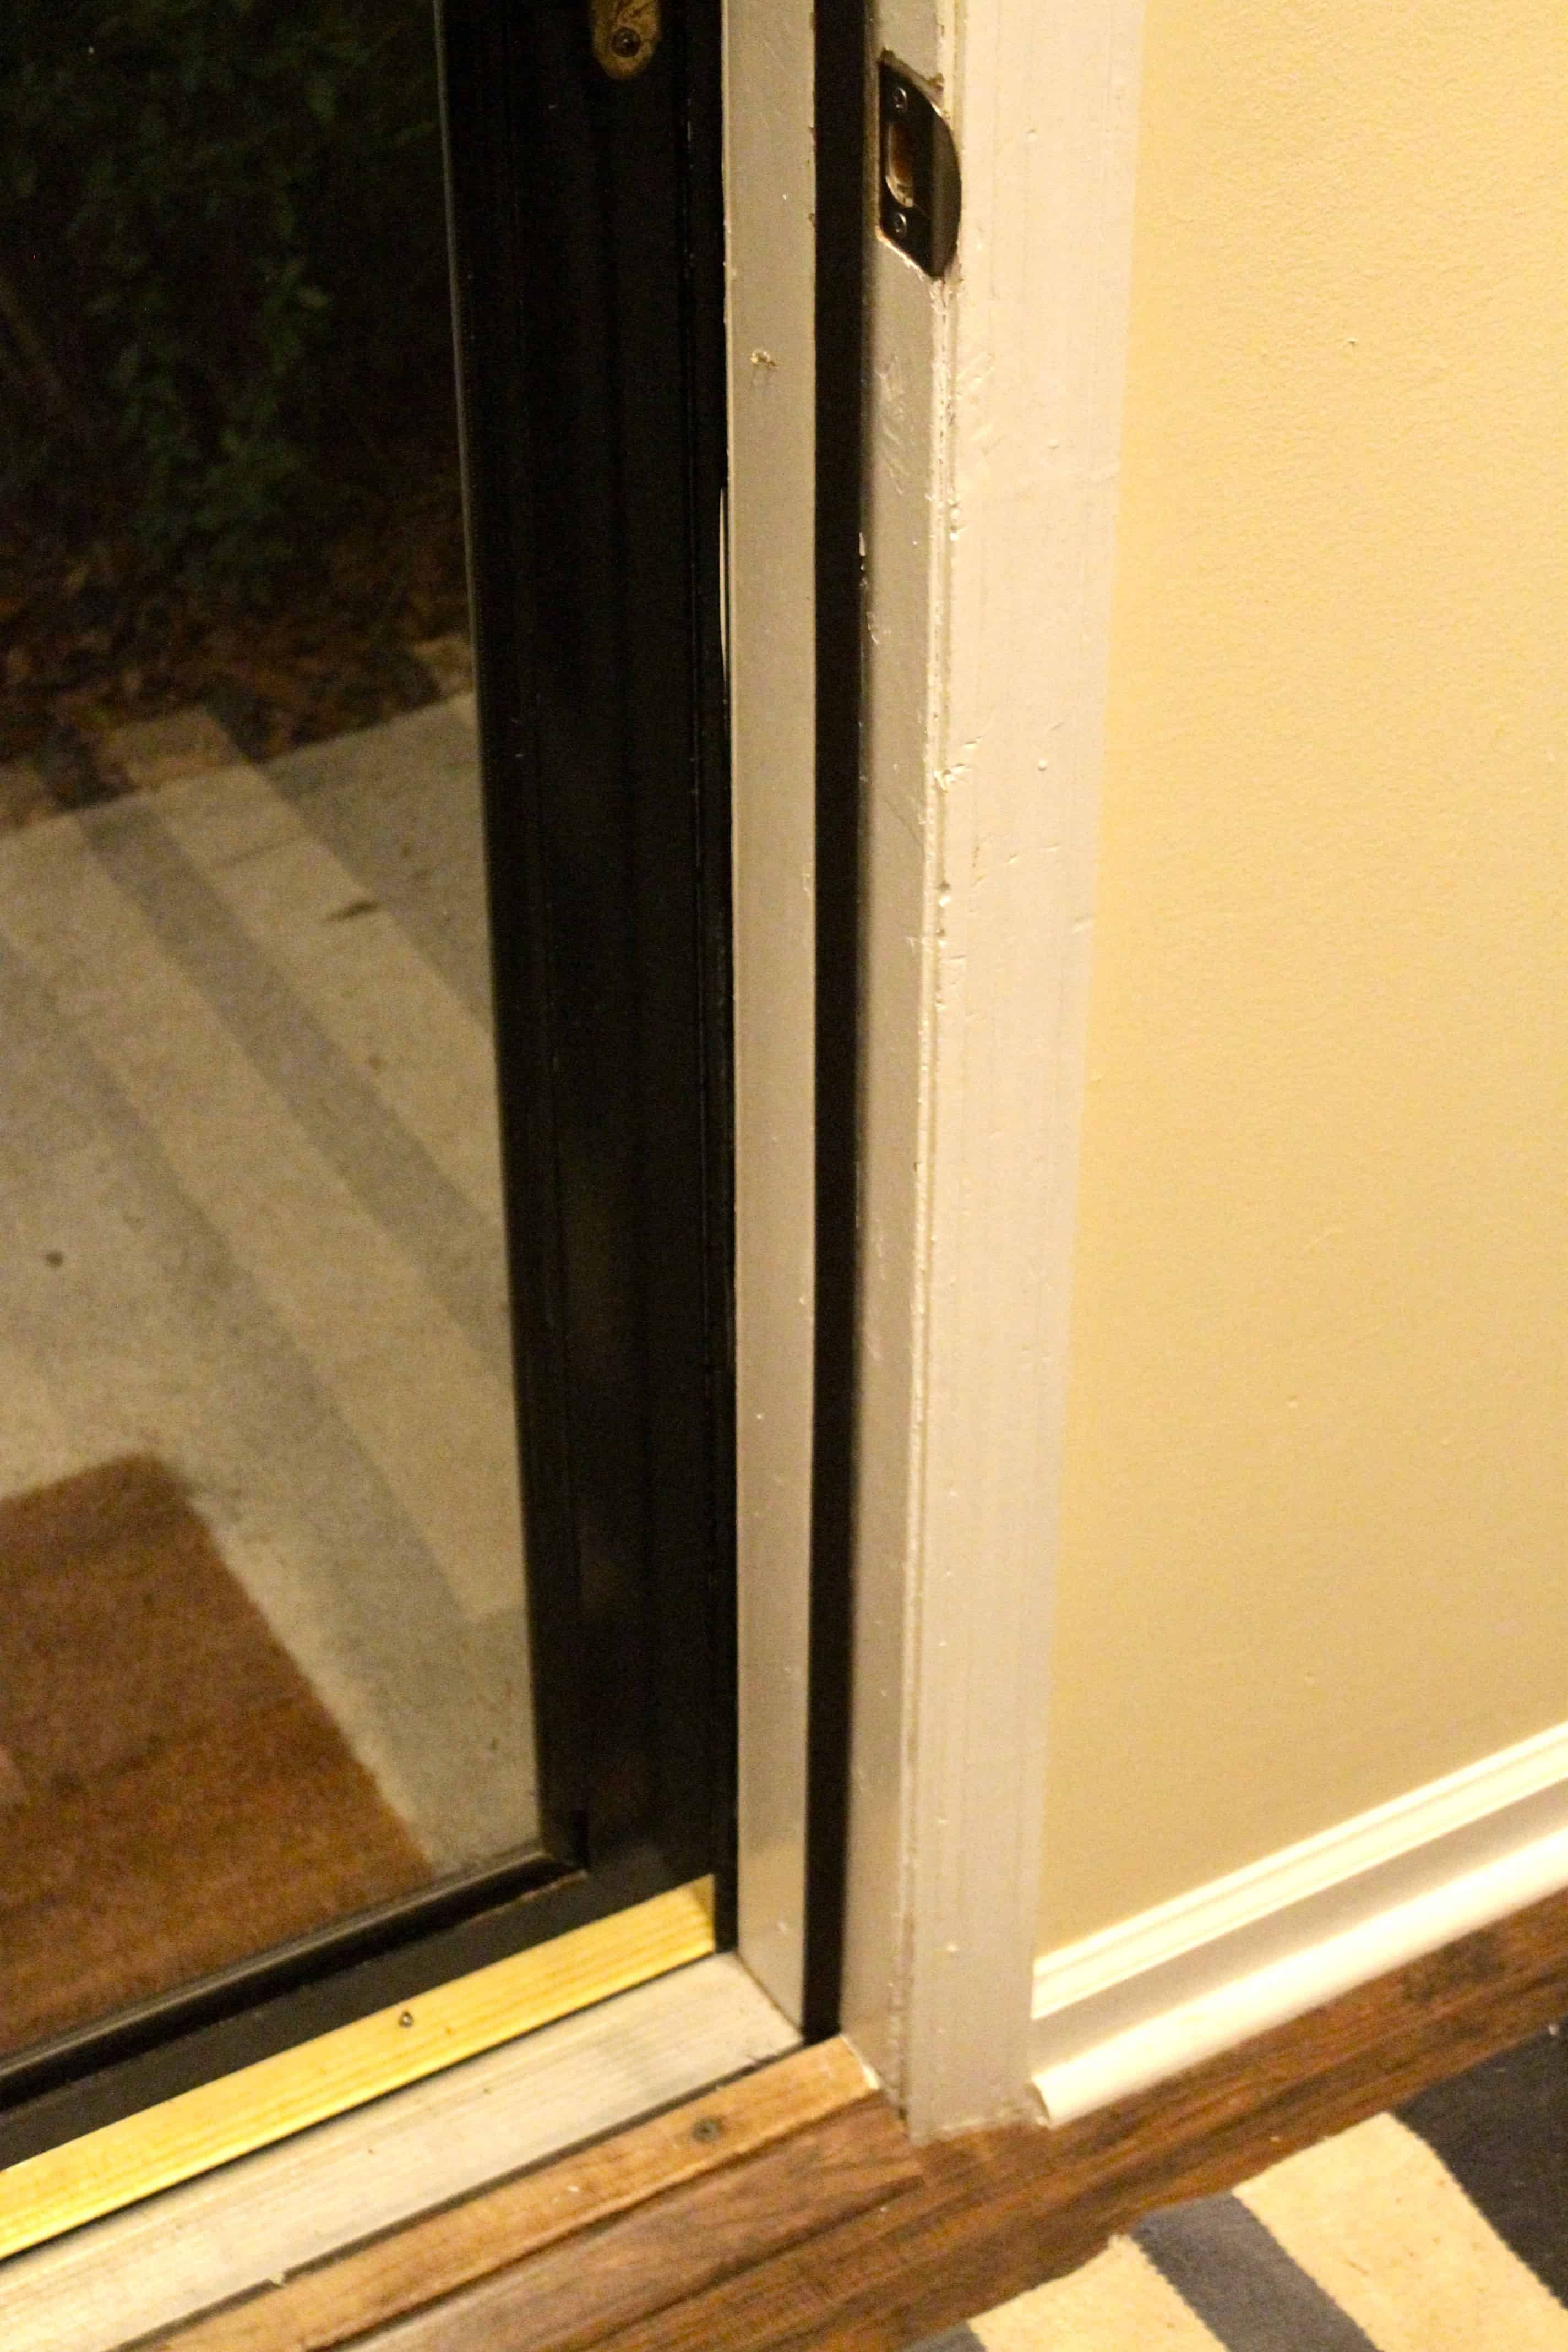
Now, no light or bugs come through and our AC isn’t cooling Mother Nature. A simple $5 fix to replace bad weather stripping on your door.
| |
|||
| |
|
|
|


Hey there, I’m Sean, the woodworking enthusiast and builder behind CharlestonCrafted.com! Since 2012, I’ve been sharing the magic of turning raw materials into beautiful creations. I love teaching others the art and satisfaction of woodworking and DIY. I try to inspire fellow crafters to make something extraordinary out of nothing at all.