
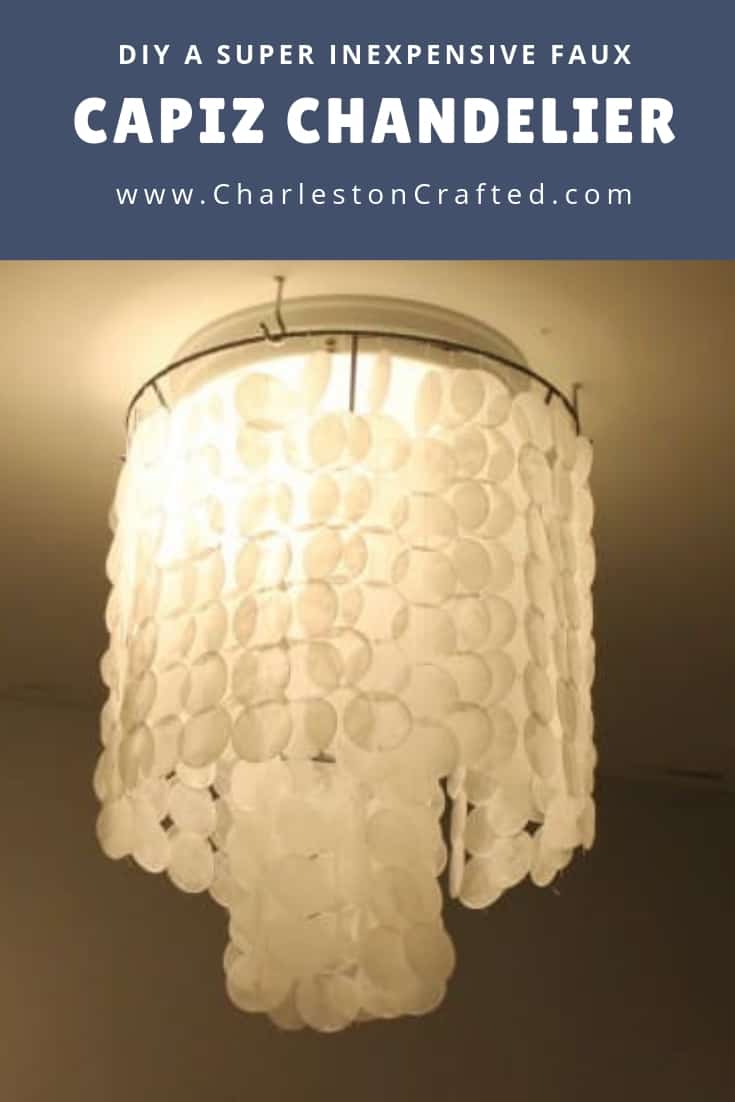
Looking to make a DIY capiz chandelier? You will love this super simple and inexpensive tutorial!
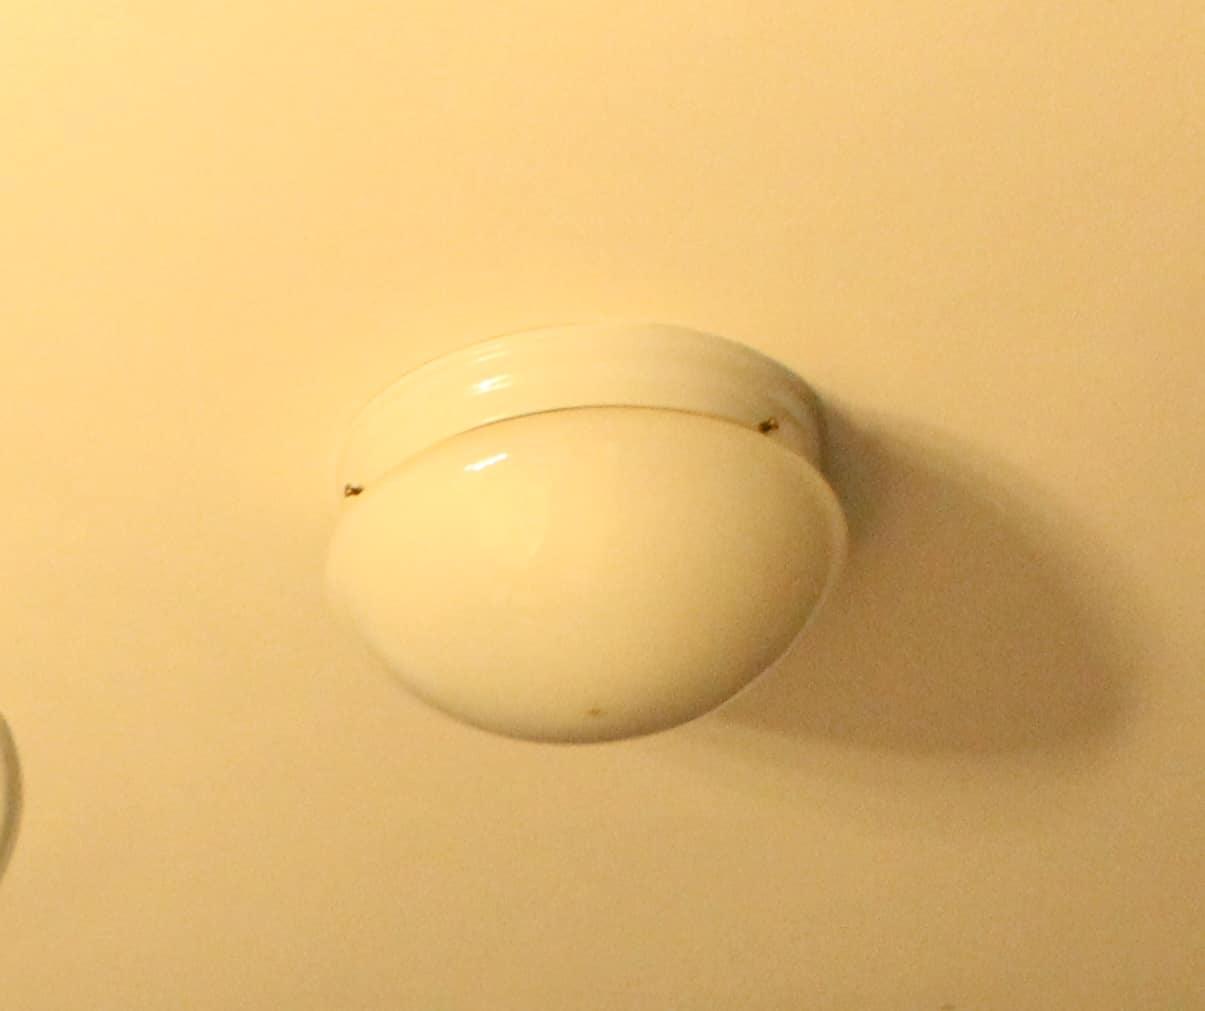
I hate boob lights. You know, those generic, round lights that builders put on every light fixture?
Yeah, I’m on a mission to replace all of them in my apartment. We already replaced the fixture in my walk-thru closet with a rope chandelier and the guest bathroom light with a hanging pendant. I am crushing these DIY projects!
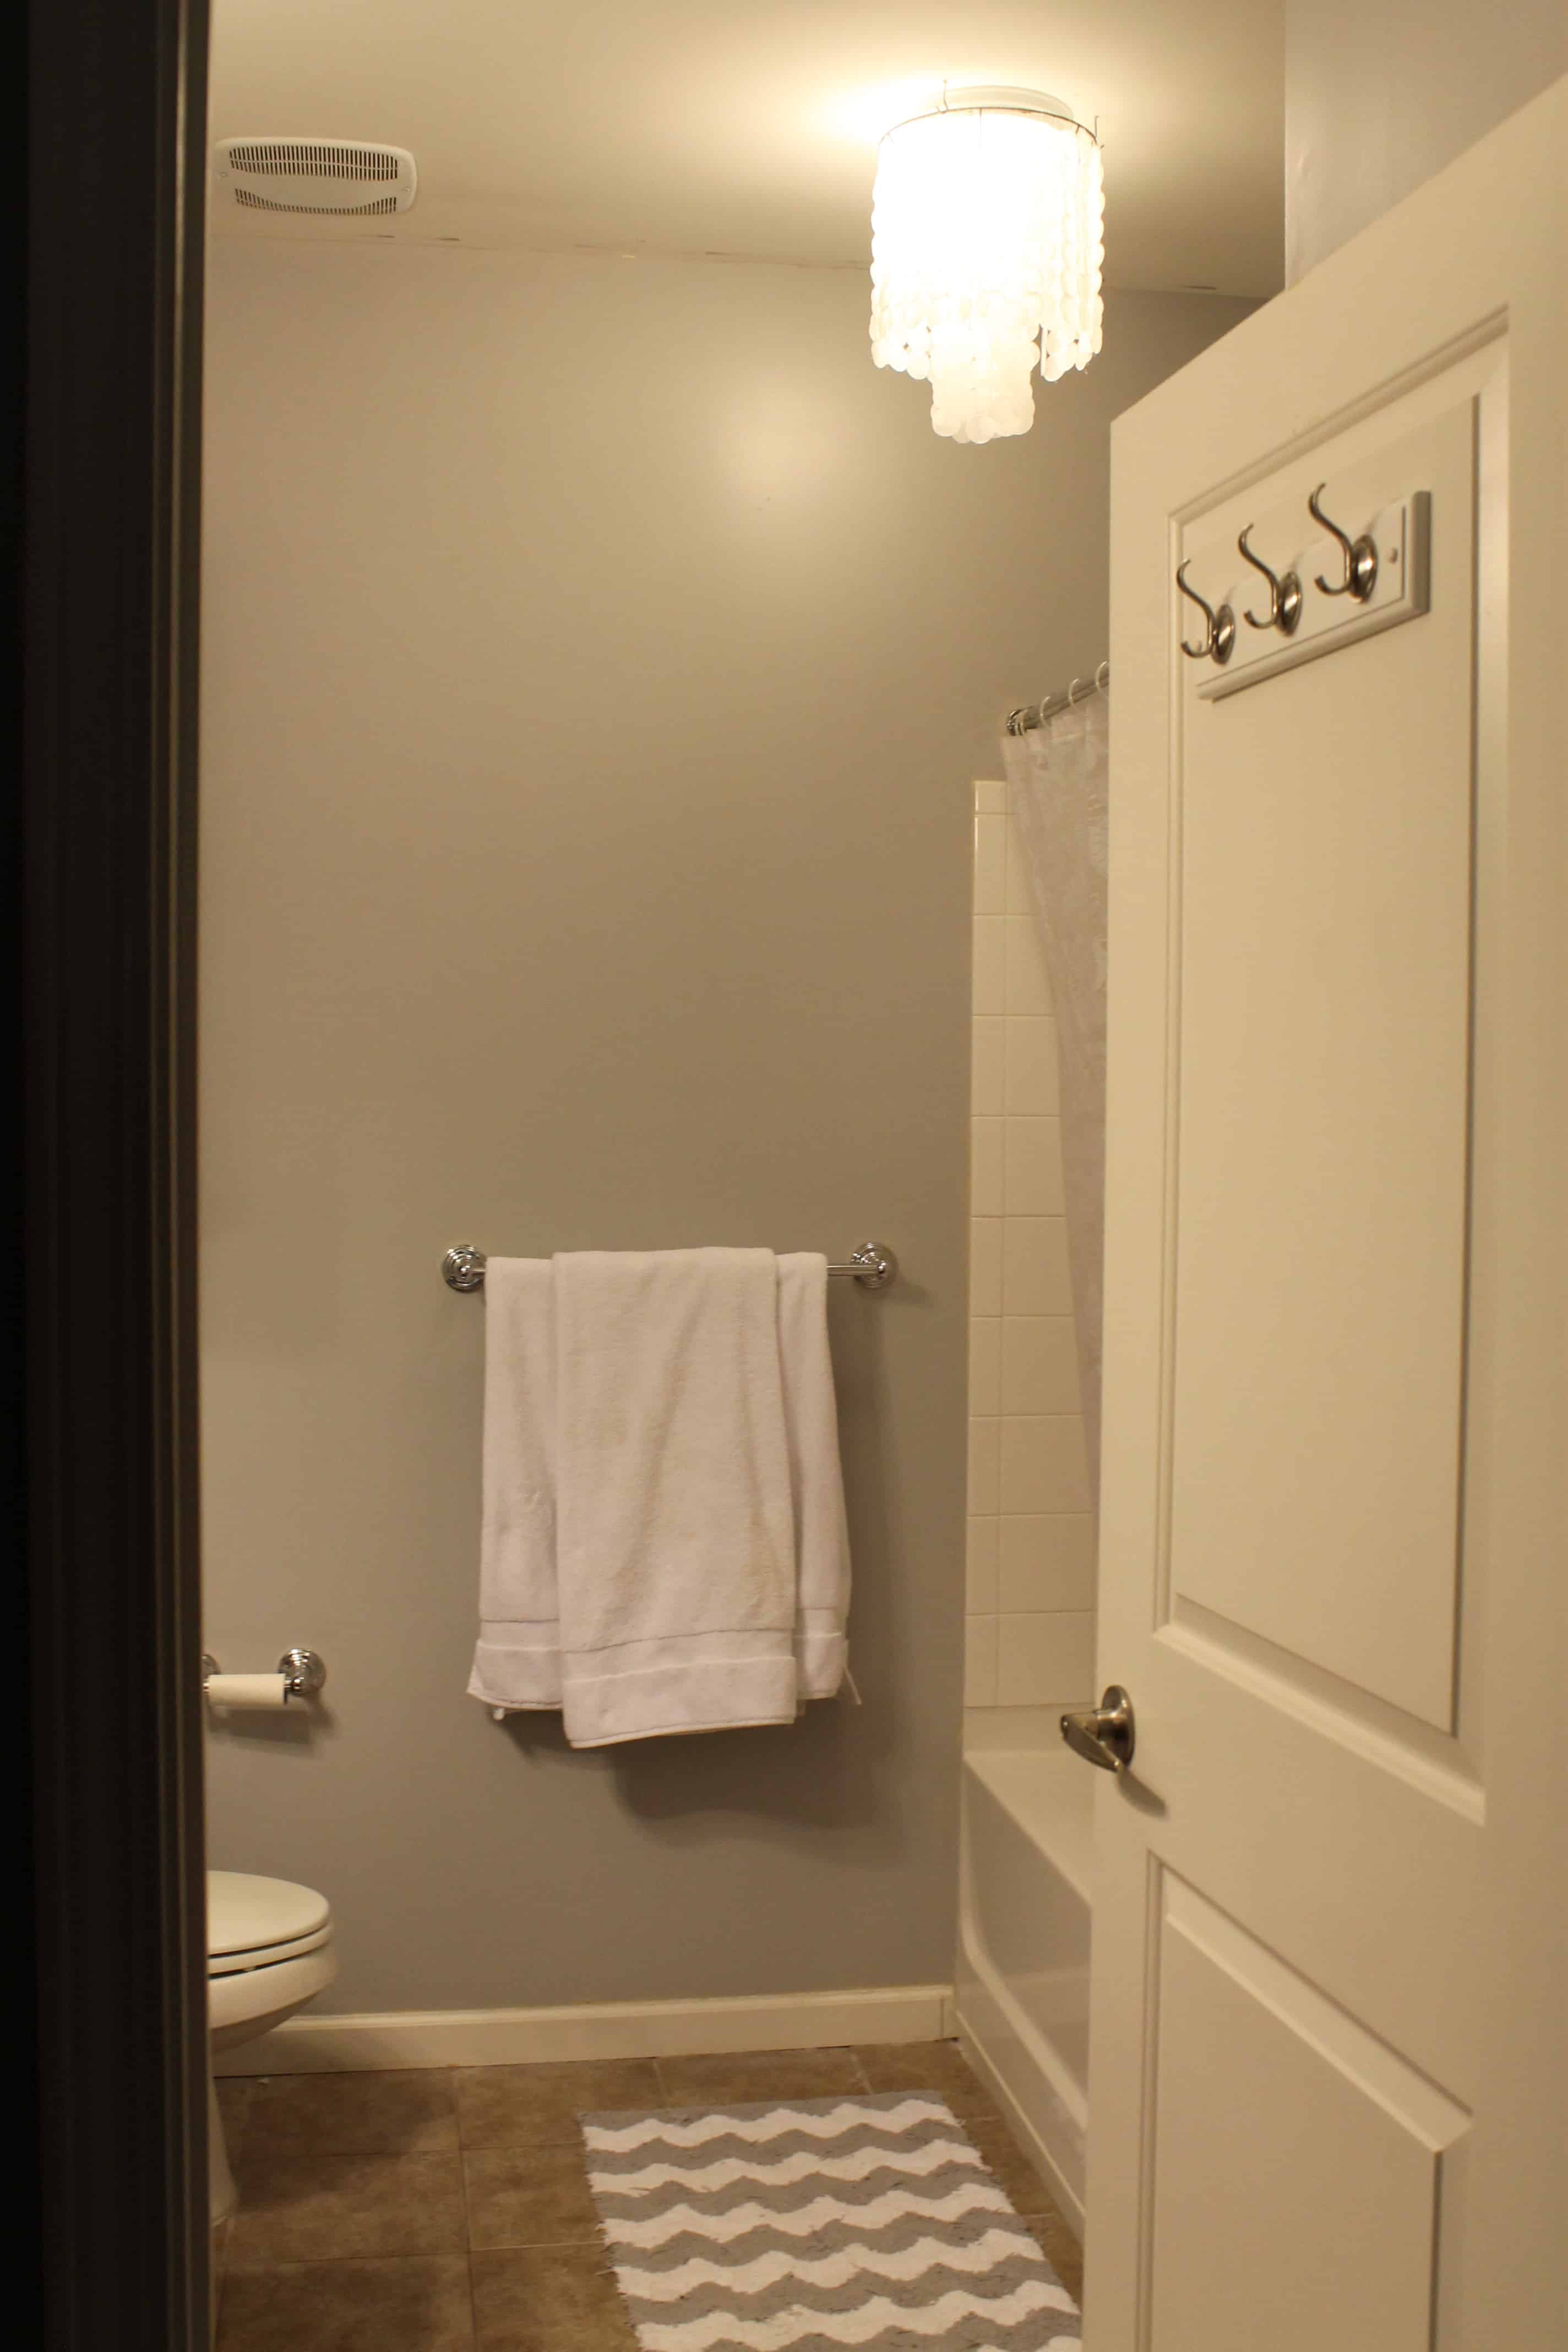
Next up was the boob light over the master tub. We’re in the midst of doing a mini-makeover in there (so far we’ve added a driftwood candle holder and custom art above the commode & have much more in store!) so there was no time like the present to update the light.
I’m trying to keep a sort of beachy vibe in there. After a little googling, I quickly fell in love with capiz shell chandeliers, like this one from West Elm. There are similar versions at Pottery Barn and World Market.
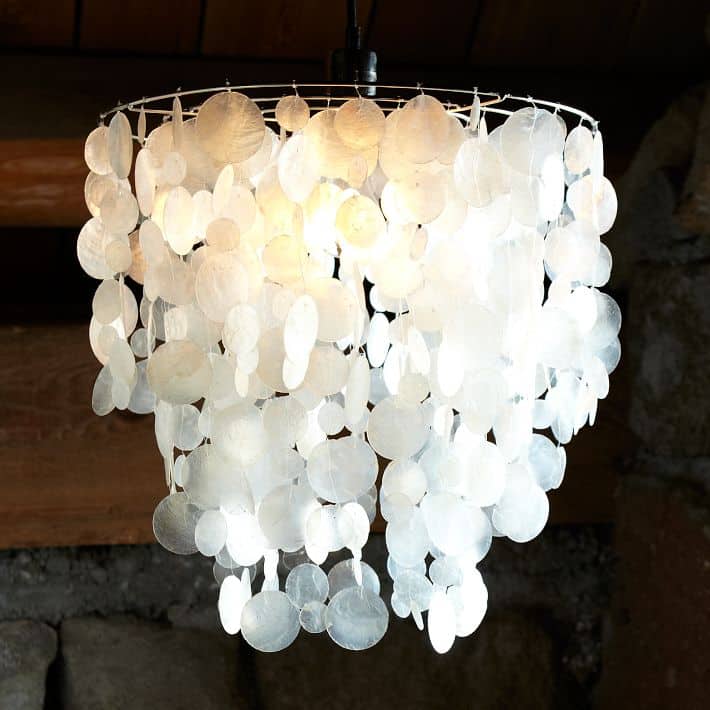
However, we are trying to do this update as close to no-cost as possible. And west Elm wanted $149 for theirs.
So, I did the same thing y’all (should) do when I spy something I want but can’t spring for – I googled “Capiz chandelier DIY”. And what do you know, I found lots of tutorials! However, my favorite was from Classy Clutter, and that’s the one I worked off of. I decided not to use real capiz shells and instead try the fake route.
Now, before I get to into the tutorial, you ought to know- this project sucked. Basically everything that could have gone wrong did. And yeah, I did it for cheap. But I put so many hours into it. That being said, many of those hours were due to user-error, so hopefully I can lay out some tips to keep you from having to do so.
Click here to add this project to your Pinterest board!
The Easiest Way to DIY a Faux Capiz Shell Chandelier
Here’s what I used to make a DIY Capiz Shell Chandelier:
- 1 1/2 boxes of wax paper
- 2 large sheets of parchment paper (about 18 inches long each)
- Iron, ironing board
- Circle hole punch
- Needle, white thread
- Lamp shade
- Spray paint (I used matte grey, you could also use white)
- Hooks to hang it with
Here’s what I did to make a DIY Capiz Shell Chandelier:
First, you need to make the faux shells. Set up your ironing board and heat up the iron to low heat. You are going to make a wax paper sandwich. Lay down a sheet on parchment paper (that’s your bread), then 3 sheets of wax paper, then the second sheet of parchment paper.

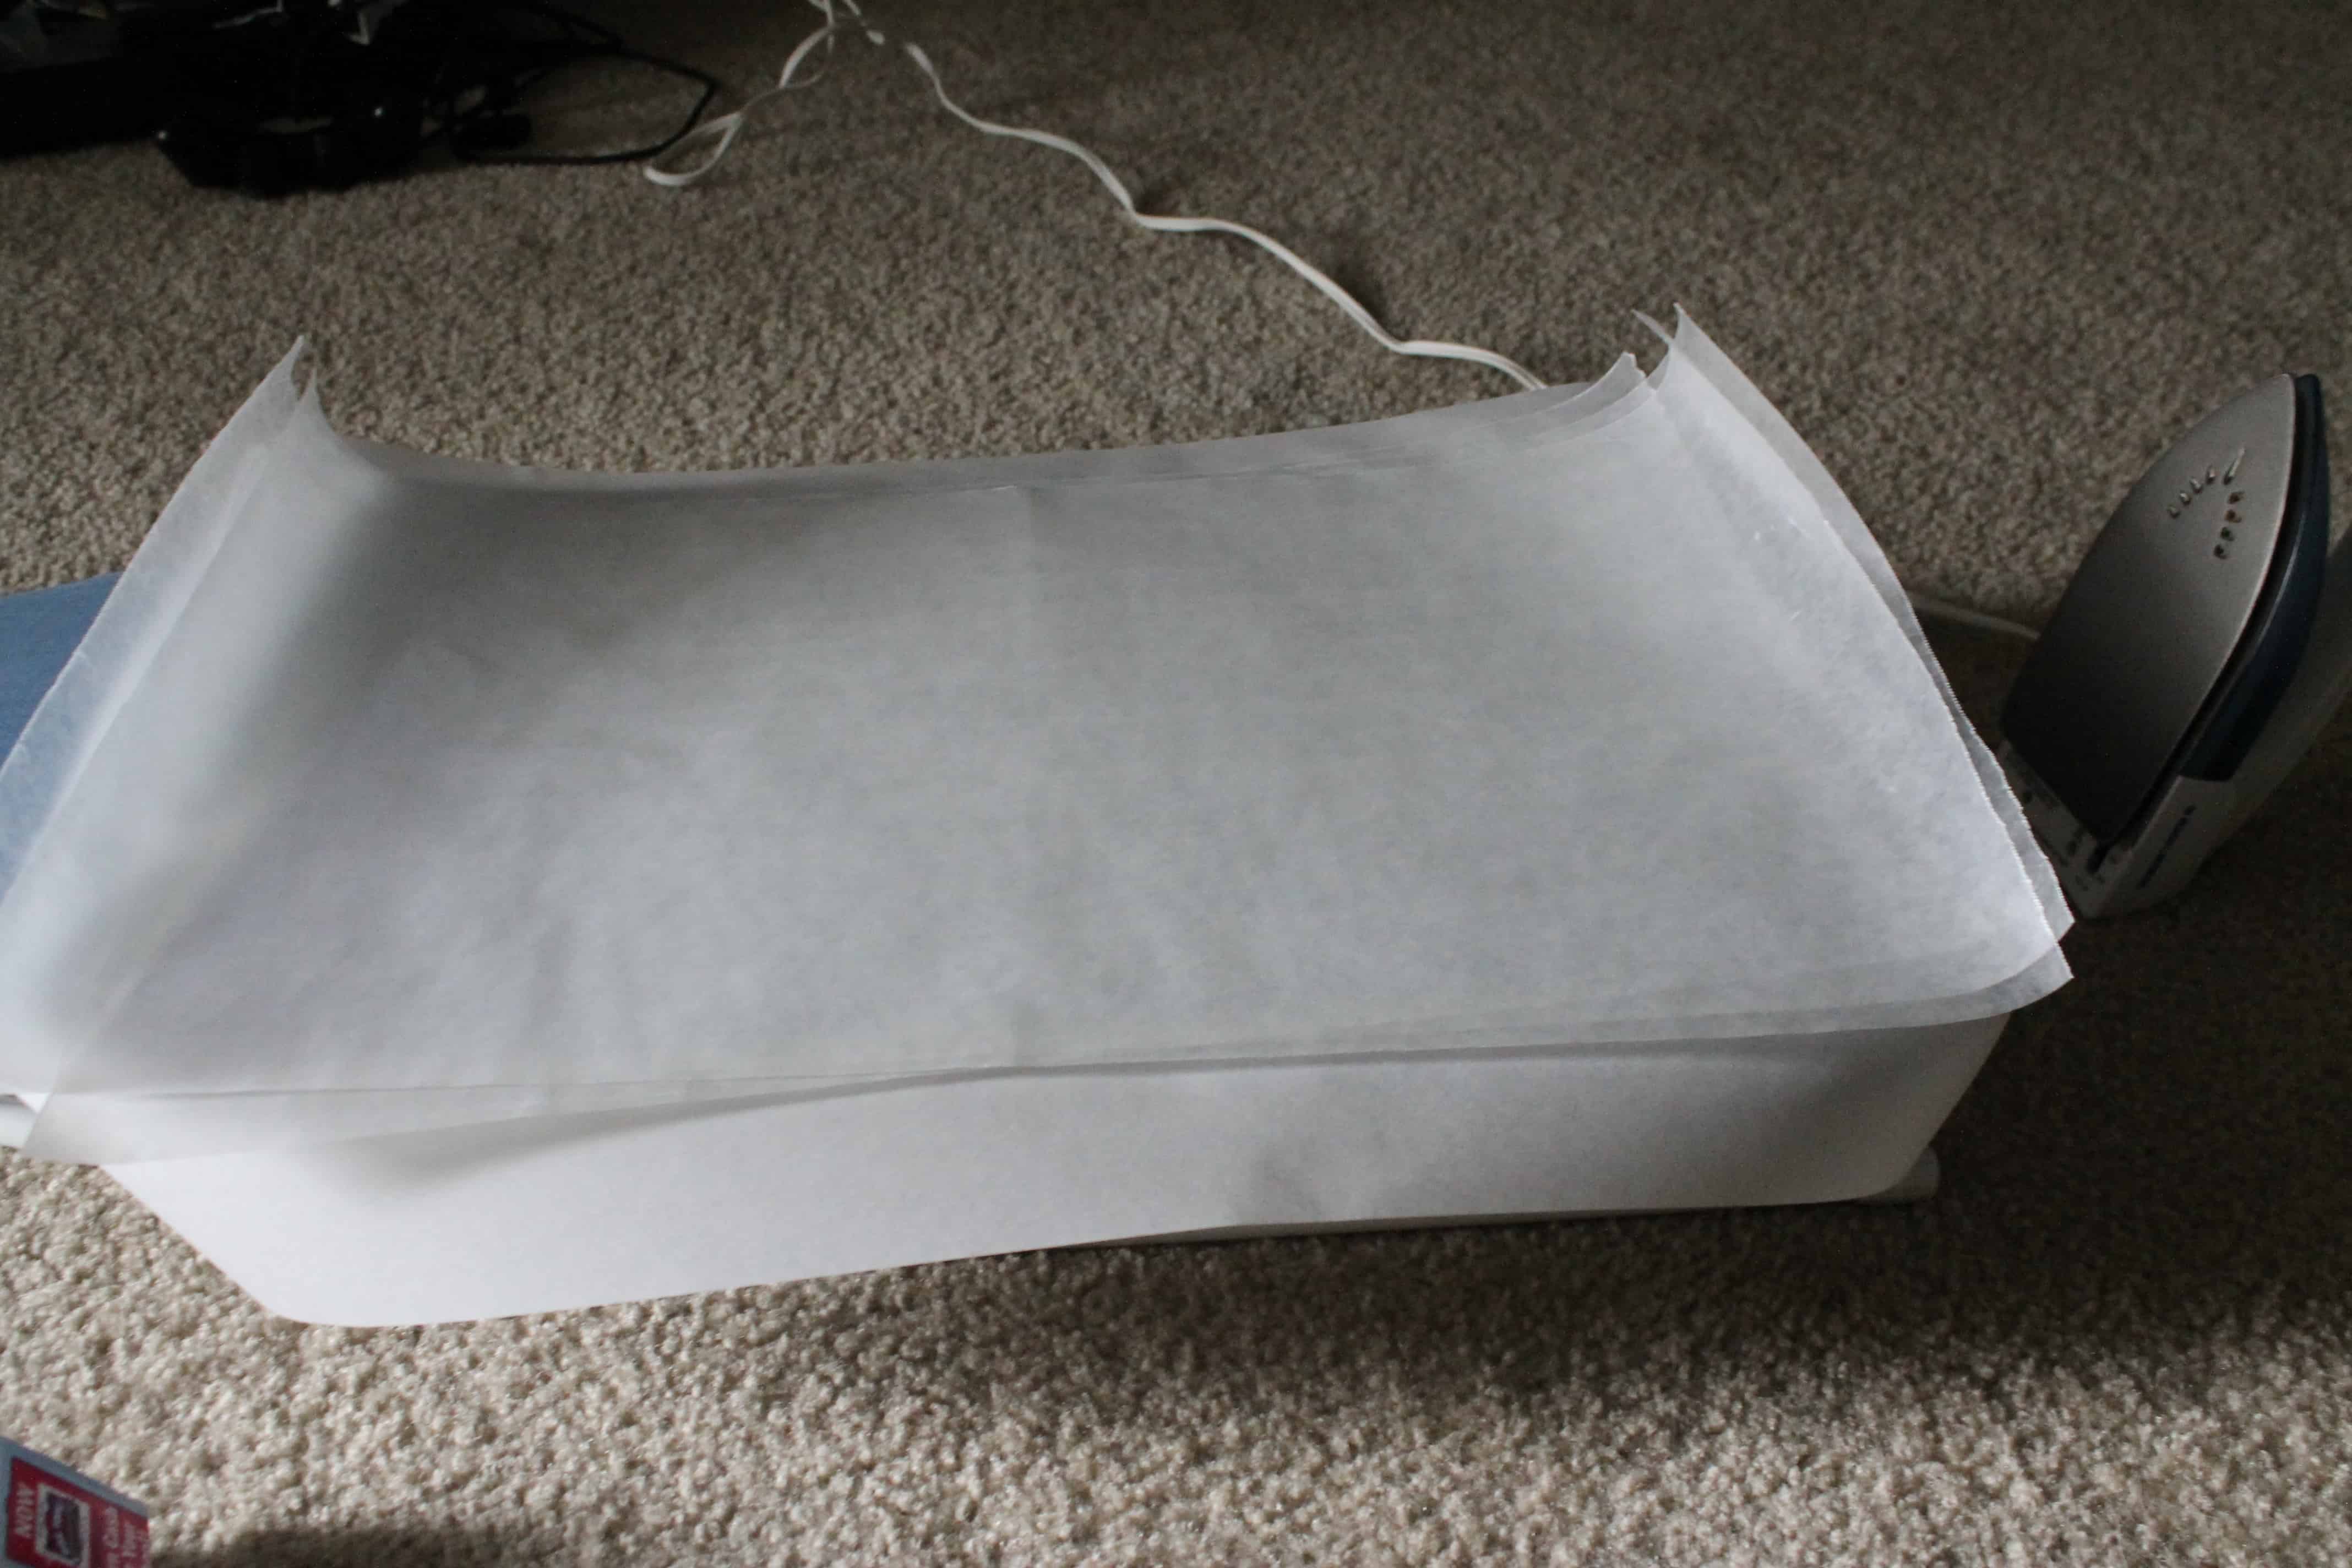
Try to line up the wax paper edges a much as possible, but don’t be too obsessive with it. You’re gonna be making a lot of these. Now, iron the whole thing. You only need to run the iron over the paper for a couple of seconds.
What you are doing here is melting the wax paper sheets together. The parchment paper will not stick and protects your iron and board from melty wax. It’s also kind of important to think about how you are moving the iron. If you push from the outside of the paper towards the center, you will get little air bubbles.
Not the end of the world, and hey maybe you’ll love the look, but worth noting.

Repeat this over & over. I ended up using a box and a half of wax paper, but did probably ten “sandwiches” at a time. You re-use the same parchment paper “bread” each time since the wax paper doesn’t stick to it.
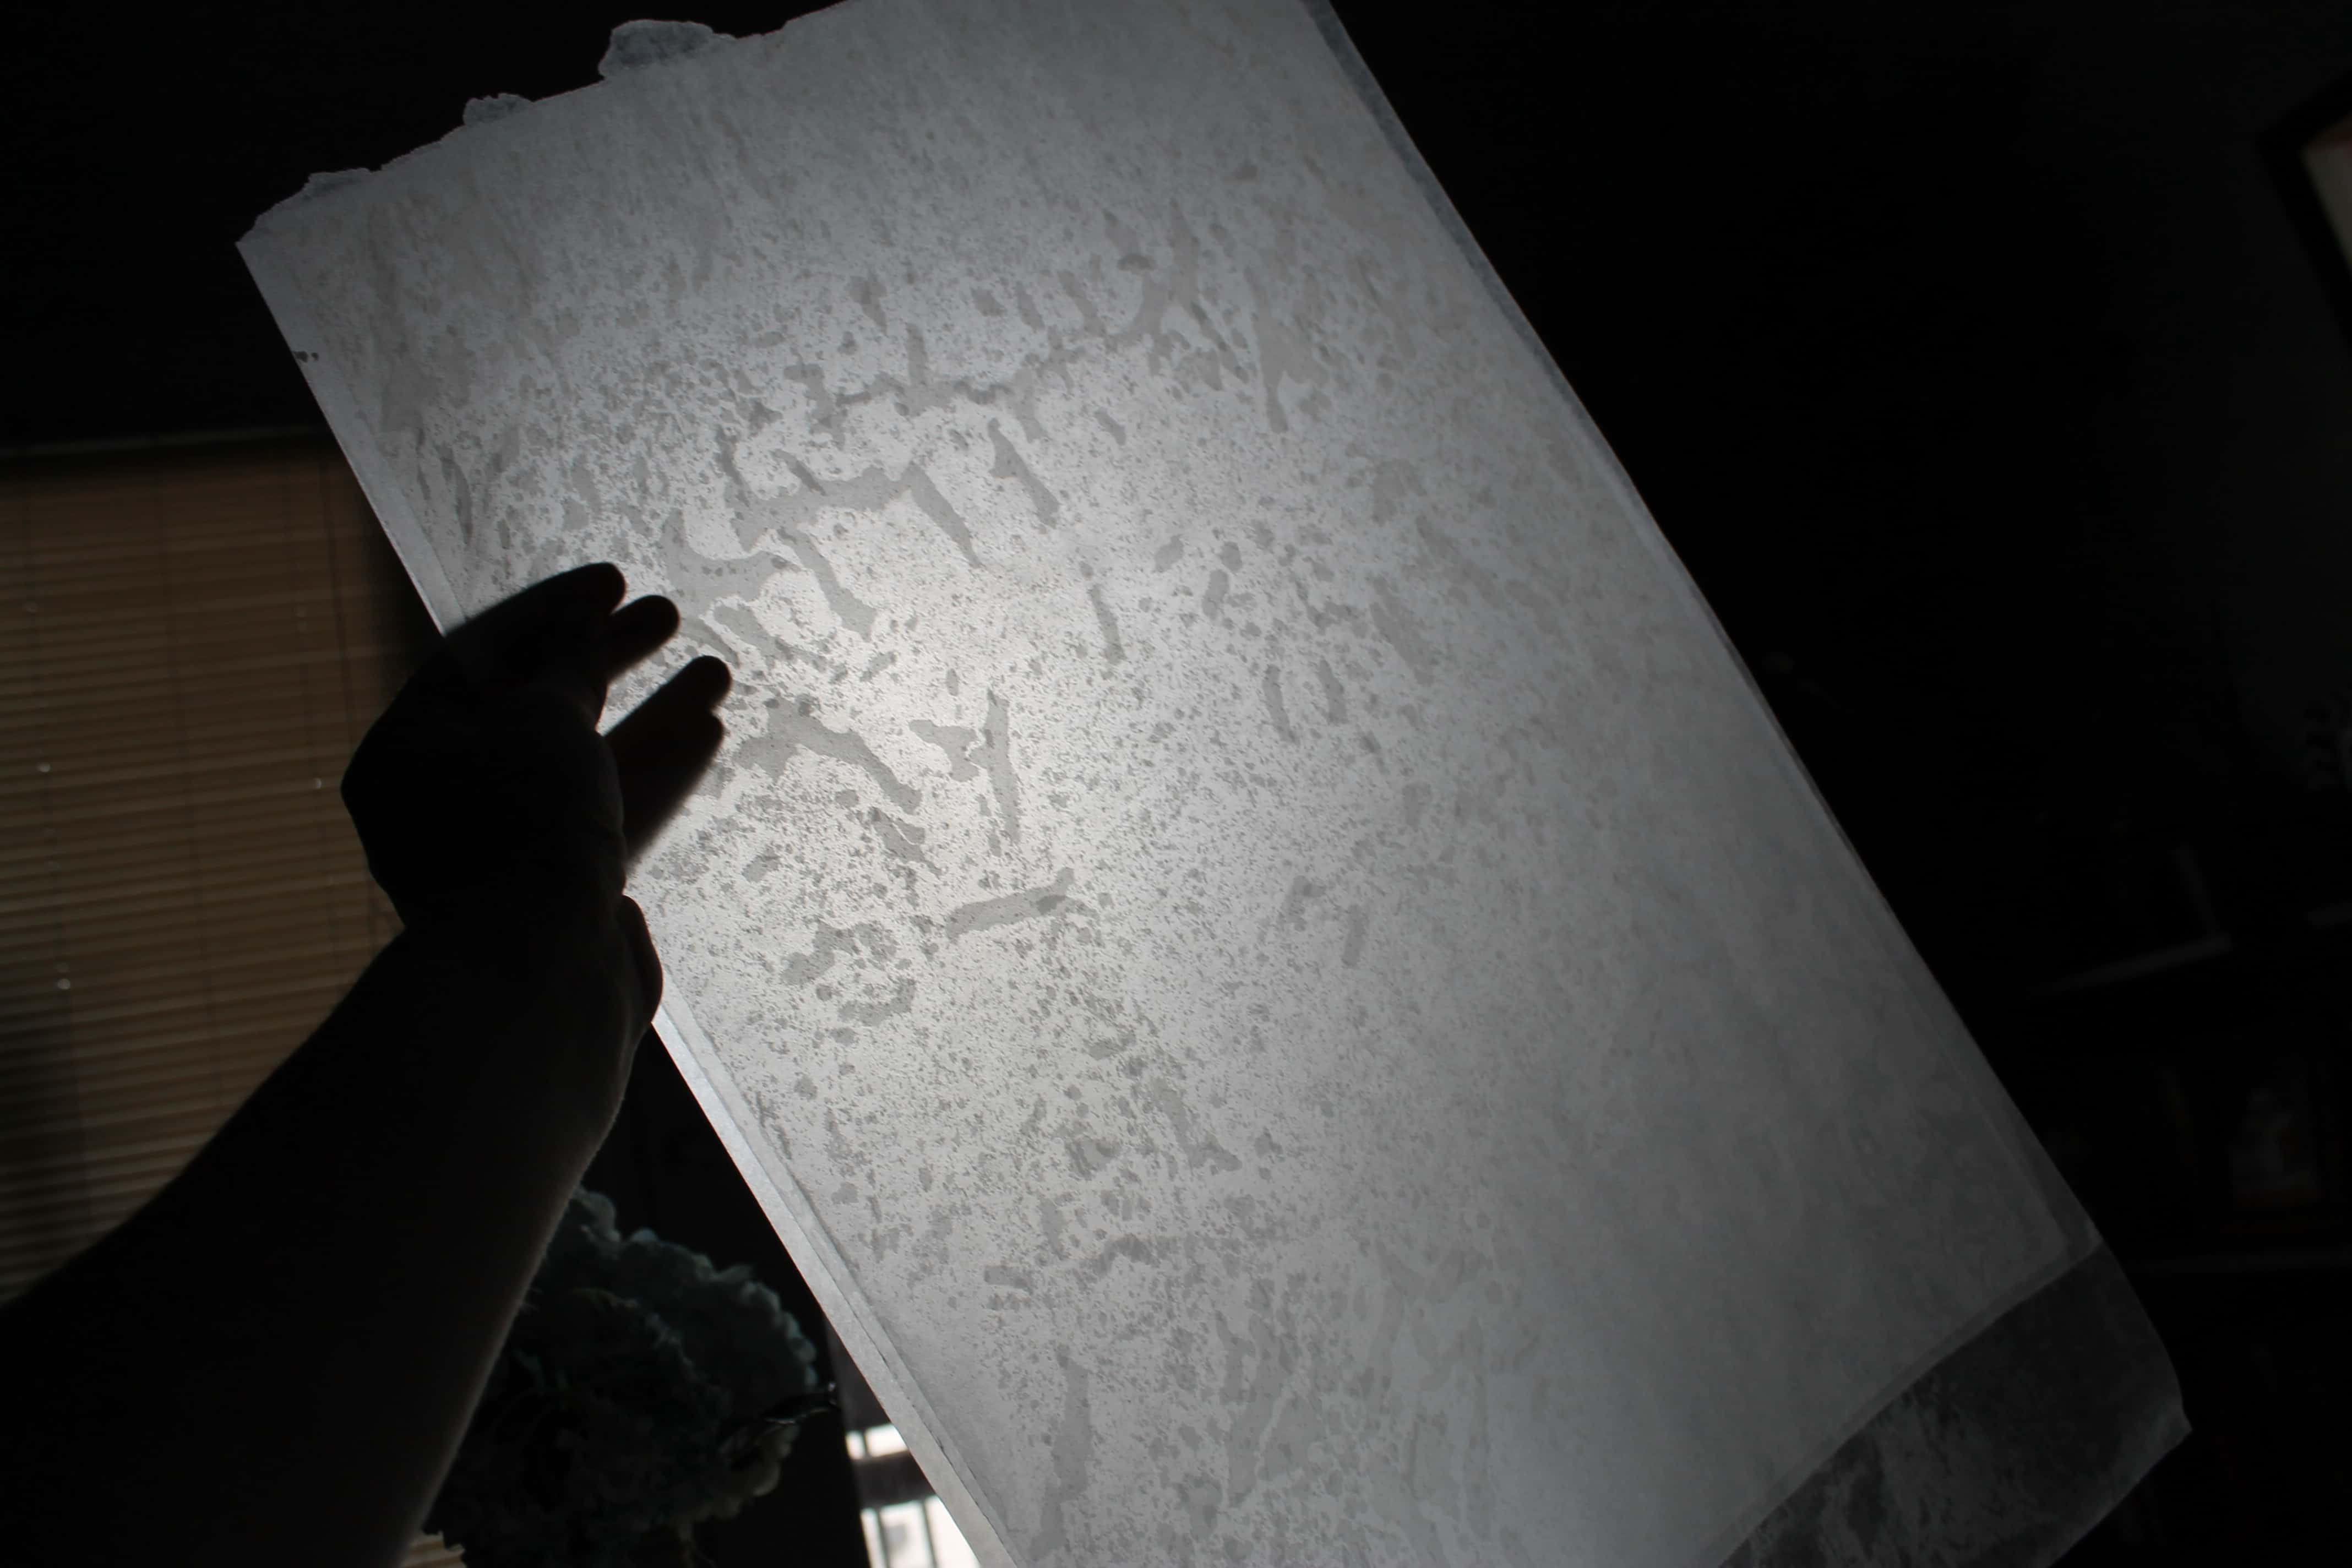
Next, cut the wax paper. Cut off any scrappy edges or pieces where your 3 sheets didn’t overlap right. Then, cut it into strips just slightly wider than your hole punch. Then, cut the strips into squares. It’s this hand cut process that takes forever!
Now is time to punch your squares. This is one place I had extreme frustration. In order to get it to not rip but punch cleanly, I had to do 6 pages (of 3 pieces melted together) at once.
Any more or less and it jammed. My suggestion is that you try different amounts until you get it to work. Also, I first tried this easy-punch hole punch, and it didn’t work.
I had to go get this punch where you push down to get it to work. I used a 1 1/2 inch circle punch.
How to create the chandelier frame
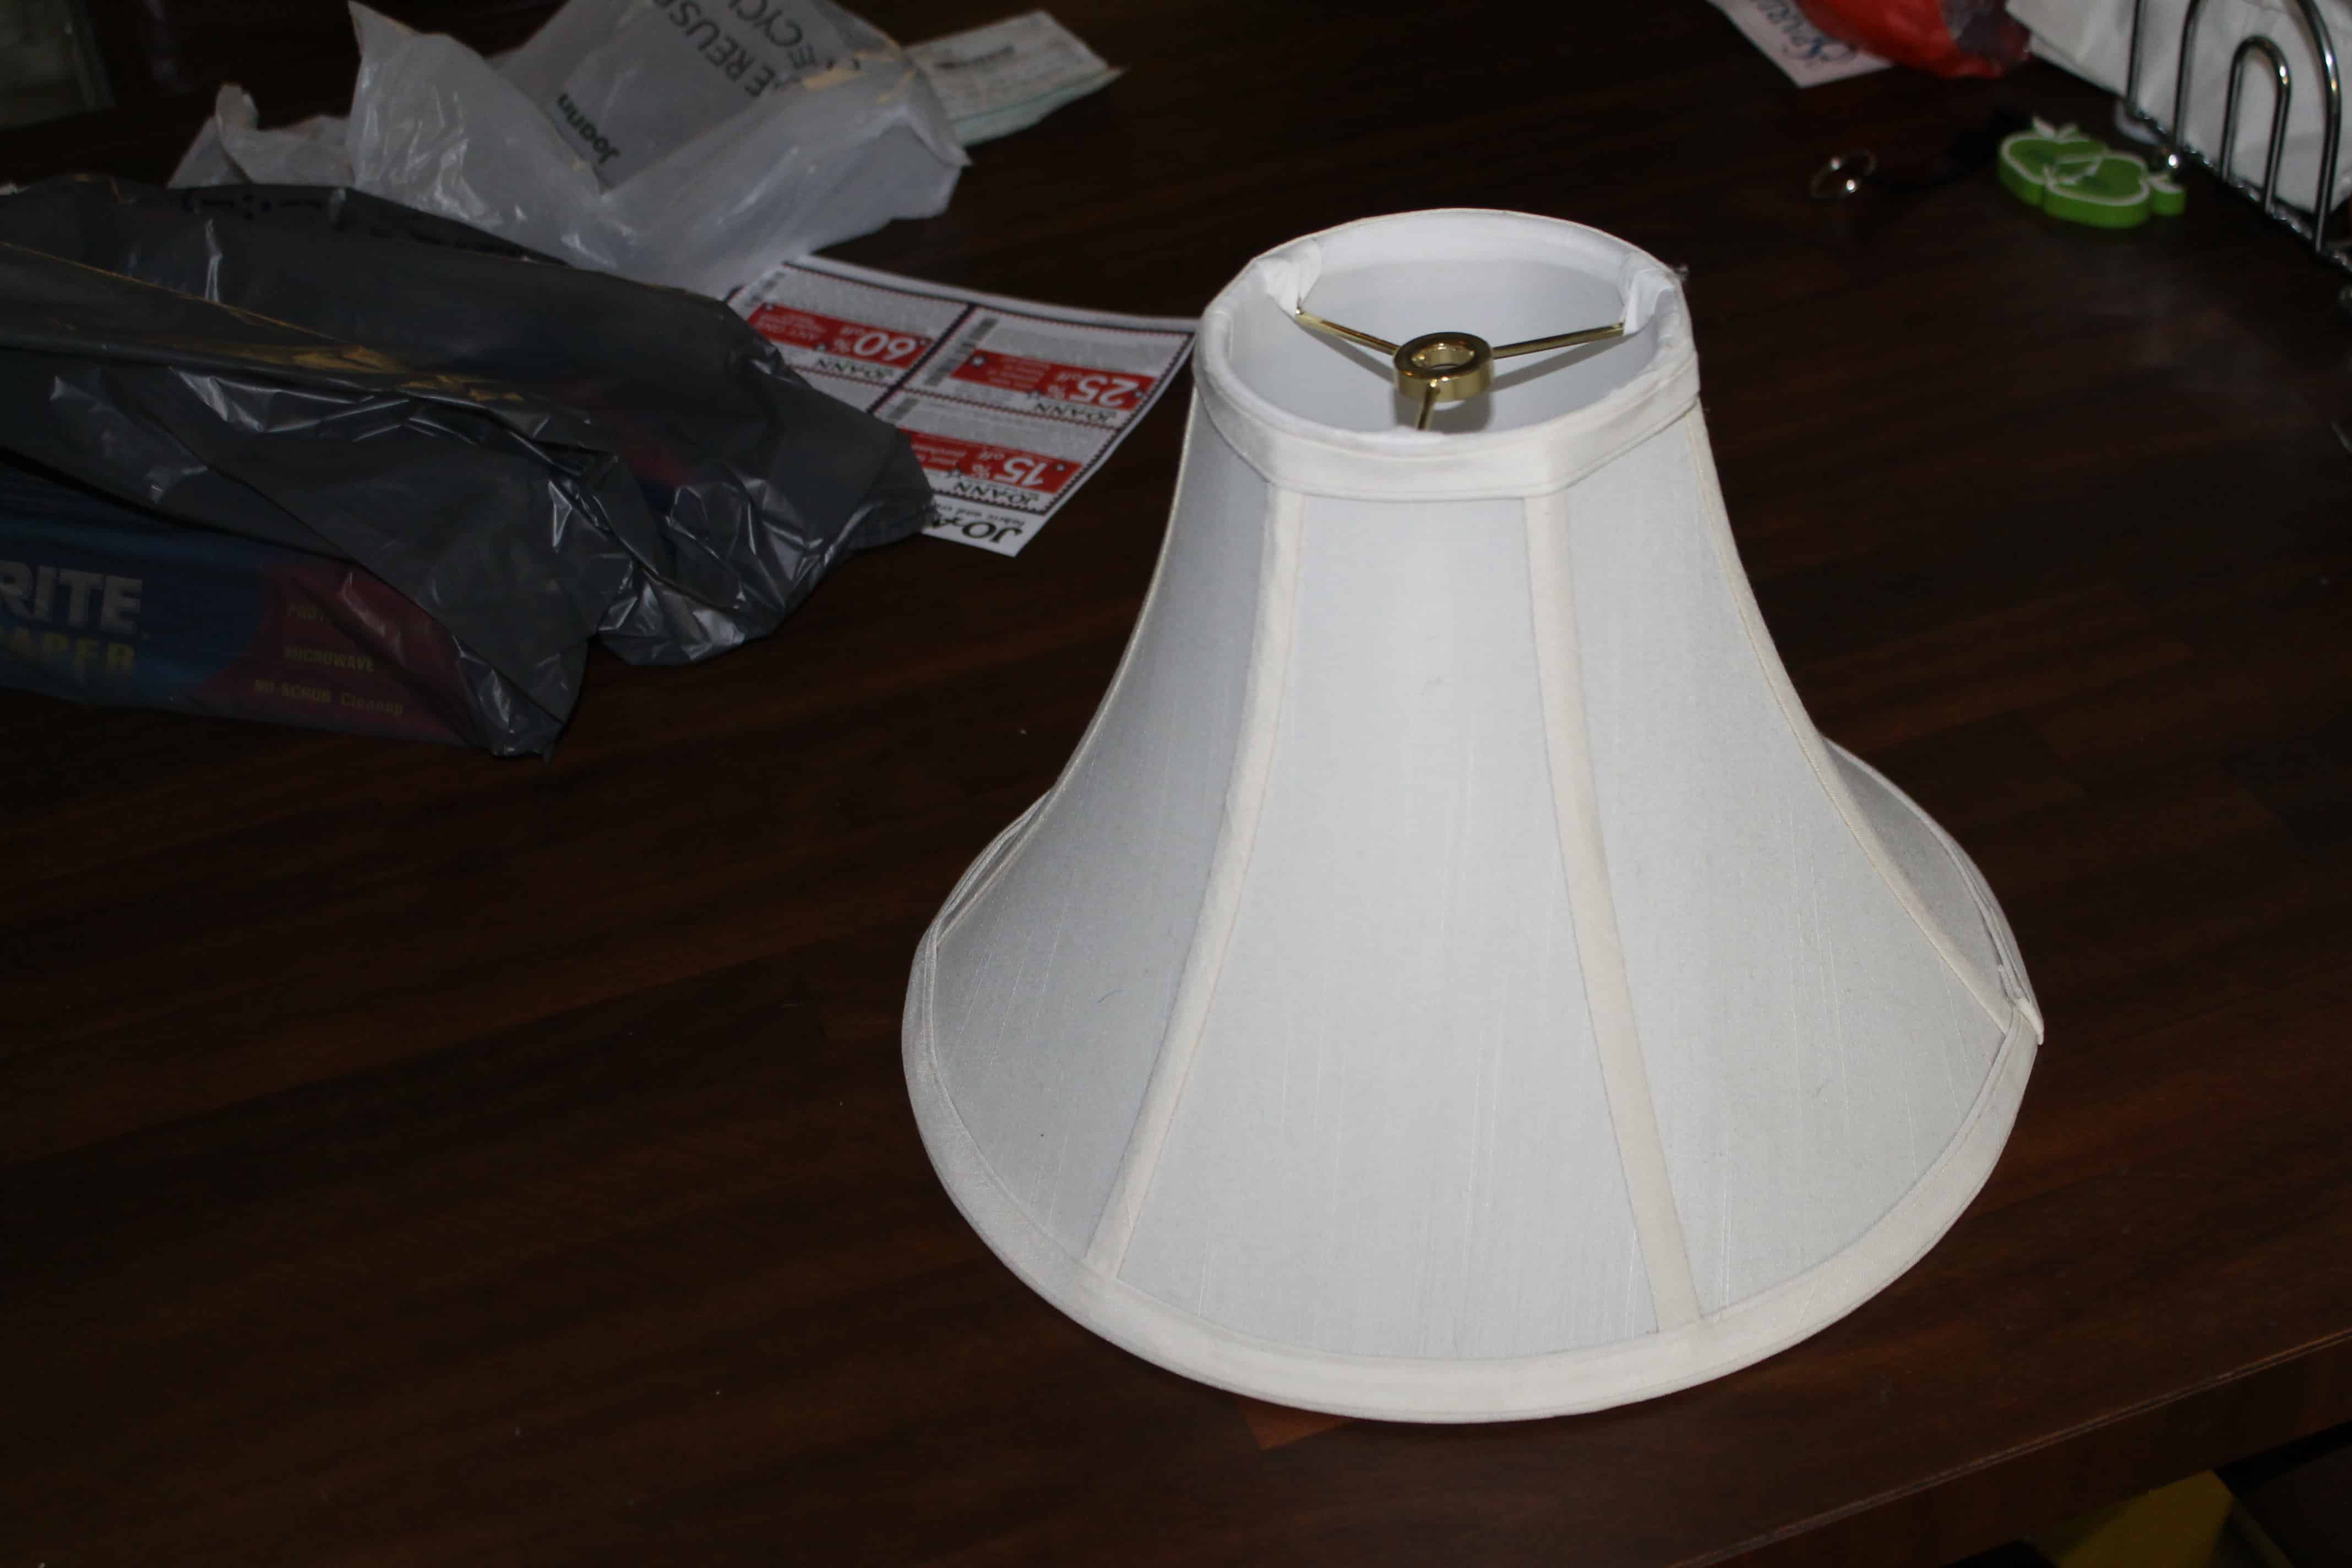
Next, you will want to prepare the frame. I got a lampshade at goodwill. Just make sure that the large round side is larger than your current light. For example, my boob light measured 9″ across, so I got a shade that was about 10″ across the bottom.
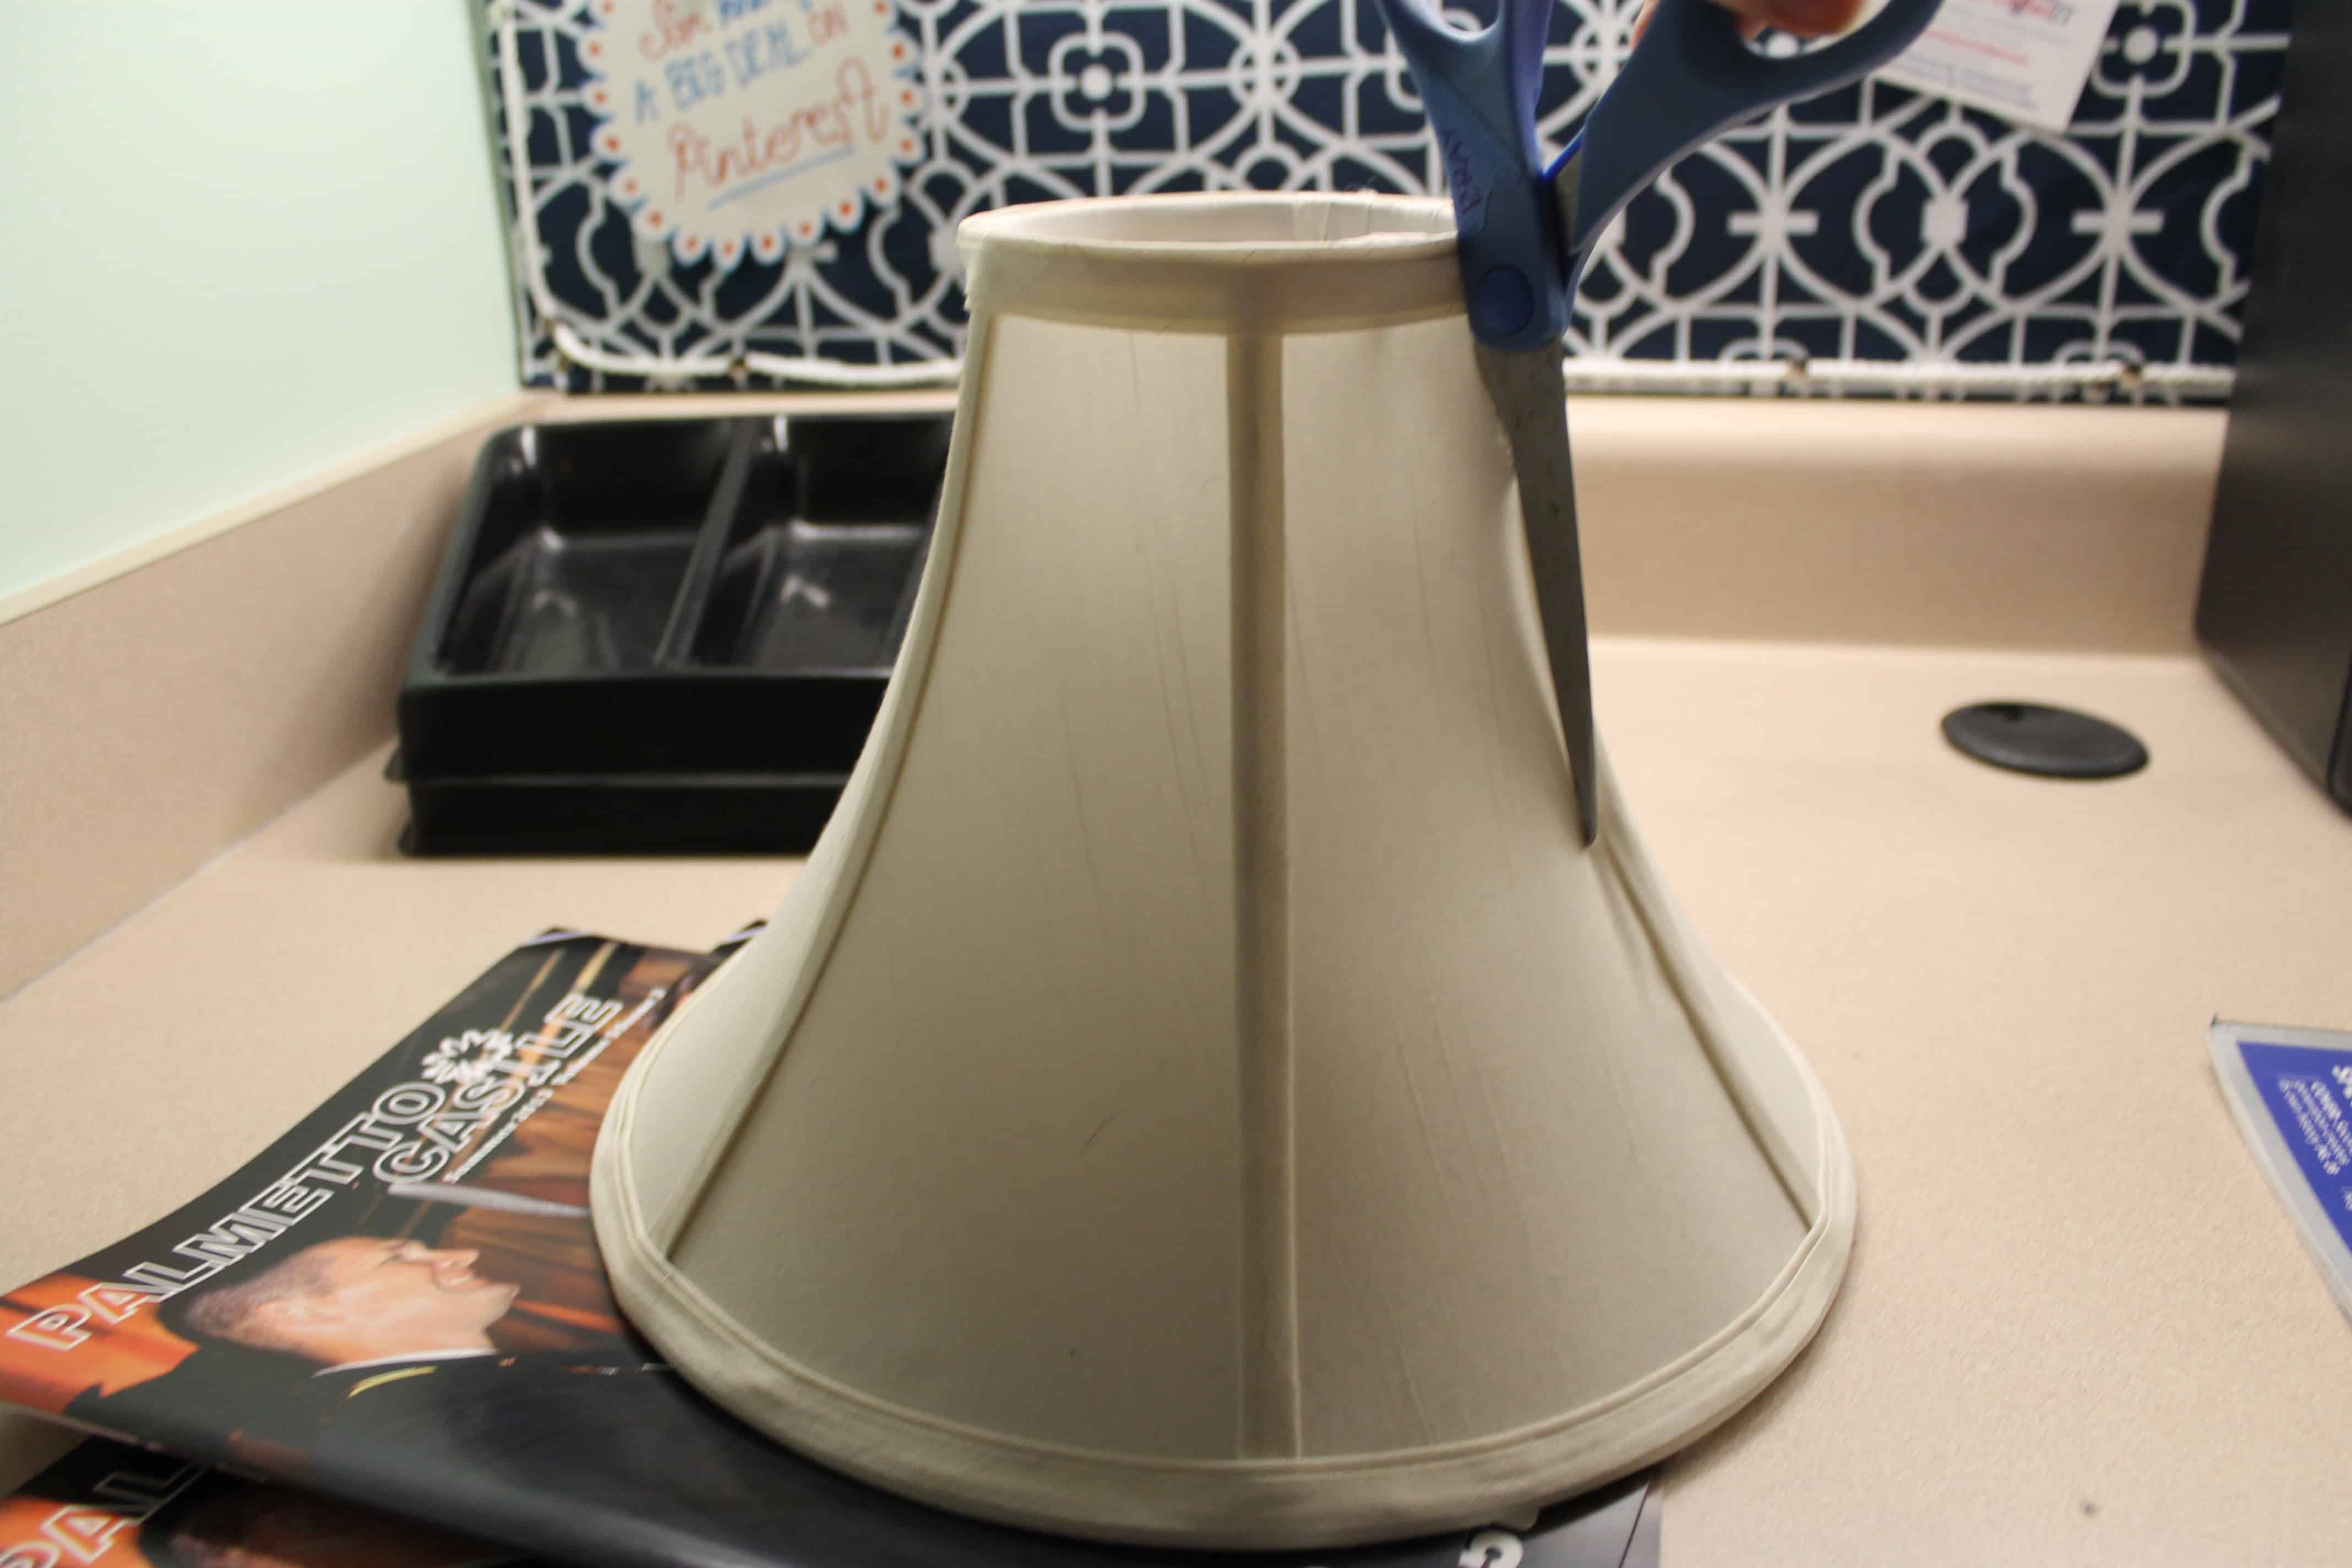
Use a pair of scissors to remove the fabric from the shade.
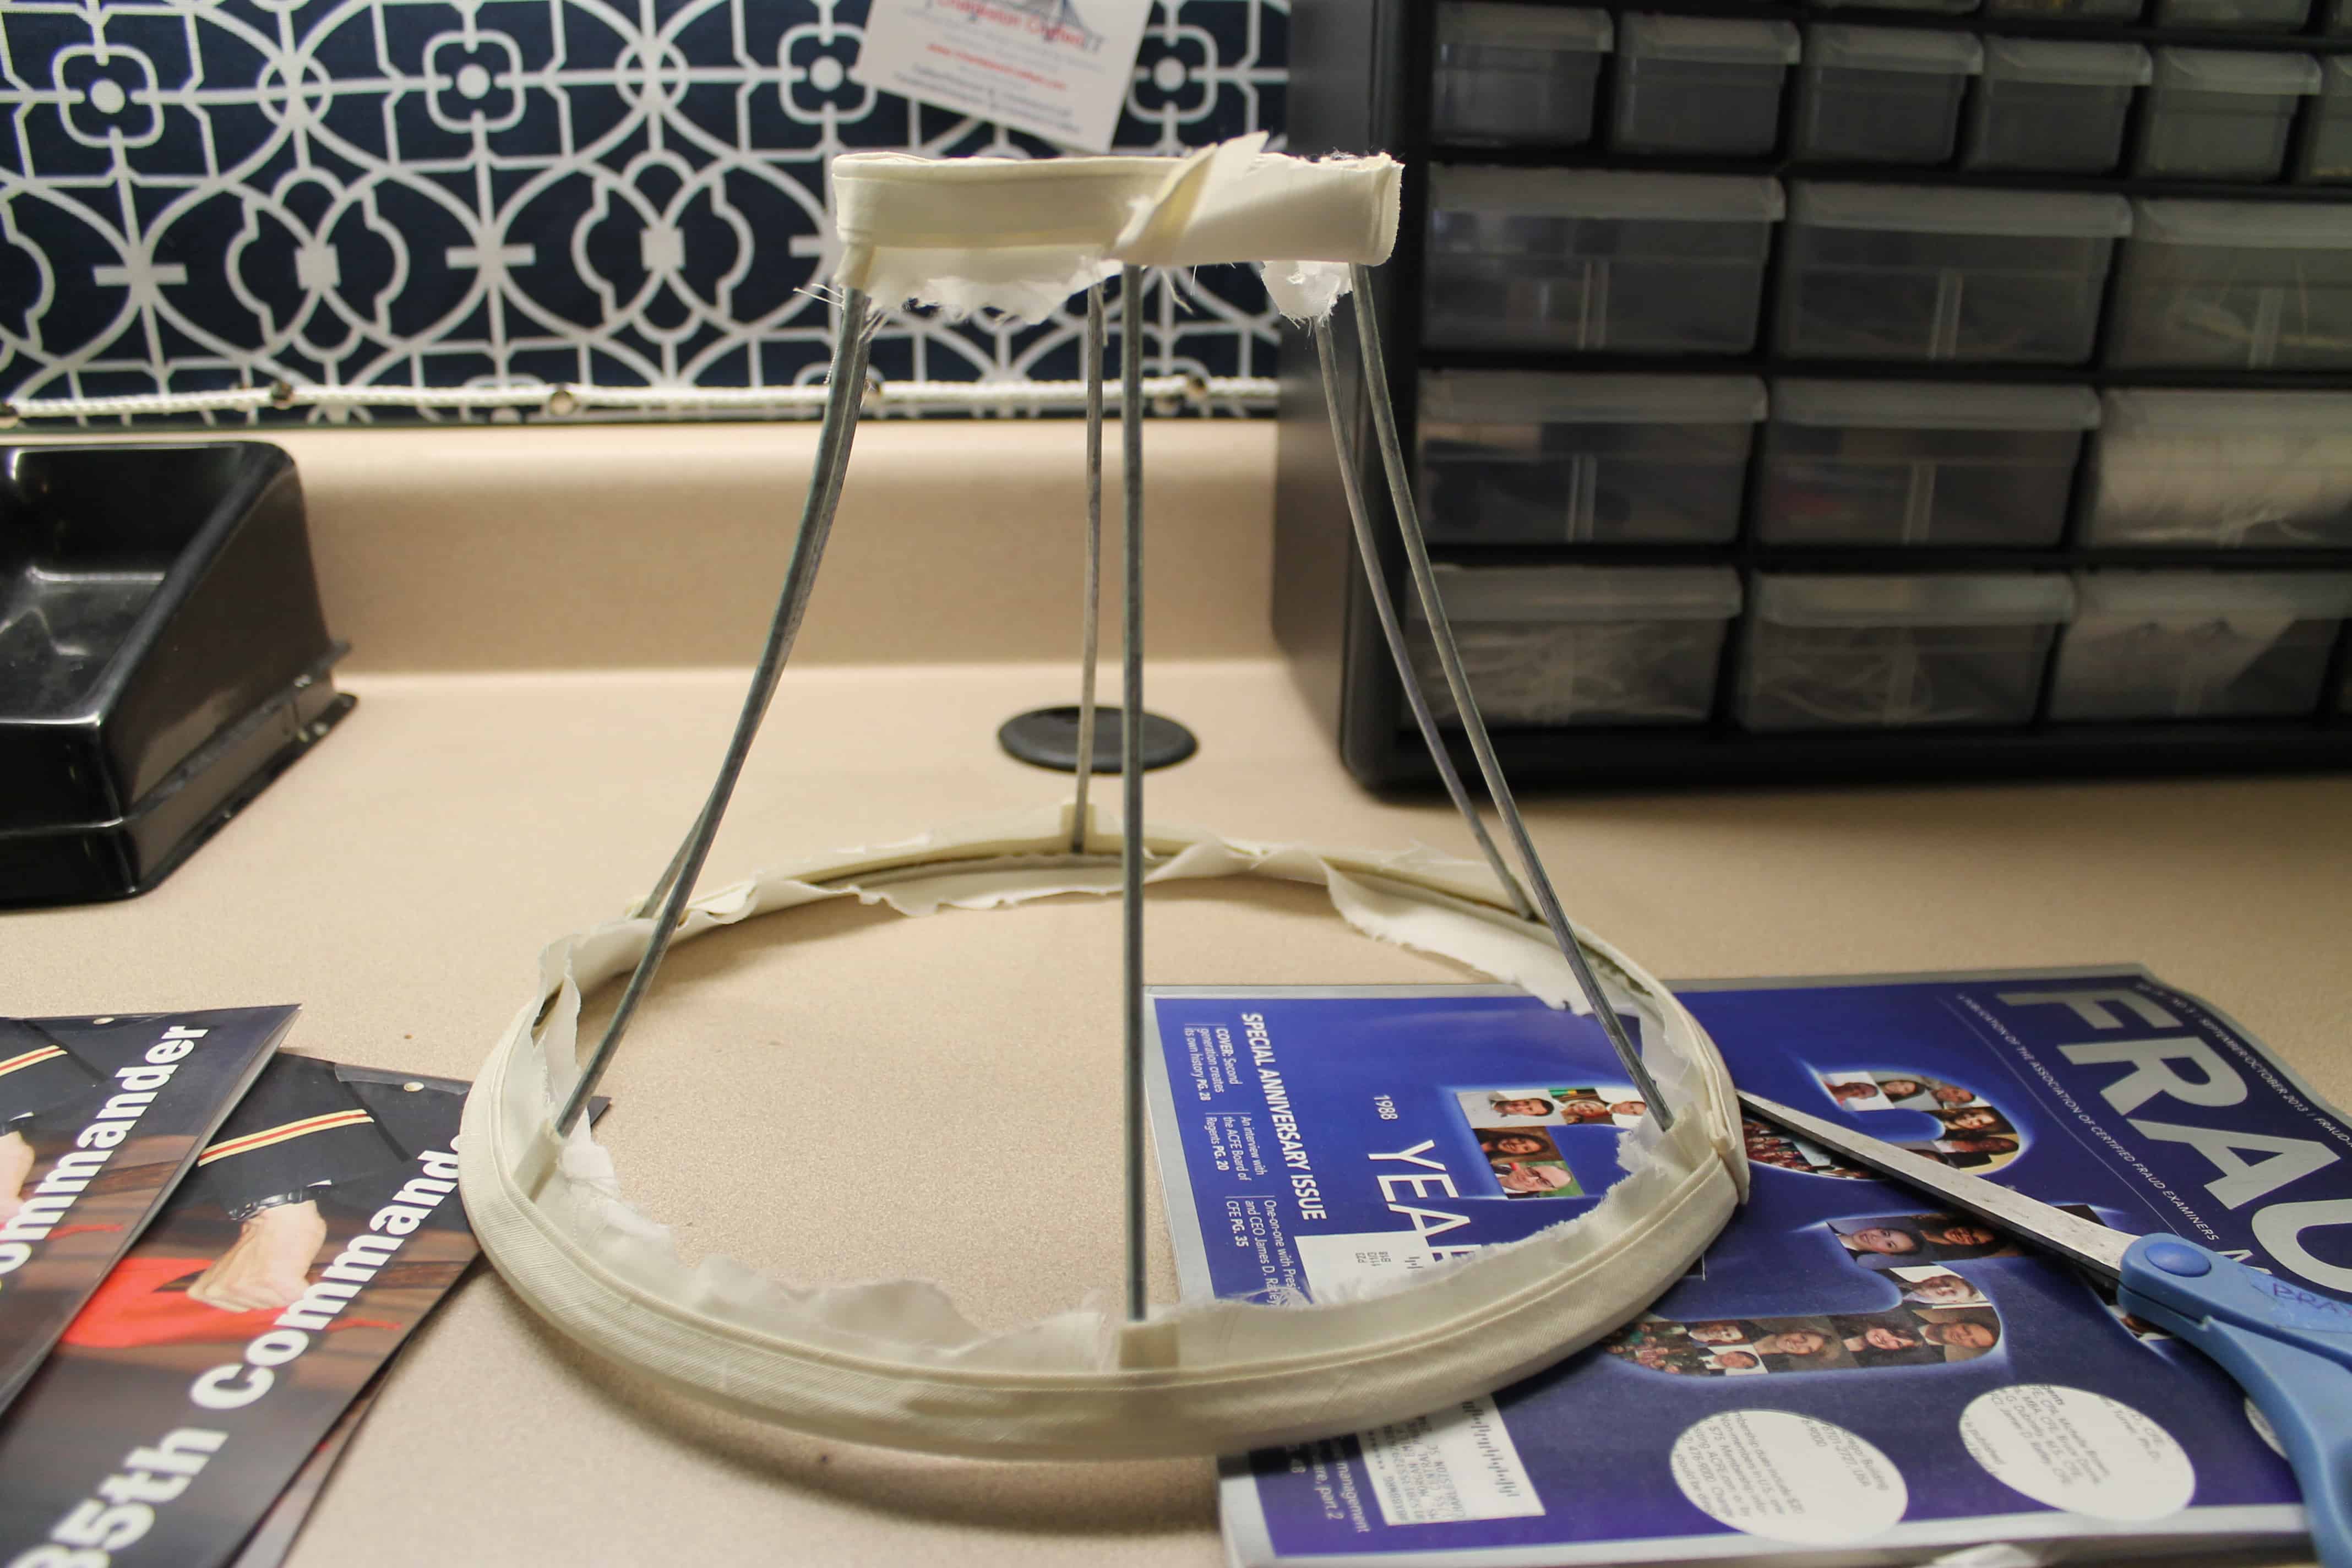
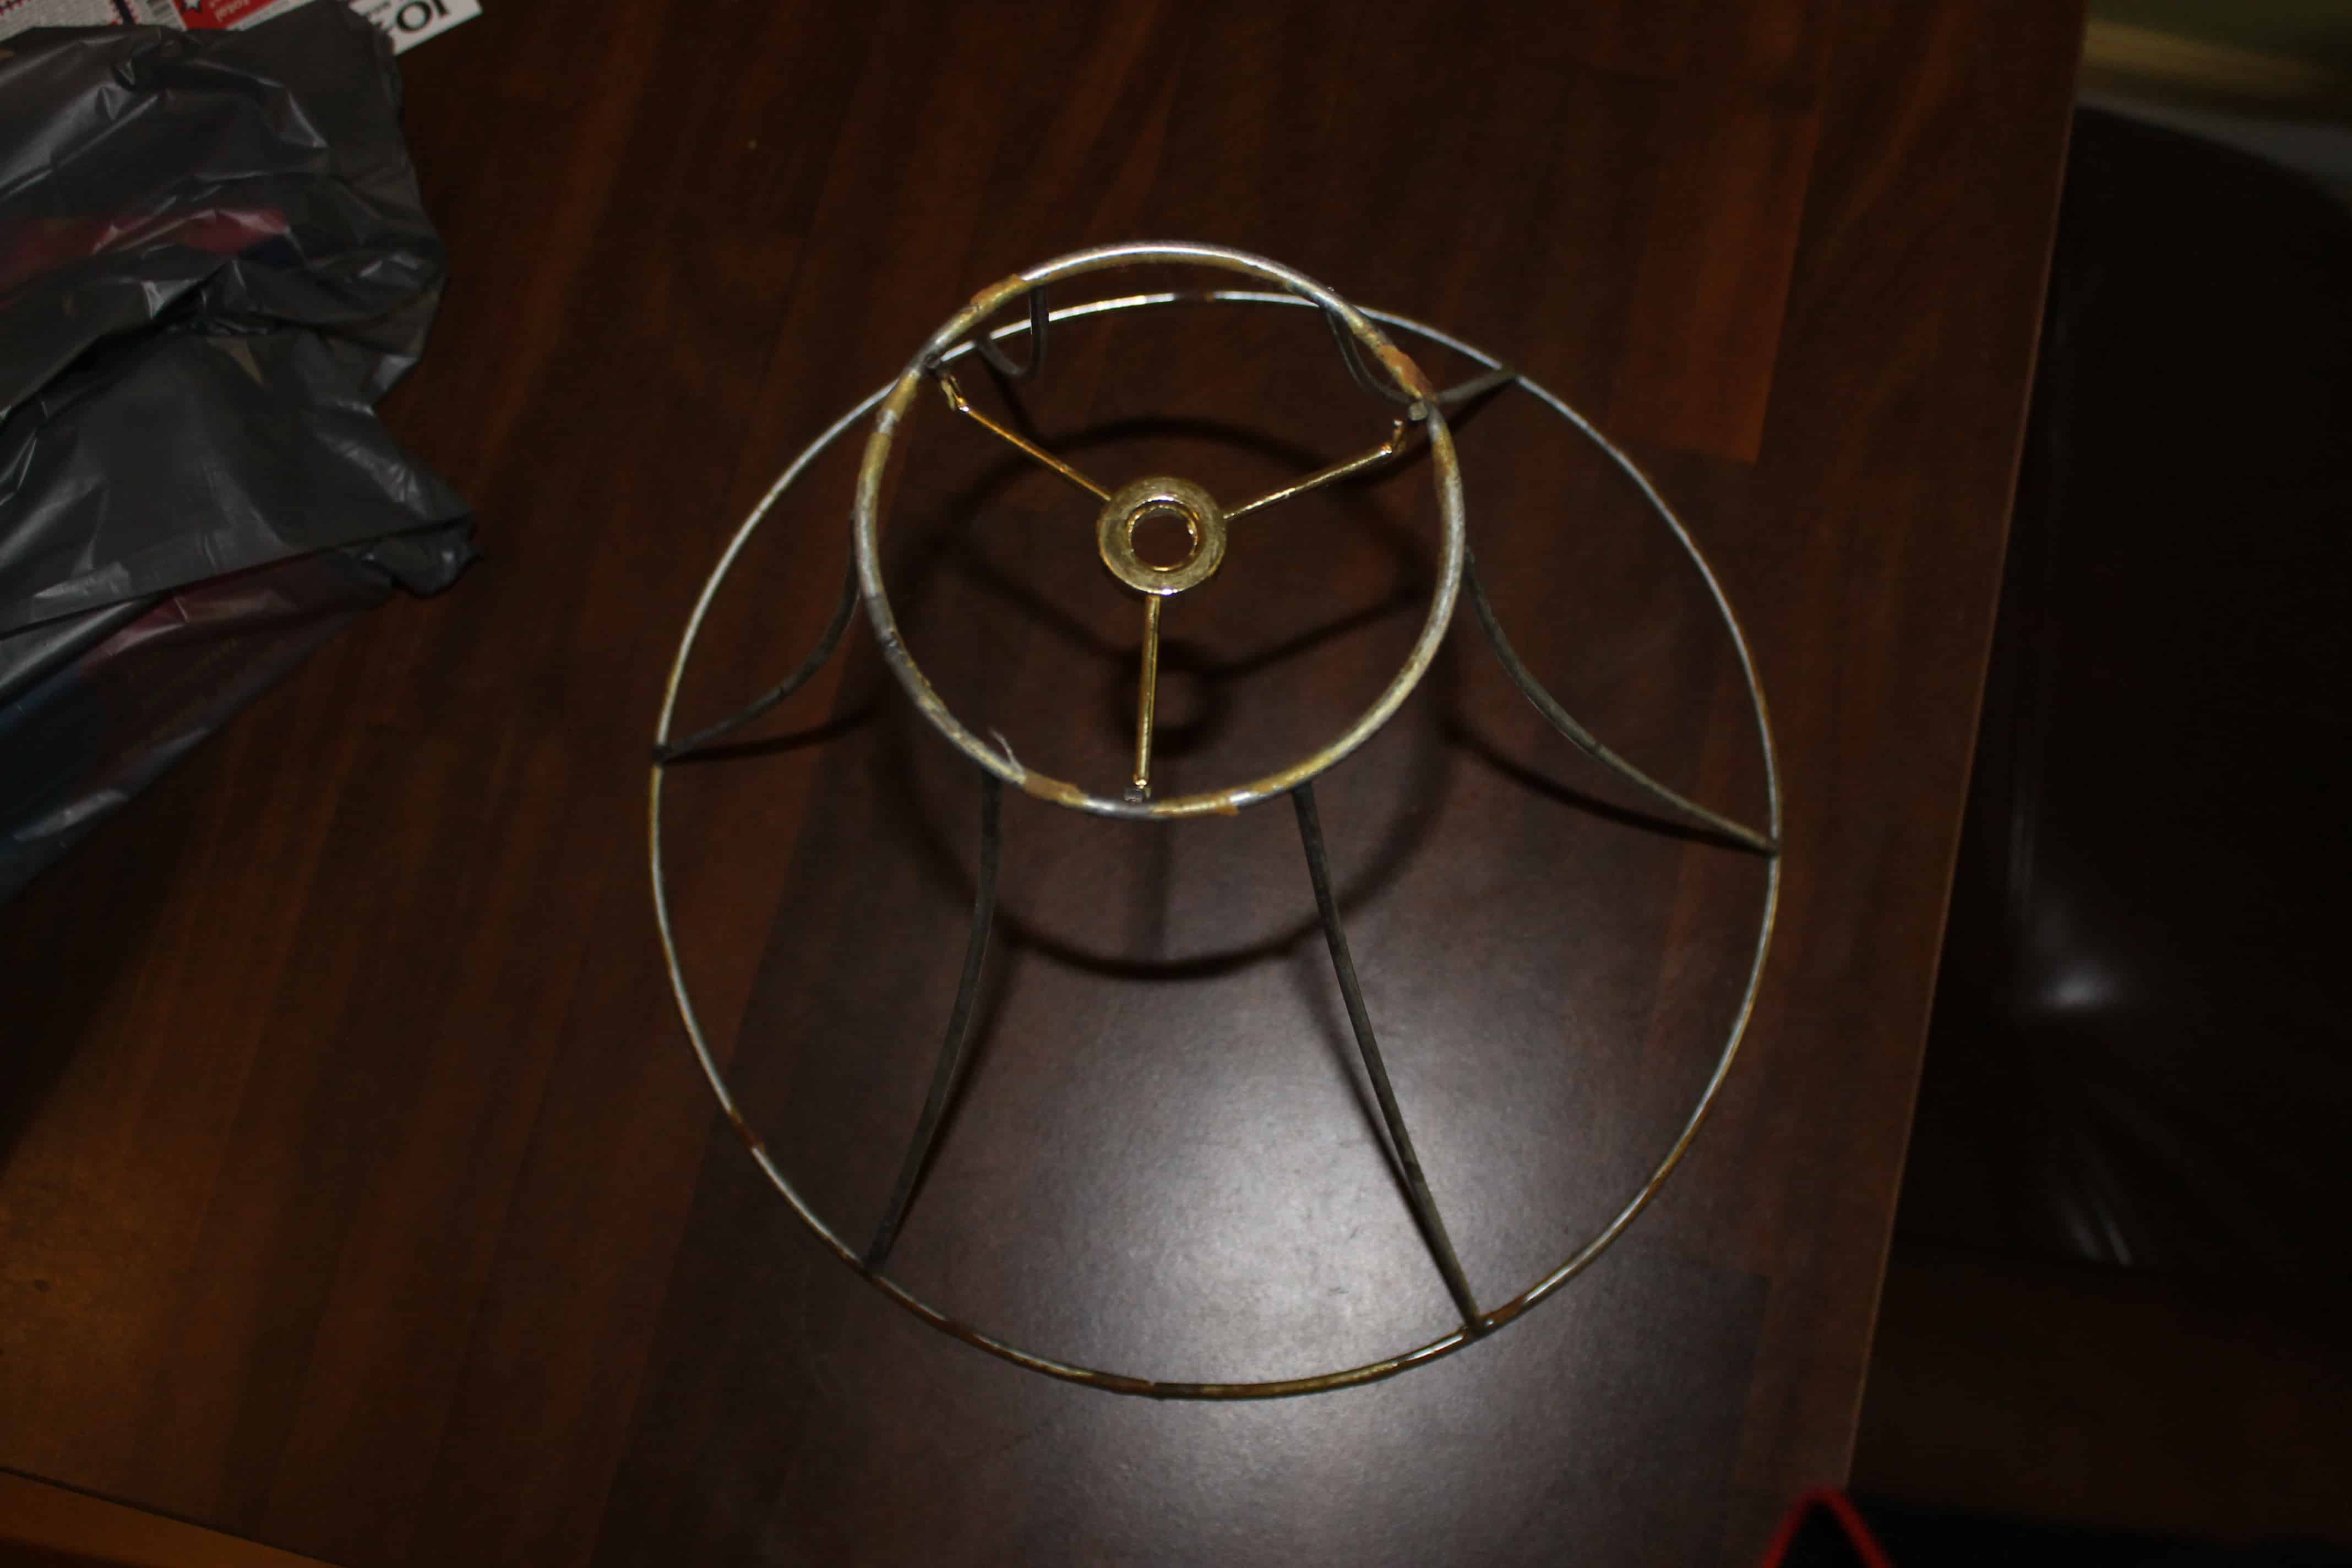
Then, I spray painted the whole thing. I used a matte grey, thinking that it would match the walls. If you wanted it to disappear more, you should use white.
How to string the capiz shells
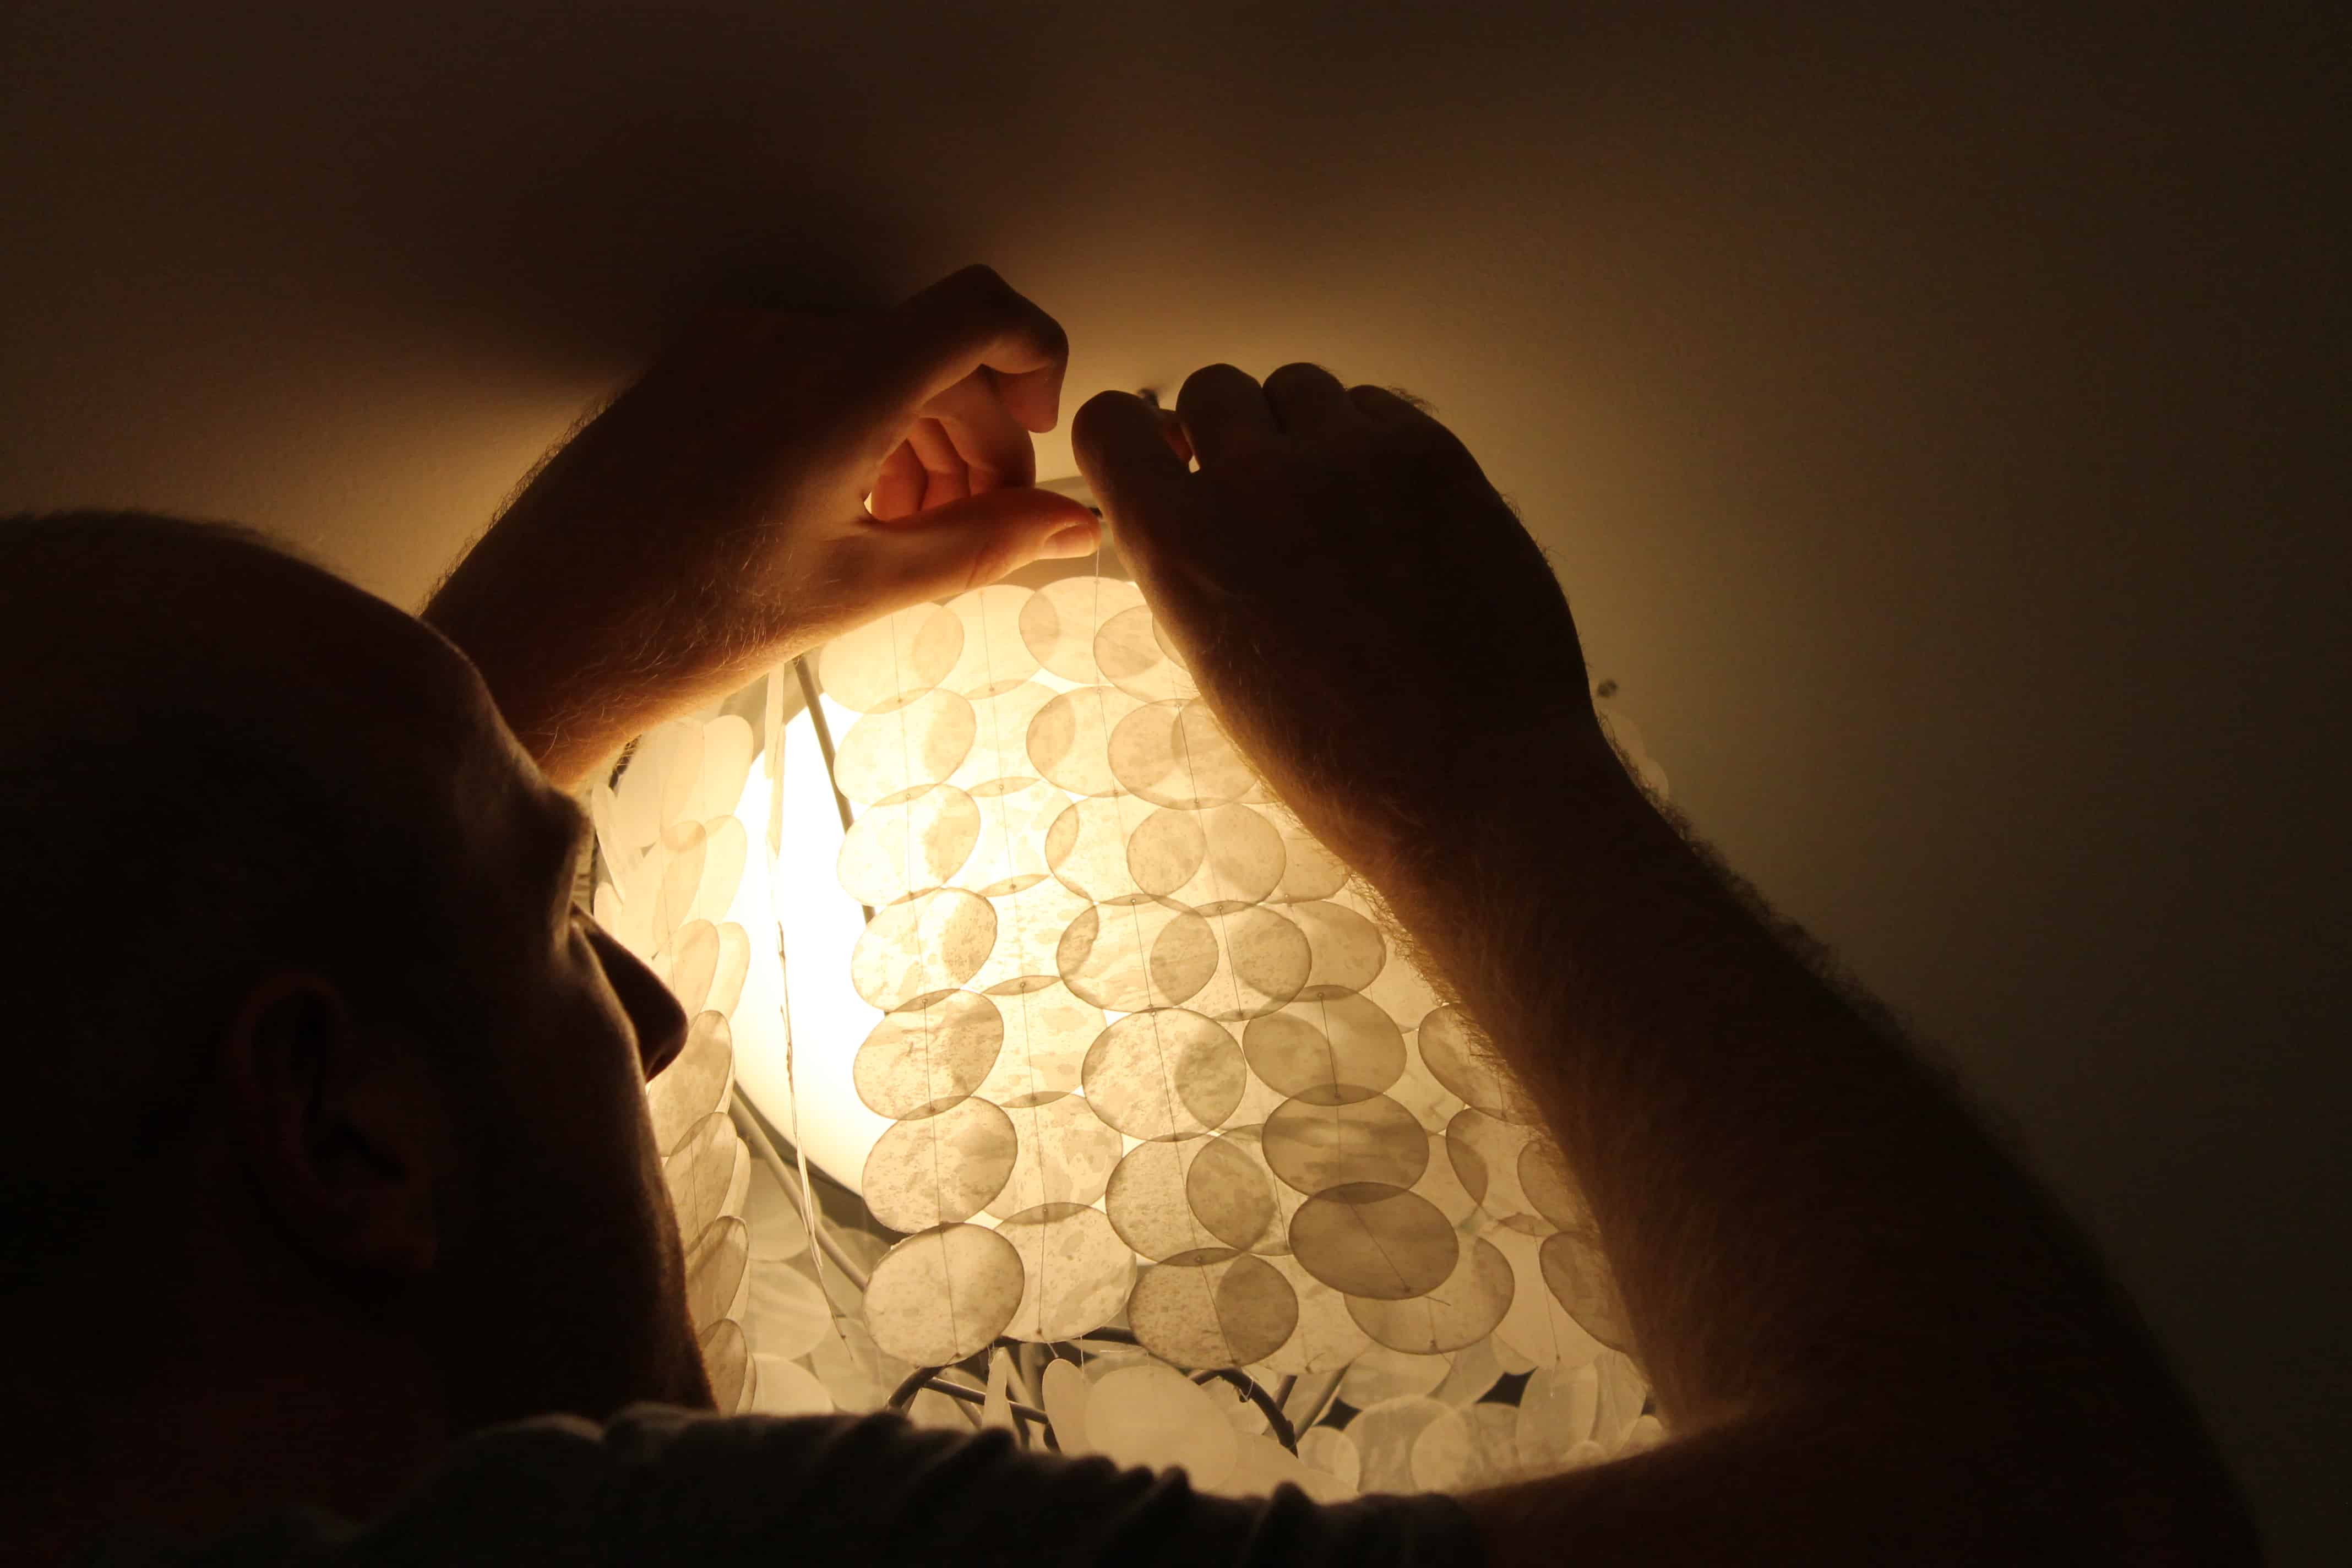
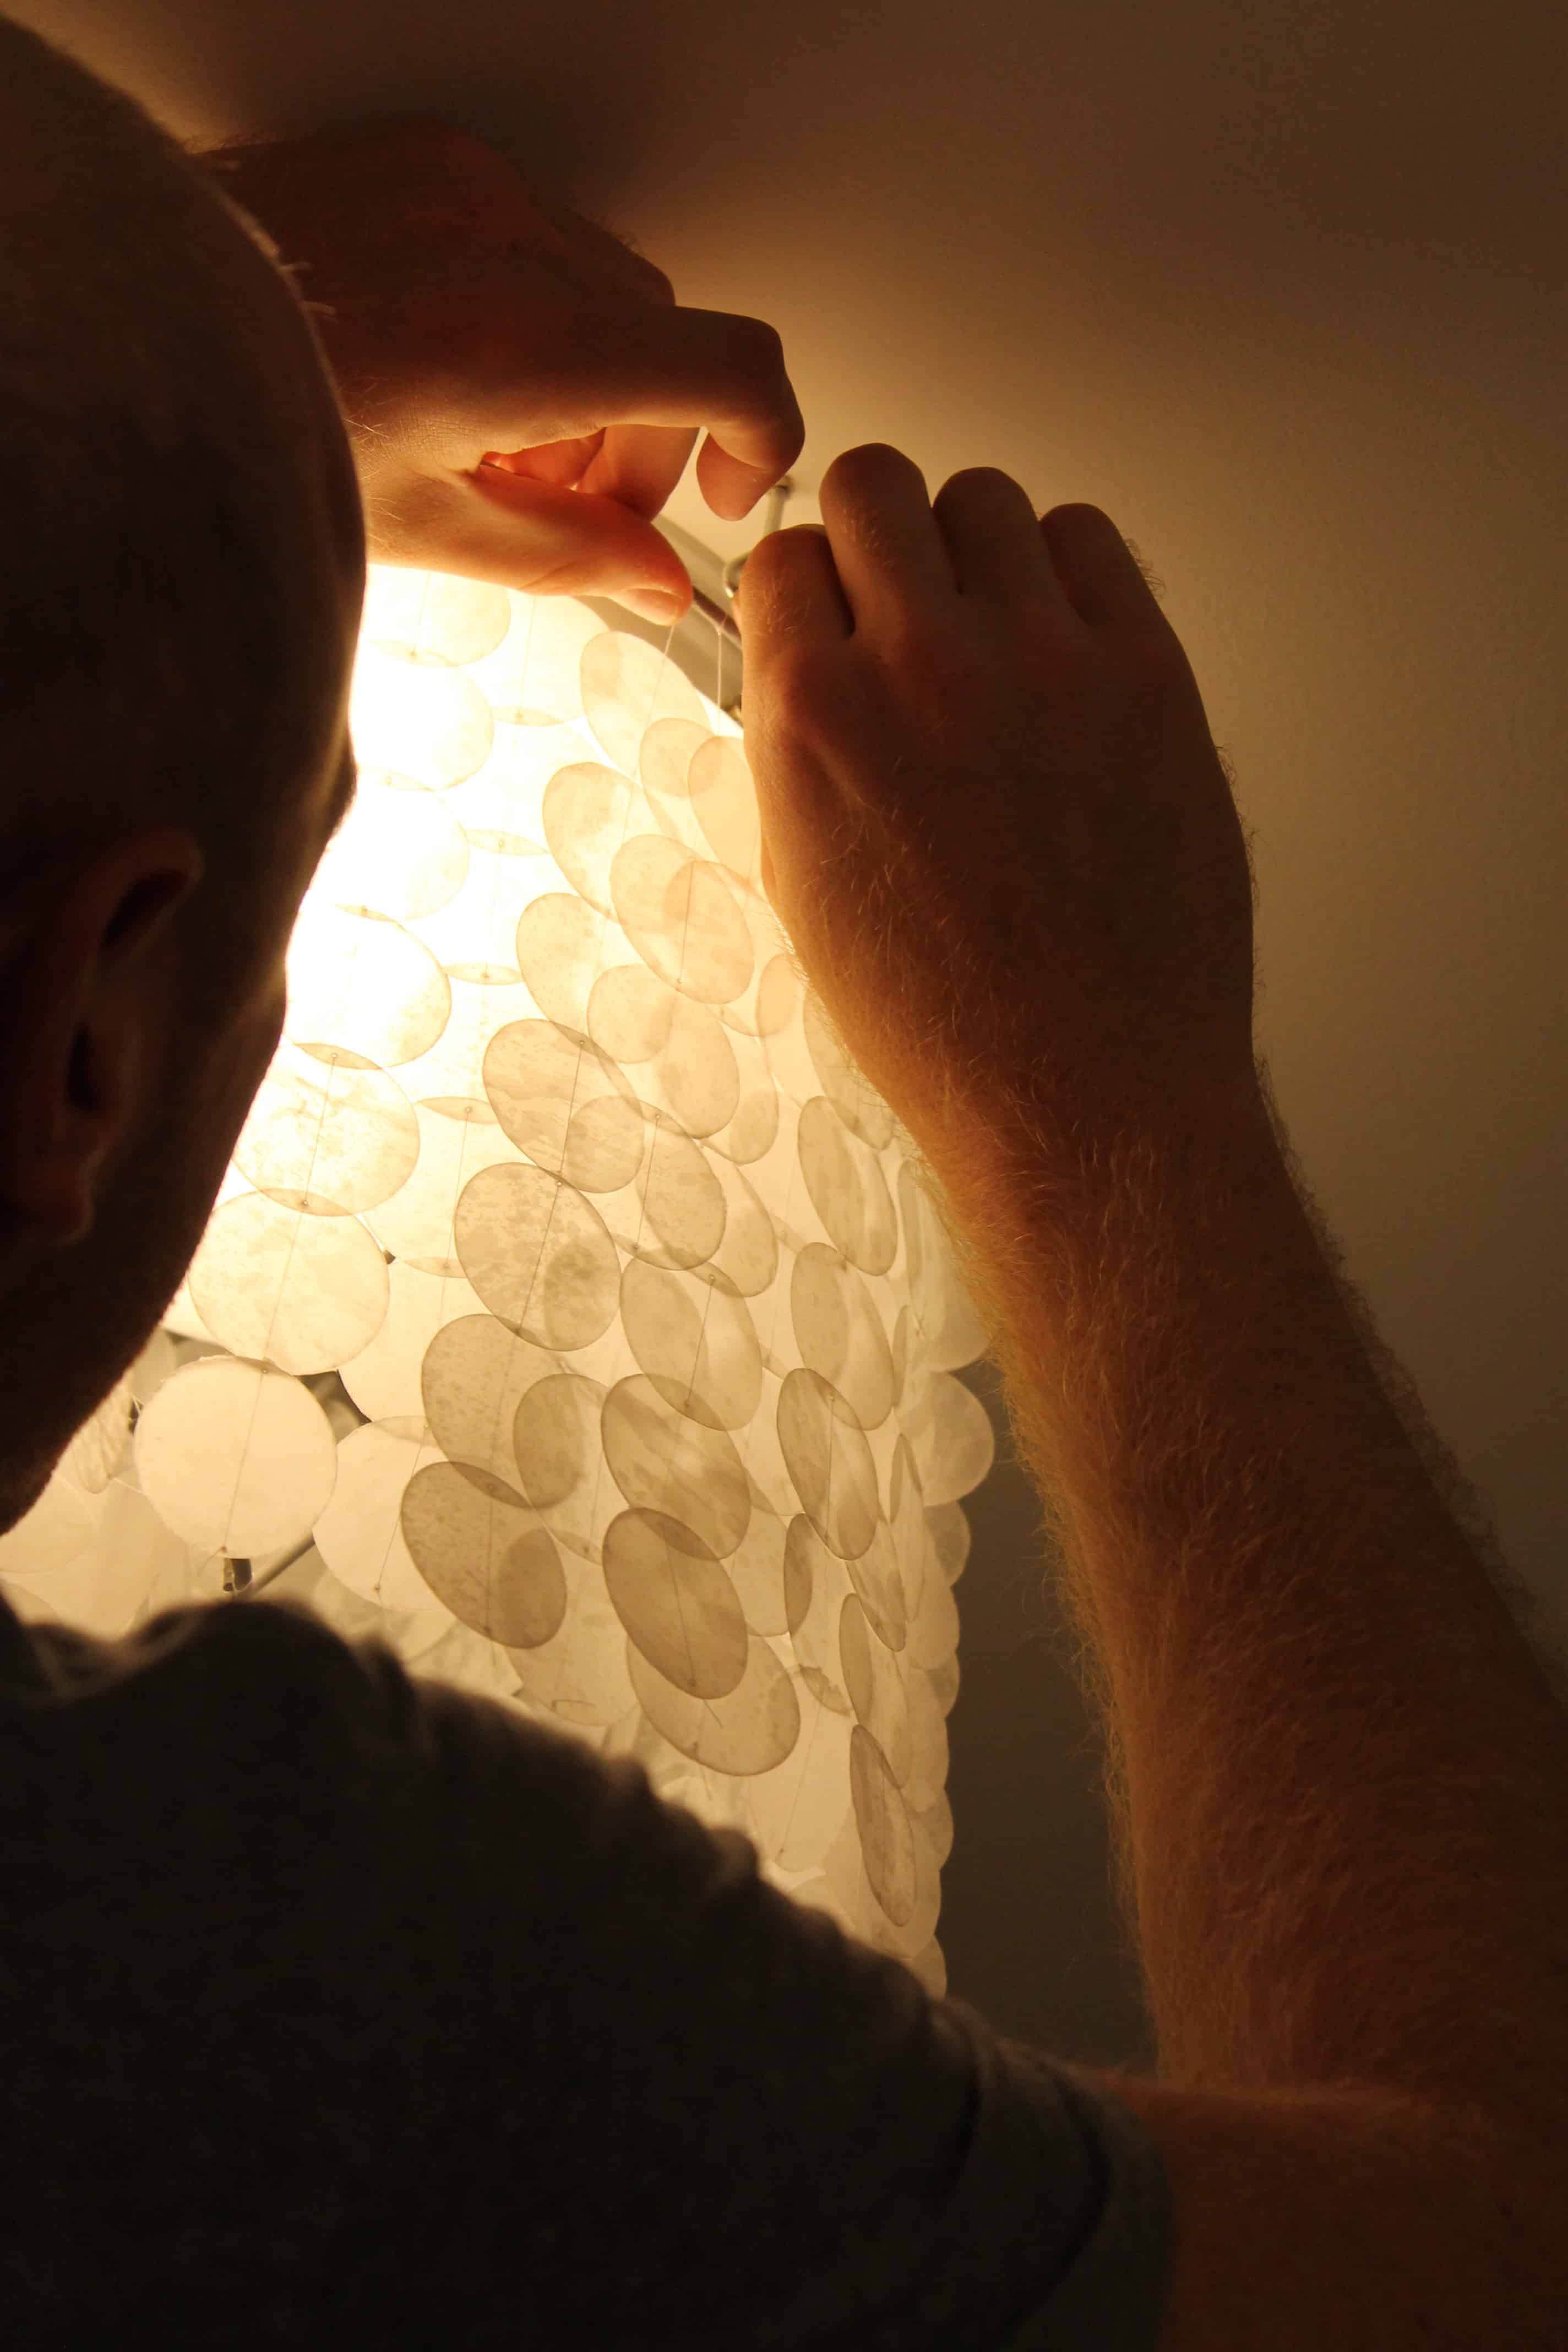
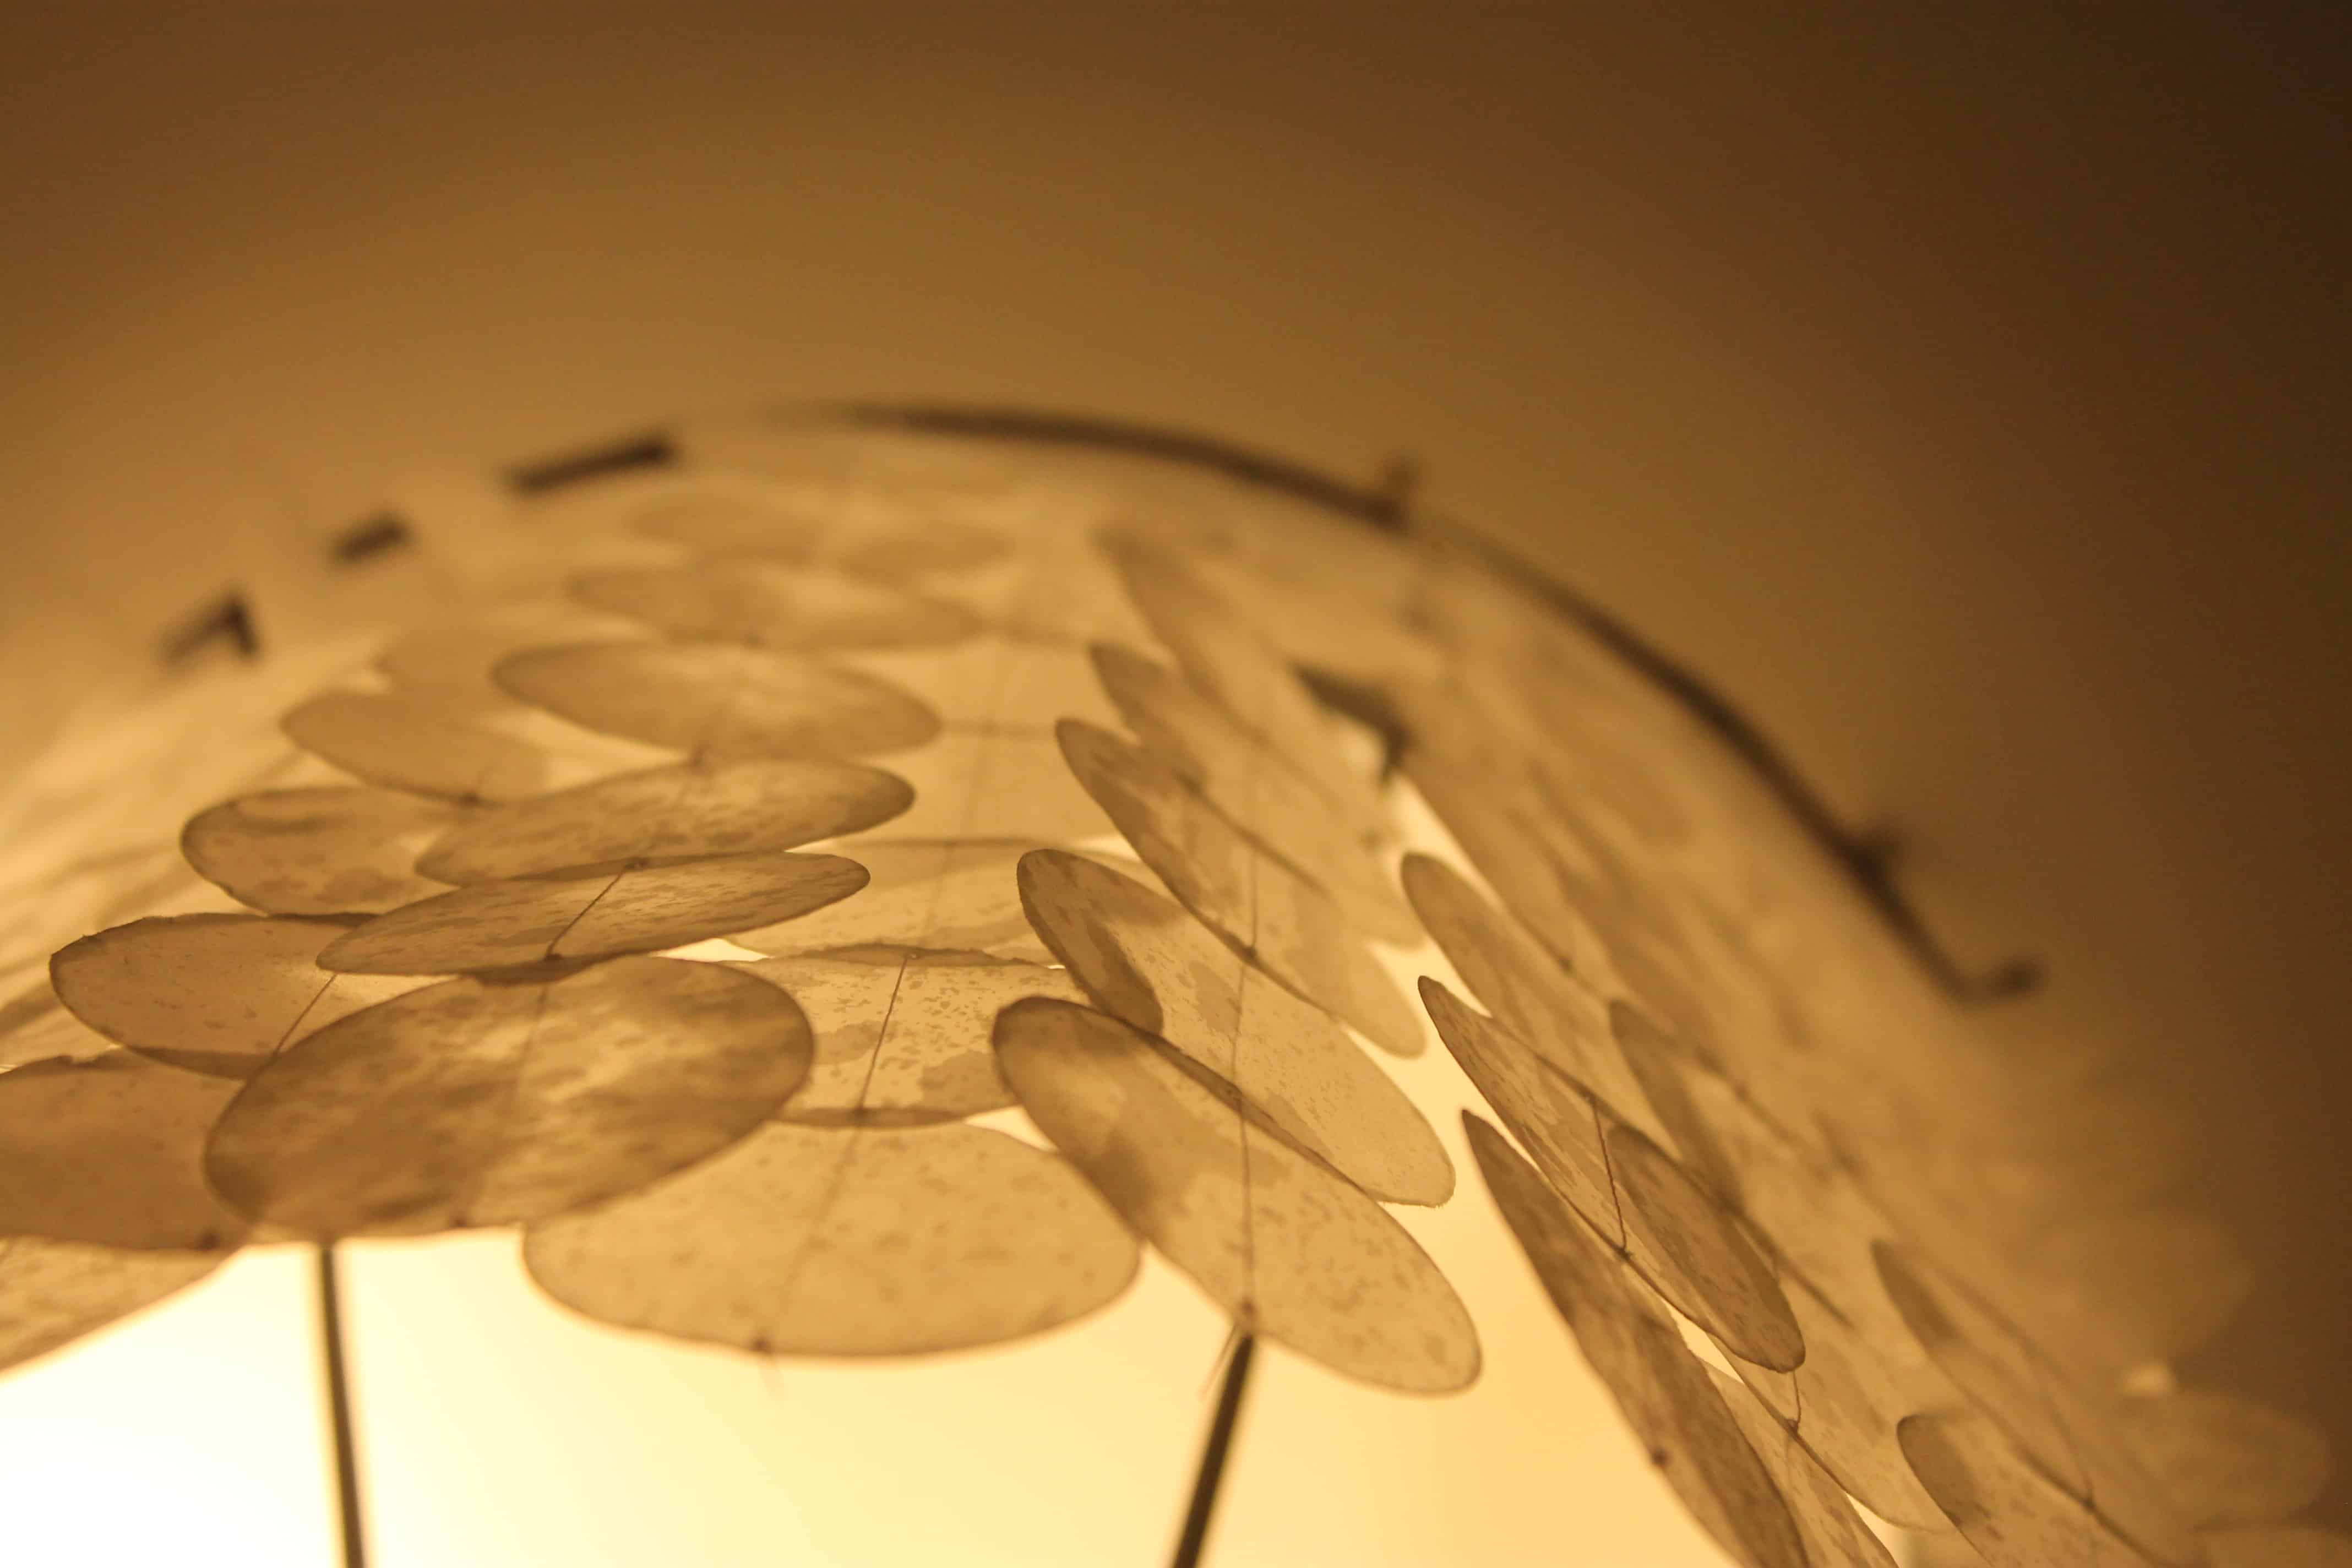
Next comes time to string your shells. I had full intentions of using my sewing machine to attach these. I got it out and struggled with it for over 4 hours one night after work. After crying, cursing, and extreme googling, I gave up.
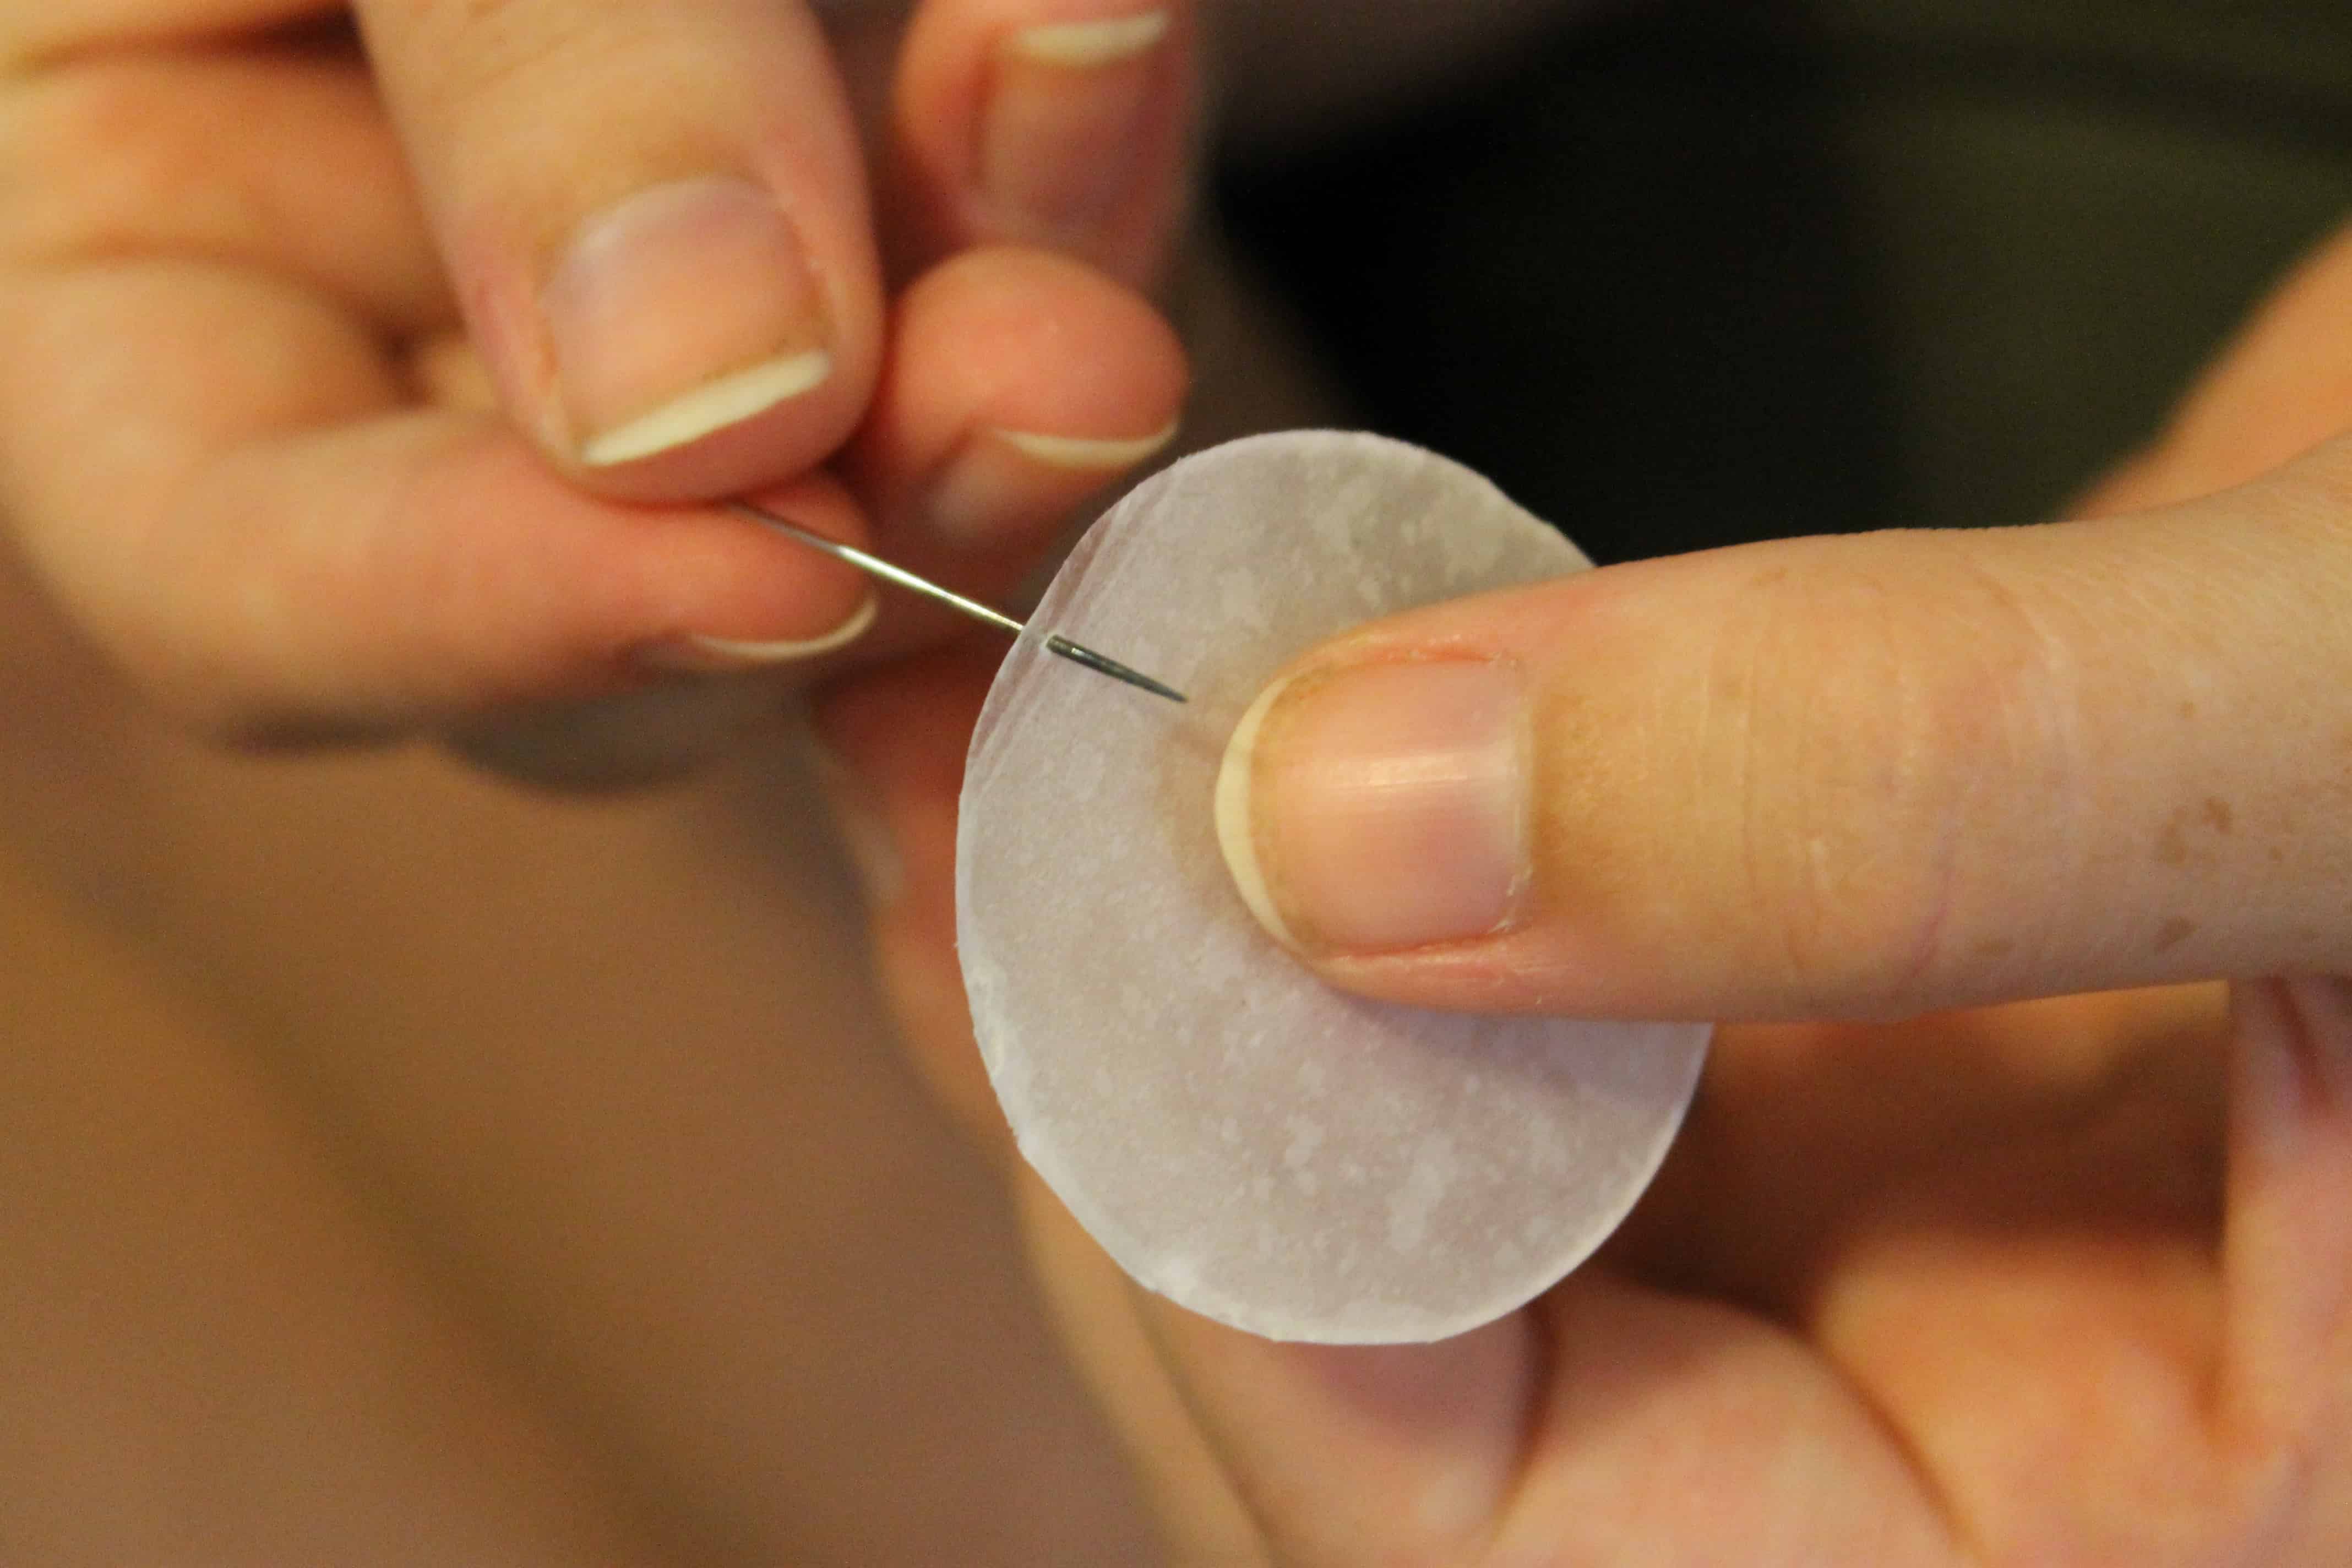
Other tutorials suggested using hot glue, but I thought that looked ghetto. Sorry, but I was not into the strings of glue catching the light. So, I decided to hand sew them. I used a needle to poke a small hole at the top and bottom of each “shell” and strung them on white thread that way. It took a little while, but was very easy.

To decide how long to make the strings, I held the frame up on the ceiling and measured how long I wanted the strands to hang. I wanted the top tier to hang 8 inches and the bottom tier to hang 6 inches. So, I made strands of 7 and 4 shells.
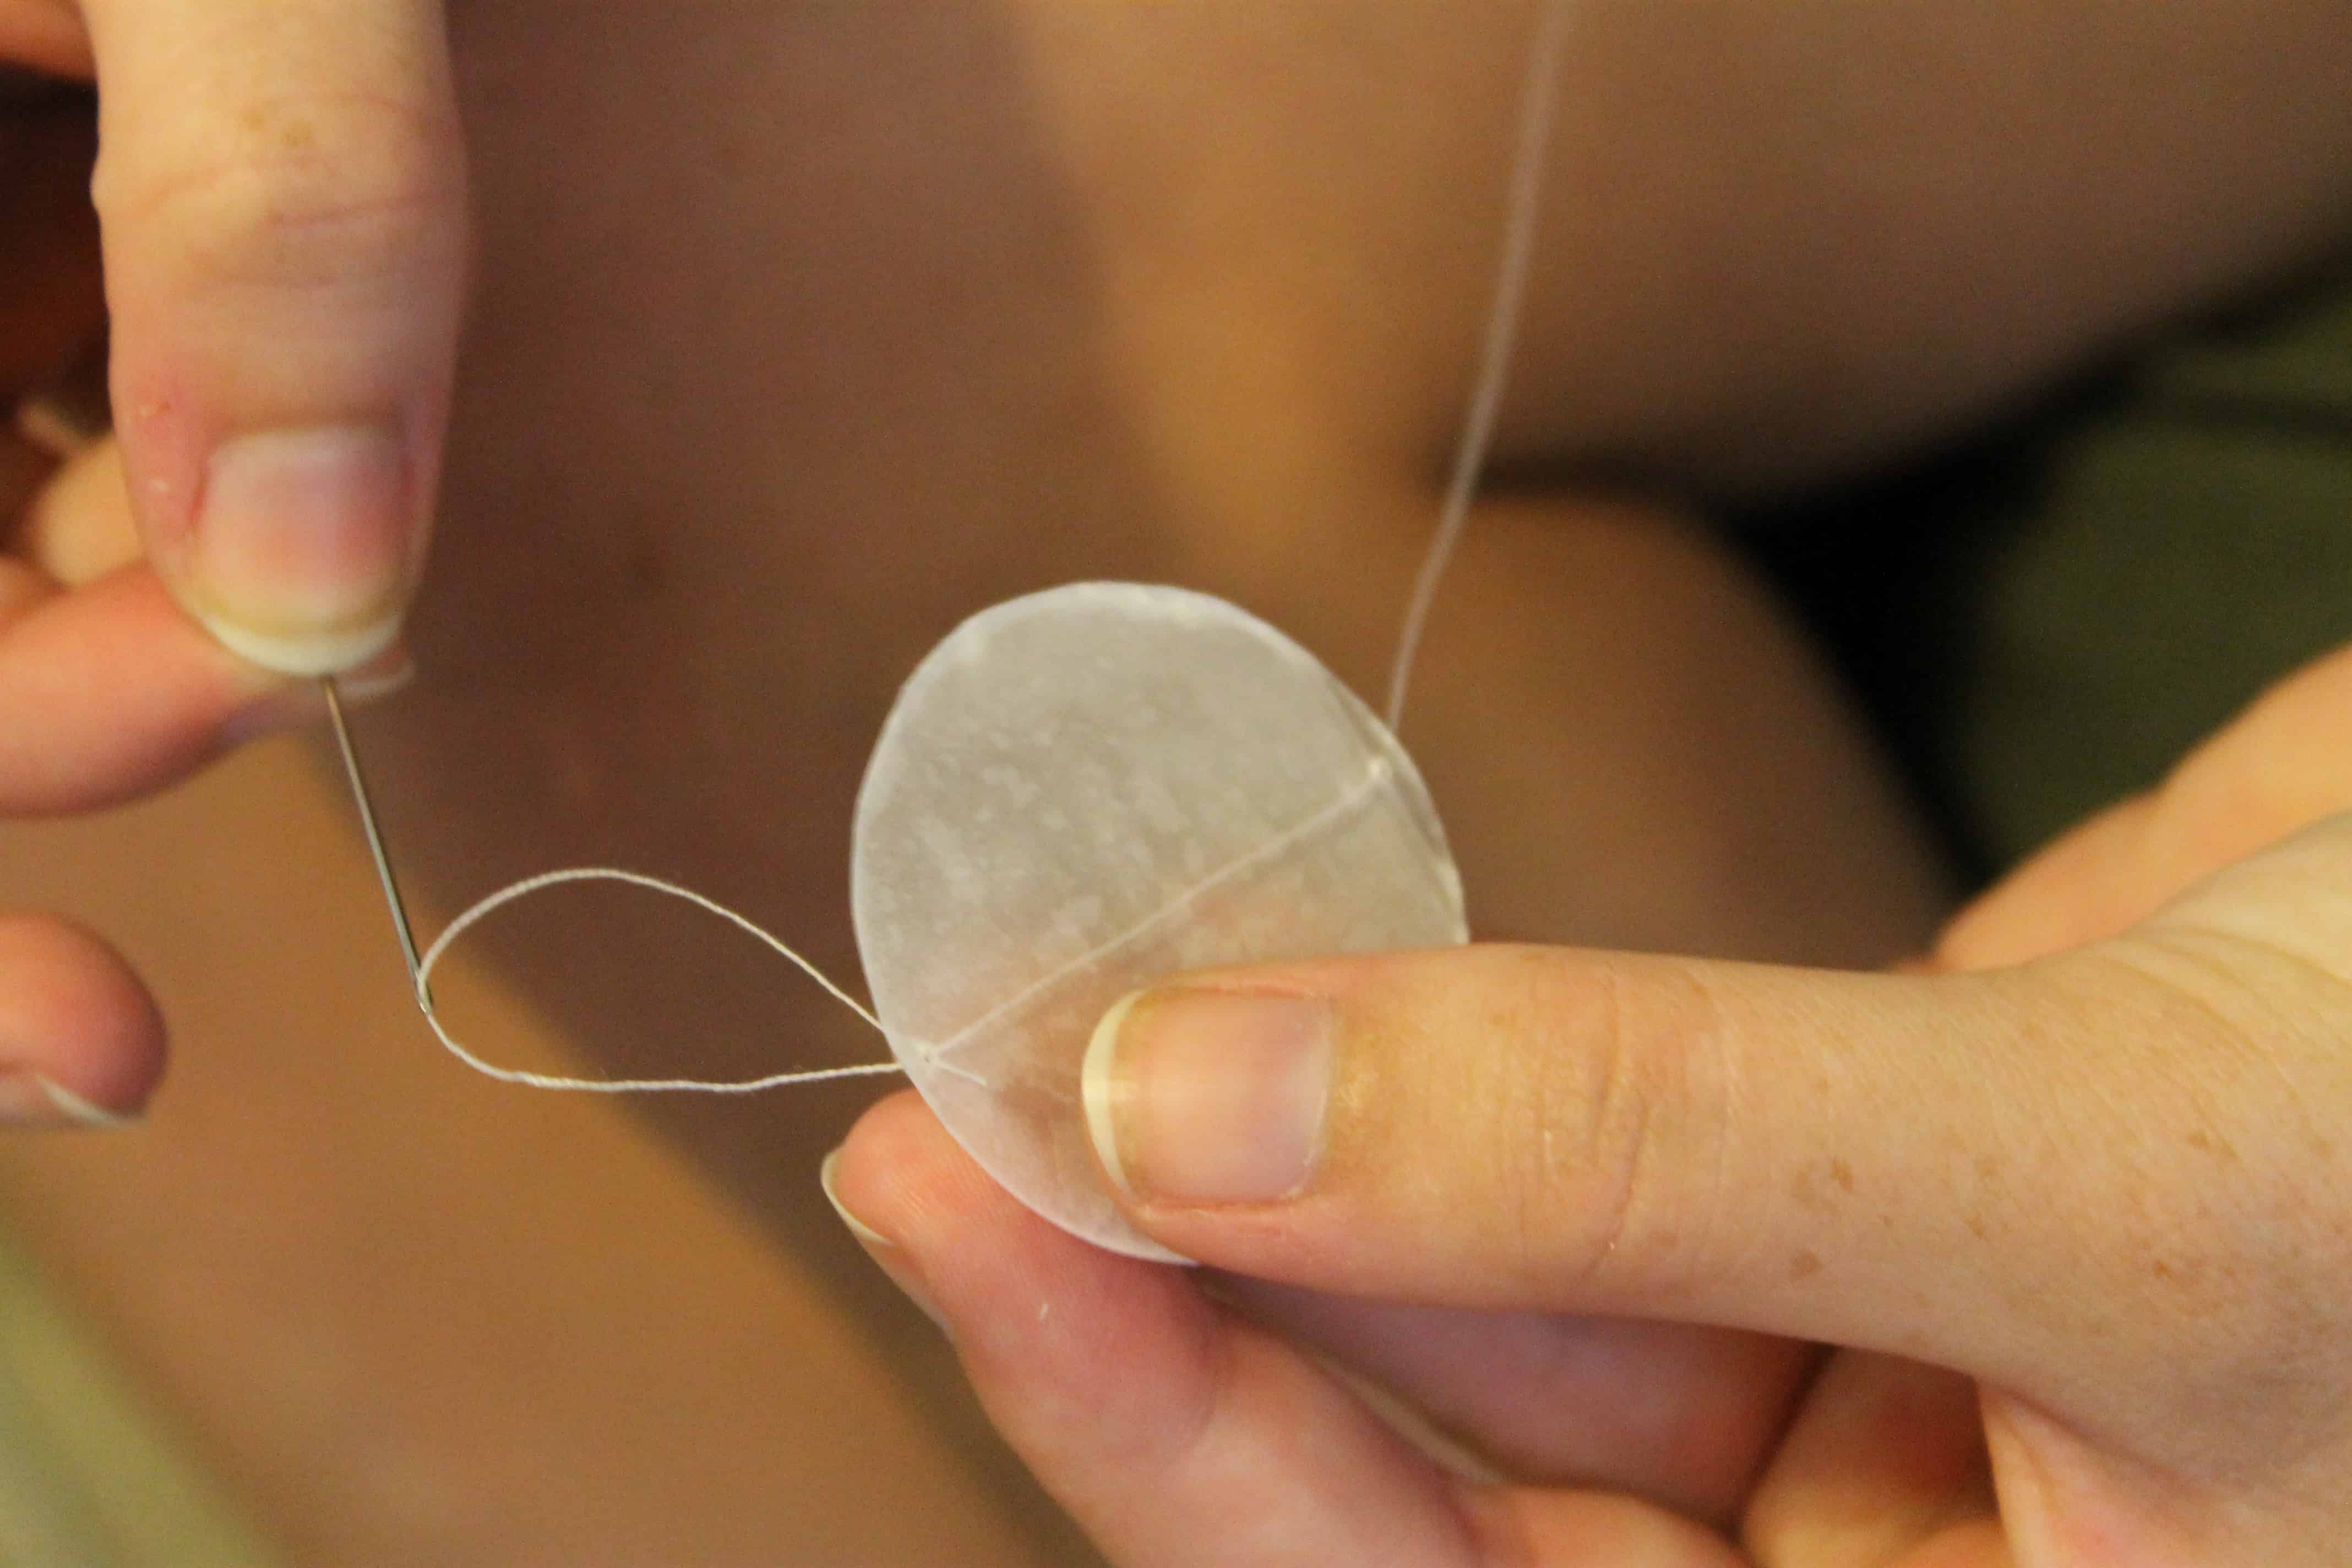
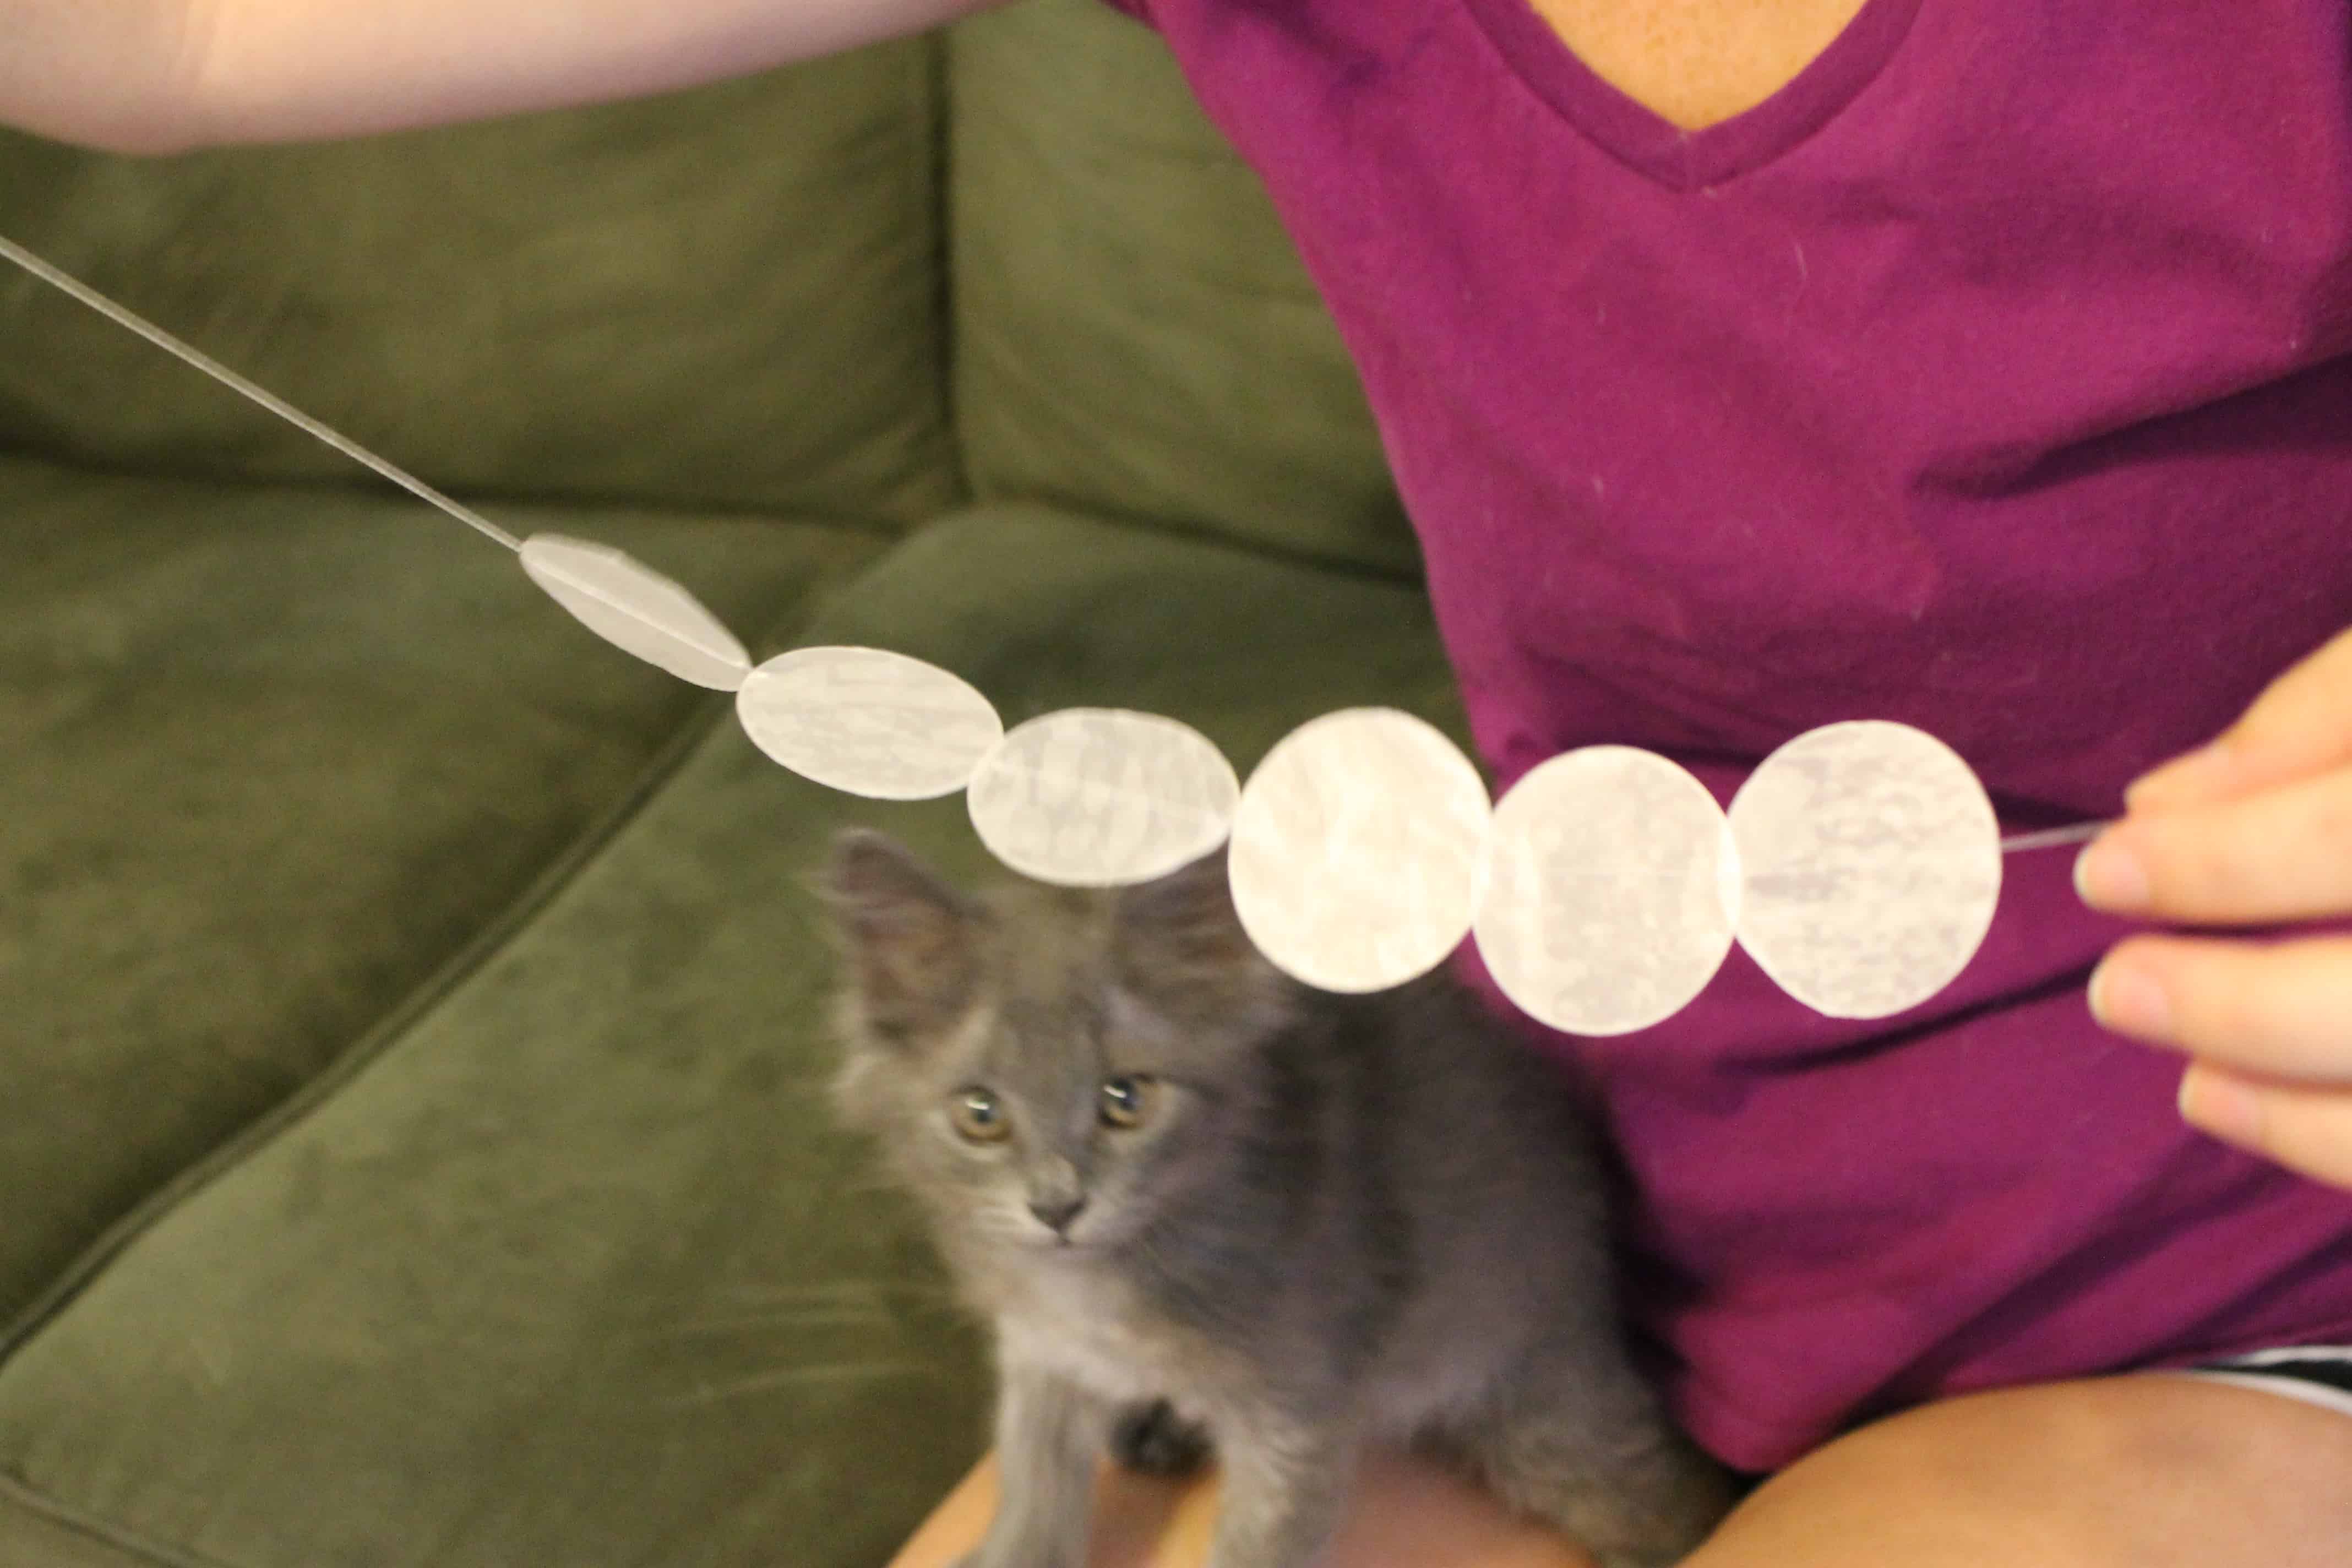
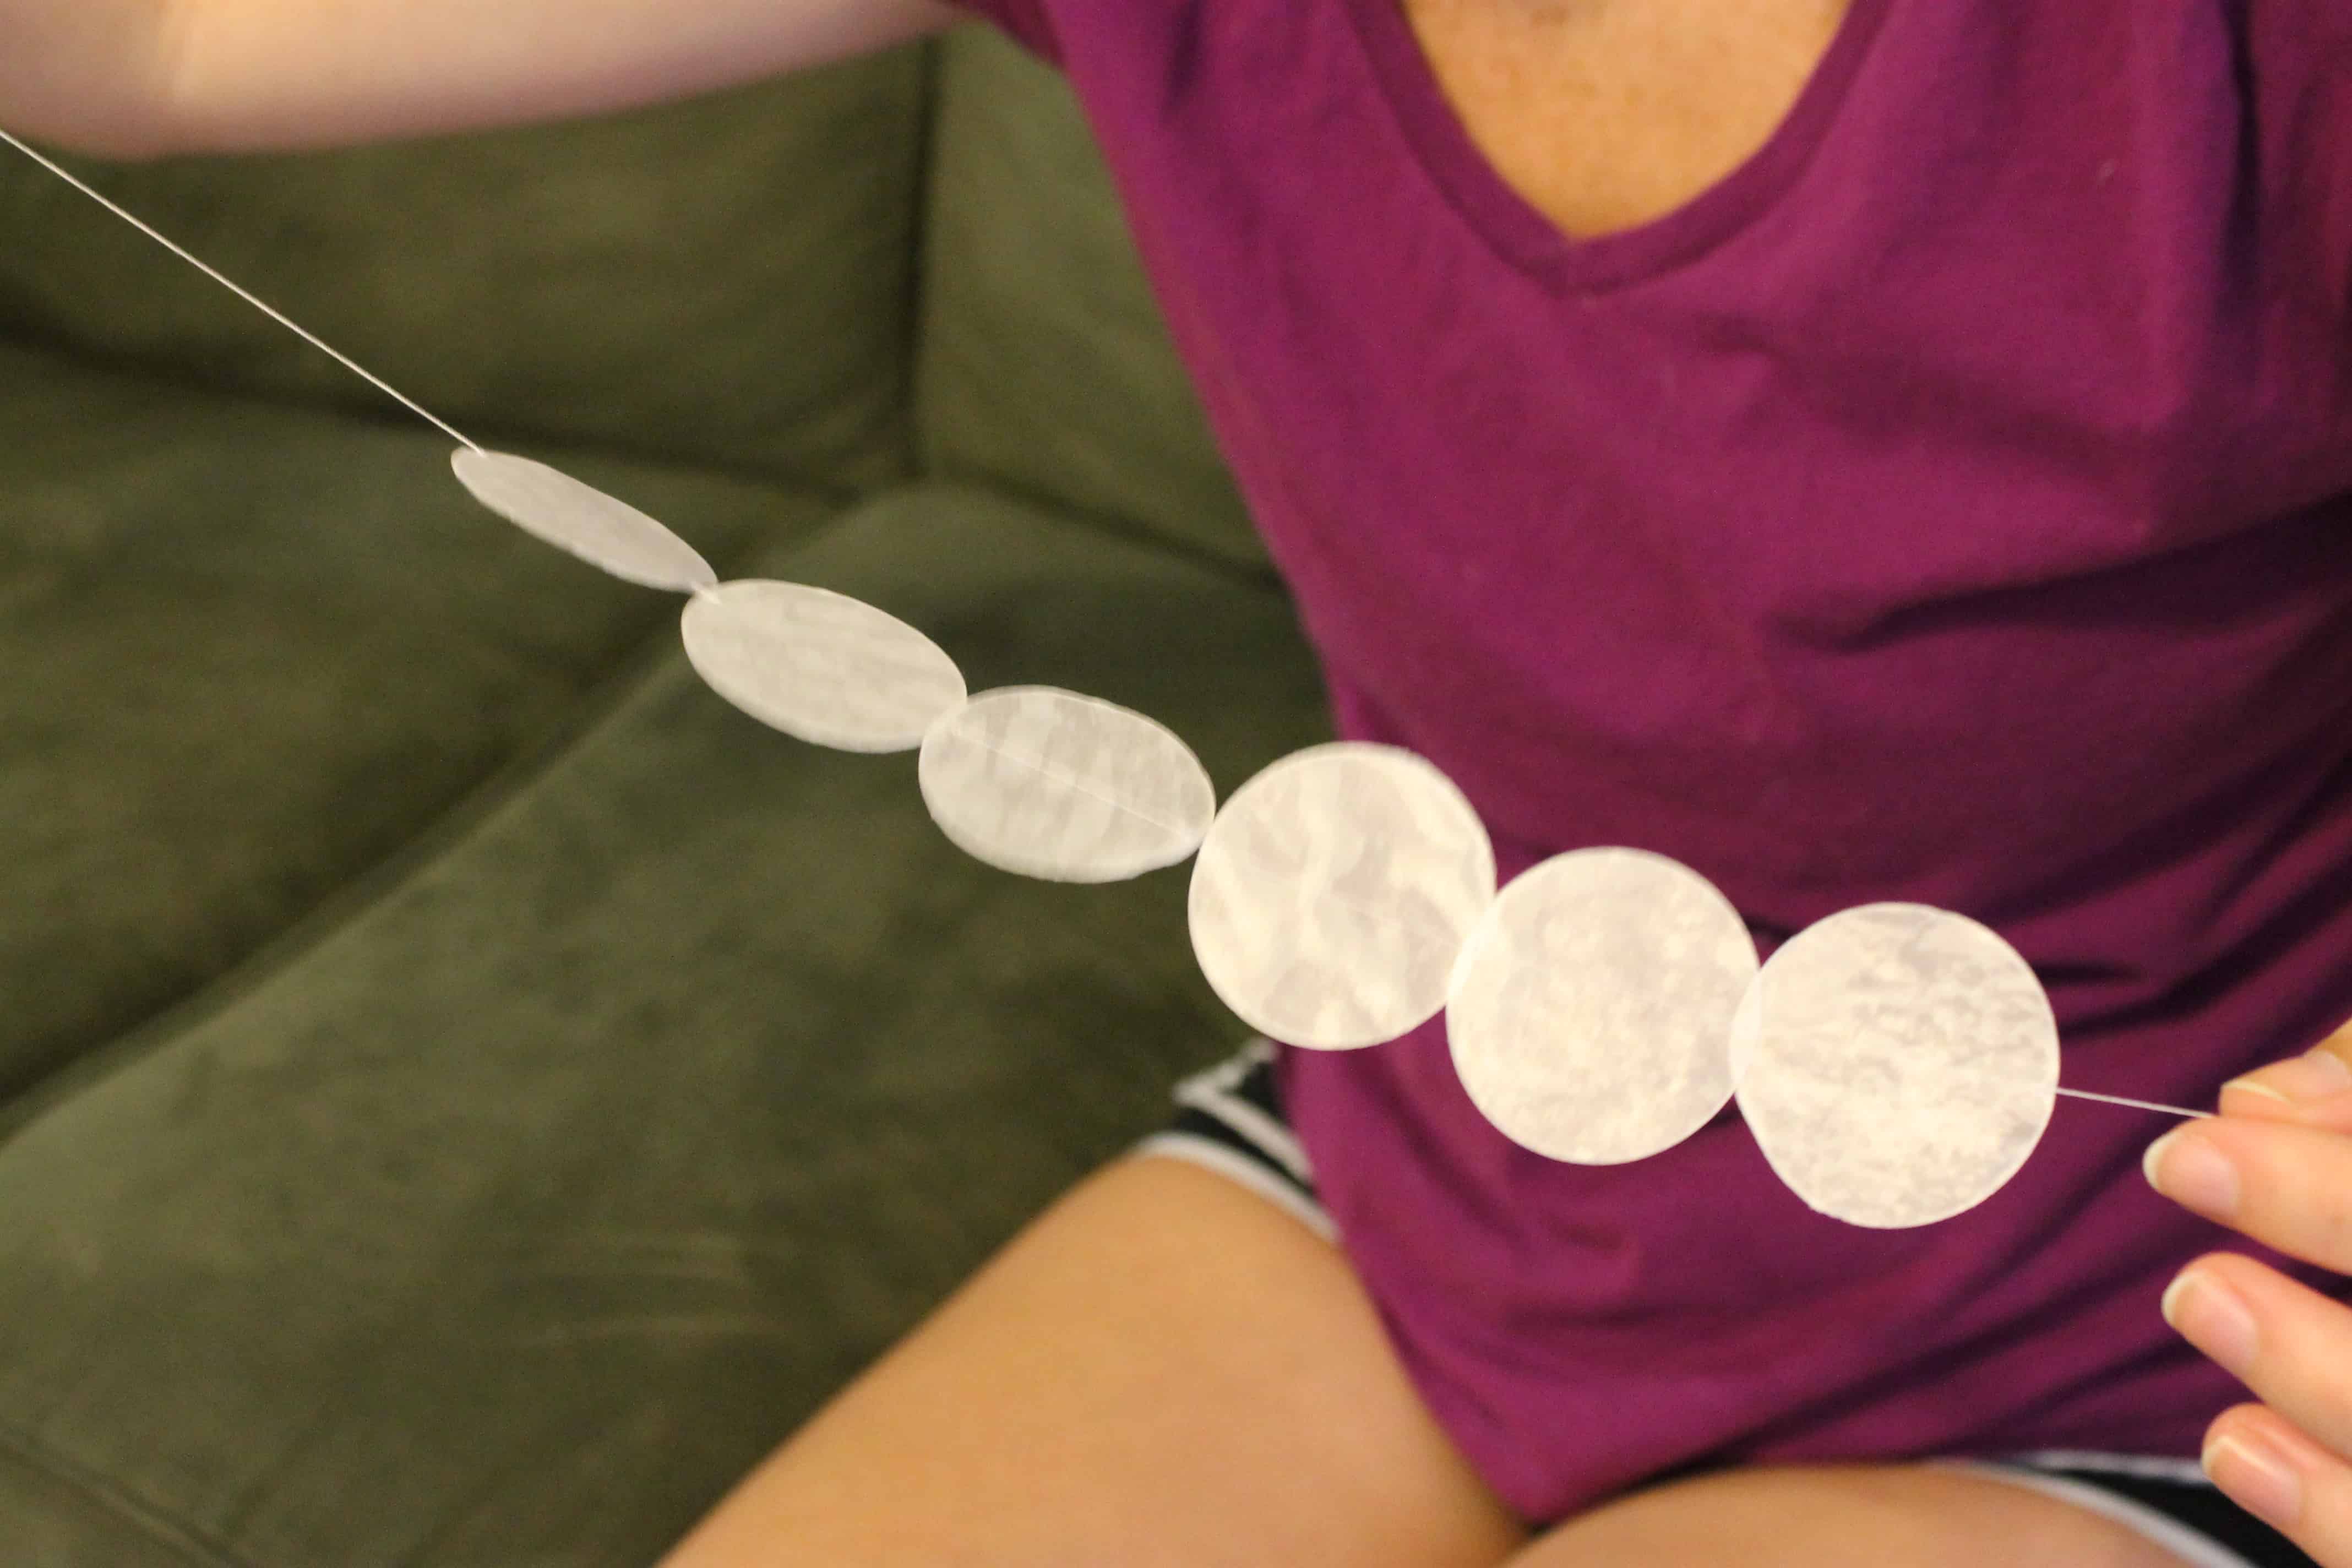
I left a long tail of thread on the end of each strand and tied them onto the frame using a simple square knot. I hung them about 1 inch apart, so there was some overlap.
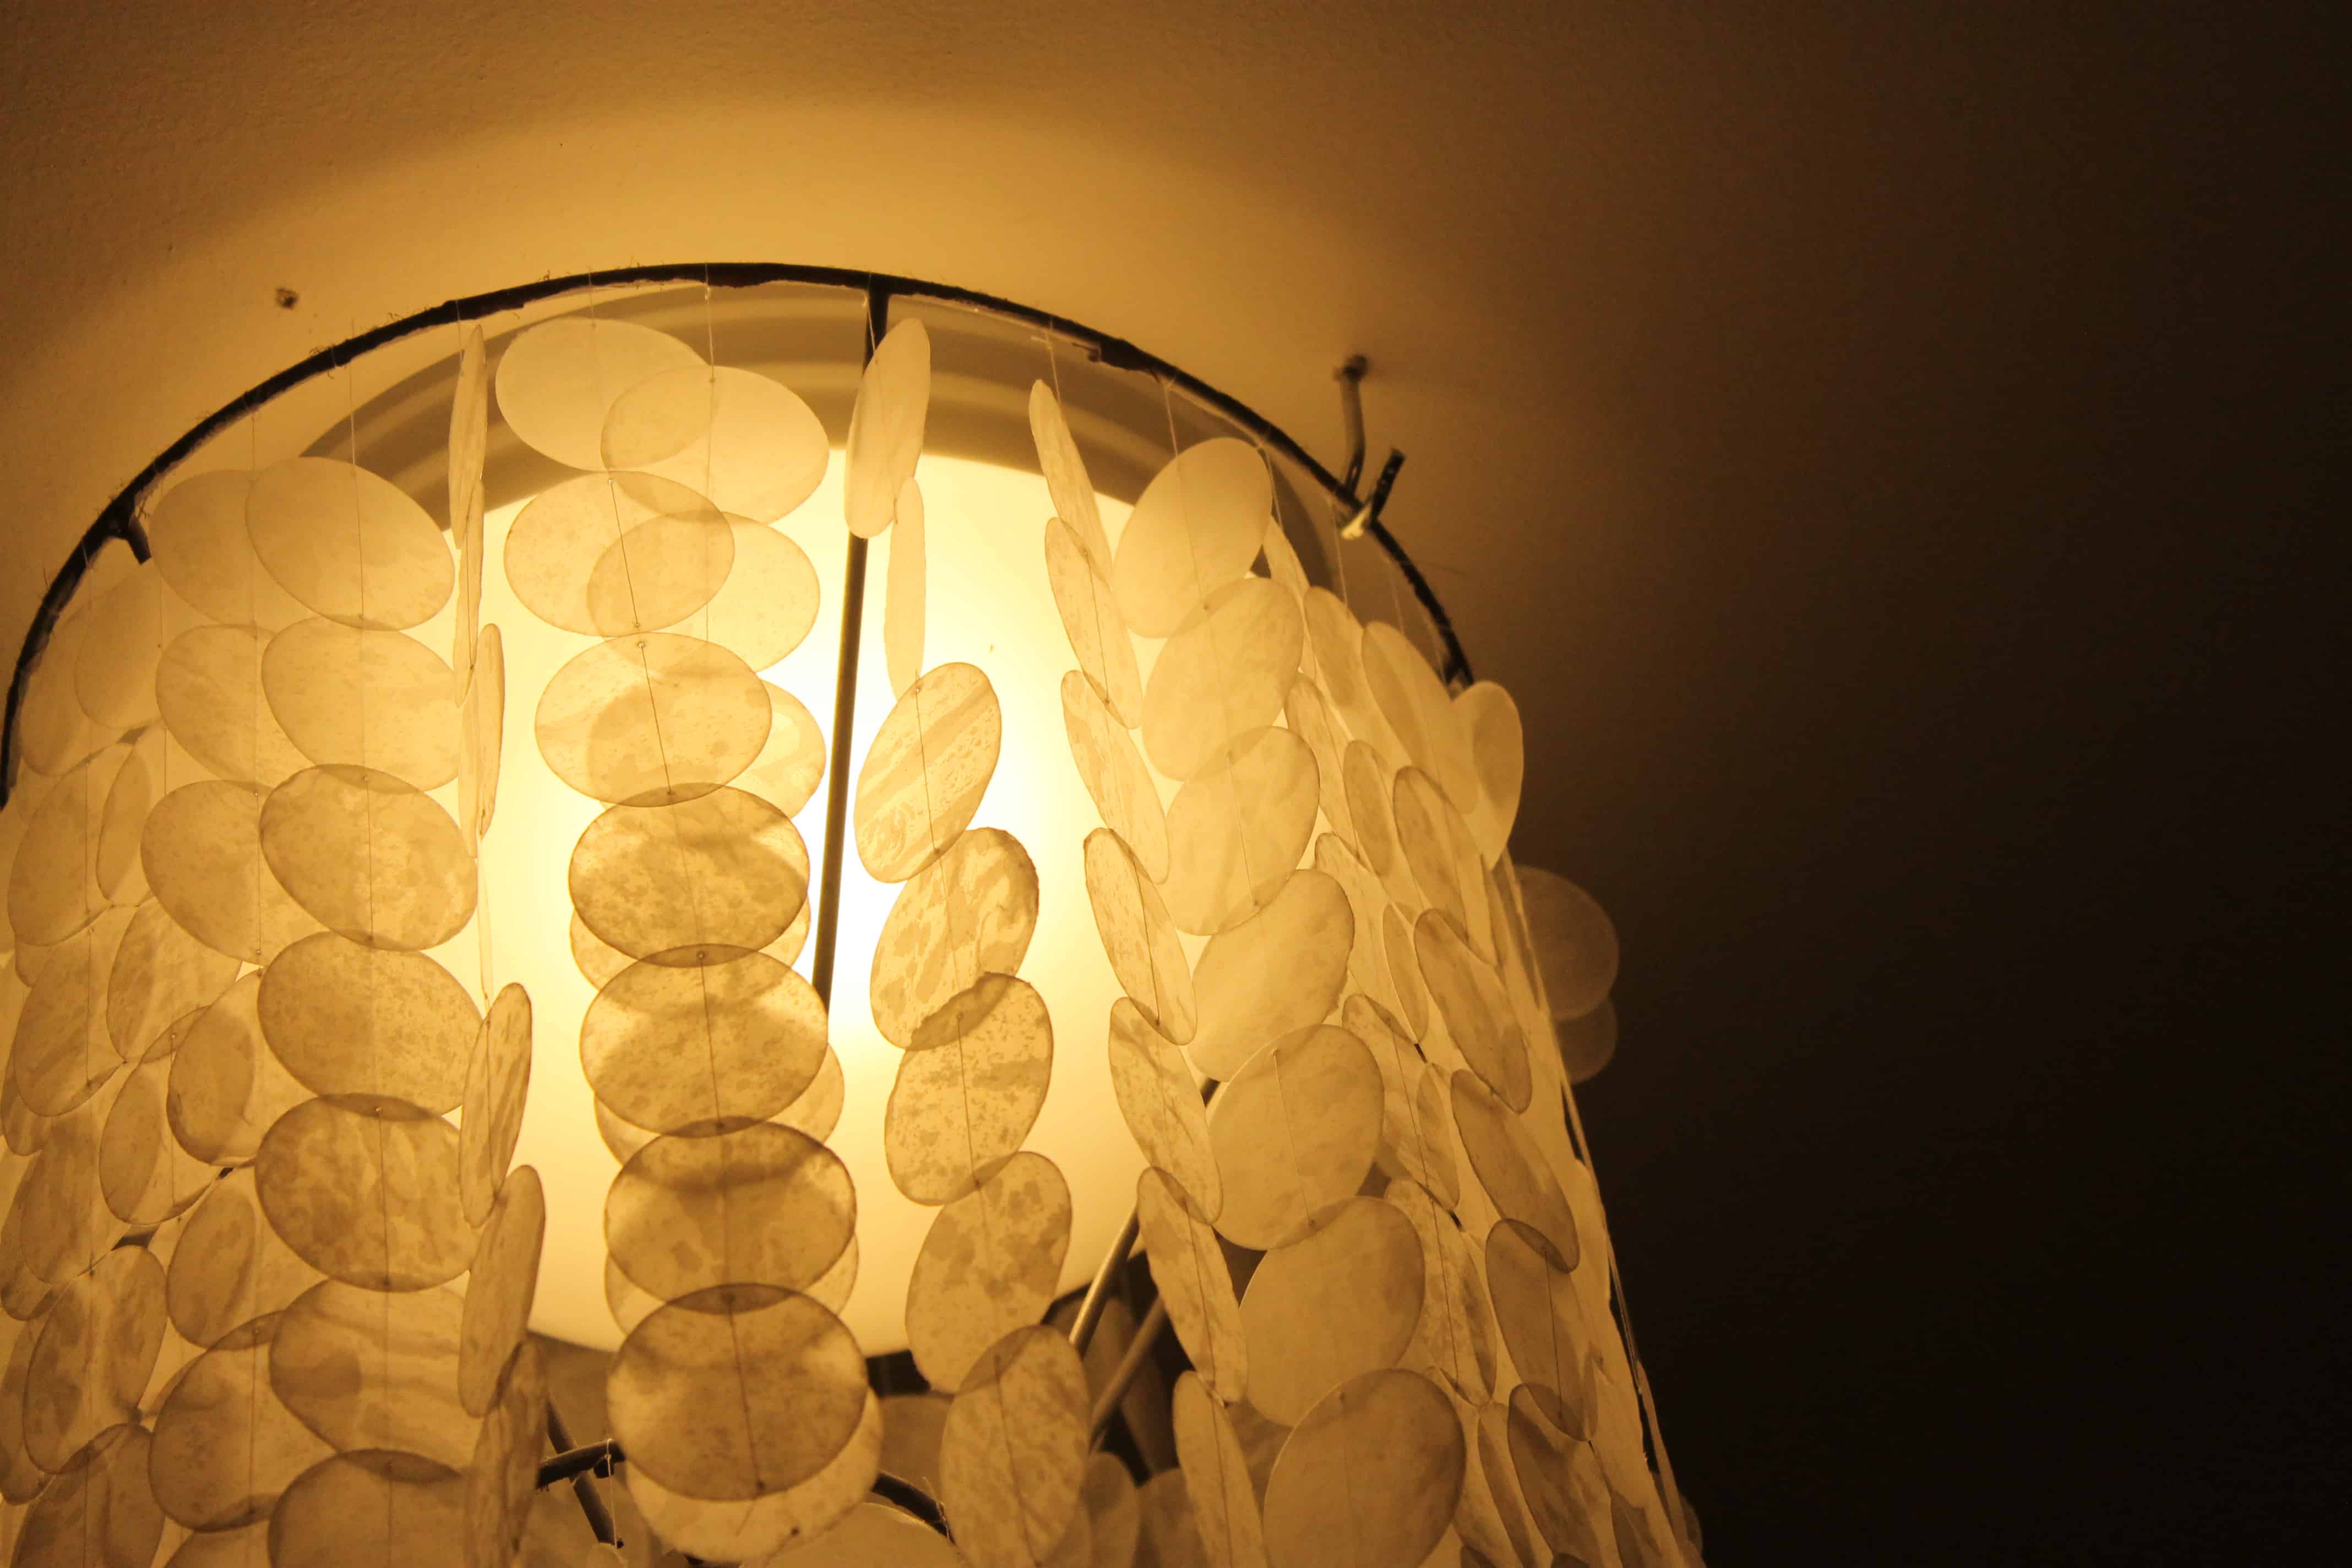
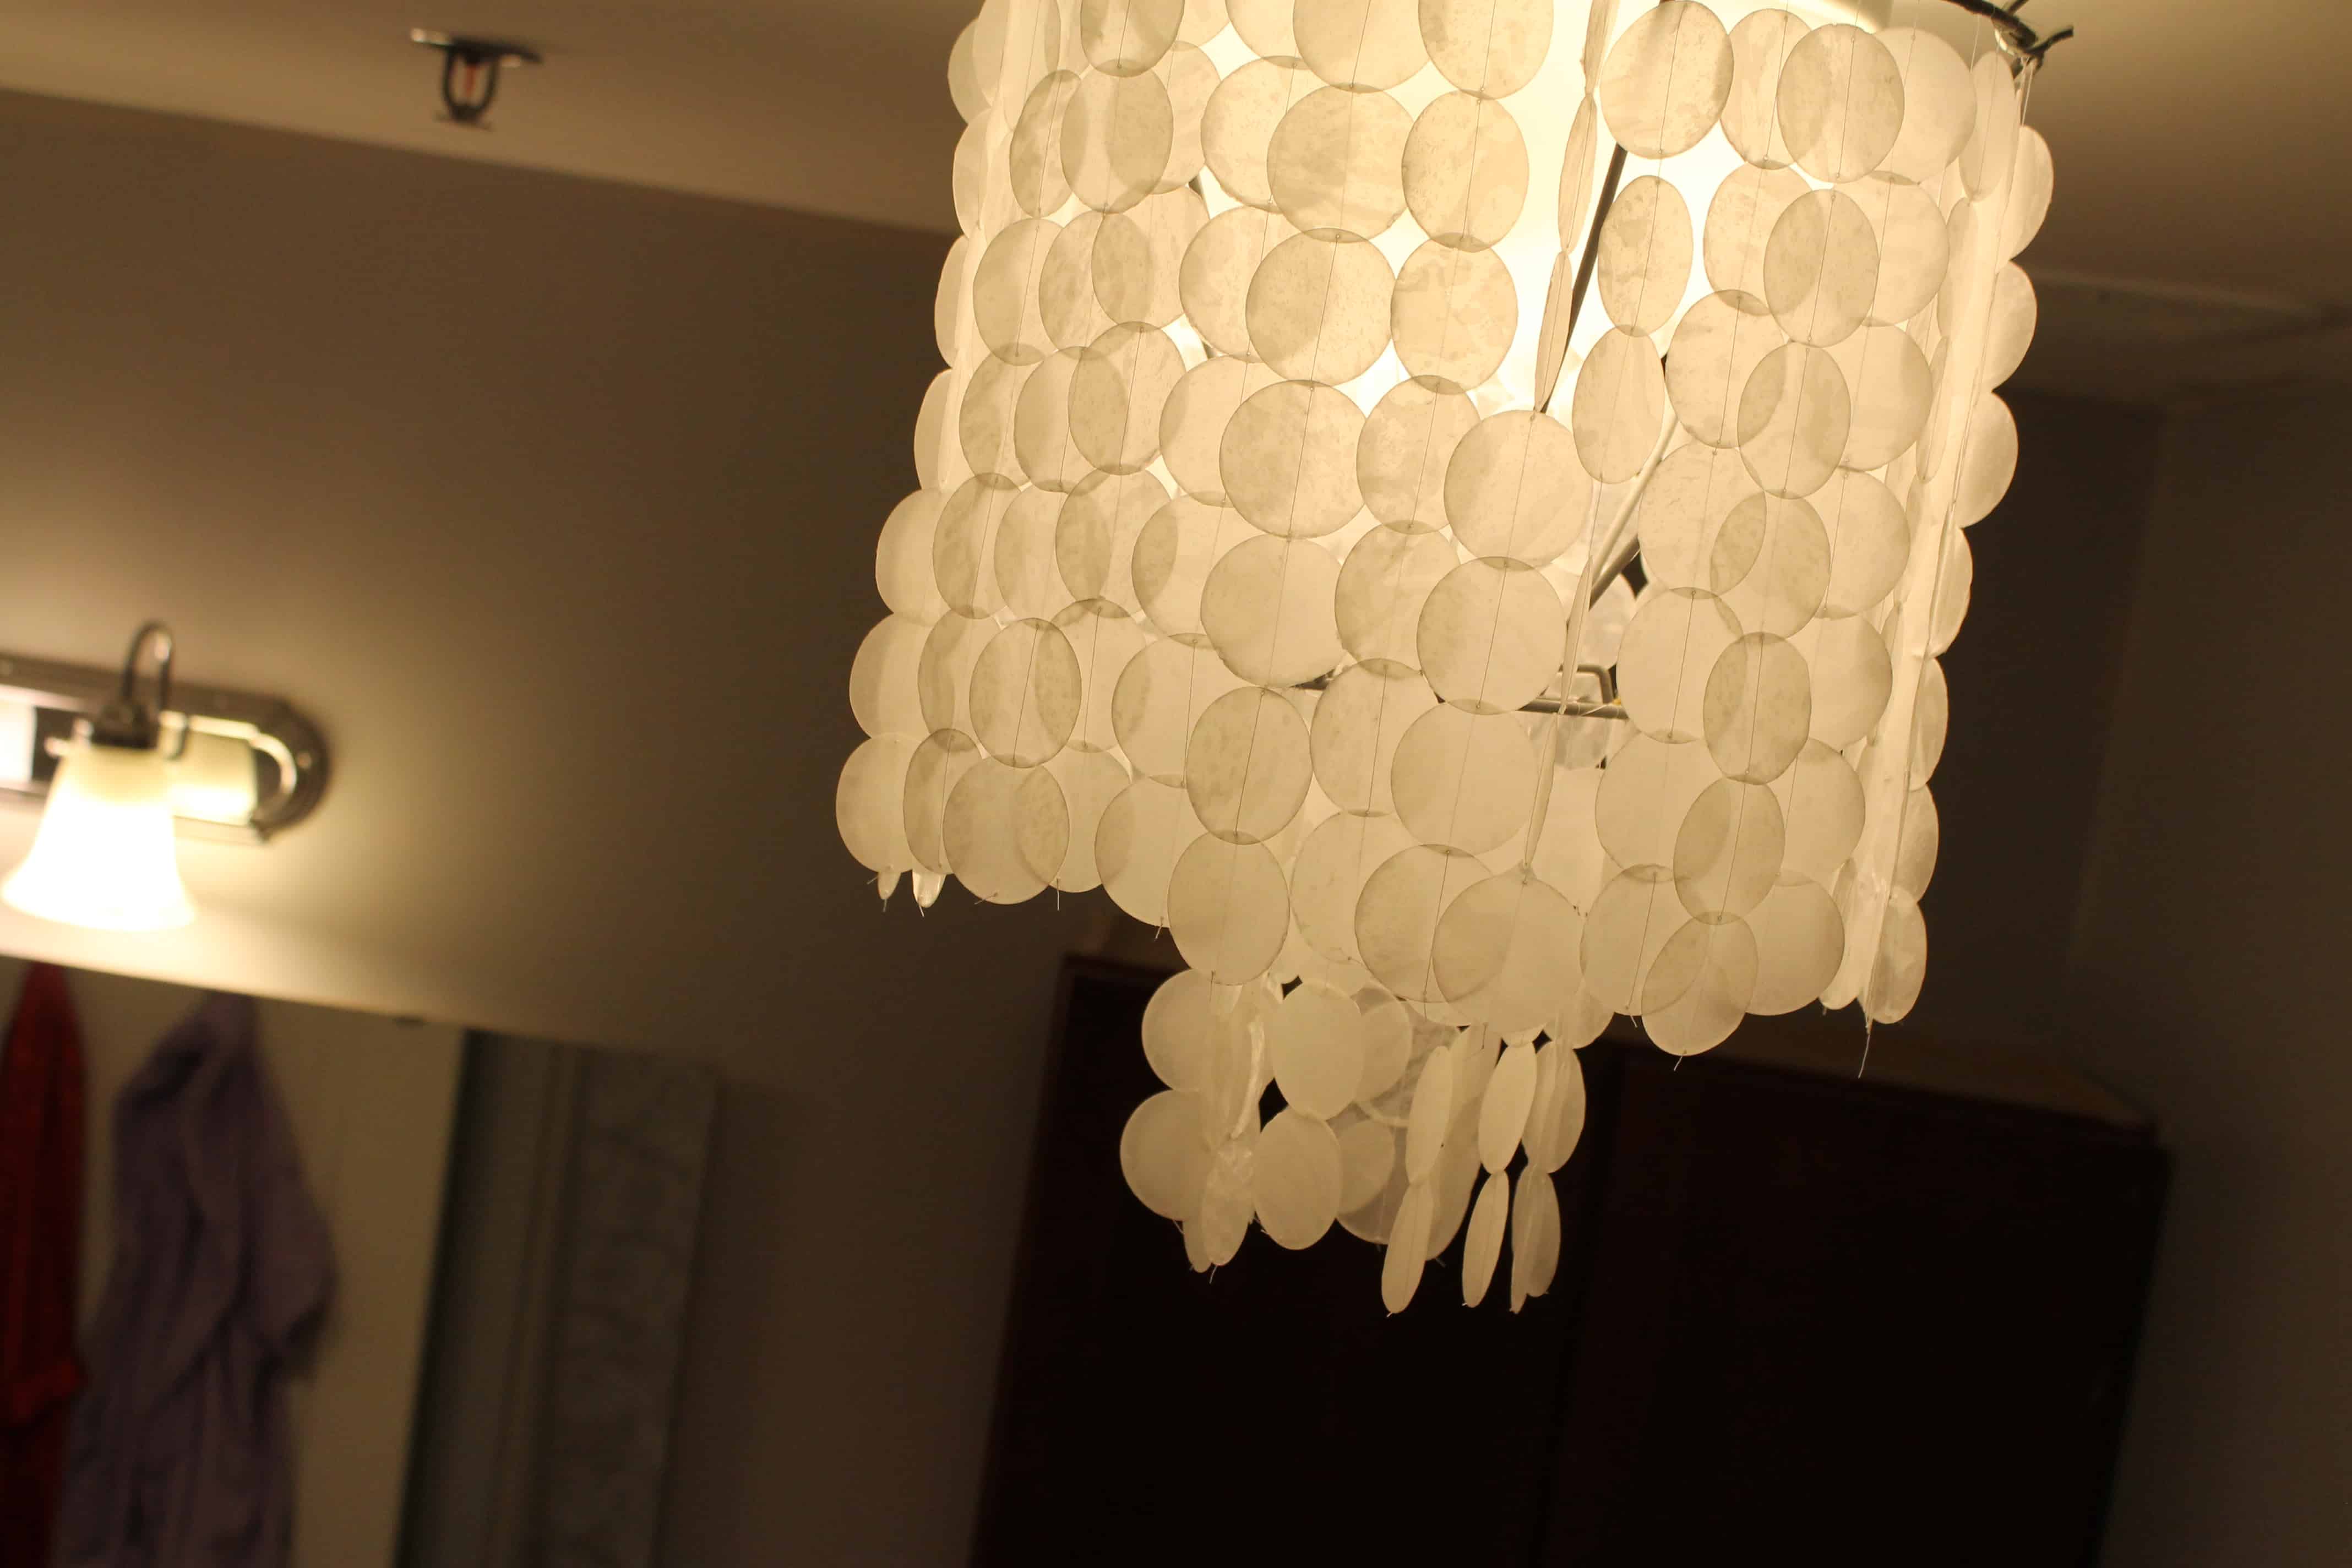
It took a while, but finally it was done!
How to mount the DIY chandelier
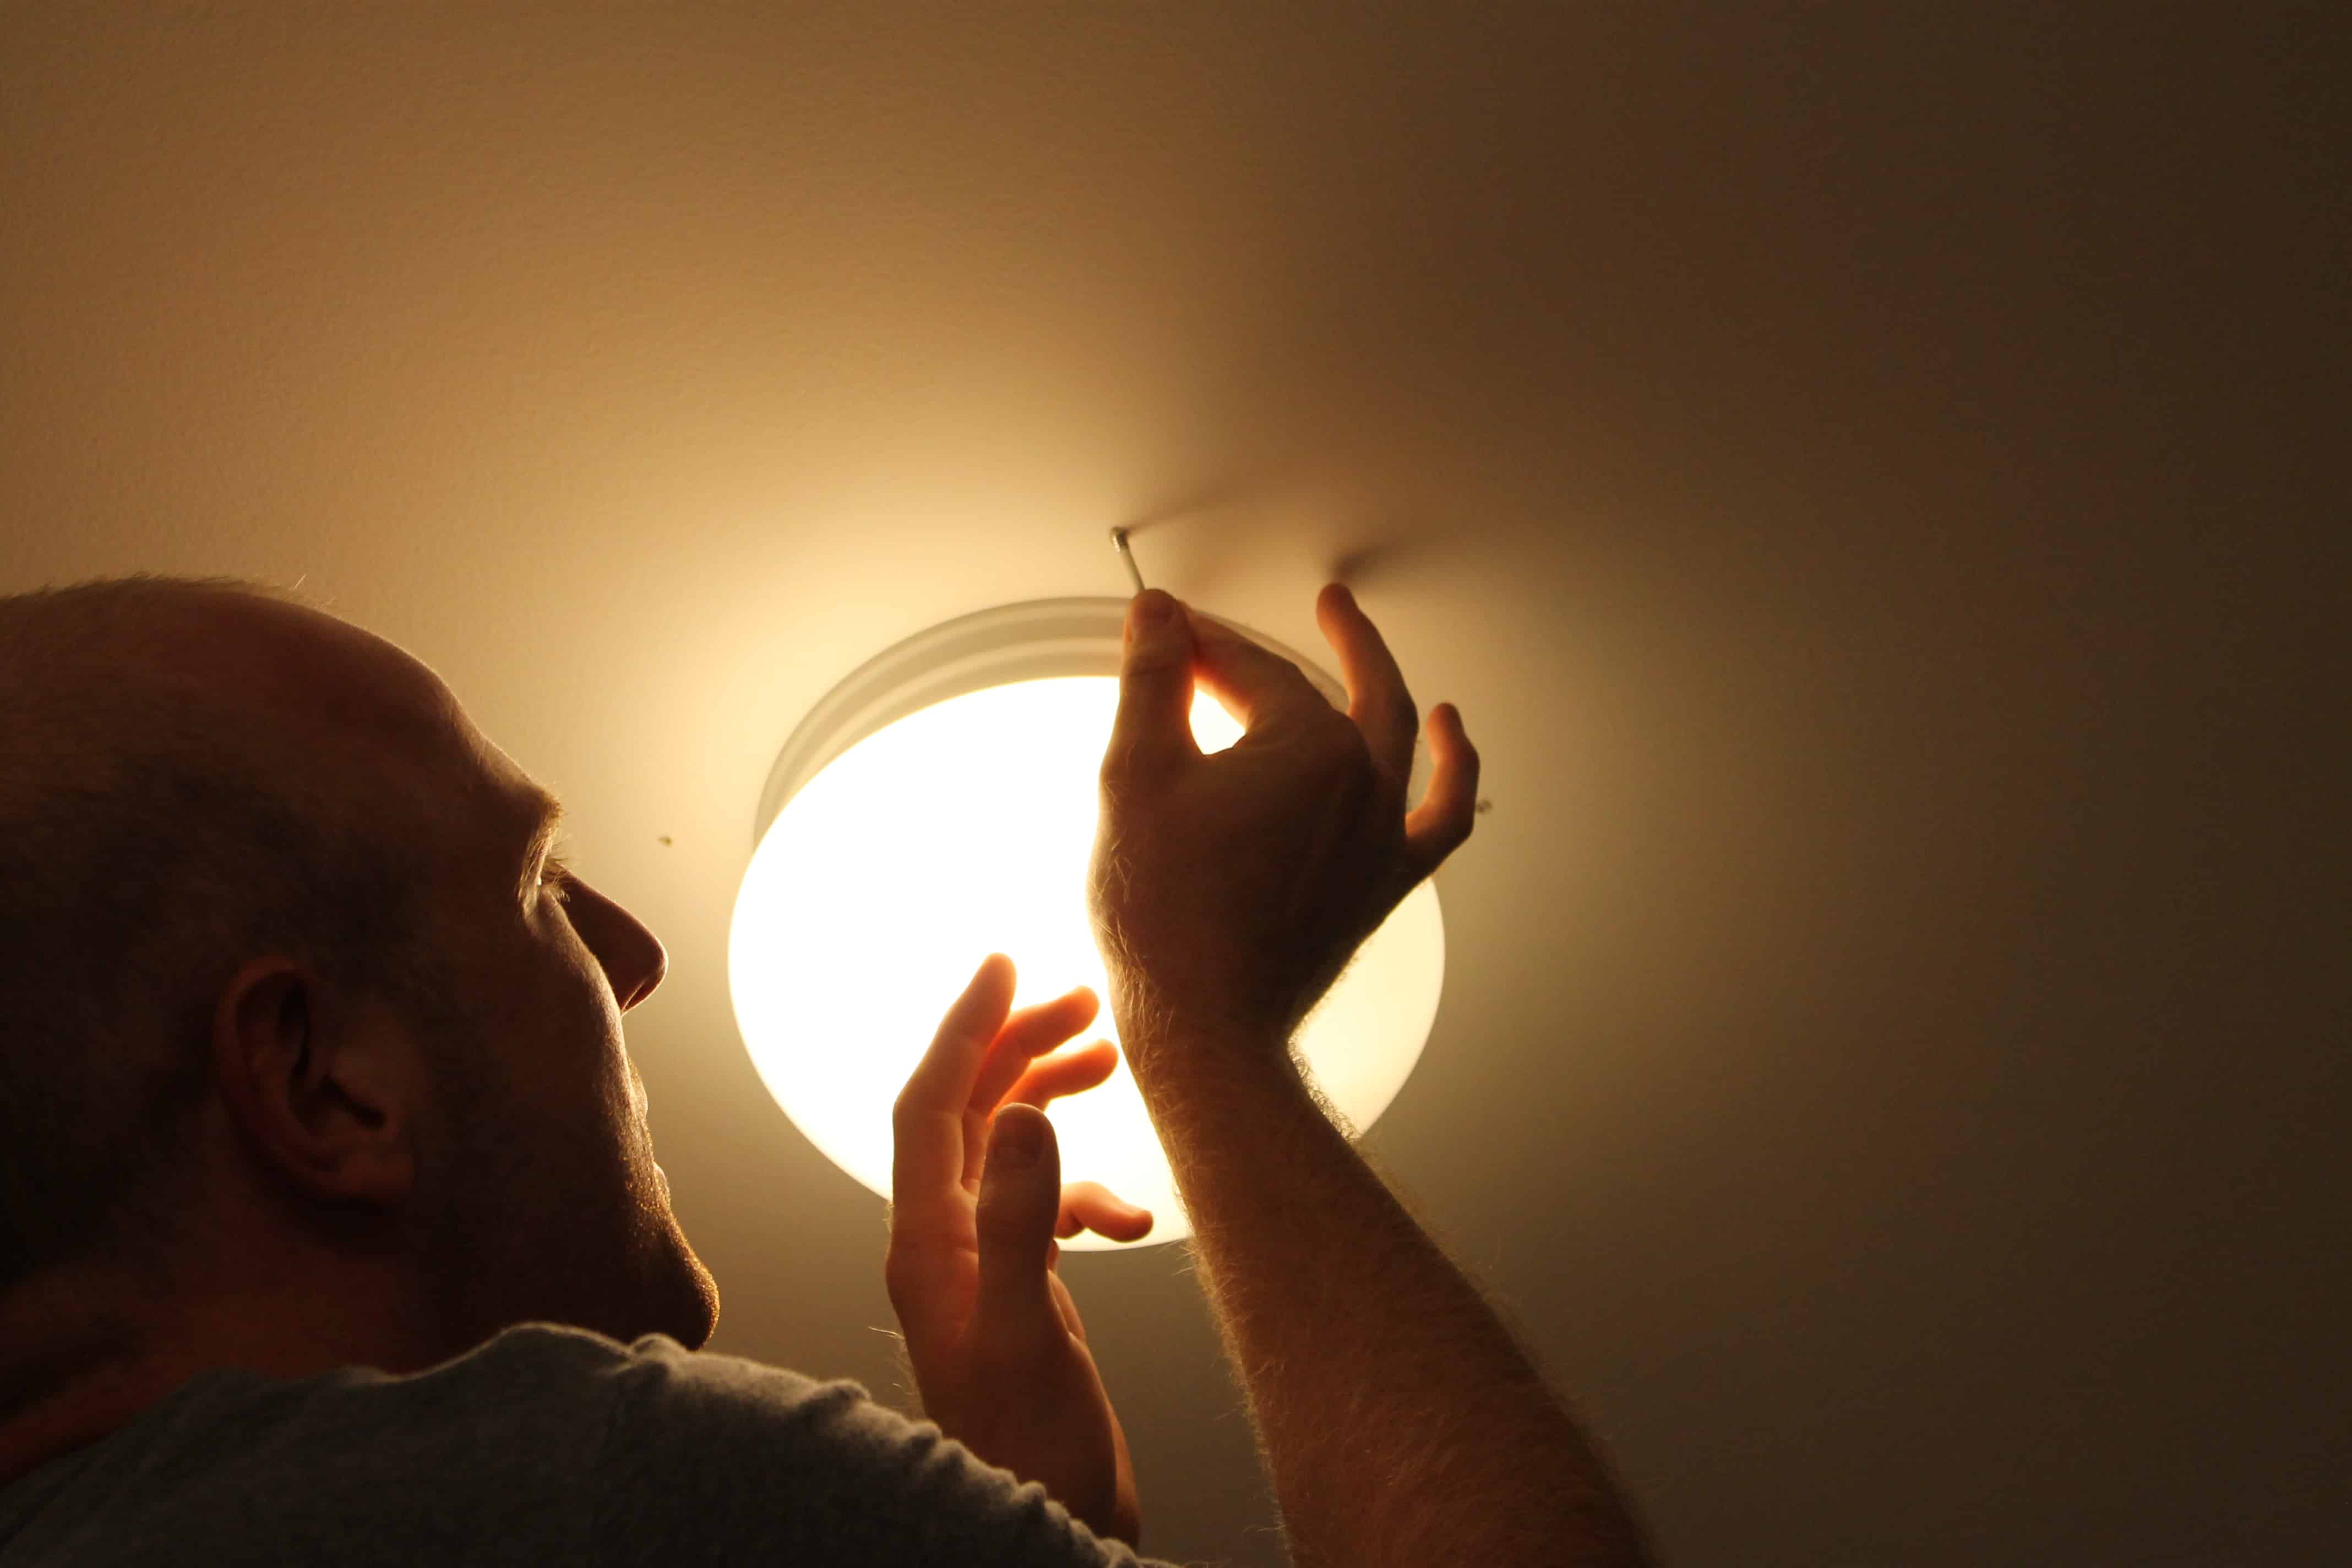
To hang it, Sean attached ceiling hooks around the existing boob light and hung the metal frame directly on there. Because our frame wouldn’t go flush against the ceiling (the vertical bars angled in too quickly and hit the glass cover of the boob) we used hooks with about an inch of straightness before the hook.
Here’s how it turned out.
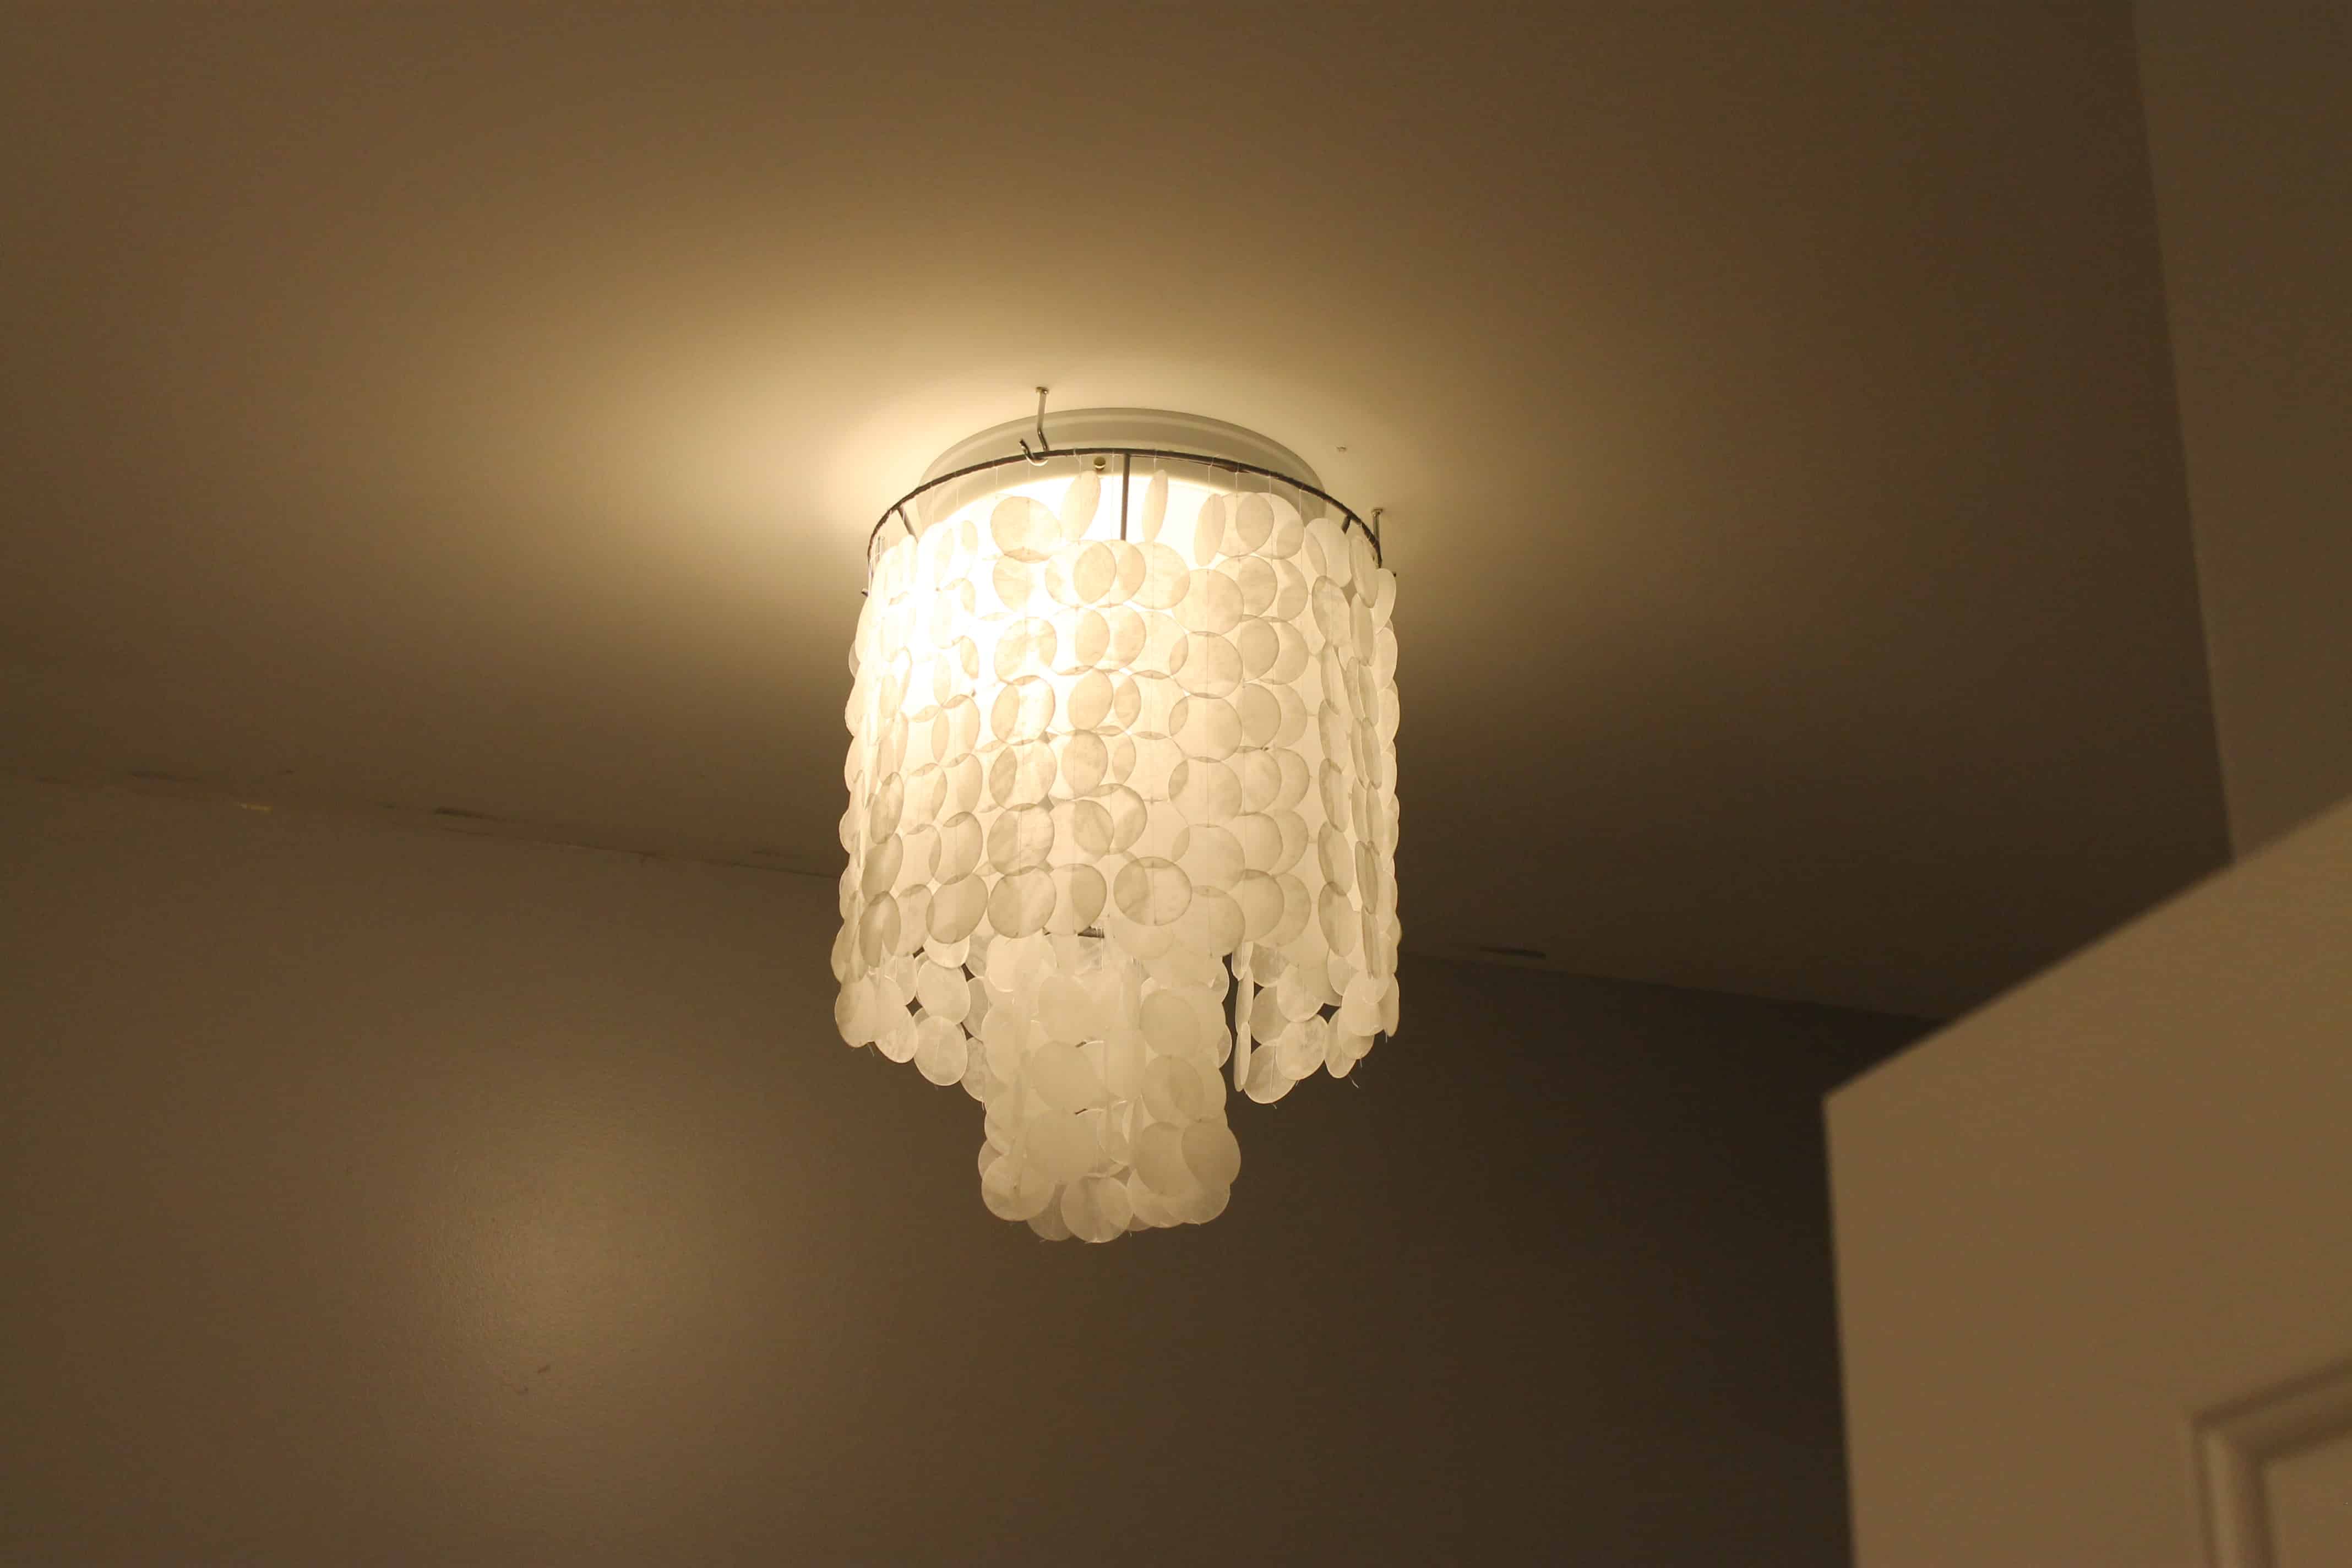

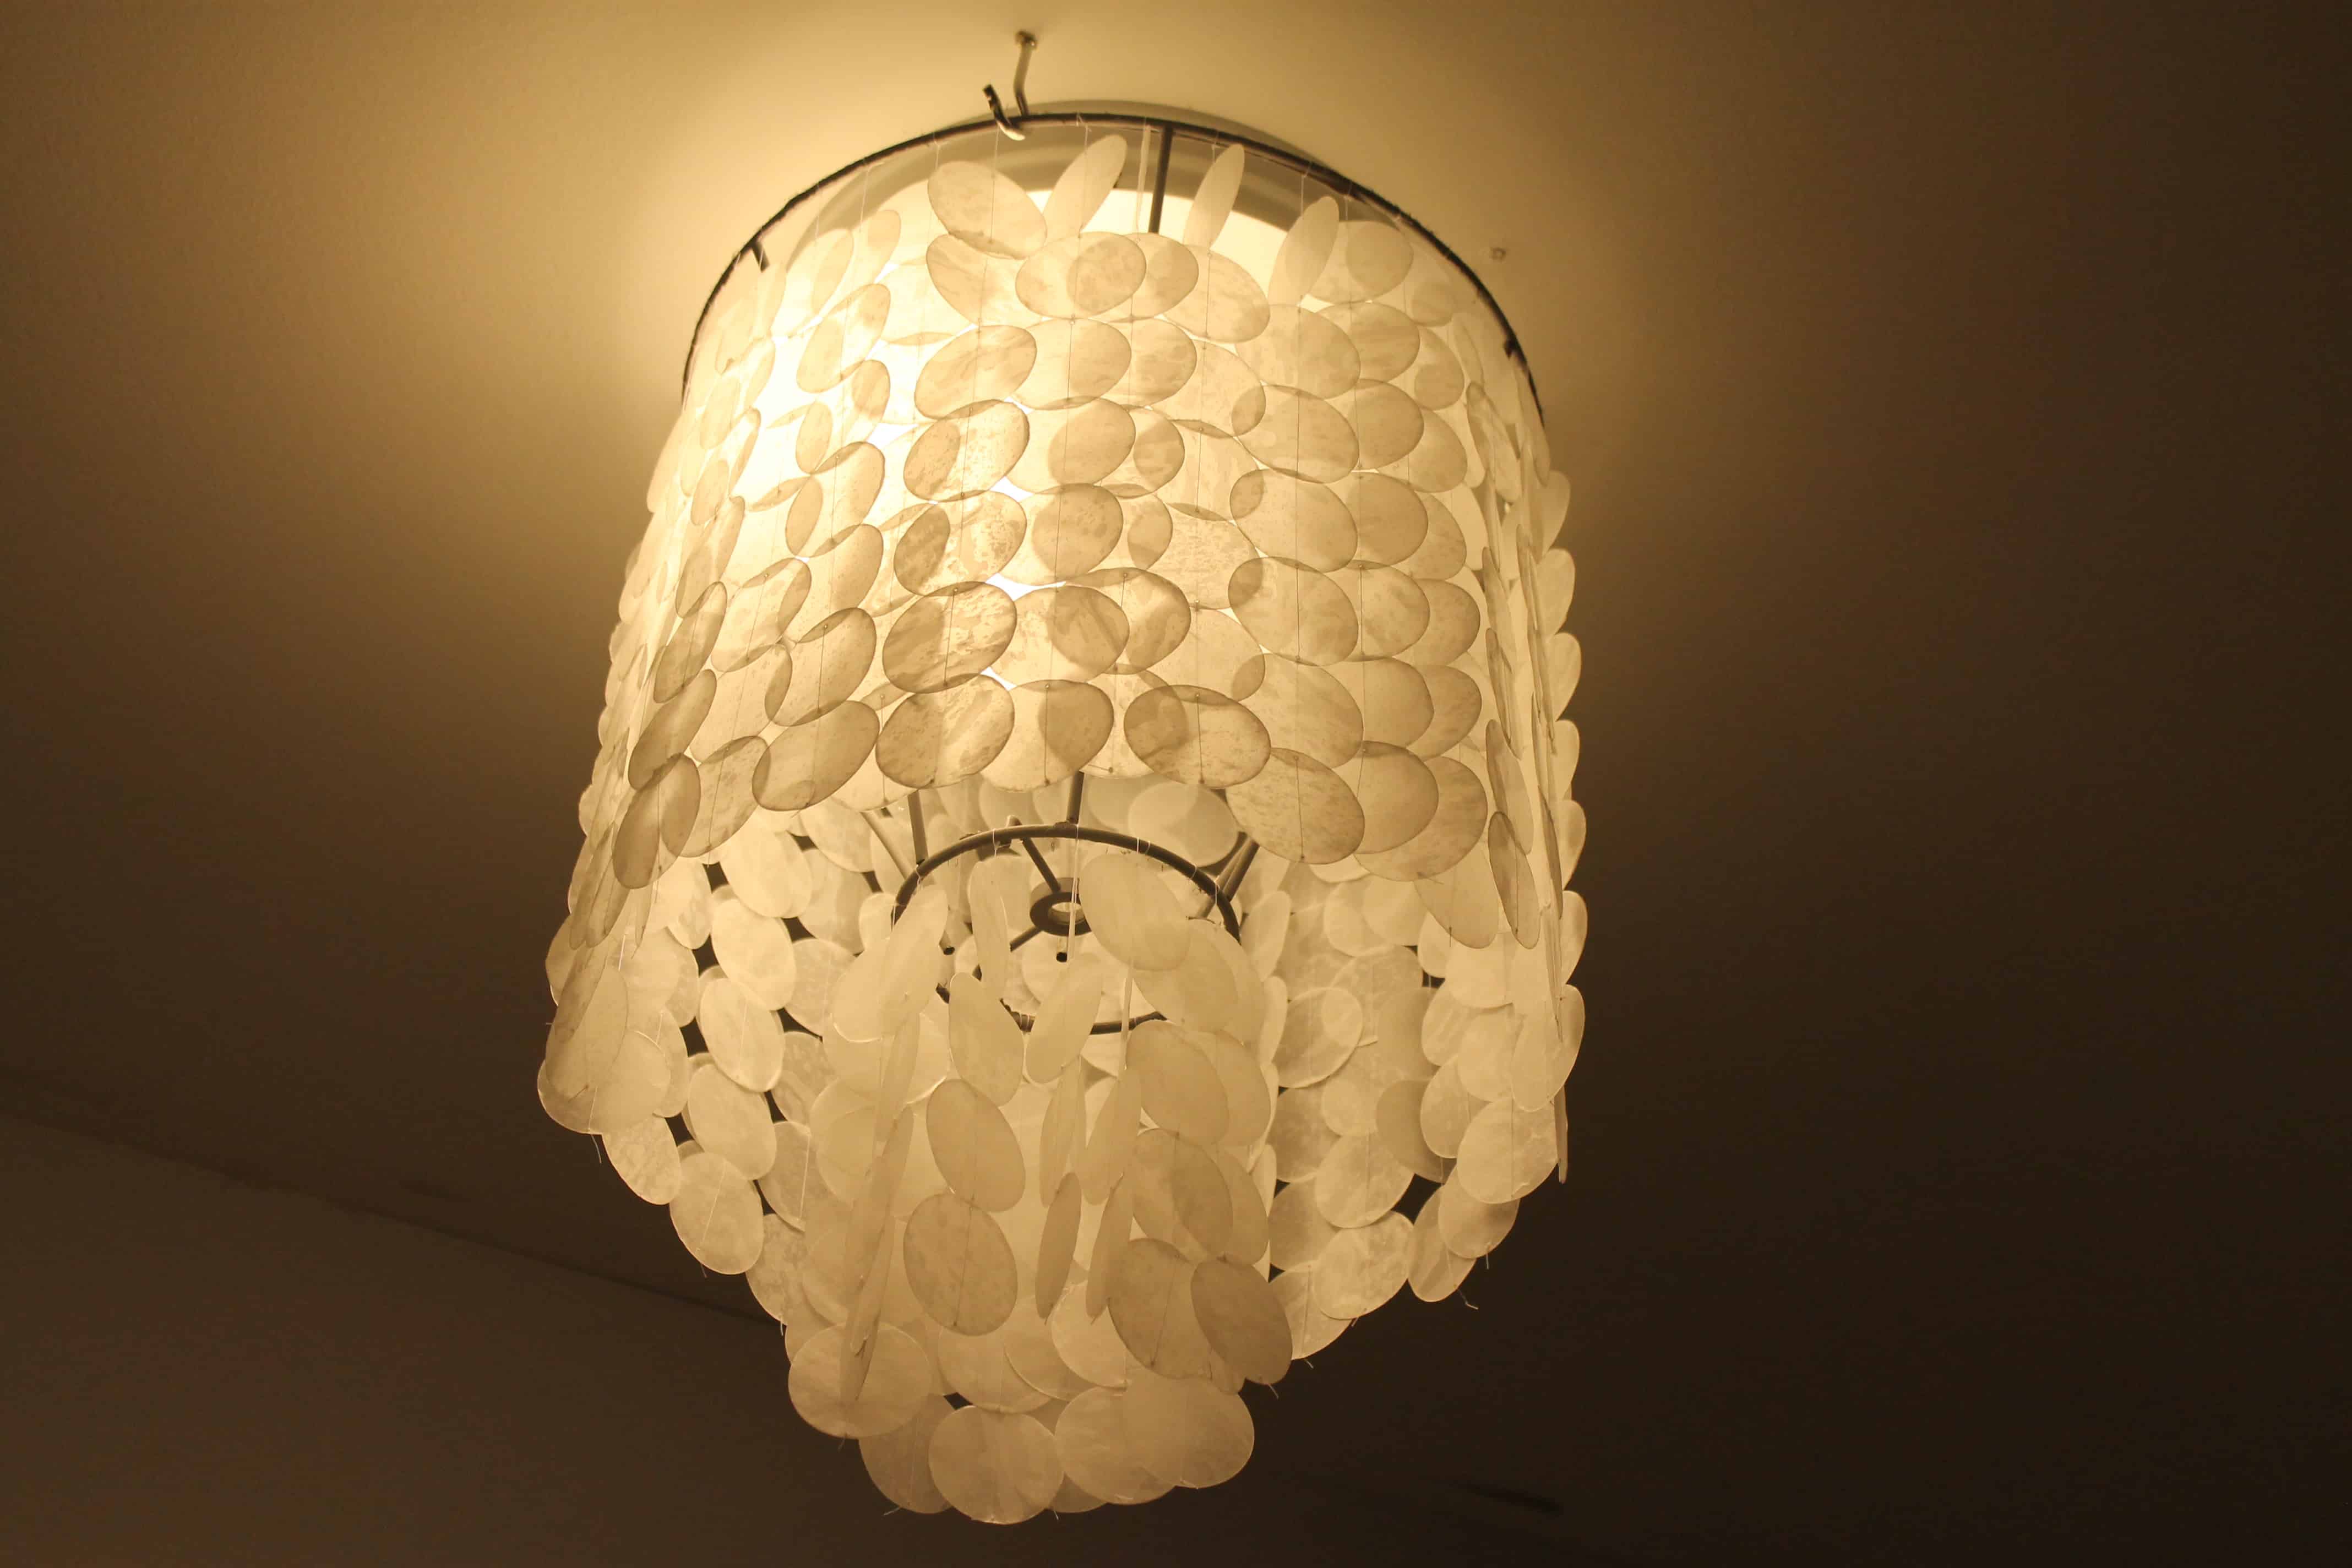
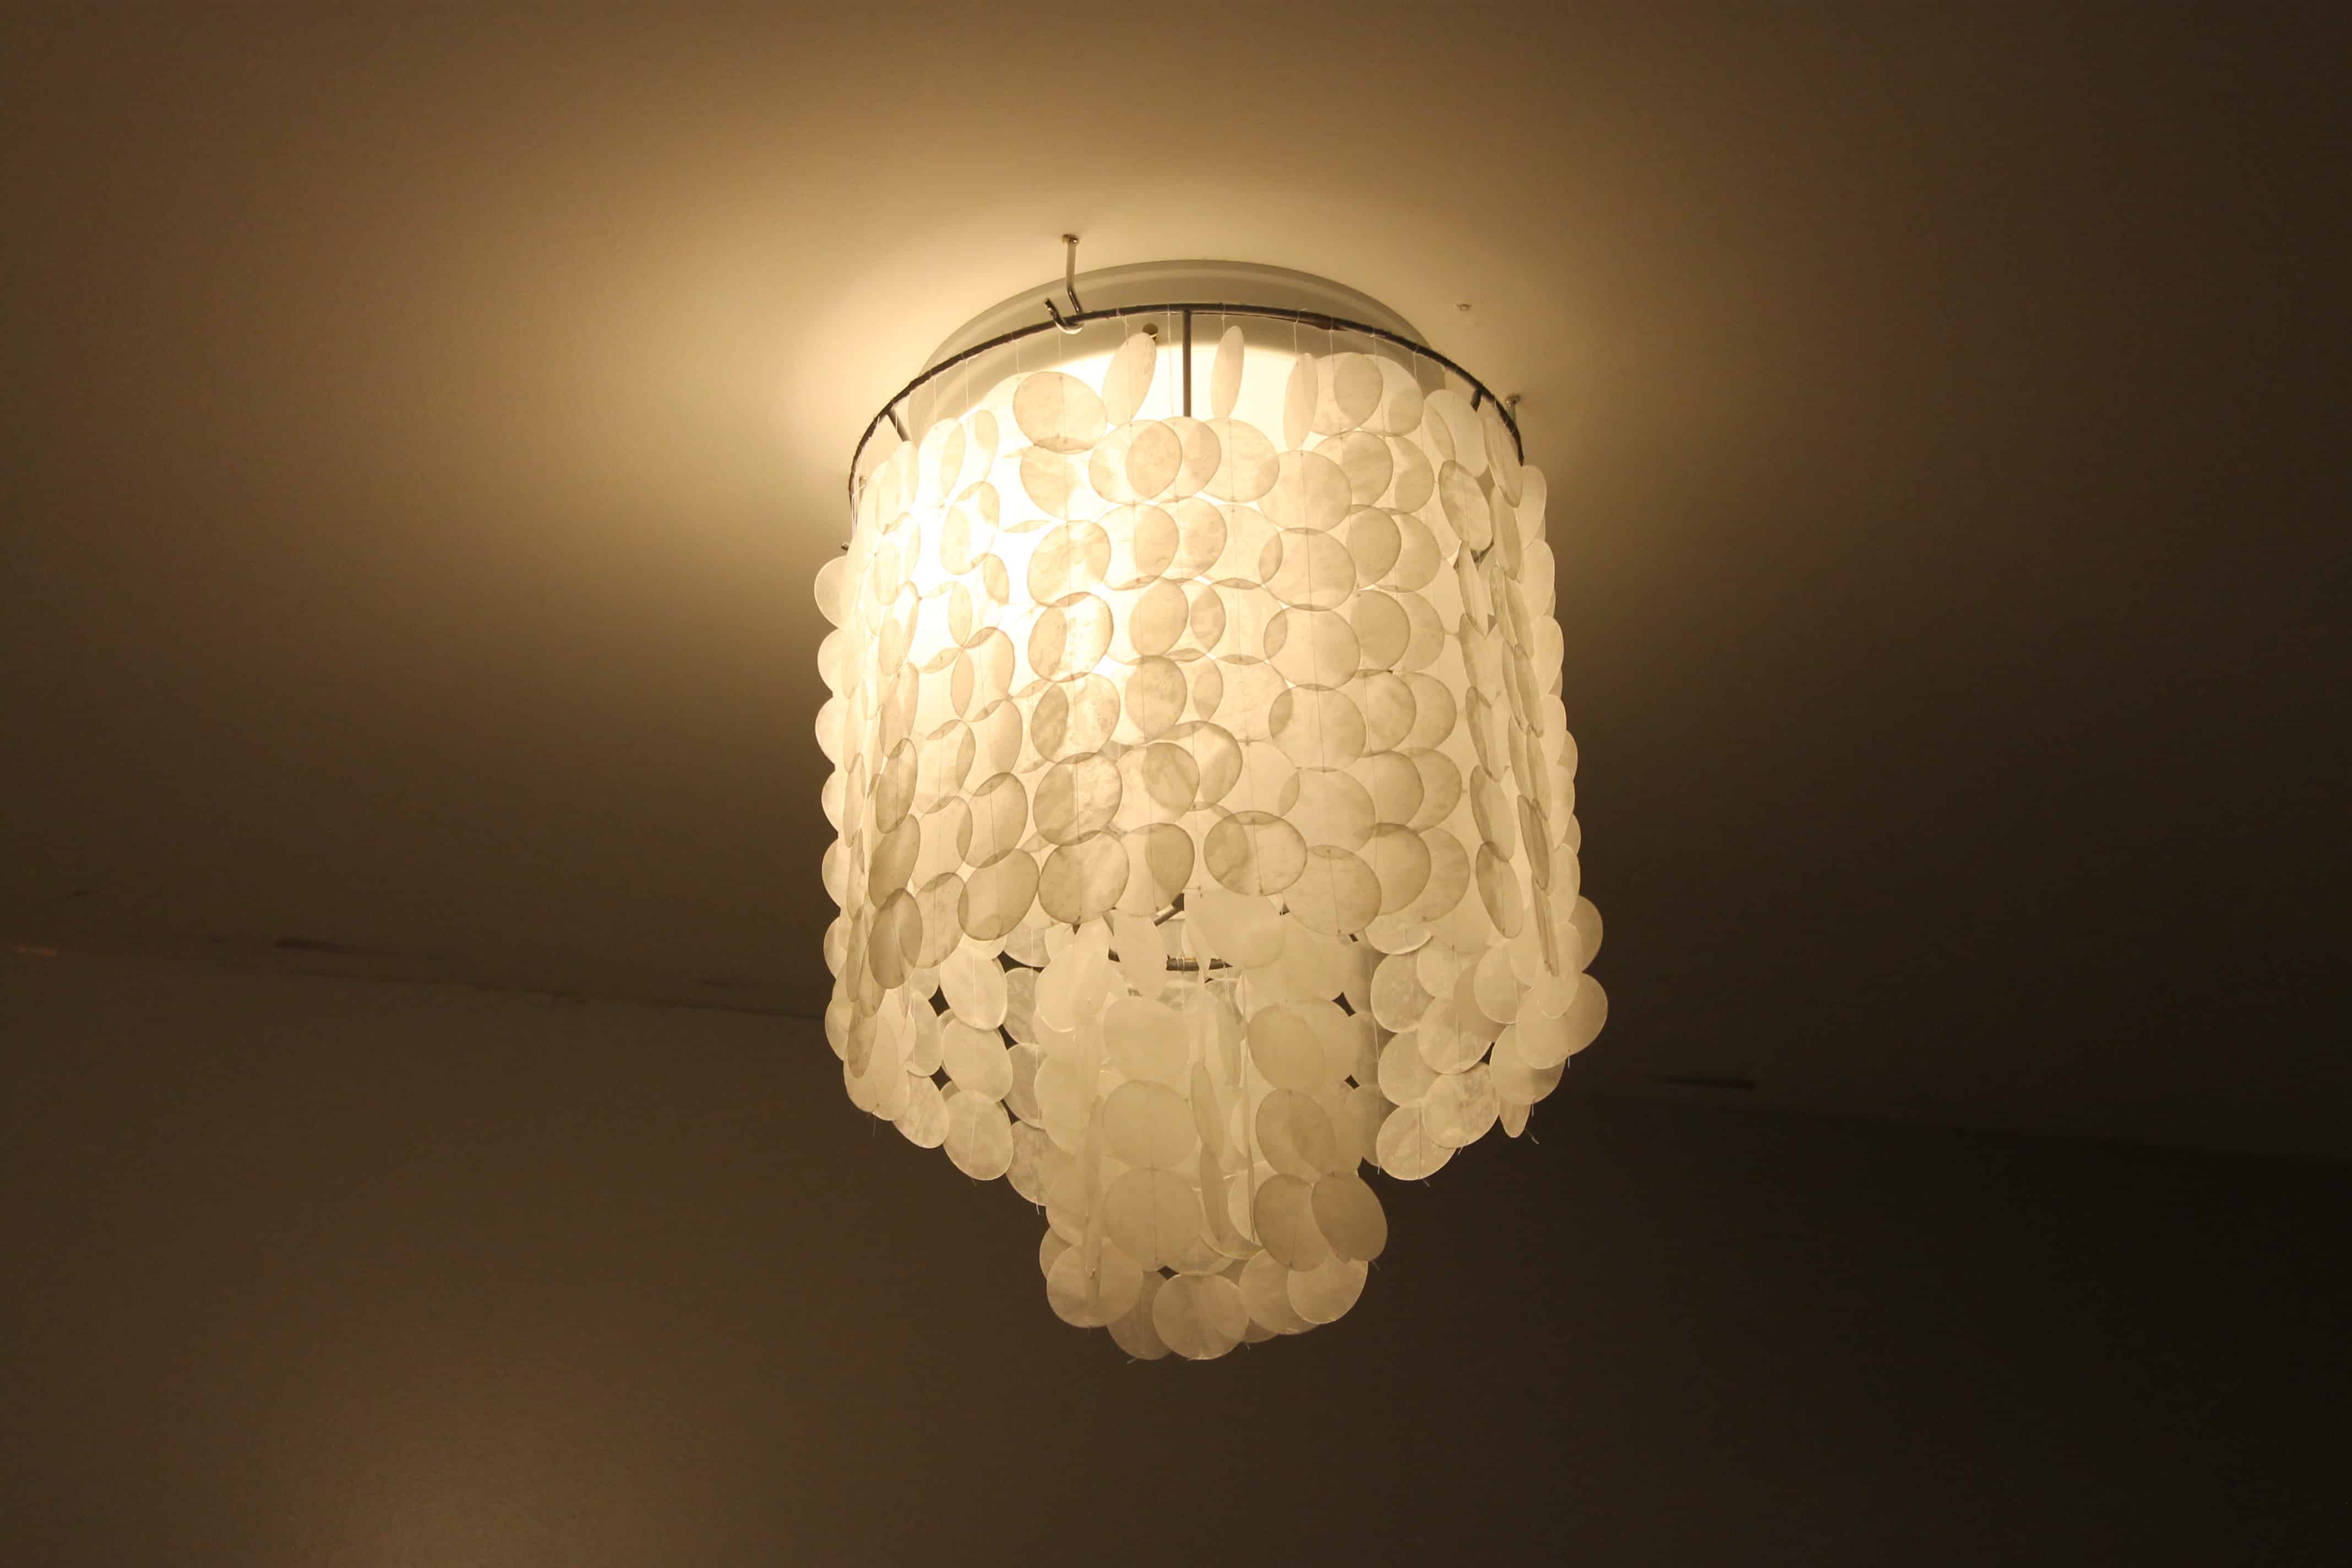


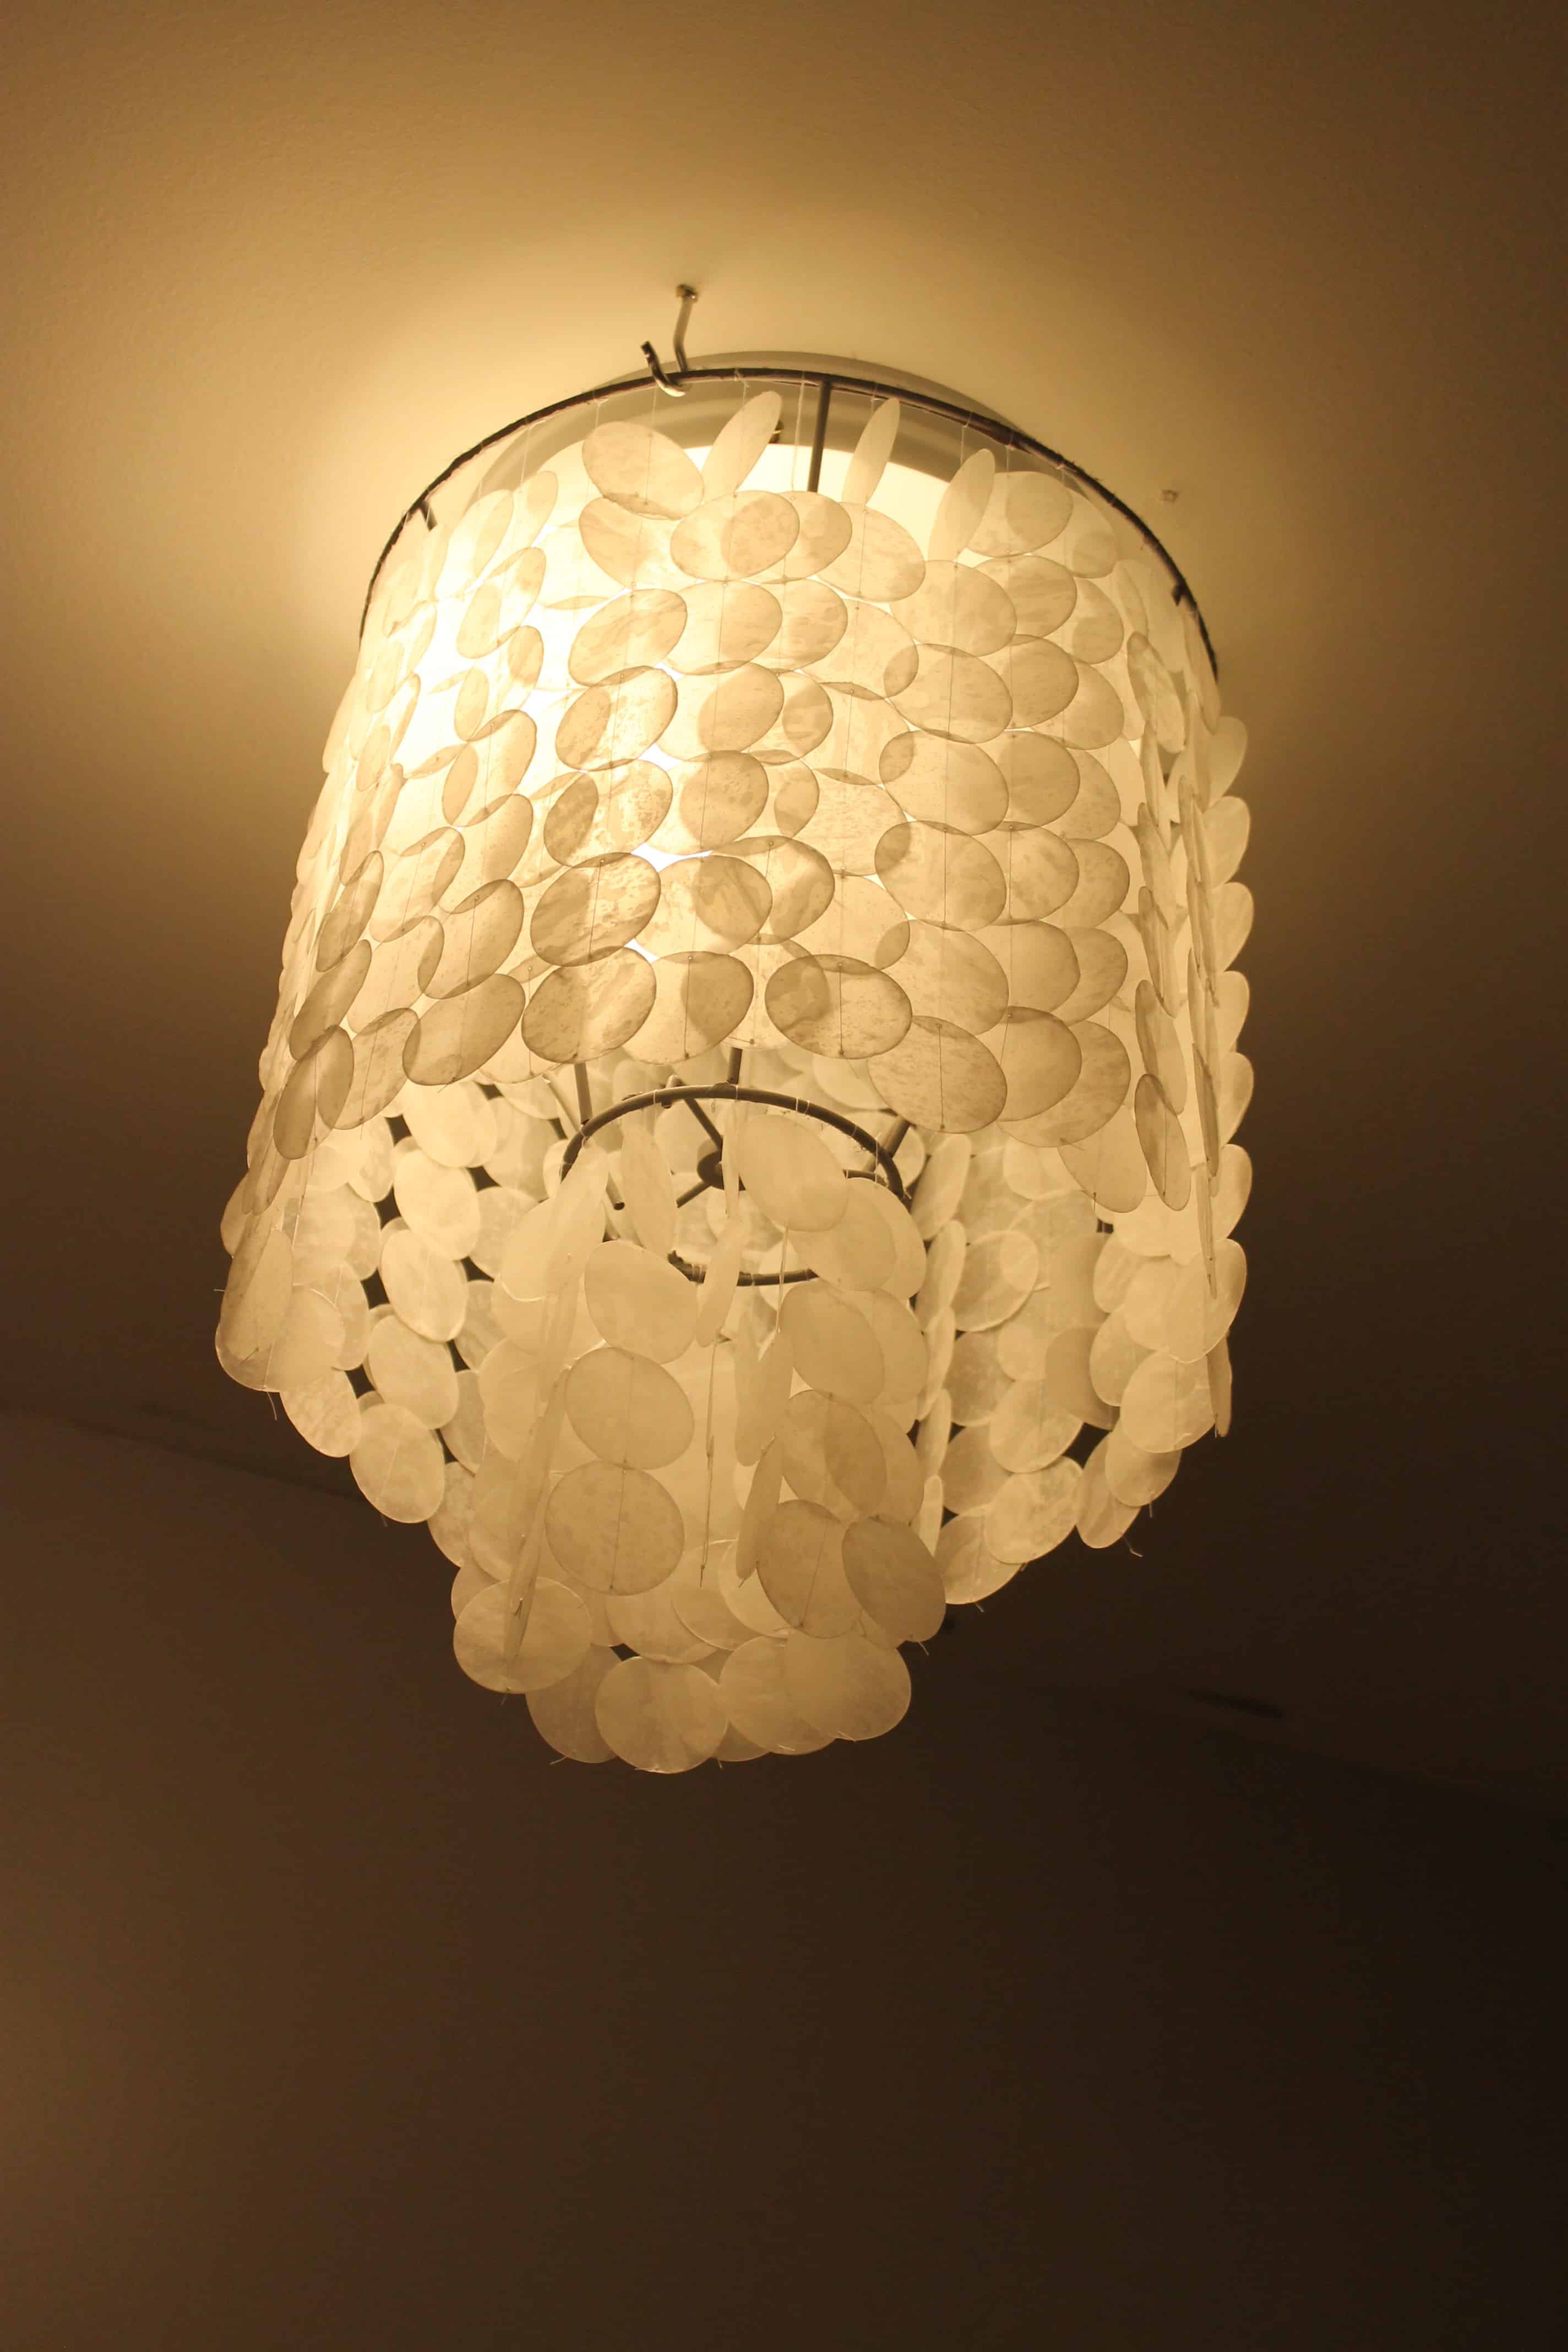
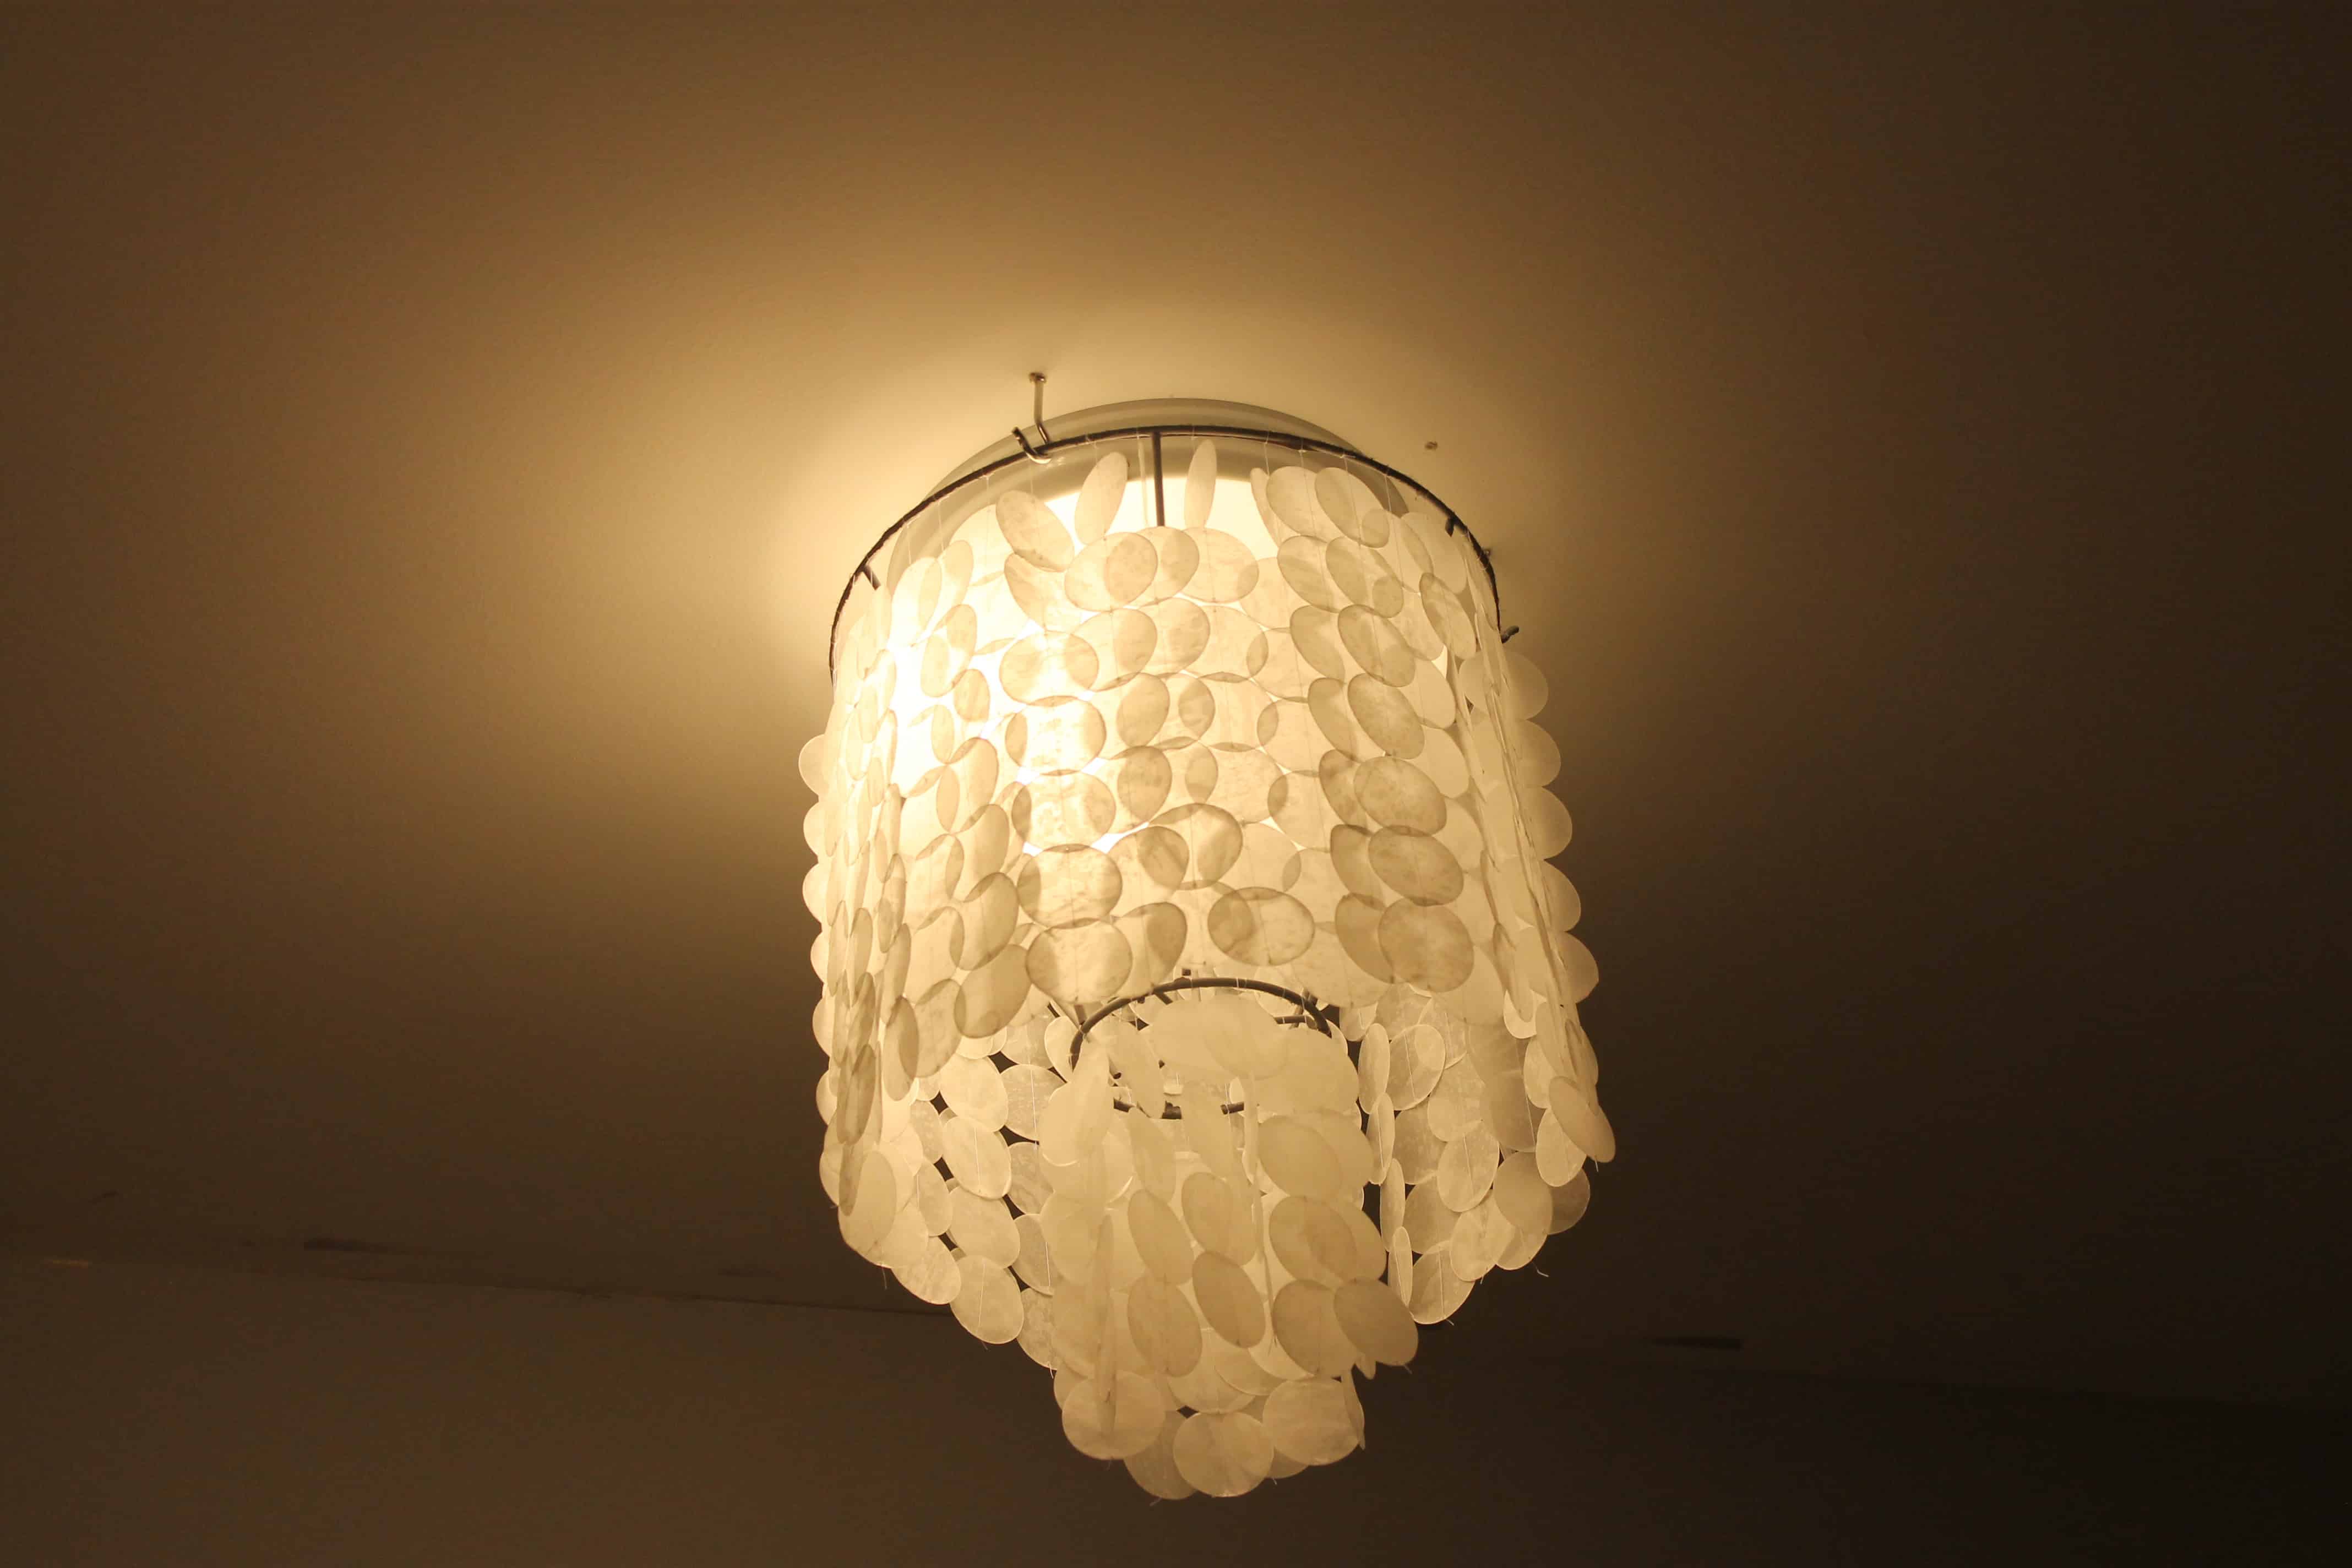
Can you tell how much I like it? Here it is with the light off:
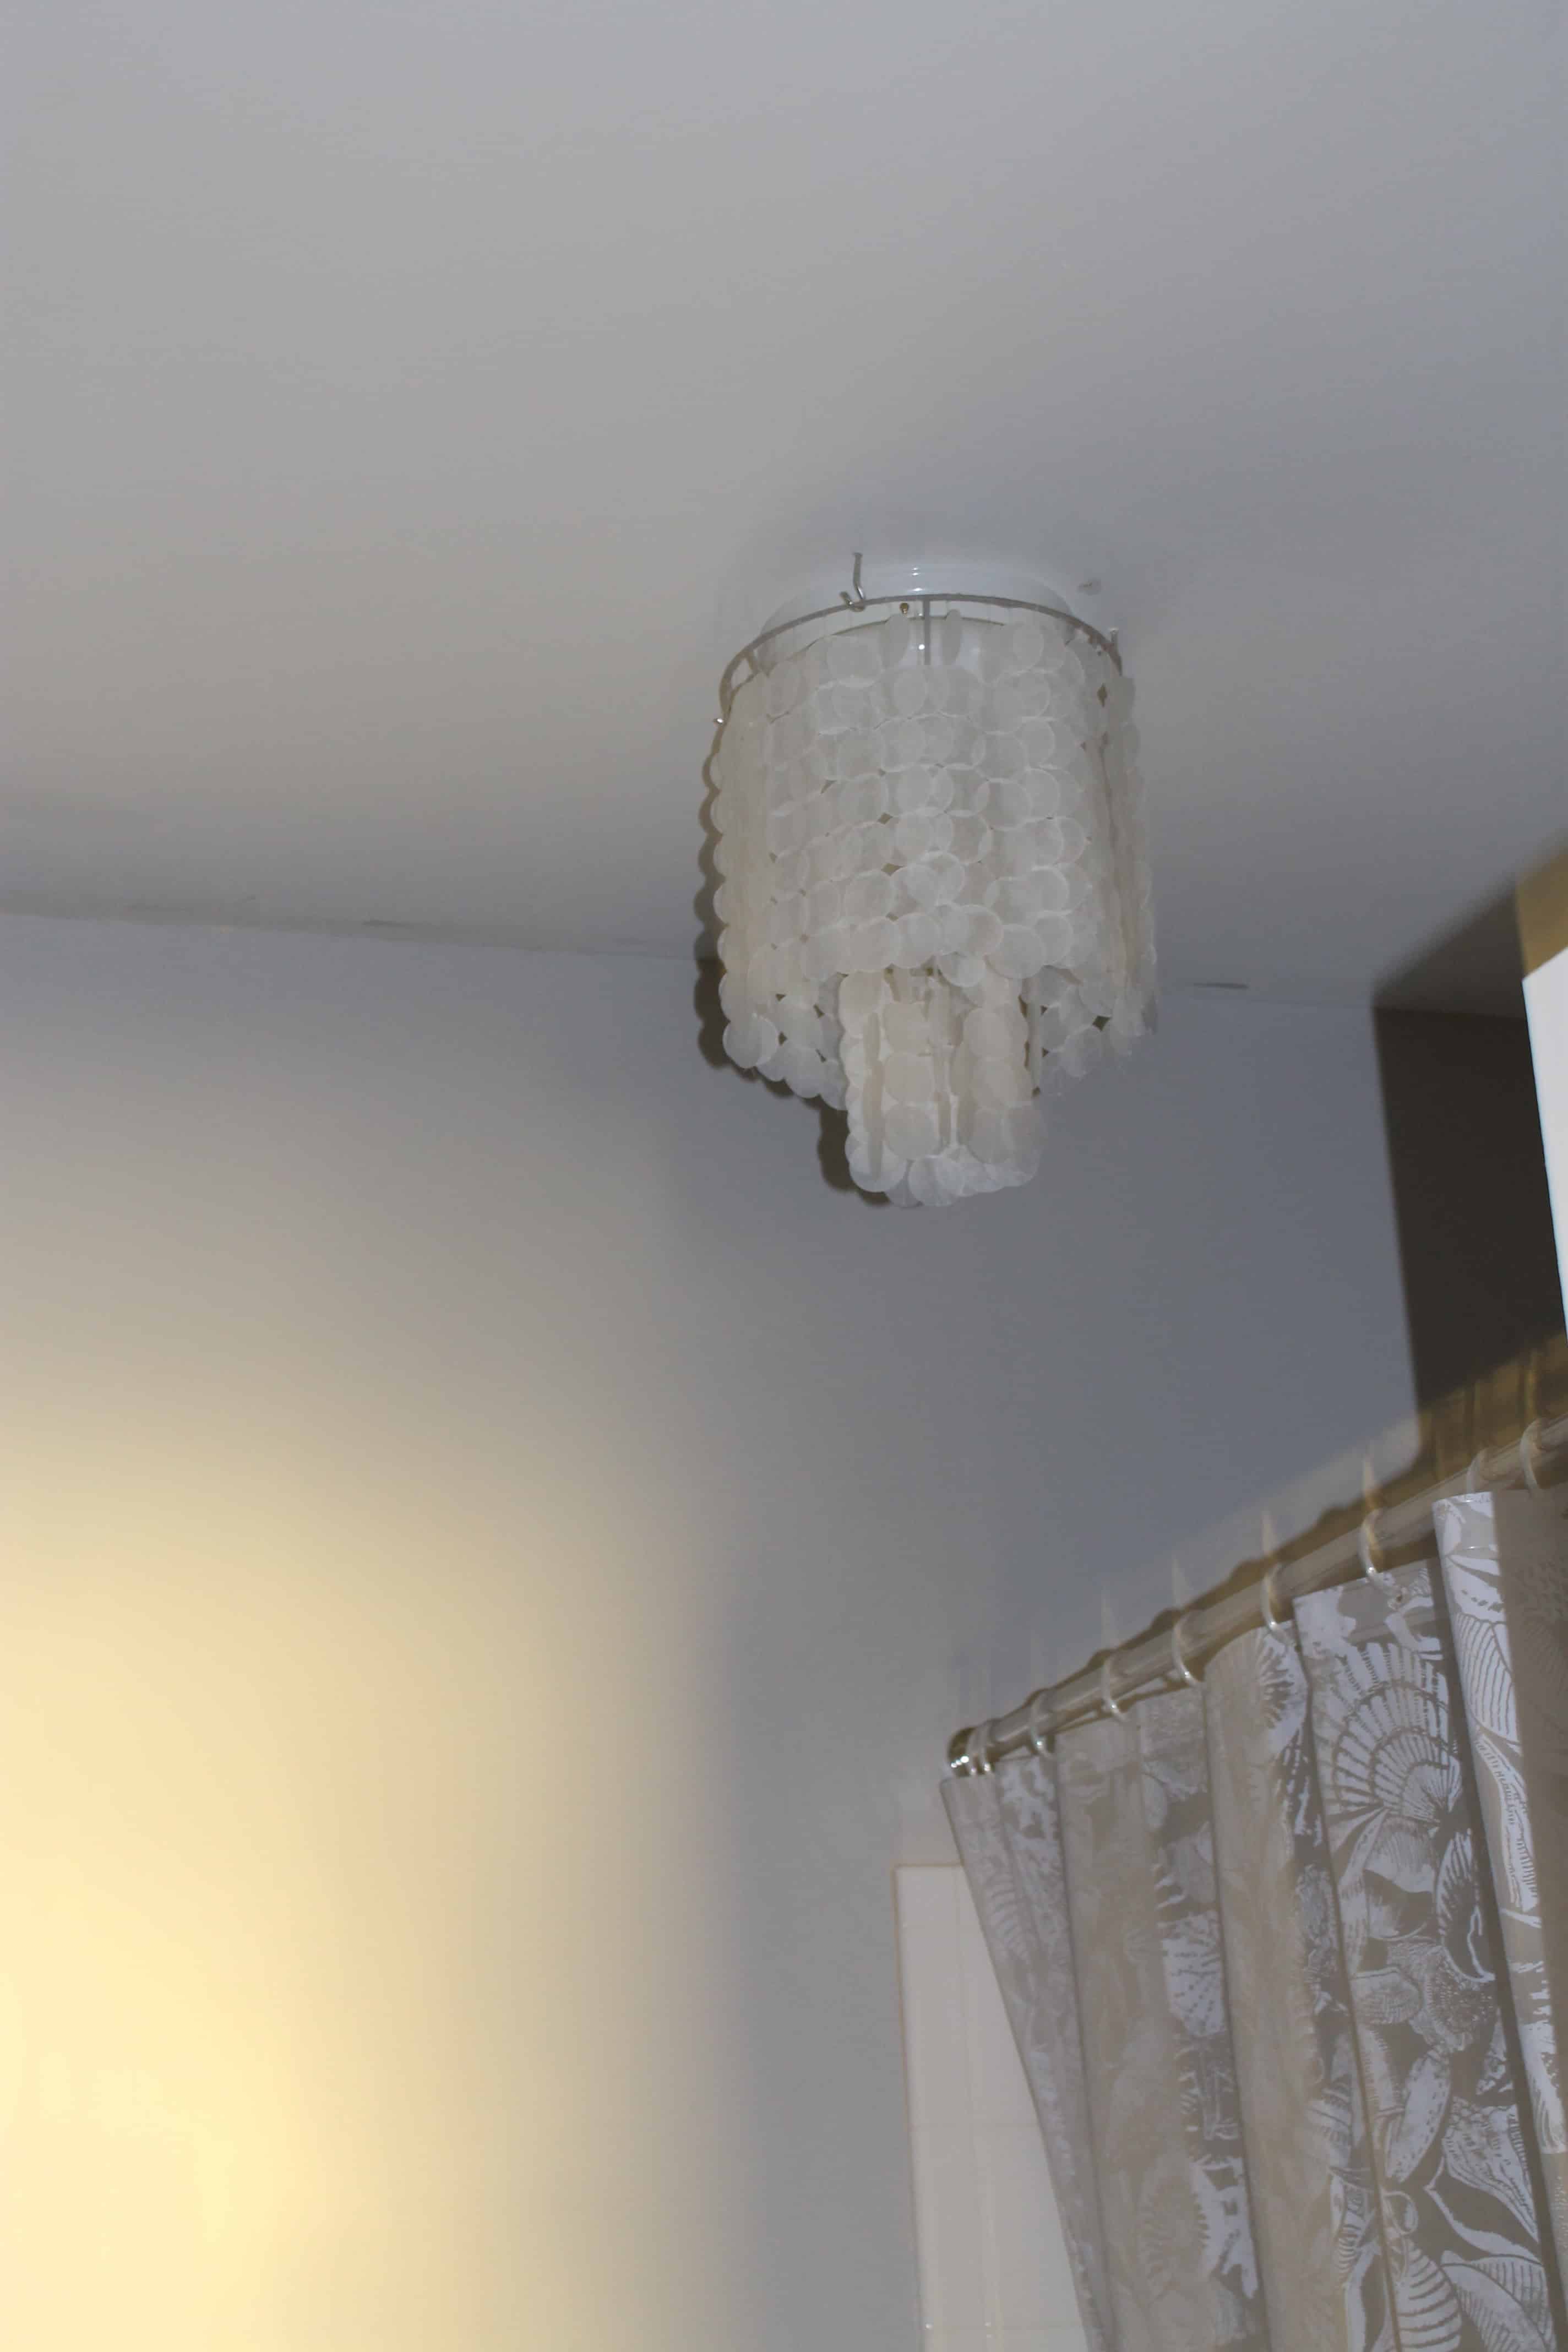
This room is really looking better! Can’t wait to share what we have coming up next!!
Love this DIY light? You might also like:
Mounting desk lamps as sconces
| |
|||
| |
|
|
|


Hello, I’m Morgan, half of the creative force behind CharlestonCrafted.com! With a passion for DIY that dates back to 2012, I’ve transformed three homes and now I’m dedicated to helping others craft their dream spaces. Let’s turn your house into a home together!
Dita
Friday 3rd of May 2019
wow this is brilliant way to substitute capiz. economic and cruelty free. Thanks for sharing!
Sean
Monday 6th of May 2019
Glad you liked it!
johanna
Tuesday 12th of August 2014
I love this! I want to do this for my girls room but I would like to attach it to a ceiling fan, do you think that would work?
CharlestonCrafted
Thursday 14th of August 2014
I would only be worried about the wind blowing them around and getting tangled. That might be a big mess!
DIY Lover
Wednesday 23rd of July 2014
Hey! I know I'm late on this blog thread but I am getting ready to make this!! However I bought the easy punch circle punch. Are you sure it wouldnt work???
CharlestonCrafted
Wednesday 23rd of July 2014
If you bought it, definitely try! The biggest thing for me was finding the right # of sheets to punch at once - not too few or too many. Experiment with some scraps and I'm sure you can get it to work!
Ten Tables: Beach {Part 1} - SouthBound Bride
Tuesday 14th of January 2014
[…] DIY tutorials, many of which use wax paper as the ultimate budget/DIY alternative! Try this one or this one for yourself. Sources: Tablescape by Monica Dart on […]
karina
Wednesday 9th of October 2013
Fantastic!!!