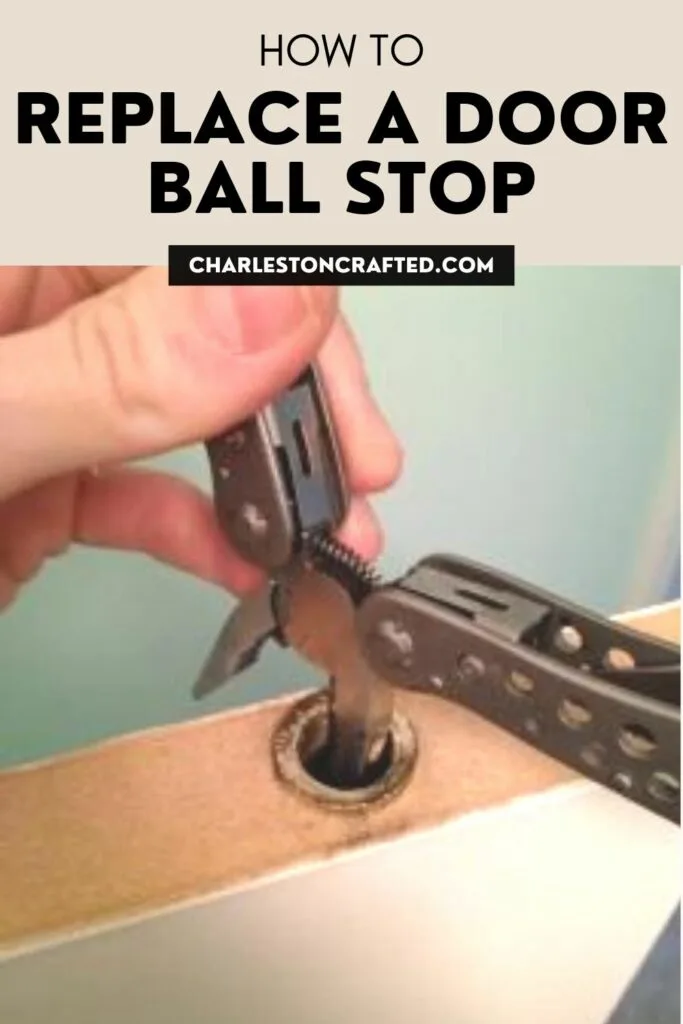
Learn how to replace a door ball stop and keep your doors from swinging open with this easy DIY guide. Say goodbye to pesky swinging mishaps!
Tired of dealing with those pesky laundry room doors that just won’t stay shut? I feel your pain!
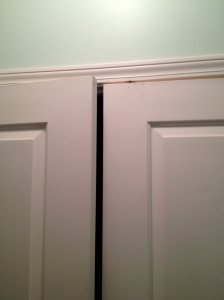
When I moved into my new condo, I noticed that the laundry doors wouldn’t stay closed.

Something was missing – the ball stop.
These little guys are essential for keeping doors in line. Without the ball catch, my doors swung open like they had a mind of their own.
But fear not, there’s a quick fix: replacing the missing ball stop. Join me as I show you how to bring those unruly doors back under control and regain your peace and privacy.

How to Replace a Door Ball Stop
Supplies needed:
Before you begin, here’s what you need:
- Ball catch replacement parts
- Electric drill with appropriate drill bits
- screws
- wood file
Steps to Installing a Ball Catch on a Door
STEP 1: Remove the Old Casing
Begin by checking the old ball stop casing – you might be able to keep using it if it’s in good condition.
Otherwise, if it’s damaged or incompatible with the new one, unscrew it and remove it. We’re going to have to do a door ball catch replacement.

STEP 2: Install the New Ball Stop
If your door doesn’t already have a ball stop hole, you’ll need to drill one using the appropriate drill bit.

Then, simply insert the new ball stop fitting into the hole and secure it in place using the provided screws.

STEP 4: Adjust for Proper Fit (if necessary)
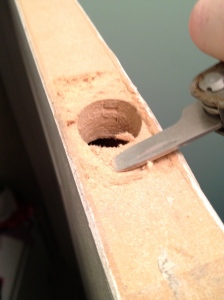
In some cases, like uneven doors, you may encounter alignment issues. If the ball stop rests too high or too low, you can make adjustments.
First, drill shallow holes in a square shape where you want the ball stop to sit. Then, carefully use the drill or a wood file to remove any excess material until the ball stop fits properly (I used a multi-tool with a file attachment).

STEP 5: Test and Finalize
After making adjustments, ensure that the door closes securely with the ball stop in place. Make any final tweaks if needed.

Once you’re satisfied with the fit, your DIY door ball stop installation is complete.
With these simple steps, you can restore functionality to your door and bid farewell to those annoying swinging mishaps!

If you want a quieter option – you could even replace the ball catch with a magnet, though we’ll leave that guide for another day!
Want More Door DIY Guides?
Check out these door-related how-to guides:
- A Guide to Adjusting Cabinet Doors
- Preventing Cabinet Doors from Opening Too Far
- Replacing a Front Door Peep Hole
- Fixing a Screen Door
Looking for something?
We’ve been doing this since 2012 so we have a LOT of blog posts!
Search stuff like: Ceiling Projects | DIY Plant Stands | Thrift Flips

